Thyme for a treat? Now would be a good thyme to learn to propagate thyme. Okay, I can't help it. Of all the fragrant perennial culinary herbs, thyme is my favorite. The smell is so intoxicating that I have been known to bury my face in a thyme plant and just inhale deeply. I could meditate in a bed of thyme and be blissfully unaware of anything else.
This is another herb you can seldom find in quality or affordable quantity at a grocer. But it is so easy to grow, soon you won't have to buy a sprig of thyme ever again.
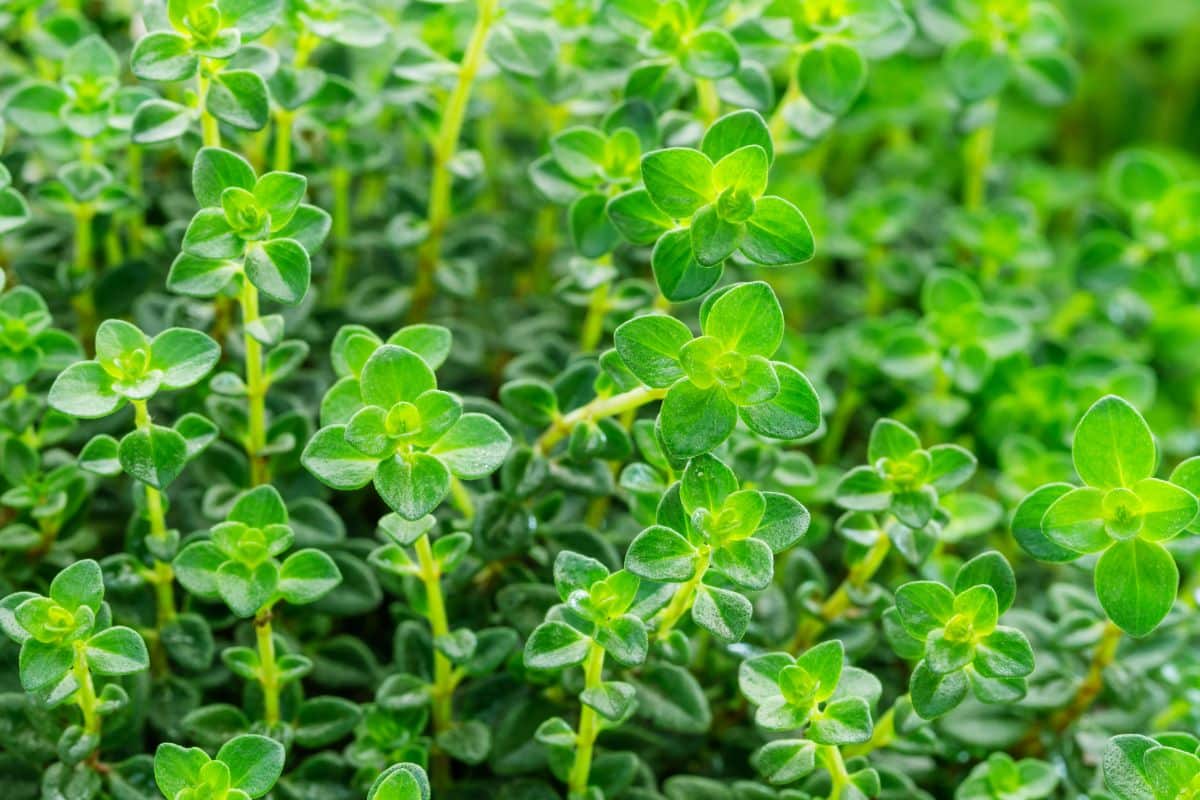
Like oregano, sage, and rosemary, thyme is a Mediterranean herb from the mint family. It will tolerate and even flourish under less-than-perfect conditions. Soil a little less fertile? No problem. Forgot to water it yesterday? It'll be okay.
All these Mediterranean culinary herbs enjoy similar growing conditions, which makes them excellent companions in a garden bed or an herb container on your deck. They are easy to grow, and having your own generous supply of herbs to snip at will is a sure way to improve your well-being and overall happiness.
Okay, I love herbs, but adding these to your garden, no matter how large or small, is highly recommended. Let's learn how to propagate this plant so you have tons of thyme on your hands.
Jump to:
How To Propagate Thyme
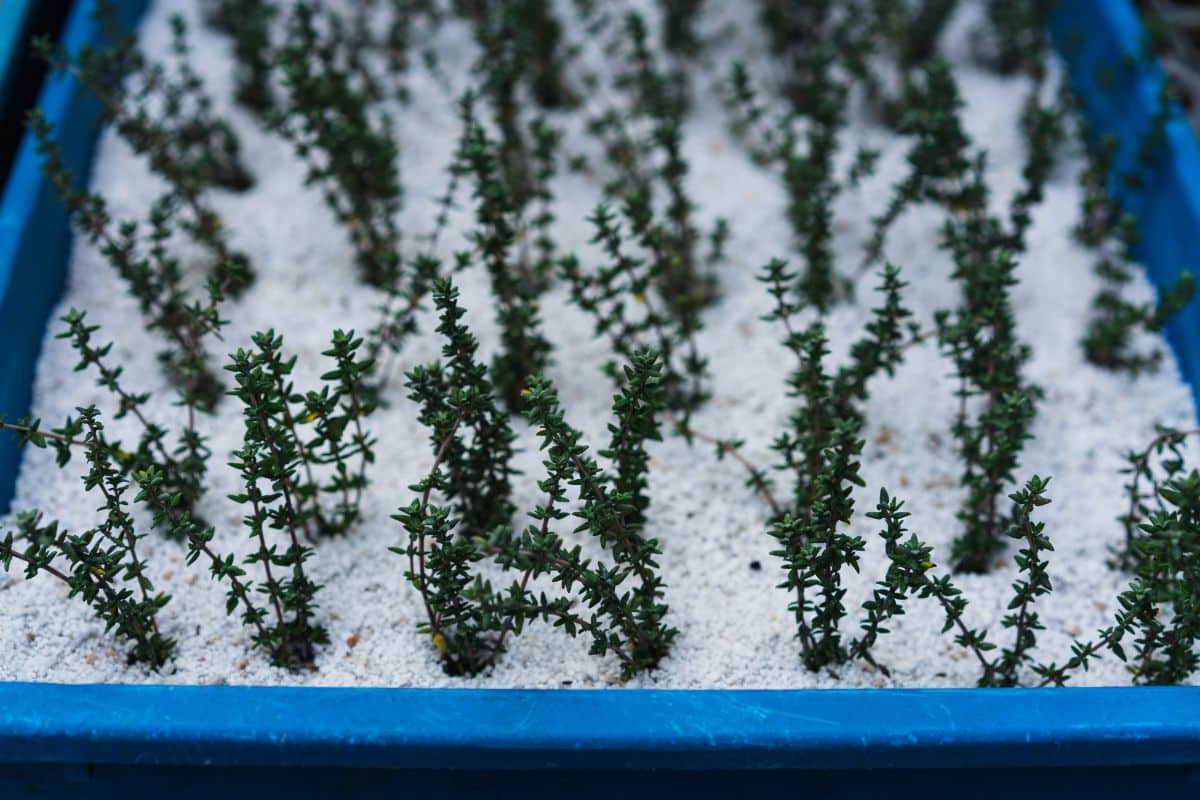
Thyme is cooperative to propagate. New thyme plants can be grown easily from cuttings. Thyme can also be started from seeds, which is an inexpensive way to begin your thyme empire if you are looking to grow a lot of plants. 200 seeds can be purchased for about five dollars and sprout reliably in ¾-inch soil blocks or 72-cell packs.
How To Grow Thyme From Cuttings
To grow new thyme plants by taking cuttings
- Select a stem about 3-4 inches long. Snip it with clean scissors or secateurs.
- Gently remove the leaves off the bottom 2-3 inches of stem. The rest of the leaves can remain if they are small.
- Proceed to the directions below for rooting in water or in another medium.
If rooting in water
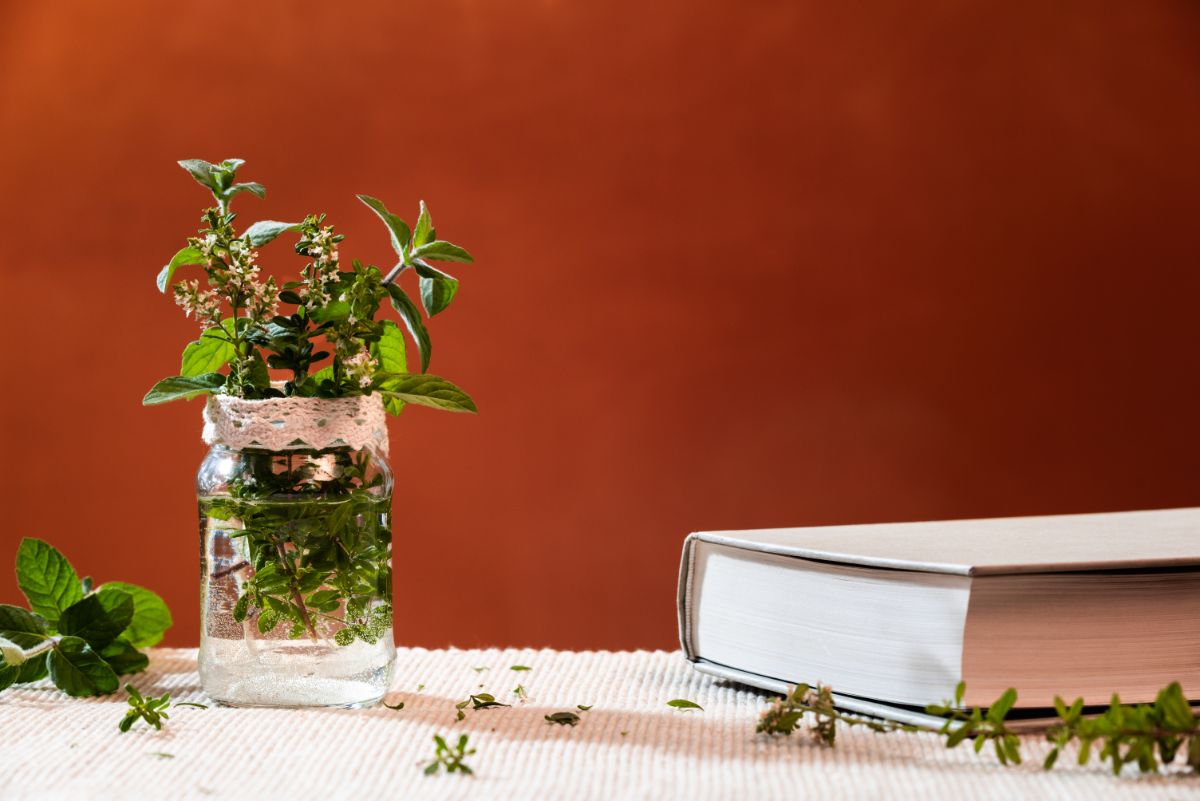
- Place the new cuttings in a glass jar or container with clean, non-chlorinated water. No leaves should be underwater.
Tip: If your tap water is treated with chlorine, you may need to use another source or let your water sit on the counter for 24-48 hours to allow the chlorine to dissipate. You can also boil it for 15 minutes if you are in a hurry, but don't forget to let it cool.
- Keep the jar in a brightly lit and warm spot out of direct sunlight. Change the water if it starts to develop any color.
- Roots will grow in 1-3 weeks. Watch for solid white roots about an inch long.
- Once your cuttings have strong roots, pot them up in moist potting mix in small pots. Four-inch rounds or squares will work fine. Grow them for two weeks in their pots and then harden them off. Transplant them to their new larger containers or into the garden (after the last frost, please).
If rooting in soil or another medium
- Fill a small container or pot with a well-moistened seed starting mix, potting soil, or other media such as rock wool or damp sand. 50-cell trays or 4-packs work well for this, but any small container with drainage will do.
Multiple cuttings can be 'stuck' in one container to get started. Use whatever is at hand as long as there are holes for drainage.
- Poke a hole into the medium for your cutting. A stick or pencil will work fine.
- Moisten the end of the stem and dip it in a rooting hormone. General purpose hormone is strong enough; no need for the big guns here.
- Place or 'stick' your cuttings. Firm the medium around the stem and place it in a bright location out of direct sunlight and wind.
- In 4-6 weeks, you can check the progress of your new plants' roots by gently giving the stem a little tug. If there is resistance, your thyme cutting has grown roots and is ready for potting up.
Allow your young thyme plants a couple of weeks to start putting on new growth, then harden them off before planting them outside.
How To Grow Thyme From Seed
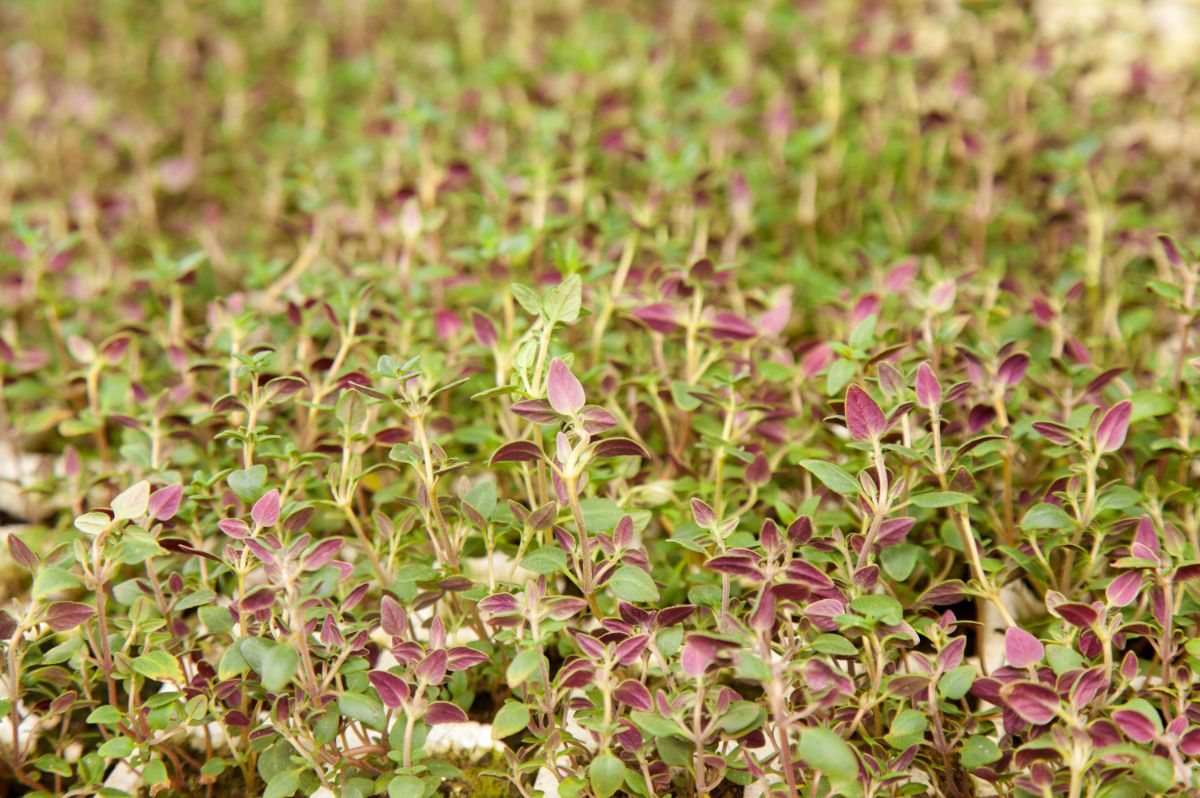
Some people have trouble growing thyme from seed, but it isn't too hard. Like any other seedlings, they must be carefully watched and cared for during this tender stage. When selecting seed varieties, you have a few more choices.
The most common thyme planted for kitchen use is Thymus vulgaris, which can be further divided into two main varieties: summer or English thyme and German or winter thyme.
Summer thyme is often more aromatic and is a smaller plant with smaller leaves. Winter thyme is larger, with slightly more broad leaves, and is more tolerant of cold winters.
Other varieties available include an excellent ground cover plant, creeping thyme (Thymus serpyllum), and unique fragranced types like lemon or caraway thyme.
To start thyme from seed
- Prepare your seed starting medium and trays. Any potting or seed starting mix is fine. Fill the tray or cell packs with well-moistened soil. It should be damp but not wet.
Tip: Thyme starts well in soil blocks, as do other 'hard' to germinate seeds. If you are looking for an excuse to take the plunge and buy a soil blocker, starting herb seeds might be it. Rosemary, oregano, and sage all start easily in soil blocks too.
- Thyme seeds should be planted on the surface and lightly covered in soil or perlite. Sow 2-3 seeds per unit, then thin to one per unit after germinating. They need light to germinate.
- Once they have sprouted, place them under lights or in a sunny, protected, warm location like a greenhouse.
- Keep the soil moist. Don't let it dry out; your seedlings are sensitive to dry conditions. Remember, they are not drought tolerant until they are mature.
- When they have 4 true leaves, they are ready to pot up into a larger container. When they are about 4-6 inches tall and have good leaf growth, harden them off and plant them outside, again, only after the last frost.
- Pinch the tips (except on groundcover varieties) to make the plant develop a bushy form.
Dividing Thyme Plants
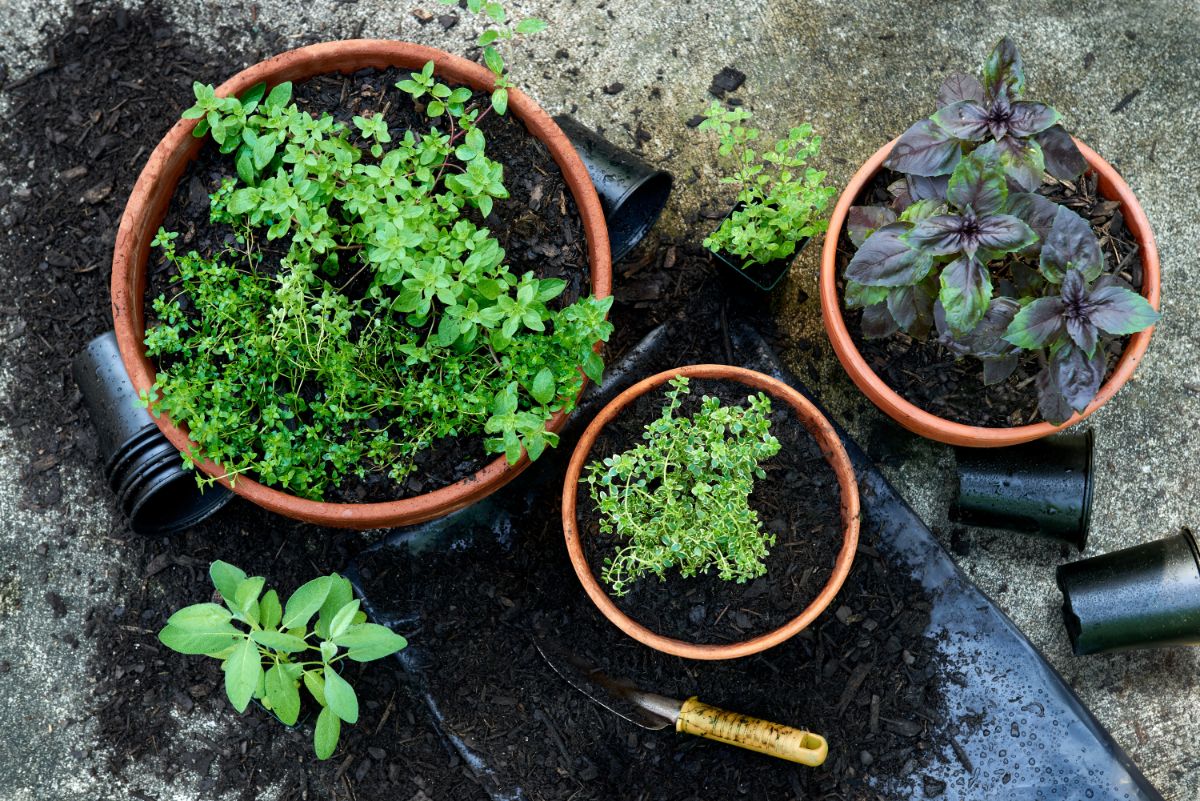
Winter thyme is a perennial in about USDA zones 4-8. Summer thyme is usually hardy in zones 6-8. However, I have enjoyed thyme that survived my zone 3B winter. Creeping thyme can also be divided to aid in establishing groundcover more rapidly.
Eventually, thyme may become woody, shrub-like and less aromatic. By dividing it, you can refresh it and enjoy even more thyme plants. Thyme can be divided in spring or fall.
The instructions below are for spring, but the process is the same. If dividing in fall, do so at least 4 weeks before cold weather and frost set in to allow the plant to grow new roots.
- In spring, once the new shoots have started to poke up, clear away all leaves, old stems, and mulch.
- Dig around the plant using a soil knife or garden trowel to loosen it. Lift the entire plant and rootball out of the soil.
- Break or cut the rootball into several new plants. Use your soil knife, an old kitchen knife, or your spade. Each new piece should have a good hunk of roots and several healthy, undamaged shoots. You can likely divide one mature thyme plant into 3-4 new good-sized plants.
- Transplant young thymes to their new sunny homes in your garden, or pot them up, give them attention for about two weeks and give them as a gift.
Tips for Growing Thyme

Thyme grows well in year one but, like many perennials, will take off in year two. Remember that perennials follow the sleep, creep, leap growth pattern for their first three years. After that, many have reached mature size.
- Harvest frequently. Thyme will continue to bush out and grow more prolific when harvested. Always leave about six inches left on the plant.
- Harvest before flowering unless you are allowing some flowers to bloom for pollinators.
- Thyme likes to be a little on the dry side. Mediterranean soils where thyme grows native are drier, a bit stony, and often less fertile. A little compost in spring is fine, but don't give it the premium spot in your garden.
- Give it full sun. Thyme will grow fine in that warm, sunny, somewhat dry spot you have on the south side of the house or garage.
Growing Thyme in a Container
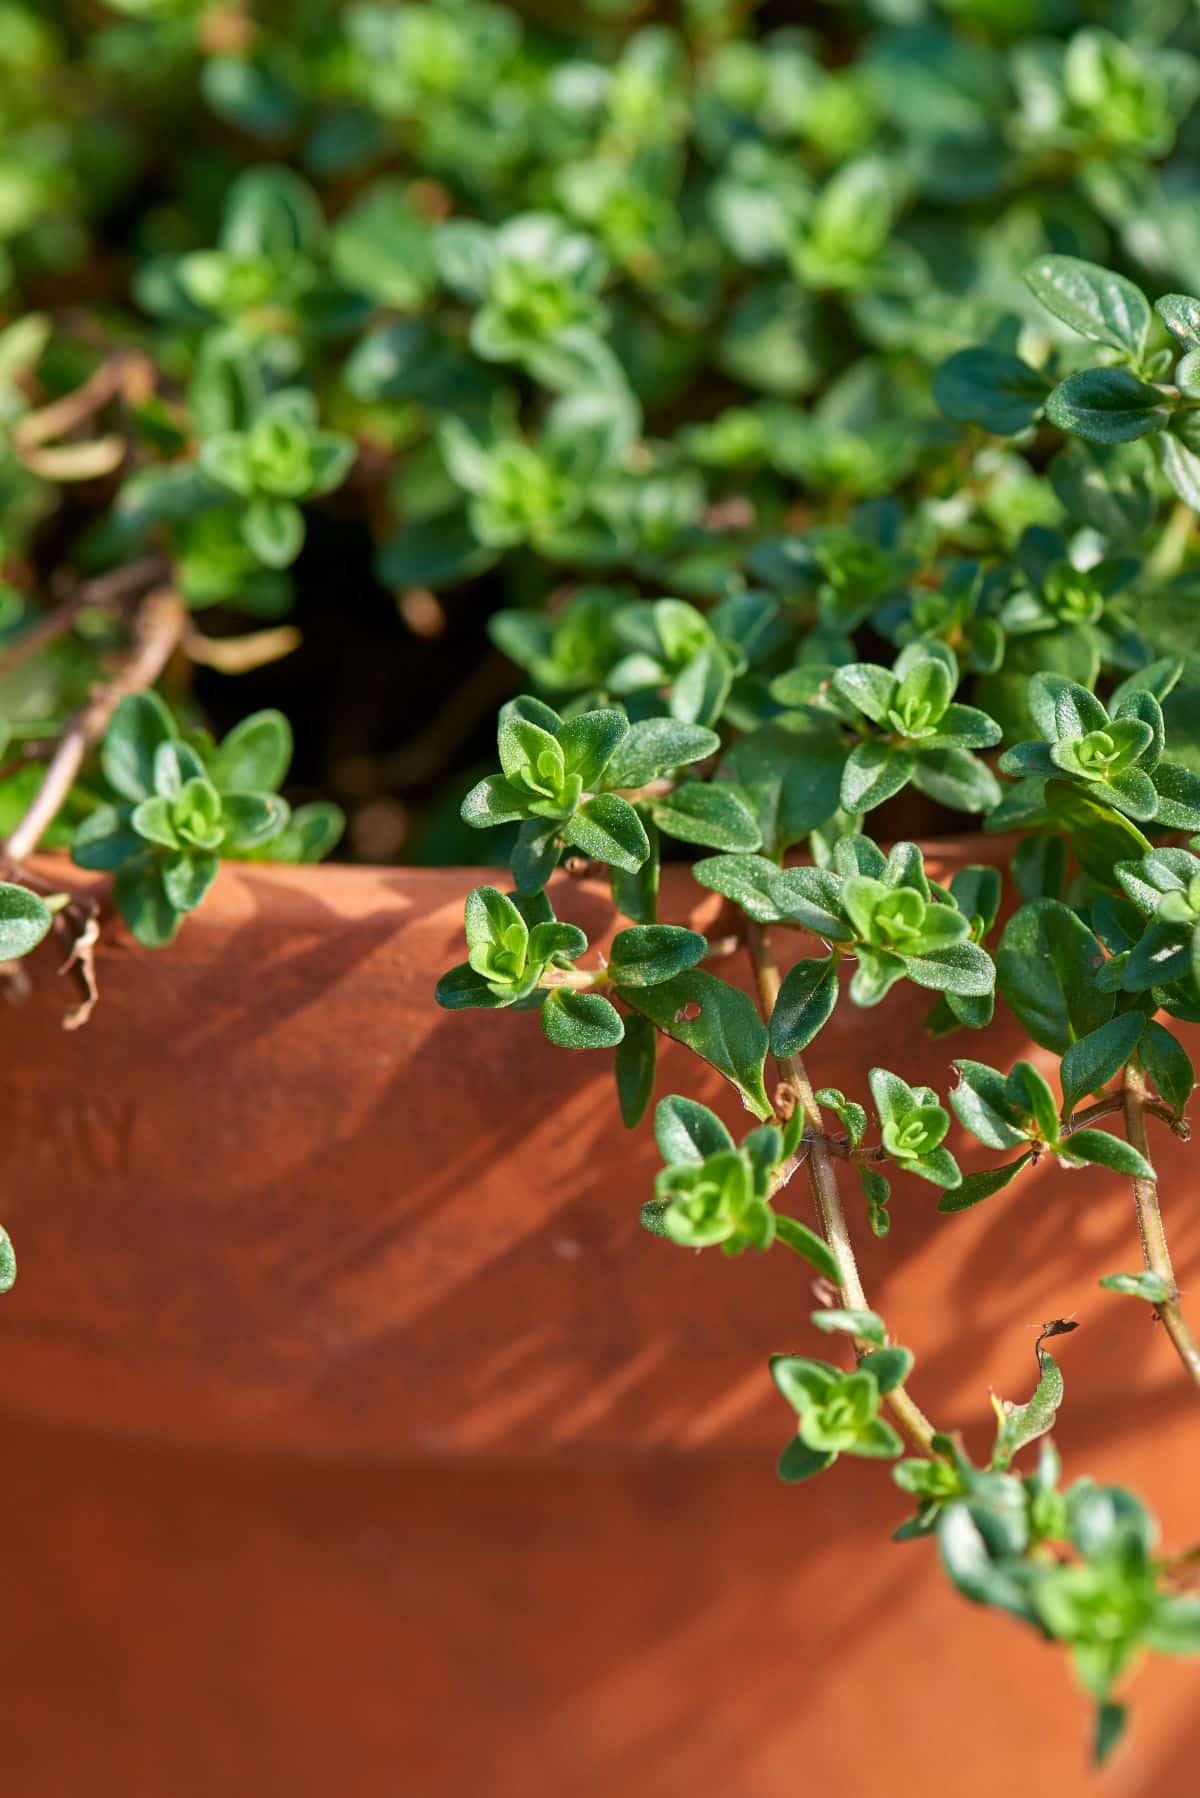
Thyme is an excellent potted plant. In fact, a terra cotta pot overflowing with thyme is easy to achieve and makes you look like a garden master.
Whether terra cotta or another material, choose a container with excellent drainage. Use average, well-draining soil, and set it in a spot with at least six hours of sunlight. Add some perlite to help with drainage and prevent compaction.
Drying Thyme
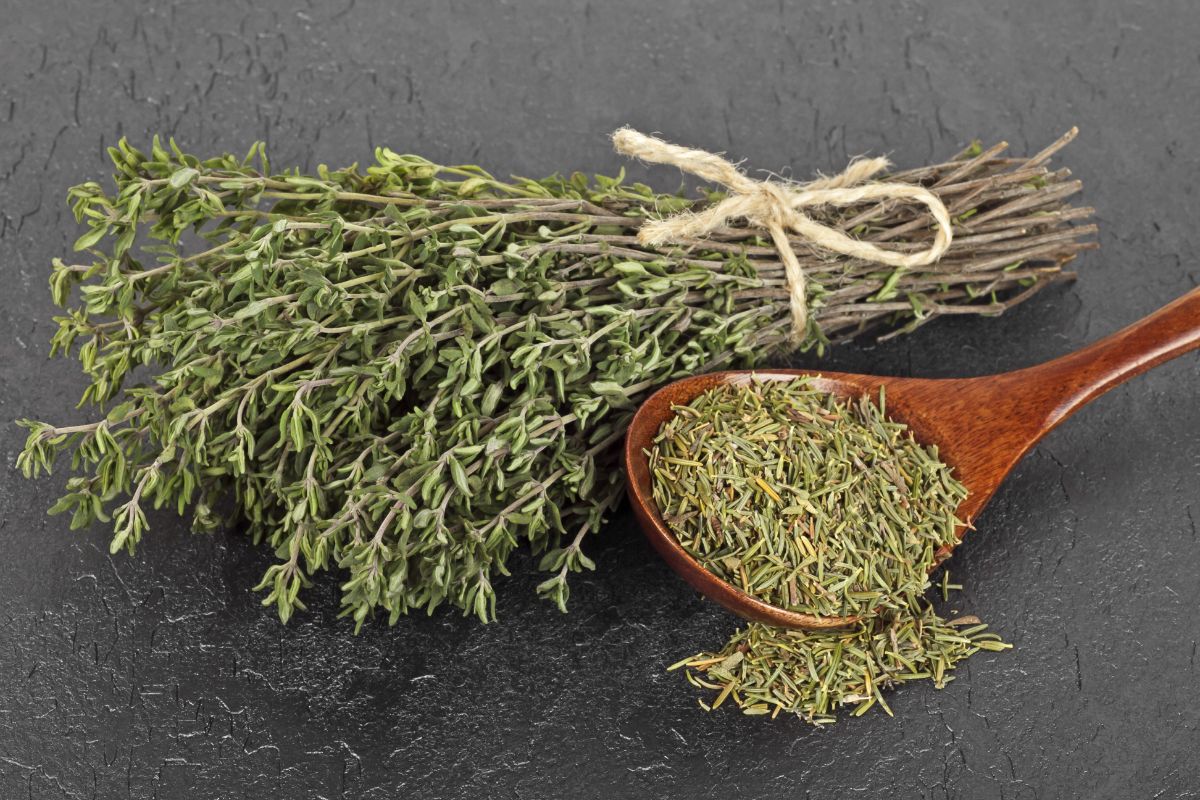
Dry extra thyme by tying it in a bundle with some string and hanging it upside down in a dry, warm location. You can also use a food dehydrator or even lay it on screens and place them in the sun. Once dry, rub the leaves off the stems onto a sheet of wax paper and funnel them into a container for later use.
Do you love thyme as much as we do? Share your favorite way to use thyme in the comments below.



Leave a Reply