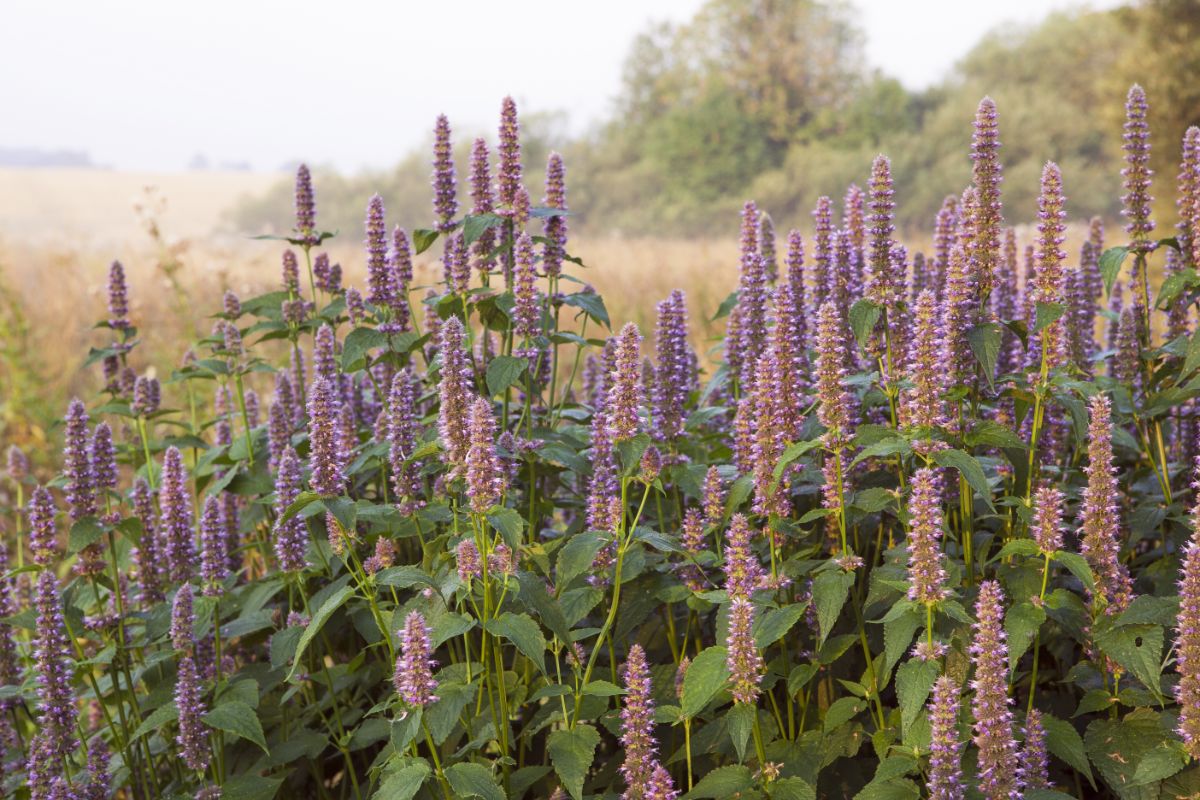
A native wildflower of North America, this easy-to-grow flower is a staple for perennial gardens and flower beds. Like many native plants, it is easy to grow and care for. Learn how to propagate anise hyssop and fill your garden bed with color and fragrance.
Jump to:
About Anise Hyssop
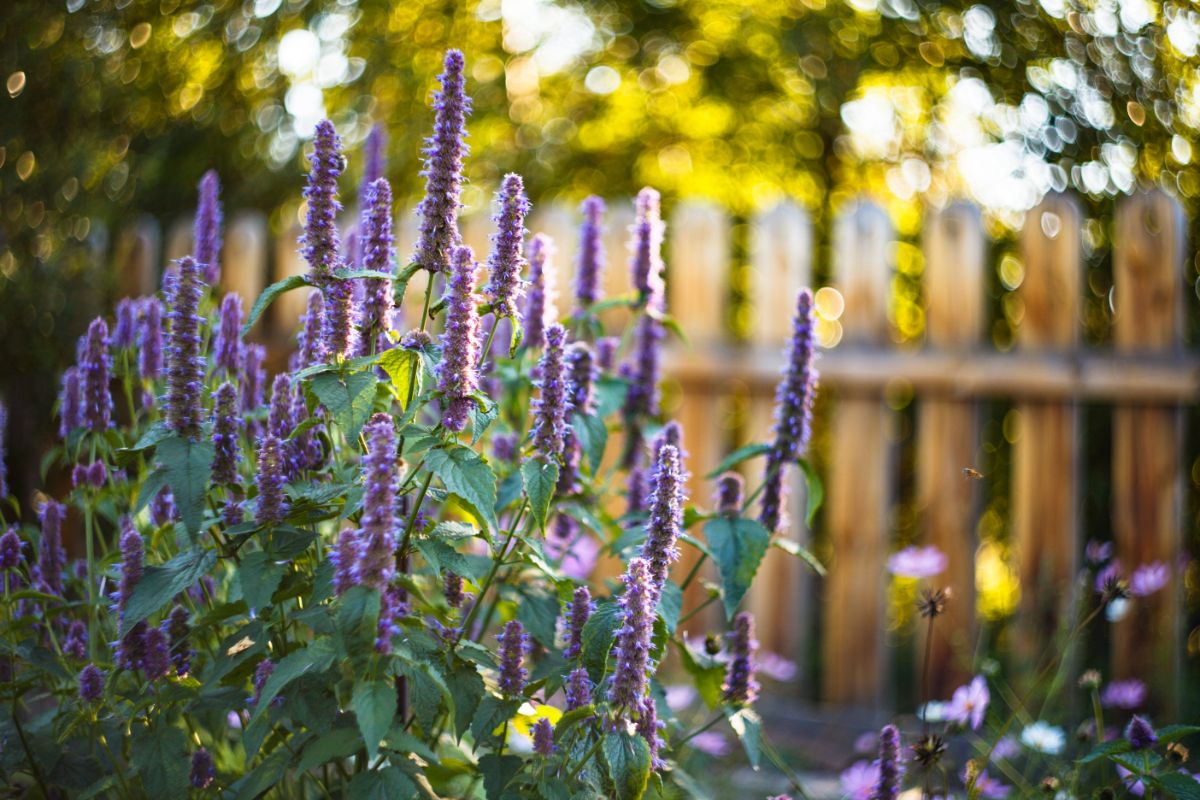
Anise hyssop is commonly also called giant blue hyssop, fragrant giant hyssop, and lavender giant hyssop. Okay, hyssop is just fun to say. Botanically, its name is Agastache foeniculum, which is not nearly as fun as hyssop.
It is not to be confused with the European plants of the genus Hyssopus. Anise hyssop is a member of the mint family, Lamiaceae.
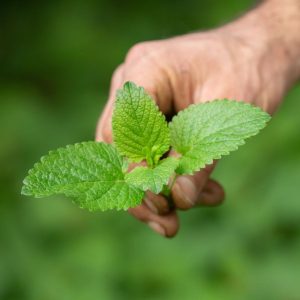
Anise hyssop has fragrant foliage that smells like licorice (anise). The leaves are commonly used in herbal teas and as a flavoring for jellies and eaten fresh as a garnish on salads. They can also be dried for use as potpourri.
Flowers are tall, cylindrical spikes of florets and range from white, lavender, and periwinkle to deeper blues and purples.
A herbaceous perennial, anise hyssop is native to the prairies and dry woodlands of northern North America and is found in the prairie states. It is hardy in USDA zones 3-8 and may be seen as warm as zone 9. It is deer-resistant, but rabbits may cause problems.
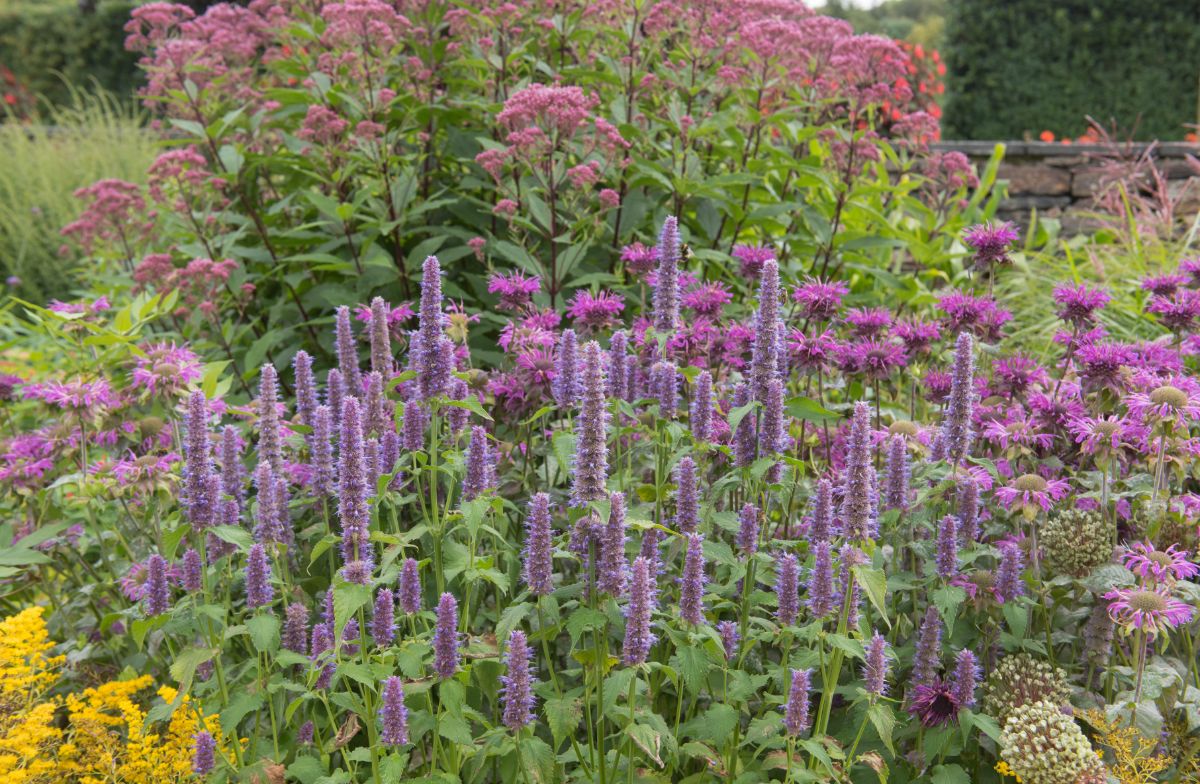
Anise hyssop is clump-forming, with mature plants reaching 2-4 feet in height and 1-3 feet in width. It is beloved by pollinators, especially native bees, butterflies, and even hummingbirds. Plant en masse in meadows and prairie patches or use as large swaths of color in perennial borders and cottage gardens.
Ways to Propagate Anise Hyssop
Anise hyssop is easily grown from seed and is also easy to propagate by dividing and replanting rhizomes. Self-seeded “volunteers” can also be transplanted. Sterile hybrid varieties can be reproduced with summer stem cuttings with some success.
Perennials grown from seed often won’t flower during the first year–but anise hyssop frequently does.
How To Grow Anise Hyssop From Seeds
Like many native perennials, anise hyssop seeds will germinate better if cold-stratified. Ideally, you’ll want to plant the seeds about 4-6 weeks before your last frost in spring, so count back another month (for a total of 2-2.5 months) to know when to begin the cold stratifying process.
- Mix the seeds with a bit of damp sand or vermiculite in a plastic sandwich bag and place in the refrigerator for about thirty days. Use about equal parts sand and seeds. Label the bag with the date they’ll be ready and what they are. If seeds start germinating in the bag, plant them immediately, and don’t wait any longer.
- After stratification, sow seeds in cell packs, trays, or soil blocks. They need light to germinate, so just press them firmly into the soil with your finger. Don’t bury them. Add a very light dusting of soil or vermiculite if you wish.
- Mist the top of the seedling/starting mix to keep it damp. Cover with plastic or a humidity dome to prevent it from drying out.
- Place seed trays under lights in a warm location. Germination can take 1-4 weeks.
- Water from the bottom.
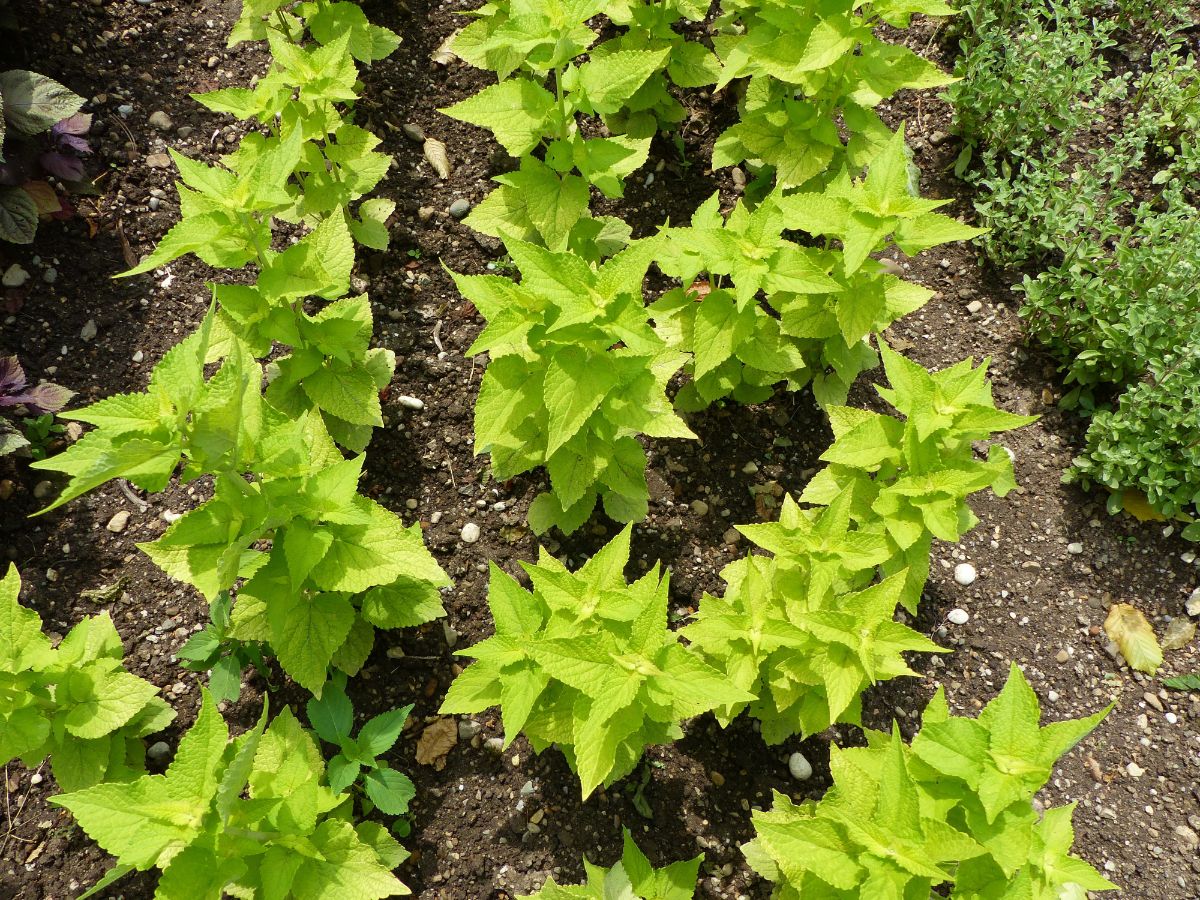
- Anise hyssop seedlings are ready to transplant once they have a pair or two of true leaves. Remember to harden them off before planting outside.
If you prefer letting nature do the work, direct sow your anise hyssop seeds in a prepared, weed-free bed in the late autumn. Lightly dust with soil to hold them in place. The damp and cold of winter and snow will do the stratification for you.
How to Propagate Anise Hyssop by Root Division
Anise hyssop can be easily propagated by root division. Dividing this perennial every few years will keep it from getting hollow at the center and provide you with a supply of new plants. Large planters purchased from a garden center can also be divided before planting. Two plants for the price of one?
Many gardeners divide their perennials in the spring so the plants can take full advantage of the growing season. However, you can also divide anise hyssop in the early fall. Four weeks before your first frost is about the latest; you’ll want to divide your plants so they can become established prior to going dormant.
To get started:
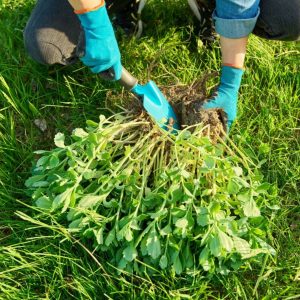
- Gently dig around the base of the plant and loosen the root system. Try to keep it as one intact ball. Get as deep as your spade will reach.
- Remove the entire plant from the hole.
- Use a soil knife or garden spade to divide the root ball in half, leaving good numbers of sprouts on both pieces. If your root ball is large, you can cut it into thirds or fourths.
- Transplant these new plant-root pieces to their new home in the garden, planting at the same depth as before. Don’t bury them too deeply.
- Give your new anise hyssops plenty of attention during the first few months. They were drought-tolerant when they enjoyed a fully developed root system. However, they will need some watering now until they are re-established.
Throughout the summer, you may notice new sprouts popping up at the edges of an established plant. If these are connected to a rhizome (not a volunteer from seed), you can remove the soil with your hands, follow it, and cut it, lifting the rhizome, some roots, and the new plant together for transplanting.
For best results, allow the new sprout to become established with a developed root system before moving it. Of course, seed volunteers can be transplanted as well.
Tips For Growing Hyssop
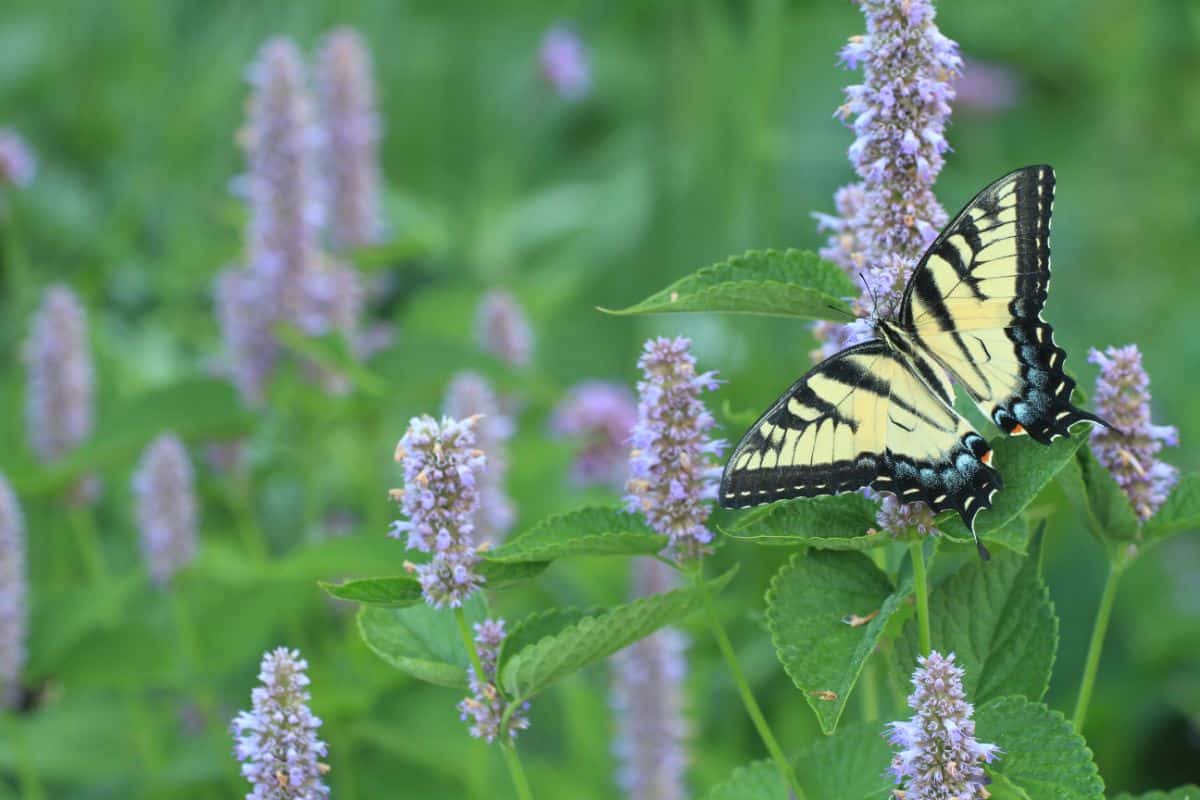
Soil, Sunlight, and Fertilizer Needs of Hyssop
- Anise hyssop needs good drainage. They will tolerate various soil conditions but will not handle heavy soil or wet feet. Remember, they are native prairie plants.
- Anise hyssop doesn’t need fertilizing. Work in some compost before planting, and top dress with finished compost every two years.
- This plant likes a full, direct 6-8 hours or more per day of bright sun. They will be okay with 4 hours of sun but less vigorous. Avoid the full shade.
- Dead foliage and stems can be removed in the fall, winter, or early spring. Deadheading will encourage re-blooming, but you may want to leave a few flower heads for the birds or re-seeding.
- Anise hyssop may suffer from powdery mildew or root rot in damp conditions. The moisture remaining on the leaves from rain or overhead irrigation encourages these problems. Keep some spacing to promote air movement. Using drip irrigation will mitigate the risk.
- If you only have access to overhead irrigation like a sprinkler, water in the morning so the leaves dry quickly and avoid watering in the evening or at night when cooler temps allow damp conditions to persist on the foliage.
Avoid These Common Mistakes When Growing Anise Hyssop In Containers
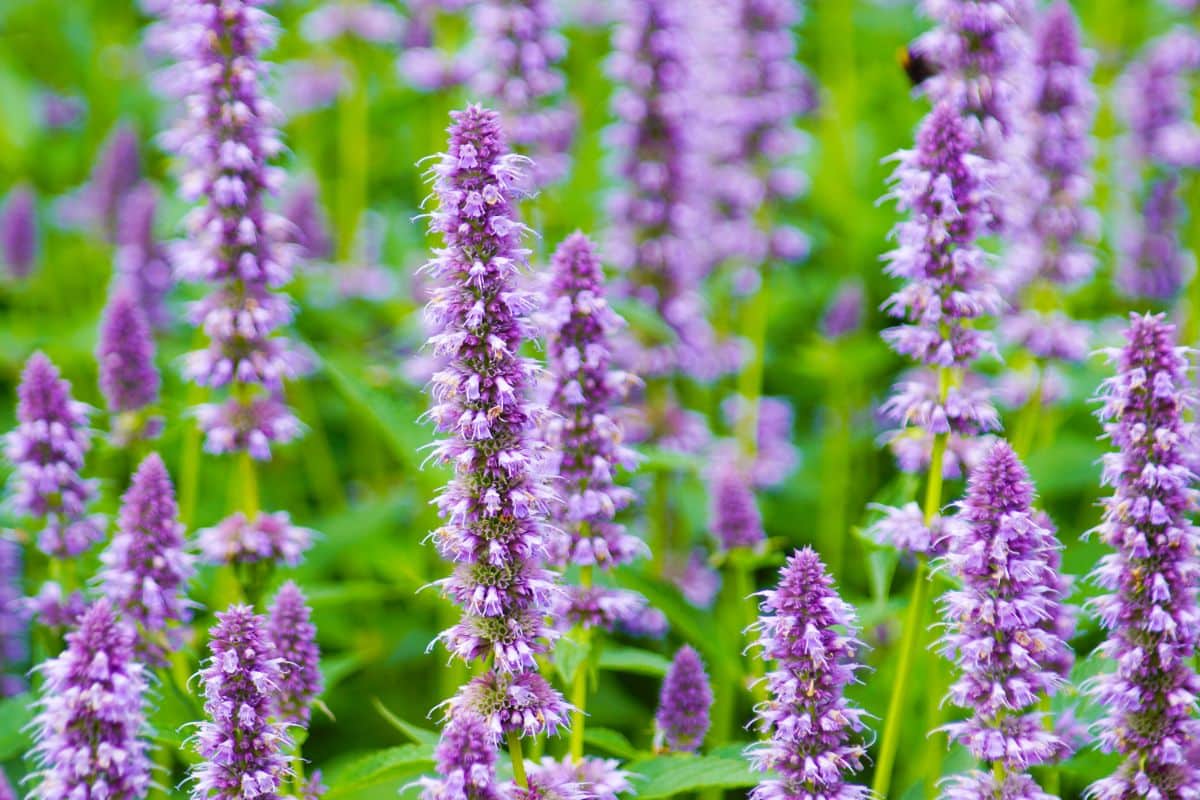
Foeniculum grows well in containers, so those with limited-space gardeners can enjoy these native flowers. Their long bloom time and pollinator attraction make them a great addition to a patio garden.
- Don’t forget to water: soil in pots and planters can dry out faster. Anise hyssop is drought tolerant but can still suffer in a dry container. Give it a deep drink whenever the soil feels dry a couple of inches down into the planter.
- Over-fertilizing: this prairie native doesn’t need to be “fed” every week. For containers, slow-release fertilizer in spring or a diluted dissolved fertilizer once a month will be sufficient. They may not need anything if adequate compost is mixed into the potting soil.
- Sunlight: many patios and balconies receive sun for only a couple hours per day, which may not be enough for your anise hyssop to thrive.
- Alternatively, a dark-stained deck can get excessively hot. If your plant is wilting every afternoon, try moving it to an area where it receives morning sun and afternoon shade. If it is slow-growing and leggy, try more light.


Leave a Reply