Giving your seed garlic a simple soak before planting can boost the harvest results significantly. This simple two-step soak will do three things:
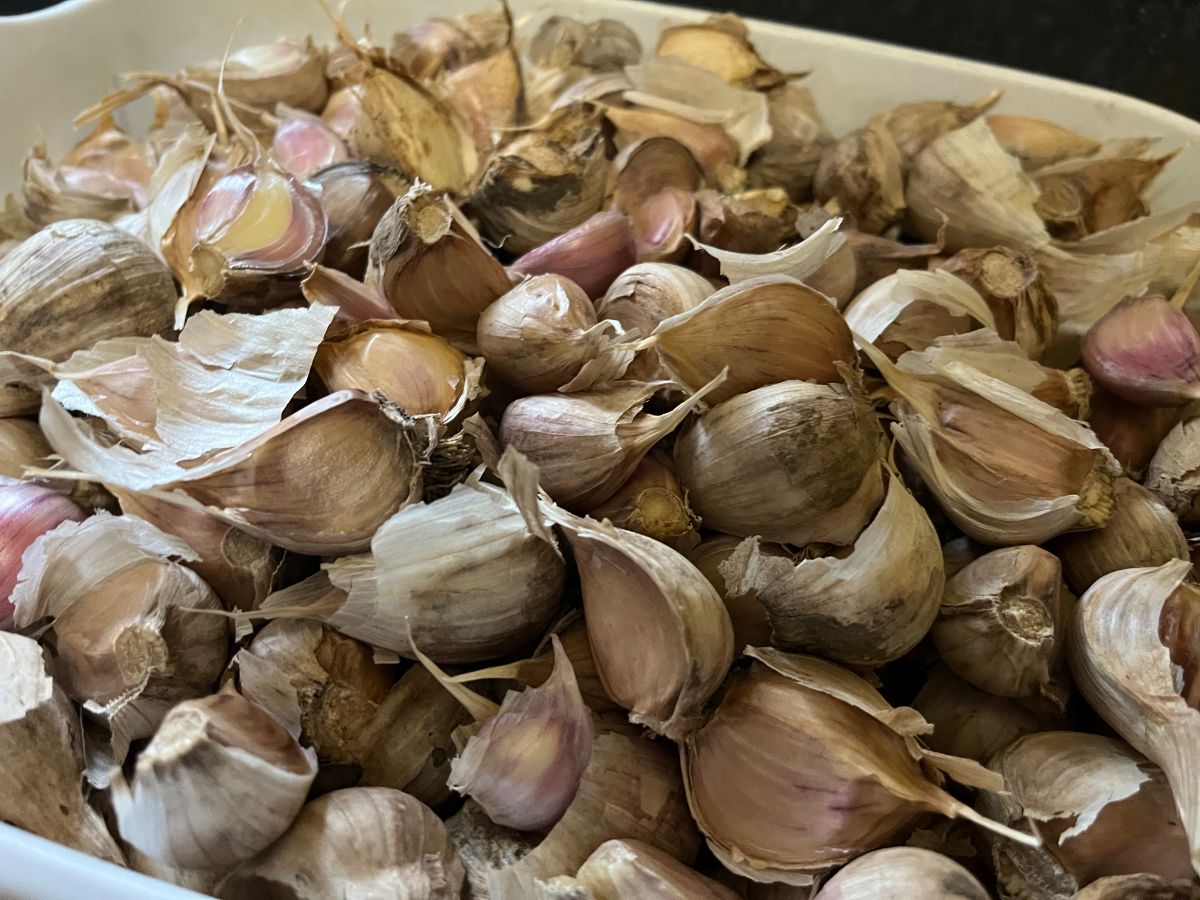
- Disinfect your garlic cloves to kill off any fungal spores or pathogens that can result in rotting cloves or bulb and plant disease.
- Give your garlic a nutrient boost, so your cloves grow bigger roots faster and, as a result, bigger plants and bigger heads of garlic.
- Set the stage for stronger plants that will be more disease-resistant and better able to deal with or fight off disease and environmental stress—because stronger, healthier plants can overcome disease pressure much better, meaning that you won’t have to interfere as much (or at all) with sprays or treatments during the growing season.
These soaks are not hard to do. They take only an extra hour or two of your time, but the results are well worth it.
Here’s how it’s done:
Jump to:
What You’ll Need to Pre-soak Your Garlic for Planting
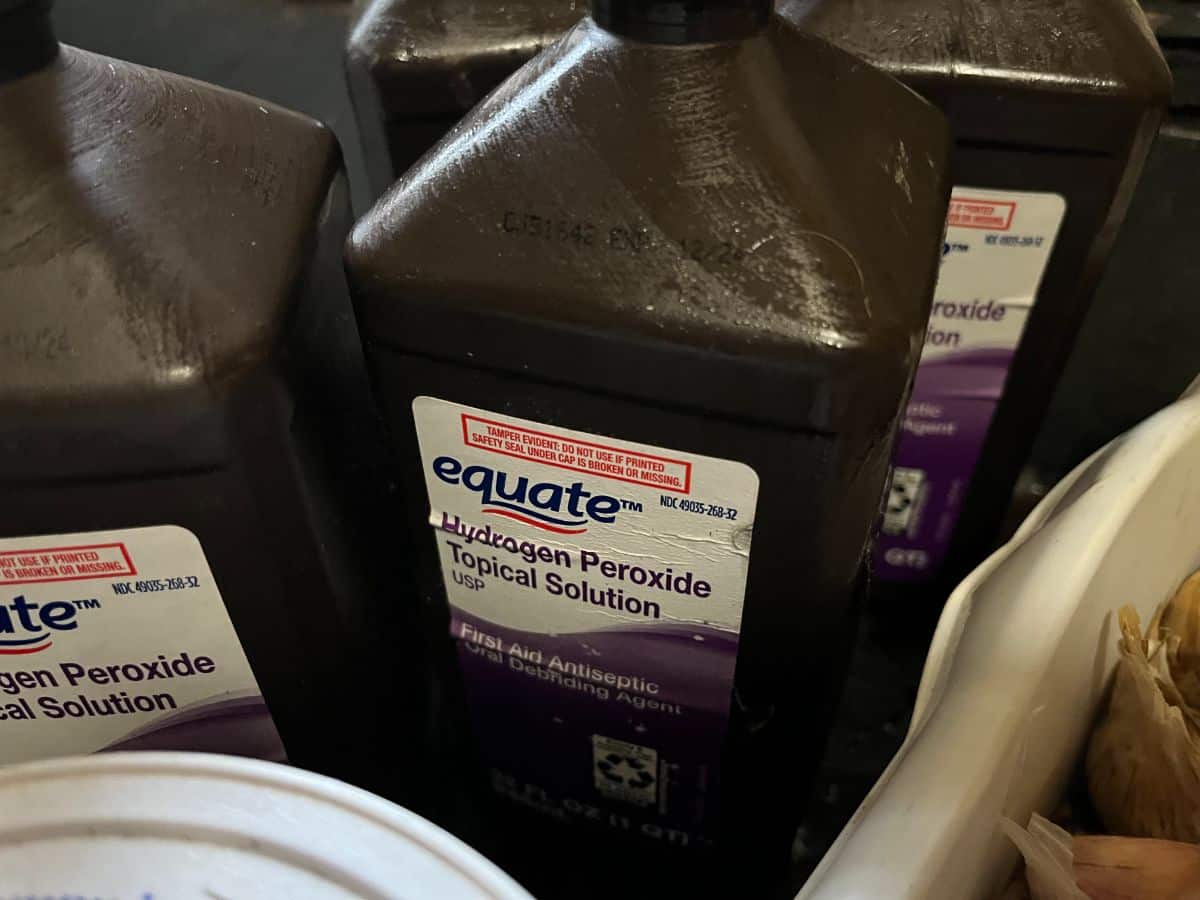
This pre-planting soak is based on recommendations from Keene Organics Company, a leading seller of quality organic seed garlic.
You will need:
- Hydrogen peroxide (or *another disinfecting agent—see options below)
- Buckets or basins for soaking cloves
- Water soluble all-purpose plant fertilizer (granules, liquid fertilizer concentrate, kelp meal, or fish emulsion fertilizers are all good options)
- Baking soda
Hydrogen peroxide is usually readily available at pharmacies and grocery stores, and it’s cheap, but you can also use alcohol. Other options are:
- Rubbing alcohol (isopropyl alcohol)
- Vodka (so if you have a bottle of vodka that you hate just sitting around gathering dust, this could be a good way to use it up!)
You can reuse the disinfecting agent several times if you have a large volume of garlic to soak. If you are using peroxide and you notice that it does not seem to be bubbling or appears to be less active, replace it for the next batches. For most home gardeners, a few bottles should be enough.
You will need enough fertilizer solution to cover the whole batch, which will probably be between one and three gallons of solution.
Keep in mind this is a solution prepared to label instructions. Most fertilizers make several gallons, so a single container should give you more than you need.
First, Do the Disinfecting Soak
To disinfect your garlic cloves before planting:
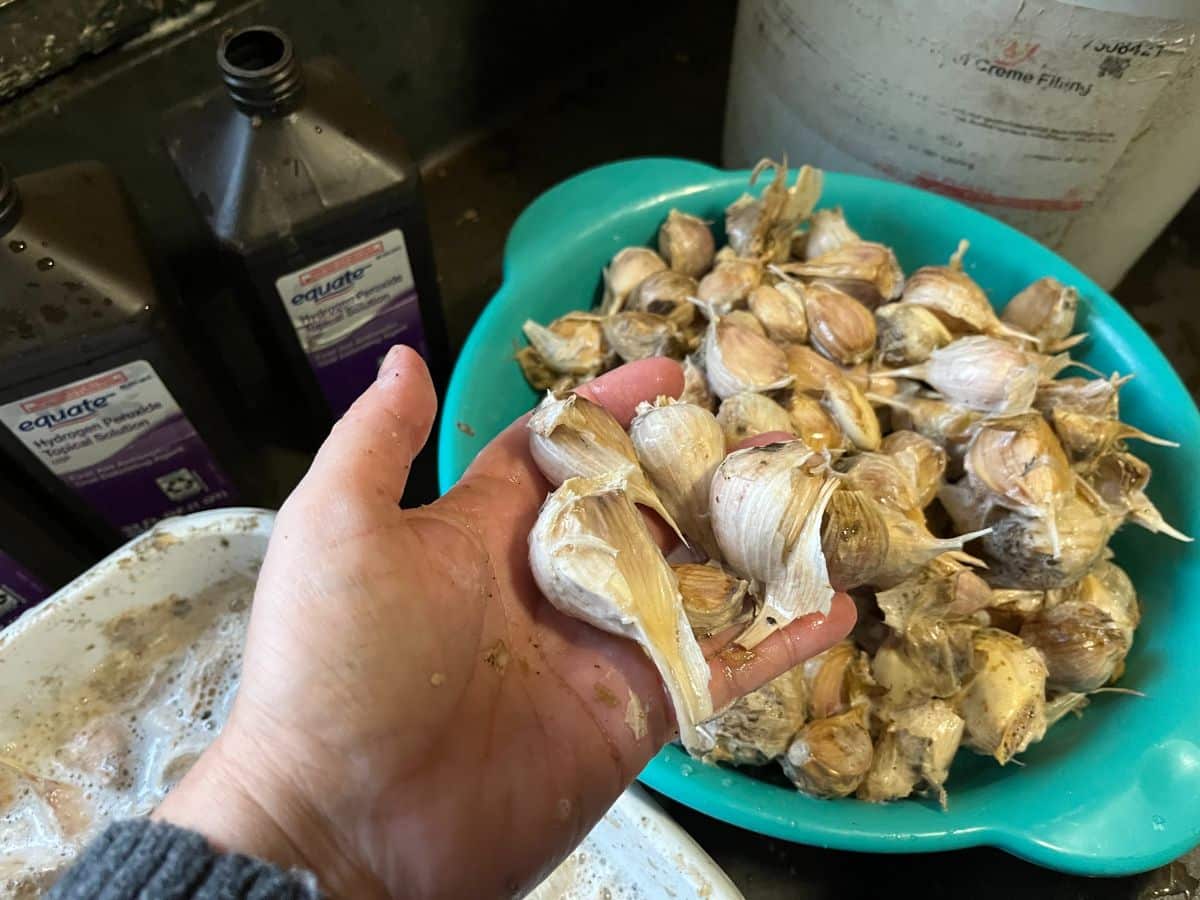
- Separate all your garlic cloves from the heads of garlic.
- Pour peroxide (or your disinfectant of choice) into a basin or bowl. Leave enough space for displacement when you add the garlic.
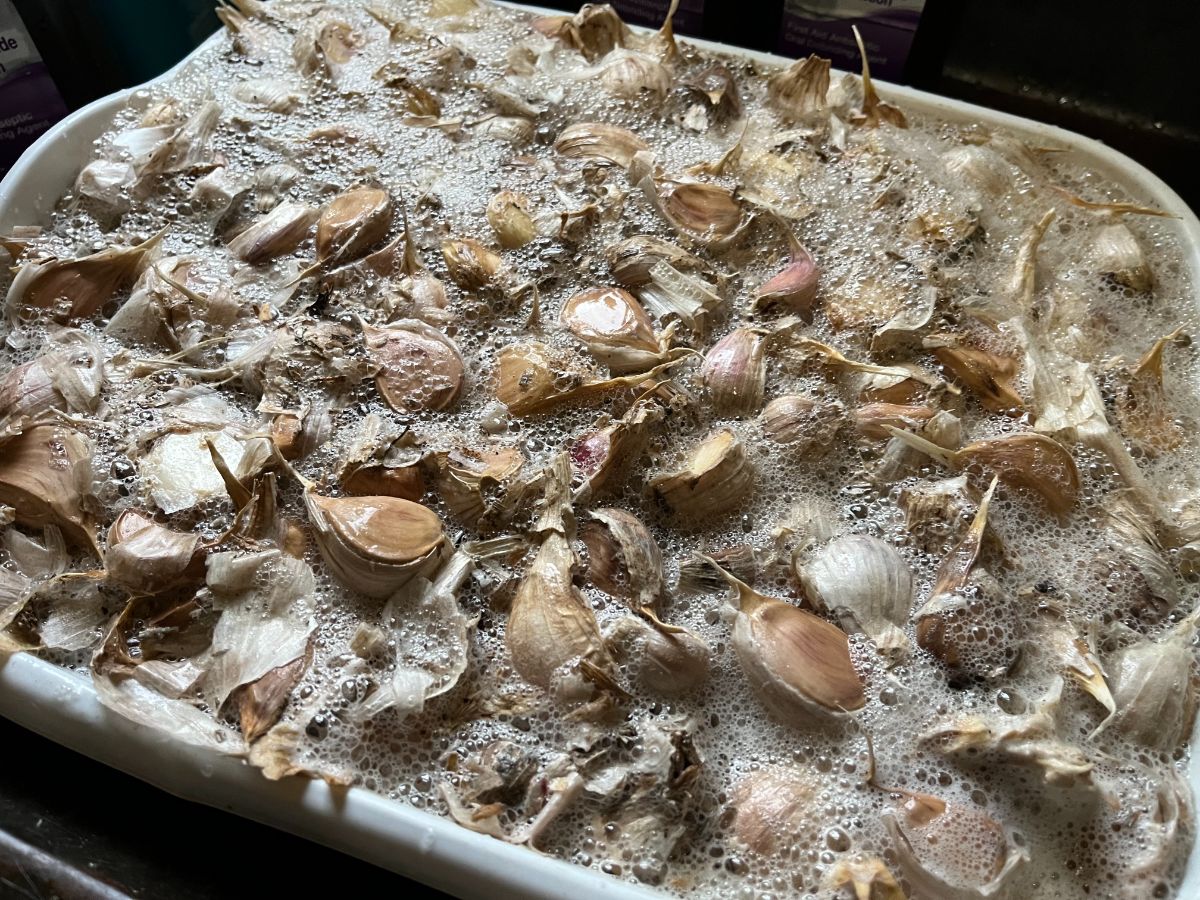
- Put the separated garlic cloves into the peroxide.
- Soak the cloves for 10 minutes. To save time, you can prepare your fertilizer solution while you wait.
- Remove or strain your garlic cloves. (Reserve the peroxide if you need to reuse it for another batch.)
- Move the strained cloves to the fertilizer solution. If your fertilizer isn’t mixed yet, just set the clean cloves aside while you prepare it.
The fertilizer soak is the more important of the two, so if you’re pressed for time or don’t have the supplies, you could soak the disinfecting soak. That said, peroxide and rubbing alcohol are cheap and available. Vodka can be bought in large quantities for relatively cheap, too (naturally, the cheapest vodka will do! No need to waste money on the smoothest tasting or best name brand!).
The disinfecting soak only takes 10 minutes, so it’s not hard to find the time, and if you have 10 more minutes and some peroxide or alcohol, it’s smart to just do it.
Next, Soak Garlic Cloves in Fertilizer
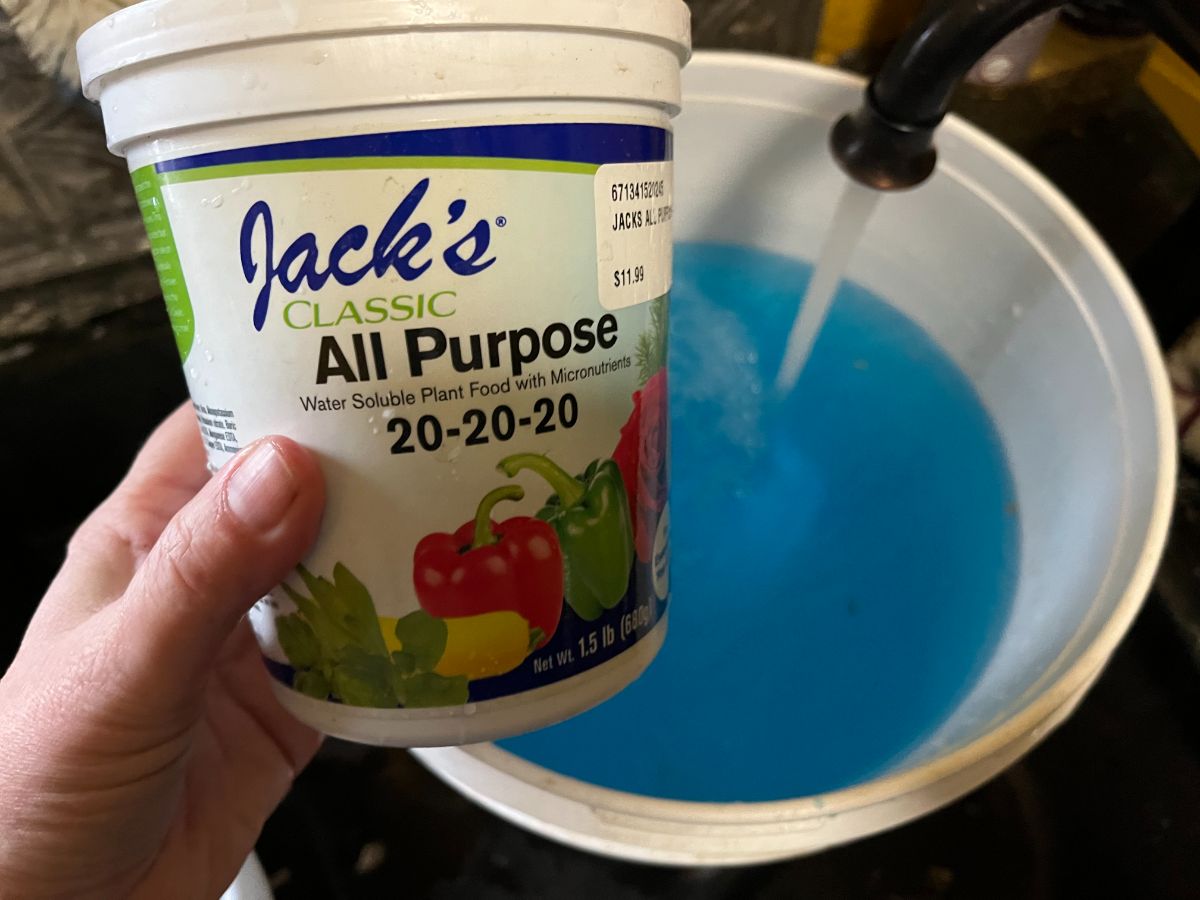
As mentioned above, you can prep the fertilizer while the garlic cloves are soaking in the peroxide or alcohol disinfectant.
To prepare the fertilizer:
- Prepare enough solution to submerge all your garlic cloves and soak them all at once.
- Dilute the fertilizer according to the instructions and measurements provided on the package directions. You can prepare the fertilizer at full strength as if you were using it to water plants.
- For every gallon of fertilizer you prepared, add one teaspoon of baking soda (for example, if you have three gallons of fertilizer and water solution, add three teaspoons of baking soda).
- Add the sanitized cloves to the fertilizer solution. Make sure there is enough fertilizer to cover the cloves.
- Soak the garlic cloves for at least 30 minutes. A longer soak is better. Ideally, soak the cloves overnight or for 8 to 12 hours. You can leave the cloves soaking for up to 24 hours.
- Remove from the fertilizer and plant your garlic as you normally would.
When to Soak and When to Plant Your Garlic
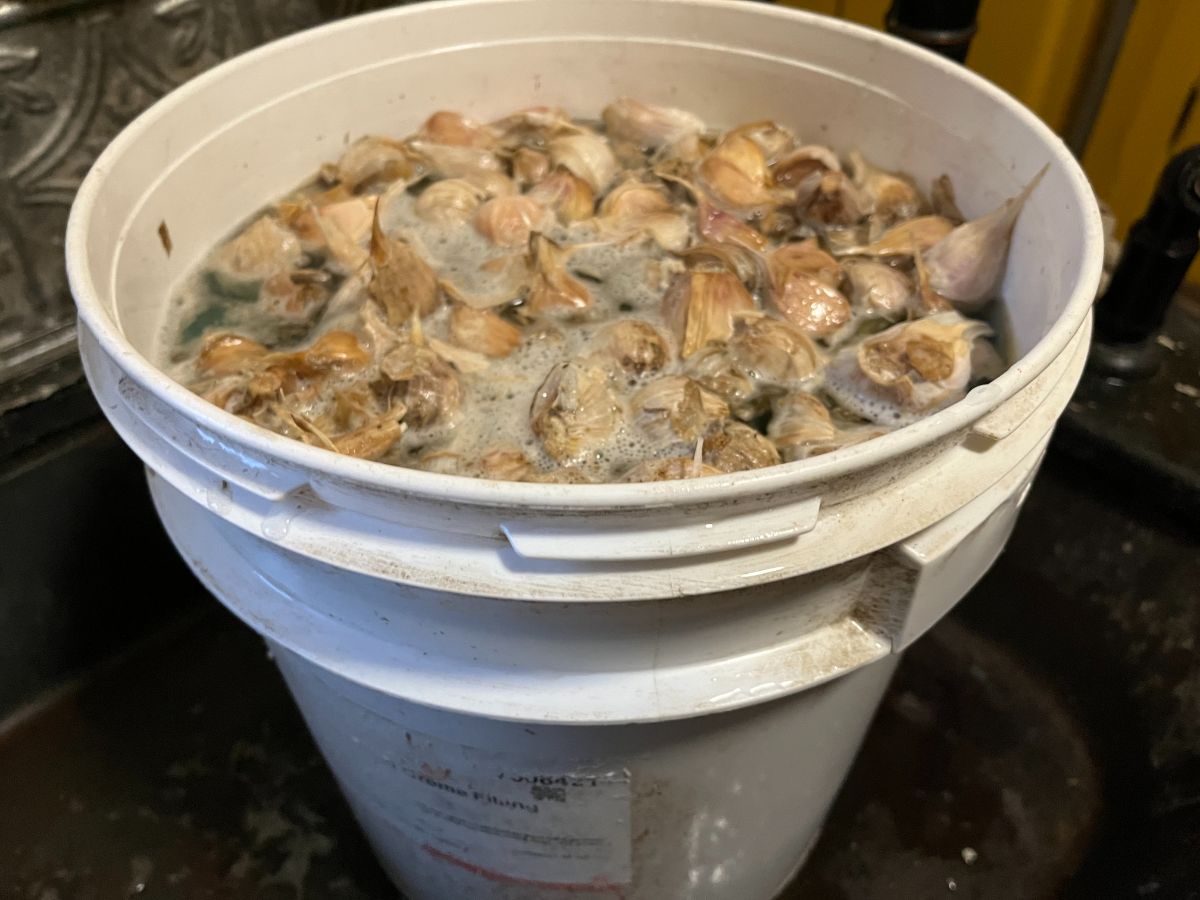
The right time to soak your garlic is in the hours or the day before planting. The right time to plant is after a frost and, ideally, four to six weeks before your ground starts to freeze.
If you missed your “perfect” window for planting, don’t worry—you can plant garlic in the fall as long as you can work your soil (even in frozen soil, so say the experts, though that makes life difficult for you!).
So even if it’s late, and you can dig holes for your cloves (you’ll need to get about three to four inches down), you can plant.
Planting garlic in the very early spring can be an option (though fall planting is much better). The garlic needs to have been cold-treated (such as in a refrigerator) for several weeks before planting.
This soak can be used on either fall or spring-planted garlic. In fact, if you are planting in spring, this soak becomes even more important because the fertilizer triggers fast root growth, and in spring, you’ll need to make up for lost time.
Timing out pre-planting soaking
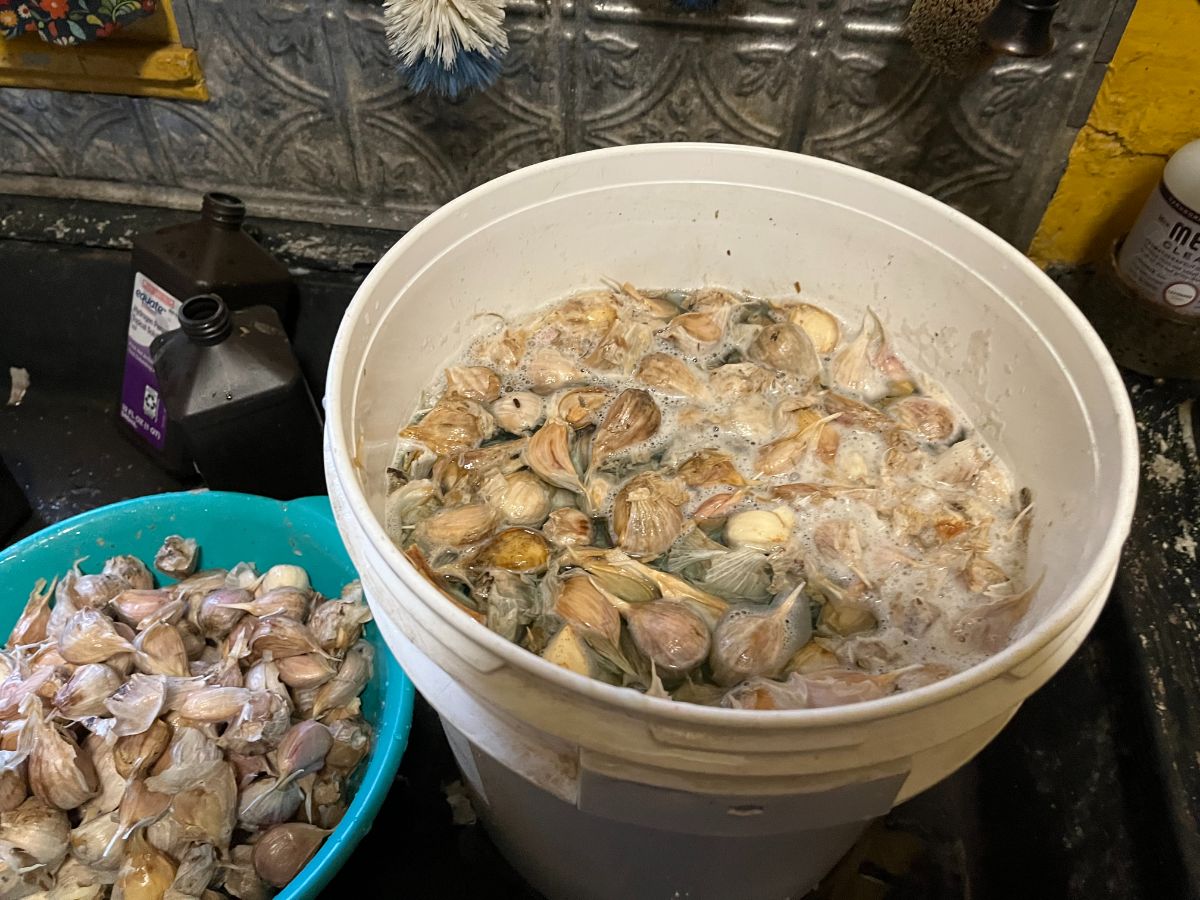
Do the disinfecting soak first, then the fertilizer soak.
Time this so the cloves are soaked and ready to go in the ground when you plan to plant. All told, you want a minimum of an hour for a total soaking time before planting, but if you can plan for overnight, that’s even better.
A good way to time this out is to separate all your cloves the day before you plan to plant.
Do the complete disinfecting soak, then follow that up right after with the fertilizer soak. Let the cloves sit in the fertilizer overnight, then plant them the next day. This leaves you plenty of time to plan and complete the process without rushing or running out of daylight.
That said, if you are pressed for time, even just 10 minutes in the disinfectant and 30 minutes in the fertilizer will give you good results. Hence, if you need to get it all done in one day, that’s easy to do, too.
On the other hand, if you start soaking and something comes up, no worries. You can leave the cloves in the fertilizer for a day or even two.
After two days, the roots can start to grow. You don’t want to break these new roots, so you don’t want to have to soak them for longer than two days.
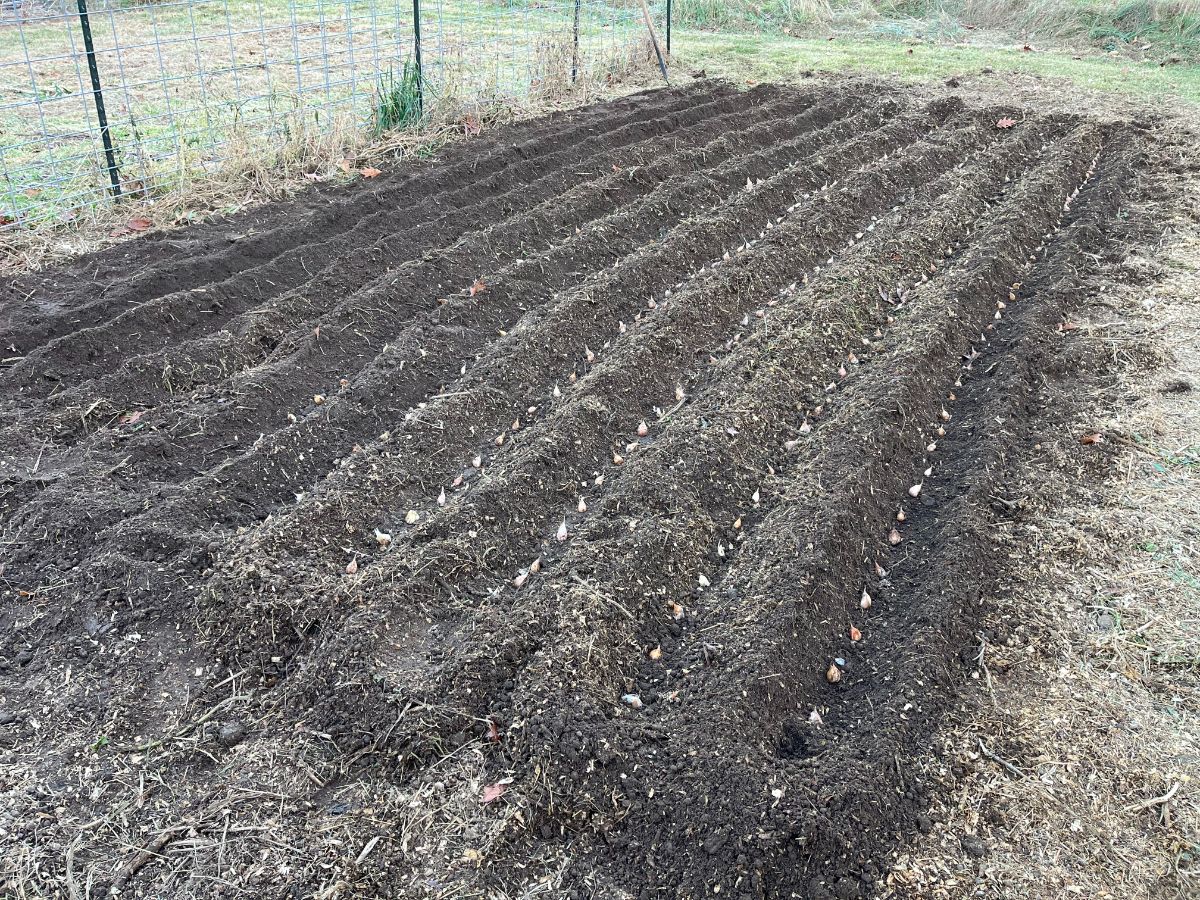
Now that you know how to prep your garlic cloves for bigger growth by pre-soaking, you're ready to plant. If you need a refresher or have never planted garlic before, these articles might interest you:


Leave a Reply