By February most gardeners are starting to get a little antsy, even though for many of us gardening in earnest is still months away, and it’s probably still a bit early for most indoor seed starting.
As ever, though, there’s always something a smart gardener can do—any month of the year. Here are ten of the things smart gardeners are doing in February.
Jump to:
- 1. Bring chilling bulbs in for forcing.
- 2. Repot houseplants.
- 3. Find your first (and last) frost date.
- 4. Start planning your personal seed-starting calendar.
- 5. Stock seed-starting supplies.
- 6. Join or hold a seed swap.
- 7. Set up grow lights and shelves for seed starting.
- 8. Start slow-growing and long starting seeds.
- 9. Plant a round of healthy indoor greens for winter eating.
- 10. Read up a bit on companion planting and plant placement.
1. Bring chilling bulbs in for forcing.
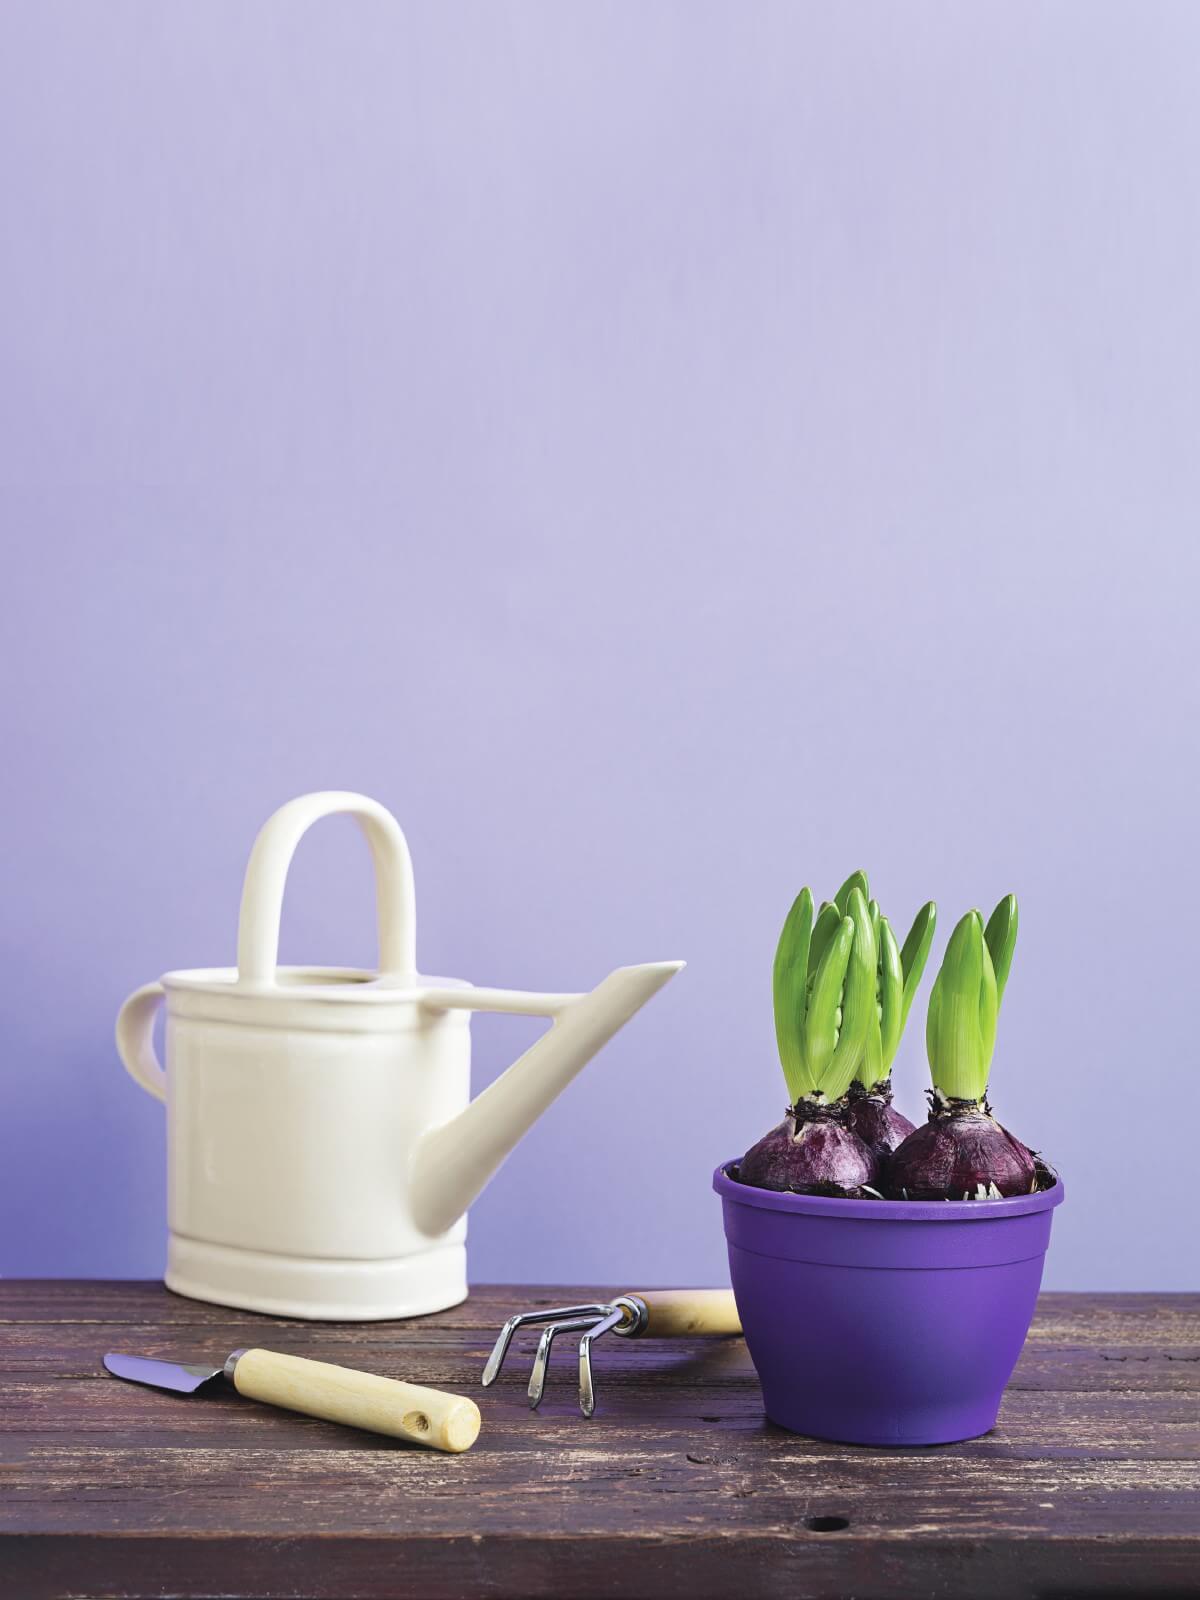
Did you take our advice way back in December and start chilling bulbs to force for late winter blooms?
If you did, now is the time to bring those potted bulbs in (or pot up bare bulbs you might have placed in the refrigerator to cold stratify). Find a comfortably warm space for them, keep moisture at a happy level, and it won’t be long before you see those plants shooting up—with beautiful blossoms not long after!
Tip: If you didn’t chill bulbs yourself, you can often find pre-chilled bulbs for sale that you can plant now for potted blooms.
2. Repot houseplants.
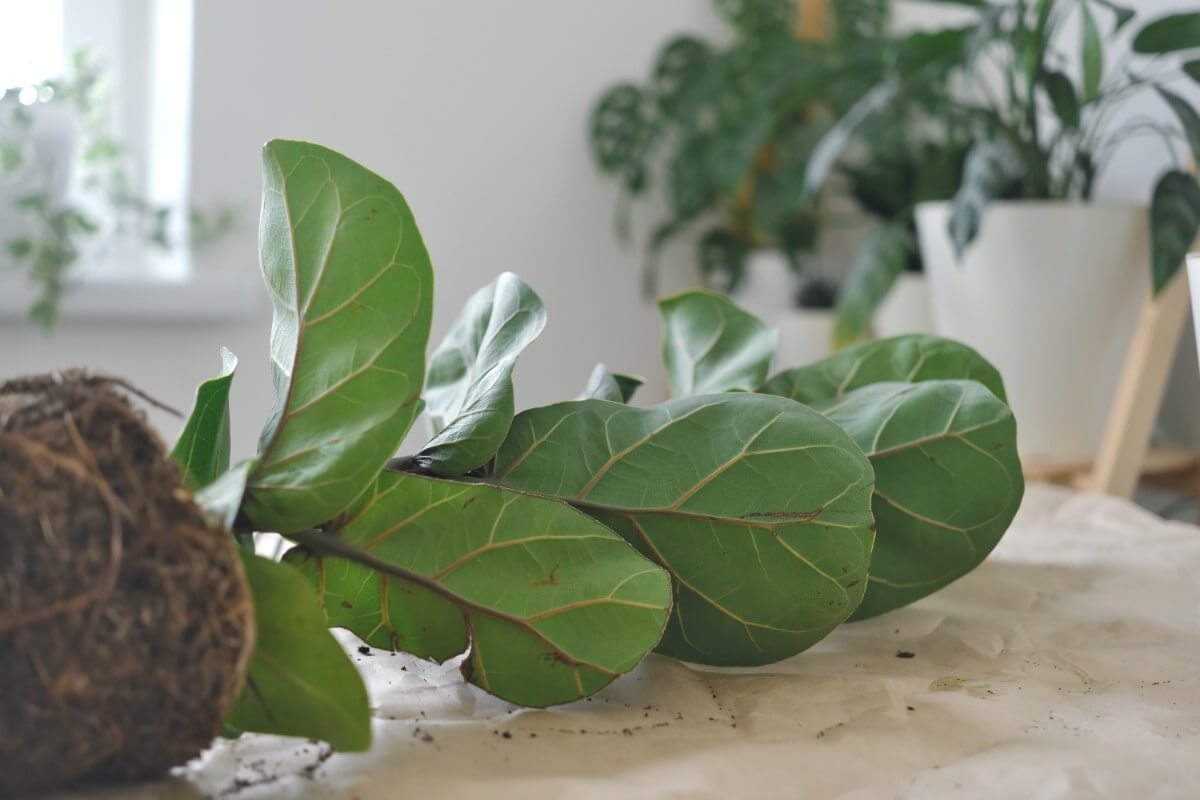
One productive way to stave off the outdoor gardening-winter-doldrum blues is to see to the needs of your indoor house plants. As you wait to start seed starting and planting in earnest, take a look at your houseplants. Any that are outgrowing their pots, becoming rootbound, or that have seen a loss of soil will benefit from your tender loving care.
Chances are that if you have had your houseplant for a year or more it will need, at the very least, a soil refresher, but by now potting up to larger pot size is almost always a good idea. Repotting in late winter means your plant(s) will have adequate soil and room to grow as they break dormancy and enter the spring growing period, which is triggered by longer days and brighter light.
For more tips on deciding when your houseplants need to be potted up, check out this list of tell-tale signs that your houseplant needs repotting.
While you’re at it, you might also want to take some cuttings of those plants to propagate more lovely, air-cleaning houseplants.
3. Find your first (and last) frost date.

We’re about to embark on some serious garden and seed-starting planning. The one key to that planning is knowing the start and stop for your growing season. Many people look to their “growing zone” as a determiner for gardening and planting but in fact, that is not the most important piece of information for growing annuals and garden vegetables; it has little to do with seed-starting dates, really.
What you really need to know for annuals (and the vast majority of vegetables and produce plants fall into this category) are your last frost date and your first frost date.
Your last frost date in the spring will tell you when it’s safe to plant tender plants outside. Your first frost date in the fall will tell you when those plants are likely to be die-off. The number of days in between will tell you how long your growing season is (which you can use to decide if you have enough time to grow a crop, flower, or herb in your location—check the days to harvest in seed descriptions).
If you don’t know these dates already, take a minute this month to find them. Once you know your last frost date you can start planning for outdoor planting. Use that date to count back the six to eight weeks or more that different types of plants need for starting inside.
4. Start planning your personal seed-starting calendar.
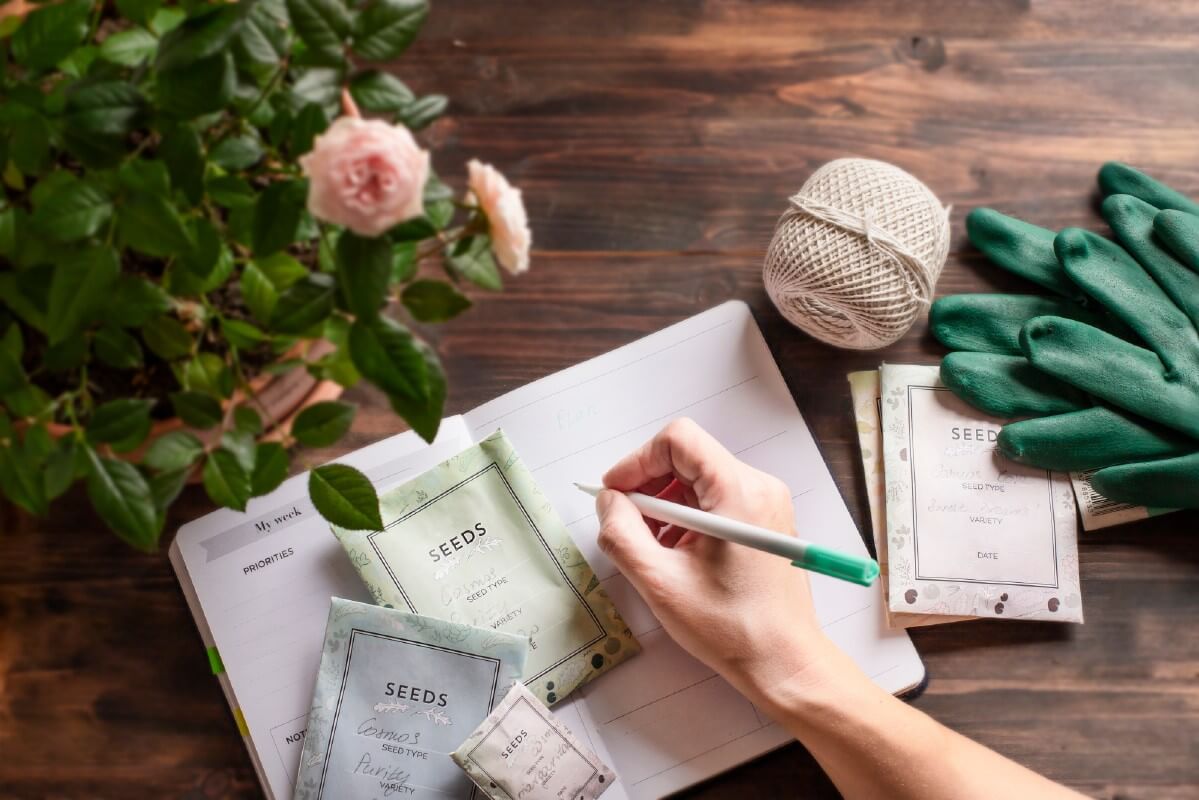
Now that you know your last and first frost dates, you can start planning your growing and seed starting.
The right times to start plants and seeds are different for everyone. Gardeners in more southern locations may already be starting their spring transplants, while northern gardeners may be quite some time away. It’s a different schedule for everyone, so it’s best (and really a bit of fun) to create your own, very specialized schedule.
Get yourself a clean new calendar (or an editable, printable calendar from your favorite word processor or on the web). Mark your last frost date, and then count back and label each week before that date. Count up as you go--where “one” is one week before your last frost, back to at least eight weeks before your last frost. You might like to go up to twelve weeks, depending on what you like to start and grow.
Now take out the seeds you plan to start and start plugging them into the appropriate weeks. For example, if you have tomatoes that are recommended to be started indoors eight weeks before planting out, they go in week eight. Write it in.
You can also note when and what you want to direct sow outside, and when you should plant it. Continue for each type of seed you want to start.
If you’re unsure how long plant types need for starting, or if you are looking for a good, all-around general guide, check out these free downloadable sowing guides from the respected Botanical Interests seed company.
You now have a complete quick-glance reference to look at each week, so you know what you need to start and/or plant to stay on schedule.
One final tip—don't discard this calendar when this year’s garden season is done! The calendar, and therefore your planting, will only vary by a day or two in the coming year or years. Having this all laid out and on hand will make planning next year’s seed-starting and planting calendar even easier!
5. Stock seed-starting supplies.
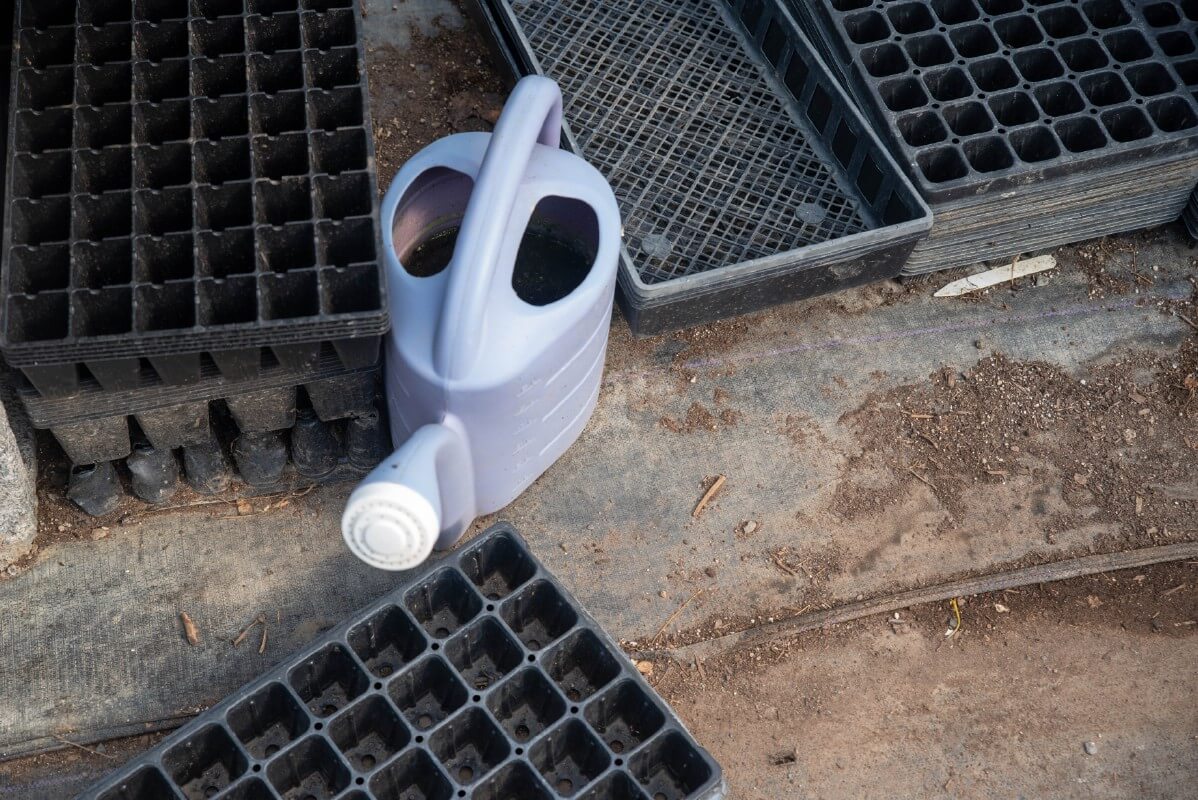
In January we talked about taking an inventory of your seed-starting supplies. If you haven’t done so already, now is the time to buy or order those supplies—the time to begin seed starting is just around the corner (and it may even be here for southern growers and/or long-season and slow starting plants).
Get out your list and order up your supplies. Don’t forget that there are a lot of household “waste” items and convenience containers that can be used for seed-starting, too. Here are 20 upcycled seed starting pot ideas to get you going.
If you need a refresher on what supplies you’ll need for starting your seeds, take a look back at our January Smart Gardeners.
6. Join or hold a seed swap.
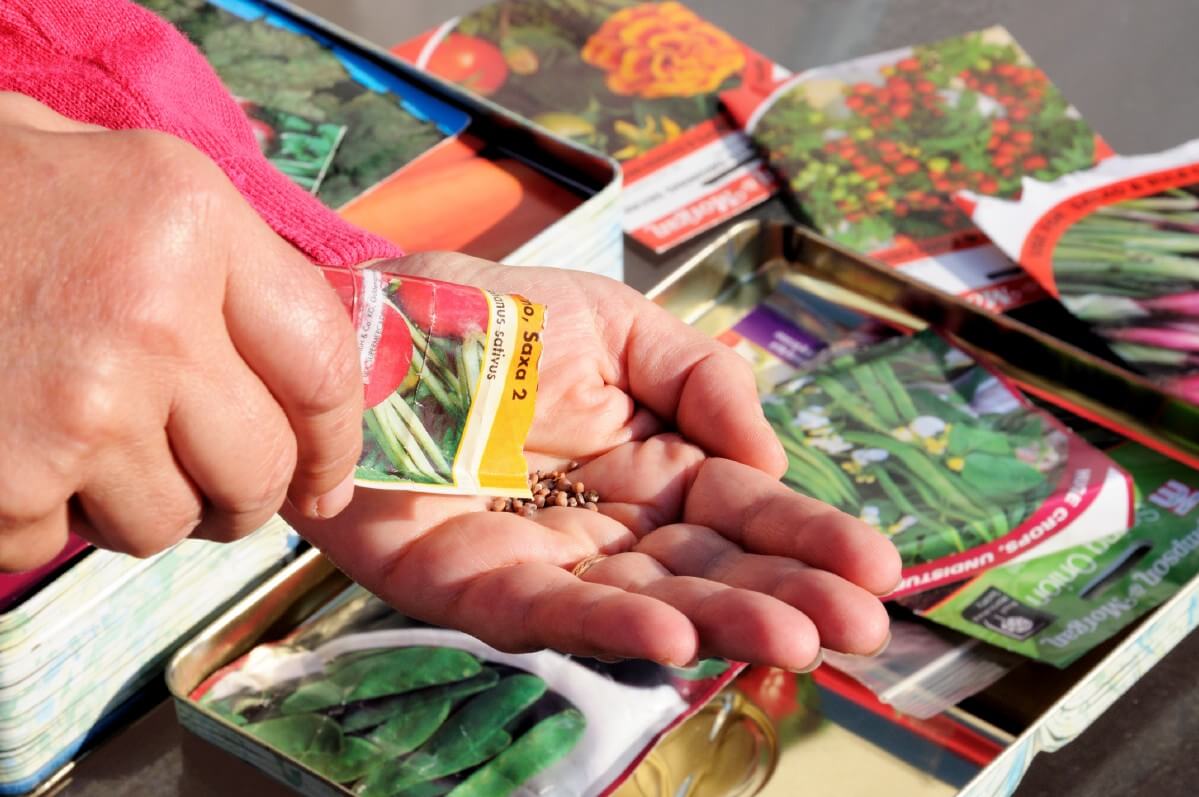
Do you know what is another great way to save money, increase gardening finance efficiency, and prevent waste?
Sharing your seeds with others.
There are not a lot of home gardeners who need to grow as many plants as a seed packet contains for any one type of plant. Yes, you can and certainly should save what seeds will last for another year so you don’t have to buy them again next year. But if you have seeds that are starting to get to the end of their reliably productive age, seeds that you know you can never plant all of, or maybe that you just don’t need now and would gladly trade-off for something else, use them for a seed swap!
Seed swaps are easy to organize—you're really just talking about getting a group of like-minded, money-conscious, curious growers in one place and trading the seeds you don’t need for some that you do need (or at least for some that you find intriguing!). You can do this at home informally with a group of gardening friends, join an already existing group, make your trades through a seed library, or even take part in a seed swap online. There are gardening groups and seed swap groups on Facebook and social media sites, too.
7. Set up grow lights and shelves for seed starting.
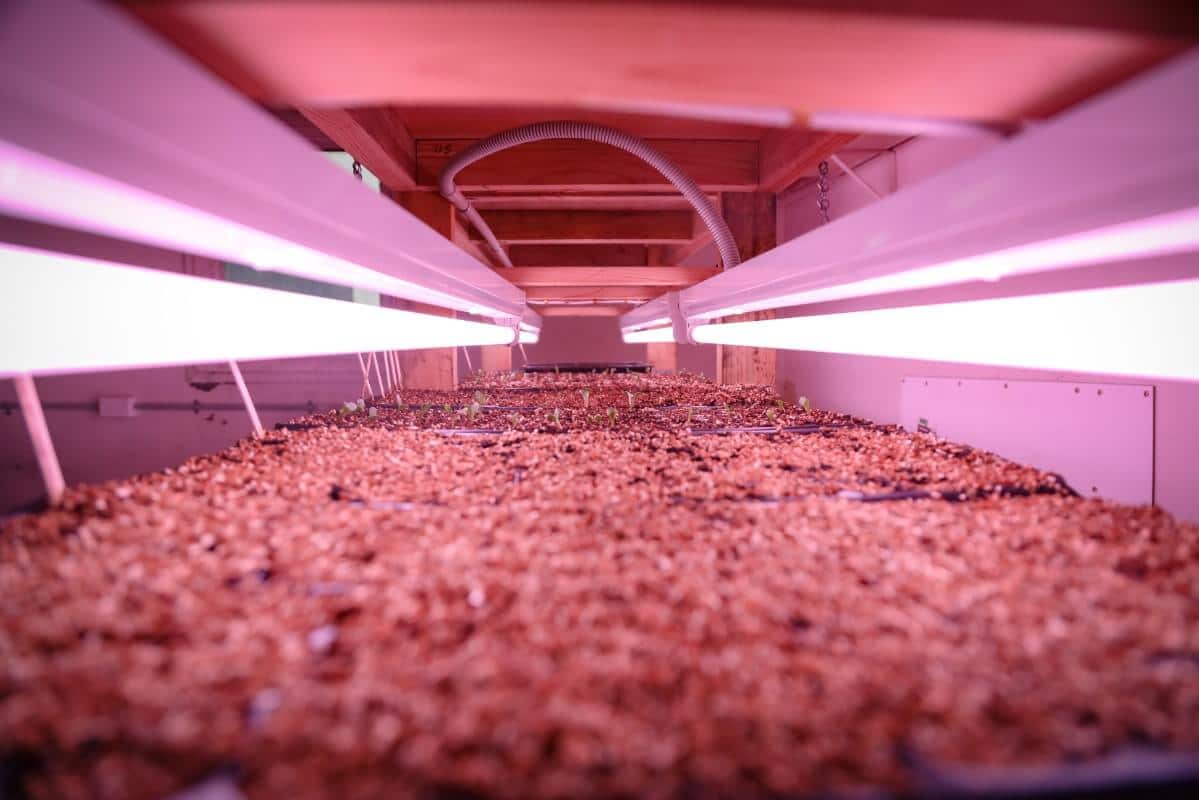
February is also the best time to set up your indoor growing shelf and grow-light set-ups. Inexpensive shelving is the best way to start seeds indoors as it makes the most efficient use of just a small amount of space but gives you plenty of room to grow all you’ll need for even a sizable vegetable and/or flower garden.
Once your seeds are started it won’t be long before they’ll be needing good growing light. This is something to have in place and ready to go rather than put it off and risk your plants having issues if you can’t get them under adequate lighting soon enough. Be prepared!
8. Start slow-growing and long starting seeds.
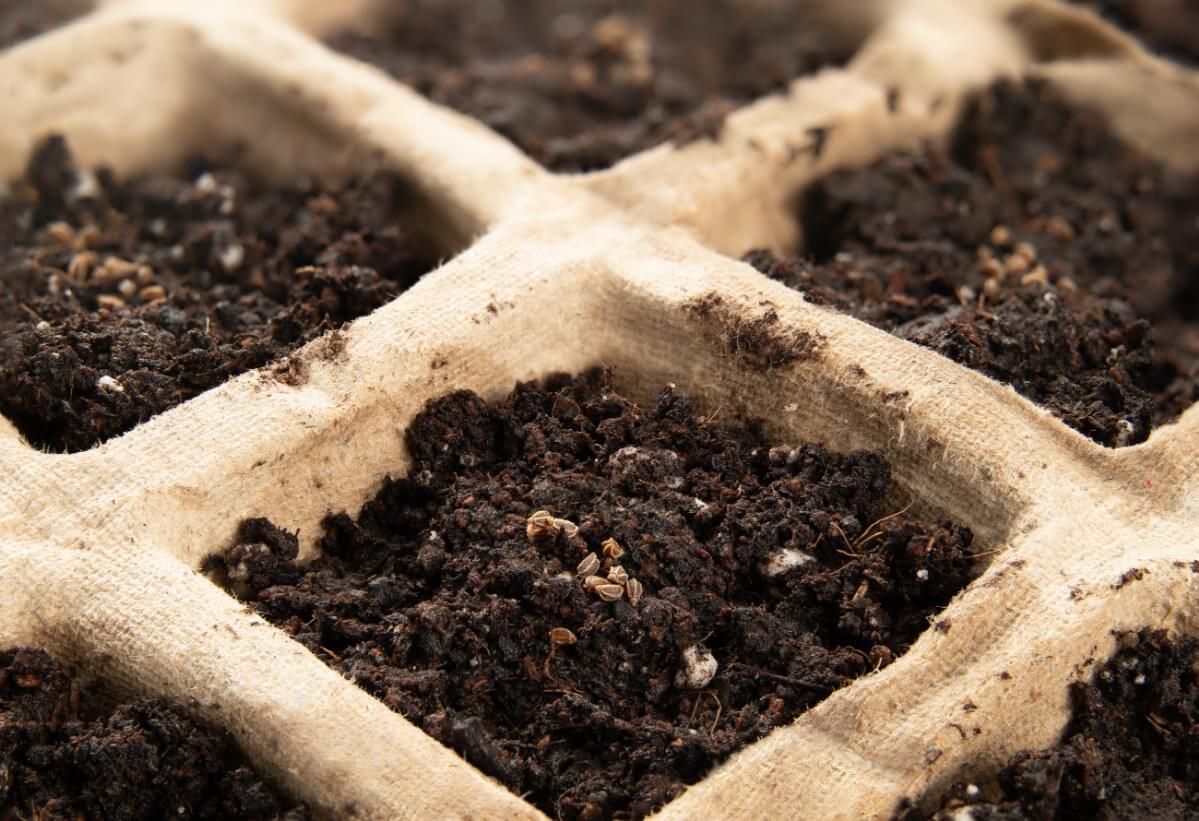
Some seeds are very slow to germinate and thus very slow to start and others need a very long time (ten or twelve weeks or even more) to get large enough for hardening off and transplanting outdoors. And so, even in very northern locations, some seeds should be started in February.
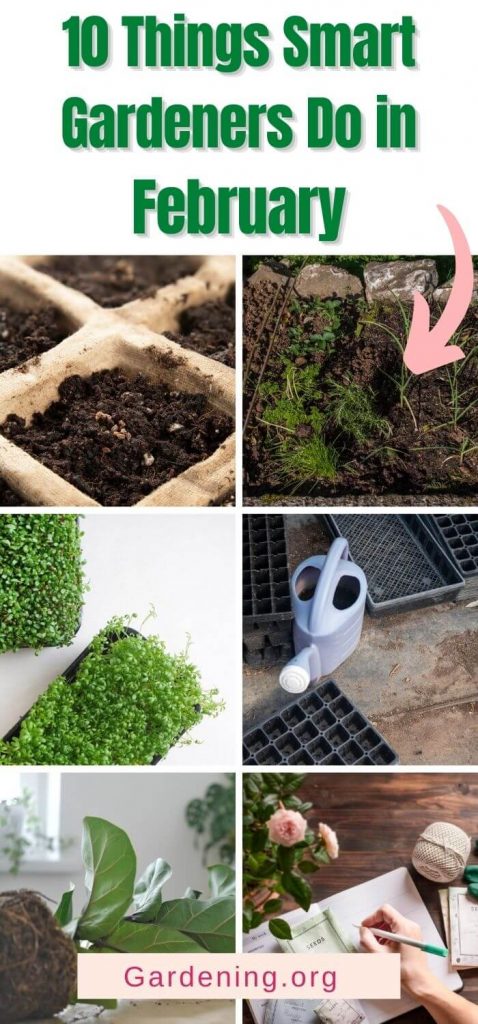
Strawberries that are started from seed need a good 14 to 16 week (about 3 and a half months) start. Onions and other related alliums like shallots and leeks should be one of the first indoor seeds to be started. Celery and many herbs need a long head start, too. Eggplant and artichokes are two that you might not think to start quite as early on, but which do need the extra time.
You may also choose to start some things earlier than is recommended based on previous experience. For example, many people find they prefer to start peppers and tomatoes earlier than the standard recommendations for better size and viability. Hot peppers especially are notoriously slow to start and slow to grow. You may opt for an earlier start for flowers so that they are either in bloom or close to blooming by transplant time.
9. Plant a round of healthy indoor greens for winter eating.
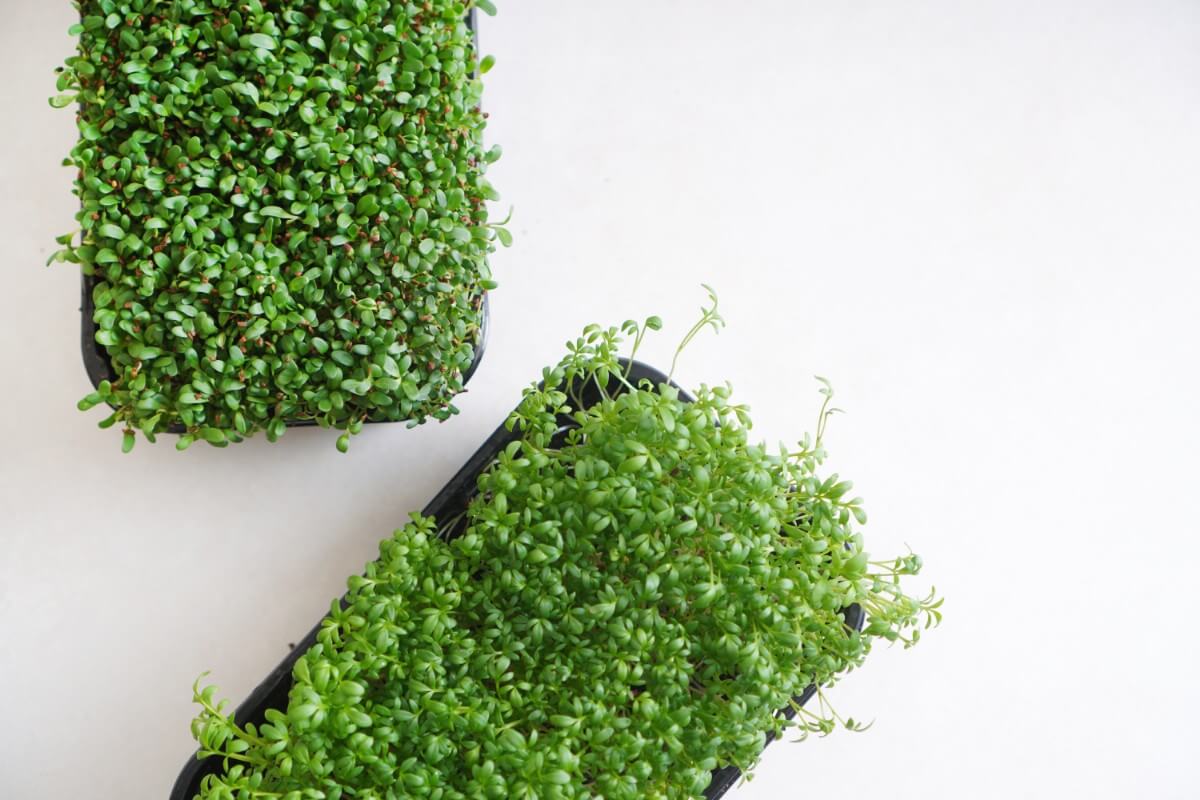
Once you have your growing shelves and lights set up, why not put them to use for cheaper, better fresh greens?
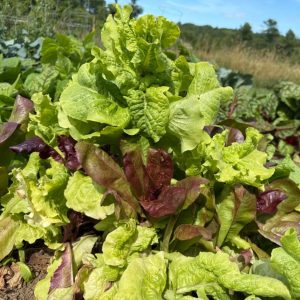
While larger things like tomatoes are difficult to grow indoors, baby lettuce, spinach, herbs, microgreens, and shoots are quick and easy to grow. You’re not likely to need all that shelf space just now anyway, and you cannot beat the price or quality of home-grown greens, whether you grow them inside or out!
10. Read up a bit on companion planting and plant placement.
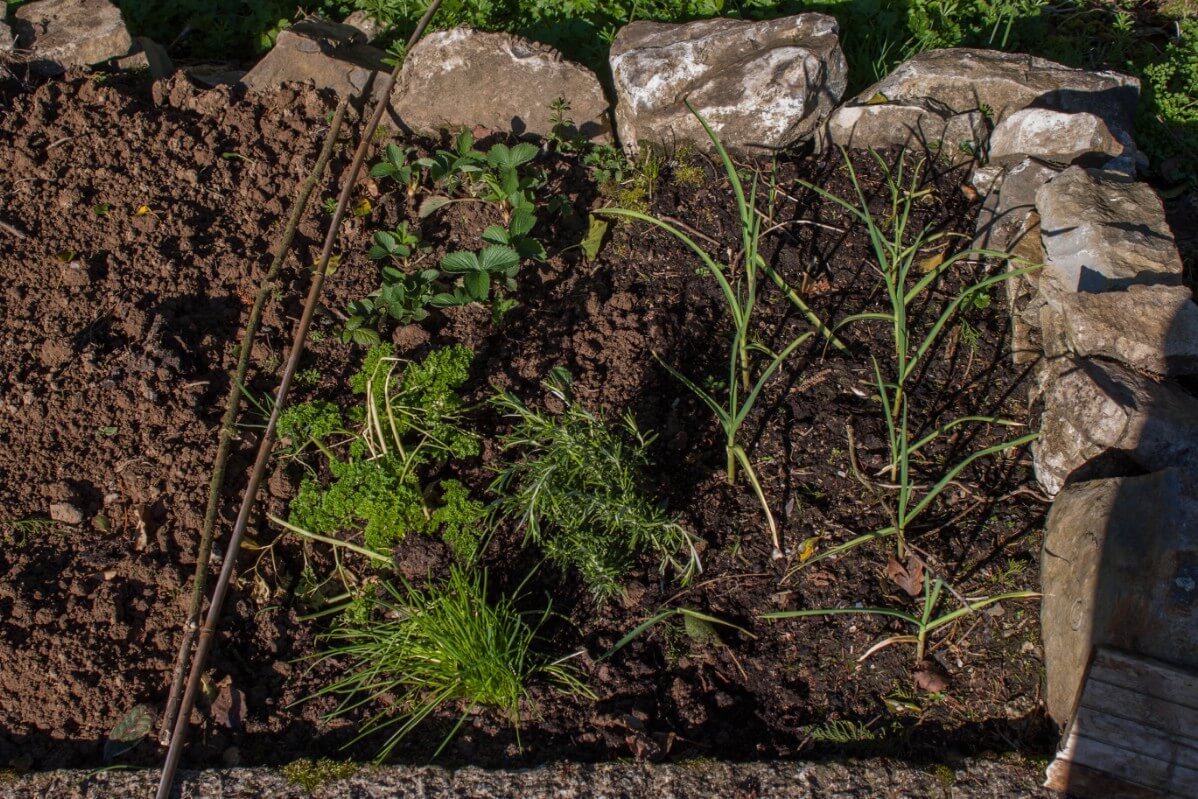
Companion planting has a lot of benefits, such as deterring pests, enhancing flavor, and improving growth rates. Companion planting can also help you make the most efficient use of your garden space, which can be particularly important if your space is limited.
There is another side to companion planting, though, and that is knowing which plants do not go well together.
For example, you should not plant strawberries near brassicas (broccoli, cabbage, cauliflower, kale, etc.) because they’ll rob too many nutrients and stunt each other. Strawberries and asparagus, on the other hand, do well together.
Planting onions near asparagus plants will stunt the asparagus. Onions are also a no-go for planting near any type of peas or beans.
As you are beginning your garden layouts and planning your plantings, take a few minutes to investigate companion planting do’s--and more importantly, don’ts--as you plan what to plant where. Your plants and your harvests will thank you for it.
Though the grays of winter may have you feeling like spring growing and gardening may never come, we know that they always do. Take the time to enjoy the quieter days of winter as you look forward to slowly getting your growth going. Doing these things now will pay dividends in better, stronger, healthier gardens. You—and your garden--will thank yourself for it later.

Dawn Painter
If you have a news letter that comes out monthly please send it to me. Your article was wonderful I love all the info it contains. Thank you Dawn Painter