Let me tell you about my auspicious beginning as a brand-new city horticulturist, meeting the city rose garden for the first time.

So, in April 1998, I started taking care of a bunch of gardens around the city, which included the Krug Park rose garden, which had maybe 150 roses at the time. I hadn’t worked with roses very much before, but I was eager to learn.
But what I saw absolutely confused me.
Jump to:
- Roses with Strange, Deformed Growth
- A Master Rosarian Identifies the Problem
- What is Rose Rosette Disease (RRD)?
- How is Rose Rosette Spread?
- Step 1: Get RRD-Infected Roses Out of the Garden
- Step 2: Eradicating Rose Rosette is a Process. Don’t Give Up
- Step 3: Cut Off Infected Growth When It Appears
- Step 4: Keep Tools and the Rose Garden Clean
- Step 5: Don’t Work on Roses in Rain or Dew
- Step 6: Spray Horticultural or Dormant Oil When Temperatures are Cool
- Step 7: Get Rid of and Destroy Badly Infected Roses
- Step 8: Give Your New Rose a Great Home with New Soil
- Step 9: Find Roses That Are Resistant to Rose Rosette
- Getting Rose Rosette Disease Under Control
Roses with Strange, Deformed Growth
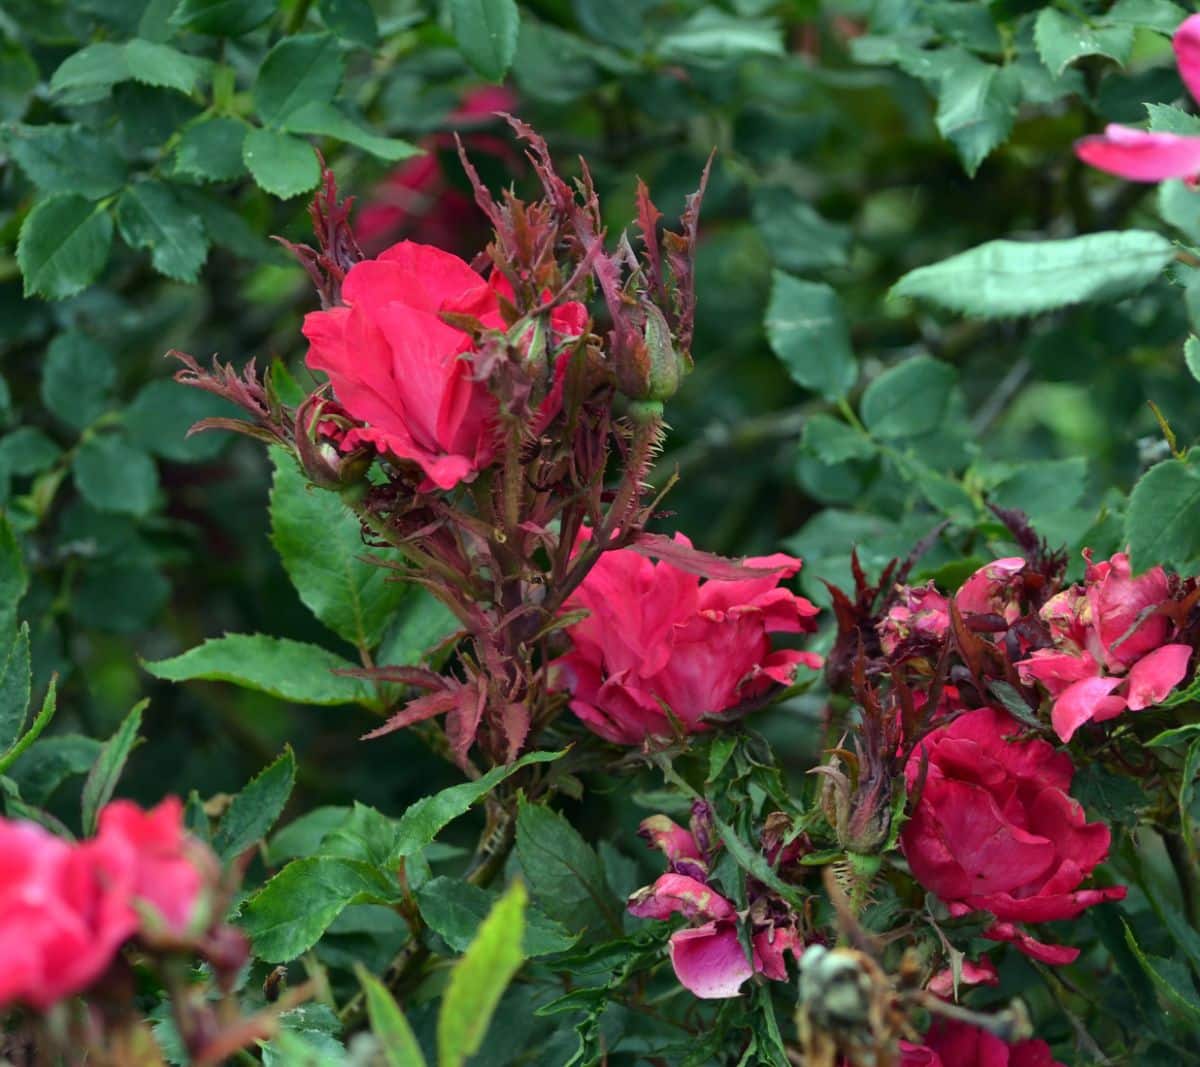
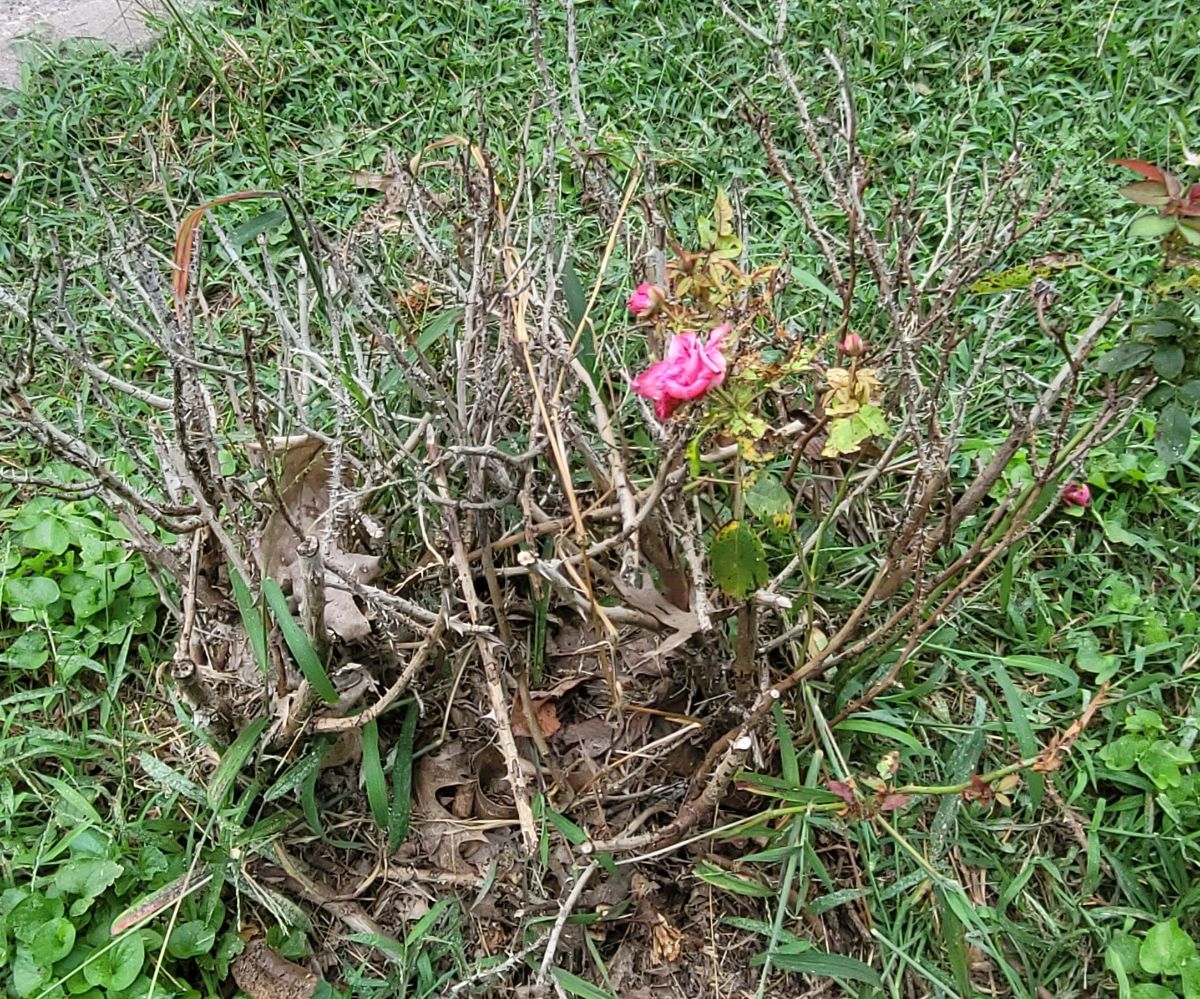
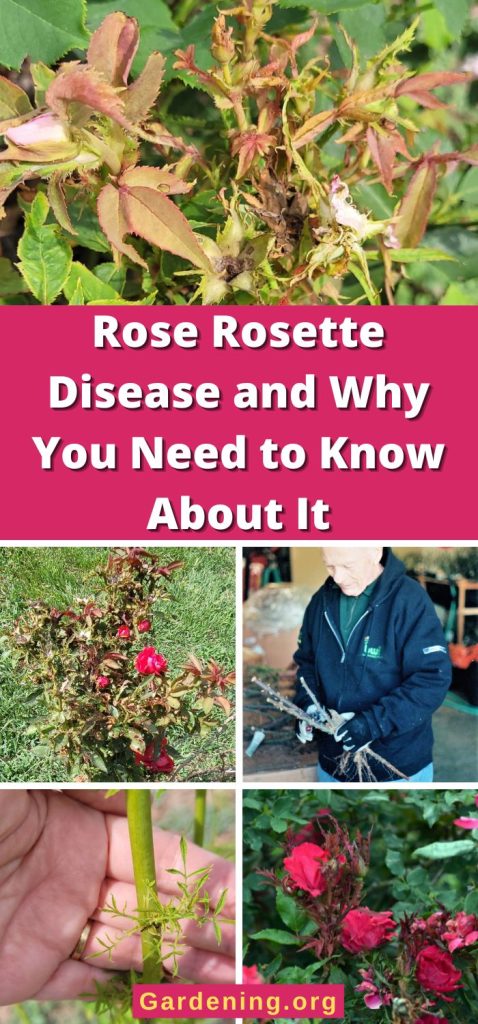
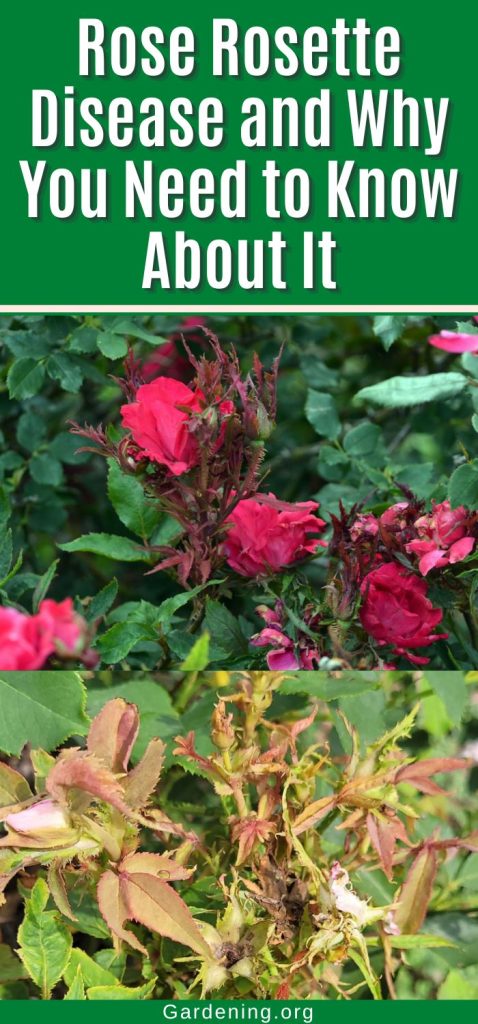
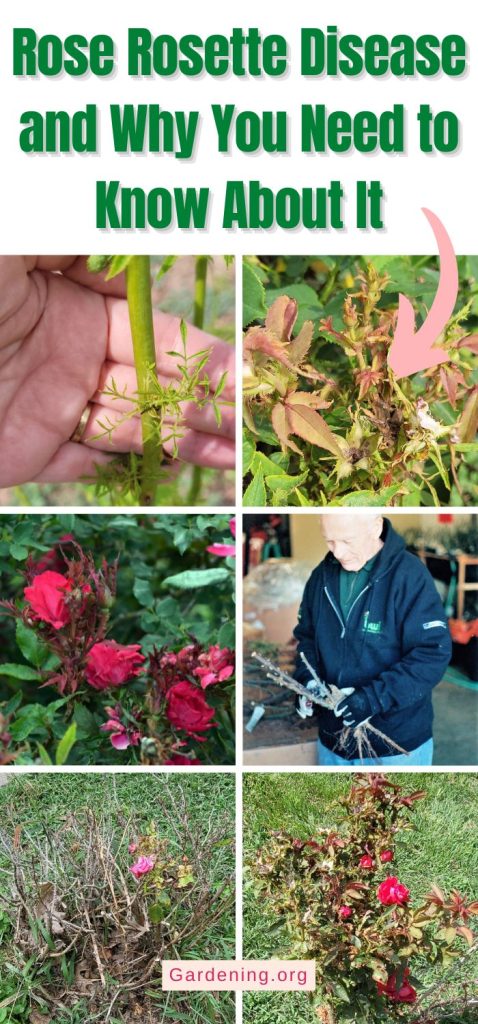
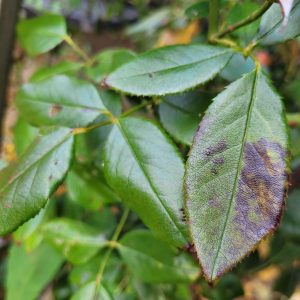
When I started taking care of the roses, a lot of them had some odd growths that were abnormally red or this odd lime green color compared to the new growth.
New shoots on roses generally had bronze, flat leaves that soon greened up and looked nice. But a different branch on the same bush would sprout new growth with warped leaves with pebbly surfaces, or they’d have skinny leaves that resembled pine needles. It was like someone held a match underneath them until they crinkled.
This growth was hyper-thorny and rubbery. You could almost squish the thorns with your fingers, and they grew super-fast.
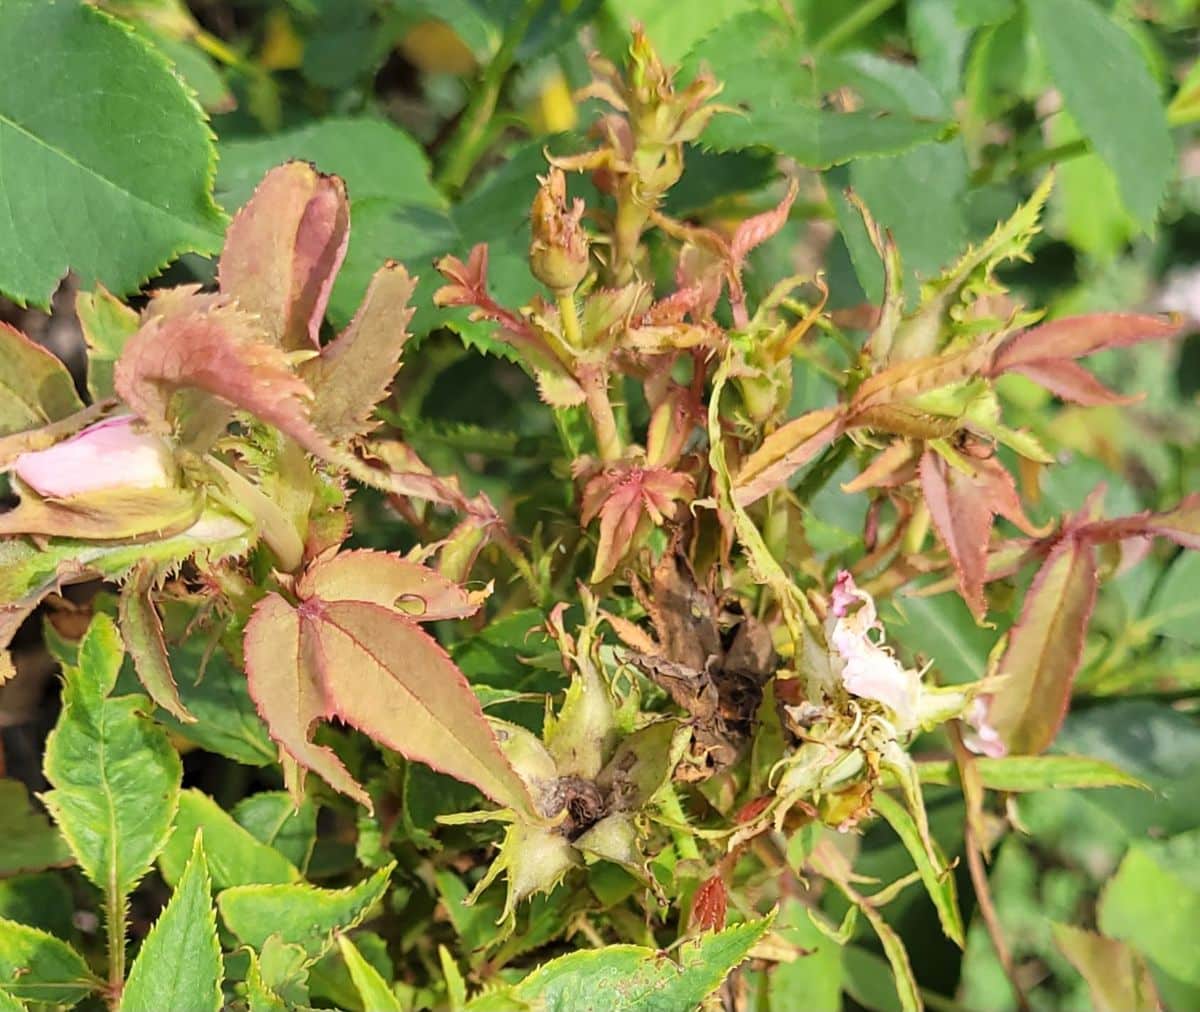
These shoots bore crinkled, small buds with deformed flowers that couldn’t open.
Again, that growth was markedly different than normal rose growth. On some roses, it came from only one or two places. Other roses were absolutely covered with these witches’ broom growths.
Many roses were dying, covered with this twisted lime green or abnormally red witches’ brooms. The branches slowly browned out, blackened at the tips as the roses died off. The dead roses looked as if they’d been scorched by fire.
What on earth had I gotten into?
A Master Rosarian Identifies the Problem

So I had my friend, Charles Anctil, look at the roses. He was a Master Consulting Rosarian with the American Rose Society.
“Oh boy, this is rose rosette disease,” he said as we walked around the rose garden. “I’ve never seen so many roses infected by rose rosette in one place. I can’t believe the extent of the damage.”
My reaction was, “Well, that’s just great!” Which was immediately followed by, “But ... what is rose rosette disease?”
“It’s a virus,” he said. “There’s no cure. All these roses have got to come out.”
What is Rose Rosette Disease (RRD)?
Rose rosette disease, also known as witches’ broom of roses, is caused by a virus with the scientific name of Rose rosette emaravirus that primarily affects roses.
The rose rosette virus spreads mostly in late spring and early summer when roses are putting out new shoots. Newly-infected shoots usually pop up in summer, though can appear any time when it’s warm outside.
The disease is extremely contagious, so if one rose starts putting out infected shoots, pretty soon, the roses near it will do the same.
How is Rose Rosette Spread?
The rose rosette virus is transmitted by a microscopic eriophyid mite (Phyllocoptes fructiphilus) that is wingless and shaped like a carrot.
The eriophyid mites feed on an infected rose and get the virus inside them. Then they’re carried by the wind or on contaminated clothes or clippers until they drift over to another rose.
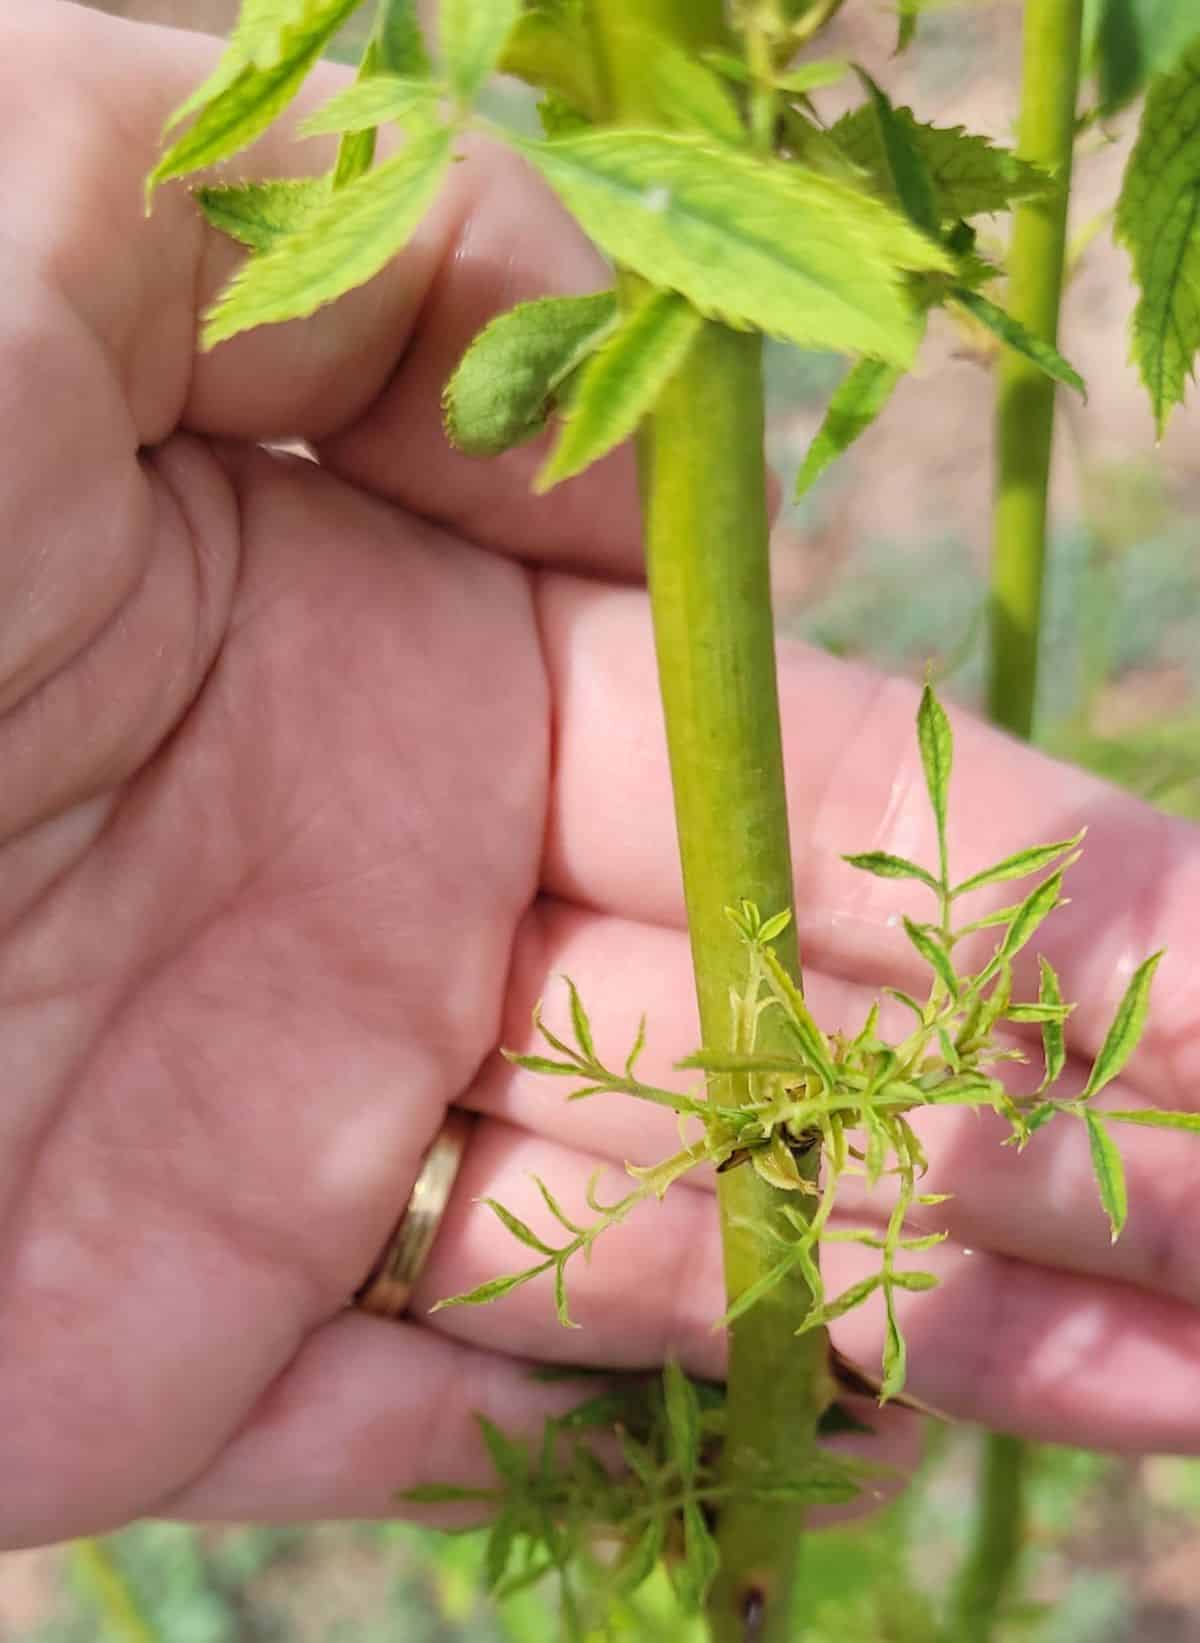
The mites hide out in new rose shoots or settle in a protected spot where the stems meet a cane, where they feed, injecting the virus into your roses.
Eriophyid mites also reproduce rapidly. Females lay eggs all over the place. Newly hatched mites can reach adulthood within a week. Then these infected mites catch a passing breeze and drift to your other roses – and now you’re really in trouble.
Unfortunately for me, back in 1998, very little of this was common knowledge.
Step 1: Get RRD-Infected Roses Out of the Garden
“So what do I have to do?” I asked Charles.
Charles told me to dig up the roses, making a hole big enough to get all the roots out. Sometimes, if you have a root in the ground that’s infected with rose rosette, it stays viable. And the new roots from the new roses could graft onto this old root, and then your new rose gets rose rosette.
With a sinking heart, I surveyed all the roses that had to go.
So I got a work crew and dug up 75 roses. To replace all those roses, I started researching roses that would take a licking and keep on ticking.
I ended up planting antique roses, rugosa roses, and amazing low-maintenance roses. I went to town on mulching, tried my best to keep up with fertilizing, and interplanted them with perennials and annuals to add to the show.
I was very proud of these brand-new roses! They were blooming their heads off and looked great and mostly took care of themselves – as you’d expect of antique rose varieties that have been around for a century or more.
But then, to my dismay, infected shoots appeared on my brand-new roses.
Step 2: Eradicating Rose Rosette is a Process. Don’t Give Up
The problem with RRD is that it keeps coming back. And then, once you have an infected rose, the mites drift to neighboring roses and start spreading the disease.
Did this mean I had to pull up all the brand-new roses I just planted?
Well, I wasn’t about to let these darn eriophyid mites kill off my gorgeous roses that easily.
With all my Googling, I found very little online about RRD until I found Ann Peck, a rosarian who had written a whole web book about rose rosette, which was incredibly helpful in helping me combat the disease.
These days, there is a ton of helpful information on the internet about it – thank goodness.
Step 3: Cut Off Infected Growth When It Appears
I noticed that the infected shoots generally began sprouting from only one part of the plant.
From watching the roses that were dying from the rose rosette, I realized this disease, once it was in the rose cane, would travel down the cane, sprouting infected growth as it did, until it hit the bud union—the place where all the canes and the roots connect.
Once the base of the plant sprouted infected growth, followed by the rest of the canes, the rose was a goner.
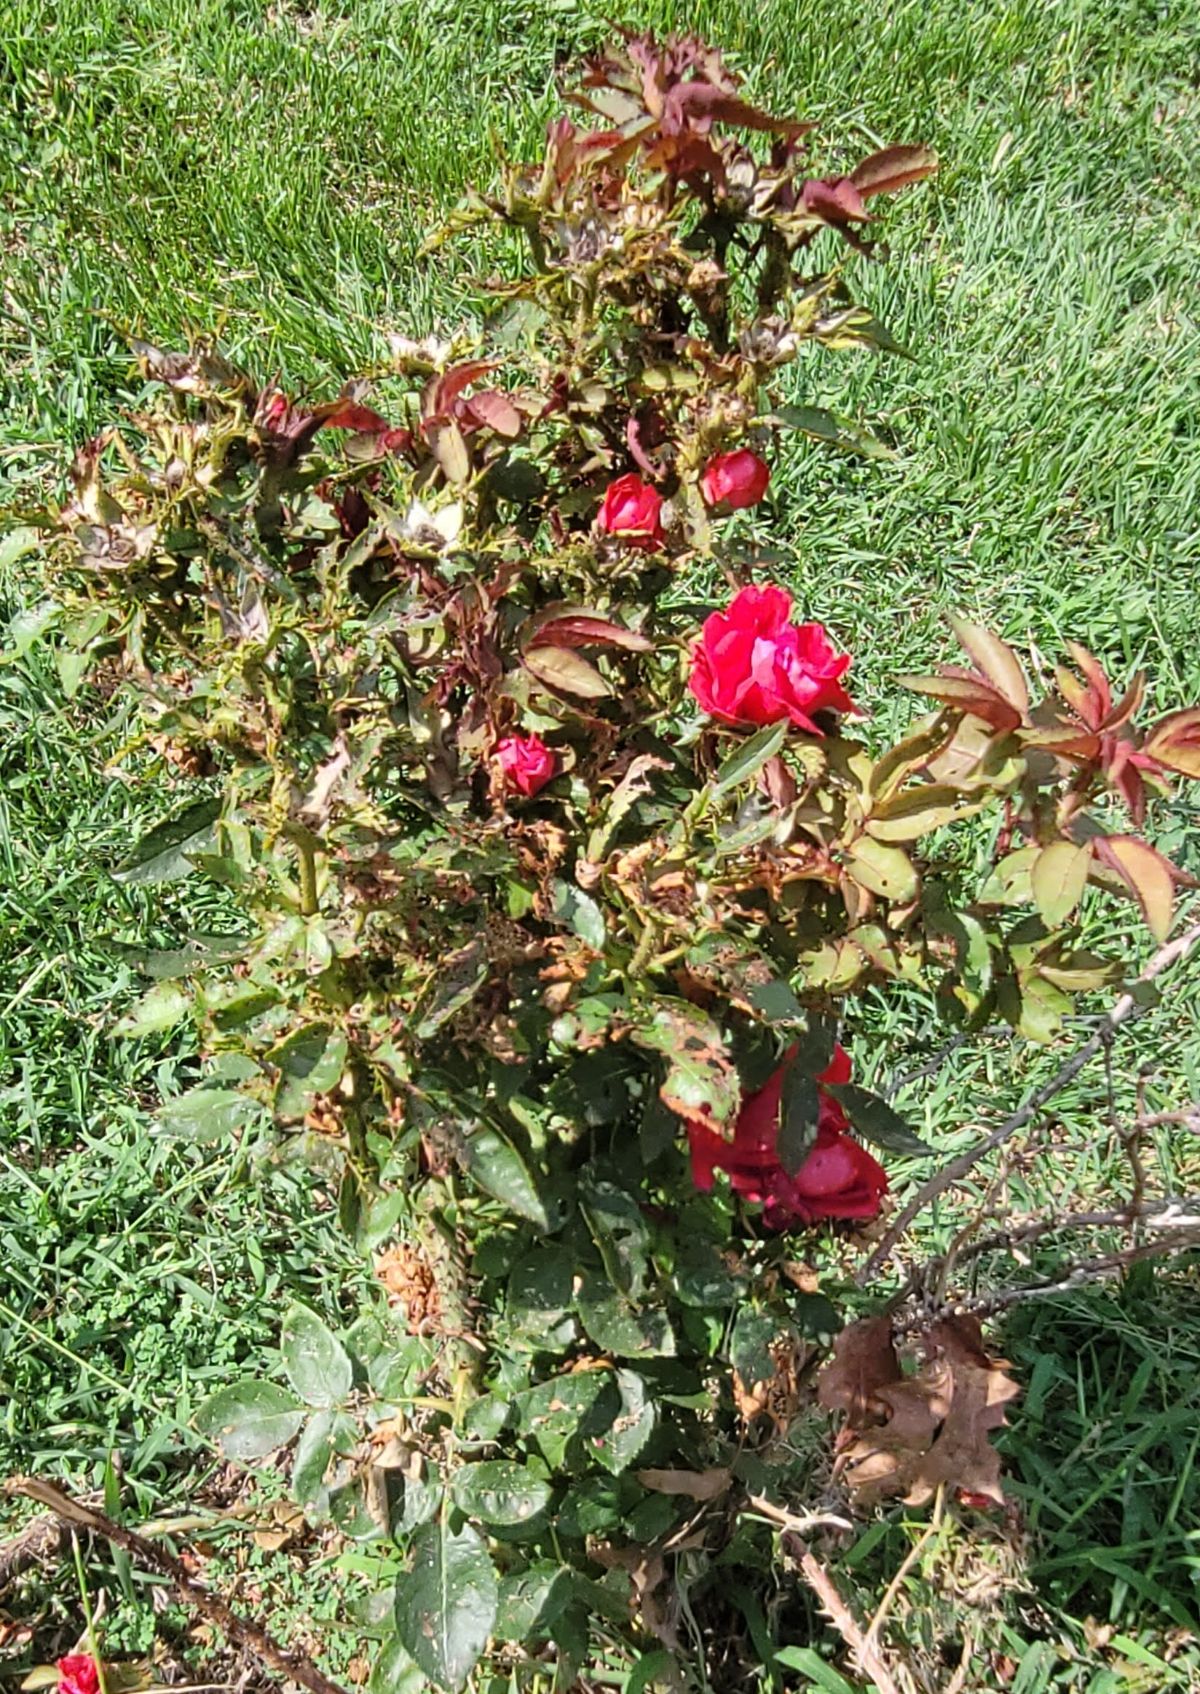
So, I started cutting off the infected parts as soon as I noticed them.
And it worked! The rest of the rose generally did not get the disease.
At the beginning, I cut farther down the cane than necessary, just in case, but often, you just need to cut a few inches below the growth.
Some gardening sites warn against this practice, but as a low-budget rosarian and a “your taxpayer dollars at work” kind of gal, I chopped off infected growths with abandon, and it served me well.
But there are some other steps that must be followed for success.
Step 4: Keep Tools and the Rose Garden Clean
Vigilance is key if you want to keep from spreading the virus or the mites.
When I cut off an infected part, I would put it in a plastic bag and take it out of the garden. This kept me from spreading mites. Don’t compost these. Burn them if possible.
The other important part of this is to sterilize your pruners.
Every time I cut off an infected branch, I sterilized my pruners. When I moved from one rose to another, I sterilized my pruners.
I used a solution of 1 part bleach to 9 parts water and carried it with me with an old rag that I’d rub down the pruners with between roses.
The line “Mechanical action gets rid of most microbes” echoed in my head from Plant Physiology class – that is, scrubbing well is effective at removing small evil pests like mites and viruses.
Step 5: Don’t Work on Roses in Rain or Dew

This is good advice in general for working with plants. If you touch a wet plant, any spores, bacteria, mites, or viruses can be carried in the water that clings to your skin. When you touch another wet plant, those pathogens transfer onto it.
Working with wet plants is a quick way to spread diseases in the garden. Try to work only when plants are dry.
Step 6: Spray Horticultural or Dormant Oil When Temperatures are Cool
Horticultural oil, or dormant oil if it’s winter, is a worthwhile control method. Horticultural oil is a very light-grade, refined oil that’s mixed at a low concentration and sprayed when it’s cool outside.
It kills off soft-bodied insects and mites by clogging their spiracles, which they breathe through, and smothers them.
It is a broad-spectrum insecticide and will affect any insects that are hit with the spray. Don’t spray this on or near flowers to spare pollinators.
Dormant oil is sprayed in late fall, warm winter days, or early spring when the temperature is above 55, but there are no leaves on the plant. Dormant oil uses a higher concentration of oil that helps kill off overwintering mites.
Step 7: Get Rid of and Destroy Badly Infected Roses
Sometimes, you lose some roses to a rose rosette.
Any roses that are infected down to the bud union or the neck of the rose should be dug up completely, roots and all, as much as possible. Bag it up and send it to the landfill, or burn it far away from your roses.
It's not a good idea to put another rose in that space. But if, like me, you have a large-scale rose planting and you can’t leave that big gap in your display, then start digging.
Step 8: Give Your New Rose a Great Home with New Soil
This is a good way to plant any rose, to be honest.
Dig a hole two feet wide and 18 inches deep, taking out as many roots as possible. Get rid of most of the old soil and replace it with good topsoil, a 5-gallon bucket full of compost, soil amendments like coconut coir, and organic fertilizers like kelp meal, bone meal, or any slow-release fertilizer.
Now you've got a gigantic hole filled with good things for your new rose, which they like, and you’ve removed any roots that might pose a danger.
Mix all the ingredients together in the hole, then make a hole in the middle, and plant the rose square in the middle.
Step 9: Find Roses That Are Resistant to Rose Rosette
According to the Missouri Botanical Garden, some species of roses might be possibly resistant to rose rosette disease. This list includes Rosa setigera, R. aricularis, R. arkansana, R. blanda, R. palustris, R. carolina, and R. spinosissima.
Ever since the late 90s and early 00s, rose breeders have been working on creating rose rosette-resistant varieties and cultivars. The process has been slow because it takes a lot of time to breed and test new varieties. However, ‘Top Gun’ is one rose on the market that seems to be resistant to rose rosette along with other diseases.
Stay away from multiflora rose, though. This wild (often invasive) species catches rose rosette disease easily and can spread it readily.
Getting Rose Rosette Disease Under Control

Using these steps and methods, I was able to control the rose rosette in the city rose garden. Eventually, I grew 300 roses there. Charles gave me a nice list of roses that he recommended, and I also found a lot of excellent roses in The Rose Bible by Rayford Clayton Reddell, which is out of print but is an excellent resource.
The garden wasn’t completely rose rosette-free because the mites would still come in. But things looked great, and I was very, very happy with myself. Many years later, I wrote a book that included everything I knew about rose gardening.





Kriston Spear
I have gotten rose Rosetta disease, and it spread to my other surrounding trees and shrubs, even tho it isn't suppose to.who do I report this to
Rosefiend
Sorry for the late response. Was herbicide sprayed in the area about that time? RRD often looks like herbicide damage, and the fact that surrounding trees/plants have it make me think this isn't RRD. Aphid damage can also make the leaves look curled and small.
RRD is specific to roses. I haven't run across any cases of them spreading to other plants, even plants in the rose family. (Doesn't mean it can't happen tho.)
I would recommend taking samples of the affected plants and roses to your local University Extension agent. Put them in resealable plastic bags so they can take a look and give you specific advice.