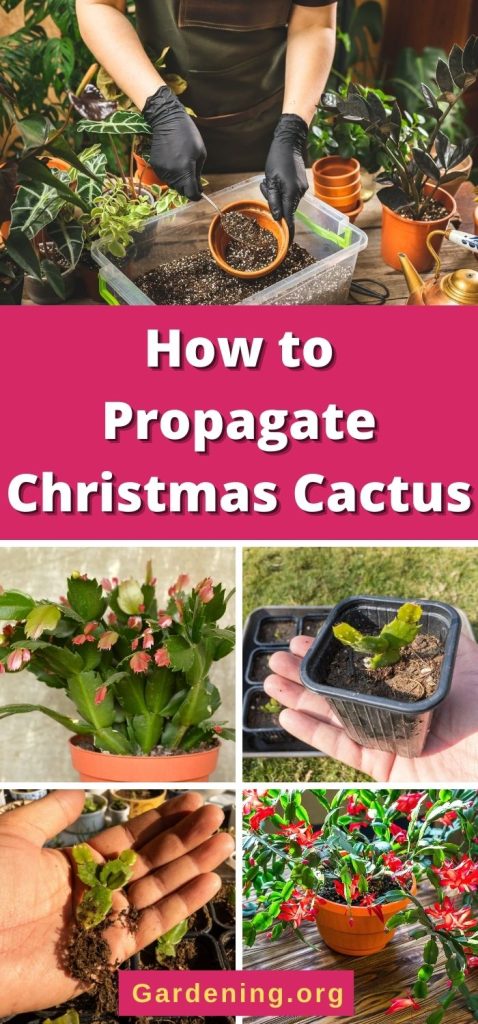
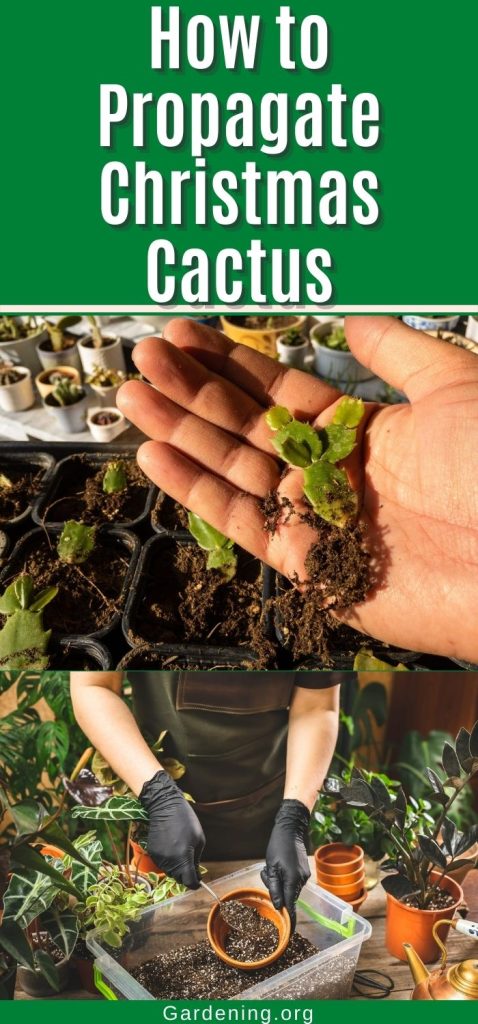
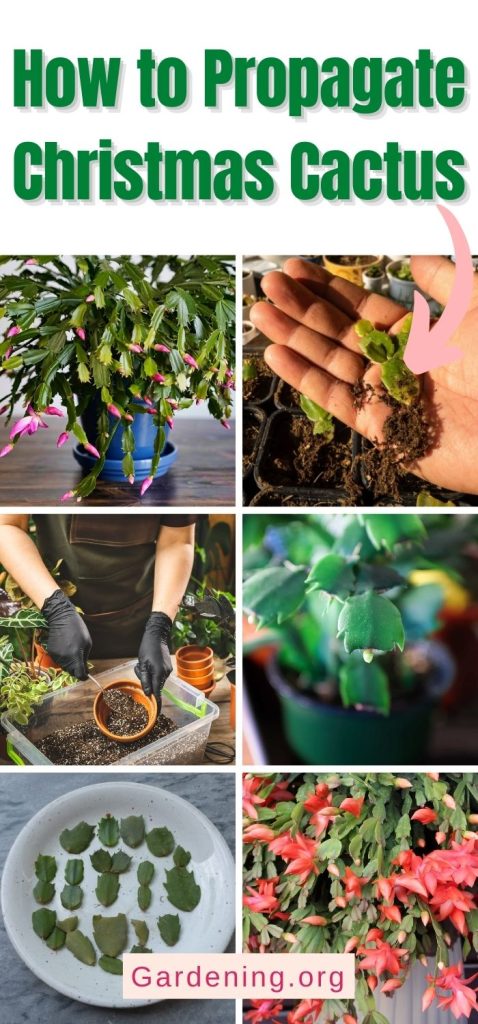
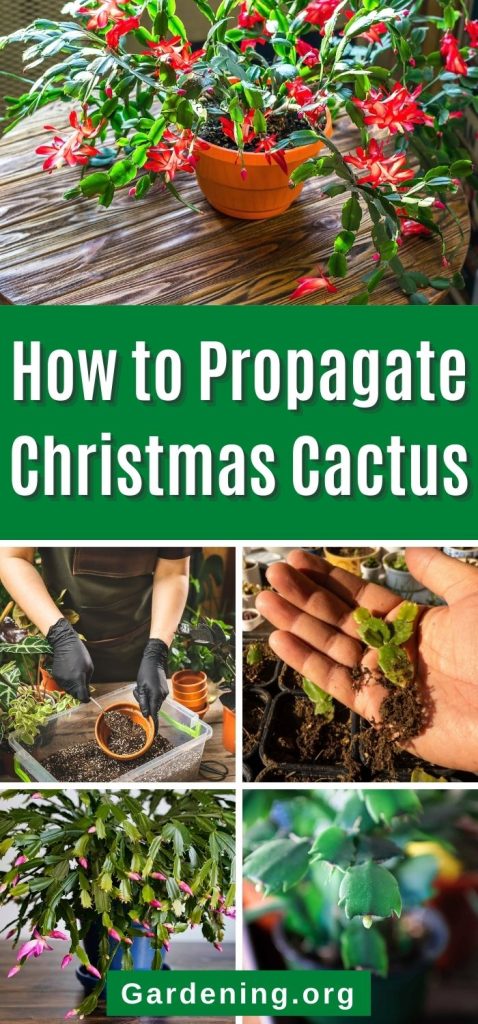
They say that nothing good in life is free, but whoever they are, they’ve clearly never heard of propagating a Christmas Cactus before. For nearly nothing at all, you can turn one Christmas Cactus into many through propagation.
In this article, I’ll go through the different methods of how to propagate a Christmas Cactus and everything else you might need to know about the process.
Jump to:
- What is a Christmas Cactus?
- Why Propagate a Christmas Cactus?
- Is Propagating Christmas Cactus Hard?
- Propagation Supplies
- Christmas Cactus Propagation Methods
- How to Propagate Christmas Cactus from Leaves
- How to Propagate Christmas Cactus from Stem Cuttings
- How to Divide a Christmas Cactus
- How Long Propagation Takes
- FAQs
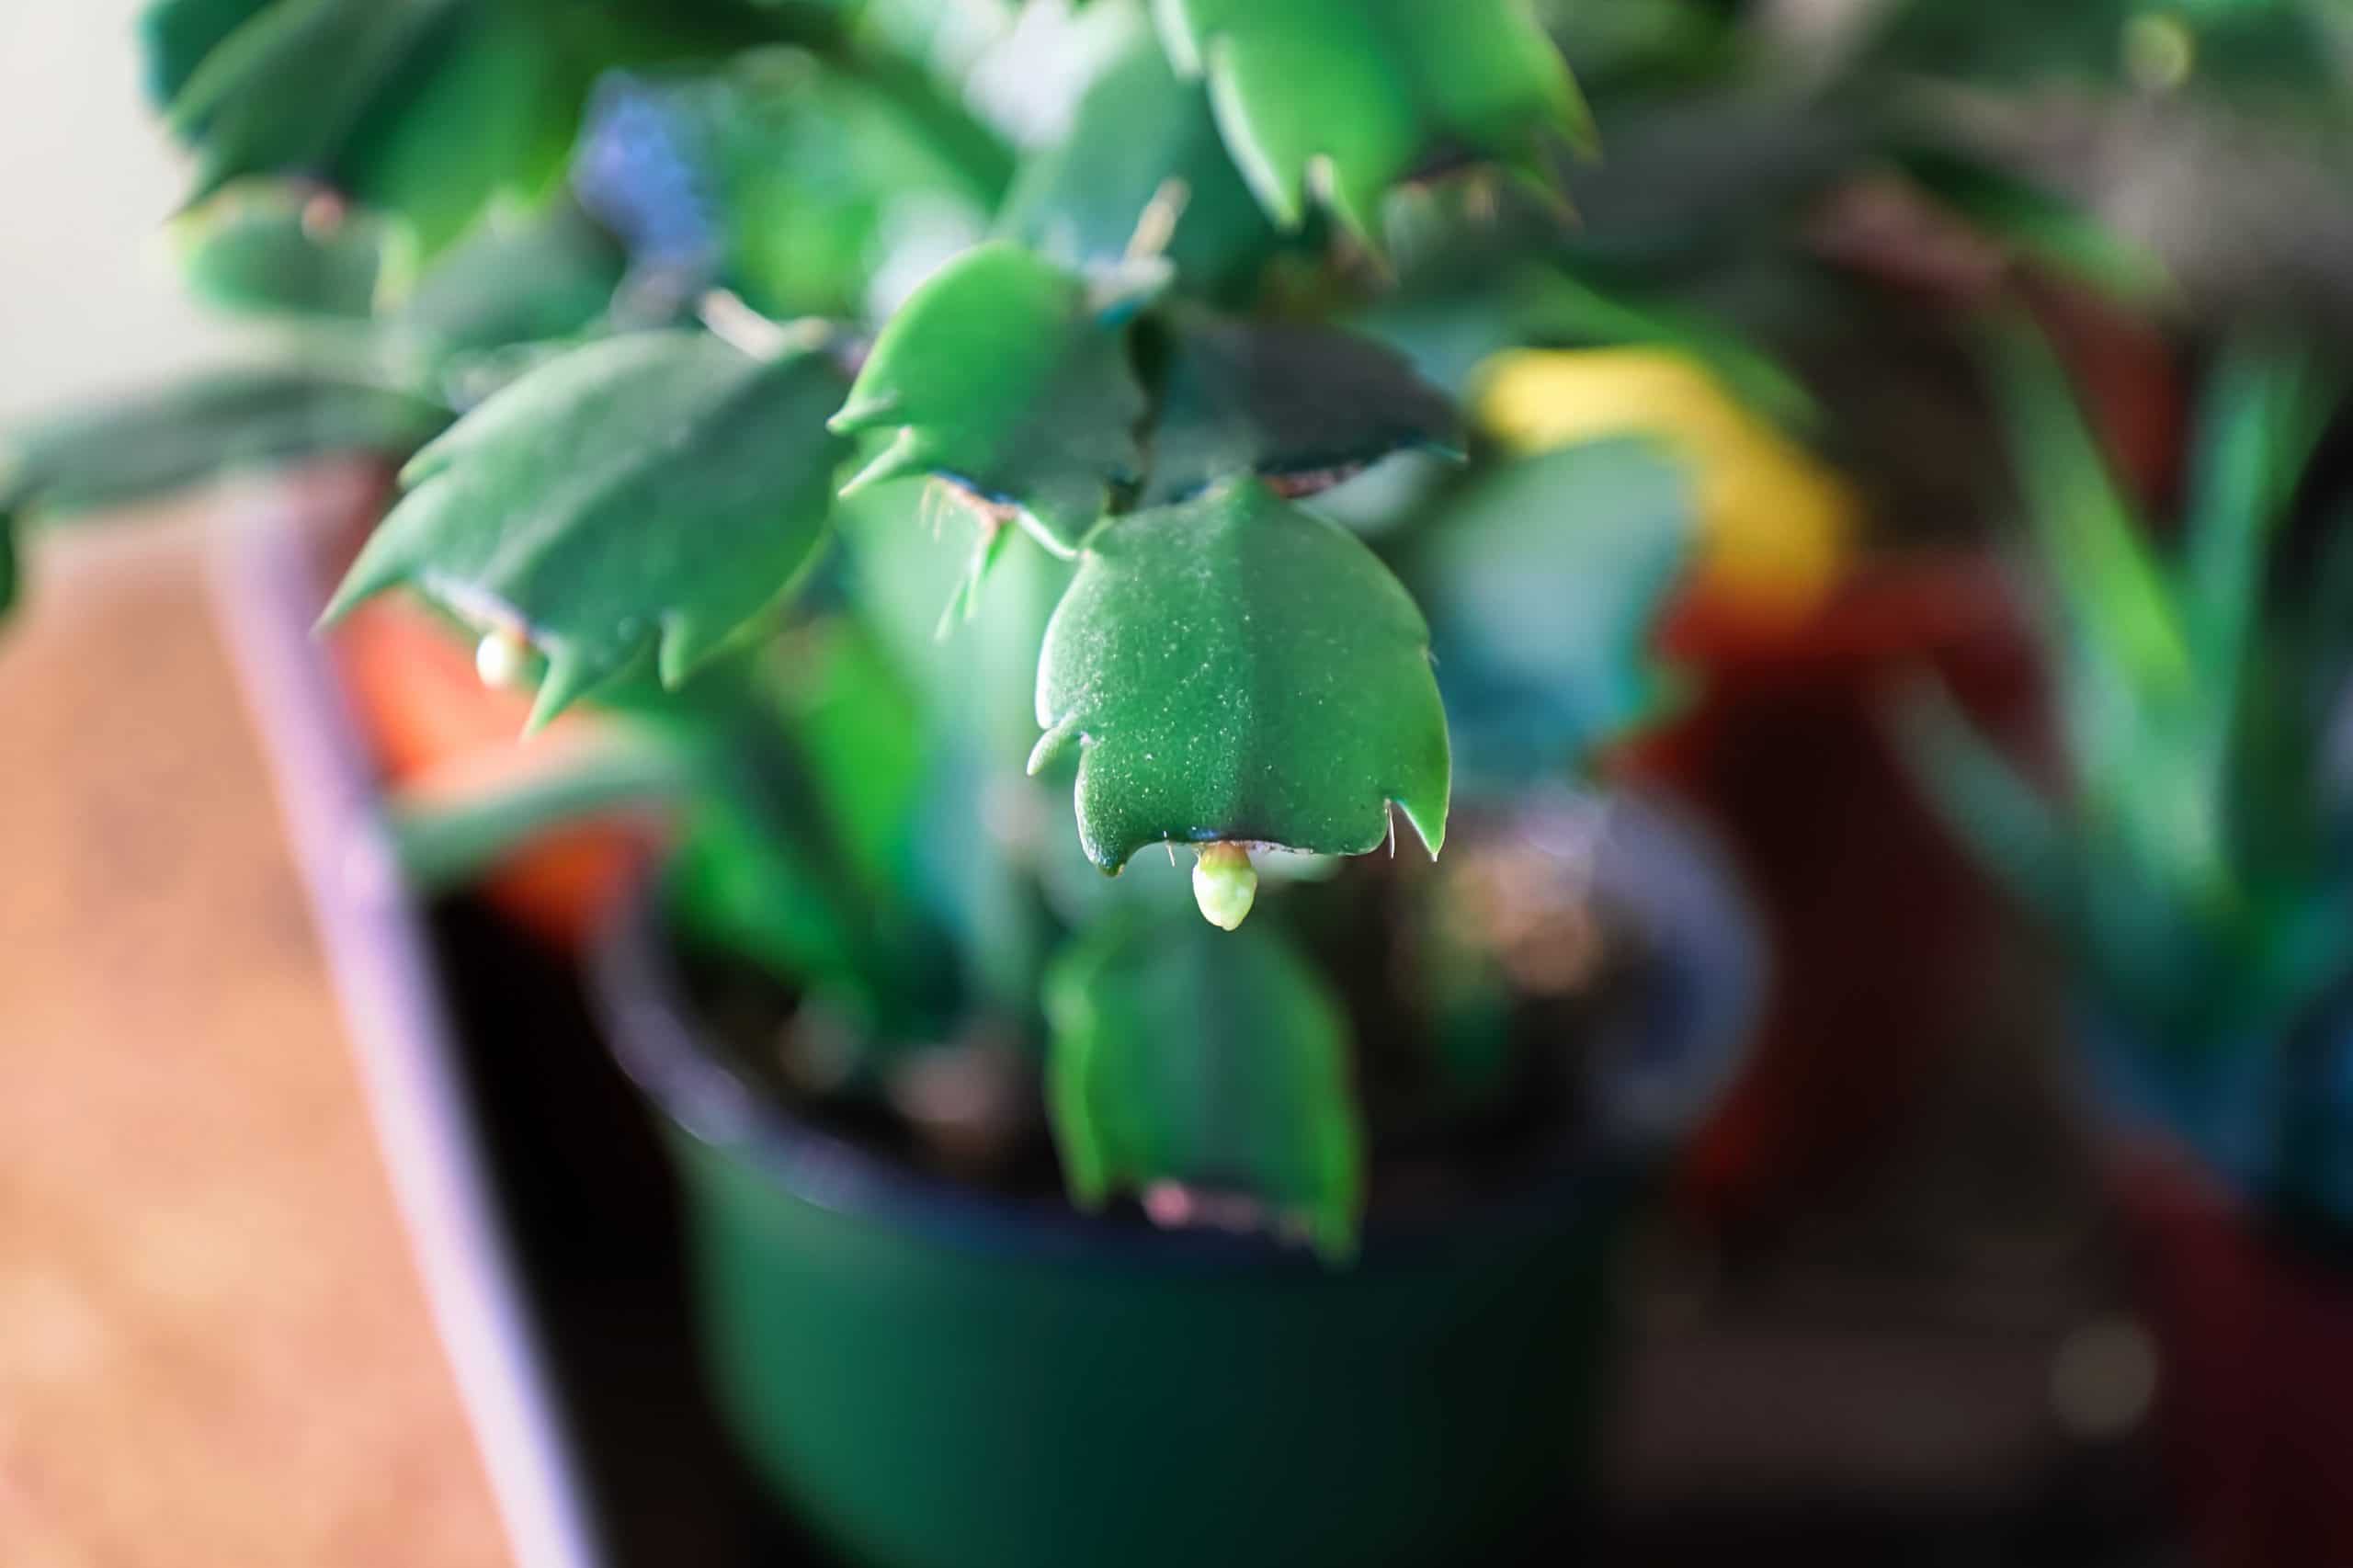
What is a Christmas Cactus?

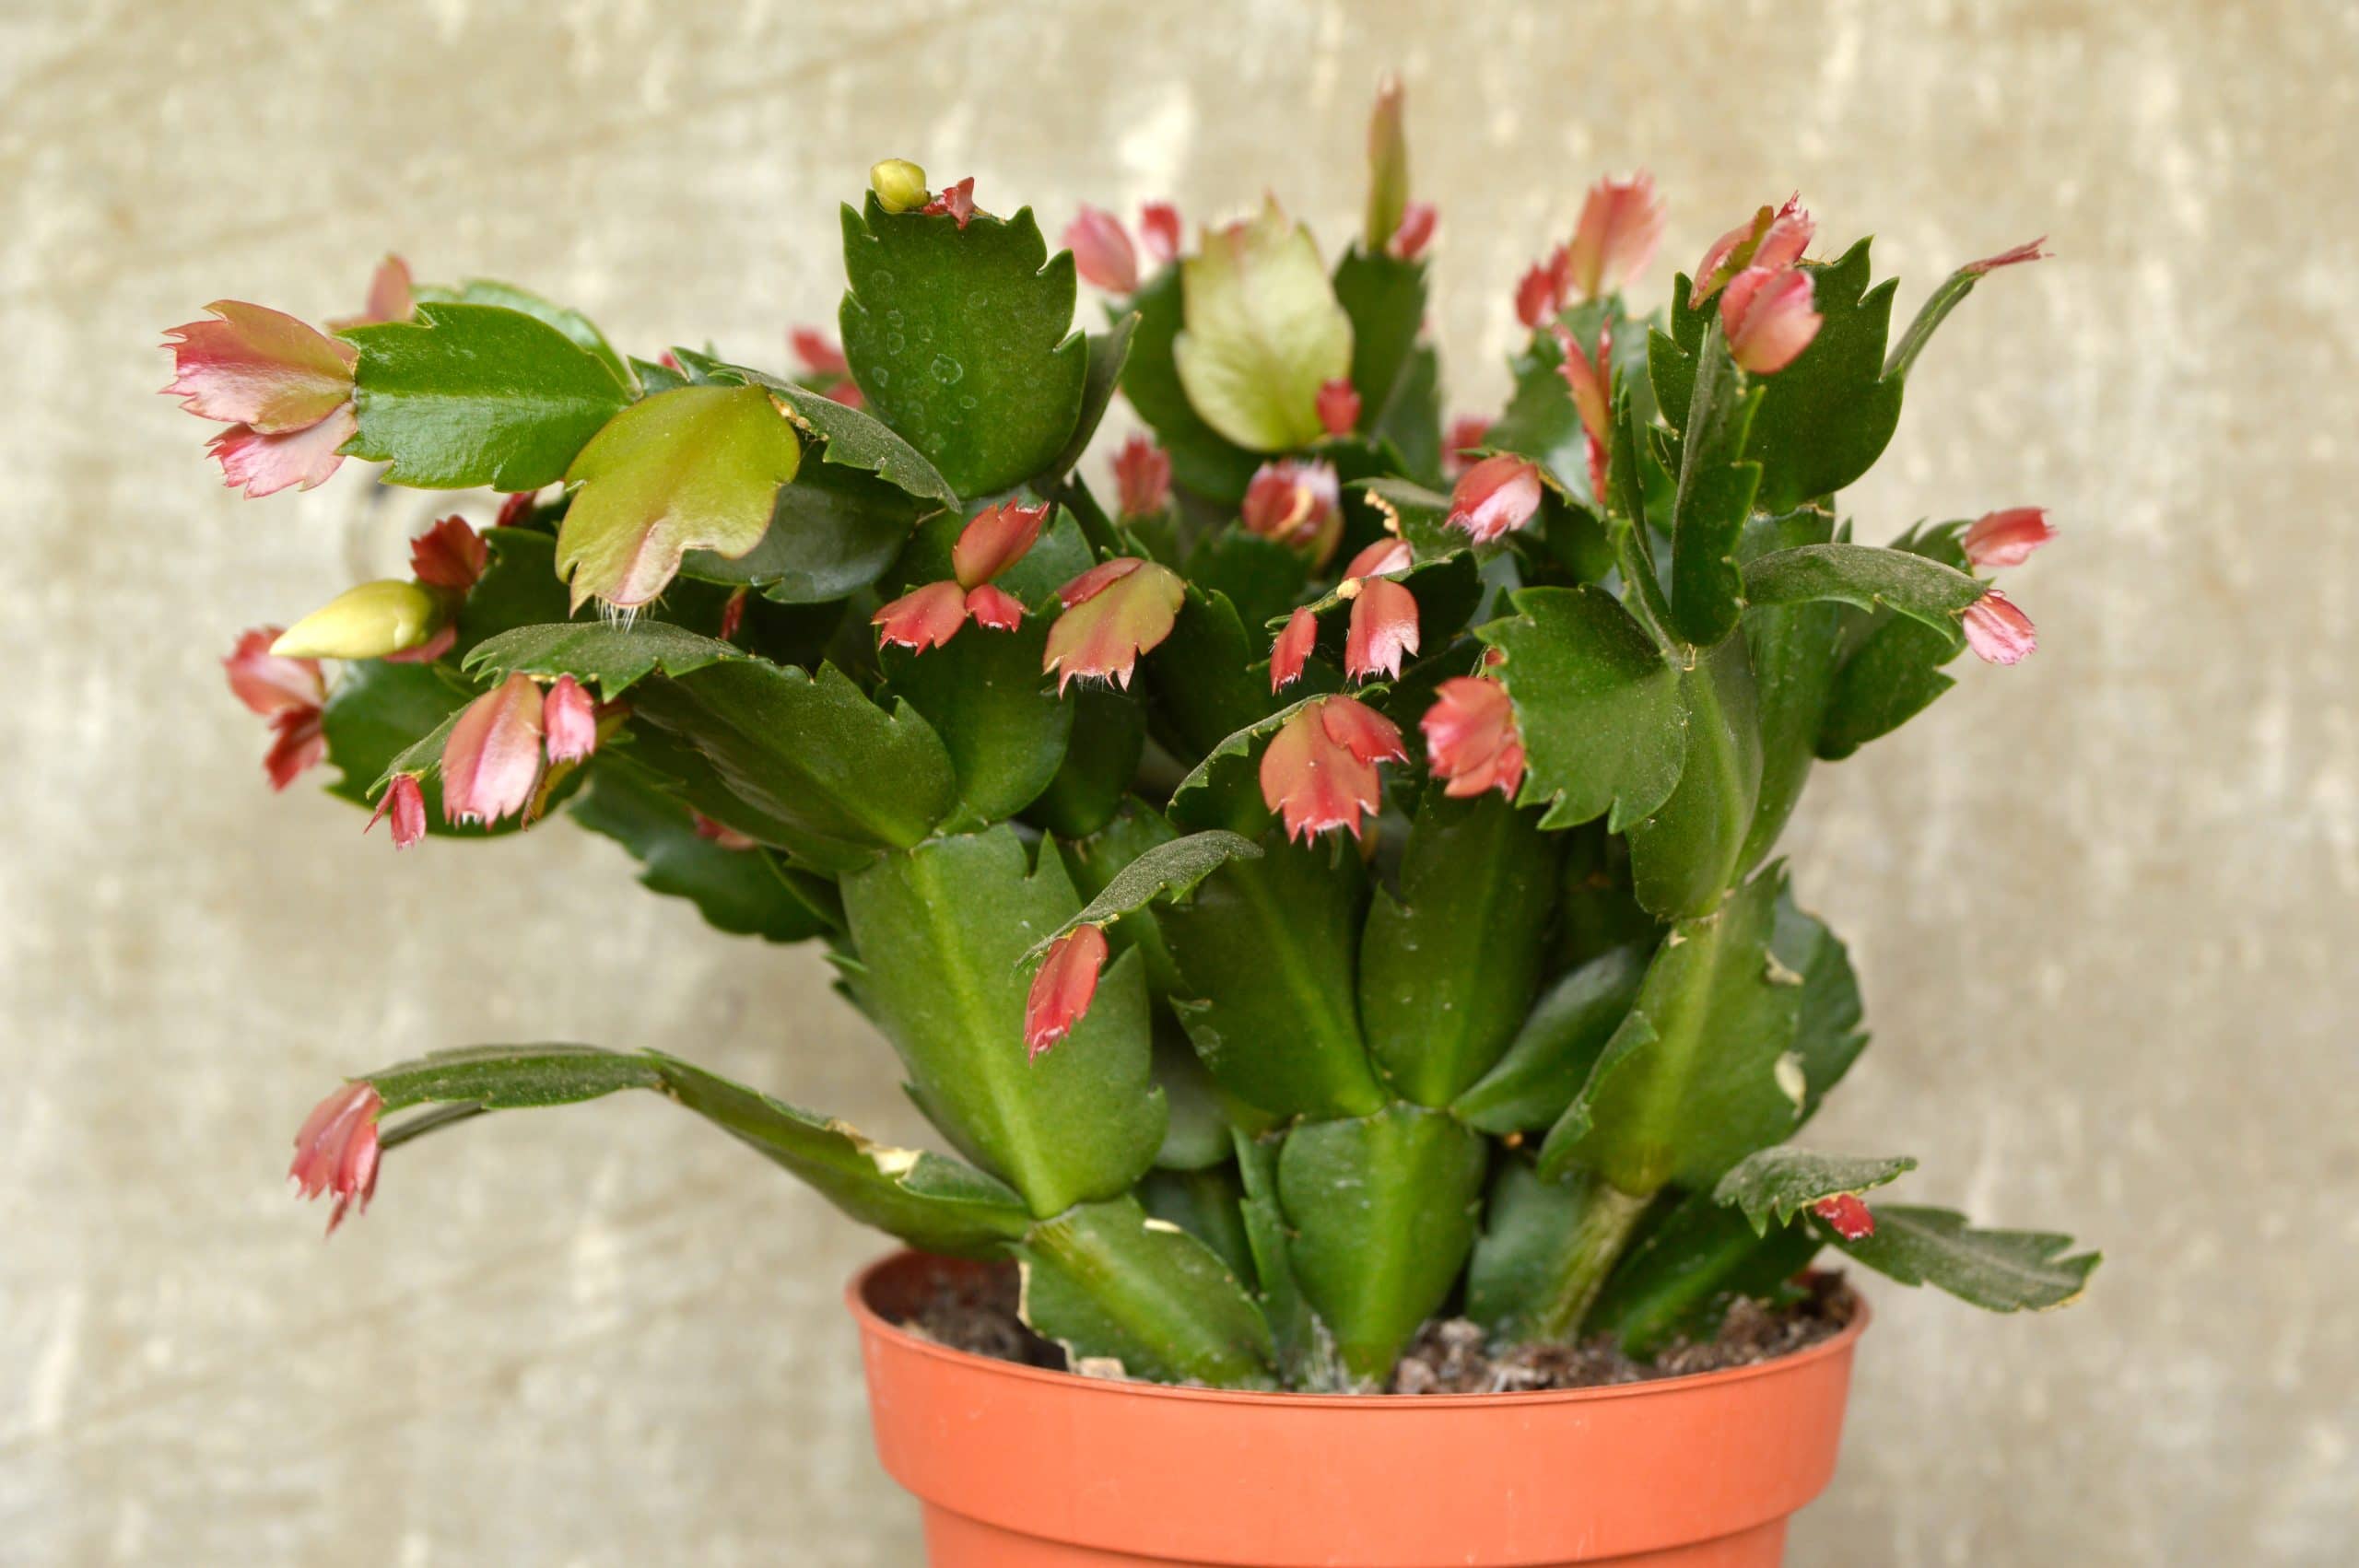
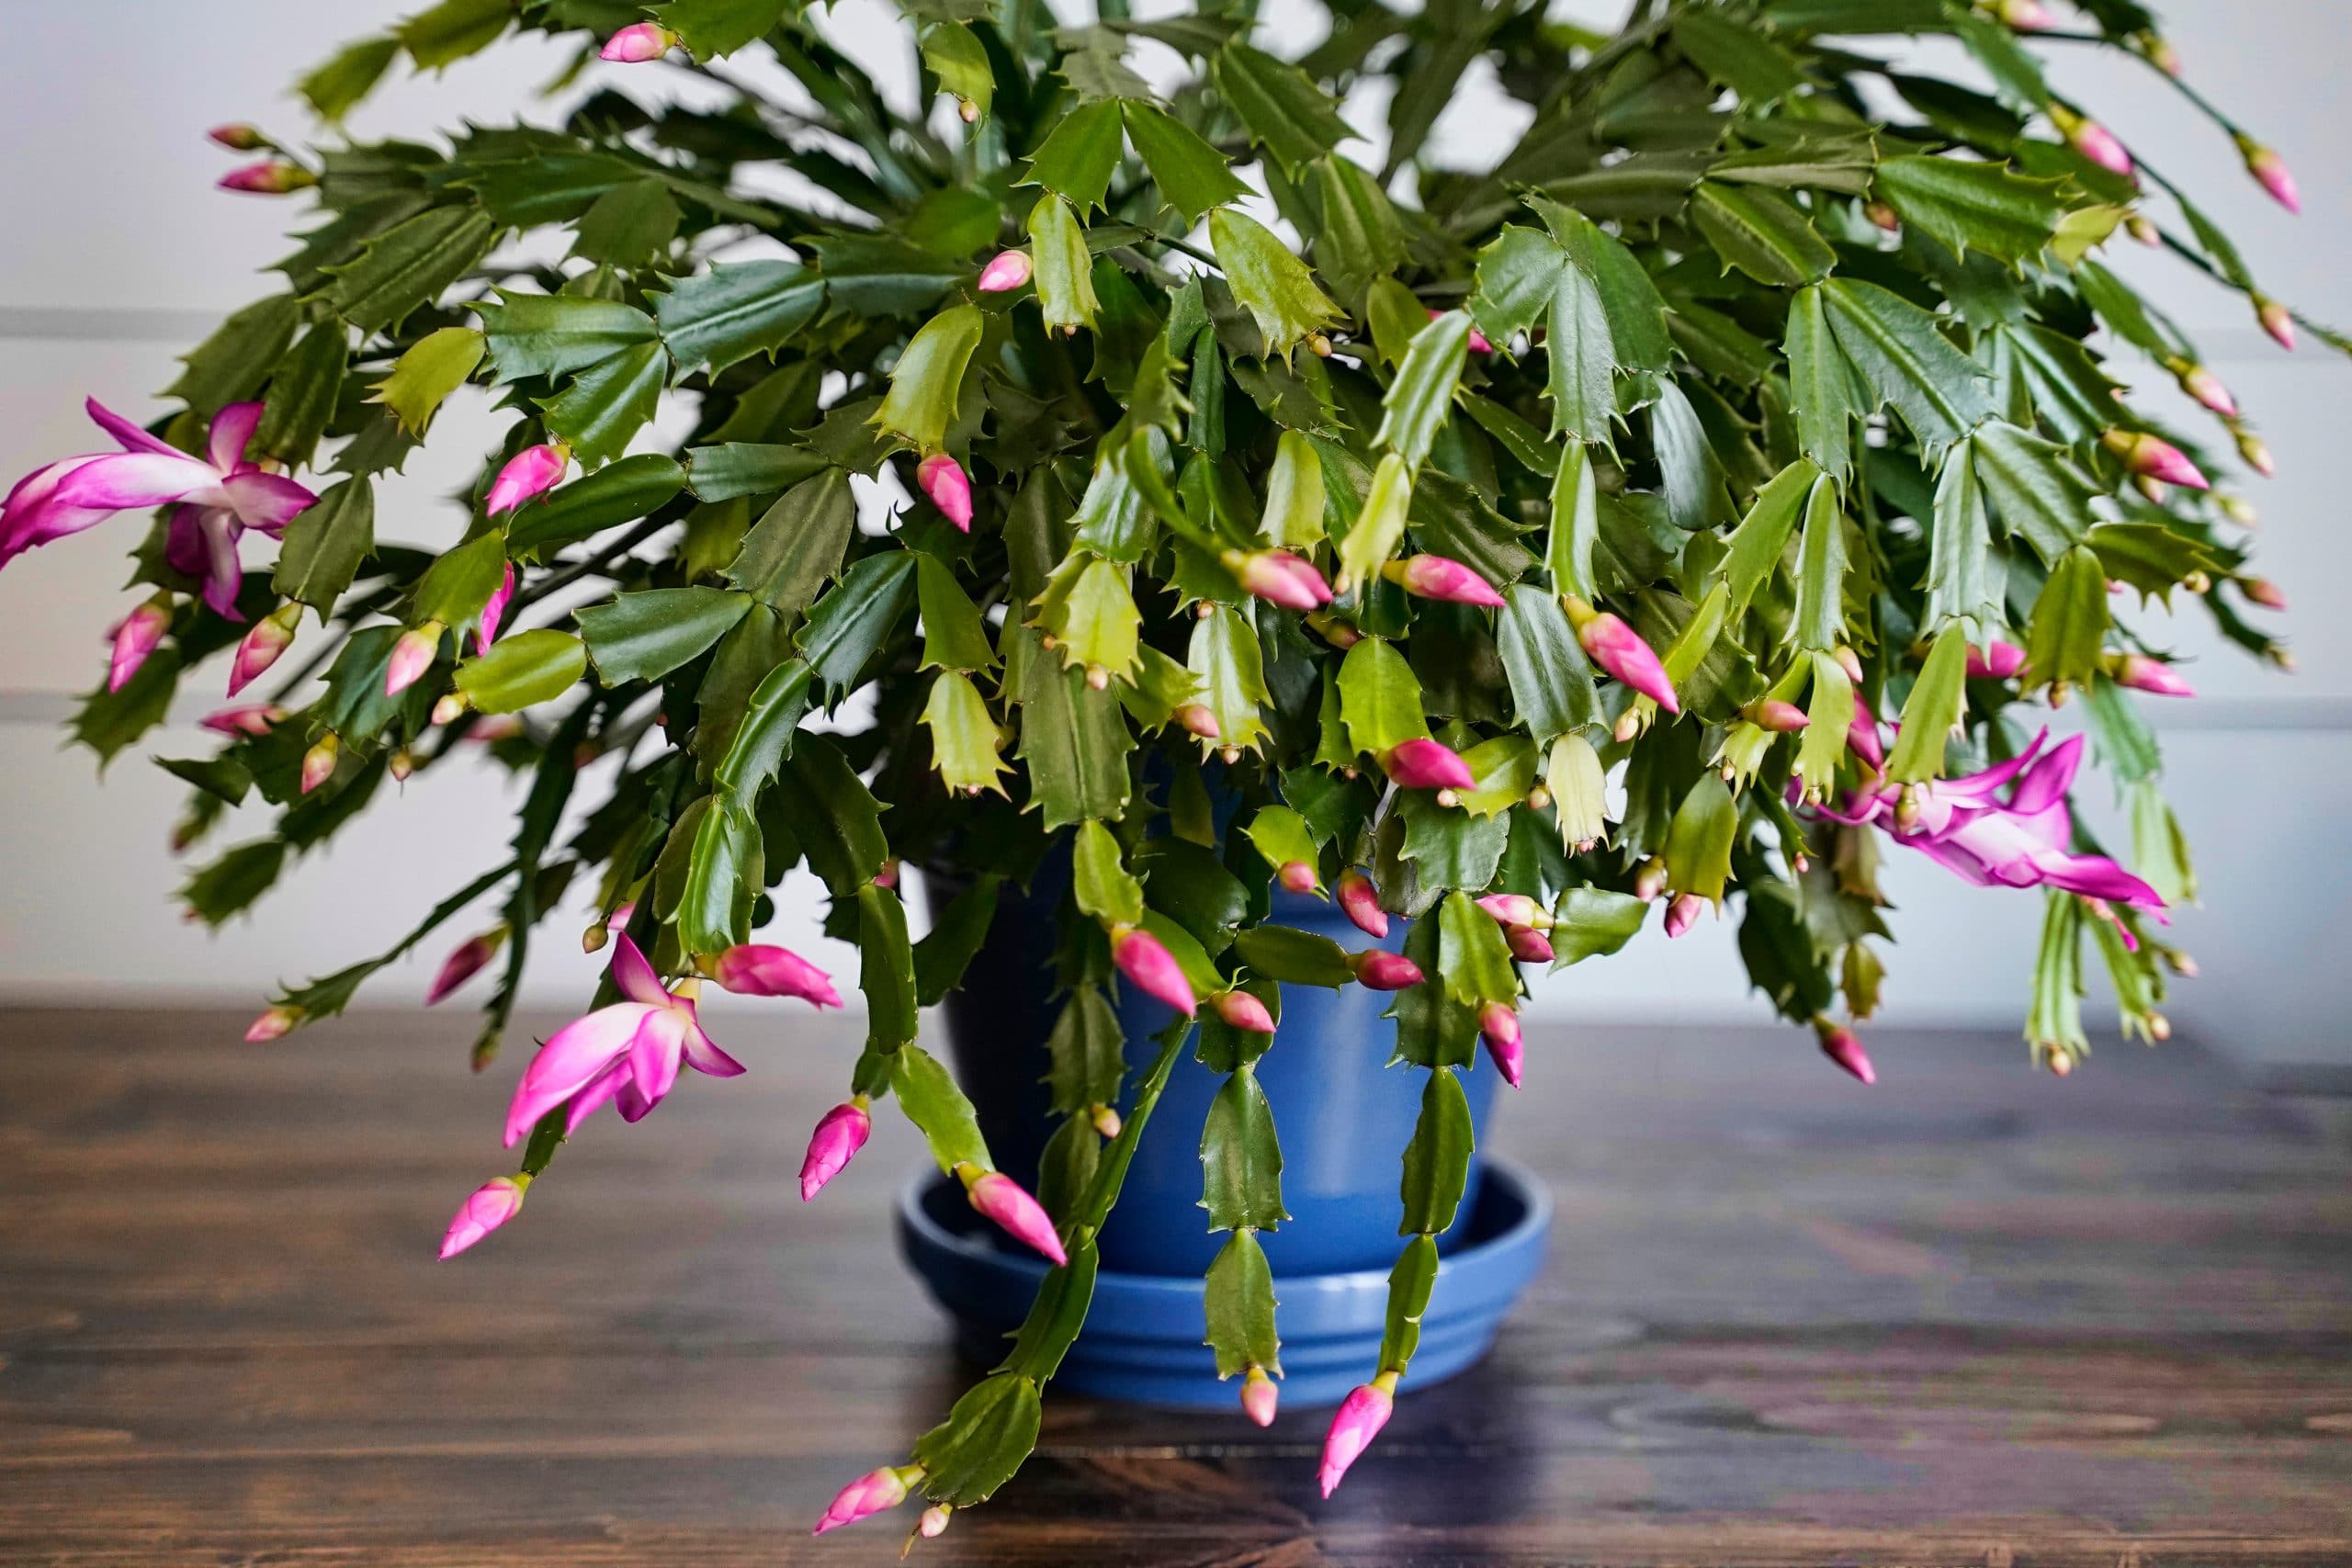
The Christmas Cactus is a member of the Schlumbergera genus of cacti native to the coastal mountains of South-Eastern Brazil, where it is known as Flor de Maio, May Flower. These days it is best known as a popular houseplant grown around the world. In the Northern Hemisphere, it is called the Christmas Cactus because it typically blooms around Christmas time. This is the same reason for the Brazilian name, but the timing is slightly different due to climate differences.
Why Propagate a Christmas Cactus?
Why might you want to propagate your Christmas Cactus? Well, you might want to grow more of them. Who wouldn’t want to have a Christmas Cactus in every room of their house? Or maybe you want to give the gift of a cactus to friends and family. You might have a cutting from an office Christmas Cactus. There are a million reasons why you might want to propagate your Christmas Cactus. It’s a popular thing for Christmas Cactus owners to do once they really feel comfortable with their cactus, especially when people come over for Christmas and faun over how gorgeous it is blooming in the middle of winter when almost nothing else is flowering.
Is Propagating Christmas Cactus Hard?
If you’ve propagated a plant before, any plant at all, then you know that it takes time and patience, which is something that can be really difficult if you’re new to it. You might be tempted to disturb it to check if the roots are growing or not. That’s one way to guarantee they won’t ever be coming, though. Getting their water needs right can also be a bit of a challenge. Overwatering is the most common problem with all houseplants, and that is also true for propagating Christmas Cactus. So, is propagating Christmas Cactus hard? Yes and no. It’s actually really easy, the hardest part is being patient.
Propagation Supplies
You don’t really need much to propagate a Christmas Cactus. In fact, the most important thing you need is a mother plant or at least access to one. I recommend starting with a very healthy mature Christmas Cactus. One that is sick or dying will give you weak cuttings that may not have the energy left to grow roots. To propagate a Christmas Cactus, you will need:
- A healthy mature Christmas Cactus or the cuttings from one
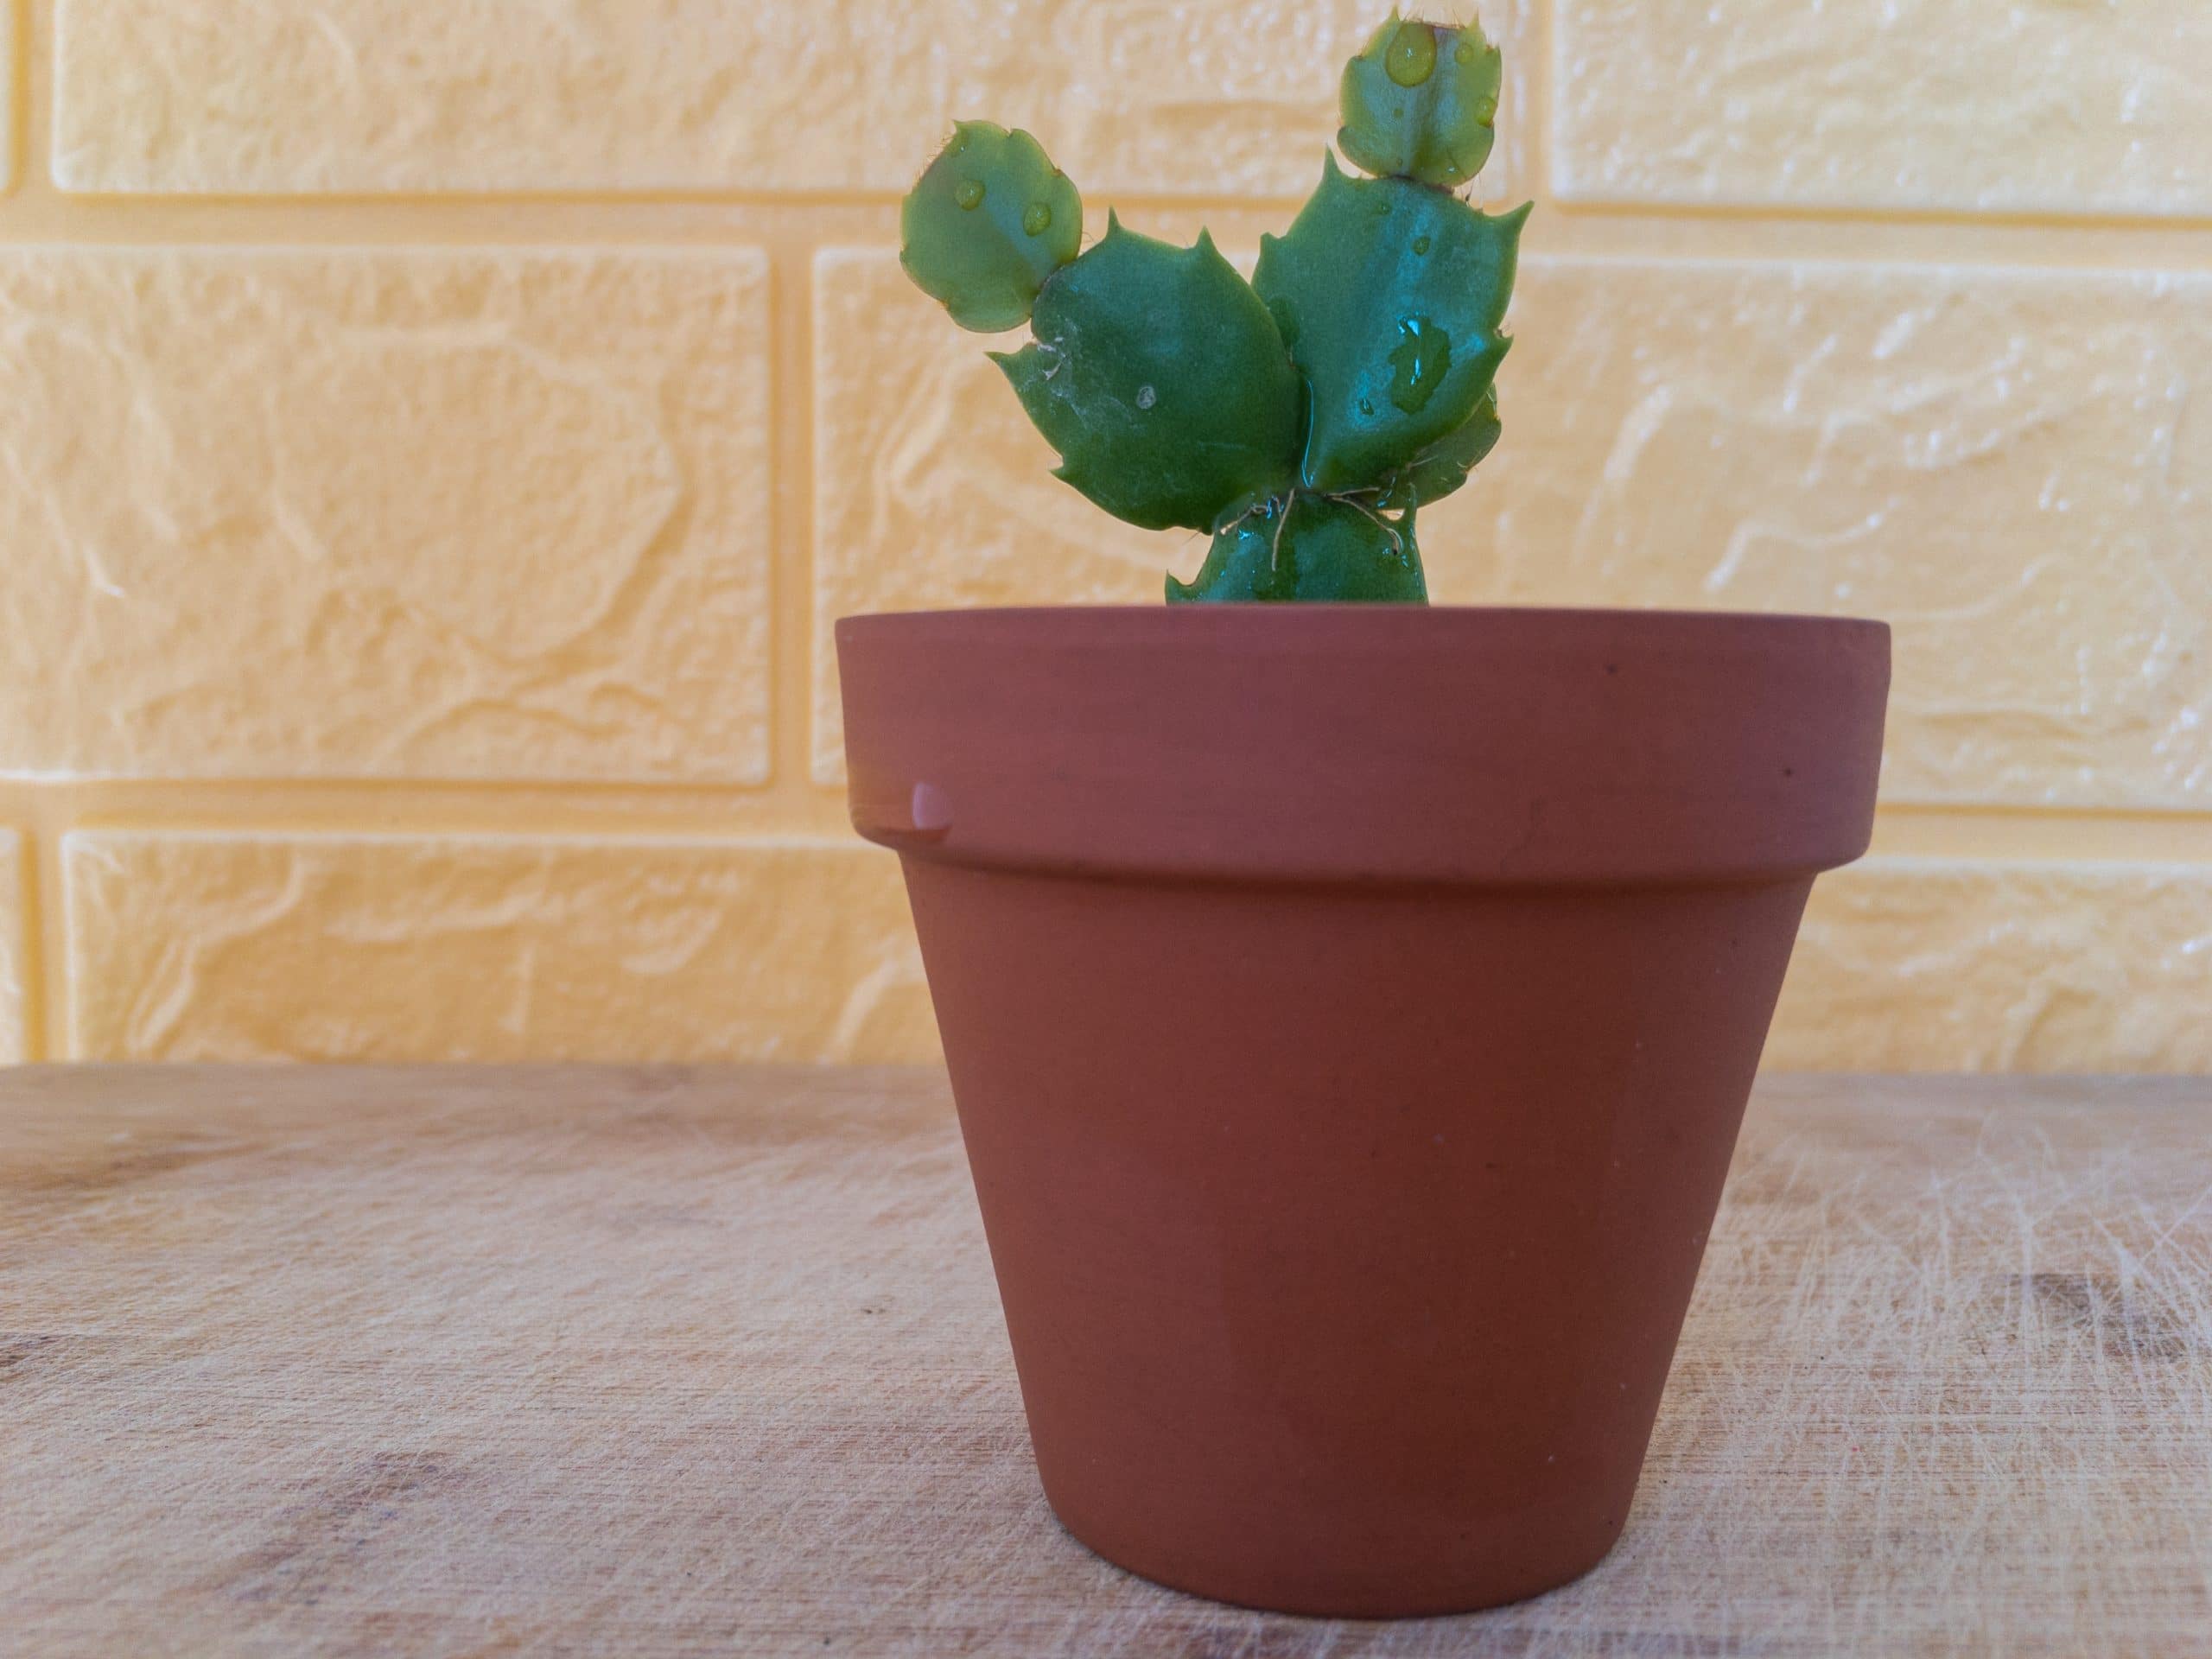
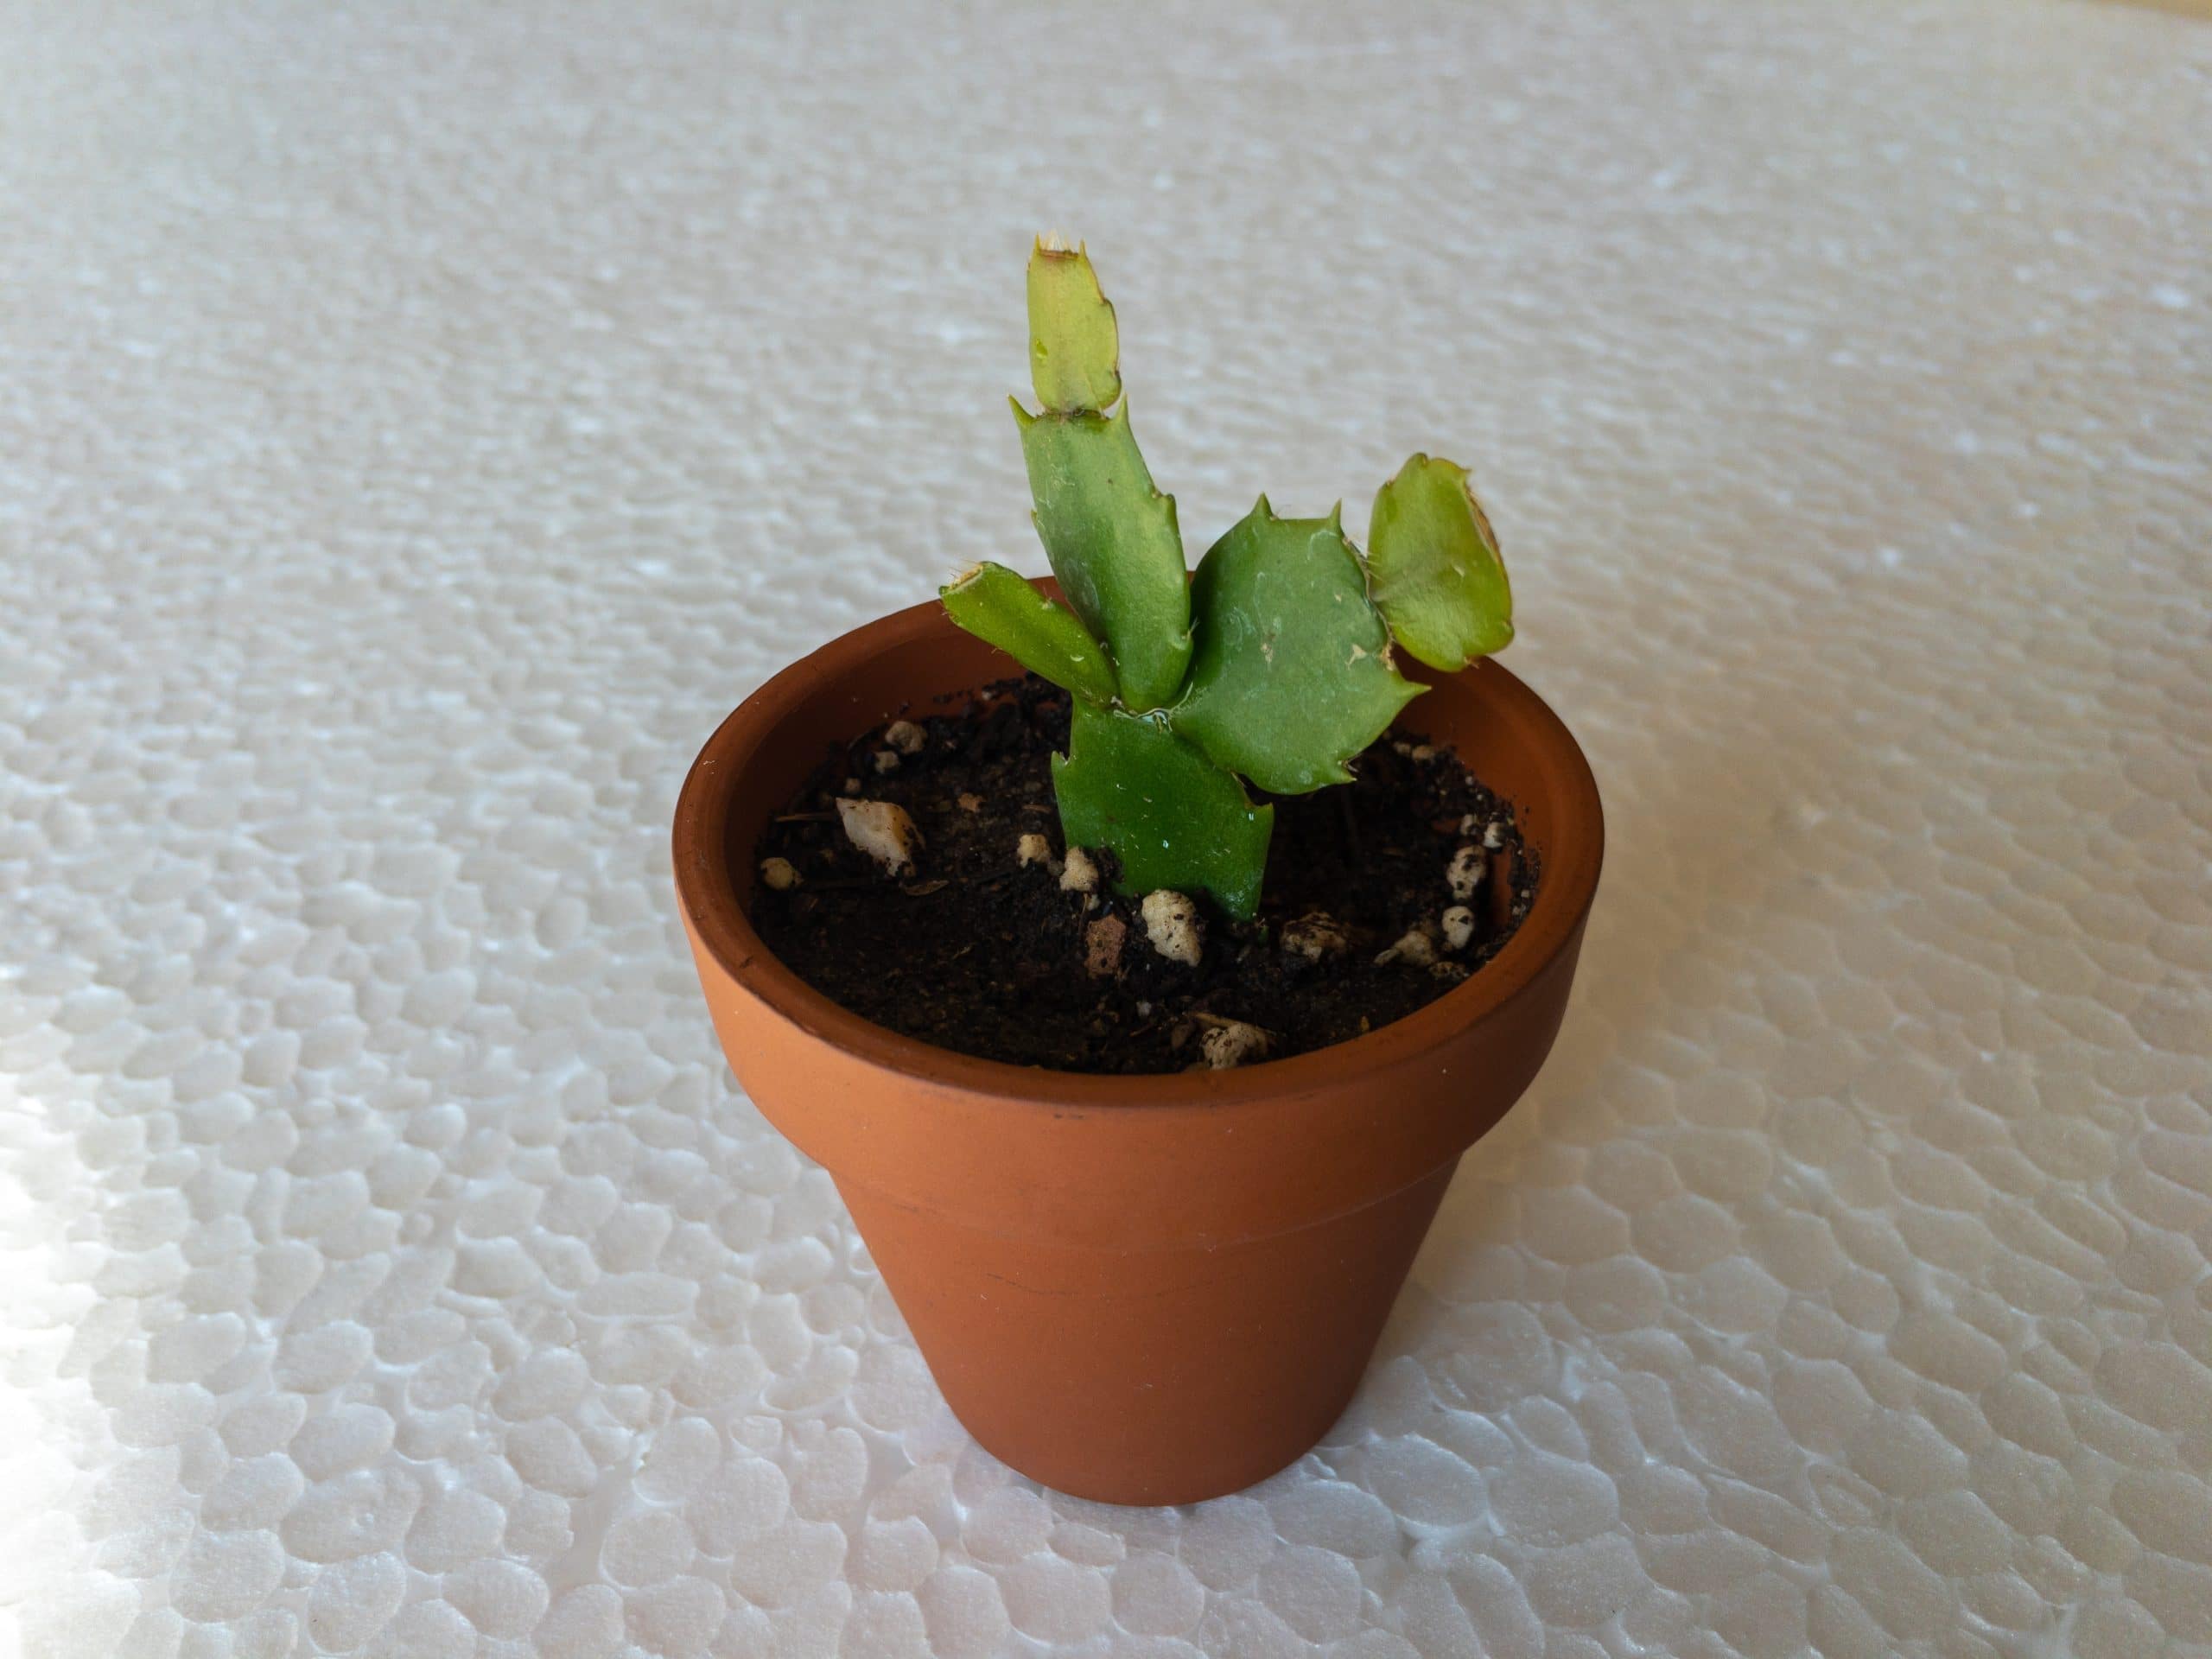
- A pot, four to five inches is ideal, and terracotta is best.
- Potting Soil
- Rooting Hormone
That’s it! That’s really all you need. It is that simple.
Christmas Cactus Propagation Methods
So you’ve decided to Propagate your Christmas Cactus. There are a few different methods for you to pick from. Some of them are easier than others, and which one you decide to do is entirely dependent on what you’re working with.
Division
If your Christmas Cactus has more than one stem coming up out of the soil, it’s in then the perfect candidate for division. This process does require more handling of your plant, including taking it out of its pot, which might be a risky proposition if you aren’t comfortable with the process. But, the benefit is that you will immediately go from one mature Christmas Cactus to two mature Christmas cactuses. For that reason, many seasoned houseplant owners will go the division route if it is available to them.
Cutting
By far, the most popular way to propagate a Christmas Cactus is from a cutting. Chances are that the mother plant you are going to be propagating from started as a cutting. It is widely considered to be the easiest of all the methods since it doesn’t require handling the mother plant as much. Generally, it has few requirements to make it happen, mostly that pesky patience thing I mentioned earlier. You can propagate from a cutting of a single segment, or you can take a larger cutting with several segments. Believe it or not, the larger the cutting, the quicker and easier the whole process is.
Seeds

The final method for propagating Christmas Cactus is doing it by seed. You may not have realized it because most Christmas Cactuses are grown indoors, but they can actually produce fruit. The reason why it is so rare, though, is that the flowers need to be fertilized. So if you don’t have any insects flying around in your house, you aren’t going to get any fertilized flowers…unless you do it by hand.
Once you decide to do this, you have to wait for the fruit to ripen to collect the seeds. You can plant those seeds and begin the process of growing new Christmas Cactuses. Sadly the seeds don’t store well, so you can’t save seeds for future use. Also, if you’ve ever grown anything from seed before, you know it can be an incredibly long process to get to a mature plant. How long? Well, for a Christmas Cactus, you’re looking at two to three years!
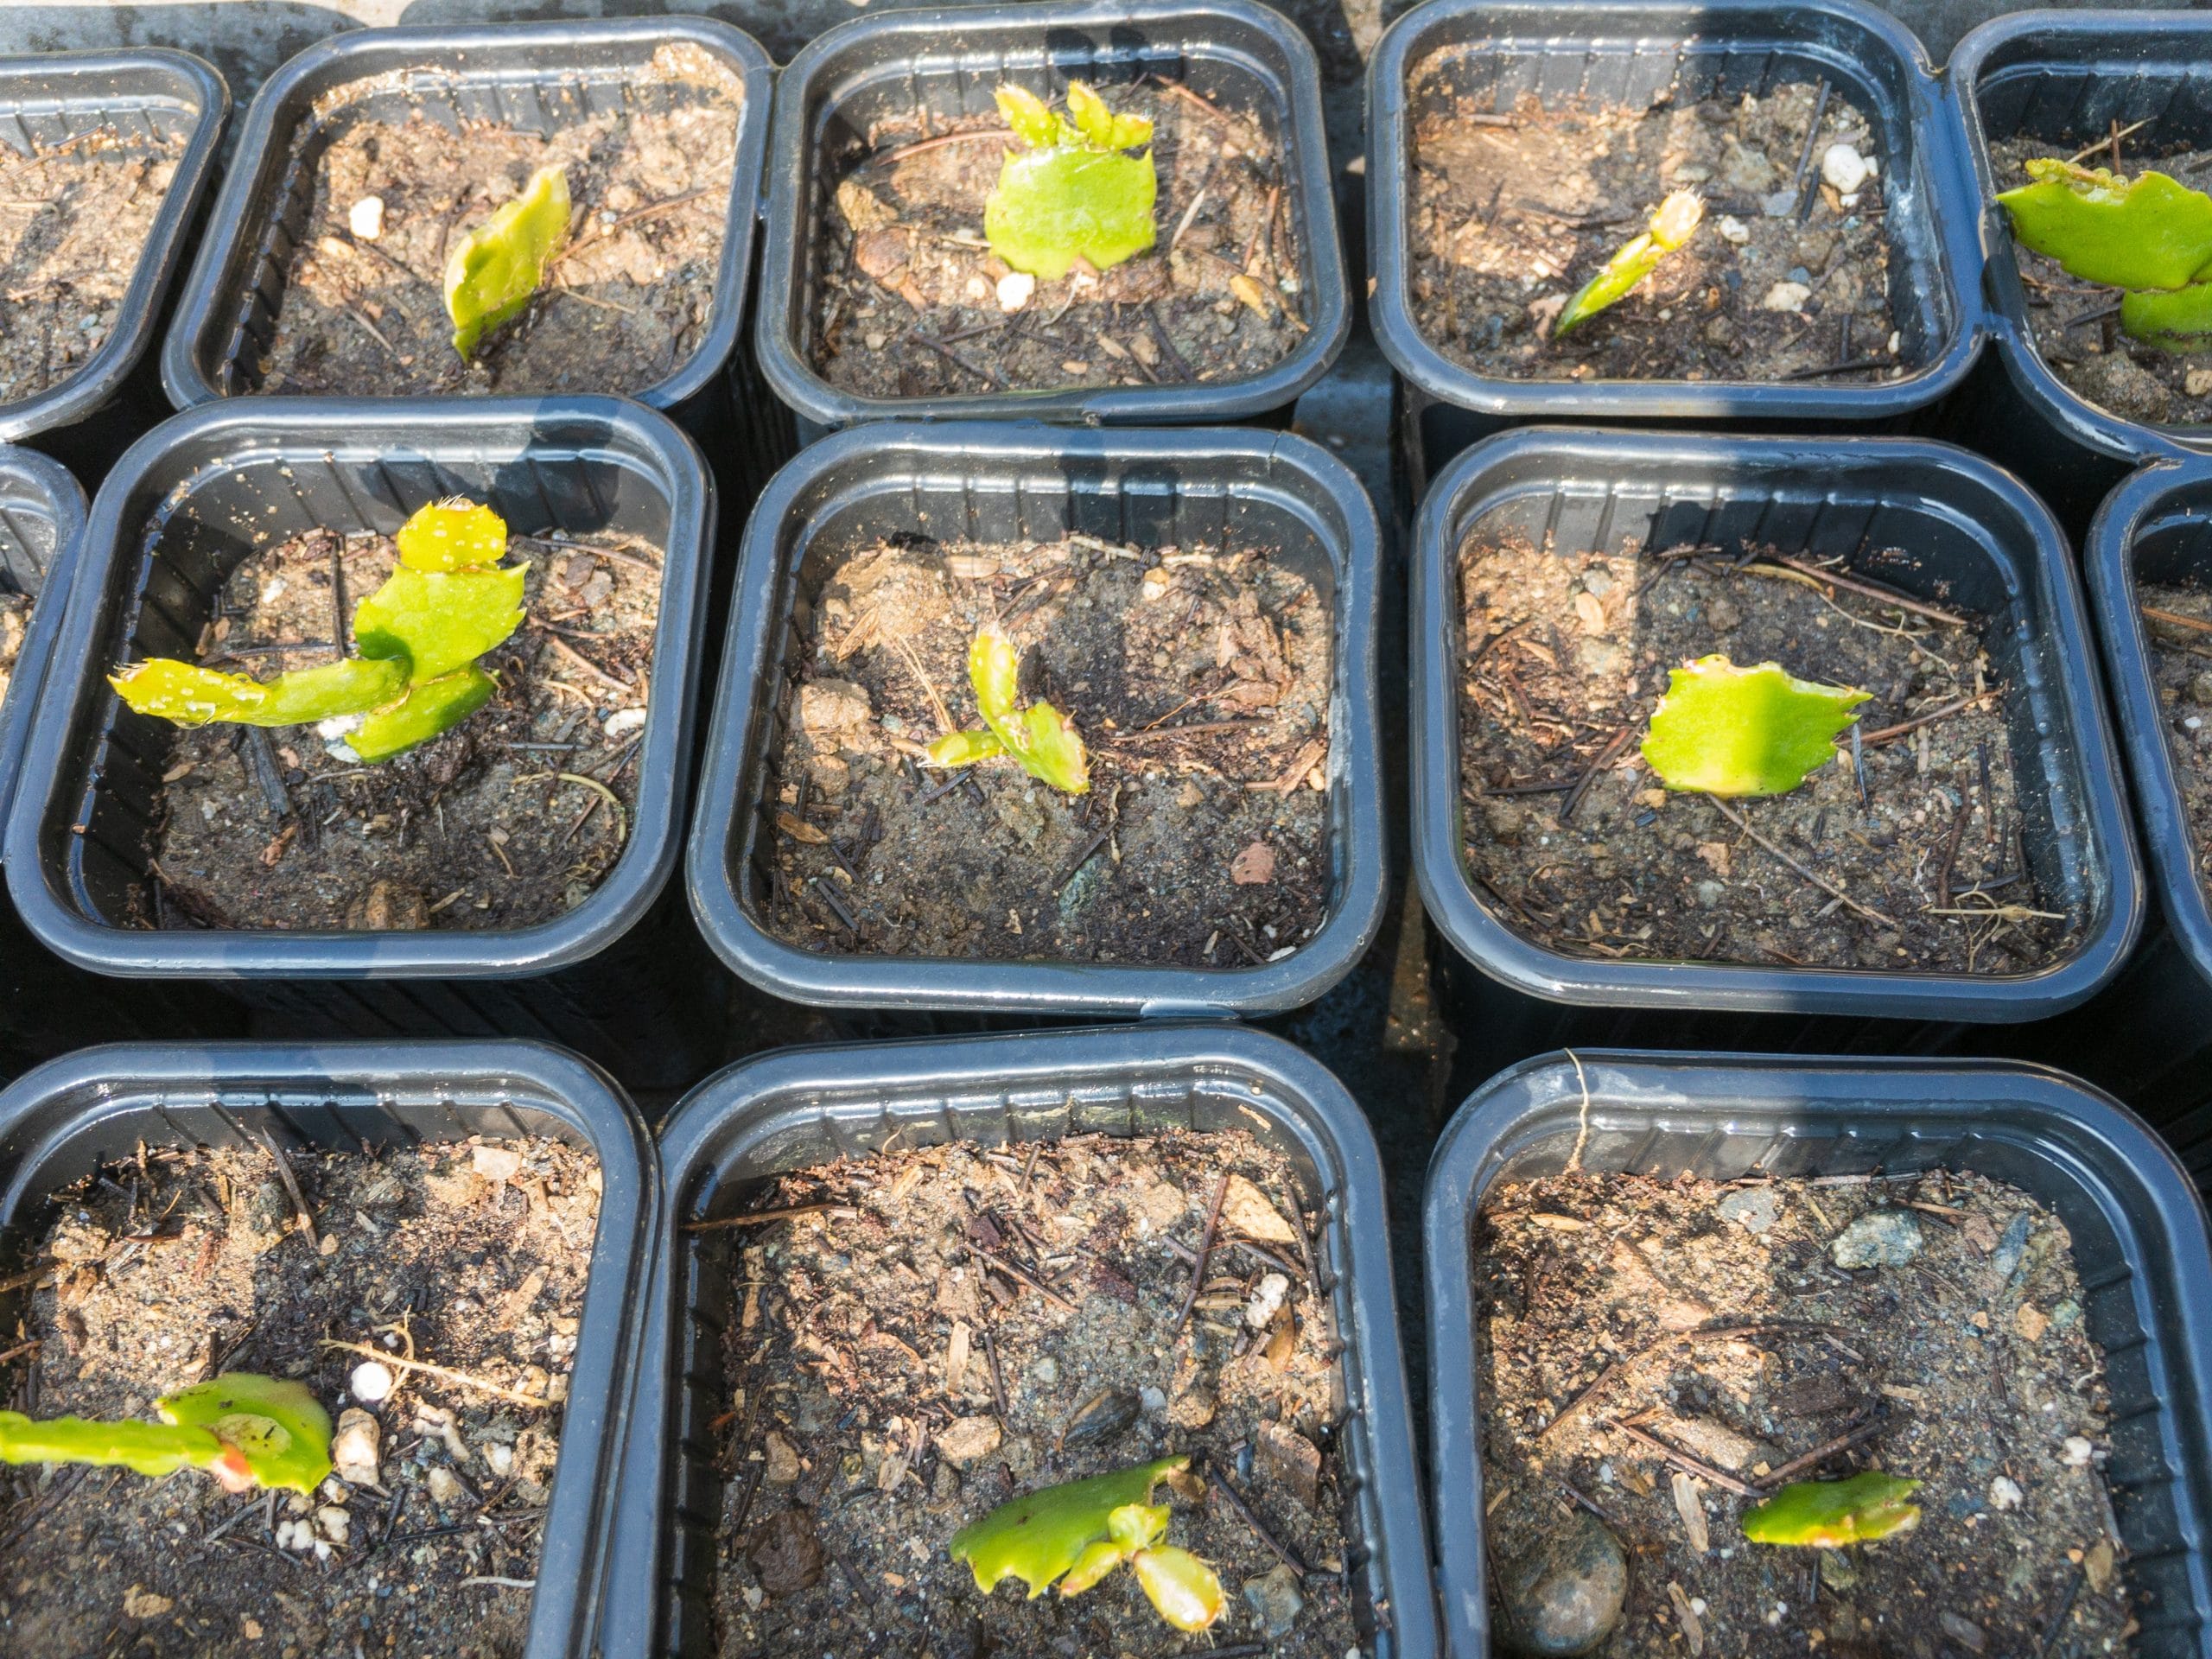
How to Propagate Christmas Cactus from Leaves
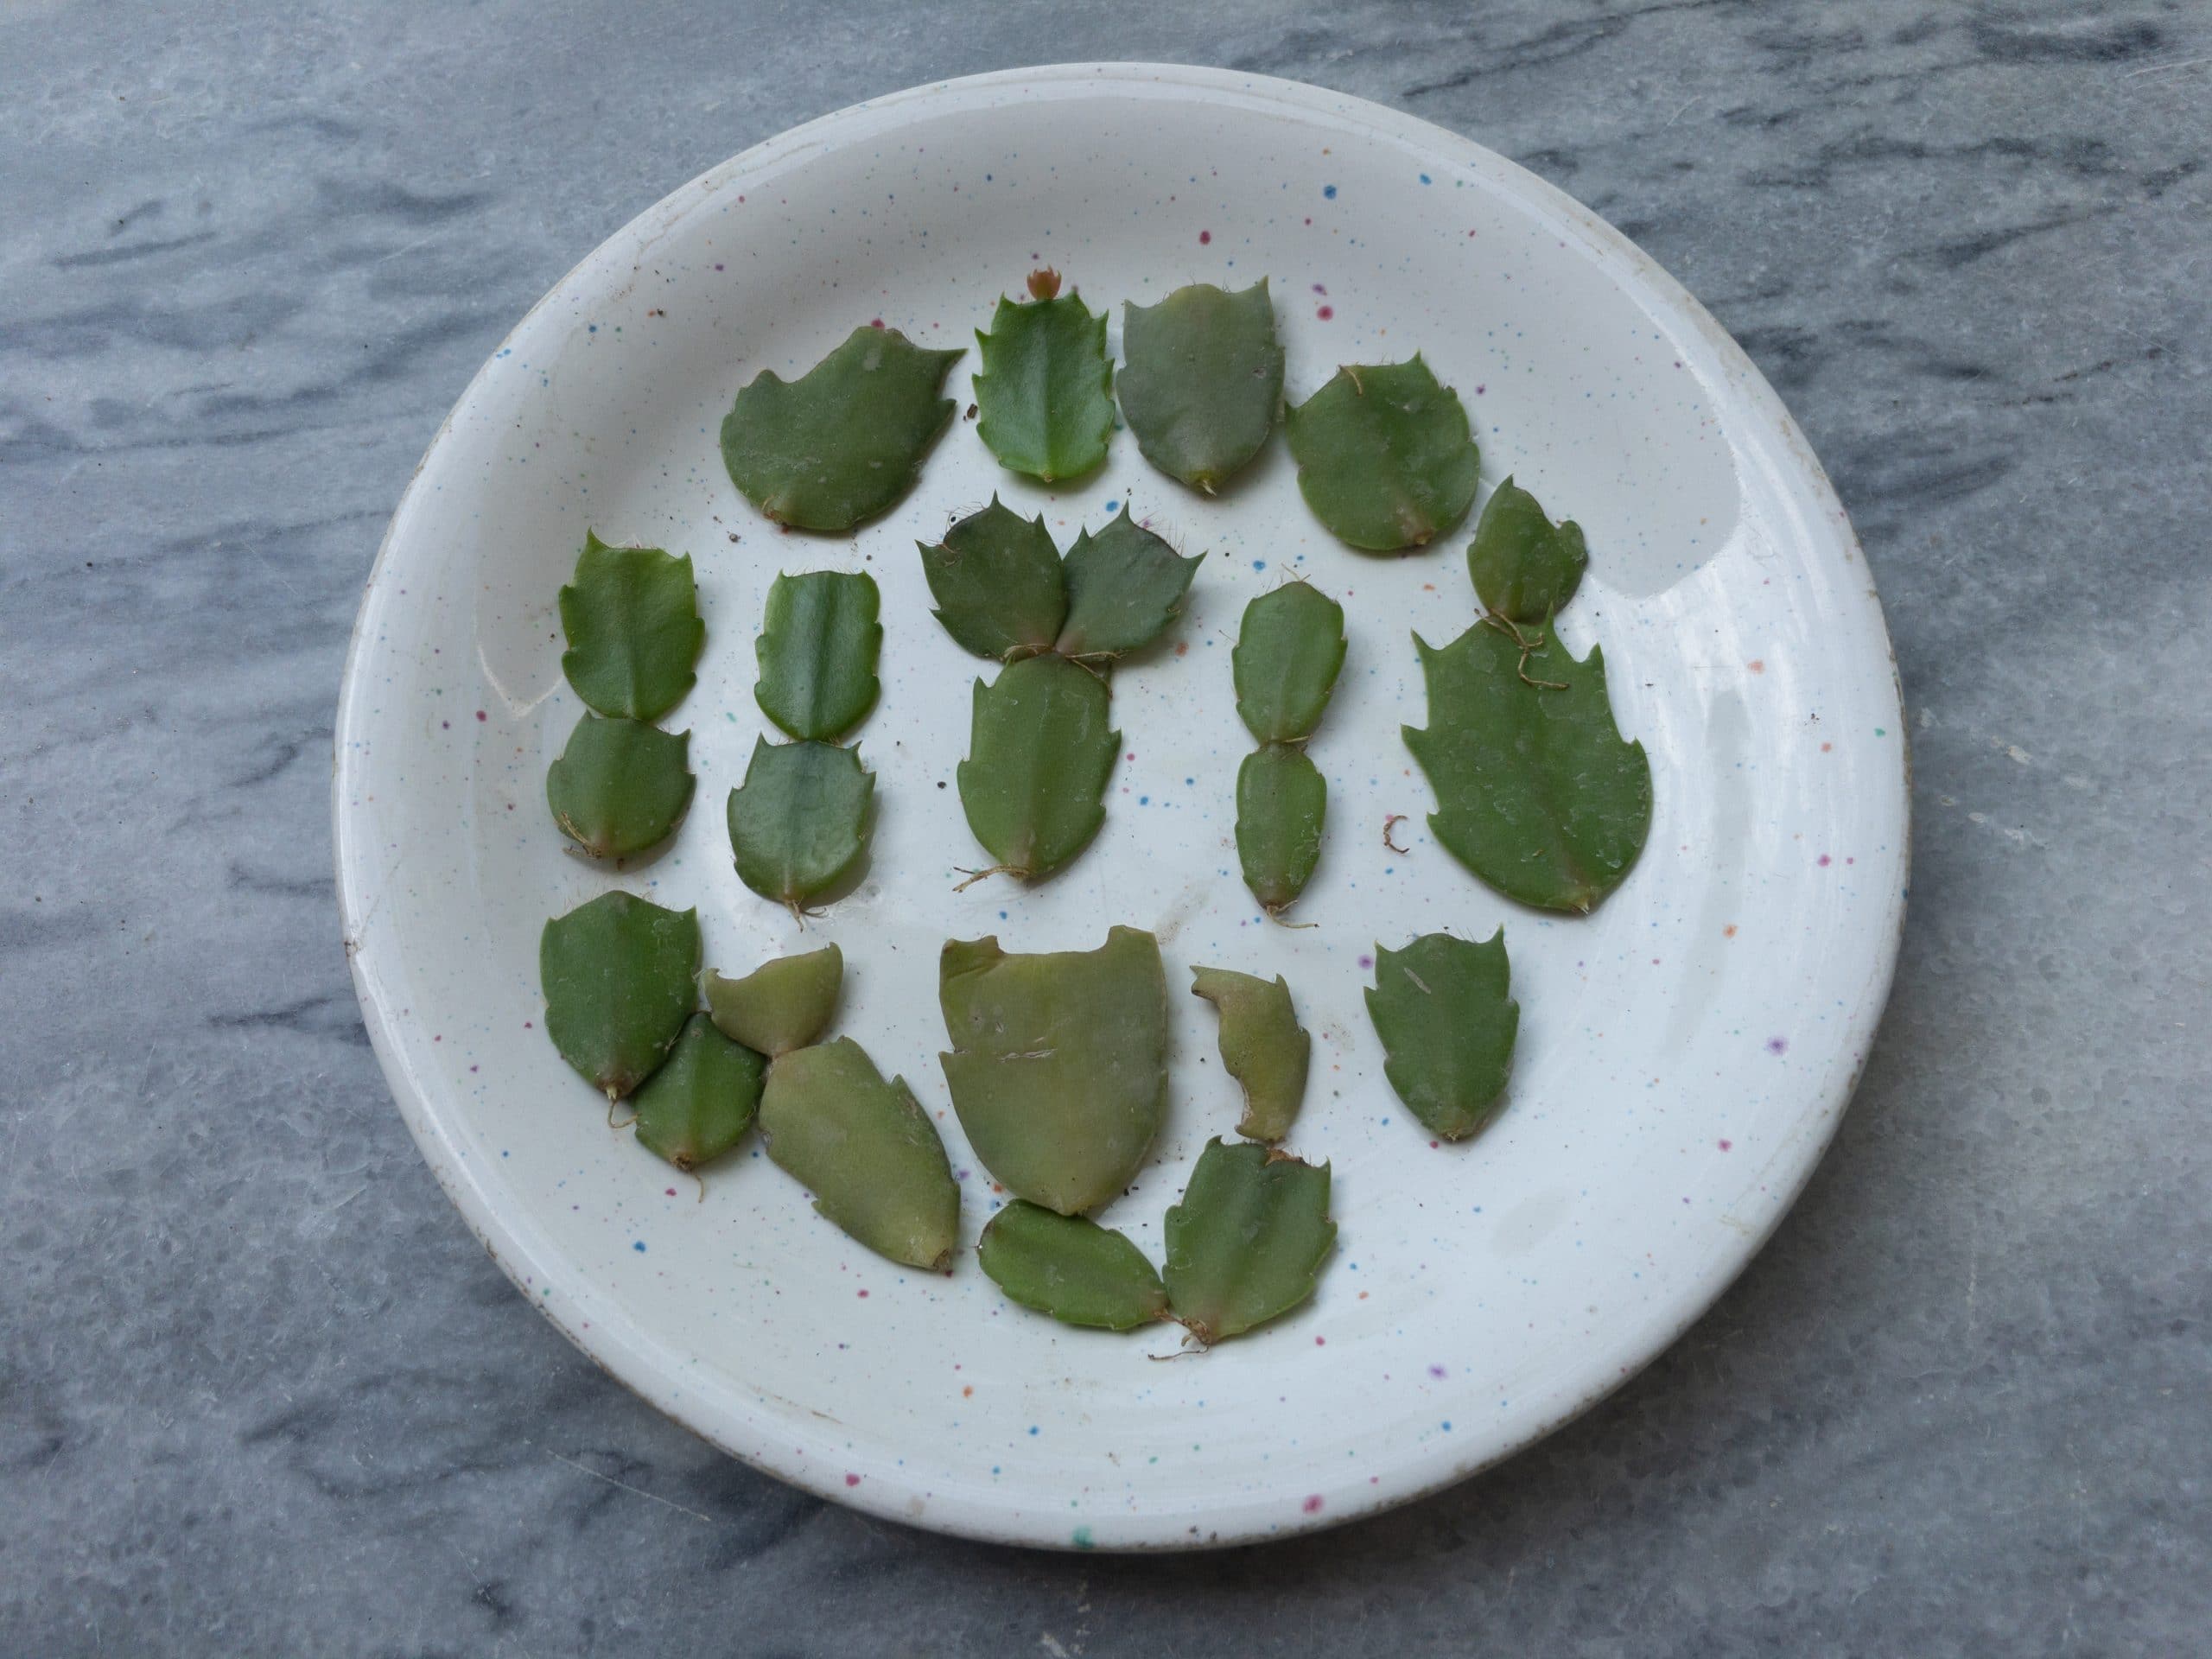
The number one reason why you might want to propagate a Christmas Cactus from a single leaf, or as they’re called on cacti, segment, is that you want to get a lot of cuttings all at the same time. It might also be the case that if you got a cutting from a friend, this was all they gave you. If you already have a cutting that was gifted to you, then skip ahead to step 2.
Step 1. Remove the segment.
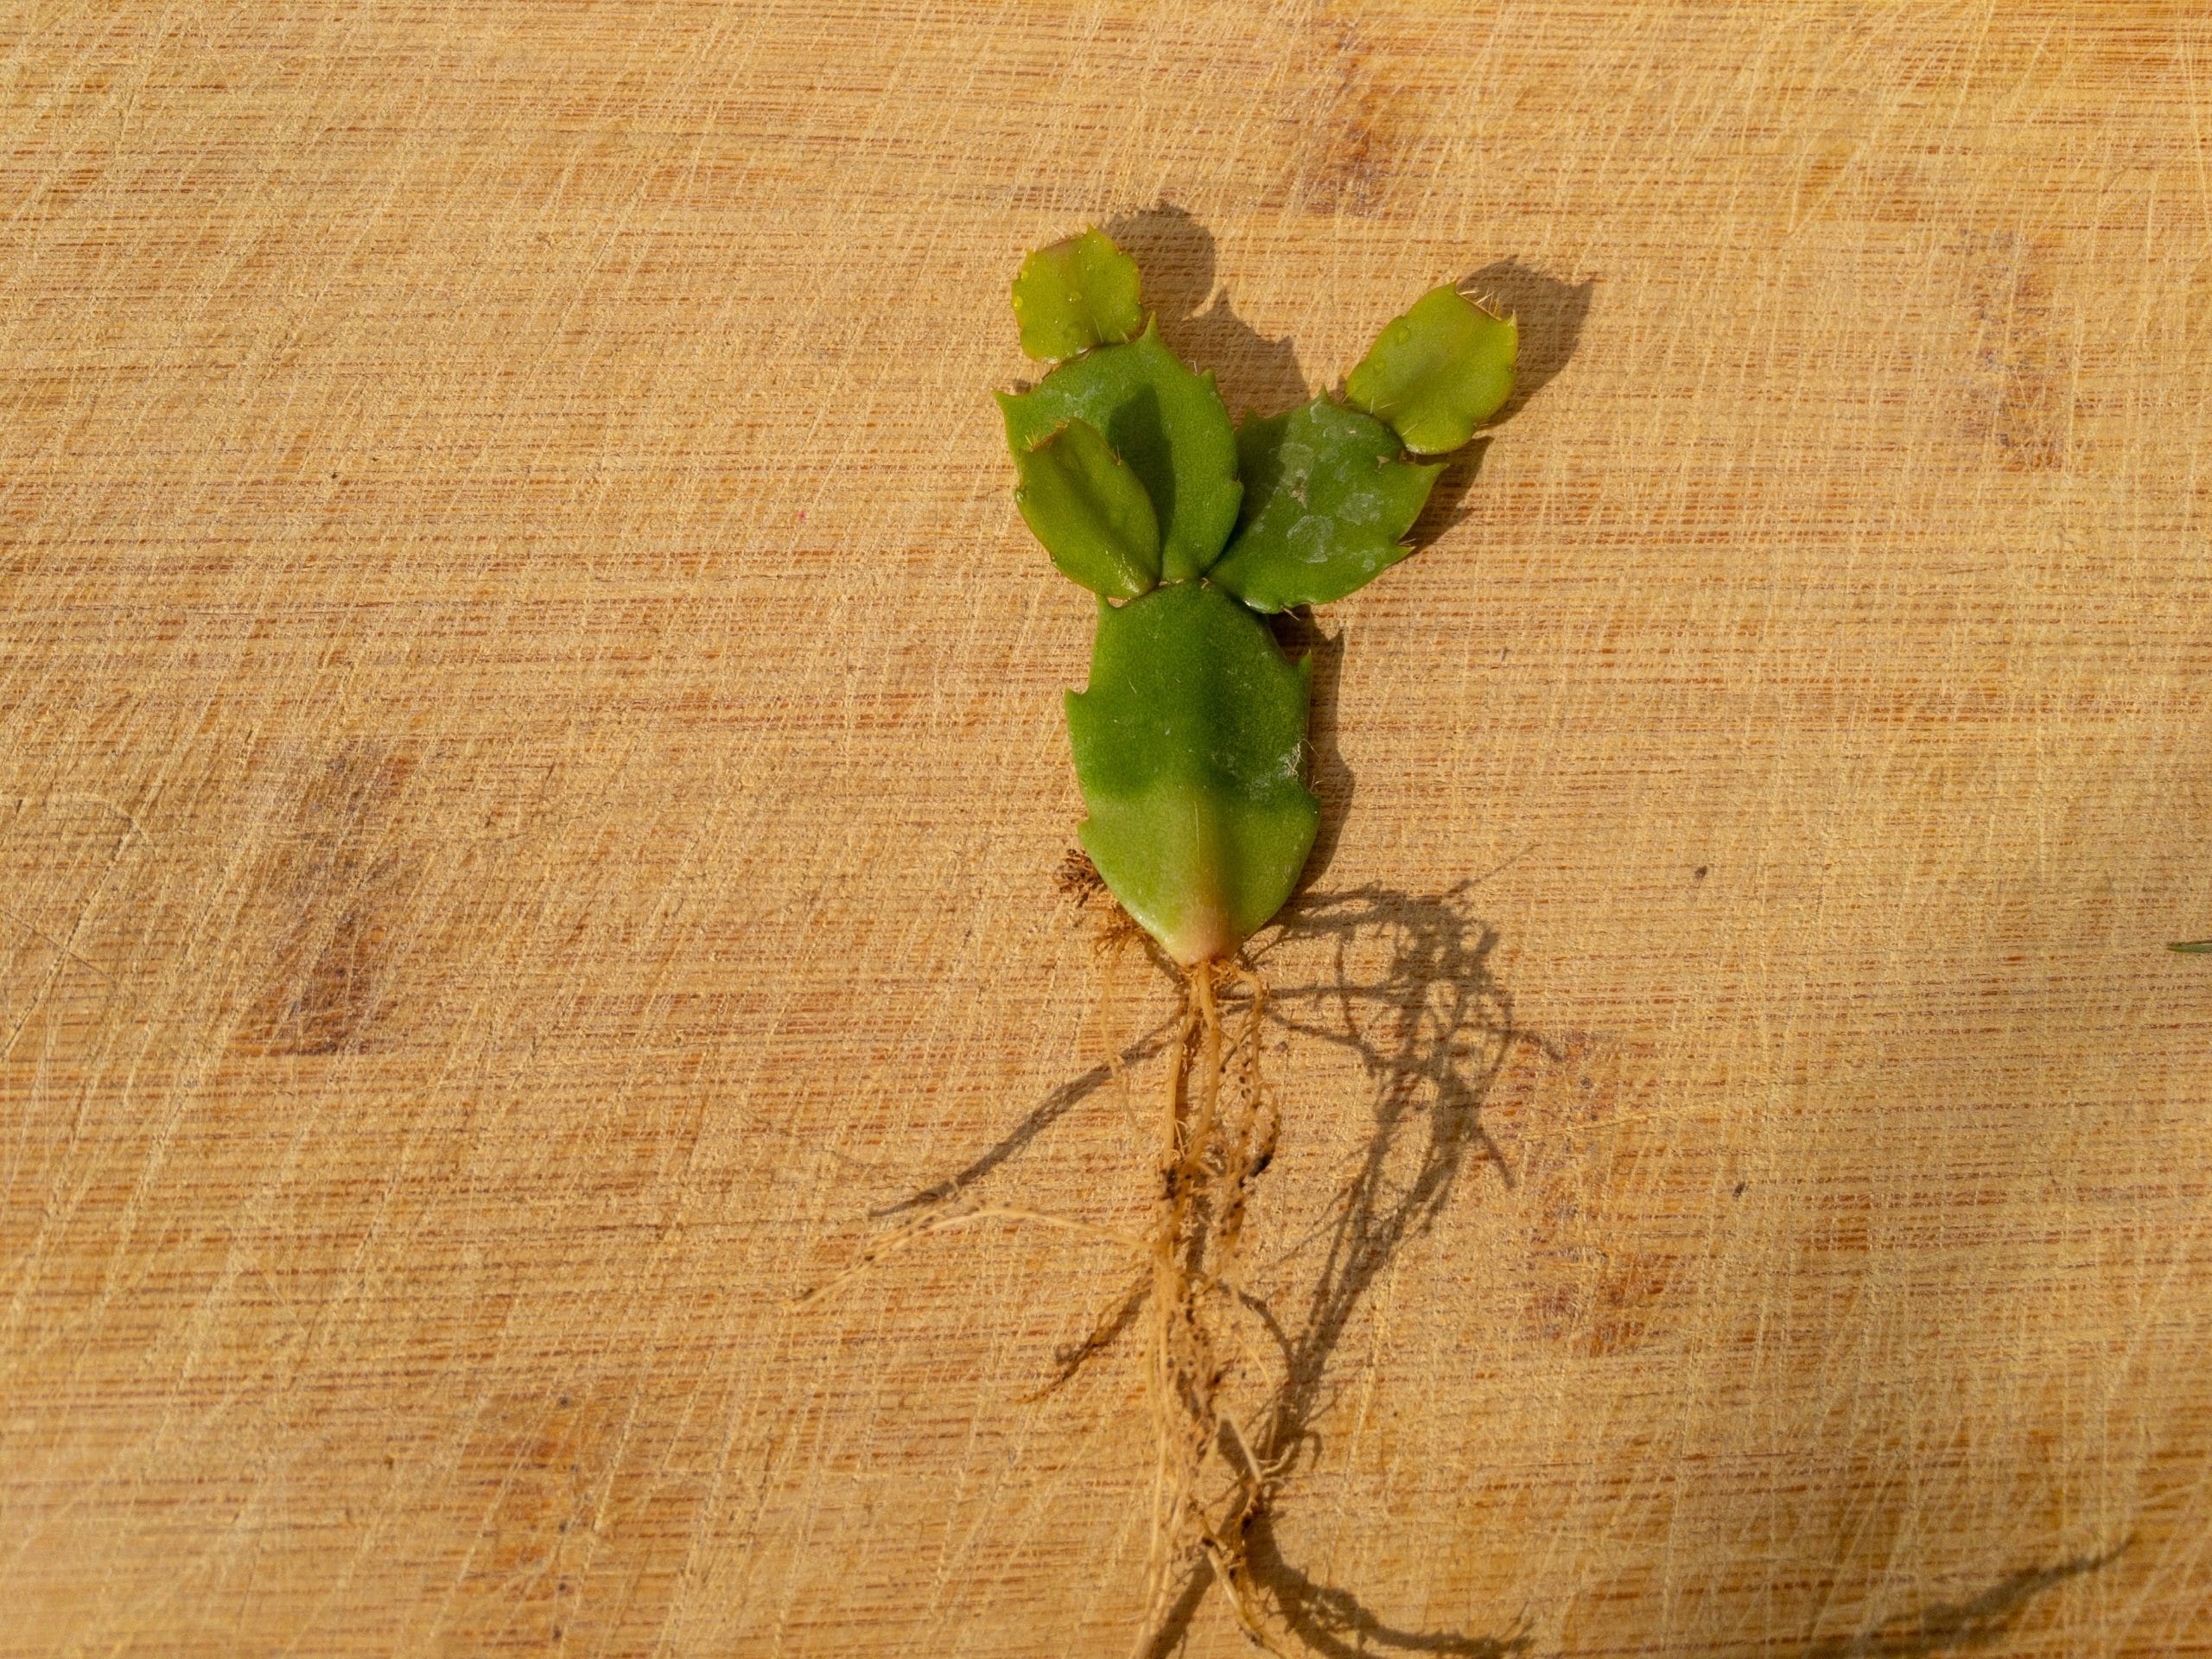
You might be tempted to cut the segment off the mother plant, but this is actually more harmful and could result in it not growing any roots at all. Instead, gently twist the segment from side to side at the thin point like you’re twisting the stem of an apple. Just like with your apple stem, the segment will come off after a little bit of patience. You might be tempted to tear it off as the spot gets weaker, or bend it, or pinch it off, but all of these might impact the segment’s ability to grow roots, so resist that temptation!
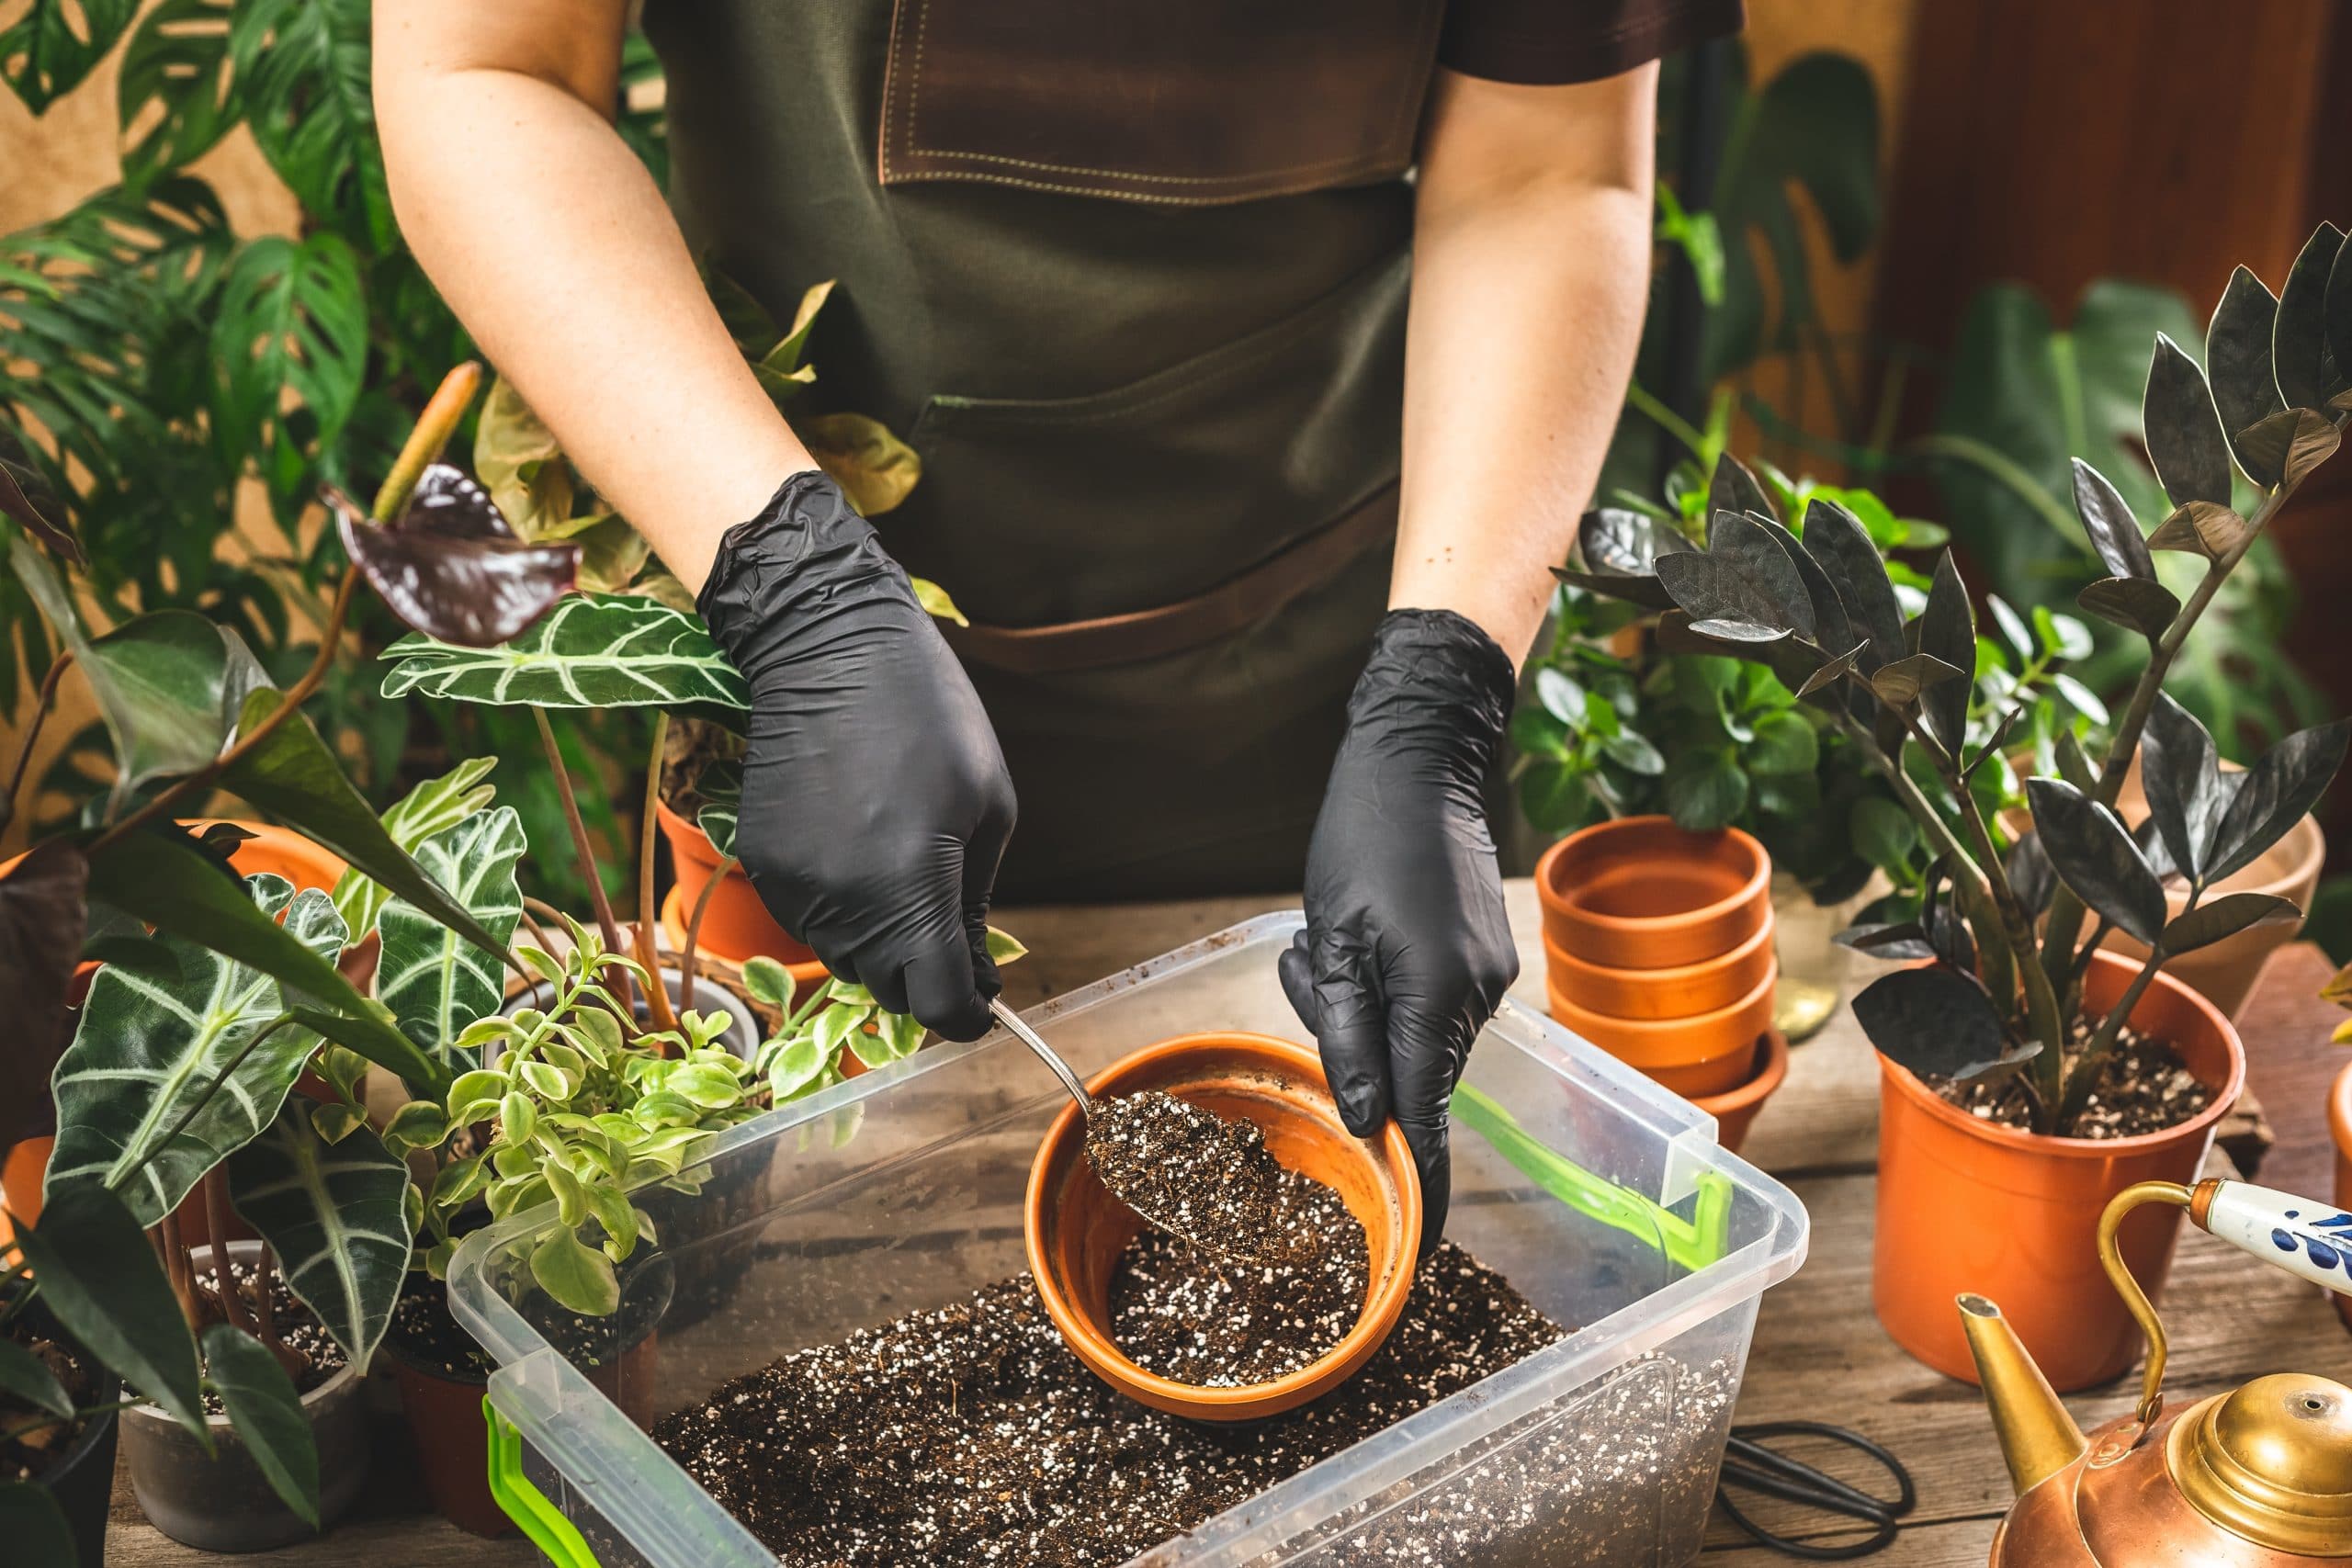
Step 2. Prepare the Pot
Get your pot ready to be planted by filling it with soil and getting it wet. You don’t want the soil to be too wet or too dry; think of it like a rung-out towel. There is still some moisture in there, but it isn’t dripping. Let the water drain from the container and make sure there isn’t any sitting in the dish the pot will sit on. If your soil is too wet, the whole cutting may develop mold before it ever takes root.
Step 3. Apply Rooting Hormone
Lightly dust rooting hormone on the edge of the segment that had previously been attached to the mother plant. If you’re going to do a few propagations, you might want to pour the rooting hormone onto a plate so you can easily dab the edge into the hormone.
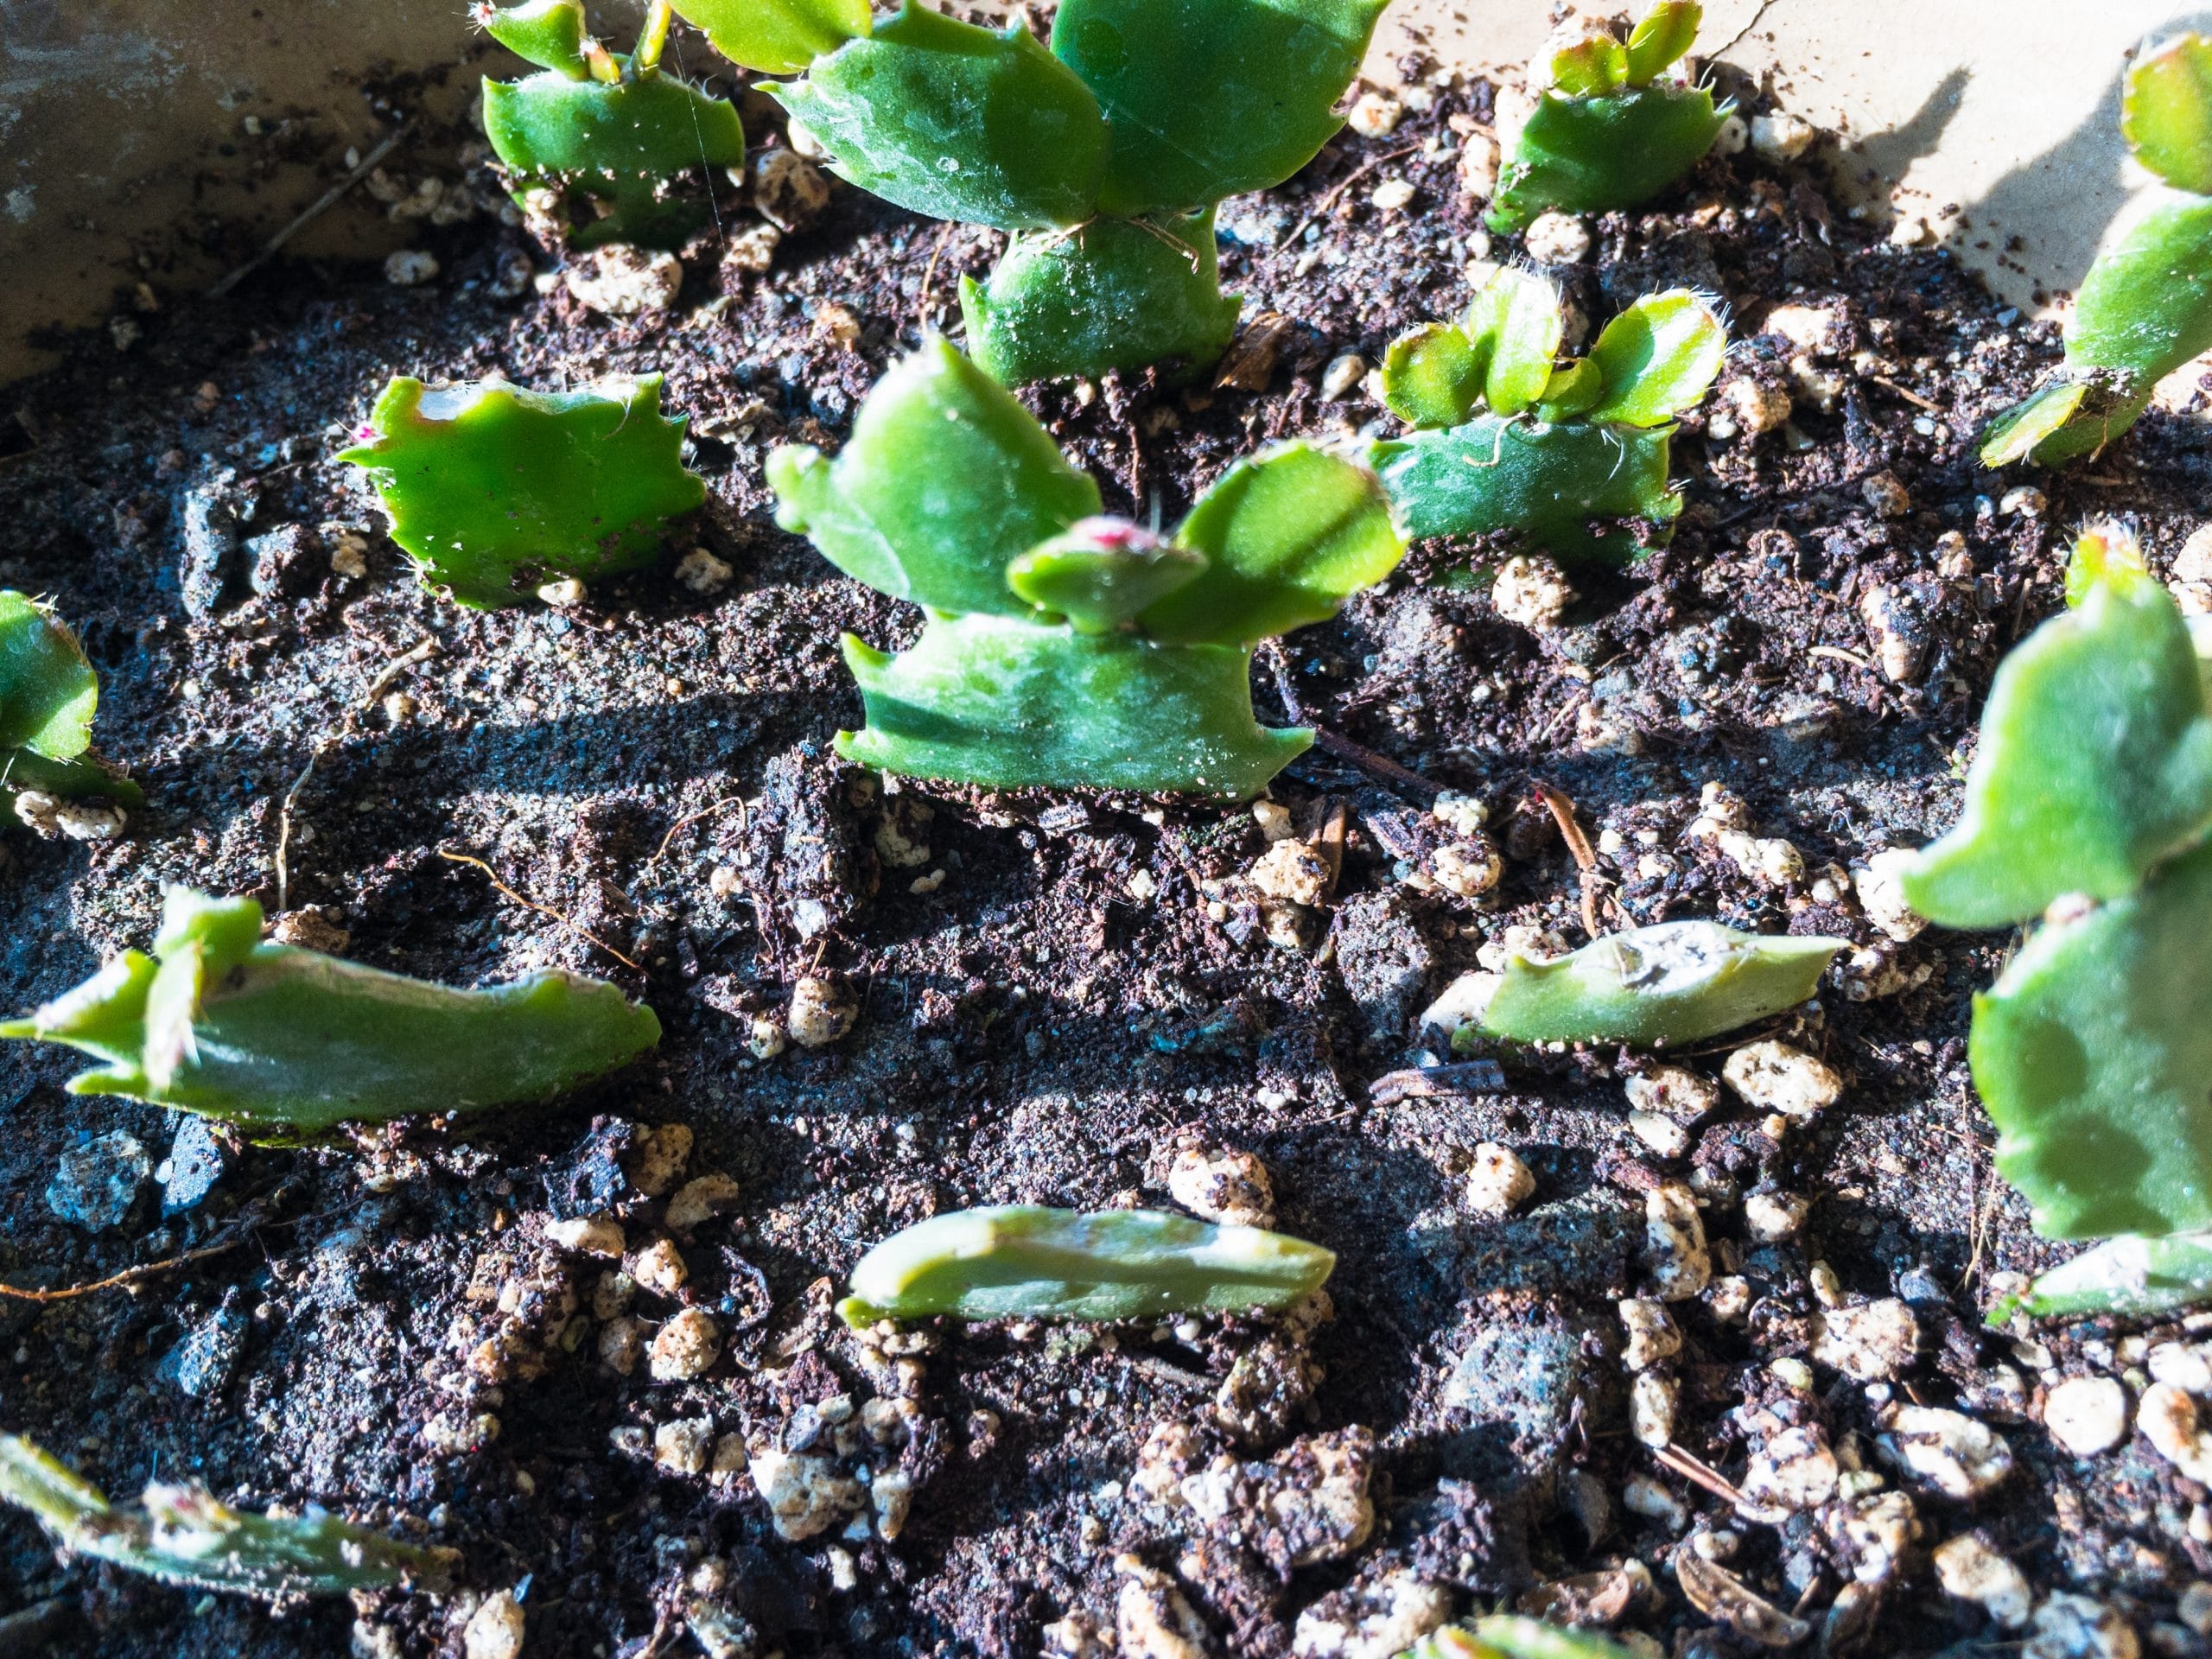
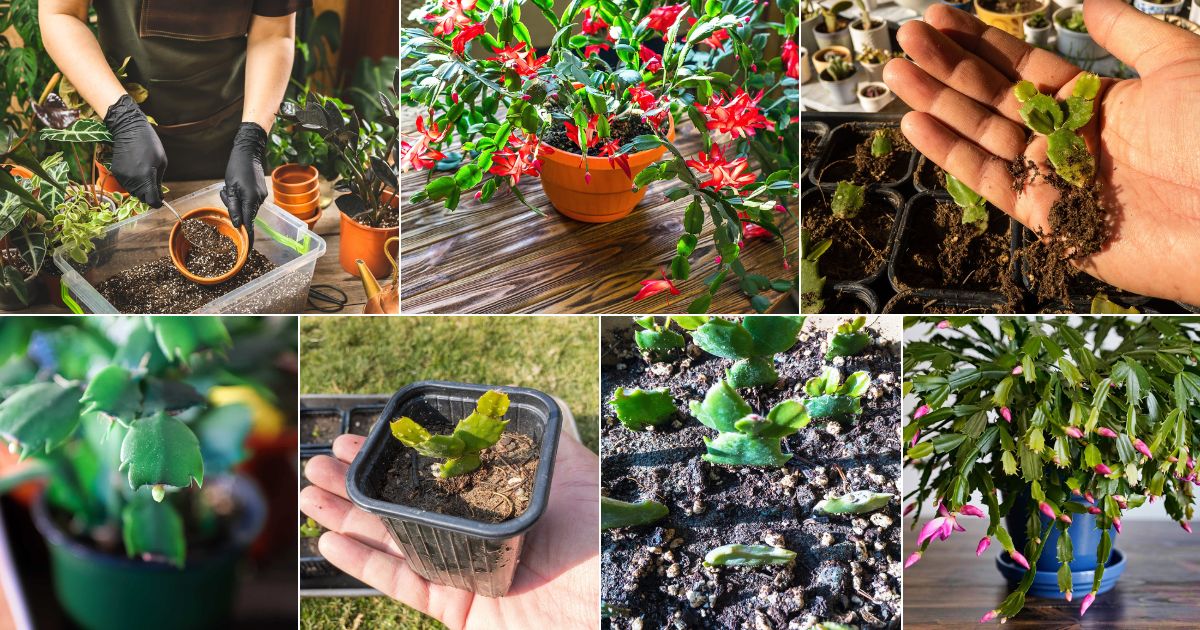
Step 4. Plant the Segment
Carefully push the segment into the middle of your pot filled with soil until it is about half buried. Once it’s in place, press on the soil around it to help it stay upright while it is rooting.
Step 5. Move the Pot to a Warm Location
Now you will want to move your pot to a warm spot in your house that is bright but gets indirect light. This means not putting it right next to windows but instead may be on a coffee table or end table out of the way of the direct beams of light that come from the window.
Step 6. Wait.
Now comes the hardest part of all, patience. Keep the soil about as moist as it is now, and in about a month, you should start to see new growth forming at the top of the segment. This is how you know it has successfully taken root.
How to Propagate Christmas Cactus from Stem Cuttings
Propagating from a stem cutting isn’t much different from propagating from a single segment, though there are a few minor differences.
Step 1. Pick a Stem for Cutting
Take a good look around your Christmas Cactus for a section of it that has three to five healthy segments on it. You don’t want to go much bigger than that, or else it will have trouble staying upright while the roots are starting to grow.
Step 2. Remove the Cutting
Just like with removing a single segment, you want to gently twist at the connection point for the section of the cactus you want to remove. This can be a bit more of a challenge since you’re working with a longer section that could snap if you aren’t gentle. Just remember to take your time and try not to bend the cutting.
Step 3. Let the Cutting Cure
Because you have a much larger cutting than a single segment, you have the added benefit of letting your cutting cure for a few days. All you need to do to cure the cutting is leave it to sit in a dry open area for two to three days. This will allow the wound from where you removed the cutting from the mother plant to heal a bit, kind of like growing a scab. This will help prevent rot while the roots are growing.
Steps 4-6 Follow Steps 4 to 6 as listed above.
Once your cutting has had time to cure, you can proceed with the propagation just like you would with a single segment. If your cutting is having trouble standing up after you’ve put it in the soil, you can use popsicle sticks placed at an angle from opposite sides of the cactus leaning towards each other to sandwich the cutting in place. Just make sure that you don’t damage the cutting in the process.
How to Divide a Christmas Cactus
If you are lucky enough to have more than one stem of Christmas Cactus coming out of the dirt, then you can do the dividing option. This one is a bit more complicated and may end up requiring the use of shears or clippers.
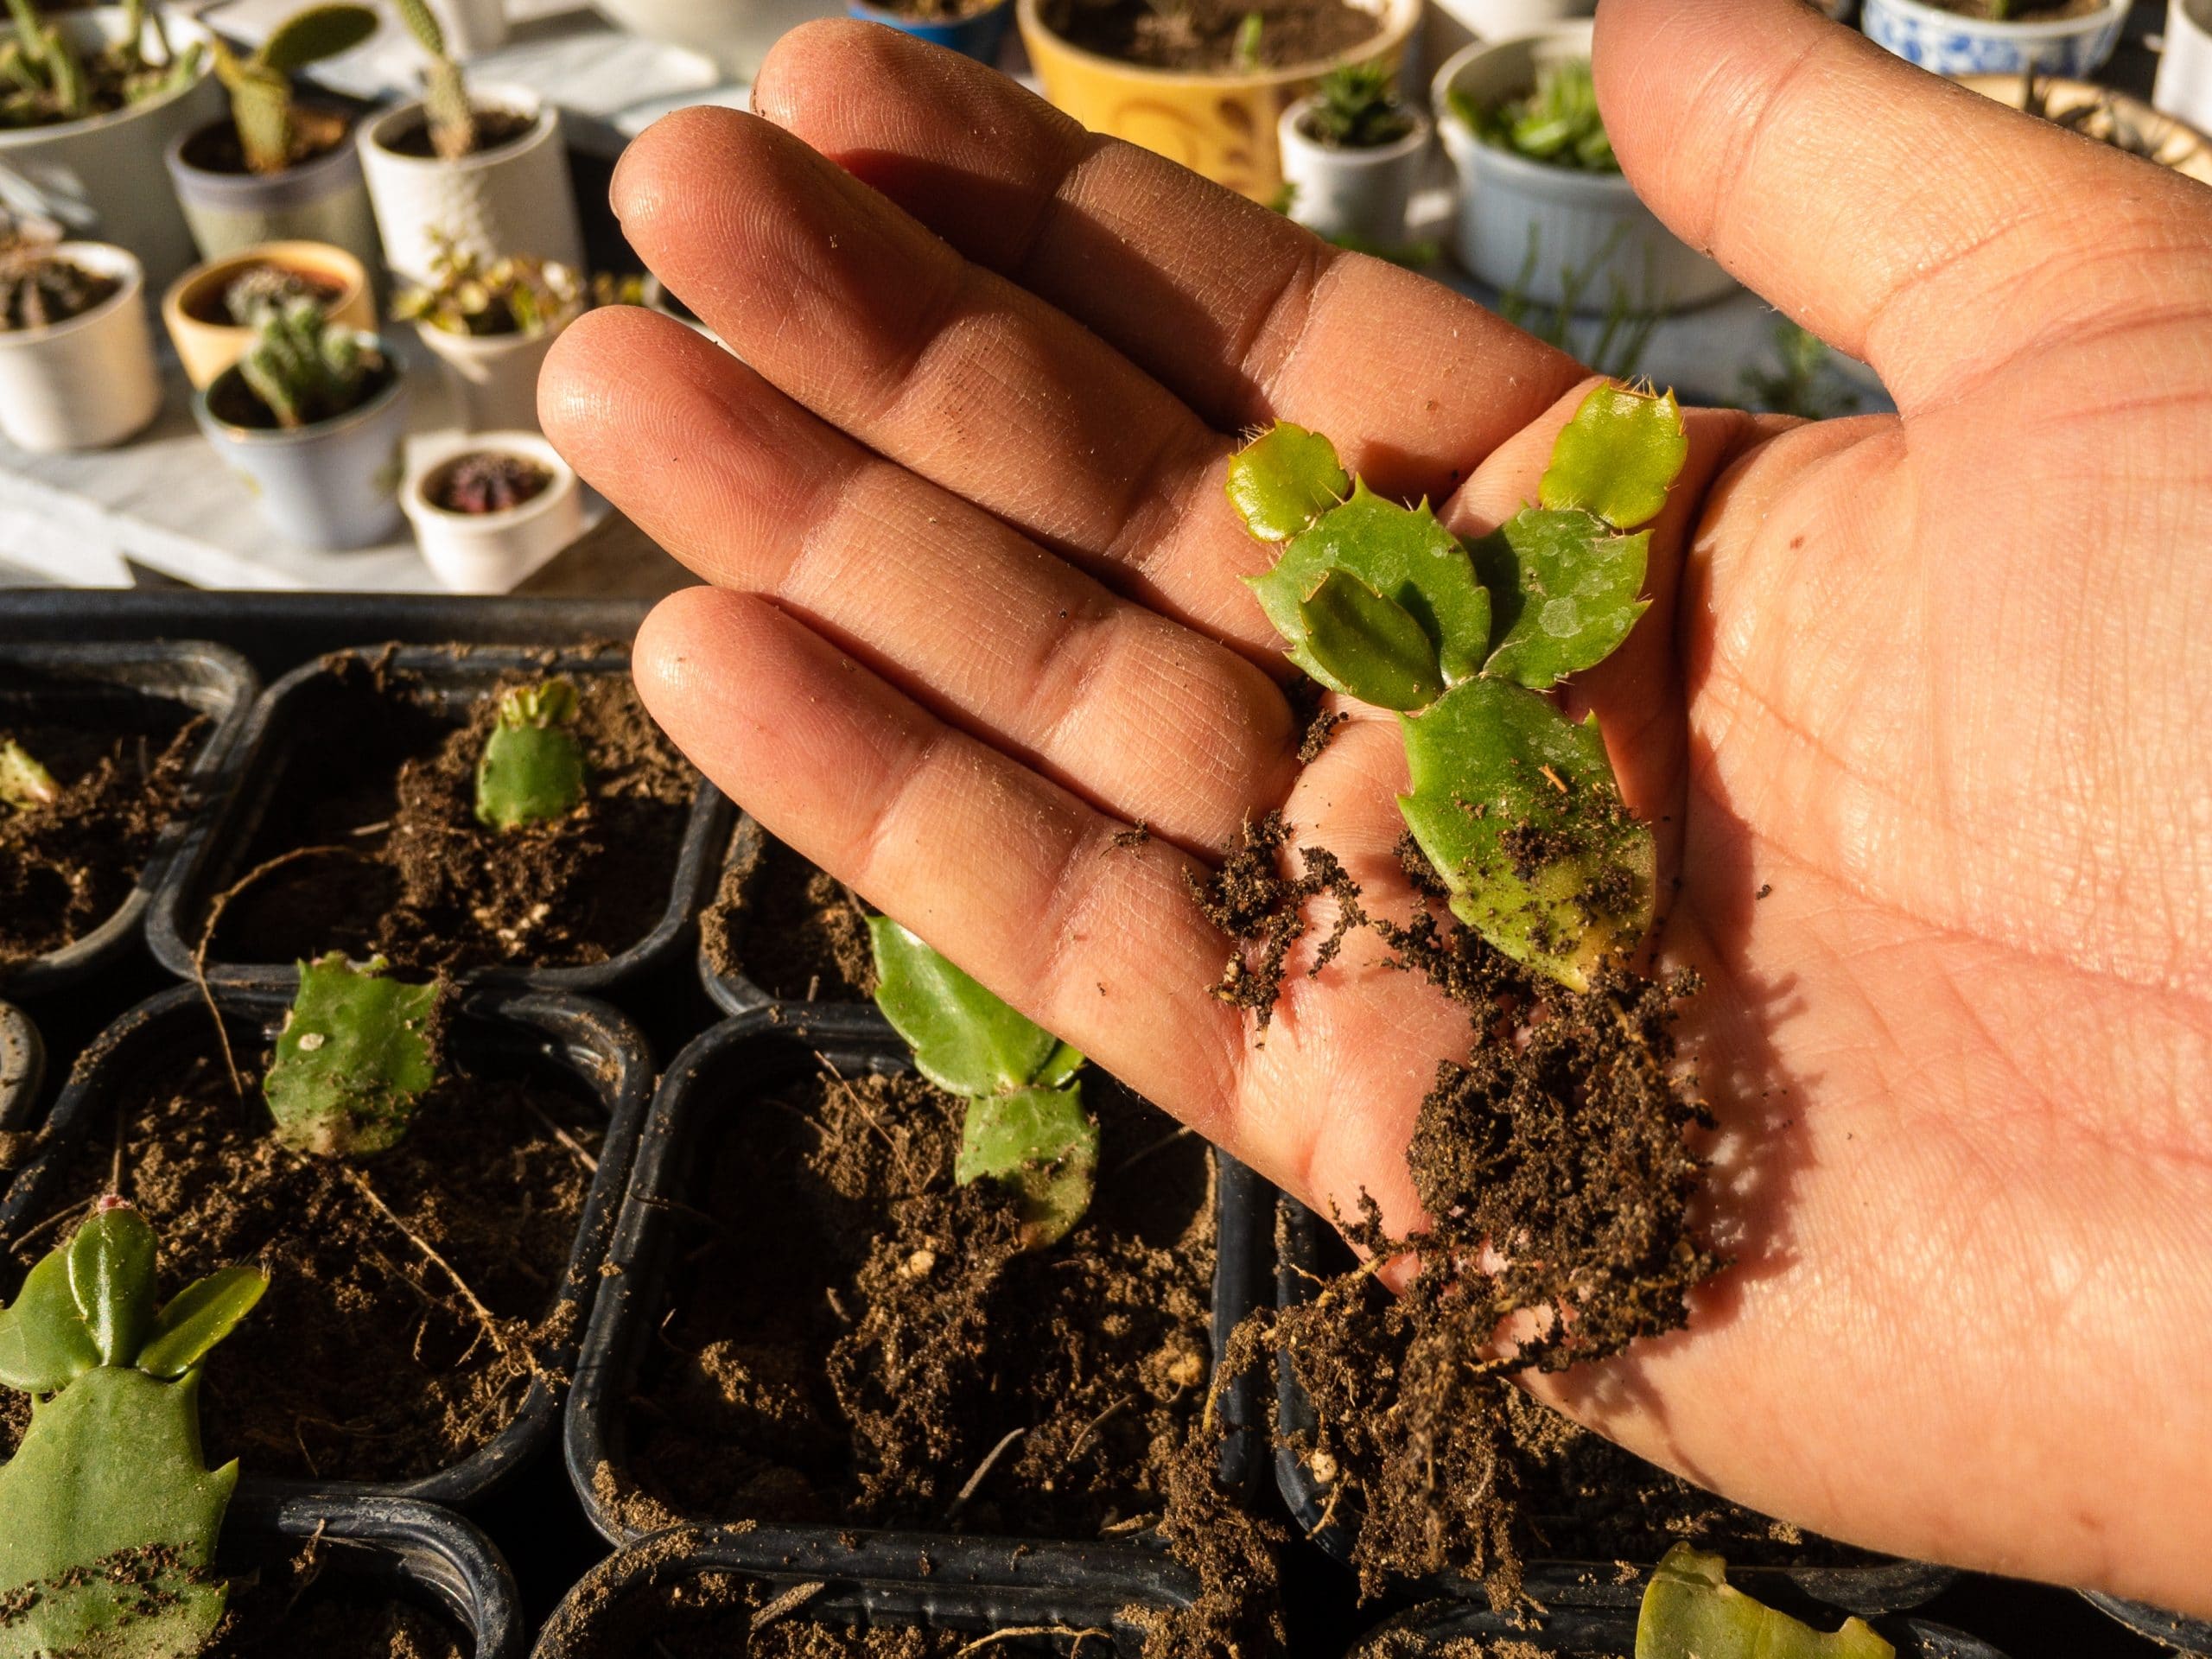
Step 1. Gently remove the plants from the pot
This first is quite a precarious one. Rest your hand on the soil at the base of the cactus, With the cactus going between your fingers so you can catch it and keep it held together as best as possible while you gently tip the pot. If it doesn’t come out on its own, you may need a second person to tap the pot or hold the plant while you gently jiggle the pot. If it is really stuck in there, feel free to use a butter knife around the inside of the pot just like you would do to get really stuck on brownies.
Set the entire thing down on a table on its side. You might want to use a pillow to hold up the cactus if the circle of soil is larger than the plant.
Step 2. Tease apart the roots
Once you have the plants out of the pot, move the soil aside until you have access to the roots. Now it’s time to gently separate the roots of the different plants from each other. This should be a relatively easy task to do but does take a bit of patience. You don’t want to tear the roots as any damage to them could make the plants sick and potentially kill them in the long run.
If any of the roots are particularly difficult, which tends to happen with the really small ones, it is better to use your shears or clippers to cut them rather than tearing them. A clean cut will heal faster.
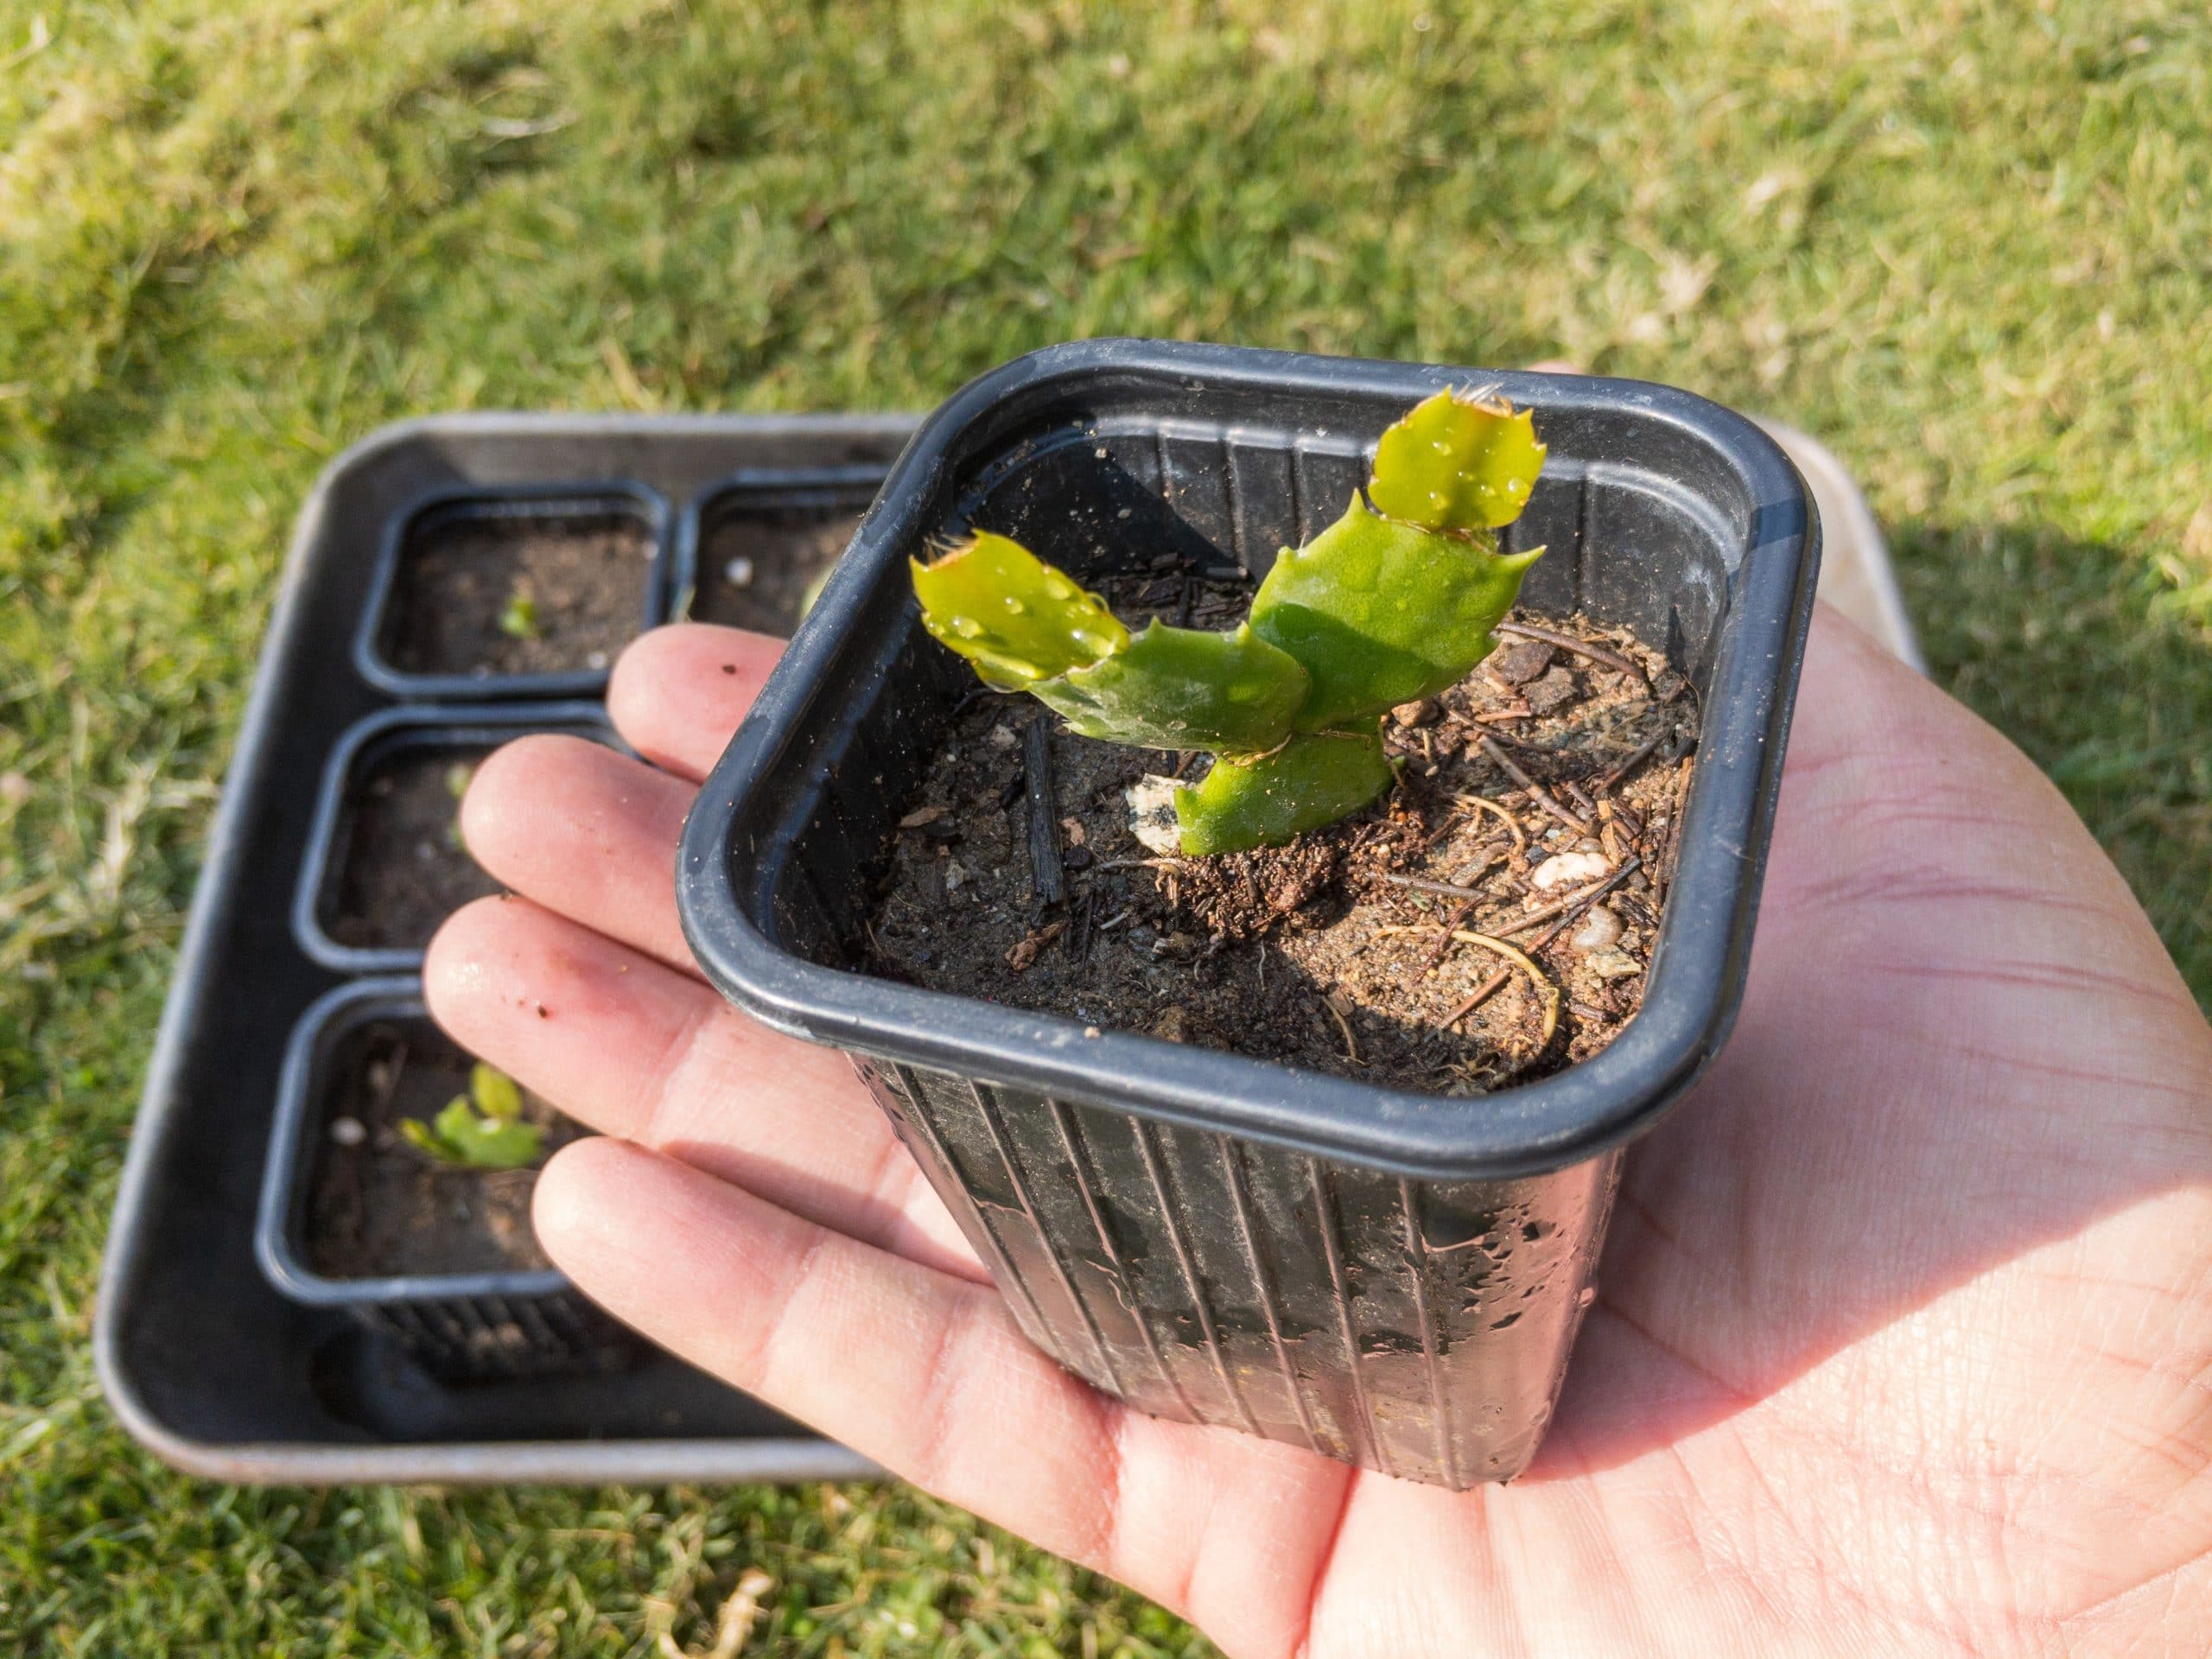
Step 3. Repot
Once you have the plants separated, go ahead and put them in pots. The soil should be at about the same level it was before you removed the plants from their previous pot. Press the soil down slightly around the cactuses to help make sure that they stay standing while they recover.
Step 4. Water
Water your plants gently and make sure there is no water left at the bottom. This will help them recover. You may see some slight wilting in the next day or two. This isn’t a sign to water them more, this is just the plants showing that they are under stress. Leaving them alone is the best thing you can do for them.
Step 5. Move the Pots
Now that you have two (or more) plants, it’s time to move them. Just like with the cuttings, your plants will need to spend some time in a bright room with indirect light. Think of this like a recovery room after surgery. They need time to rest and recover before they’re ready to be put in their final home.
Step 6. Wait and Watch
Finally, it is time to wait and watch for signs of new growth. Once you see a new segment growing, then you know the plant has properly taken root and can be moved to wherever you would like it to live.
How Long Propagation Takes
Depending on the month of propagation, it can take as much as a month for your Christmas Cactus to take root. While it might be tempting to wiggle it or try to pull it out, resist that urge. You may end up breaking some of the early delicate roots and completely damage your plant.
Be patient, keep the soil moist and wait for signs of new growth on the plant. If it hasn’t taken root after a month or so, then it will have started getting moldy or turned to mush. But if it still looks exactly the same, then take that as a good sign that things are working, maybe just a little bit slower than expected.
FAQs
Here are a few of the most frequently asked questions about propagating a Christmas Cactus.
Yes. But, because it has a larger wounded spot, it is more susceptible to diseases and rot. This means that there is a larger rate of failure with the broken piece. But once the wound manages to heal and the roots form, it will be like any other healthy Christmas Cactus plant.
The best time of year to propagate Christmas Cactuses is right after they have stopped blooming. Wait until the last flower has shriveled up and died. This is typically in late spring or early summer if you live in the Northern Hemisphere.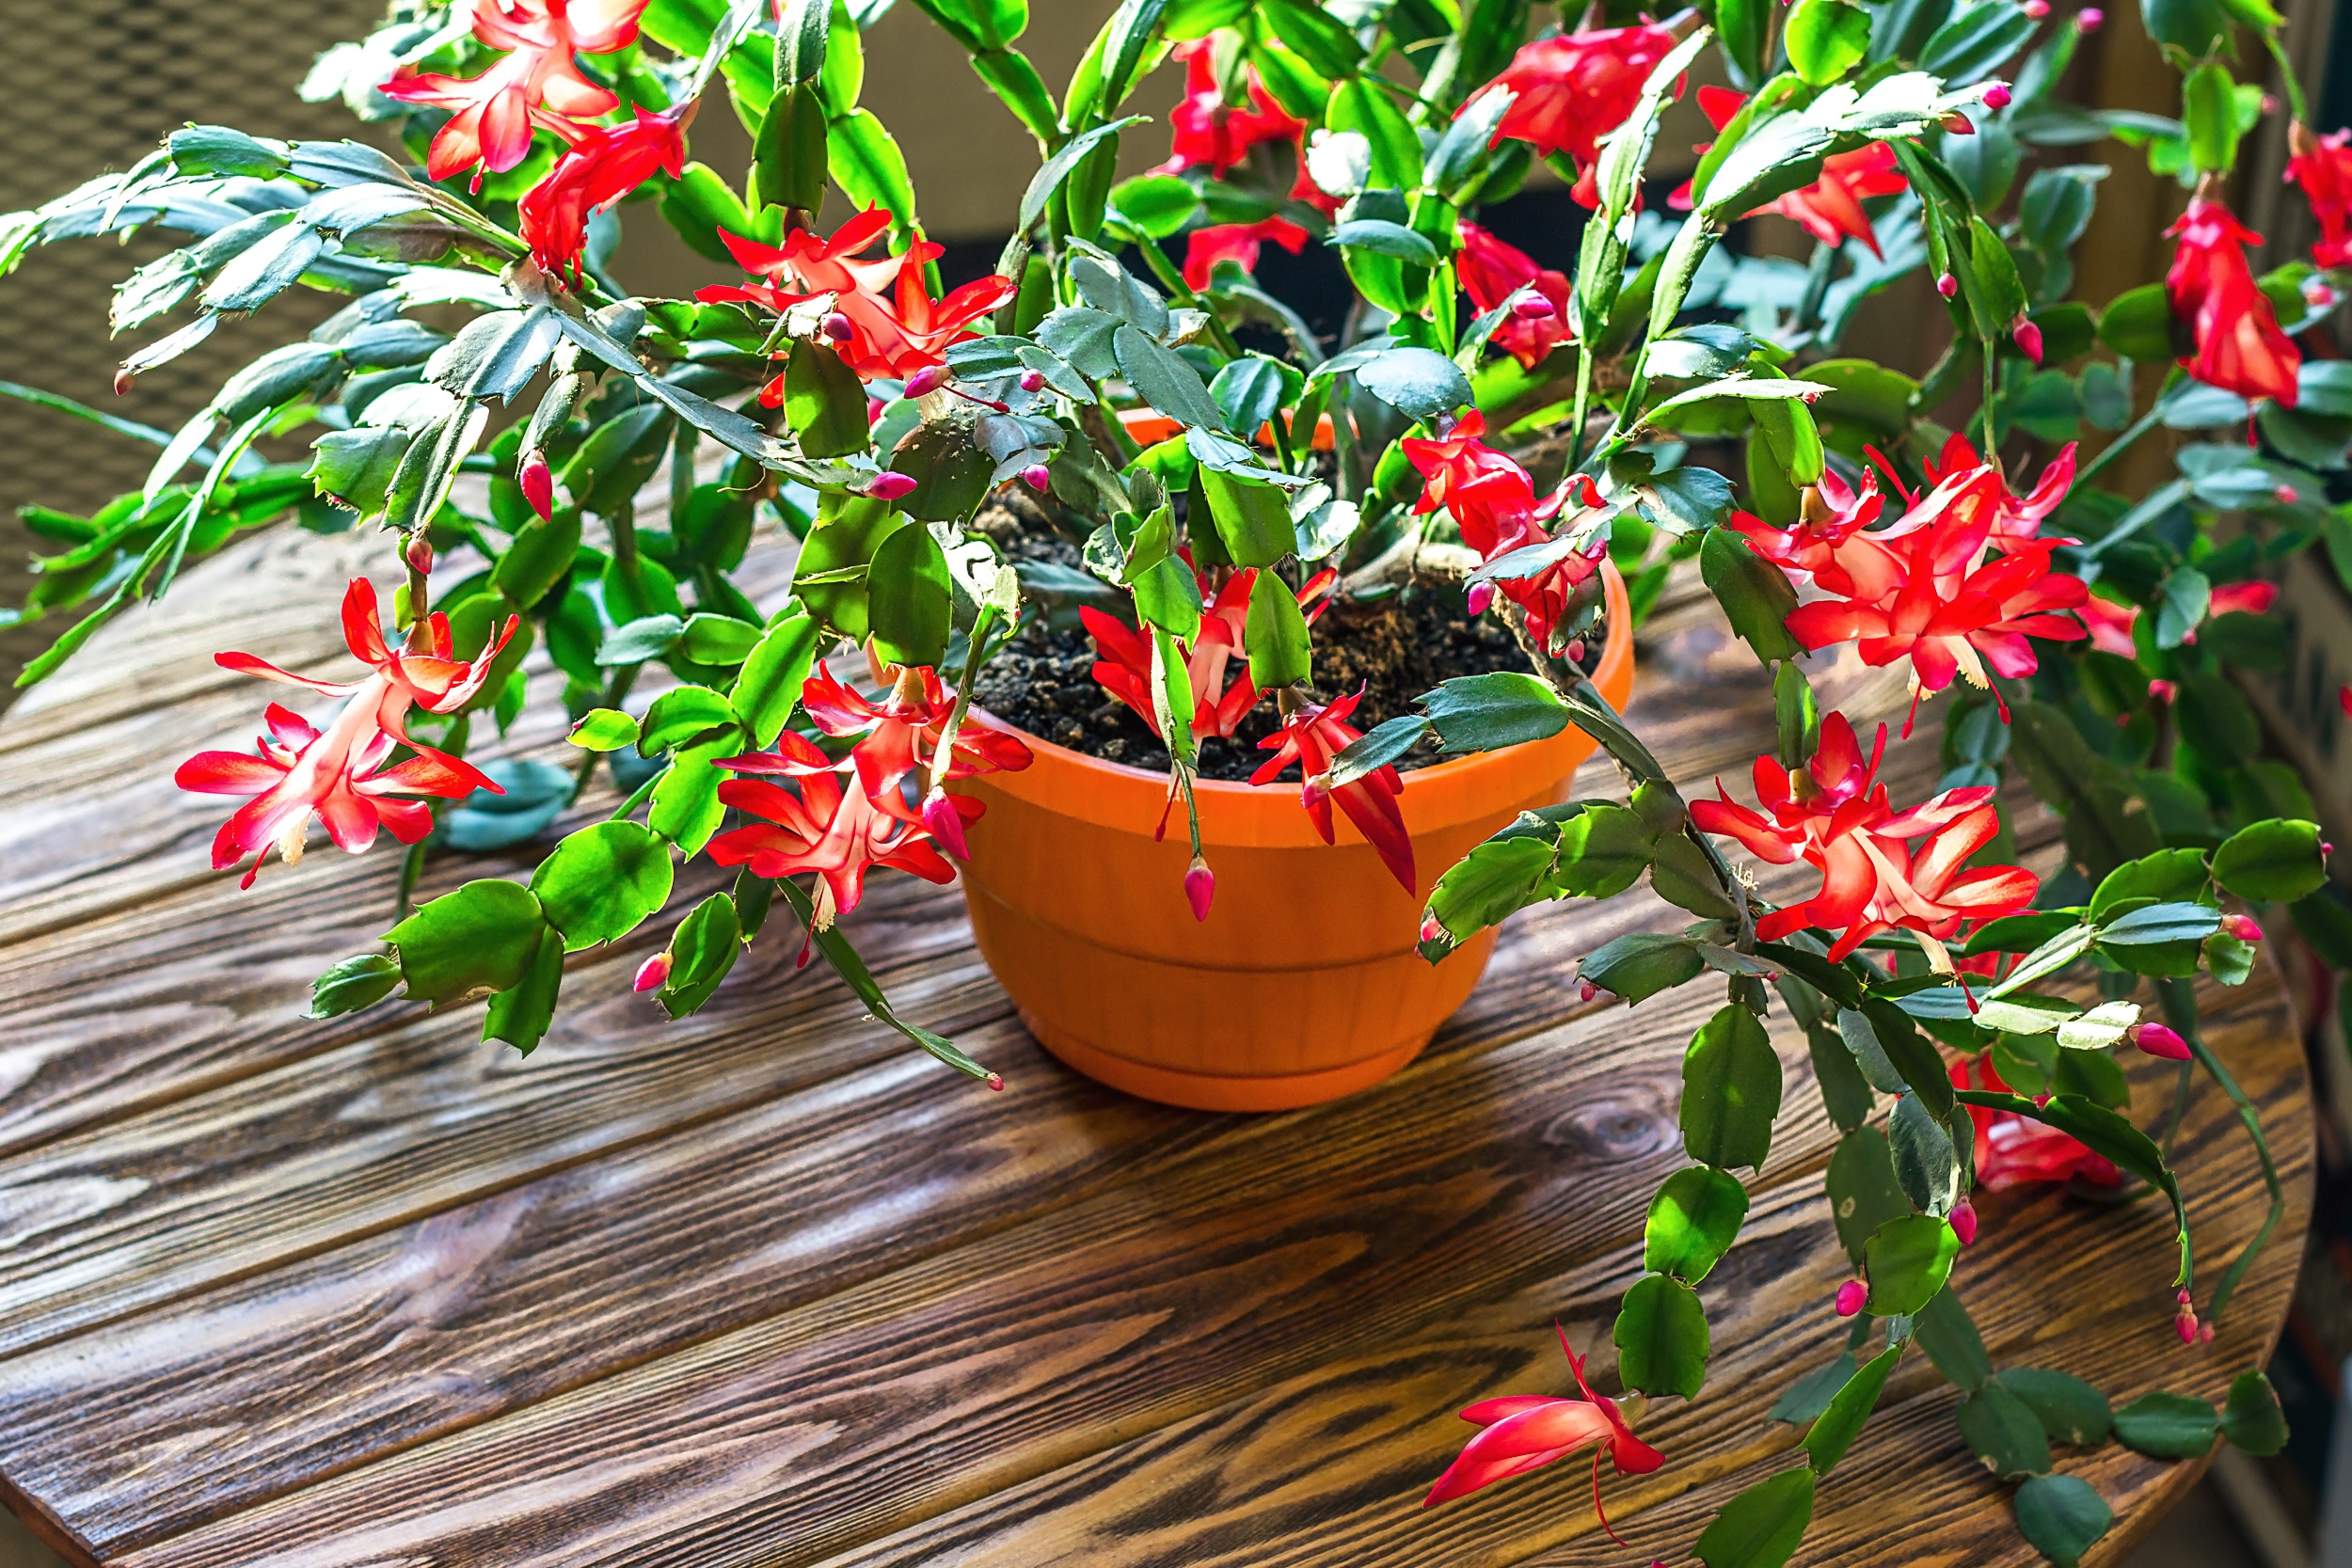
Yes. But, it is the hardest of all the methods and the most prone to failure, which is why I didn’t even include it in the article. You are more likely to have the cuttings rot away than you are to get roots. That being said, if you’re looking for a challenge, it is possible. I just don’t know why anyone would want to put themselves through that pain.
When you’re out shopping for soil, look for one that is a good combination of peat, sand, and soil. It should be lightweight and quick draining. If you aren’t sure, look for those keywords; peat, sand, soil, lightweight, and quick draining. The right soil mix will mention all of these things, or it might even mention rooting right on the package.
Yes and no. While it won’t outright kill your cat if they eat it like some plants, it will make them quite seriously sick if they eat too much of it. Expect diarrhea, vomiting, and nausea if they consume any part of the plant.
Yes and no. Much like with cats Christmas Cactus is listed as non-toxic to dogs by the ASPCA. However, that doesn’t mean that it won’t make them sick if they eat it. Expect to see the same symptoms in dogs as you do in cats.


Leave a Reply