As the days grow shorter and the temperatures drop (mostly), the inevitable approach of winter becomes undeniable (mostly).

For you rose nuts, this means it’s time to spring into action and prepare your cherished roses for winter to make sure they survive the cold months ahead.
So read on. We will guide you gently but firmly through the steps you need to take to prepare your roses for winter.
Jump to:
- Introduction
- Determining Frost Dates
- Pre-Frost Care
- Winterizing Roses in Zones 1-3
- How To Do the Minnesota Tip
- Other Ways to Protect Northern Roses
- Winterizing Roses in Zones 4-6
- Help Against Drying Winds
- Other Ways to Protect Winter Roses in Zones 4-6
- Protective Rose Covers
- Winterizing Roses in Zones 7-10
- Finally, It’s Spring in the Rose Garden
Introduction
Roses can be resilient and tough (if they can’t, you should probably get some tougher roses). They can put up with a lot, but the harsh winter temperatures and brutal winds can dry out roses, kill off canes, and sometimes kill off the whole rose.
Winter preparation is crucial so the garden roses can sail through and thrive when spring rolls around.
Determining Frost Dates
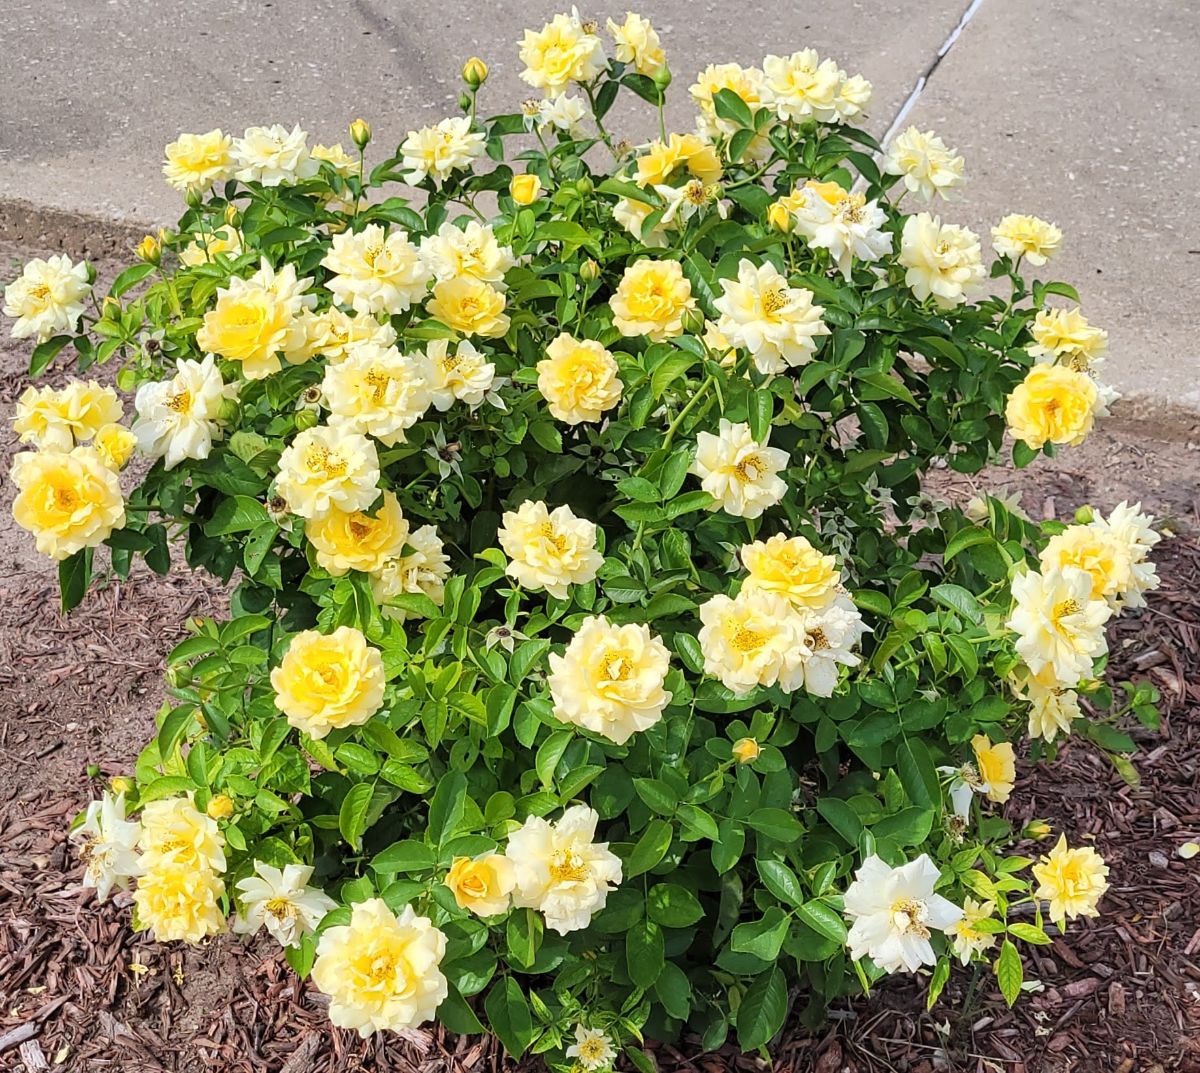
If you’re not sure when the local frost and freeze dates are in your region, check with your local university extension service, which has an office in every state and nearly every county in the United States. If you're not in the U.S., check local gardening clubs, public gardens, universities, and other resources. This article here will help, too: https://gardening.org/growing-zones-and-frost-dates/ .
As a side note, the university extension service is a free service, and they have a ton of solid information online. You can email them or call or even drop in if you find something unusual in your garden that you want the extension horticulturist to identify. They’re in charge of your local 4-H chapters and the Master Gardener program.
Pre-Frost Care
Here are a few things to do (or stop doing) when you’re doing your regular fall maintenance.
Stop deadheading the rose – that is, leave the dead blossoms on the rose, and allow the rose to develop rose hips. Seed development will signal to the rose that it’s time to prepare for winter.

Rake up dead leaves. Rose diseases such as blackspot and powdery mildew will overwinter on dead leaves, and in spring, they’ll easily reinfect the plant.
Don’t prune the rose because this will stimulate tender new growth that will be killed off when winter hits. The same goes for fertilizers, especially those high in nitrogen.
Wait until it’s very late in the fall to mulch and cover the roses. They need to be acclimated to a couple of frosts first before they are put to bed. Also, the mulch with moisture in it can encourage canker. Roses that are covered too early can actually be more susceptible to winter injury.
Winterizing Roses in Zones 1-3

Growing roses in the far North is more of a challenge because of the extreme conditions of northern climates. Winter temperatures can drop to -40F – or even colder – and hit 100F in summer, and the shorter growing season, which runs from late May until October.
Some roses have been bred for the north, such as the Dr. Griffith Buck series, the Parkland series, or the Canadian Explorer series. The latter includes the unstoppable William Baffin, which is the only rose that I originally planted in the Krug Park rose garden that has not been killed off. Old-fashioned heirloom roses, such as rugosa roses, hybrid perpetuals, centrifolias, moss roses, or shrub roses, can be grown successfully.

Most hybrid roses are not able to withstand these extremes. Many die if the temperature drops below 20F; others can’t withstand the freeze/thaw cycle of early spring.
So northern rosarians use the Minnesota Tip.
How To Do the Minnesota Tip
The Minnesota Tip, which sounds like a new dance craze that’s sweeping the nation, is simply the way northern rose growers protect their roses.
When you’re doing late fall cleanup, get a spool of twine and tie the rose canes together, starting at the bottom and moving to the top until the rose is a lean bundle of canes.
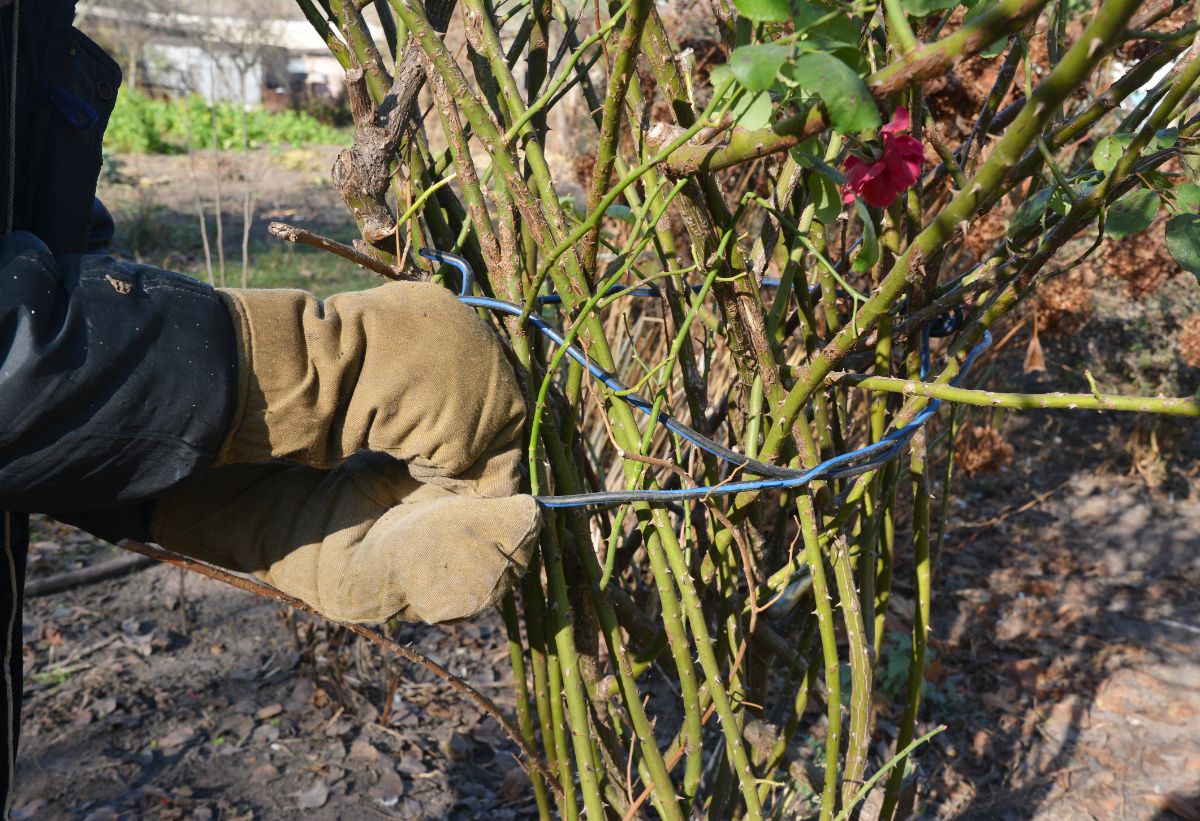
Dig a trench on one side of the rose. You will be laying the rose canes in this trench.
Use a garden fork to loosen the soil all around the plant. Then carefully tip your plant over into the trench. The rose should be flexible enough under the bud union to allow this.
Then you cover the rose canes with the dirt you dug out of the trench. Leave some twine sticking out of the ground so you can retrieve your rose bundle when spring comes!
Water the roots and canes to settle the soil and keep the canes from drying out over winter.
A few weeks later, when temperatures drop, cover everything with 12 to 18 inches of mulch. Water everything to keep it in place.
Other Ways to Protect Northern Roses
If the Minnesota Tip is a little extreme, you can mound the rose, piling 10 to 12 inches of soil over the top of the rose and then covering the soil with mulch. Canes of bush roses can be cut back to 18 inches to make it easier to mulch them.
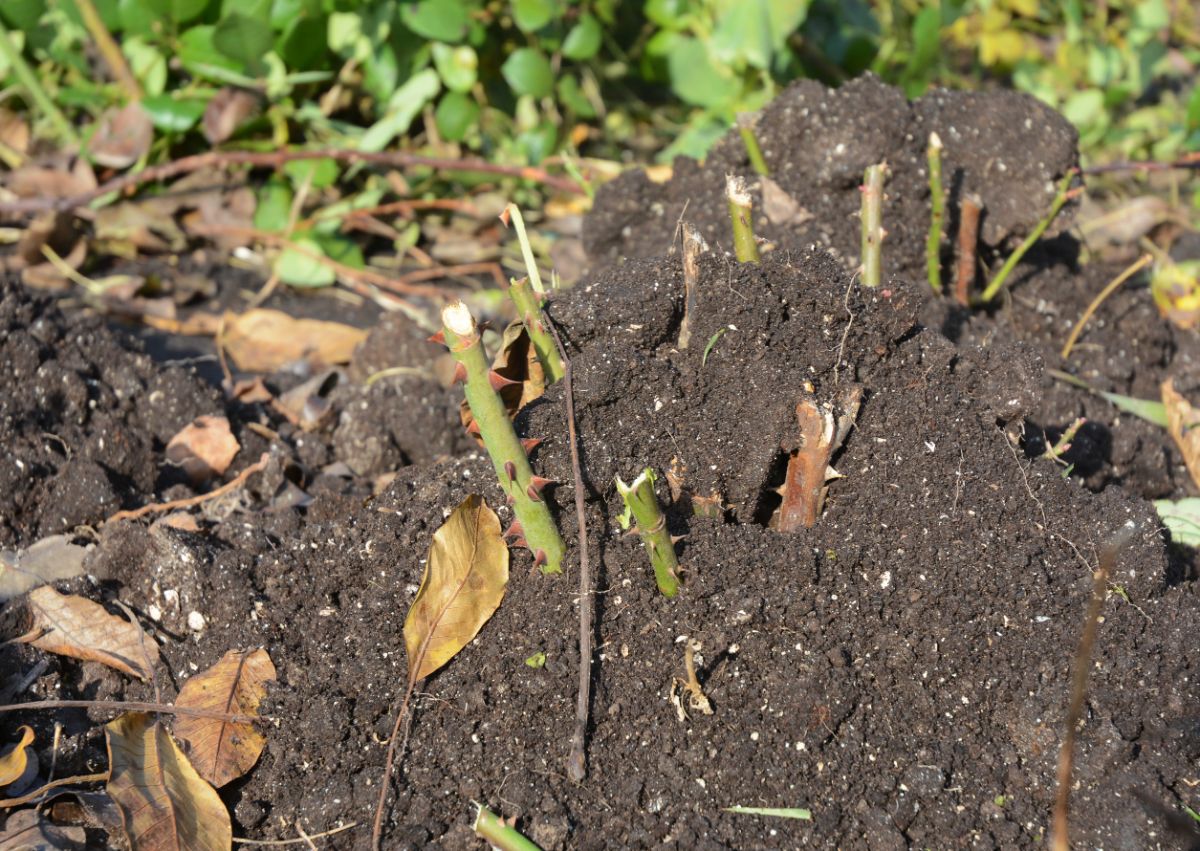
Another way is to set hardware cloth or chicken wire in a circle around the rose, then mound the rose and pile on the mulch.
You can also cover the rose with Styrofoam rose cones. The cones should be put down very late in the fall so the roses don’t heat up inside on cold days. Wait until you’ve had a few frosts and it’s getting close to freeze time. Personally, I can’t use these because the squeak the canes make inside the Styrofoam makes my hair stand on end!
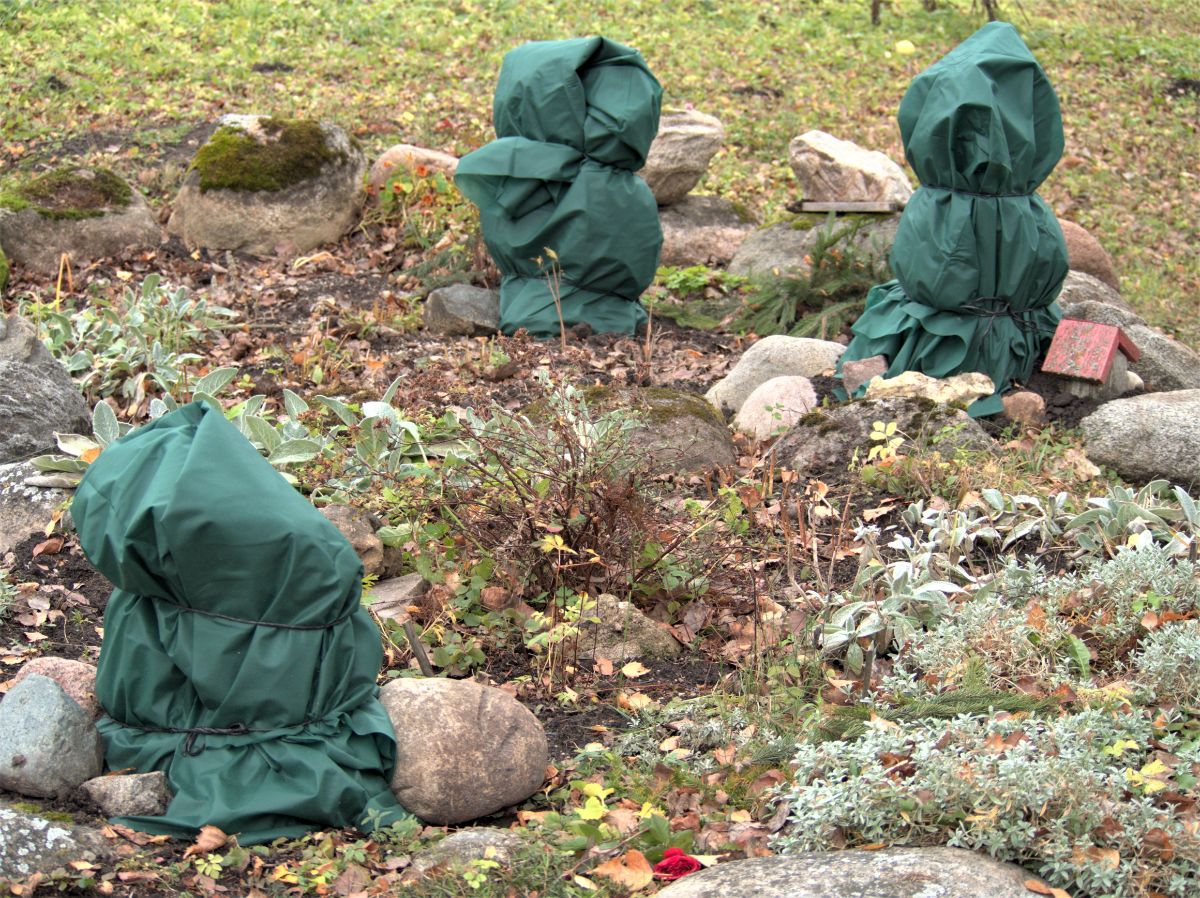
You can also wrap the roses in heavy cloth after mounding and mulching to protect longer canes from being dried out and whipped around in the wind.
Climbing roses are a horse, or rose, of another color. Remove these from their supports and carefully bend them to the ground, using a wire hoop to cover them. This whole operation makes me very nervous because I hate when one of the canes breaks, even when you’re being cautious.
Cover the wireframe with a piece of burlap or thick cloth, then cover with soil or a deep layer of mulch. In mid-spring, uncover the climbing roses and put them back up on their supports.
If you’re not up to wrestling a climbing rose to the ground, you can wrap the upright rose with straw and burlap, mound up the soil or mulch around the base to protect the lower canes and cover the bud union, and cross your fingers for luck.
However, if you choose to protect the rose, be sure to water it well before putting it to bed and spray it with dormant oil to kill off overwintering pests or rose diseases.
If rodents have been a problem in your winter mulch, leave something for them to, er, snack on.
Winterizing Roses in Zones 4-6
These won’t need as much protection as northern roses, but these roses also contend with temperature extremes and other challenges.
You won’t need to take down climbing roses or bury roses, or do the Minnesota Tip. However, mulch and protection are still necessary for roses.
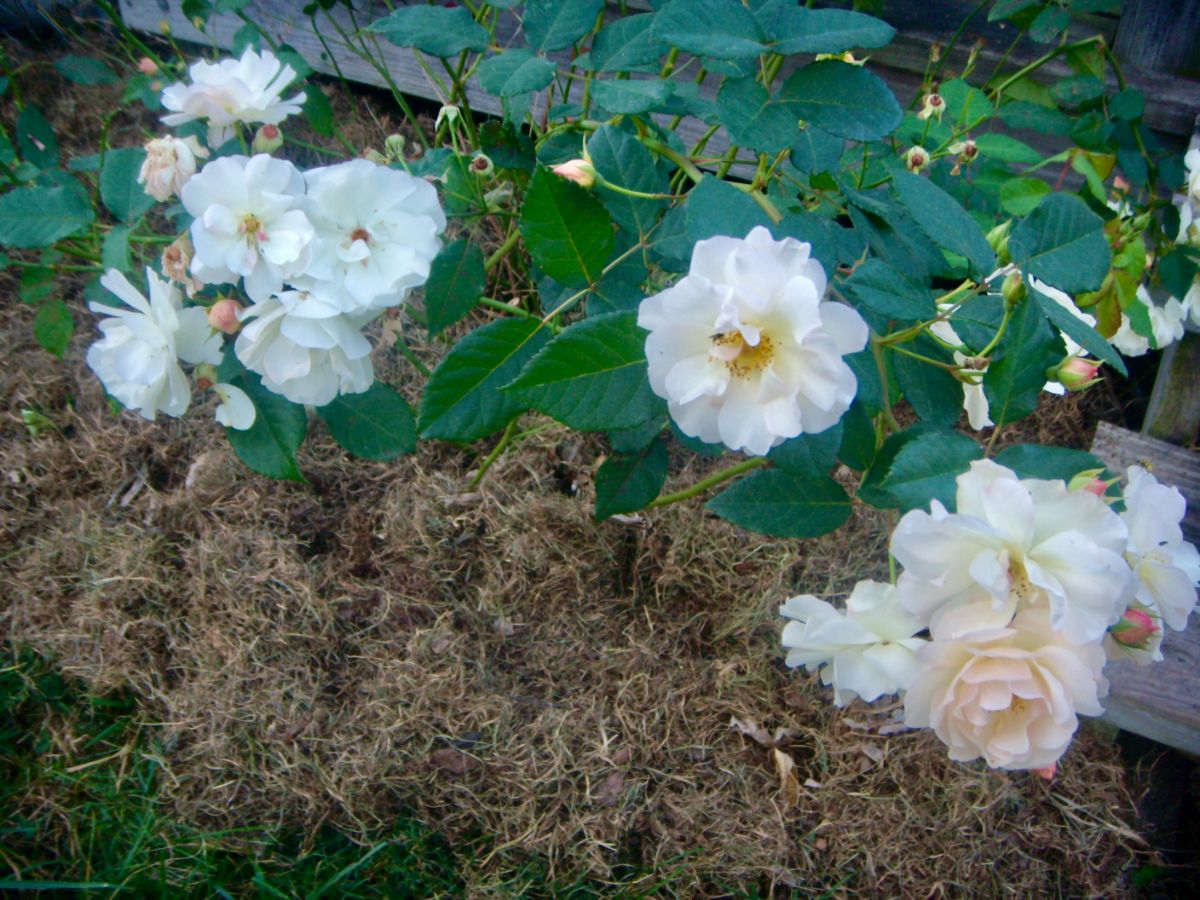
In my zone 5 rose garden, I covered the roses with 12 inches of mulch, but I also chose roses that worked well in my climate. If a rose croaked over the winter, I’d replace it with a variety that was a little tougher in cold weather. There are always plenty of fish in the sea – or roses in the nursery – and I prized roses that could take care of themselves.
Help Against Drying Winds
Roses in zones 4-6 still need protection against desiccating winds. A rose that loses too much moisture to wind can end up losing canes or dying outright.
Spraying anti-transpirants such as Wilt-Pruf or Bonide Wilt Stop on the canes can reduce evaporation and keep the rose canes from drying out. It’s also good for preventing winter burns on broadleaved evergreens like holly, magnolias, rhododendrons, and boxwoods. An additional benefit in summer is that anti-transpirants seem to protect the roses against fungal diseases.
Other Ways to Protect Winter Roses in Zones 4-6
A rose collar is helpful for keeping mulch piled around a rose, though I always got frustrated with fighting with these and just let the mulch chips fall where they may.
Some rosarians are not too fond of using mulch on roses because, in some places, mulch can hold in too much moisture, leading to canker and mold. If you live in a place with wet winters, use a light mulch that drains easily, like pine chips.
Protective Rose Covers
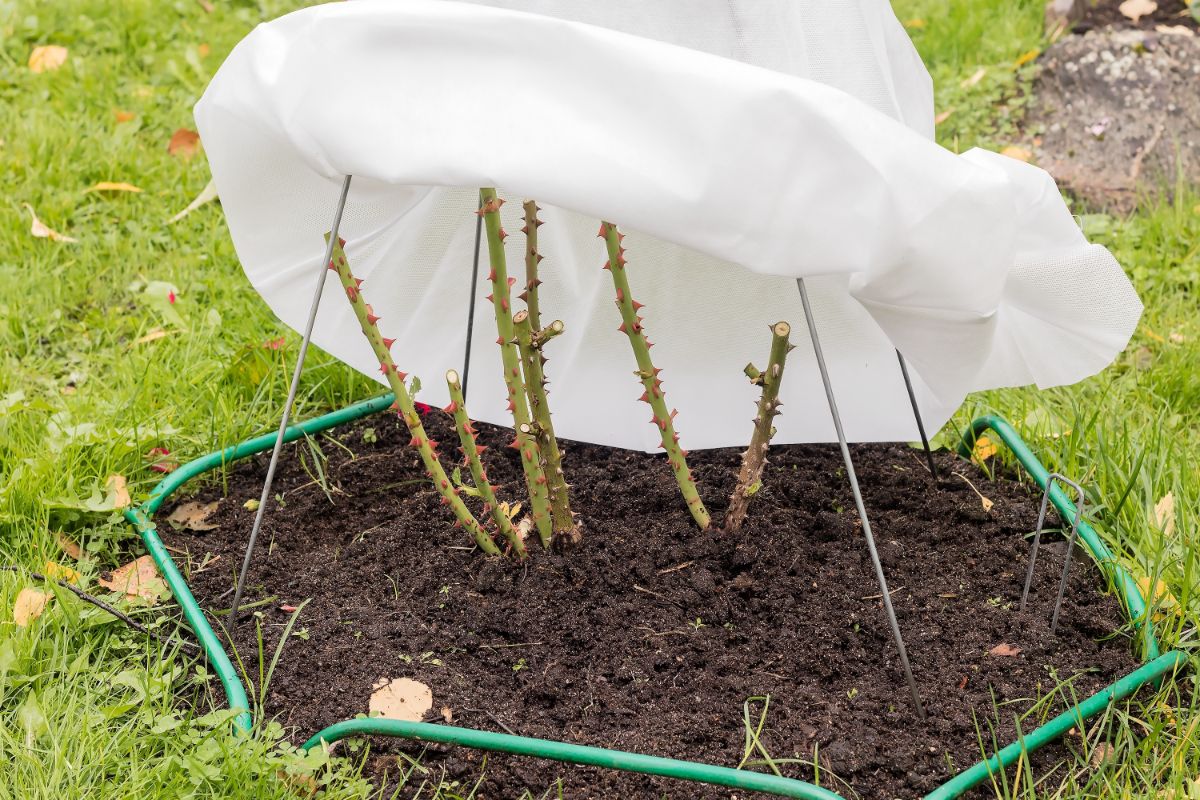
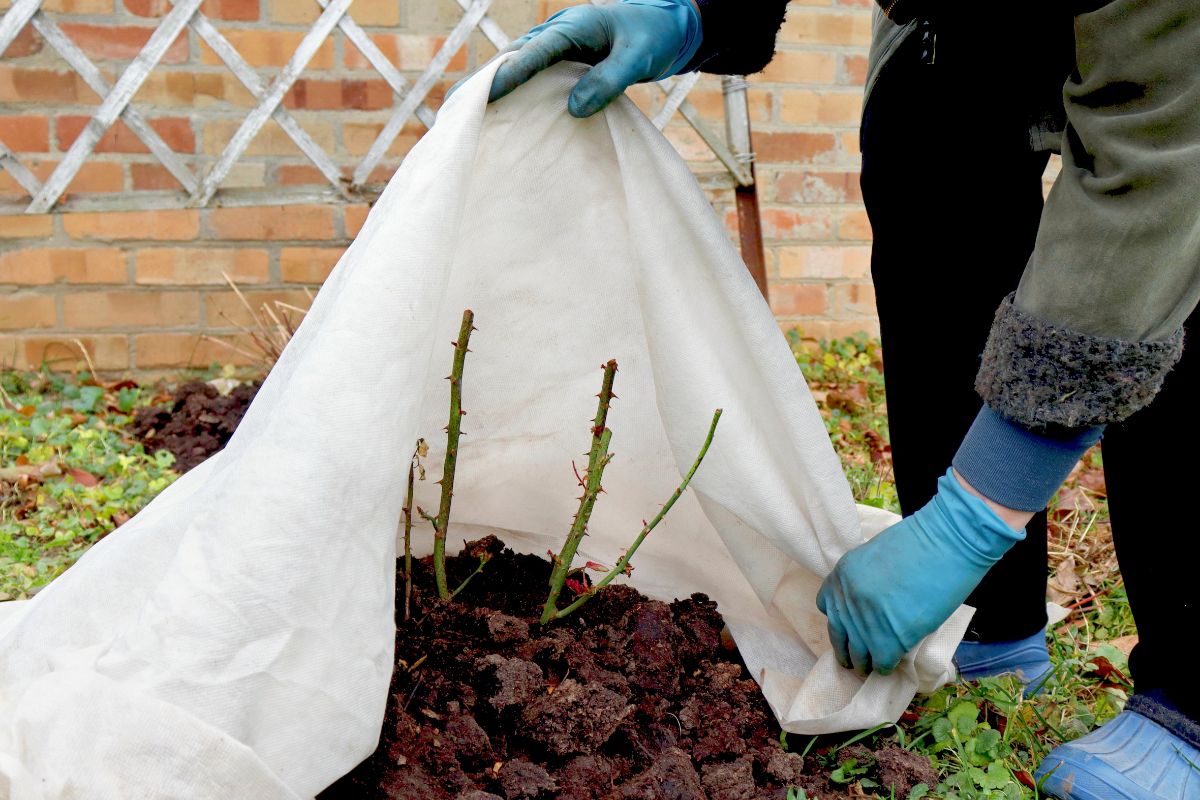
Many different types of rose covers are available for roses. You can find rose covers made from PCV fabric that allows extra heat and moisture to escape.
Wrapping roses in a spun-bond frost blanket or good old-fashioned burlap cloth is another way to protect them. Some buy lawn and leaf bags, cut off the top to make a tube, fit it over the rose, then fill it with light mulch or fallen leaves. The brown paper in the lawn and leaf bags is heavy-duty and can stand up to winter’s wind and precipitation.
Winterizing Roses in Zones 7-10
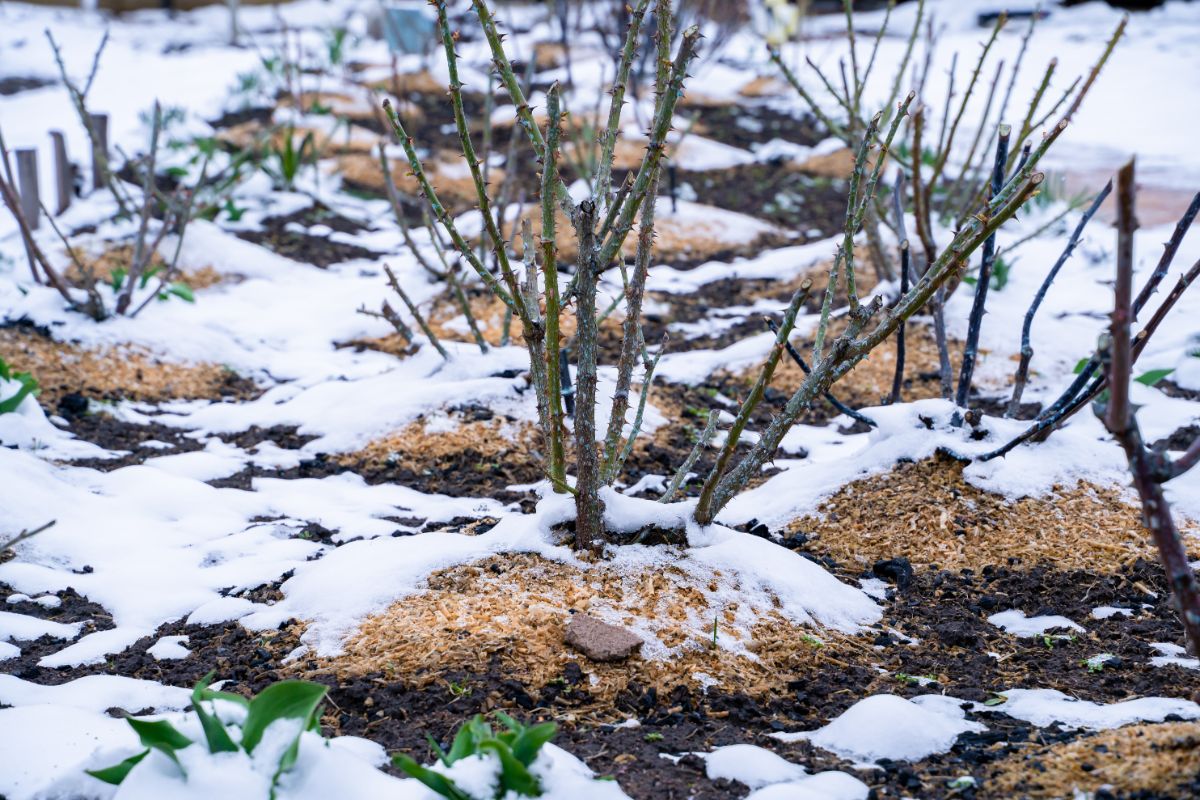
Many roses are hardy to zone 5, so they won’t need extensive coverage as much as the northern roses. Two to three inches of mulch will keep their roots comfortable in cold snaps.
Roses planted on their own roots (these won’t have a bud union) will not need as much attention, but give them the same amount of mulch anyway.
Roses won’t go dormant in zones 9-11. They’ll perk up when you tidy them up. Remove all their old leaves and cut out any weak, skinny, or diseased canes. Cut the rest of the canes back by one-third.
Finally, It’s Spring in the Rose Garden
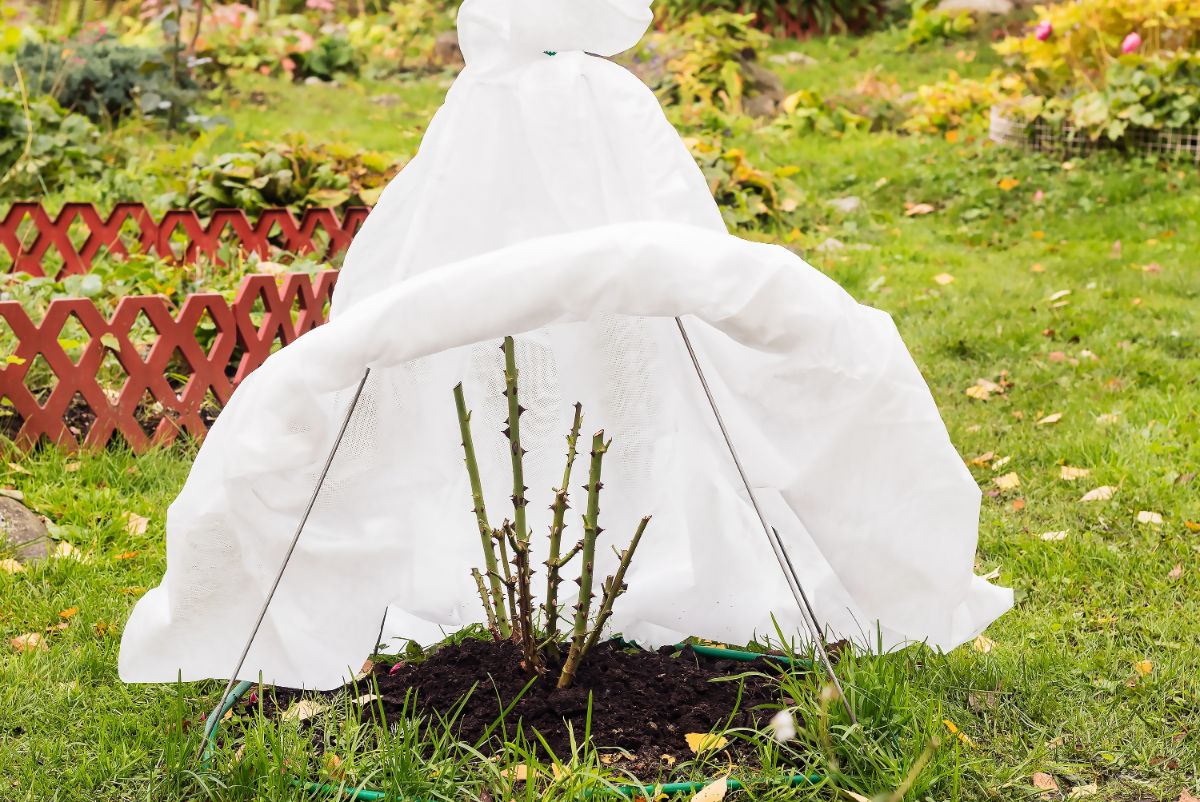
As winter’s grip loosens, start removing the mulch little by little, beginning about the time of the last expected frost. Take care not to knock the tender new shoots off the canes, especially as you get closer to the center of the rose. Your object is to toughen up the rose by exposing it gradually, allowing it to acclimate to the changing conditions.
As the days lengthen and the temperatures finally start to rise, your carefully tended roses will start waking up. Once the ground thaws out and the last frost date is past, it’s time to clear the last of the mulch out of the rose’s canes and spread it around the plants. Then it’s time to start spring fertilizing to get the girls growing!



Leave a Reply