Think there’s no perennial gardening for you to do just because it’s January? Think again!
As the popular saying goes:
“Anyone who thinks gardening begins in the spring and ends in the fall is missing the best part of the whole year; for gardening begins in January with the dream.”
- Josephine Nuese
Jump to:
- 10 Things Perennial Gardeners Should Do in January
- 1. Order seeds
- 2. Start some winter sowing
- 3. Check stored bulbs and tubers
- 4. Check on dormant container plants
- 5. Check and/or plant cold-treated bulbs for forcing
- 6. Let sleeping plants lie
- 7. Spend some time with your favorite seed and plant catalogs
- 8. Start seeds indoors
- 9. Start planning your perennial garden
- 10. Plan for some edible perennial plants, too (and start some from seed or bare roots)
- Live the Perennial Gardening Dream in January
10 Things Perennial Gardeners Should Do in January

January is the perfect time to dream about your upcoming perennial garden—but there’s more to do than just dreaming!
There’s checking in on stored and dormant plants, planning out your next garden, ordering, seed starting, and more.
Here are the things that top our January perennial gardening to-do list:
1. Order seeds

Not only is the best seed selection early in the season (and the seed ordering season starts in January once the seed catalogs come out!), but perennials are, for the most part, the first seeds that need to get started. They tend to grow slowly and often germinate slowly, too.
What’s more, a lot of perennials need cold stratifying to germinate and grow well.
To have enough time, you need those seeds early. So, get ordering!
Keep in mind that the seeds that are available for ordering in January are the same seeds that will be filling orders in March and for the rest of this year’s garden season. That means there is nothing to gain by waiting. You’re not getting fresher seed by waiting; you’re just risking not being able to get what you want and not having enough time to start it.
2. Start some winter sowing
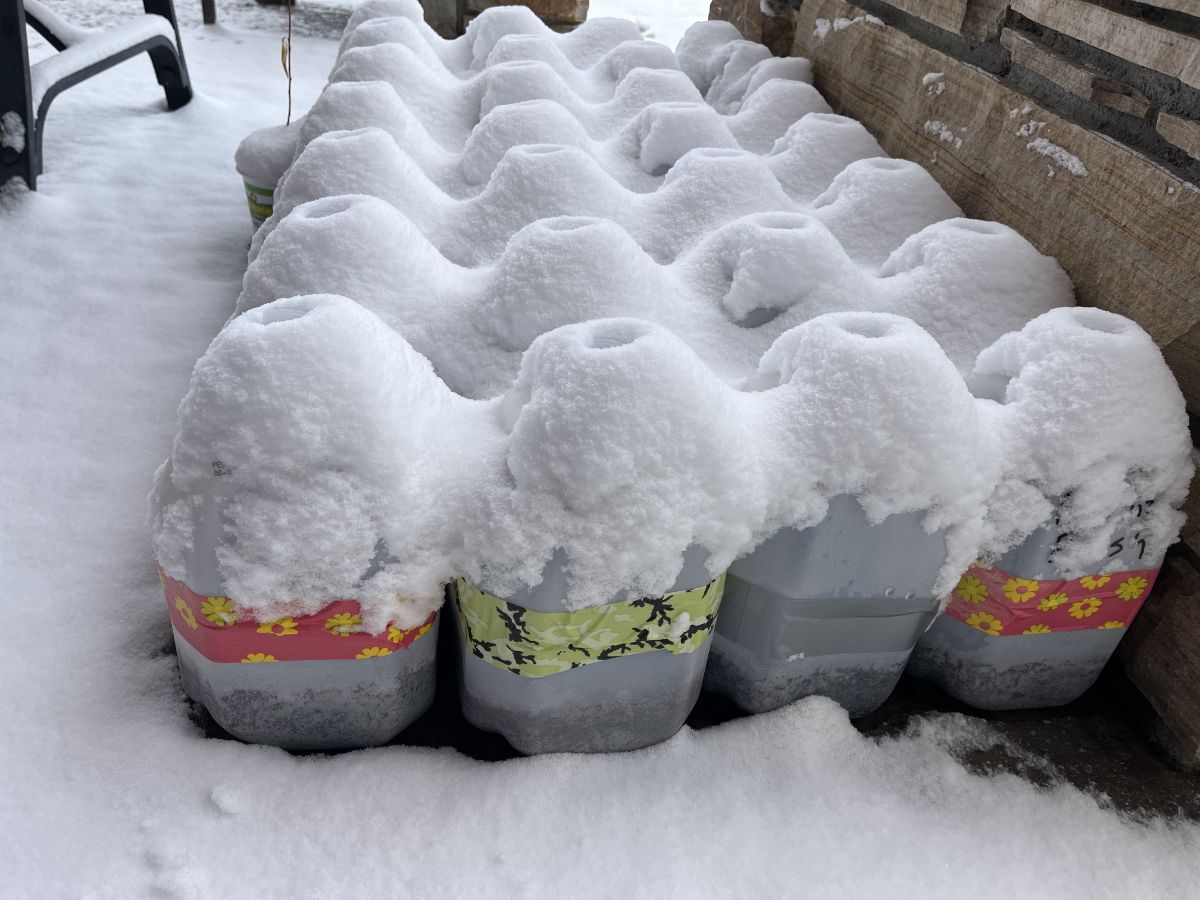
Winter sowing is different than starting seeds indoors. It is a method that works sort of hand-in-hand with nature. It was born from the idea that starting seed can be both easier and more in rhythm with the seasons and nature as it unfolds in your little corner of the world.
Simply put, winter sowing is a method of sowing seeds in potting soil in clear, covered containers that work like little miniature greenhouses. The original method, and the one most people use, is to use upcycled one-gallon milk or water jugs.
After the seeds are planted and watered, the jugs live outside, and the seeds sprout in their own time in their own season.
The method is particularly useful for perennials because many types of perennials need winter cold to germinate, and some need it to bloom and grow properly. This method does that without you having to pack and stash seeds in your fridge on moist media.
If you’ve struggled to grow herbs and perennials from seed before, this is a method you should definitely try.
What’s great is that you really can’t start too early after winter has set in. In fact, January is prime time for winter sowing. You don’t want to leave it too long for seeds that need that cold stratification. March and even February can sometimes leave seeds without enough weeks of cold left.
3. Check stored bulbs and tubers
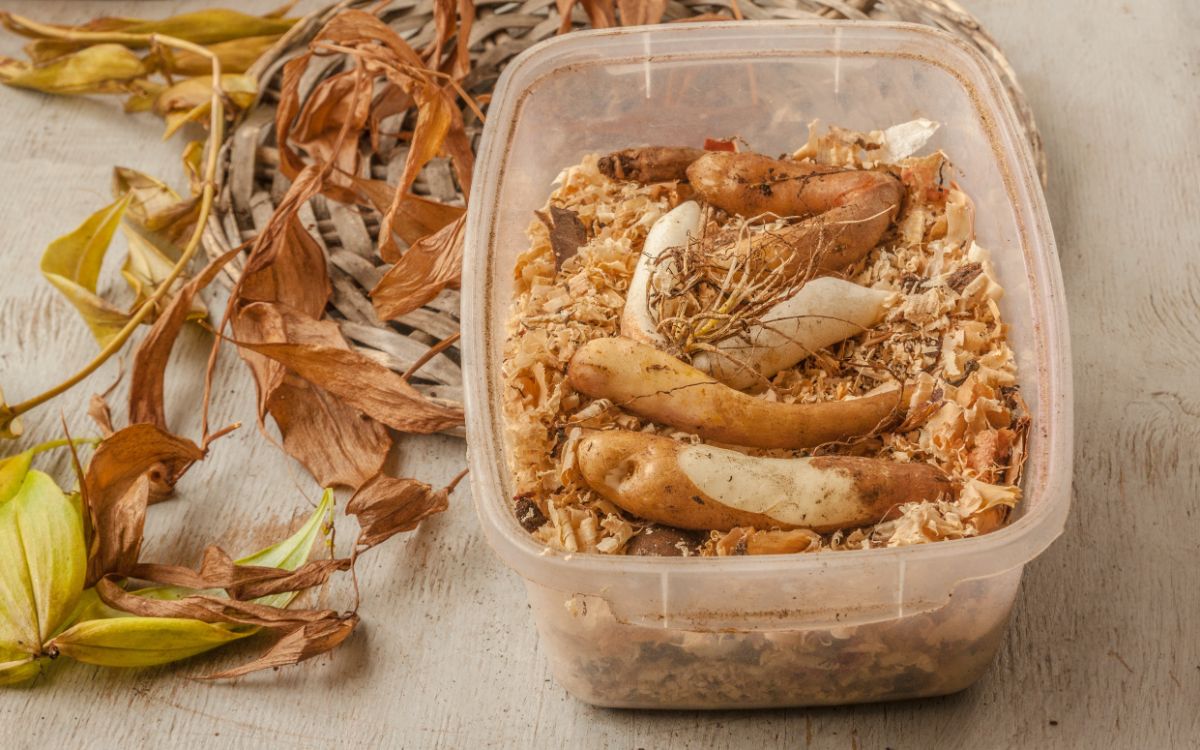
It’s wise to take a look into the containers and bags where your fall-dug tubers and bulbs are stored. Mold and rot can be a problem. The sooner you find an issue, the sooner you can act to stop it so you don’t lose the whole supply.
For bulbs that like to be stored dry and that need their skins to dry out (those that are usually stored in net bags, for example), here’s what you’re looking for:
- Nicely dried papery coverings, like the skins on an onion or garlic head
- Bulbs that are not powdery, dusty, or breaking when lightly squeezed
- Bulbs that are firm
- Bulbs that are dry to the outer touch but not looking too shriveled or dried up inside the bulb
- No mold or colorful fungal growth
Again, you're going for something similar to a healthy onion or head of garlic.
For tubers and roots stored in media to preserve some moisture, look to make sure:
- There are no soft or squishy bulbs
- No signs of rot
- No mold
- No black or off-color discoloration from fungus or rot
- No hairy growth
- Firm but not wet roots or tubers
For these, the condition should be similar to a healthy carrot or sweet potato.
Remove any bulbs or tubers that are rotting or molding, and discard them. If they’re rotting, they can’t be saved, but you can save the rest of the container by getting rid of them and stopping the spread of pathogens, mold, and rot fungi to the others.
4. Check on dormant container plants
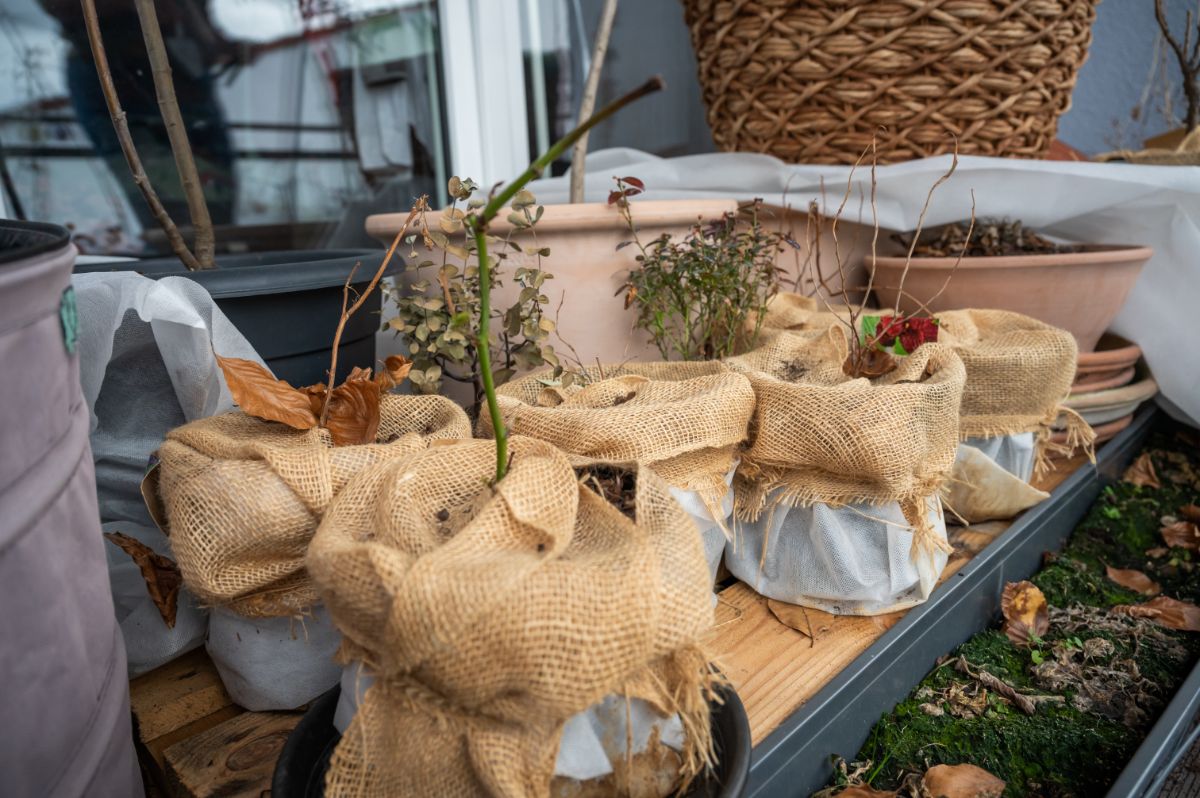
The dormant container plants you stored for winter won’t need much from you other than a cool, dark space. But you should check periodically to make sure the soil has not completely dried out.
The plants aren’t actively using much water, but if the soil dries out to dust, the roots will, too, and this will result in dead plants.
If the soil is dry to the touch, give your containers a small amount of water—just enough to moisten the soil, but do not wet it like you would when the plant is growing.
Once a month and sometimes less is usually enough watering, but if things seem dry, check the plants every week or two just to be safe.
5. Check and/or plant cold-treated bulbs for forcing
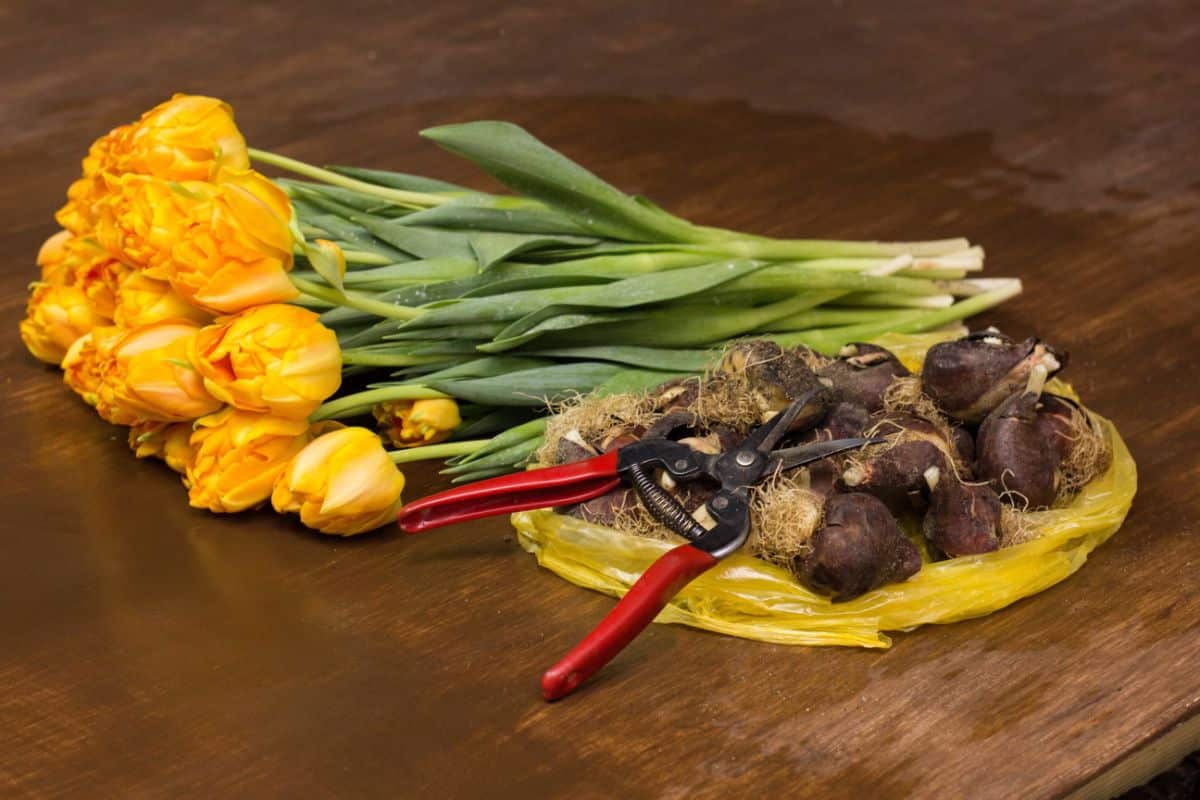
It may not be time to plant the bulbs that you’ve been chilling for forcing yet, but you should at least check on them. Look to see that they are still in good condition, and if you potted them before chilling, look to see that the pots’ soil is still moist.
If your bulbs have been chilling long enough and you’re ready to plant them in pots or warm them up to start the growing process, go ahead and do that. Just know that the most common bulbs we pot up for forcing (daffodils, tulips, and hyacinths) need at least 10 or more weeks of chilling before they will grow and bloom.
The shortest window for chilling is for muscari, and those need a minimum of six weeks.
If you want to see flowers before that time, you can order pre-chilled bulbs online—but read the description and make sure they are prechilled and ready to grow!
If you want flowers for Valentine’s Day, starting pre-chilled bulbs now is probably the way to go, unless you started chilling yours very early.
6. Let sleeping plants lie
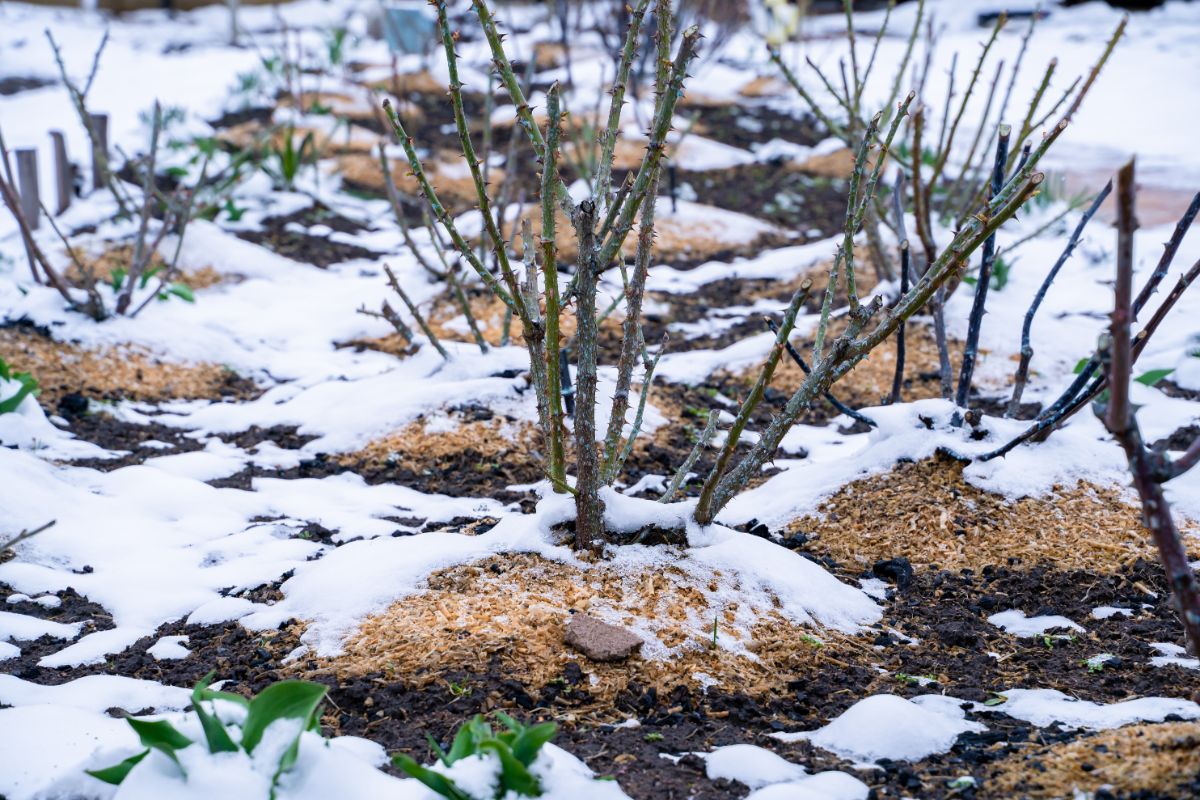
This isn’t a to do as much as it is a to don’t!
Resist the urge to go poking around and checking the plants you’ve tucked in for the winter. After your winter mulch is in place and the plants are resting, snug, and dormant, leave them be. If they’re in the ground, odds are they don’t need water or attention from you.
You’ll do more damage stirring up winter mulch and exposing the ground and roots below to air and temperature changes than any good you’ll do. Leave your well-placed mulch in its place and let those sleeping plants lie.
If they’re in containers, that’s a little bit of a different story—see number four, and make sure they haven’t dried all the way out.
If you have container plants tucked away under straw, mulch, or other winter protection, only do a light check and try not to disturb covering materials much—and only if you think you really need to.
Hint: If you have had some snow or rain on a regular basis (every couple of weeks), you probably don’t need to disturb those plants at all.
7. Spend some time with your favorite seed and plant catalogs
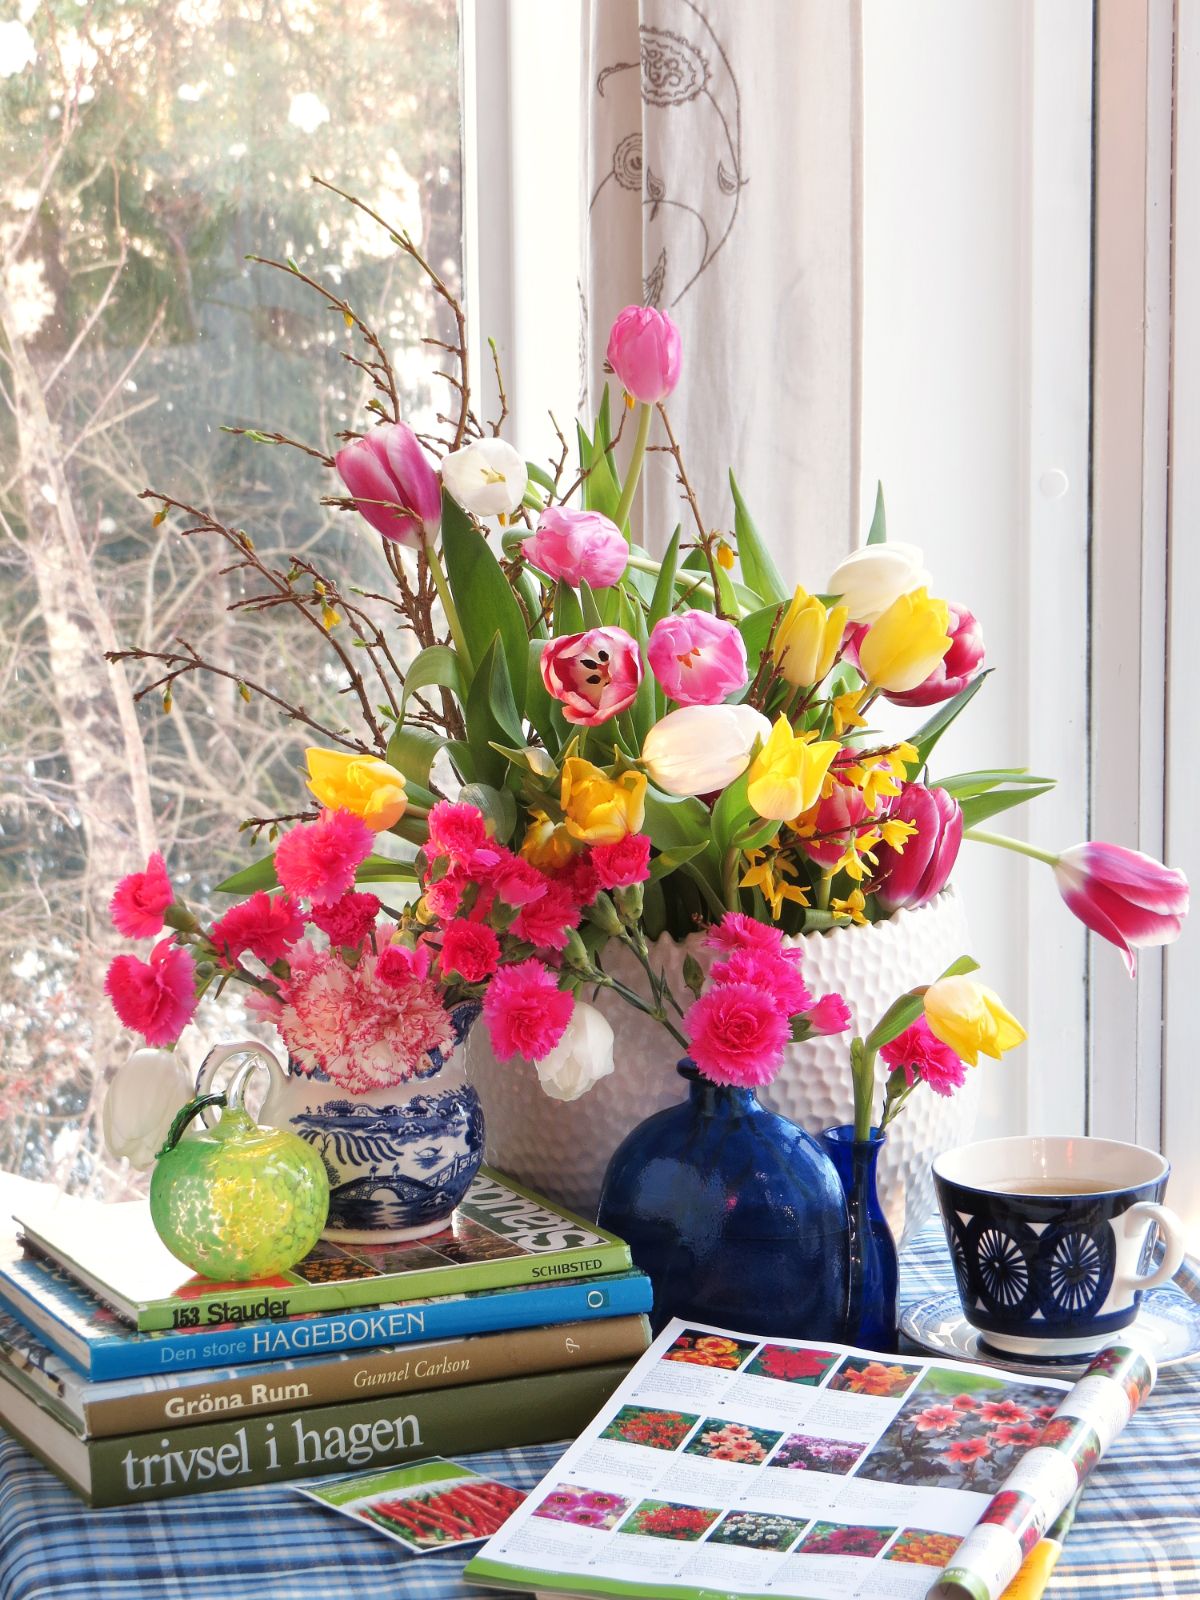
You should also enjoy some downtime and enjoy some relaxation, too.
Why not do that with some wish books?
Peruse the seed, bulb, and plant catalogs. See what’s out there that’s new and interesting. You might be surprised at the new hybrids, varieties, and cultivars that continue to be developed.
You can also look for plants that solve a problem—like disease issues or resistance to certain types of pests.
This is a time to kick back, relax, plan, and dream about your next perennial garden!
8. Start seeds indoors
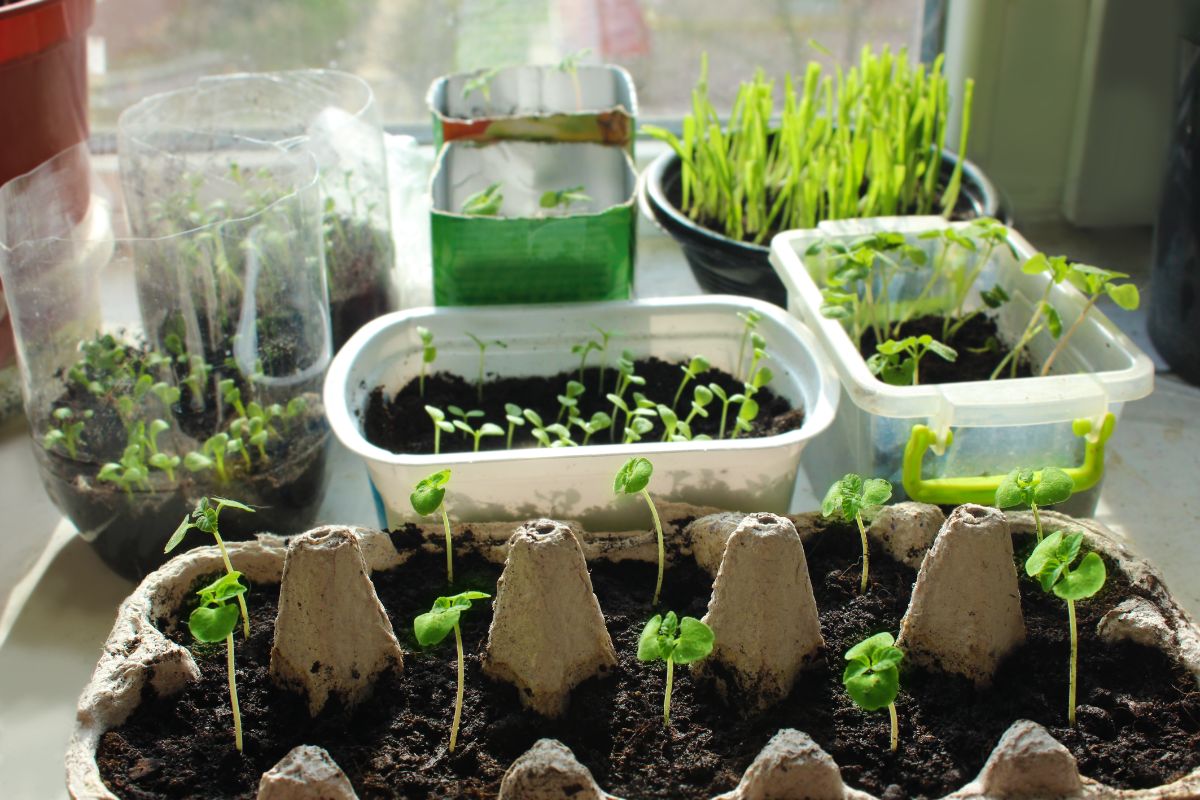
Perennials are, in general, slow to germinate, and they grow more slowly than annual flowers and vegetables. It’s best to start perennials from seed well ahead of time—14 to 16 weeks before you want to transplant them outside.
You really can’t plant perennials from seed too early. The worst that can happen is you’ll have bigger, better plants to transplant!
There are some vegetables and herbs that should be started early, too, and any perennial vegetables or strawberries that you’re starting from seed should be started in January as well.
9. Start planning your perennial garden

January is the time for some solid planning for your next perennial garden. It’s hard to order the right plants, the right seeds, and the right quantities if you don’t know what your garden goals are for the year.
Take some time now, sit down with graph paper and pencils or a gardening app if you prefer, and start laying out your garden beds and what you want in them.
10. Plan for some edible perennial plants, too (and start some from seed or bare roots)
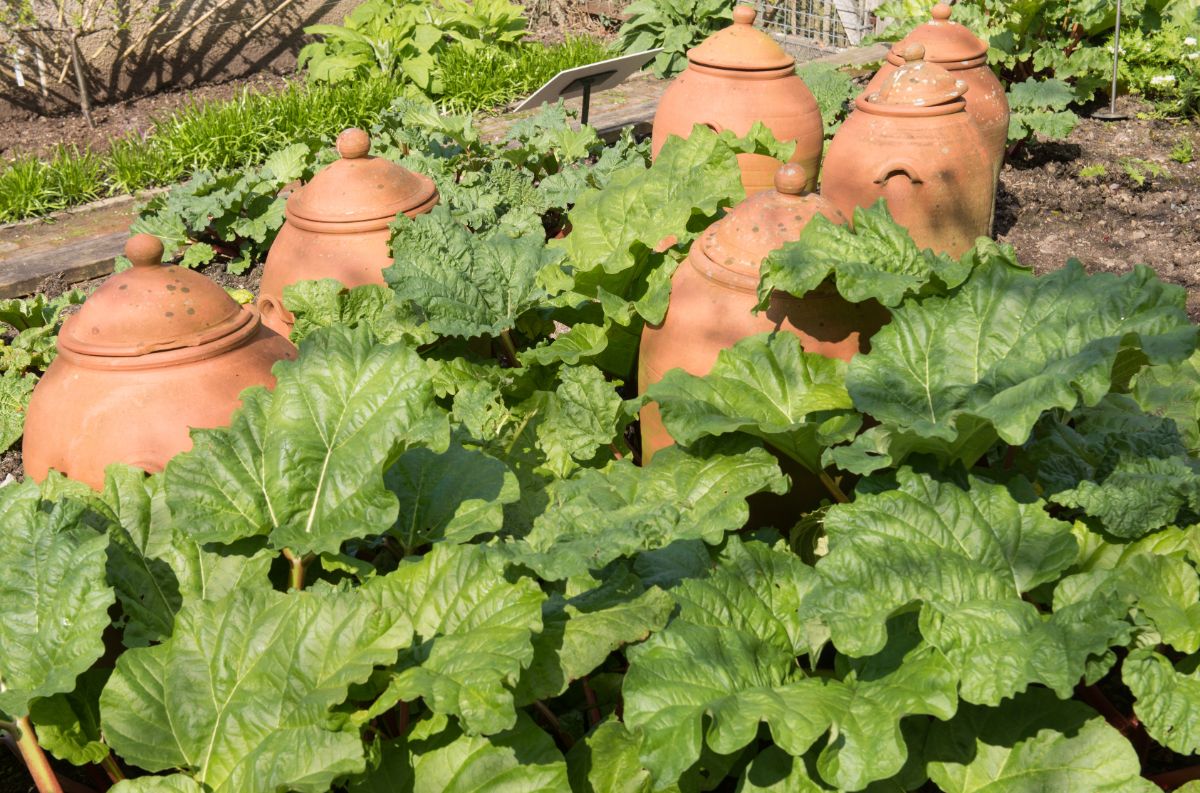
As you’re planning your perennial garden, remember that there are a number of perennial vegetables, berries, and edible plants that you can grow, too! Why not put some of that space to work doing double duty, nourishing you as it adorns your property?
Asparagus, for example, becomes a tall, airy, fern-like foliage plant after the shoots are harvested early in the summer. Strawberries make great ground covers. Grapes can climb and arch over an arbor. Rhubarb is a large-leafed, majestic-looking foliage plant with nice color accents.
Those are only a few examples of the many edible perennial plants that work well in landscapes.
Live the Perennial Gardening Dream in January
Clearly, there’s a lot we can do as perennial gardeners to both get ahead and satisfy our needs to be doing something garden-related in the deepest of the winter months. This list should be enough to keep you busy this month and get you excited for another year of growing your favorite perennials.





Leave a Reply