When it comes time to start seeds in spring, you’ll need to find a quality seed starting mix to grow your plants in. This is because the dirt from your garden is much too compact for tender seedlings and may promote low germination rates, disease spread, and other problems. Potting mixes intended for houseplants are also not ideal for seed starting as they can be too dense to support seedling growth.
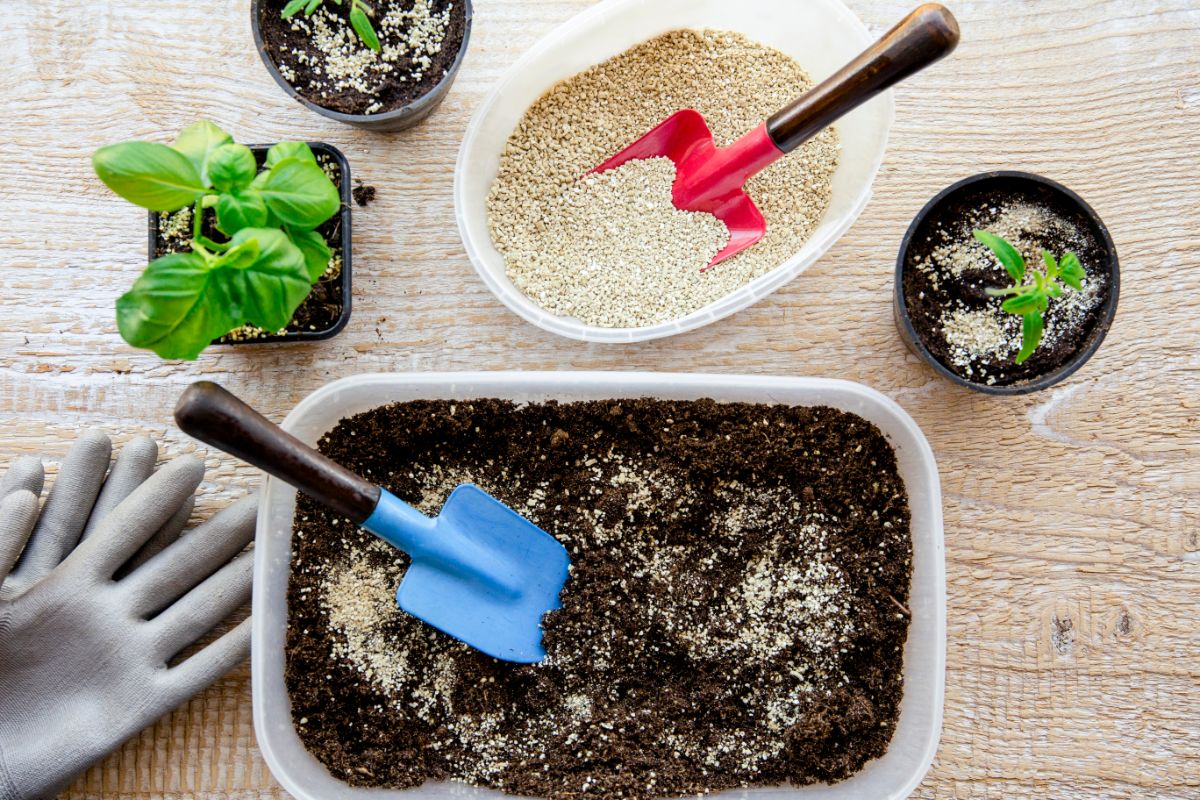
While there are quality seed starting mixes available for purchase both online and at local growing centers, if you’re growing a lot of seeds, it may not be economical to purchase a premade mix. Instead, you can easily create a budget-friendly, soilless seed starting mixture with just a few ingredients!
The best DIY seed starting mixture should be well-draining, loose, and fluffy and without a lot of added nutrients. When they’re first planted, seeds contain all of the nutrients they need to germinate within themselves, and added nutrients are only needed after the seed begins to grow.
Below, we’ve provided a step-by-step guide to create your own seed starting mixture that’s just right for all indoor seedlings. This mixture is easy to make, inexpensive enough to mix up in bulk, and will help you to grow the healthiest plants around!
Jump to:
How to make your own organic seed starting mix from scratch
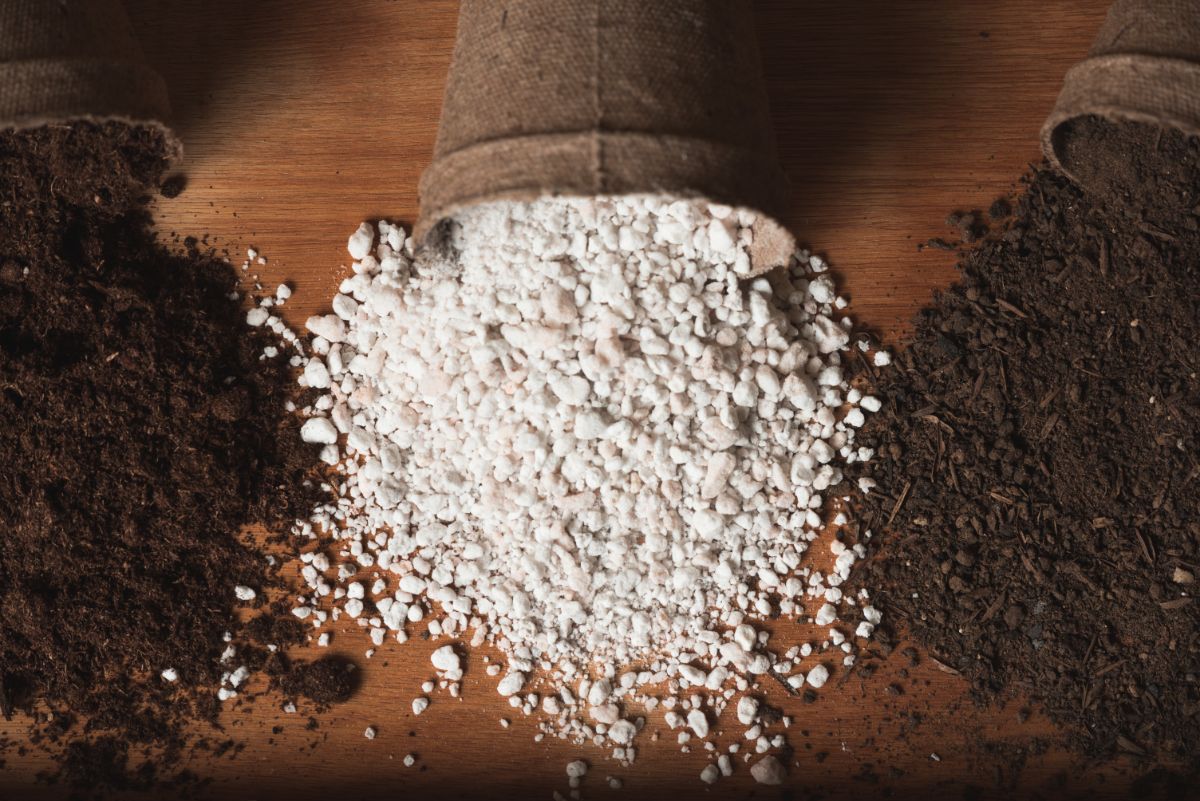
Premade seed starting mixtures can be purchased at garden centers; however, they can get expensive fast if you’re starting a lot of seeds. Instead, making your own seed starting mix from scratch can save you money, and by creating your own, you’ll know exactly what quality of ingredients went into your mix. What’s more, all of these ingredients can be readily found at nursery centers or online, or you can create your own with materials from your backyard!
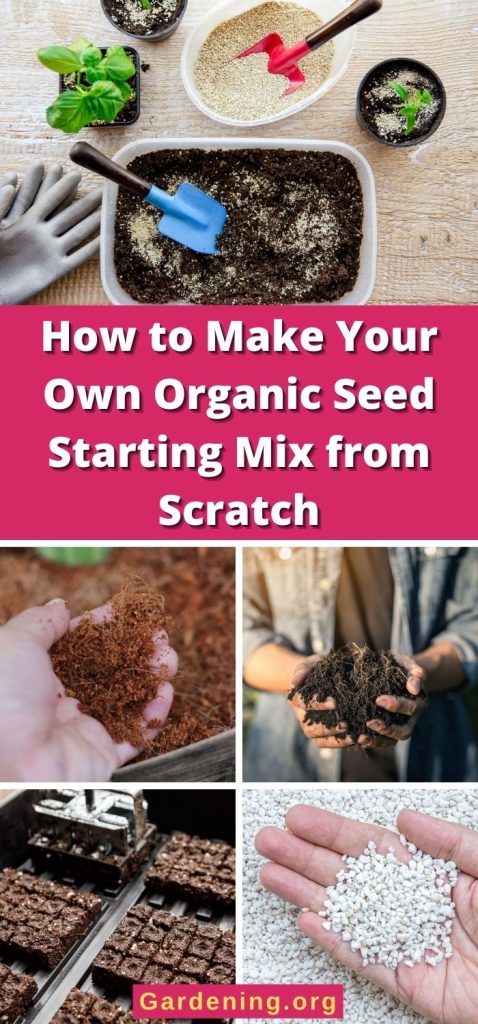
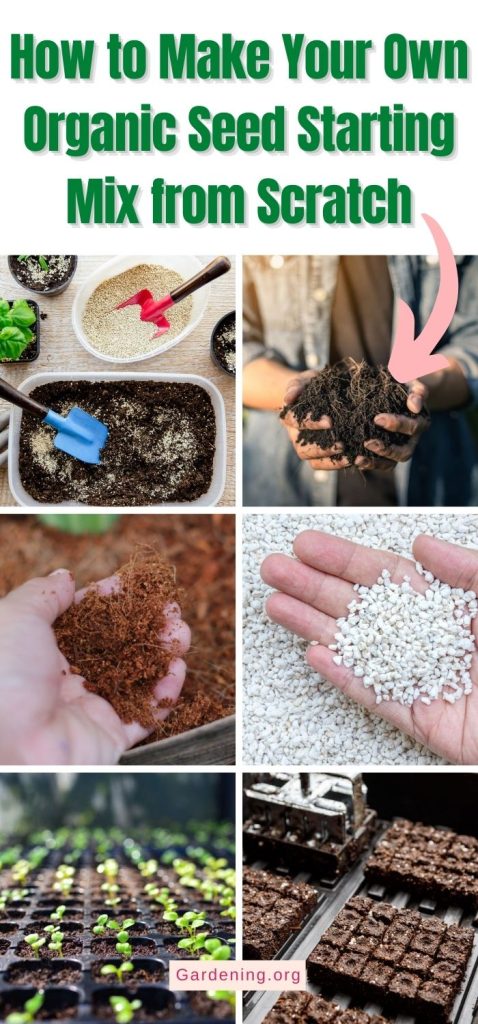
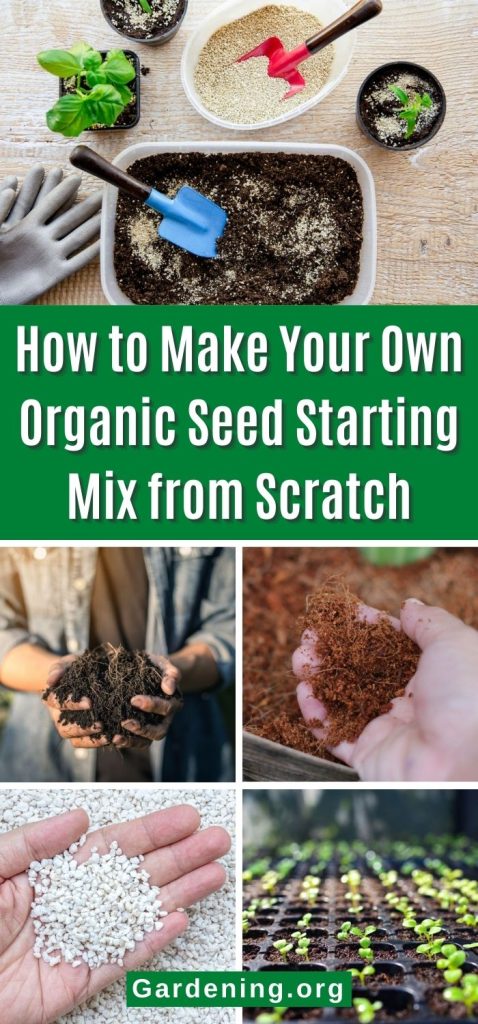
Once you’re ready to make your seed starting mix, simply mix together the following ingredients until they are well combined. These ingredients are all measured by volume, so this recipe can be easily scaled up or down depending on how much seed starting mix you need.
2 parts organic, aged compost
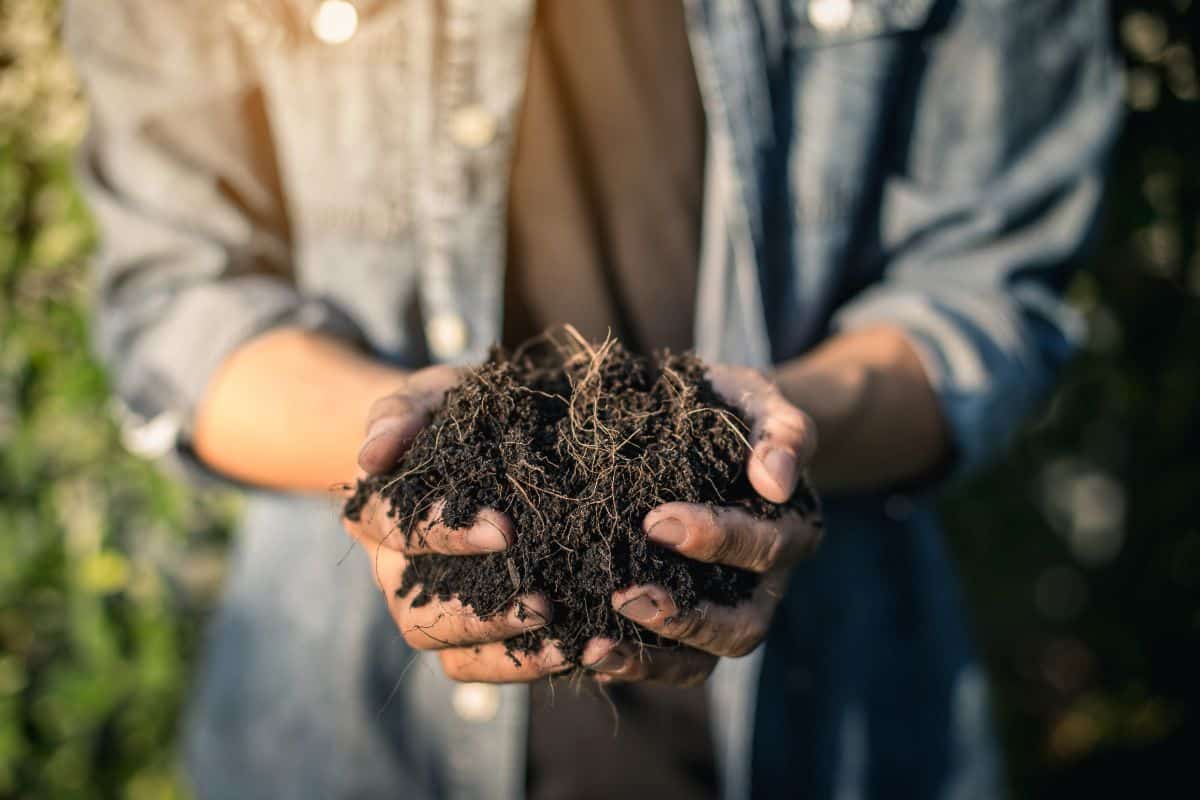
Compost is an essential part of homemade seeding starting mixtures. Not only will compost provide nutrients to your developing seedlings, but it will also improve drainage and water retention for healthier plants.
You can either use the compost you created in your backyard, or you can purchase premade organic compost from your local supplier. If you’re using premade compost, simply break apart any large clumps before mixing it into your seed starting blend. Alternatively, if you’re using homemade compost, you may want to consider screening it first to remove any clumps and larger pieces of debris.
If you decide to screen your compost prior to use, you can make a simple DIY screen by creating a small frame out of scraps of wood and then stapling a bit of hardware cloth to the underside of your screen. After that, just pass your compost through the screen to make sure it has a consistently fine texture.
2 parts coconut coir or leaf mold
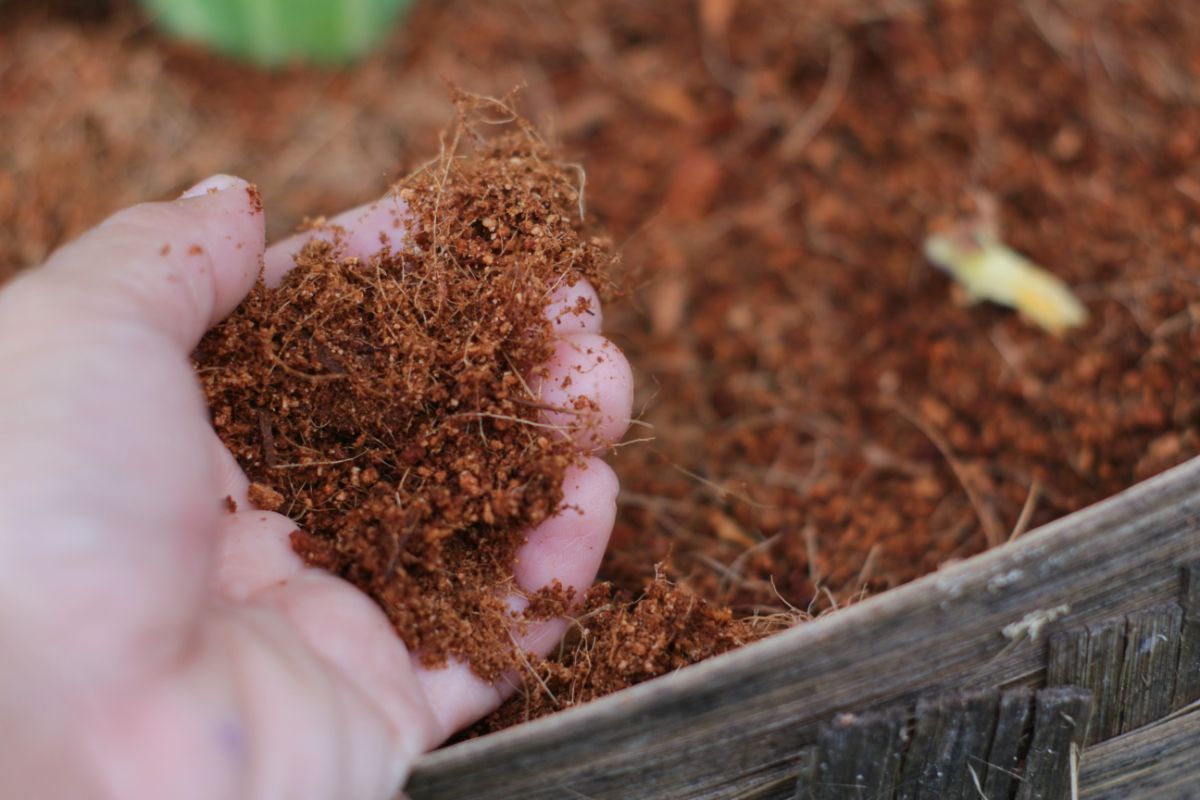
The inclusion of coconut coir or leaf mold in your seed starting mix will also improve water retention around your seeds. Additionally, these two ingredients will add bulk to your mixture and help ensure your mixture remains nice and fluffy.
Coconut coir can be purchased online and should be rehydrated prior to use. To rehydrate your coconut coir, be sure to follow the manufacturer’s instructions to moisten your coir until it can be easily pulled apart and mixed into your seed starting blend.
Well-aged leaf mold from your backyard works well for this process too. Using leaf mold will also mean that you don’t need to spend any money!
1 part perlite
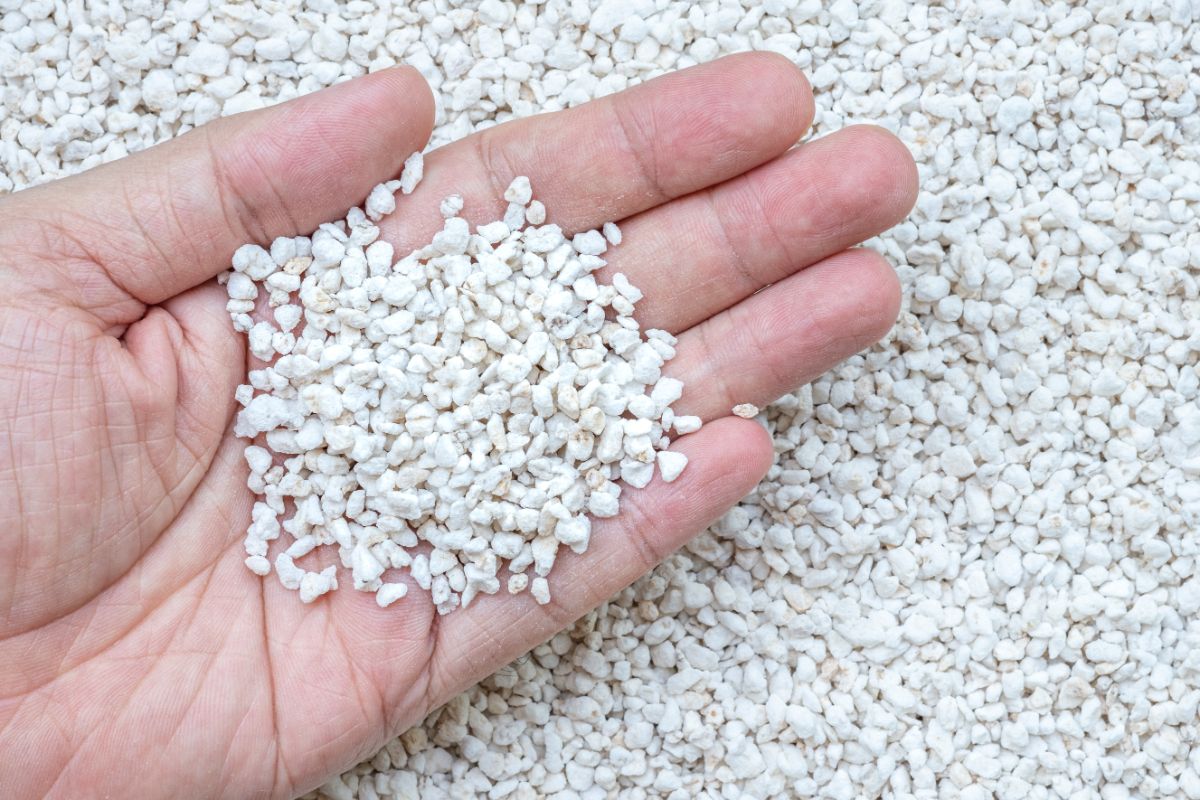
Perlite is a type of volcanic glass and is naturally occurring. In the garden, perlite helps to create planting mixes that drain well and will prevent your seed starting mix from becoming overly soggy.
Perlite is easily found online or at your local garden center.
How to use your seed starting mixture
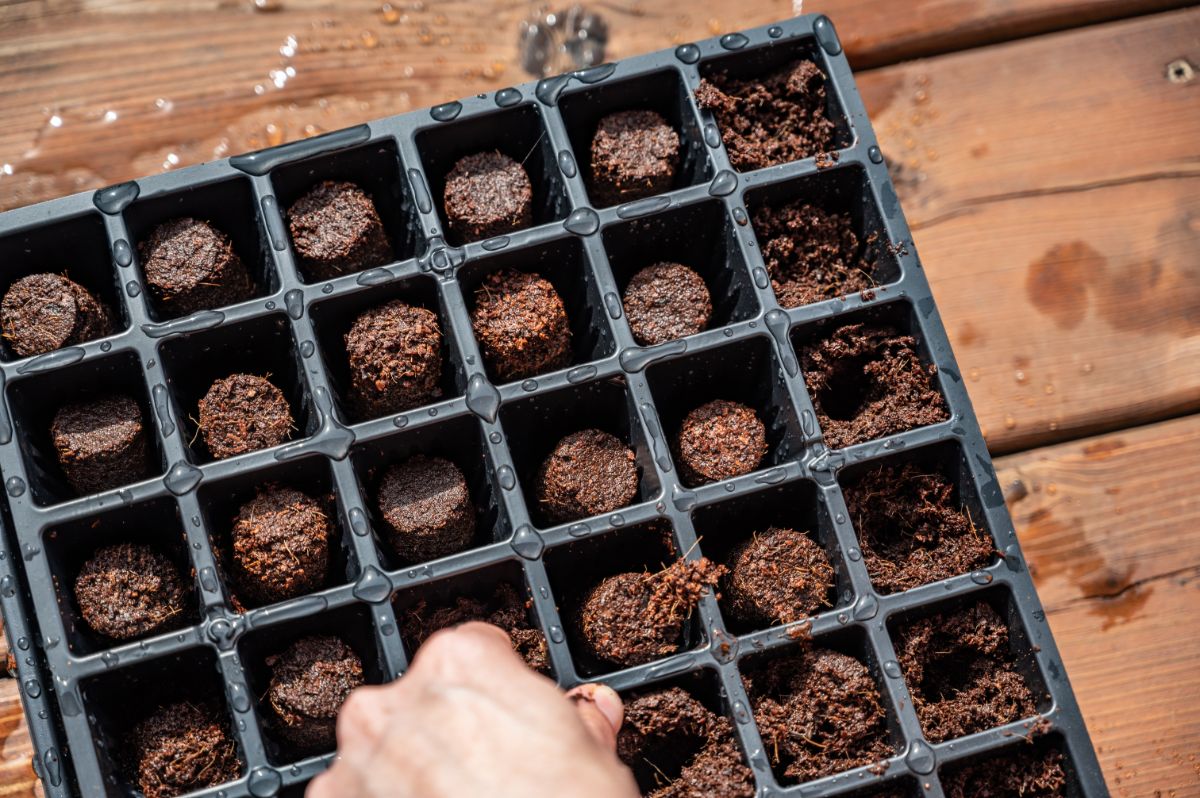
Now that you’ve created your seed starting mixture, you’re ready to start planting your seeds!
But first, if you’ve gardened before and you want to reuse your old planting pots and seed starting trays for this year’s garden, you’ll probably want to disinfect your pots first. Issues like damping off can occur year after year and spread from contaminated planting pots. So, to keep your seedlings safe, it’s a good idea to sterilize your planting materials by spraying them down with a mixture of 1 part bleach to 9 parts water.
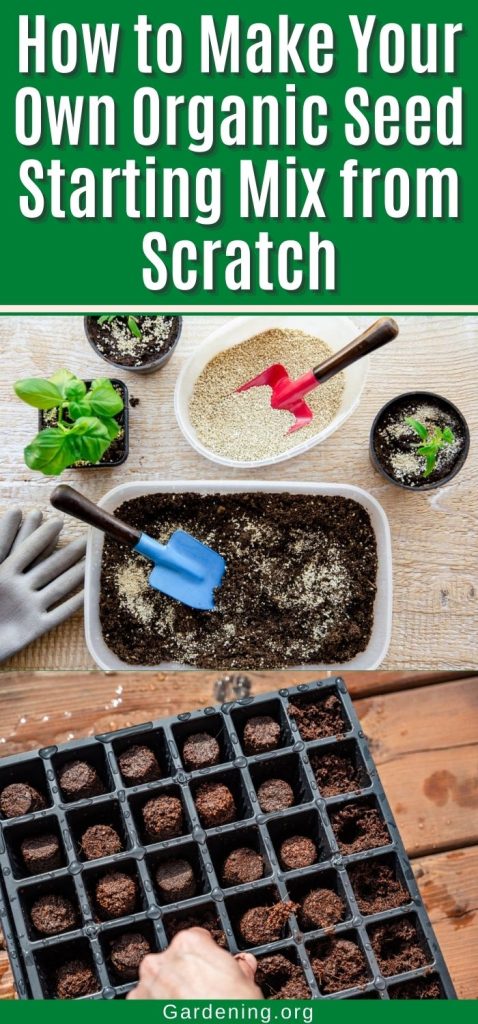
After your pots have been sterilized, premoisten your seed starting mixture so that it is moist but not soggy. Then pack your planting pots and seedling trays full of your seed starting mix so that your pots are full, and then gently press the seed starting mix down. You want to make sure that air pockets are filled, but you don’t want to make your mixture too compact, which may inhibit the growth of your seedlings’ roots.
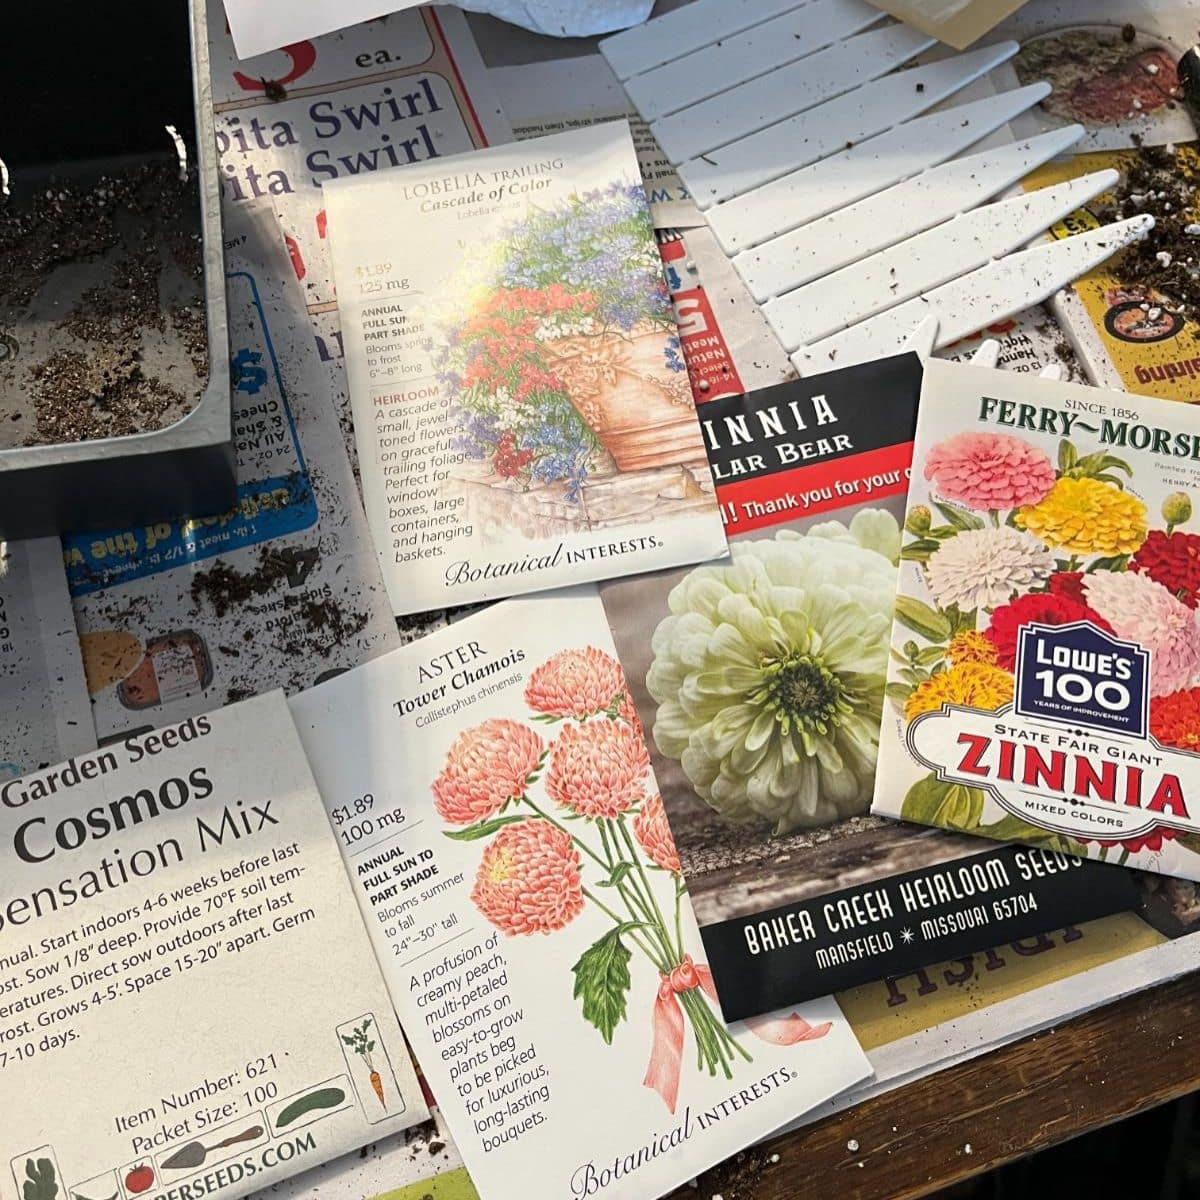
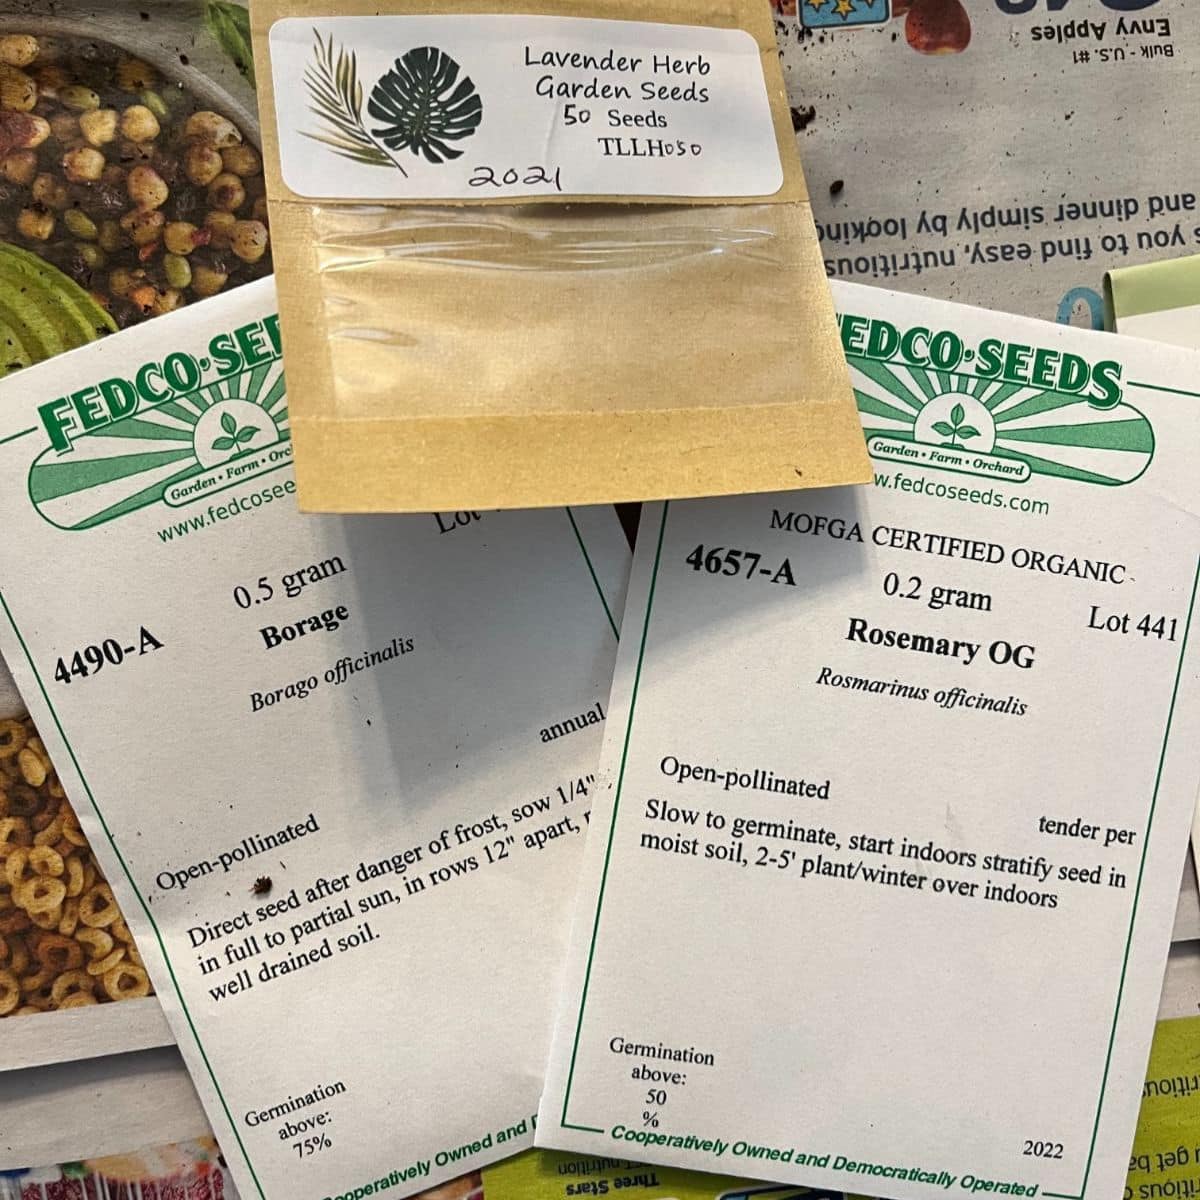
Once your pots are filled, it’s time to start planting! Carefully follow any instructions on your seed packets with regard to when and how to plant your seeds and how deep to sow them.
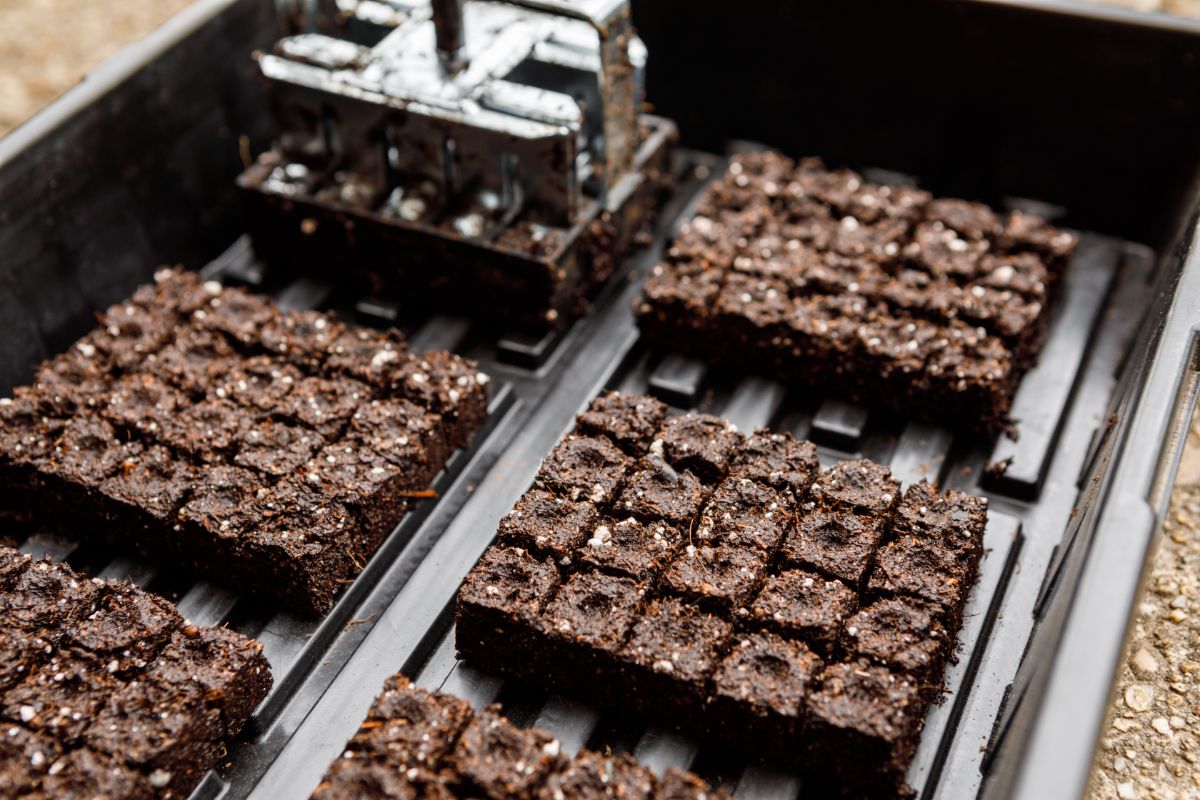
Alternatively, your homemade seed starting mixture can also be used with the planting technique known as soil blocking. However, you will probably want to add a bit more moisture to your soil in order to guarantee that it will hold together properly as you create your soil blocks.
Frequently asked questions
Seed starting mixture, either storebought or homemade, is the best material to grow tender seedlings in. This is because seed starting mixtures are well-draining and have a light and fluffy texture that will support the growth of seedlings’ tender roots.
If you don’t want to purchase a premade seed starting mixture, you can also easily create your own with a blend of compost, coconut coir (or leaf mold), and perlite.
You can use a potting mix to start seeds, but it’s not ideal. Potting mix has a more dense and coarse texture, which may inhibit the growth of your seedlings’ roots. What’s more, potting mixes may contain fertilizer, which your seedlings don’t need. Too much fertilizer when your seedlings are developing can overwhelm your seedlings and may cause fertilizer burn or even kill young plants.
No. Potting mix has a more dense and coarse texture than seed starting mixtures. Potting mixes may also have added synthetic fertilizers in them, which may be too much for tender seedlings.
No. As lovely as your garden soil may be, it is usually far too dense for young seedlings. Garden soil also won’t drain as quickly as seed starting mixtures, which can lead to issues like root rot and damping off.
Depending on the seeds you’re growing, you can also get seeds to germinate by simply placing them on a moistened paper towel and moving the paper towel into a Ziploc bag or plastic takeaway container. Once your seedlings have sprouted, just pot them up in your seed starting mixture and watch them grow.
Summary
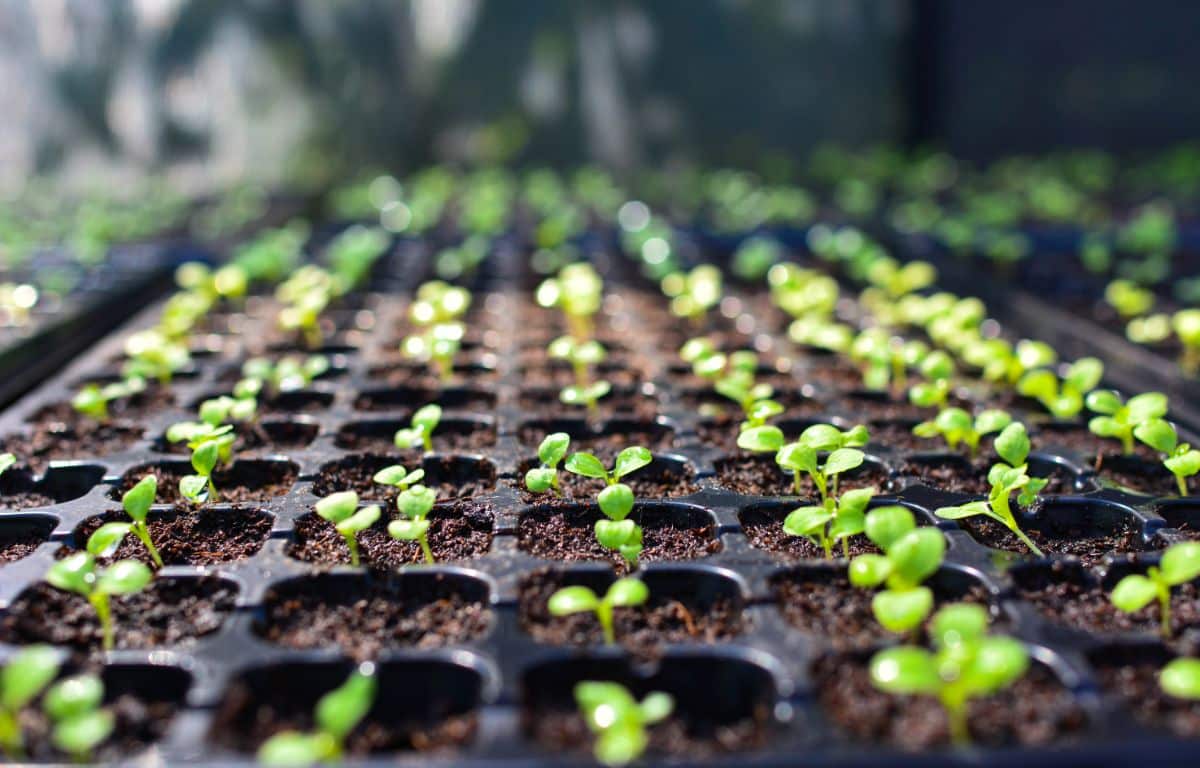
For many gardeners, seed starting time is the most exciting time of the year! Not only do you start planning out your garden, but you can combat the winter blues by planting your vegetable, herb, and flower seeds.
When it comes time to plant your seeds, you’ll need a few key materials, like grow lights, pots, and of course, seed starting mixture. And, while you can purchase seed starting mixes premade, they are so easy to make at home you may not want to. Creating your own seed starting mixtures will save you money and give you the peace of mind that comes with knowing exactly what your seeds are growing in.
If you liked this article and want to learn more about starting your garden from seeds, check out this guide on growing onions from seeds.

Leave a Reply