• Skip to primary navigation
  • Skip to main content
  • Skip to primary sidebar
Gardening
menu icon
go to homepage
  • Edible
  • Flowers
  • How To
  • Ornamental
  • Tips
  • Perennials
  • Berries
  • Fruits
  • Herbs
  • Mushrooms
  • Nuts
  • Vegetables
  • Composting
  • DIY Projects
  • Pests
  • Plant Diseases
  • Propagation
  • Seed Starting
  • Weeds
  • Homesteading
  • Canning
  • Preserving
  • Recipes
  • Indoor Gardening
  • Houseplants
  • Indoor Plants
  • Lawn
  • Shrubs & Trees
  • Succulents & Cactuses
  • Uncategorized
  • Privacy Policy
search icon
Homepage link
  • Edible
  • Flowers
  • How To
  • Ornamental
  • Tips
  • Perennials
  • Berries
  • Fruits
  • Herbs
  • Mushrooms
  • Nuts
  • Vegetables
  • Composting
  • DIY Projects
  • Pests
  • Plant Diseases
  • Propagation
  • Seed Starting
  • Weeds
  • Homesteading
  • Canning
  • Preserving
  • Recipes
  • Indoor Gardening
  • Houseplants
  • Indoor Plants
  • Lawn
  • Shrubs & Trees
  • Succulents & Cactuses
  • Uncategorized
  • Privacy Policy
×

Home » Homesteading » Preserving

How To Freeze Garden Vegetables to Preserve Them (With Instructions)

Last Modified: Jul 21, 2022 by Mary Ward · This post may contain affiliate links · 1 Comment

How To Freeze Garden Vegetables to Preserve Them pinterest image.

Freezing is one of the fastest and simplest ways to preserve your fresh garden vegetables. It requires little to no specialized preserving skills—if you can boil water, you can prep and freeze your produce.

variety of fresh-picked vegetables
Freeze and preserve your beautiful harvest to enjoy close-to-fresh, nutritious vegetables for many months!

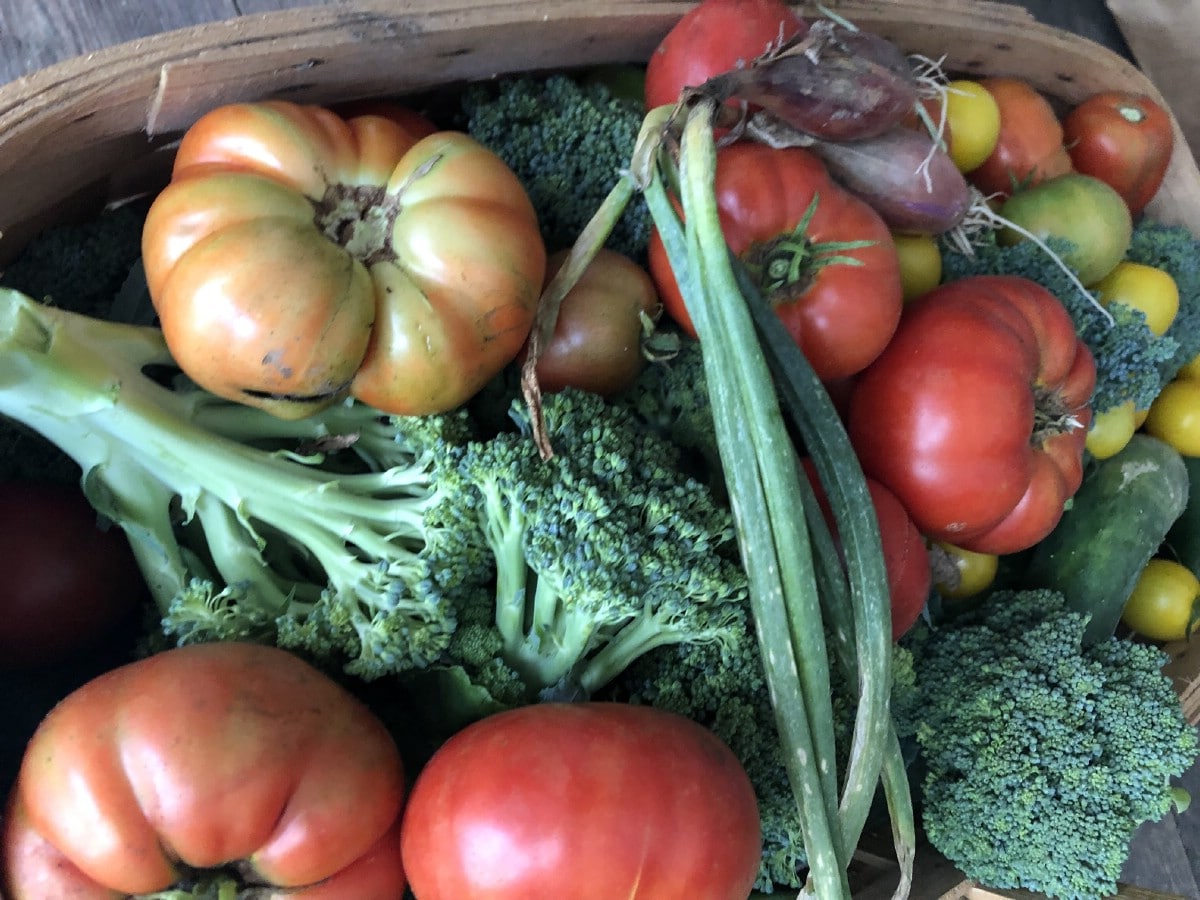
Freezing has the benefit of being the closest to fresh taste for vegetables that will be cooked or steamed. Fresh-frozen vegetables that are properly prepped and frozen soon after harvest maintain more nutrition than most “fresh” vegetables in the grocery produce aisle because they do not deteriorate for weeks before purchase.

What’s more, it requires no investment in special equipment to freeze your vegetables. All you need to be able to freeze and preserve your garden harvest is a large pot, strainer, a knife and cutting board, and bags or containers for storage. These are all things that are typically found in a reasonably-stocked kitchen.

Jump to:
  • The Basics of Freezing and Preserving Homegrown Vegetables
  • All About Blanching
  • How to Freeze Vegetables, Step by Step
  • Good Vegetables to Freeze and Recommended Blanching Times
  • Packaging and Container Options
  • Preventing Damage from Freezer Burn and Ice Crystals
  • Cooking With Frozen Preserved Garden Vegetables

The Basics of Freezing and Preserving Homegrown Vegetables

closeup of broccoli prepared for freezing
Broccoli is one of many vegetables that freeze well. Only basic kitchen skills and equipment required!

Freezing fresh vegetables consists of only a few steps.

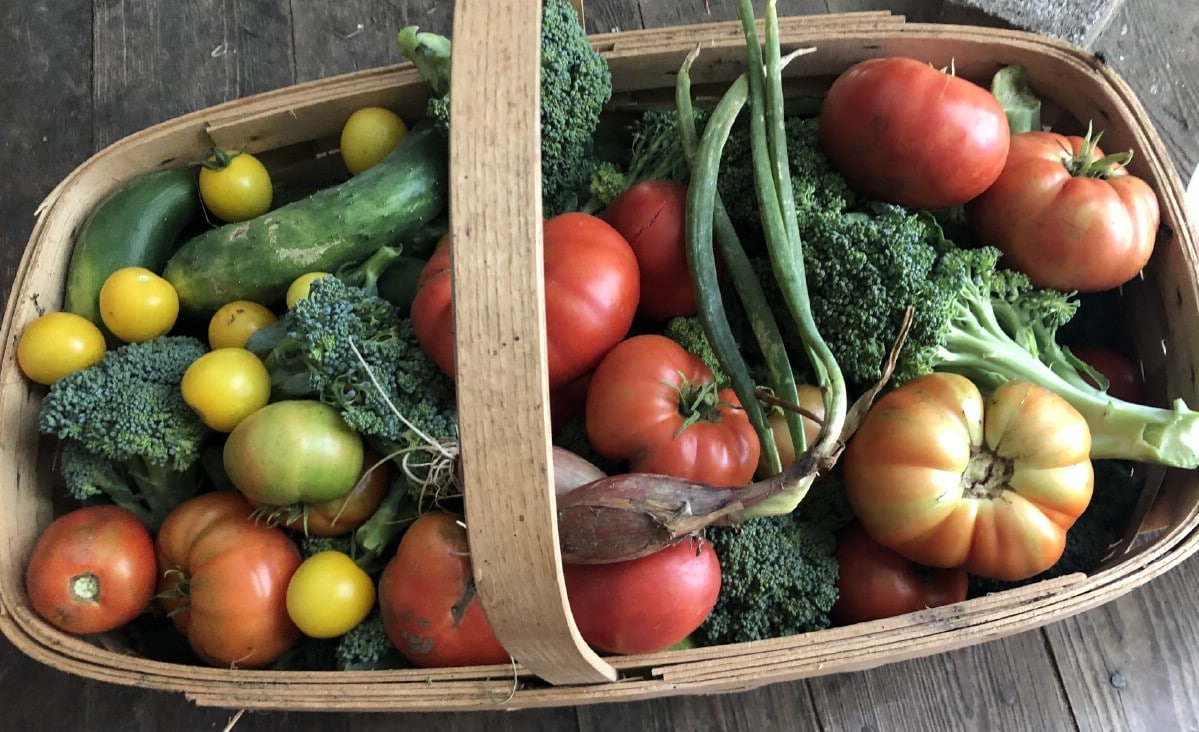
Start with the best, freshest quality possible. As the Ball Blue Book says, quality can only be maintained or preserved, and in fact, will reduce over time; it cannot be increased by freezing. Ideally, you will process and preserve your vegetables the same day as harvest or the next day. If they must be kept for a few days before you have time to prepare them, keep them in a refrigerator (or in a cool place if it is a vegetable for which refrigeration is not recommended).

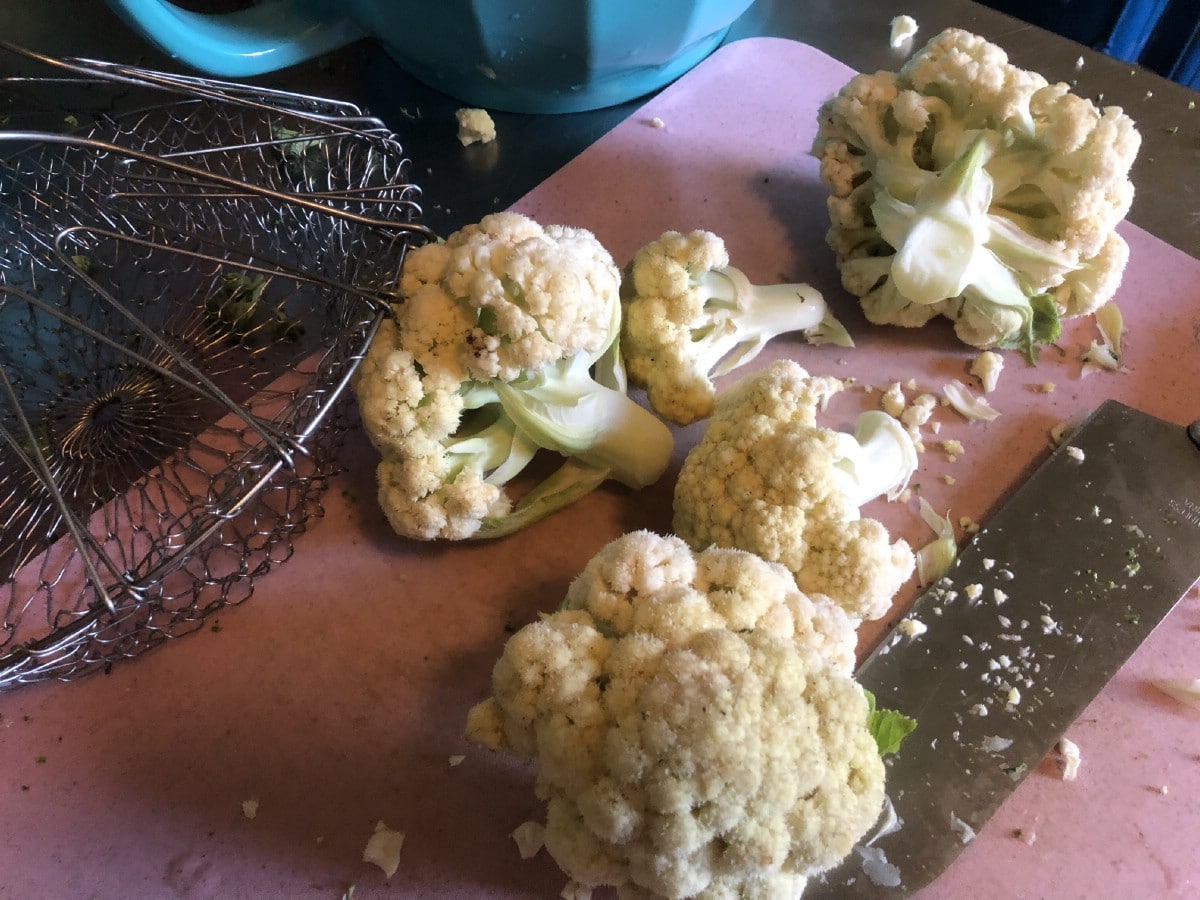
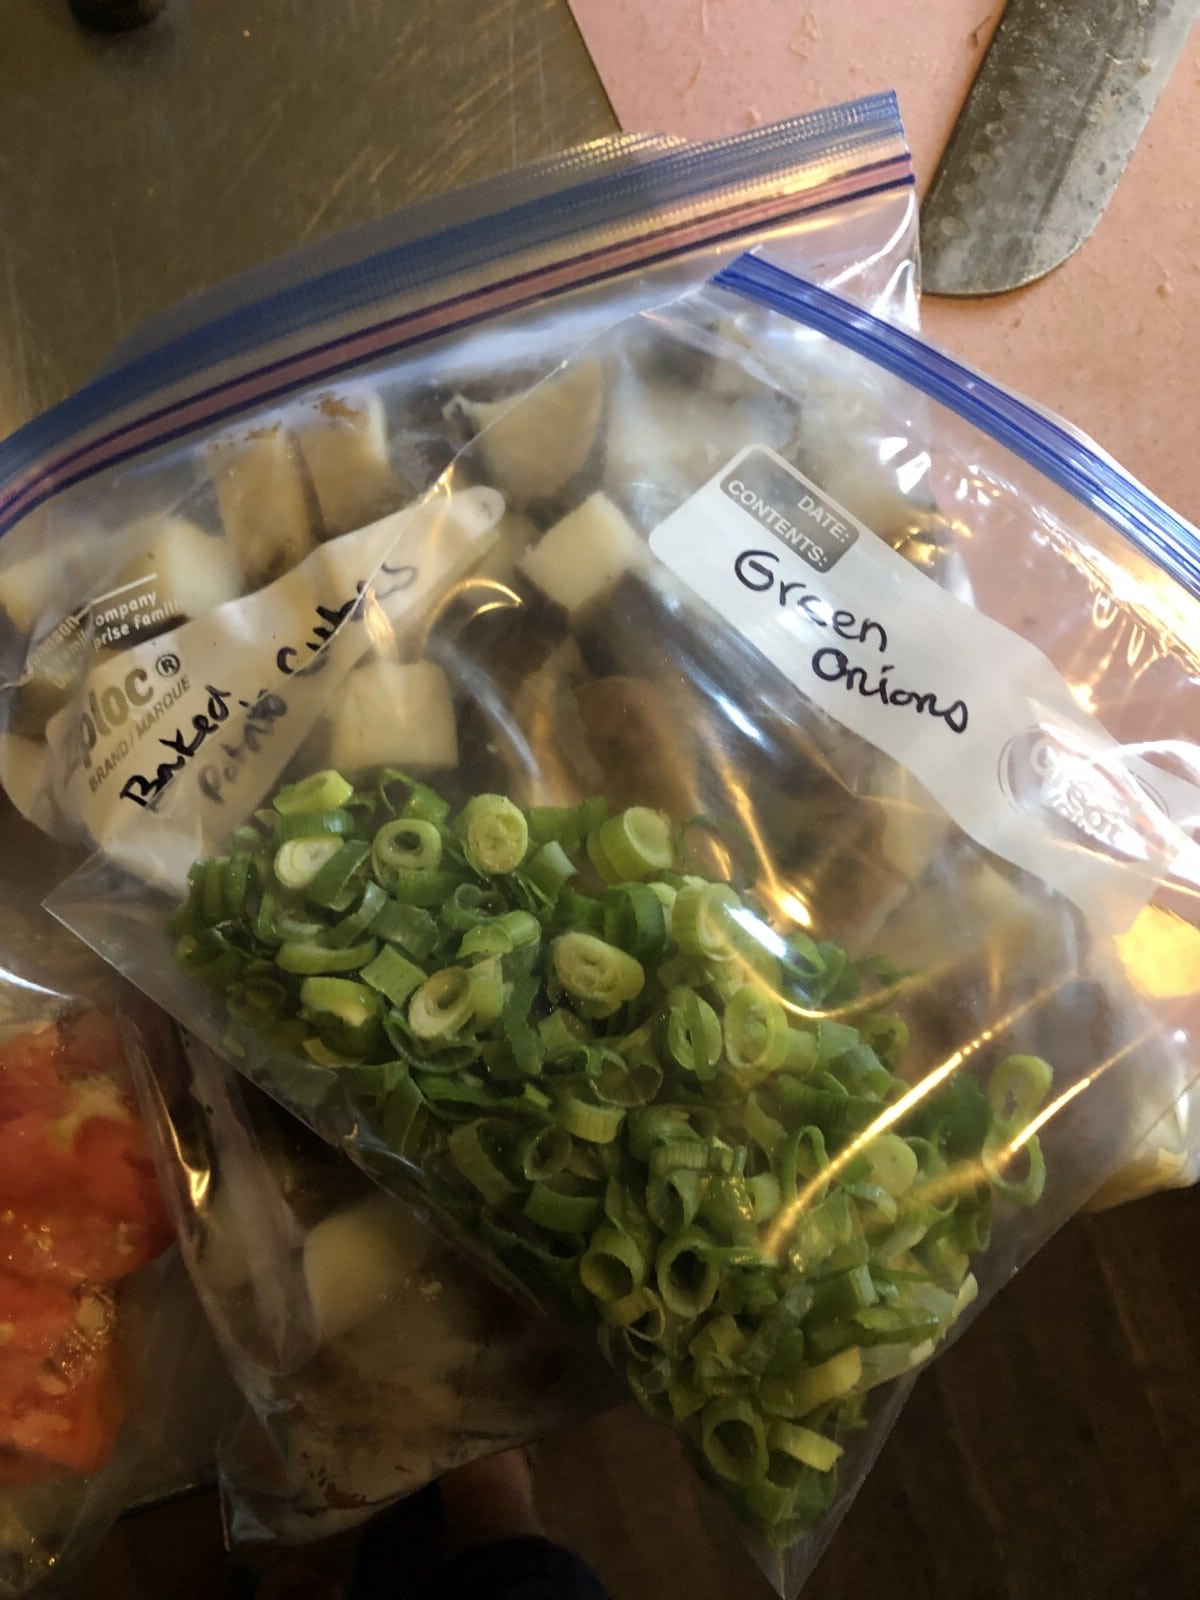
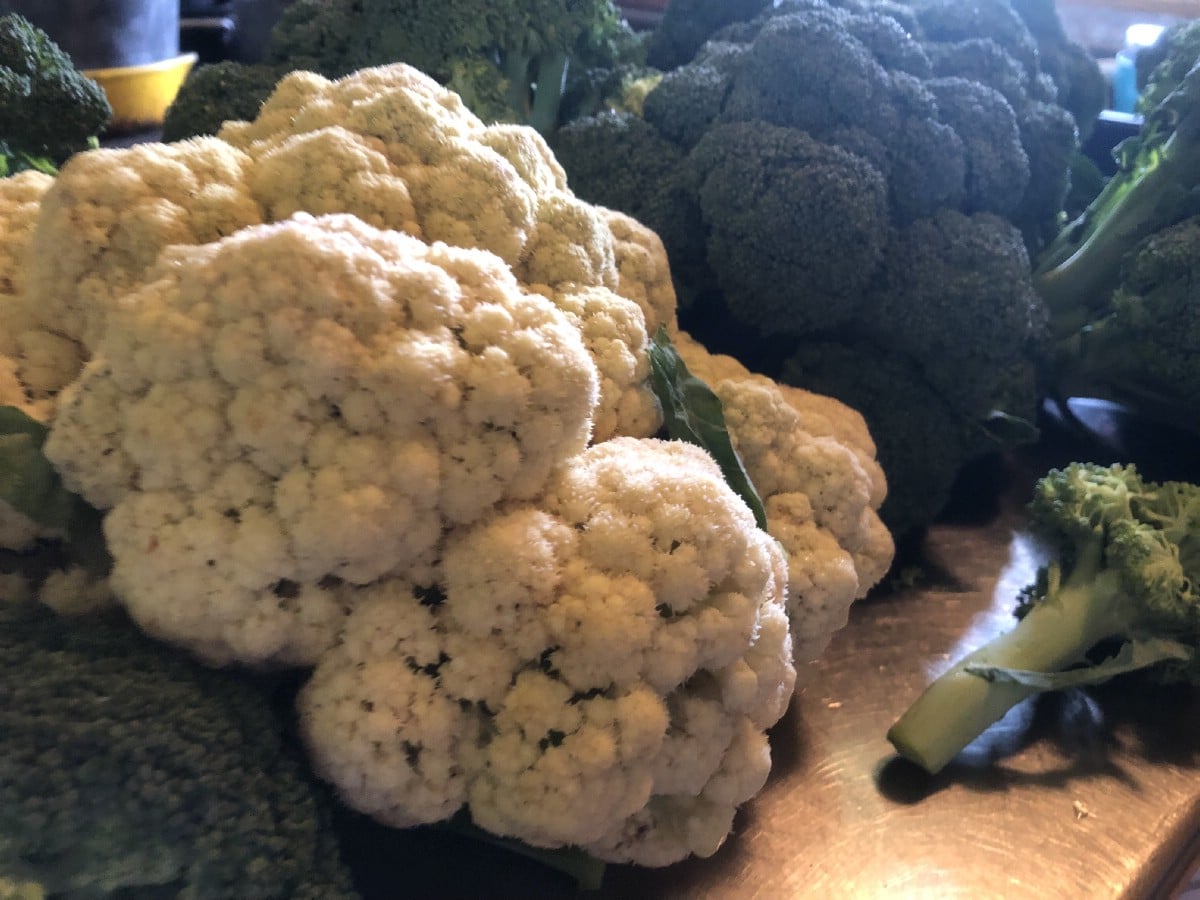
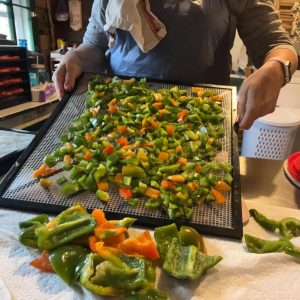
Obviously, your vegetables need to be well cleaned and washed. You will need to prep your vegetables into your desired or recommended size for preserving. (This may be based on how you large or small you like your vegetables when you use it—it is best to have your vegetables prepared in as close to serving/use size as possible. For example, cut into florets, cubed, or diced.)

All vegetables will need to be blanched (with a few very limited exceptions). Blanching simply means you will boil the prepared vegetables for a very short amount of time (depending on the vegetable being preserved—times vary). You’ll quickly strain and cool the blanched vegetables, then package and freeze.

This is, in a nutshell, all that it takes to preserve your homegrown vegetables by freezing. We will get into more specifics and more details, however.

Related Reading  How To Make Fruit or Berry Jam, Step-by-Step Recipes

All About Blanching

folding wire mesh basket filled with broccoli being lowered into blanching water
Blanching ensures that your fresh-frozen vegetables are of the highest quality and nutrition. A collapsible wire mesh basket makes this job easier.

Blanching is a necessary step for almost all vegetables when freezing and preserving. Though tempting, it is not recommended that you skip this step, or the quality and nutrition of your end product will suffer.

Blanching stops enzyme actions which cause the breakdown and deterioration of fresh vegetables. Without blanching, your vegetables will lose color, and the fresh flavor of your frozen homegrown vegetables will not be as good as it should be. The texture will suffer, and vitamins and nutrients will decline.

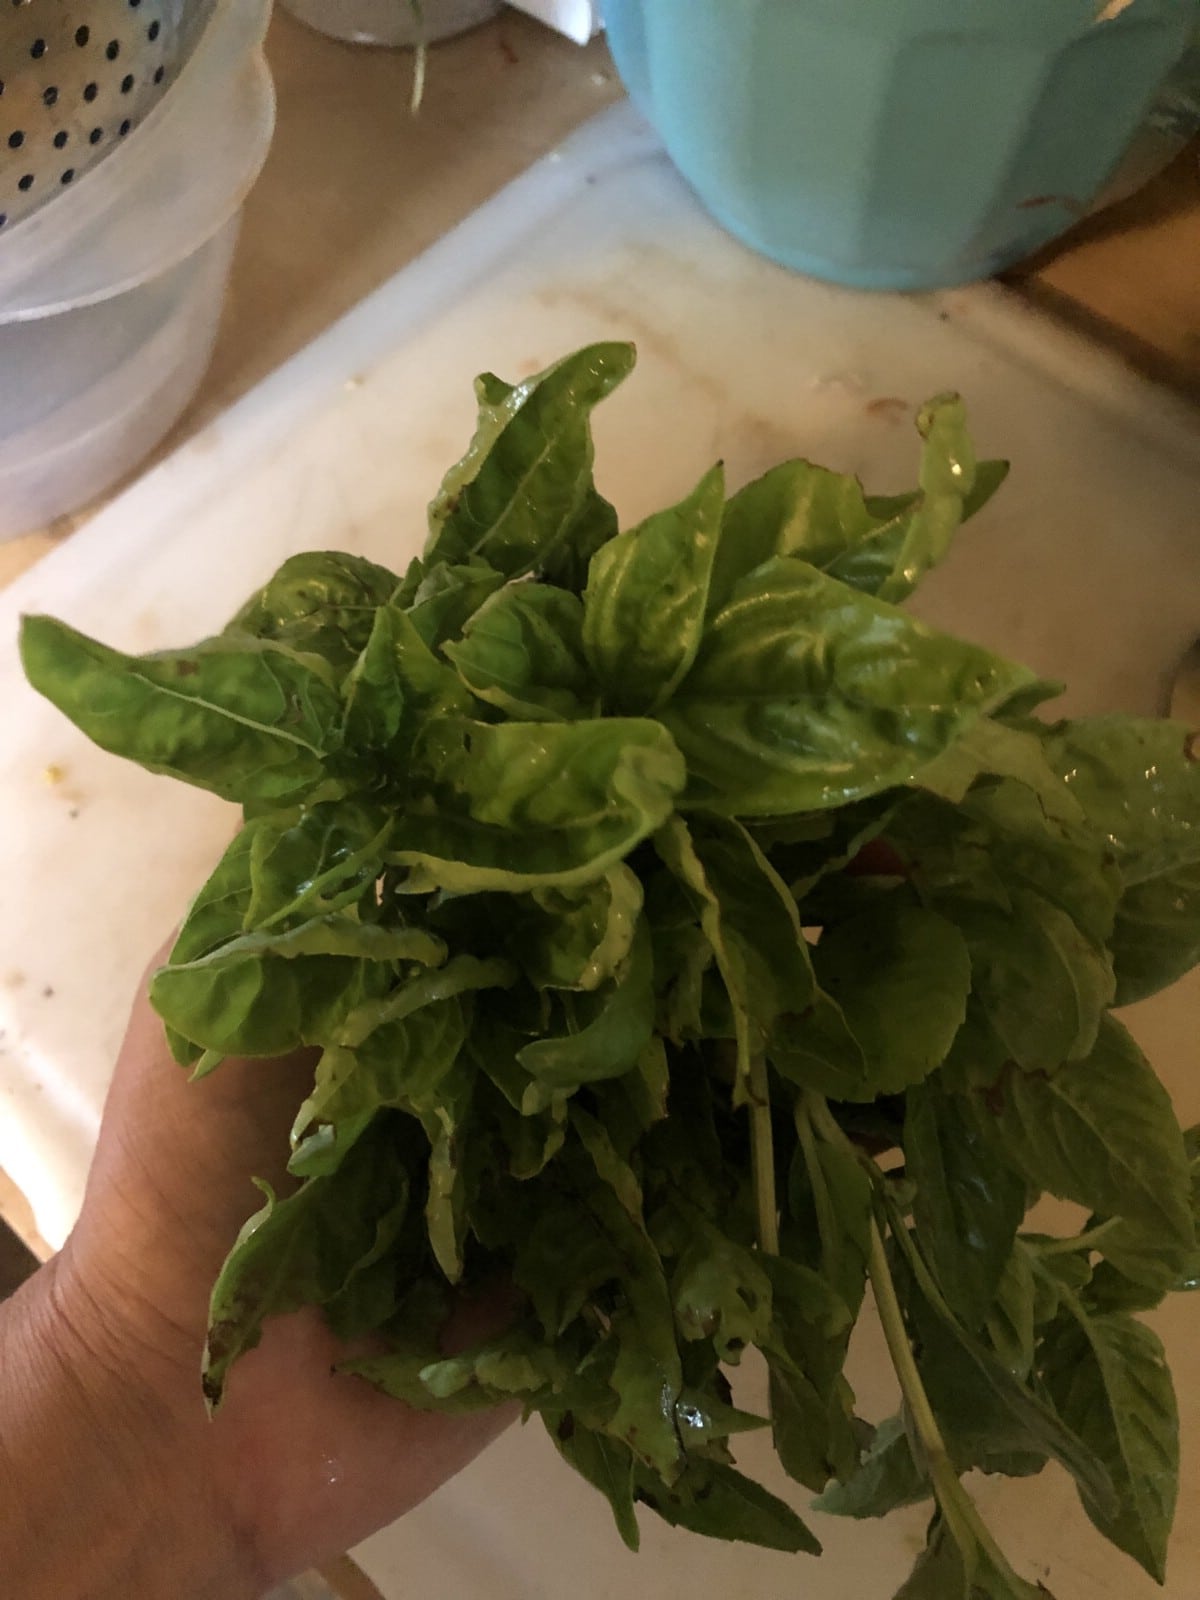
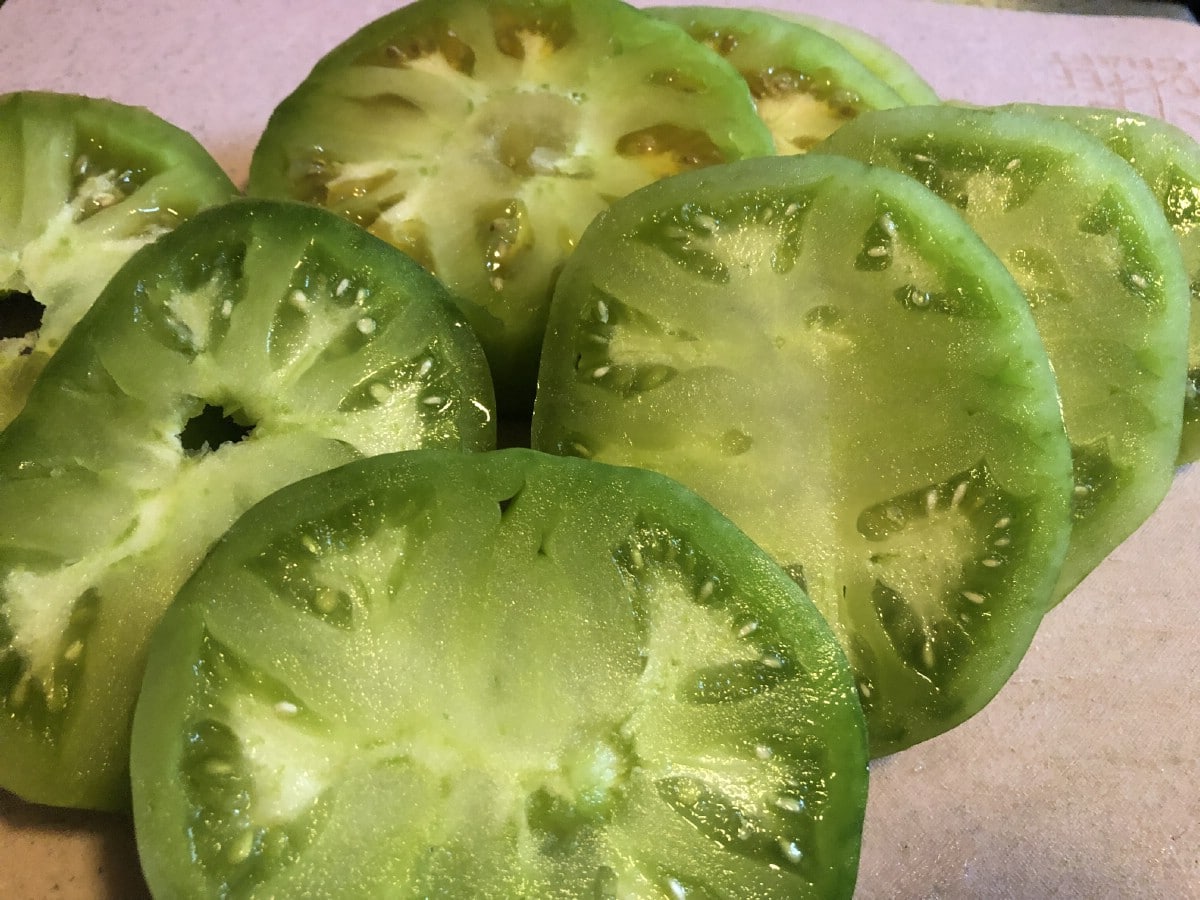
Exceptions are rhubarb (to freeze rhubarb, simply wash, chop, package, and freeze) and herbs and vegetables that are used only for flavoring. These include onions, peppers, horseradish, and fresh herbs like basil, oregano, mint, sage, thyme, and other savories.

three minutes on stove timer
Use a timer to time your vegetables while blanching. Different vegetables should be blanched for a different length of time, so consult the list below for the right time for the type of vegetable you are preparing.

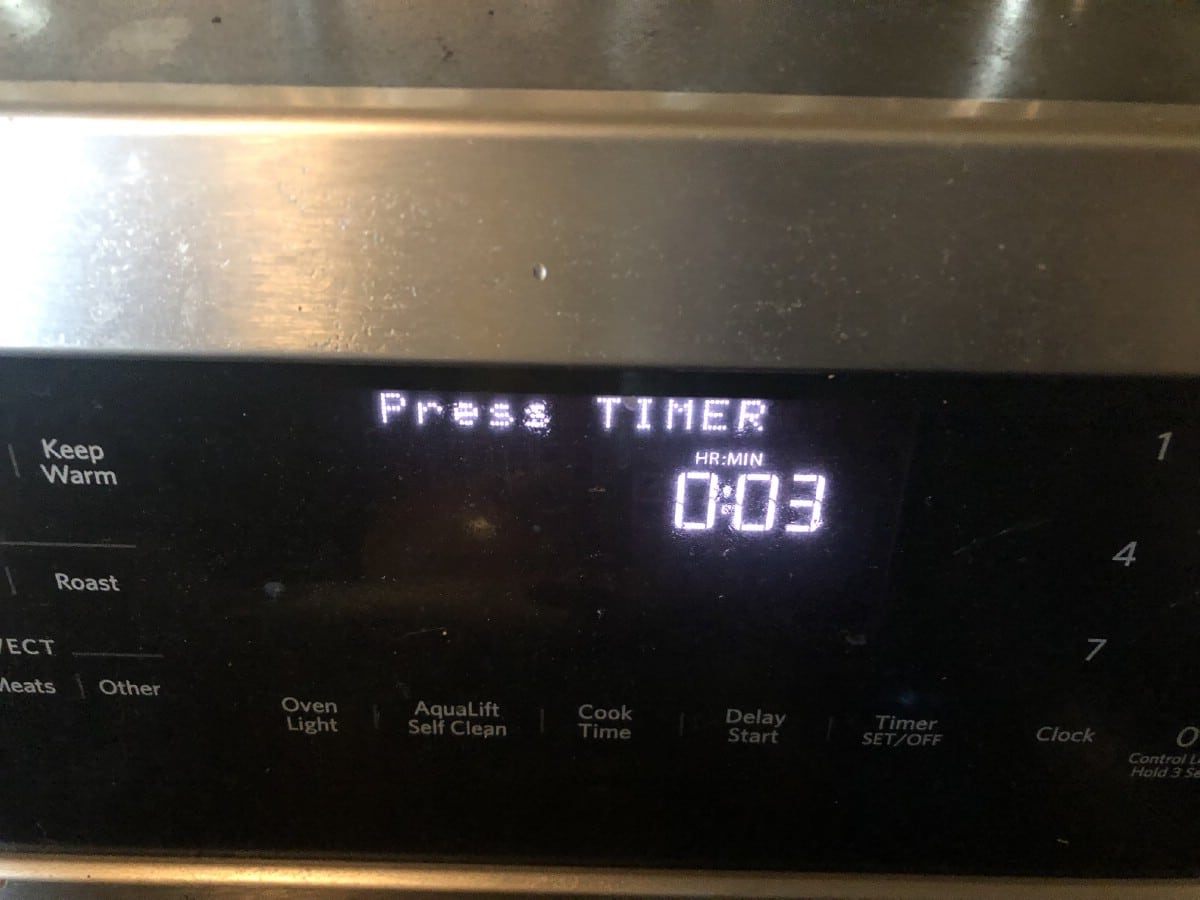
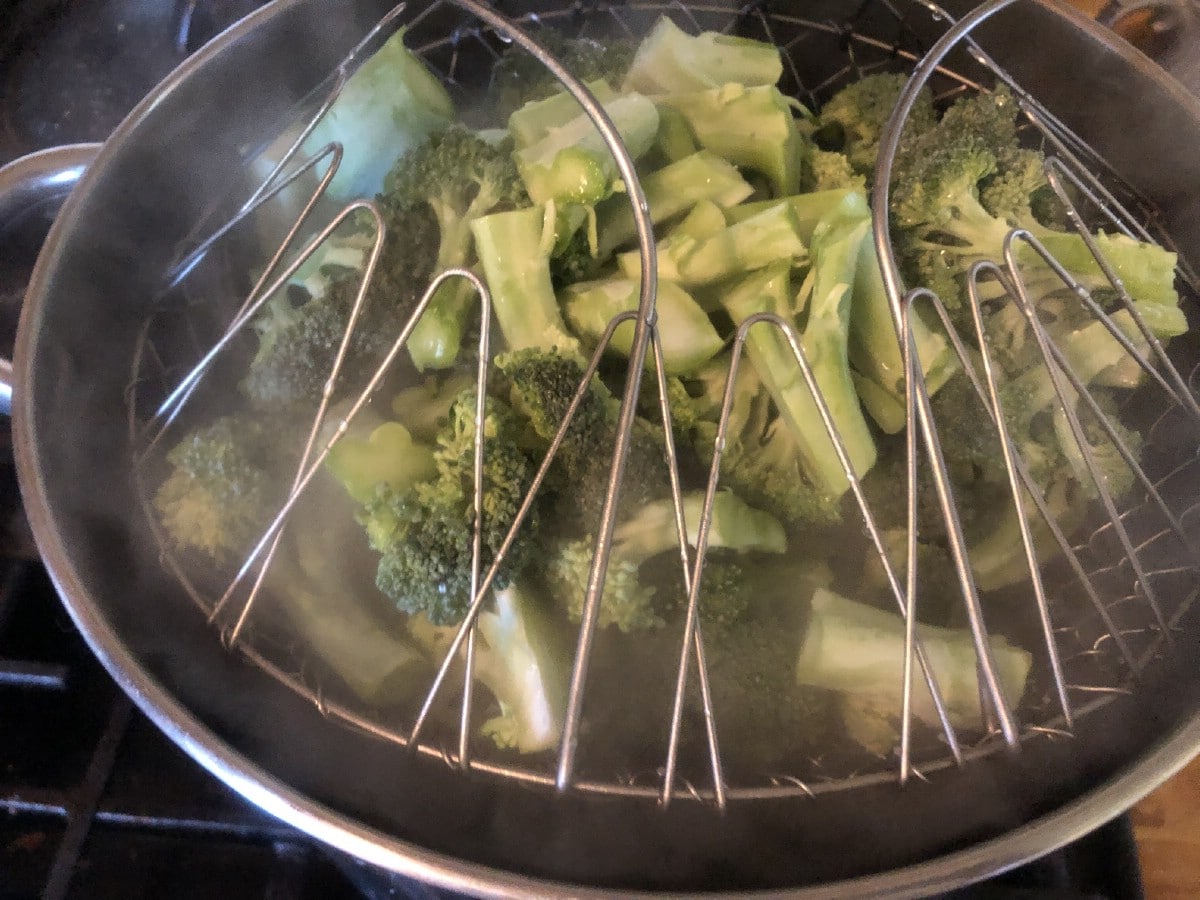
To blanch your vegetables, you will need to bring a large pot of water to a full rolling boil. Once boiling, add the vegetables to the pot. Cover the pot and keep the water at a vigorous, full rolling boil. Blanch the vegetables for the recommended amount of time for that specific vegetable (consult the list below).

You will start timing the blanching from when the vegetable is lowered into the boiling water, and it is important that you have enough water to maintain a boil. For this reason, it is best to work with submersible, heat-safe baskets in moderate-sized batches. If your batches are too big, the water will take too long to return to a boil and will often cause the vegetables to become overcooked. It is recommended that you use one gallon of water for every pound of vegetables.

collapsible blanching baskets next to fresh broccoli heads
Collapsible baskets let you blanch several batches of vegetables in the same water, which allows you to keep the water hot and at a rolling boil. This makes for faster work and better blanching.

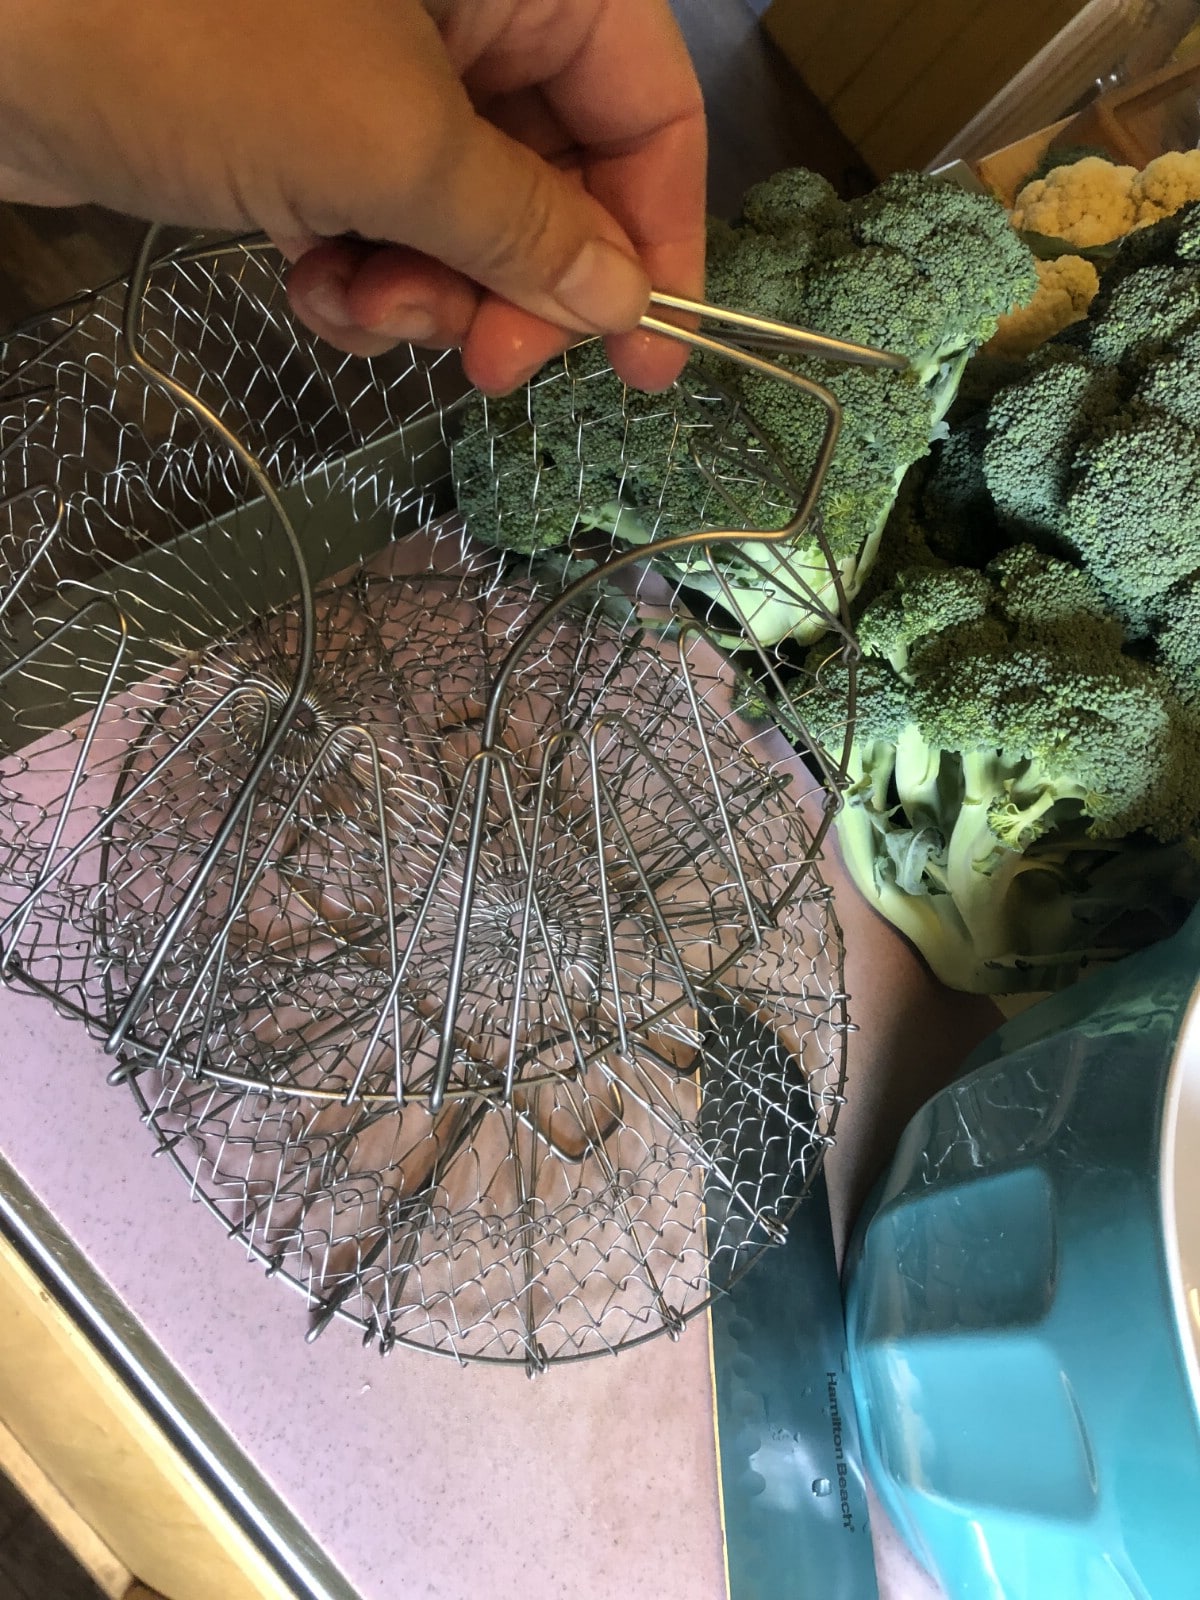
A collapsible, submersible blanching basket (sometimes called a folding basket, collapsible basket, steaming basket, or collapsible colander) is a very handy tool for blanching fresh vegetables. This allows you to work a large amount of produce in batches while keeping the blanching water hot and rolling at a boil, without having to dump and drain the water with each new batch. Another good option is a pasta cooker with a submerging colander that can be filled, submerged, then removed from the pot without draining the hot water.

If you live at a high elevation, you will need to use a longer blanching time for all your vegetables. To adjust for elevation, blanch your vegetables for one minute longer if you live anywhere over 5,000 feet above sea level.

Do not under-scald your vegetables as this will actually stimulate enzyme action instead of stopping it. This is worse for your vegetables than no scalding at all.

Do not over-scald your vegetables because this will cause a loss of quality and nutrition. Vegetables that are scalded (blanched) for too long lose color, flavor, vitamins, and minerals.

Related Reading  How To Make a Decorative Edible Hardneck Garlic Bundle

How to Freeze Vegetables, Step by Step

cauliflower being prepped for blanching and freezing
Vegetables should be washed and then cut into preferred sizes for use and serving before blanching.
  1. Organize your equipment before you start so that everything is at hand and you do not end up overcooking vegetables while you search for items. Work in a clean kitchen with clean equipment.
  2. Clean and wash your vegetables.
  3. Cut vegetables into recommended and/or preferred sizes for end-use. Prepare the vegetable as you would for fresh use.
  4. Blanch vegetables according to recommended times (by vegetable type).
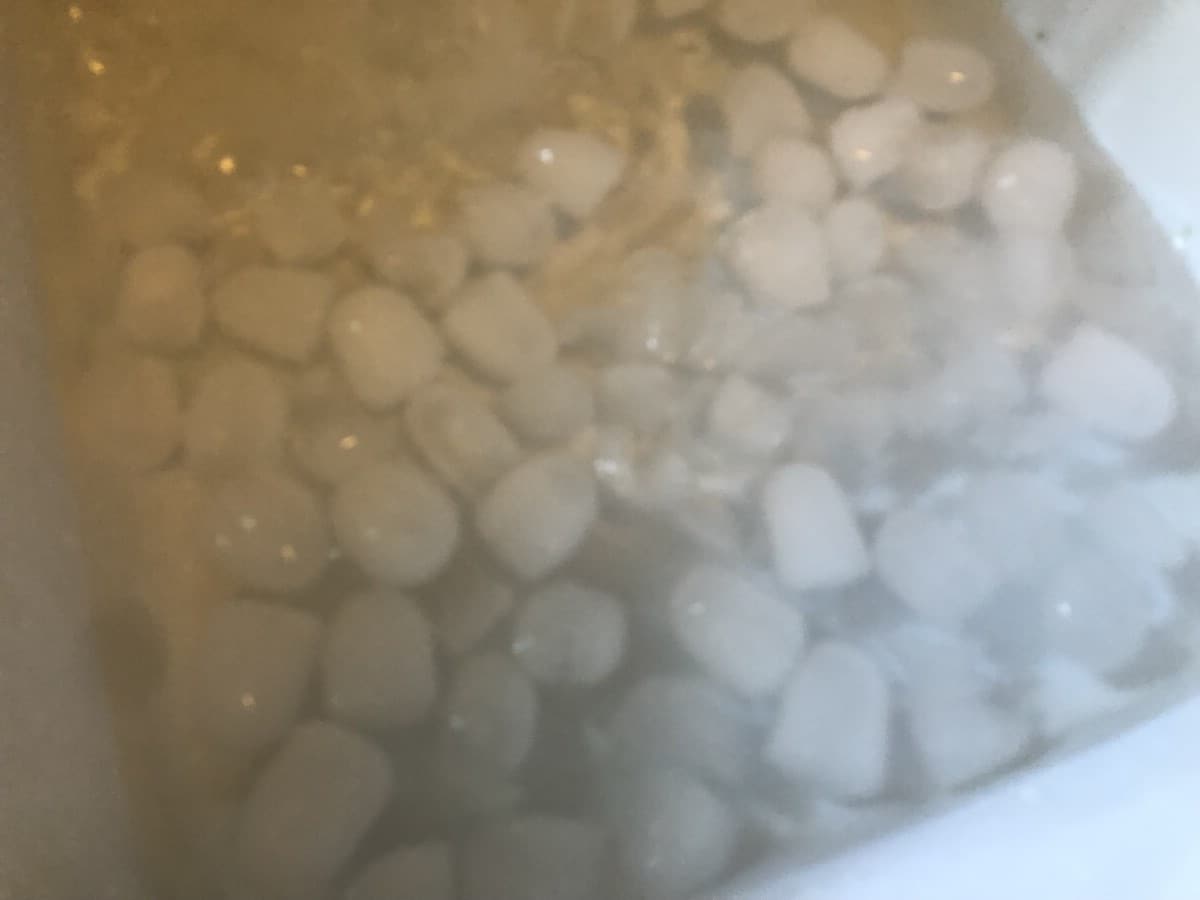
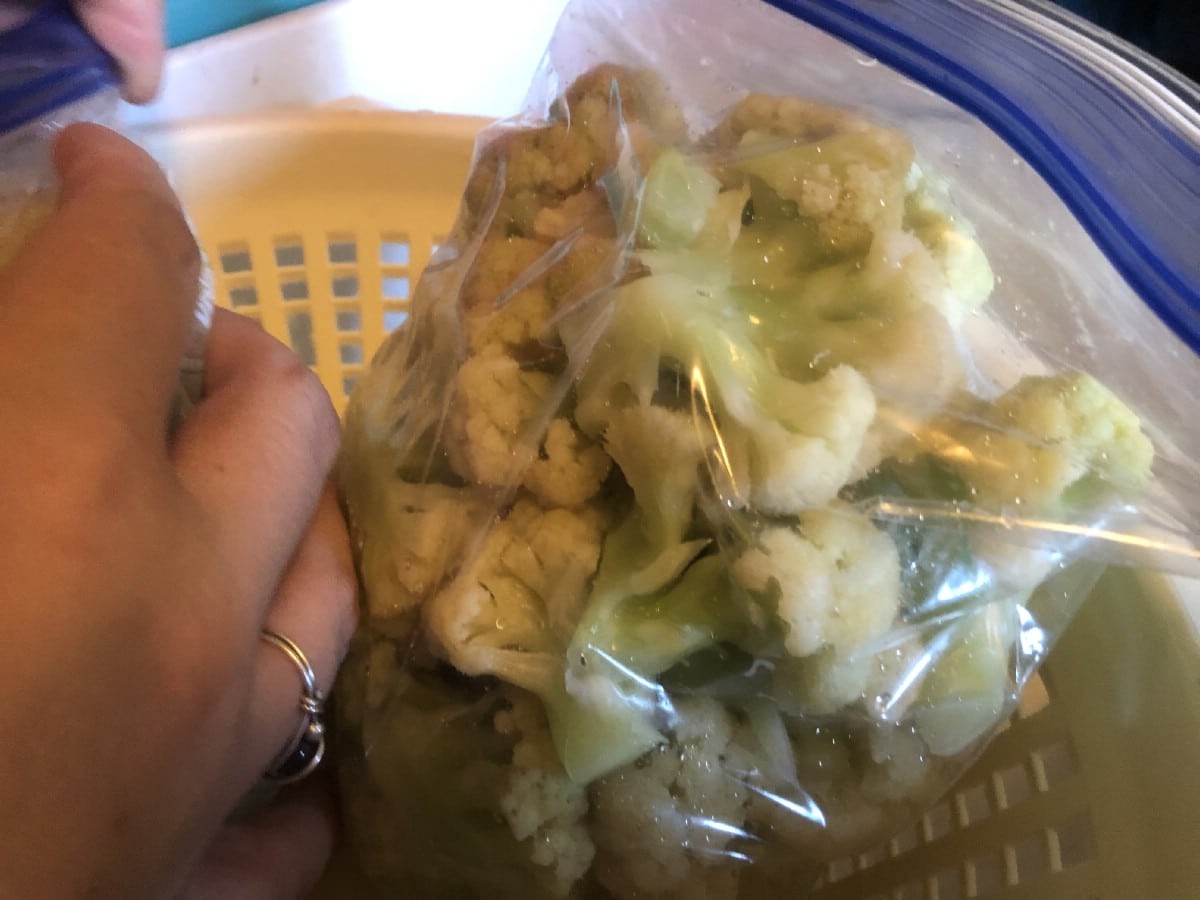
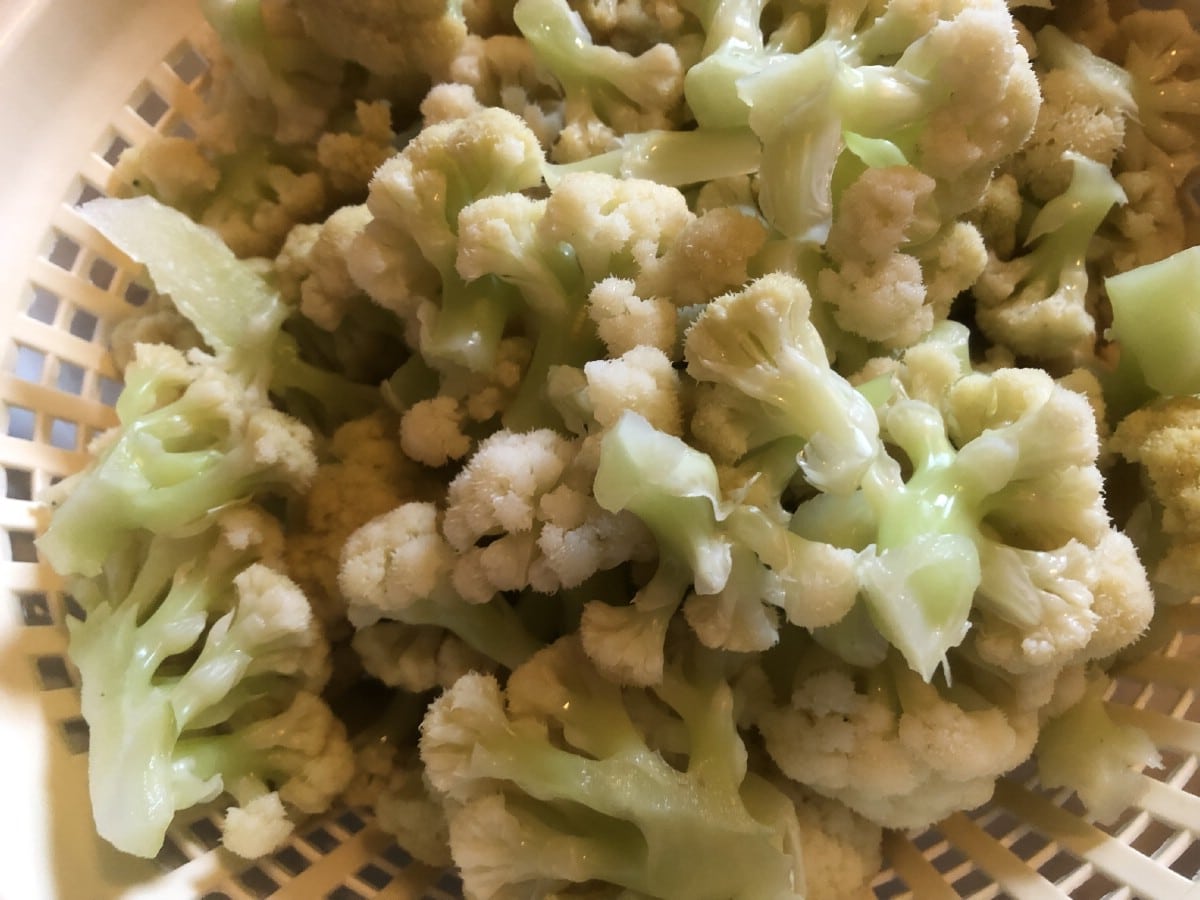
  5. Quickly strain or lift vegetables from boiling water and submerge in ice cold water to cool. Adding ice to the water is recommended, and helps cool the vegetables as quickly as possible. Stir as the vegetables cool so they cool evenly; it should take about as much time to cool the vegetables as it did to blanch them.
  6. Strain the cooled vegetables.
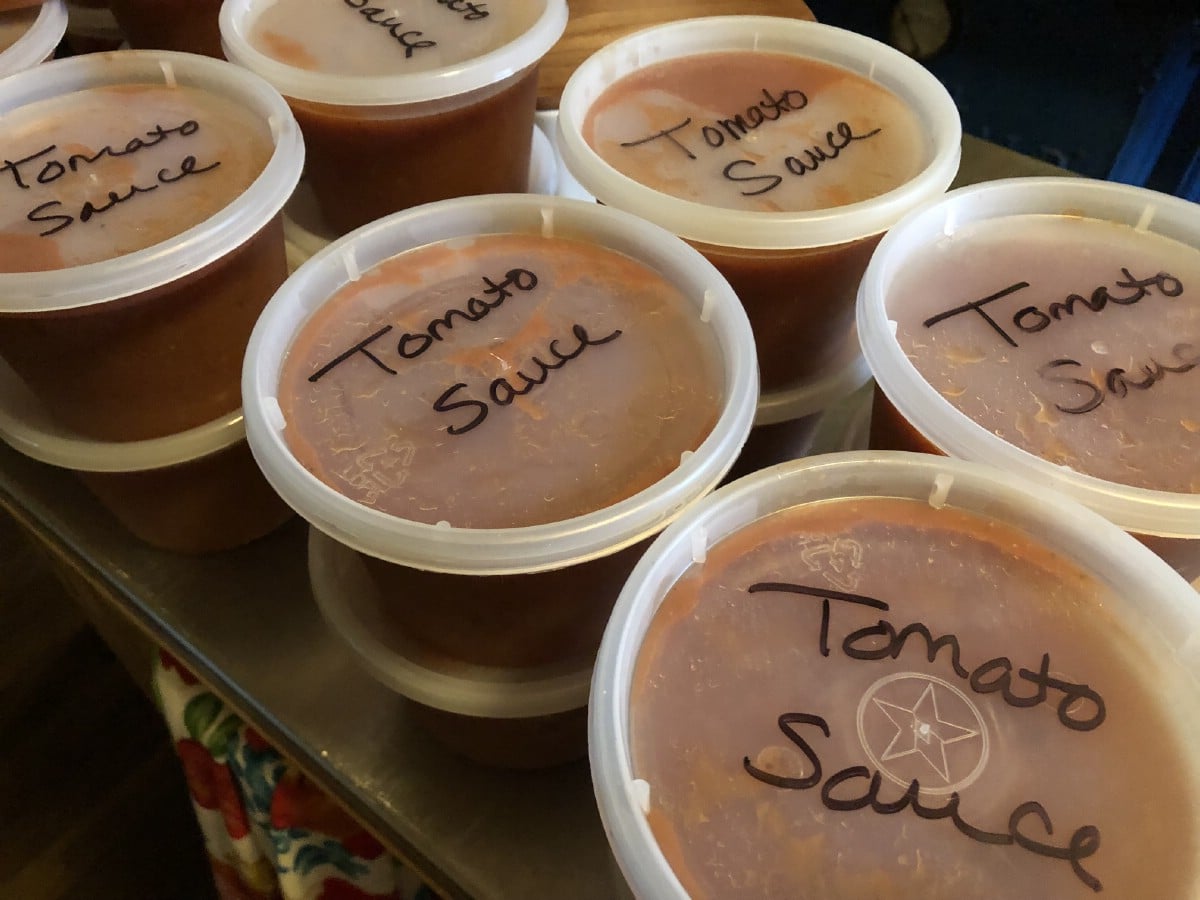
  7. Package immediately and move to the freezer right away.
ice water bath for cooling blanched vegetables
Cool blanched vegetables quickly in an ice water bath to stop the cooking process and prevent over-blanching.

Good Vegetables to Freeze and Recommended Blanching Times

basket full of freshly harvested vegetables
There are many types of garden vegetables that can be frozen. For many this is the closest to fresh taste you can get from a preserving method.

The following is a list of vegetables that freeze well and the blanching time for each:

  • Asparagus: small spears—1 ½ minutes; medium spears—2 minutes; large spears—3 minutes
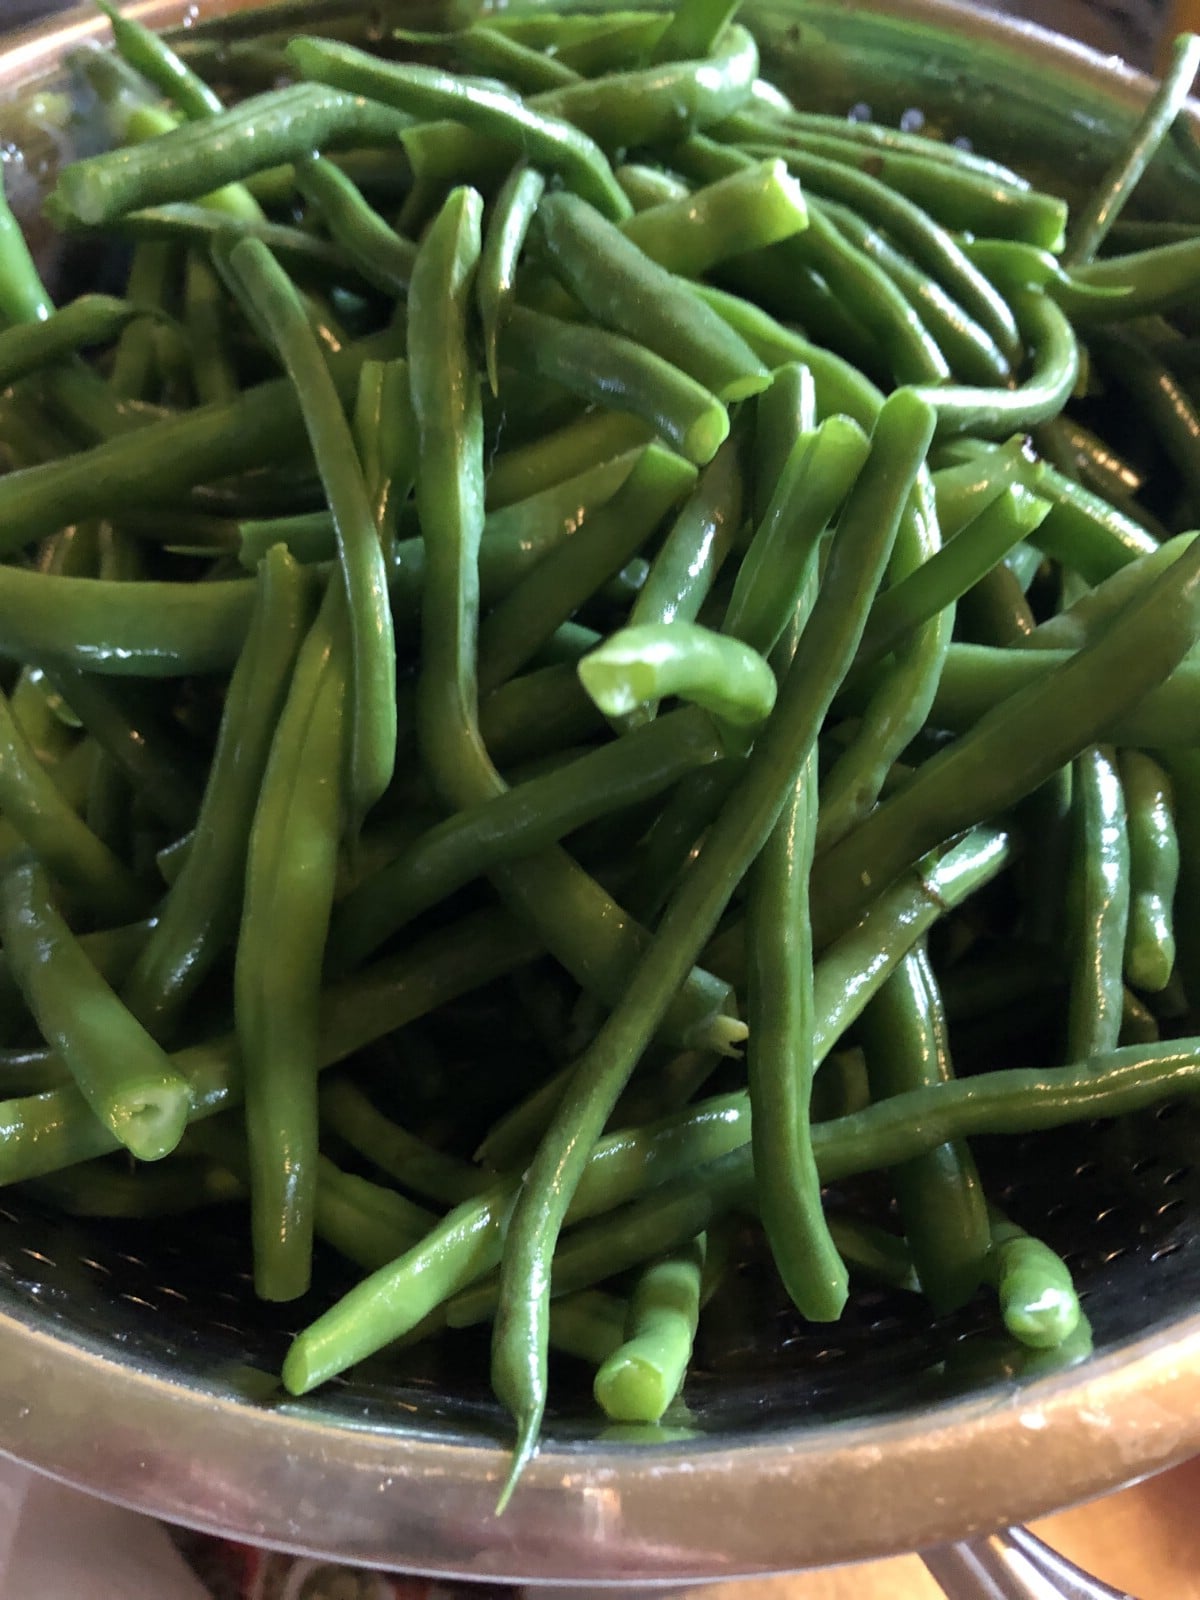
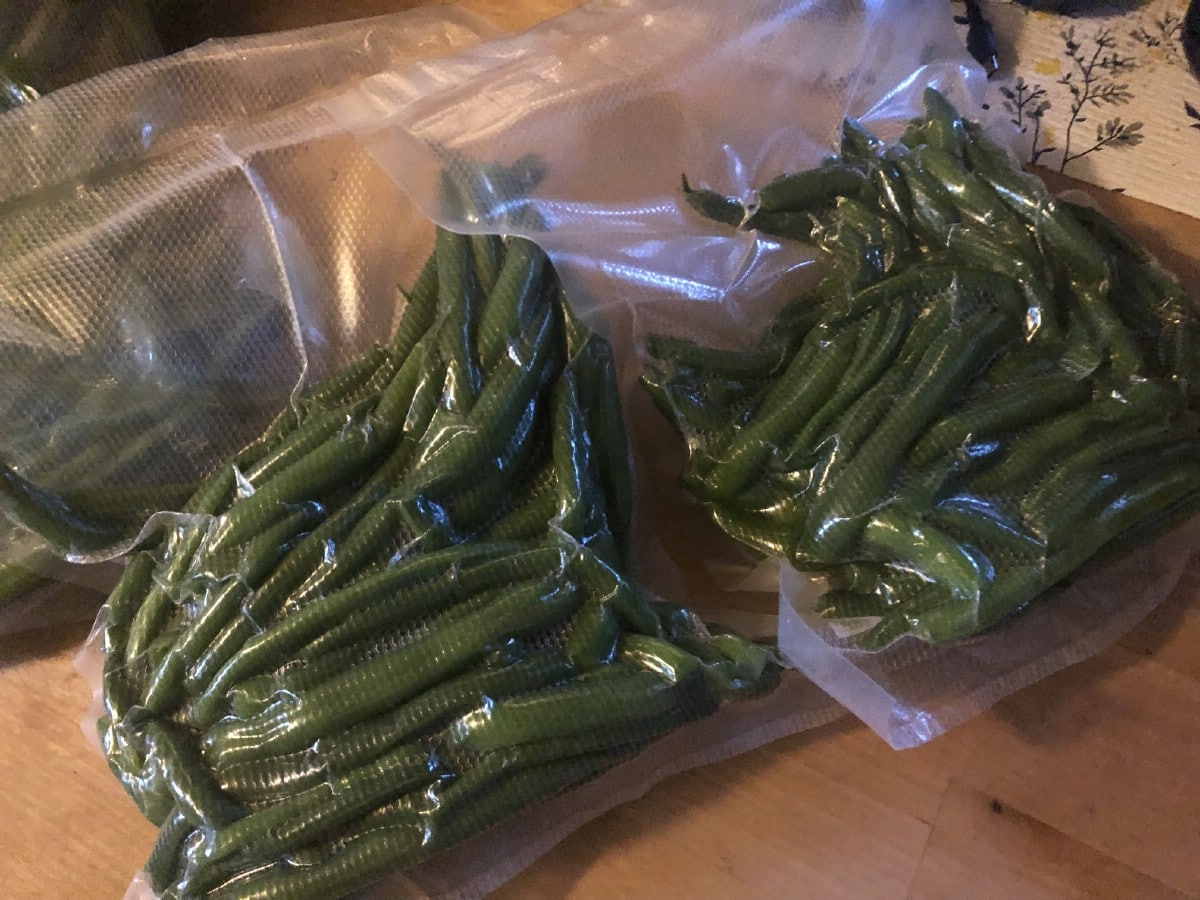
  • Green beans/snap beans: 3 minutes
    *Note that beans can be made into anything from 2-inch to 4-inch lengths or full-length. Longer lengths result in better quality.
blanched and drained green beans
Green beans can be left whole or cut into smaller segments, whatever size you prefer for eating.
  • Beets: Cook until tender: small—25 to 30 minutes; medium—45 to 50 minutes; large—1 hour.
    *Note: Beets should be blanched whole, then peeled and cut to serving size after cooling, and then packaged and frozen. Wash and trim the beets before blanching but leave about ½ inch of tops and ½ inch of root to limit color bleeding.
  • Broccoli: 3 minutes for medium-sized sections, 4 minutes for large
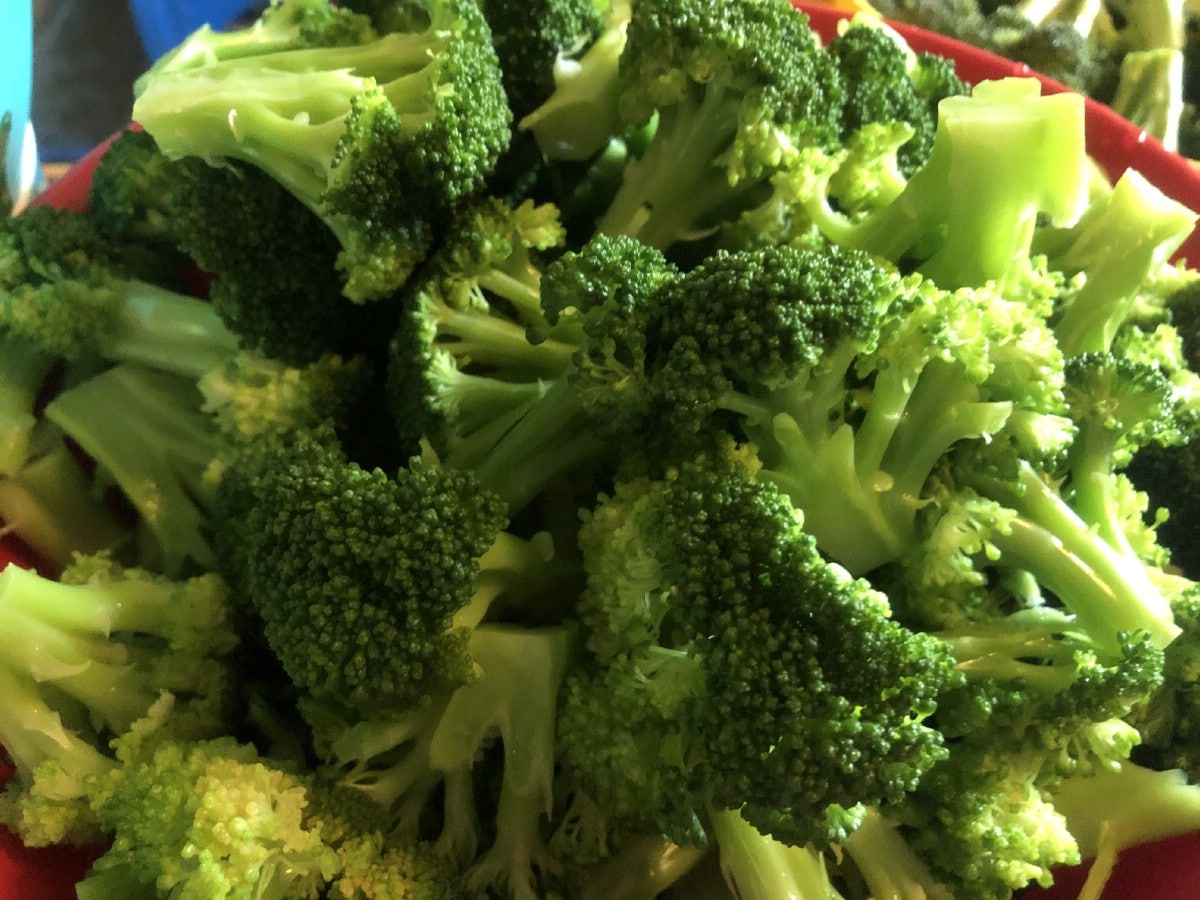
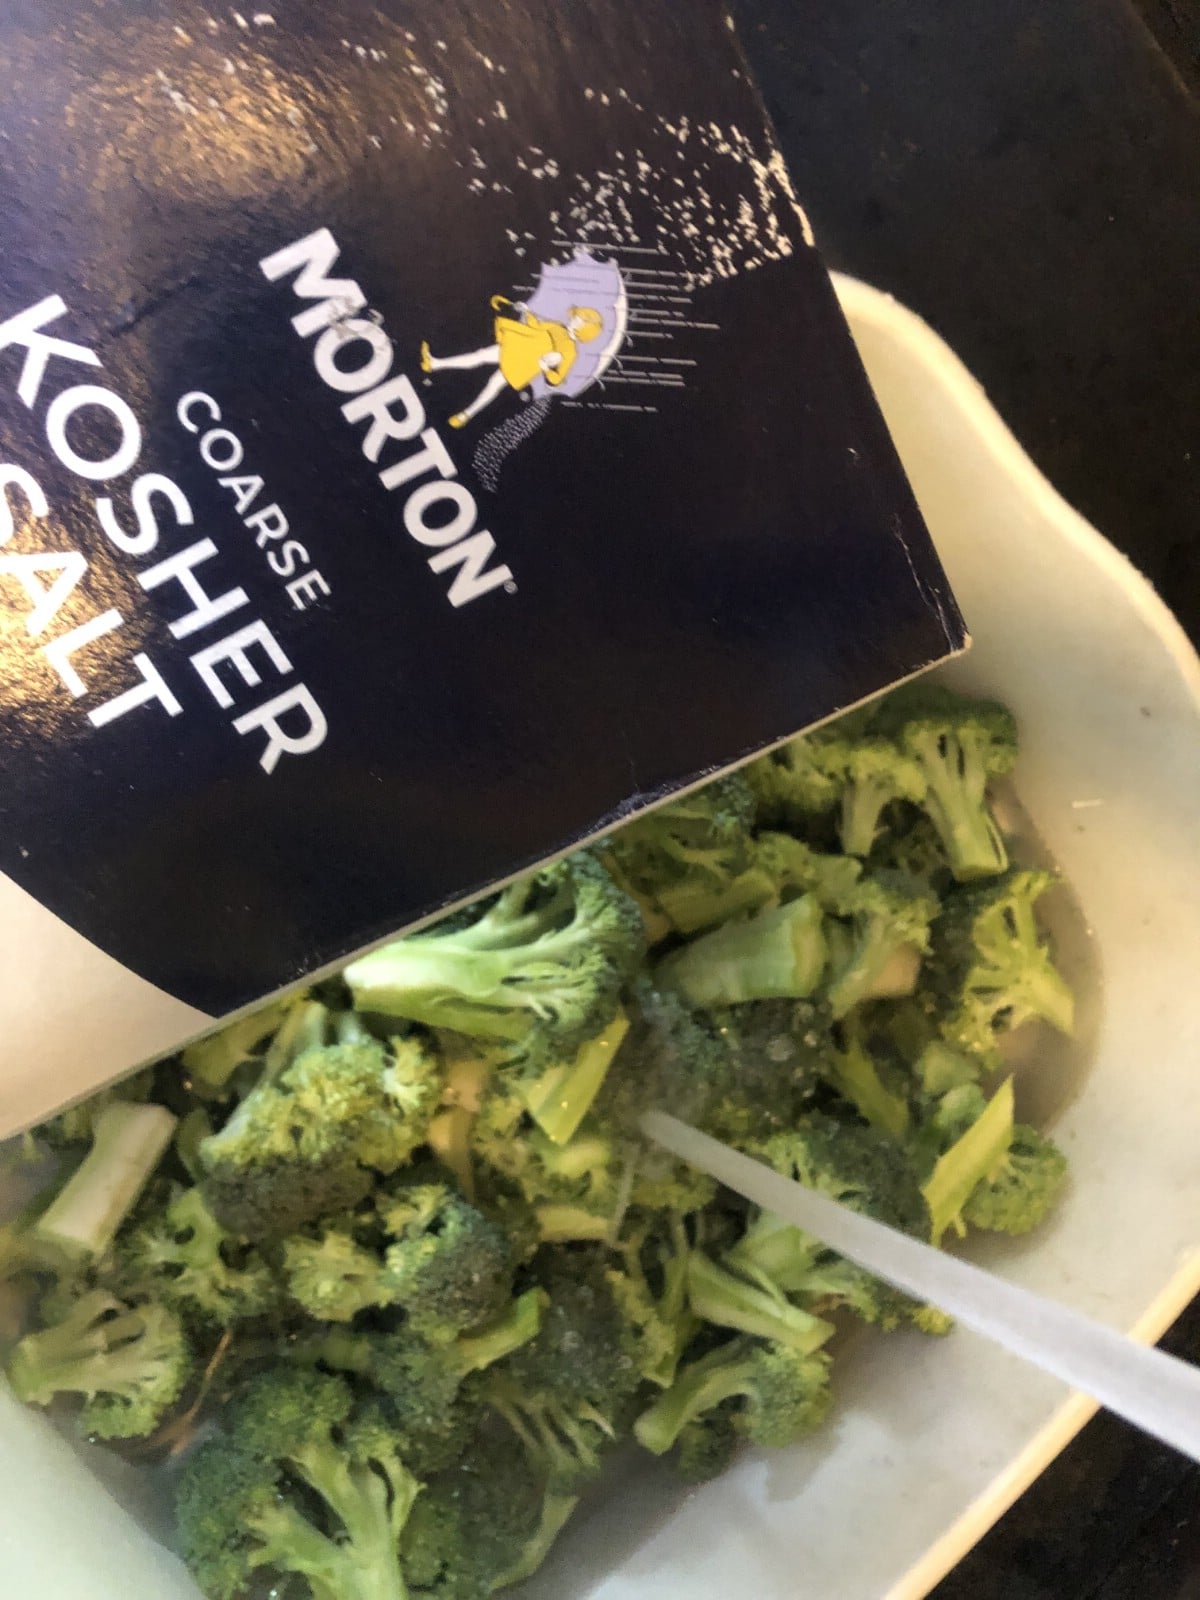
    *Note: Soak broccoli in a brine solution of 1 cup salt to 1 gallon of cold water for 30 to 45 minutes to remove insects. Rinse before blanching.


  • pouring salt into cold water and broccoli to remove insects
    An unfortunate truth is that broccoli and other brassicas often host pesty worms. A good soak in a cold water and salt solution will remove them prior to blanching (and blanching will take care of any lingerers).
  • Brussels Sprouts: small—3 minutes; medium—4 minutes; large—5 minutes
  • Cabbage: wedges—3 minutes; shredded—1 ½ minutes
  • Carrots: sections, dices, or slices—3 minutes; whole carrots—5 minutes
  • Corn: On the Cob: up to two inches in diameter—8 minutes; larger ears—10 minutes
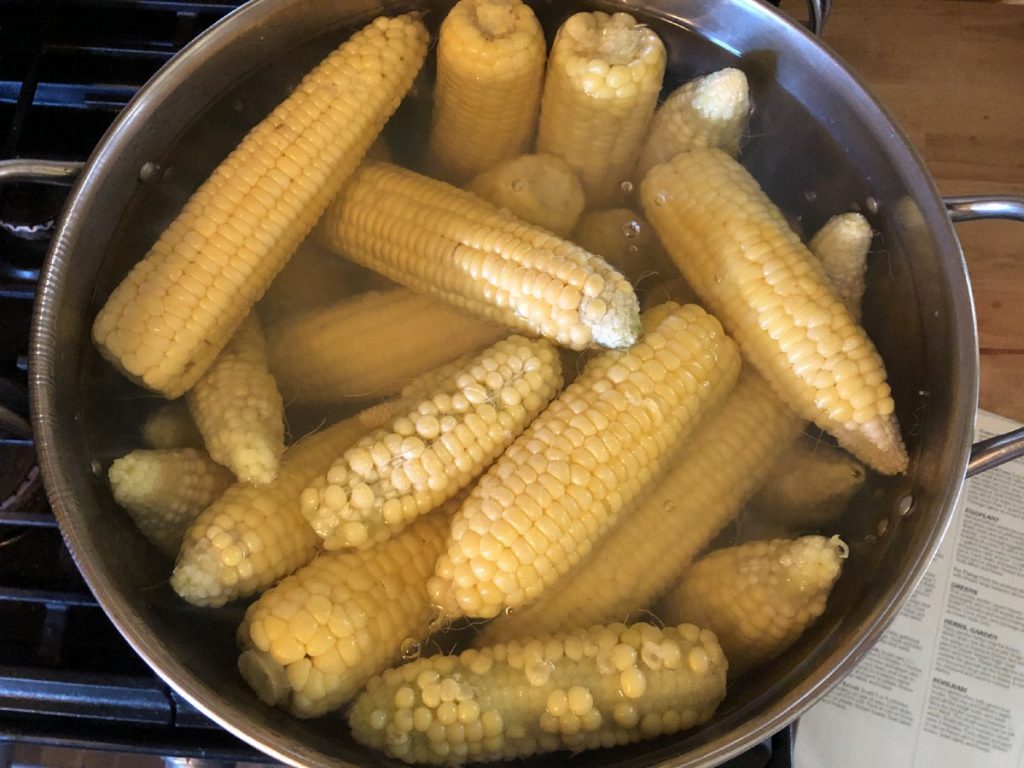
    Whole Kernel (cut from cob): 5 minutes—blanch ears whole, then cool and cut kernels from the cobs to package
  • corn on the cob being blanched for freezing and preserving
    Whether you choose to freeze your corn on the cob or off, the process always starts with blanching whole on the cob.
  • Eggplant: 4 minutes
    *Note: Slices should be ⅓ inch thick and prepared just before blanching. Add ½ cup lemon juice or 4 teaspoons citric acid to every 1 gallon of blanching water to prevent browning.
  • Greens (spinach, kale, Swiss chard, etc.): 2 minutes
  • Herbs: no blanching required
  • bunch of fresh green basil
    Herbs do not need to be blanched before freezing. You may prefer to chop them into ready-to-use sizes, though, because handling before freezing is much easier. Some people prefer to chop and freeze their herbs in olive oil.
  • Okra: small pods (under 4 inches)—3 minutes; over 4 inches—5 minutes
    *Note: cut off stems but blanch pods whole, then cut into 1-inch slices when cool.
  • Onions: (blanching optional if for flavoring but whole onions served as a dish should be blanched) small—3 minutes; large—7 minutes; heat through to center
  • Parsnips: 3 minutes. Be sure to peel; may be sliced, diced, or cut lengthwise into sticks.
  • Field Peas (Black-eyed peas): (shelled) small—1 minute; large—2 minutes
  • Green Shell Peas: (shelled) 2 minutes
  • Snow Peas or Sugar Snap Peas: 2 minutes
  • Peppers: no blanching required
  • Pumpkins and Winter Squash: cook until soft either by steaming or roasting in a 375F (190C) oven cut-side down in a pan with a half-inch of water, then mash and freeze
  • Summer Squash: 3 minutes
  • Tomatoes: may be frozen without blanching or cooked through, peeled, and then frozen (pureed if preferred)
  • Green tomatoes: no blanching required; slice ¼- to ½-inch thick.
    Related Reading  How To Harvest Asparagus: All You Need To Know
  • sliced green tomatoes ready for freezing
    Freezing green tomatoes is a good way to use up the last of the unripened crop. Sliced and frozen green tomatoes can be used just as you would use fresh green tomatoes. Tomatoes do not need to be blanched before freezing, unless you are blanching them to remove the skins.
  • Turnips: 3 minutes
    *Note: peel. Can be sliced or diced.
  • Packaging and Container Options

    green beans being vacuum sealed before freezing
    Though a bit more of an investment, a vacuum sealer system is the best way to package frozen vegetables, retaining the highest quality for the longest period of time.

    There are several good options for packaging to freeze and preserve your fresh vegetables. With a variety of vegetables, you’re likely to need a variety of packaging options and you should select what you feel works best in your freezer for each type of vegetable. Here are the best options:

    green onions and potatoes bagged in zipper bags for freezing
    One of the most economical ways to package vegetables for freezing is by using freezer-grade zip-locking plastic bags.
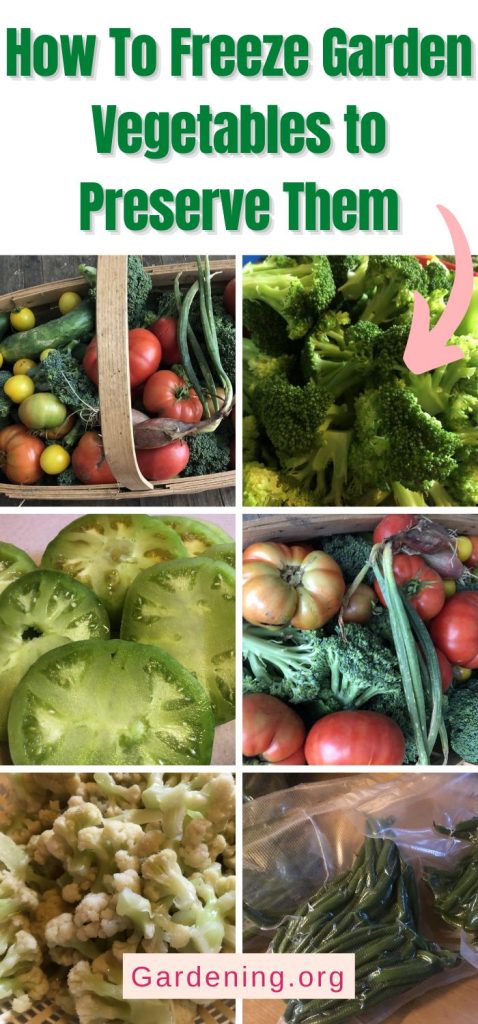
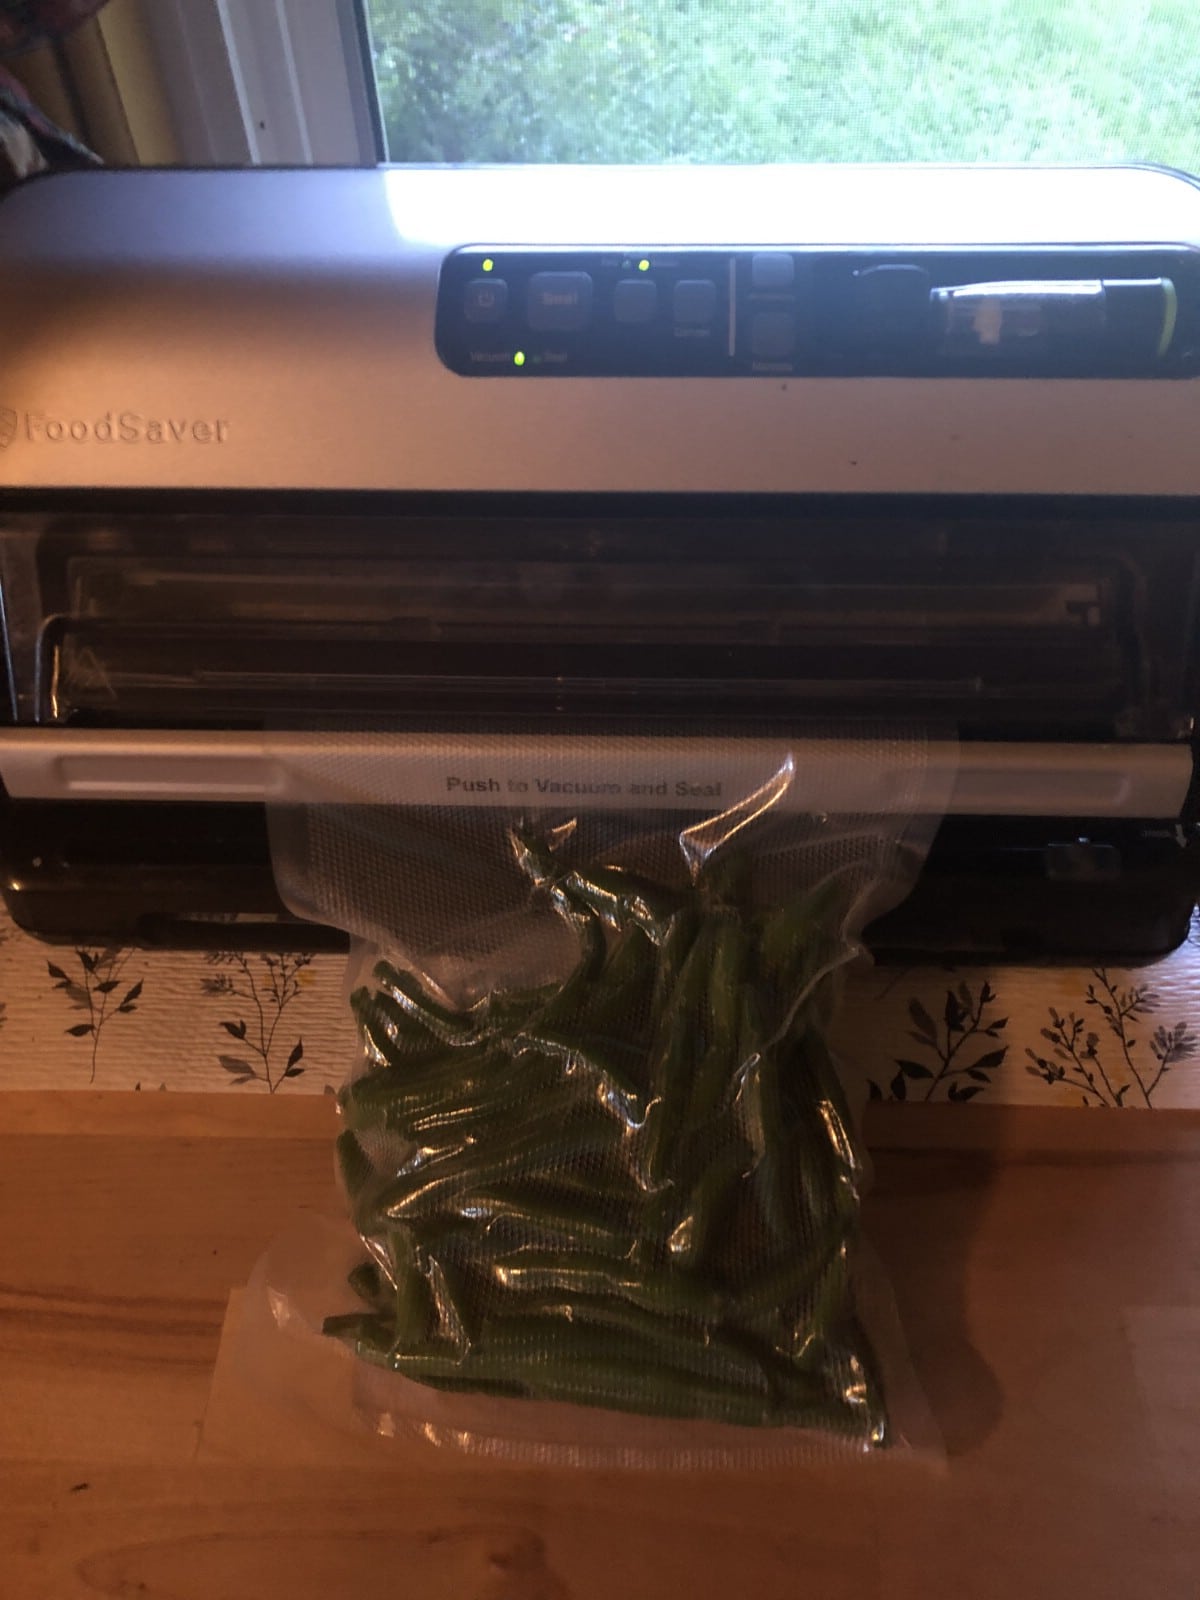
    • Ziploc™ or zipper bags: These baggies have the advantage of being easy to obtain, quick, cheap, and they work well. Make sure you get the heavier freezer bags, not the lighter sandwich or snack bags. The one drawback is that it can be difficult to remove excess air. One trick is to sink the filled bags in a large bowl of water almost up to the top, pushing out the air, then sealing the zipper closure.
    • Food storage freezer bags: These baggies are similar to zipper bags but close using twist-ties. They are usually a flexible one-gallon size, and are cheap. However, they can be difficult to find in a freezer weight and may need to be wrapped in freezer paper or at least double-bagged (not ideal, but it can work). Removing excess air is easier than with zipper bags and you can use the water trick with these bags to push air out, too.
    green beans sealed in vacuum sealer bags
    Vacuum sealer bags do a great job of keeping out the biggest enemies to quality frozen vegetables.
  • Vacuum sealer bags: Vacuum-sealer bag systems work beautifully and keep vegetables in excellent condition for a very long time—as long as bags are not punctured or compromised and air is not let in. The bags are quite heavy, though, so puncture is not a major issue if well handled. The drawback to these systems is that the initial investment is moderately-high and the bags themselves are quite costly, especially in comparison to zipper or food storage bags. Cutting and sealing can also take longer than storage bags. They do remove all of the air for you, though, which extends freezer life. You may find that you enjoy vegetables that are 6 or 12 months older than what can be kept in other bags and containers.
  • SaleBestseller No. 1
    20 Pack Vacuum Storage Bags, Space Saver Bags (4 Jumbo/4 Large/4 Medium/4 Small/4 Roll) Compression Storage Bags for Comforters and Blankets, Vacuum Sealer Bags for Clothes Storage, Hand Pump Included
    20 Pack Vacuum Storage Bags, Space Saver Bags (4 Jumbo/4 Large/4 Medium/4 Small/4 Roll) Compression Storage Bags for Comforters and Blankets, Vacuum Sealer Bags for Clothes Storage, Hand Pump Included
    SaleBestseller No. 2
    Syntus Vacuum Sealer Bags, 6 Pack 3 Rolls 11' x 20' and 3 Rolls 8' x 20' Commercial Grade Bag Rolls, Food Vac Bags for Storage, Meal Prep or Sous Vide
    Syntus Vacuum Sealer Bags, 6 Pack 3 Rolls 11" x 20' and 3 Rolls 8" x 20' Commercial Grade Bag Rolls, Food Vac Bags for Storage, Meal Prep or Sous Vide
    Bestseller No. 3
    Syntus Vacuum Sealer Bags, 100 Quart 8' x 12' Commercial Grade PreCut Bag, Food Vac Bags for Storage, Meal Prep or Sous Vide
    Syntus Vacuum Sealer Bags, 100 Quart 8" x 12" Commercial Grade PreCut Bag, Food Vac Bags for Storage, Meal Prep or Sous Vide
    SaleBestseller No. 4
    Amazon Basics Vacuum Compression Storage Bags with Hand Pump - 6-Pack (2 Jumbo, 2 Large, 2 Medium)
    Amazon Basics Vacuum Compression Storage Bags with Hand Pump - 6-Pack (2 Jumbo, 2 Large, 2 Medium)
    tomato sauce packaged in reusable deli containers for freezing
    Affordable, reusable plastic containers like these deli containers are a good way to freeze sauces, such as this tomato sauce.
  • Reusable plastic containers: Containers such as Tupperware™-type or plastic deli containers have the advantage of being reusable and so the investment becomes quite economical over time. They are best-suited to liquids, purees, or mashed vegetables for which air space and air removal will not be an issue. It is best to choose containers that are rated for use in the freezer to ensure the right weight/thickness.
  • SaleBestseller No. 1
    Utopia Kitchen Plastic Food Containers Set - Pack of 24 (12 Containers & 12 Snap Lids) Food Storage Containers with Airtight Lids - Reusable & Leftover Lunch Boxes - Leak Proof & Microwave Safe
    Utopia Kitchen Plastic Food Containers Set - Pack of 24 (12 Containers & 12 Snap Lids) Food Storage Containers with Airtight Lids - Reusable & Leftover Lunch Boxes - Leak Proof & Microwave Safe
    SaleBestseller No. 2
    50-Pack Meal Prep Plastic Microwavable Food Containers For Meal Prepping With Lids 28 oz. 1 Compartment Black Rectangular Reusable Storage Lunch Boxes -BPA-Free Food Grade -Freezer & Dishwasher Safe
    50-Pack Meal Prep Plastic Microwavable Food Containers For Meal Prepping With Lids 28 oz. 1 Compartment Black Rectangular Reusable Storage Lunch Boxes -BPA-Free Food Grade -Freezer & Dishwasher Safe
    SaleBestseller No. 3
    WGCC Meal Prep Containers, 32OZ 50 Pack Extra-thick Food Storage Containers with Lids, Plastic Microwavable Bento Box Reusable Storage Lunch Boxes BPA Free, Stackable, Dishwasher/Freezer Safe
    WGCC Meal Prep Containers, 32OZ 50 Pack Extra-thick Food Storage Containers with Lids, Plastic Microwavable Bento Box Reusable Storage Lunch Boxes BPA Free, Stackable, Dishwasher/Freezer Safe
    SaleBestseller No. 4
    DuraHome - Deli food Storage Containers with Lids 32 oz, Quart Pack of 24 Leak-proof Freezer Safe Microwaveable Soup Storage Container - Clear Plastic Premium Quality
    DuraHome - Deli food Storage Containers with Lids 32 oz, Quart Pack of 24 Leak-proof Freezer Safe Microwaveable Soup Storage Container - Clear Plastic Premium Quality
  • Vacuum-sealer containers: Some vacuum sealer systems also have compatible containers available, which can help to better seal and remove excess oxygen. Since they are reusable, and for as long as they are in good condition, the cost spread over time is lessened. But since the products that are stored in containers are those that do not contain a lot of air anyway, the investment in a large quantity of these containers may be questionable for this purpose.
  • Bestseller No. 1
    FoodSaver 2116382 Preserve & Marinate Vacuum -Containers,1- 3 cup and 1- 10 cup, Clear (Count-2)
    FoodSaver 2116382 Preserve & Marinate Vacuum -Containers,1- 3 cup and 1- 10 cup, Clear (Count-2)
    Bestseller No. 2
    Jar Sealer Kits for FoodSaver Vacuum Sealer - Upgrade Canning Sealer Set with Hoses for Mason Jars with Regular and Wide Mouth, Additional Connectors Compatible with All FoodSaver Sealers (White)
    Jar Sealer Kits for FoodSaver Vacuum Sealer - Upgrade Canning Sealer Set with Hoses for Mason Jars with Regular and Wide Mouth, Additional Connectors Compatible with All FoodSaver Sealers (White)
    Bestseller No. 3
    Lasting Freshness 19 Piece Vacuum Seal Food Storage Container Set, Rectangle
    Lasting Freshness 19 Piece Vacuum Seal Food Storage Container Set, Rectangle
    Bestseller No. 4
    Vacuum Seal Containers, Food Fresh & Save Container for Vacuum Seal, Vacuum Container with Handheld Pump, Airtight Food Storage, Marinade Container, Snack Container for Adult 1L+2L Boxes, 2 Fresh Bags
    Vacuum Seal Containers, Food Fresh & Save Container for Vacuum Seal, Vacuum Container with Handheld Pump, Airtight Food Storage, Marinade Container, Snack Container for Adult 1L+2L Boxes, 2 Fresh Bags
  • Canning jars: Canning jars are actually freezer-safe and are designed to be used in the freezer as well as in canning. They can make freezing purees, liquids, and mashed products easier and more affordable. This is especially true if the product is something that needs to be packaged from a hot or warm state and for which plastics may be an issue. However, it is EXTREMELY IMPORTANT that you let hot products cool to room temperature before placing in the freezer to avoid thermal shock and glass breakage.Because canning jars are glass, naturally you will need to take some care moving and working with them in the freezer to avoid breakage, however, canning jars are quite strong and it does take a lot to break them. Package in canning jars as you would other freezer containers and fill to the top, only leaving the recommended headspace for expansion (one-half inch for products that need it). Regular two-piece canning lids and rings can be used for sealing. One big advantage of freezing in canning jars is their versatility and reusability.
  • Related Reading  How to Kill Aphids and Soil Gnats with Homemade Vinegar Spray

    Preventing Damage from Freezer Burn and Ice Crystals

    Other than enzyme action, two of the other major spoilers for fresh-frozen vegetables are freezer burn and the formation of large ice crystals. Fortunately, these are relatively easy to avoid.

    cauliflower in ziplock baggie
    Quality packaging, removing as mush air as possible, fast freezing, and prevention of ice crystal formation are all keys to quality long-term storage of frozen vegetables.
    • Prevent the formation of large, fiber-damaging ice crystals by freezing your prepared vegetables as quickly as possible.
    • Freeze at a temperature of 0 degrees Fahrenheit or lower (-17 or lower in Celsius).
    • Spread the packages out in a single layer (or as close as possible) when adding to the freezer so the cold can penetrate all the way through the centers as quickly as possible. Do not stack packages until after they are completely frozen—stacking means that the packages in the center will take much longer to freeze and therefore will increase ice crystal formation.
    • Freeze vegetables in the coldest part of your freezer.
    • Vegetables should be completely frozen within 12 to 24 hours.
    • Freezer burn occurs primarily from improper packaging—i.e., packing with a lot of surface exposure to air and/or packaging that allows moisture loss or vapor exchange.
    • Use only freezer-grade packaging to reduce vapor exchange and damage.
    • Remove as much air as possible when sealing packages to reduce surface exposure inside containers.
    • Fill bags or packages as much as possible to reduce surface exposure and the amount of air in the package (keep in mind that a few vegetables—those mashed or similarly prepared—may require headspace to be left for expansion in containers to avoid popping open containers). One-half inch of headspace is recommended.
    • Keep freezers well-maintained and check regularly for temperature control. Run at a low consistent temperature (0 Fahrenheit or below, 17 C or below). Avoid fluctuations and avoid thawing and refreezing as much as possible.

    Cooking With Frozen Preserved Garden Vegetables

    At a temperature of 0F/17C or below, fresh-frozen vegetables will keep well for up to a year. That said, you should plan to use this produce within this timeframe for best quality. Over time, even in a deep freeze, quality will very gradually deteriorate.

    cooked and drained cauliflower in a colander
    For most vegetables, there is no need to thaw before cooking them. Just bring to a boil, drain, and enjoy!

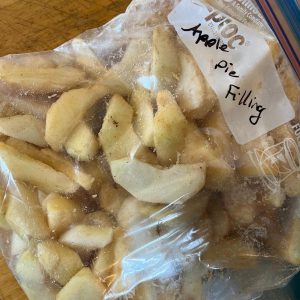
    Unless you need to thaw your produce for use in a recipe (for example, frozen mashed pumpkin or squash may need to be thawed before making a pie or baking a cake), most vegetables are best when cooked from the frozen state. Those that do require thawing for use in a recipe should be thawed just ahead of cooking, and prepared as soon after thawing as possible.

    Vegetables that you are serving as a side dish should be steamed or just barely covered in cold water and brought just to a boil, then removed from heat and drained. Time cooking to serve immediately and limit the time the vegetables stand after cooking for optimal nutrition and quality. This will give you a nutrient-dense, crisp-tender vegetable that is not overcooked and will have a quite nice, bright color similar to fresh-cooked.

    Related Reading  7 Everyday Items You Can Use for Drying and Curing Herbs

    If you are using your fresh-frozen vegetables in soups, stews, casseroles, or dishes, whether you need to cook them or not will depend on your recipe, the vegetable being used, and whether the vegetables will cook adequately in the dish. In general, if you would cook a fresh vegetable before adding it to the dish, you should also cook your frozen vegetable before adding it. You will usually be able to tell this from the recipe.

    fresh broccoli and cauliflower heads
    Freezing is an easy method of preserving the harvest. You'll be amazed how close to fresh your frozen vegetables will taste!

    Well-prepared frozen garden vegetables—or even locally purchased fresh vegetables—are a truly superior food for off-season eating. Freezing your harvest is one more way to maximize your garden produce and also reduce the carbon footprint of your daily diet.

    More Preserving

    • 28 Cold Storage Fruits & Vegetables—No Preserving, No Refrigerating!
    • How to Prepare Winter Squash for Cold Storage
    • 7 Everyday Items You Can Use for Drying and Curing Herbs
    • How To Make a Decorative Edible Hardneck Garlic Bundle

    Sharing is caring!

    2.7K shares
    • 2.6K

    Reader Interactions

    Comments

    1. Marjie

      July 25, 2022 at 11:50 pm

      Thank you for this important information. I was just thinking if I could freeze my wax beans and here is the answer. This is amazing!

      Reply

    Leave a Reply Cancel reply

    Your email address will not be published. Required fields are marked *

    Primary Sidebar

    Gardening site avatar

    Hi, Fellow Gardeners! Welcome to the world of gardening. Enjoy the growing guides and growing tips our team of professional gardeners carefully selected.

    Recent

    • What Are Determinate, Indeterminate, and Semi-Determinate Tomatoes?
    • Square-Foot Gardening: The Complete Guide
    • How to Use Photo Storage Boxes to Store Seeds
    • The 5 Best All-Purpose Tomato Varieties

    Popular

    • 15 Zucchini Growing Mistakes New Gardeners Often Make
    • 11 DIY Homemade Plant Fertilizers (With Recipes)
    • 14 Tomato Growing Mistakes New Gardeners Make
    • Onion Growing Hack: How to Trim the Starts for Stronger Bulbs

    gardening.org is a participant in the Amazon Services LLC Associates Program, an affiliate advertising program designed to provide a means for sites to earn advertising fees by advertising and linking to Amazon.com. As an Amazon Associate, we earn from qualifying purchases.

    Gardening site avatar

    Hi, Fellow Gardeners! Welcome to the world of gardening. Enjoy the growing guides and growing tips our team of professional gardeners carefully selected.

    Recent

    • What is “Workable” Soil, Exactly?
    • 14 Tips to Control Tomato Hornworms in your Organic Garden
    • How to Make and Use Worm Tea on Houseplants and Outdoor Plants
    • 20 Best Trees for Small Gardens + Caring Tips

    Popular

    • How to Grow Garlic: Complete Guide to Planting and Growing Garlic
    • How To Maintain Your Asparagus Bed For Long Life And Productivity
    • How to Grow an Endless Supply of Raspberries and Blackberries
    • How to Use Paper as Weed Control in the Garden

    gardening.org is a participant in the Amazon Services LLC Associates Program, an affiliate advertising program designed to provide a means for sites to earn advertising fees by advertising and linking to Amazon.com. As an Amazon Associate, we earn from qualifying purchases.

    Footer

    About

    • Privacy Policy

    Contact

    • [email protected]

    As an Amazon Associate, I earn from qualifying purchases.

    Copyright © 2023 Gardening LLC.