Monstera, pothos, and many other plants benefit from trellising or support poles, which can make their large leaves and sprawling growth habits look more refined. But while moss poles and other plant support systems can be purchased online or at local plant nurseries, moss poles are easy to make.
Making your own DIY poles can help you save on your plant budget. In this guide, we’ll teach you how to make and use a moss pole to hold up houseplants, boost plant humidity levels, and reduce broken stems and plant diseases, too!
Jump to:
- Why make your own DIY moss pole?
- How to make your own DIY moss pole in 8 easy steps
- The process:
- Step 1: Soak your sphagnum moss.
- Step 2: Measure out your hardware cloth.
- Step 3: Cut and shape your hardware cloth.
- Step 4: Pack in your moss.
- Step 5: Secure the hardware cloth cylinder with coated wire.
- Step 6: Install your moss pole.
- Step 7: Anchor your plant in place.
- Step 8: Extending your moss pole (optional).
- How to maintain a plant moss pole
- Best plants to grow on moss poles
- Frequently asked questions
- Do I soak the moss pole before using it?
- How often do you moisten a moss pole?
- Should I mist a moss pole?
- Which is better, the coco pole or the moss pole?
- How do you keep a moss pole alive?
- How long does a moss pole last?
- Summary
- DIY Moss Pole
Why make your own DIY moss pole?
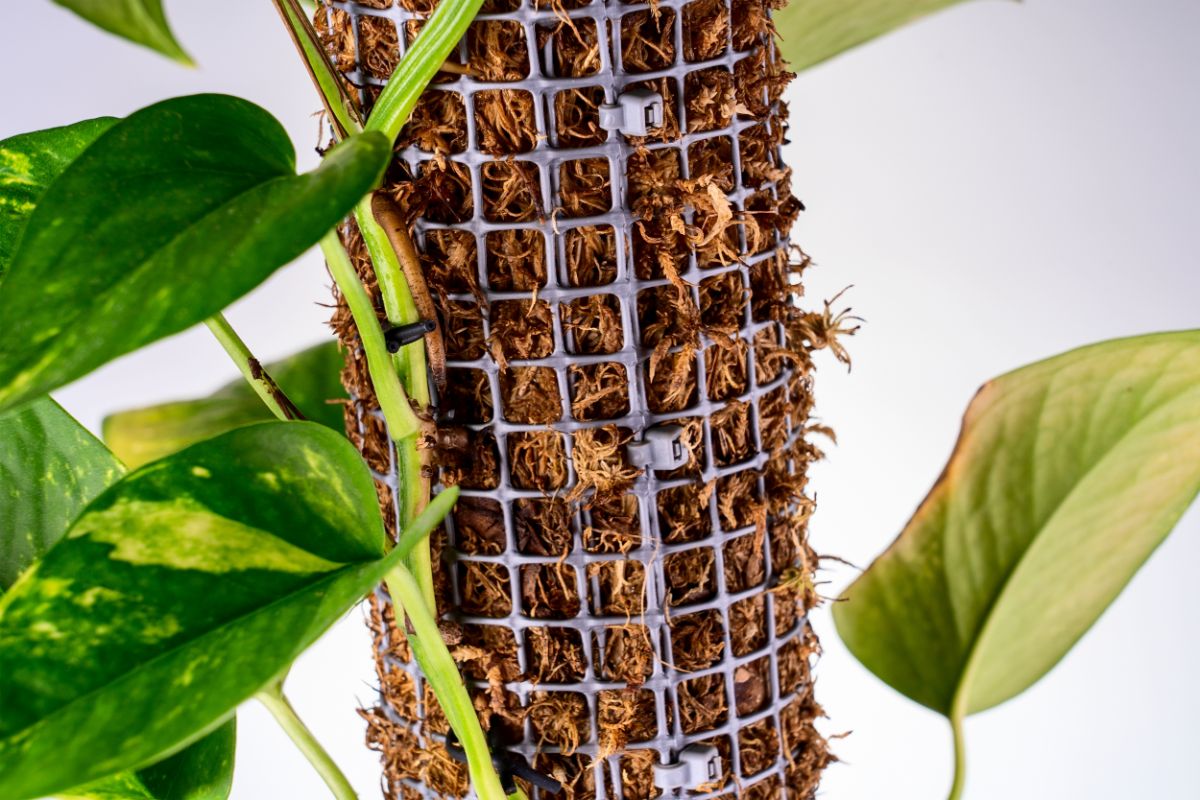
Moss poles add a sophisticated touch to houseplant collections, but they offer tangible benefits to houseplants as well. While you can purchase moss poles online or at many garden centers, making your own moss poles can be fun, and it’s easier than you may expect. Some of the key benefits of creating a DIY moss pole for plants include:
- Prevents broken plant stems. Large and unwieldy plants, like monstera, can start to droop as they age, and if you’re not careful, their heavy stems can break and tear. But with the extra support from moss poles, you can keep your plants safe and upright with minimal effort.
- Keeps climbing plants tidy. Pothos and certain types of philodendrons produce long and trailing vines as they grow. While these vines look stately in hanging baskets, they can look unruly without trellises and stakes… but moss poles can help keep these vigorous growers in line!
- Space savings. Small space gardeners have long known the benefits of growing plants vertically, and trellises can be used to keep trailing plants, like beans, more compact in outdoor gardens. However, these same principles can be applied to houseplant collections, and you can keep trailing plants confined to smaller locations by training them to grow vertically on moss poles.
- Cost savings. Storebought moss poles may be convenient, but they can be costly, too. Yet, if you make your own moss poles at home, you can save a lot of money, and you can often make multiple moss poles from a single roll of hardware, cloth, and wire!
- Fewer pests and diseases. Growing plants vertically increases airflow around plant leaves, which can reduce the incidence of mildew and leaf diseases. Even better, training plants to grow upwards makes leaves easier to inspect, and this can help you spot plant pests, like spider mites, much sooner.
- More size options. Storebought moss poles only come in a few sizes, and you will have trouble finding large moss poles to fit sprawling houseplants. But if you make your own poles, you can create them to fit your specific plant dimensions, and you can even extend DIY moss poles as your plants grow!
- Reduces watering and humidity issues. Moss poles are typically filled with sphagnum moss, which holds moisture in. When this moss comes in contact with plants’ aerial roots, it can keep plants hydrated in between waterings, and it can also boost humidity levels so plants won’t dry out as quickly.
How to make your own DIY moss pole in 8 easy steps
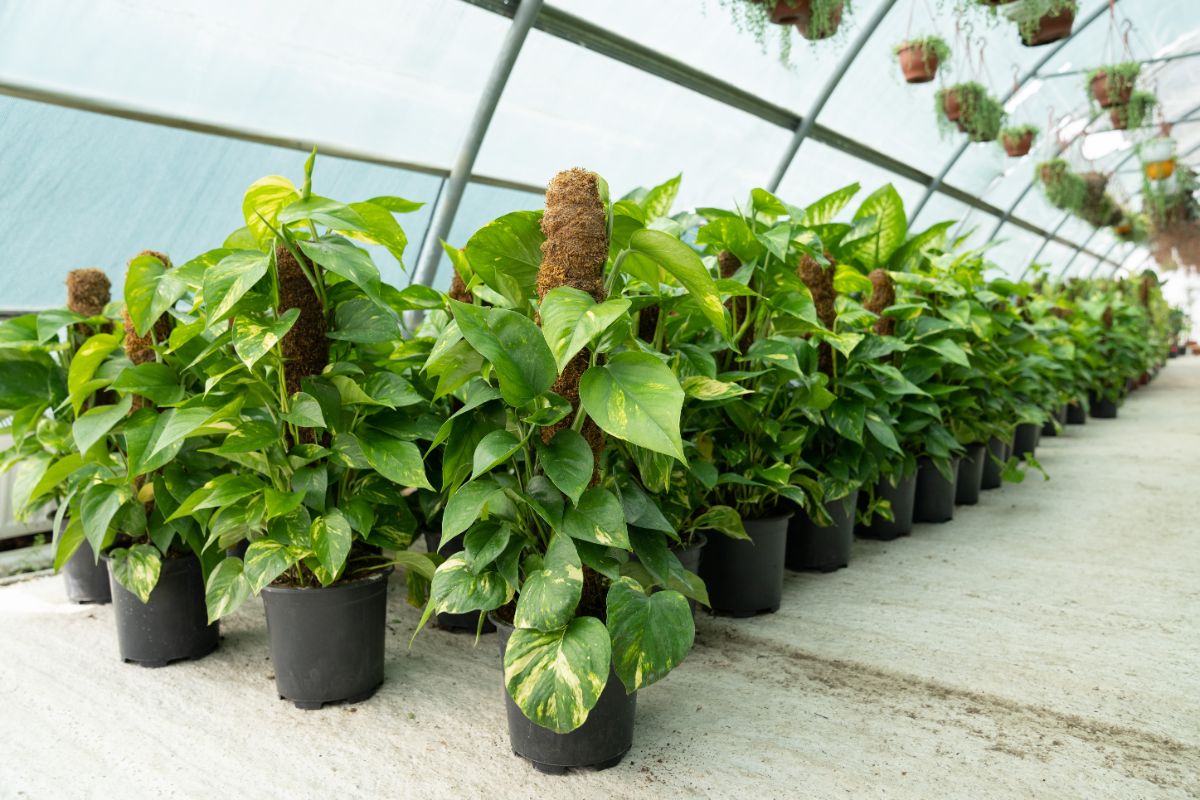
Homemade moss poles don’t require many supplies, and you can get most of the items you need either online or at your local plant nursery.
One of the great things about making your own moss poles is that you can usually make a few moss poles from a single roll of hardware cloth and a bag of moss.
That’s great news if you have multiple vining plants or tall beauties like monstera that need a bit of TLC and extra support!
What you’ll need:
- Plastic-coated hardware cloth. You can technically use standard, uncoated hardware cloth to make moss poles, but coated hardware cloth is a better choice. This type of hardware cloth is more resistant to rust, and the plastic coating helps protect plant stems from brushing against sharp wires.
- Plastic-coated stakes. Like plastic-coated hardware cloth, coated stakes are more resistant to rot than uncoated stakes. However, you can also use wooden stakes or bamboo poles to support your moss poles; just know that these items will degrade over time.
- Plastic-coated wire. Coated wires are less likely to rust, and they’re easier on plant stems. You can find wires in many different colors, including black and white, but green or brown wires will be easier to conceal in houseplant leaves.
- Sturdy gloves.
- Protective eyewear
- Wire cutters.
- Sphagnum moss. While it can be tempting to use other moss types for moss poles, this is not advised. Live or foraged mosses can contain pests that may invade your houseplant collection, but this is much less likely to occur if you use preserved sphagnum moss, and sphagnum moss holds up beautifully in moss poles, too!
The process:
Step 1: Soak your sphagnum moss.
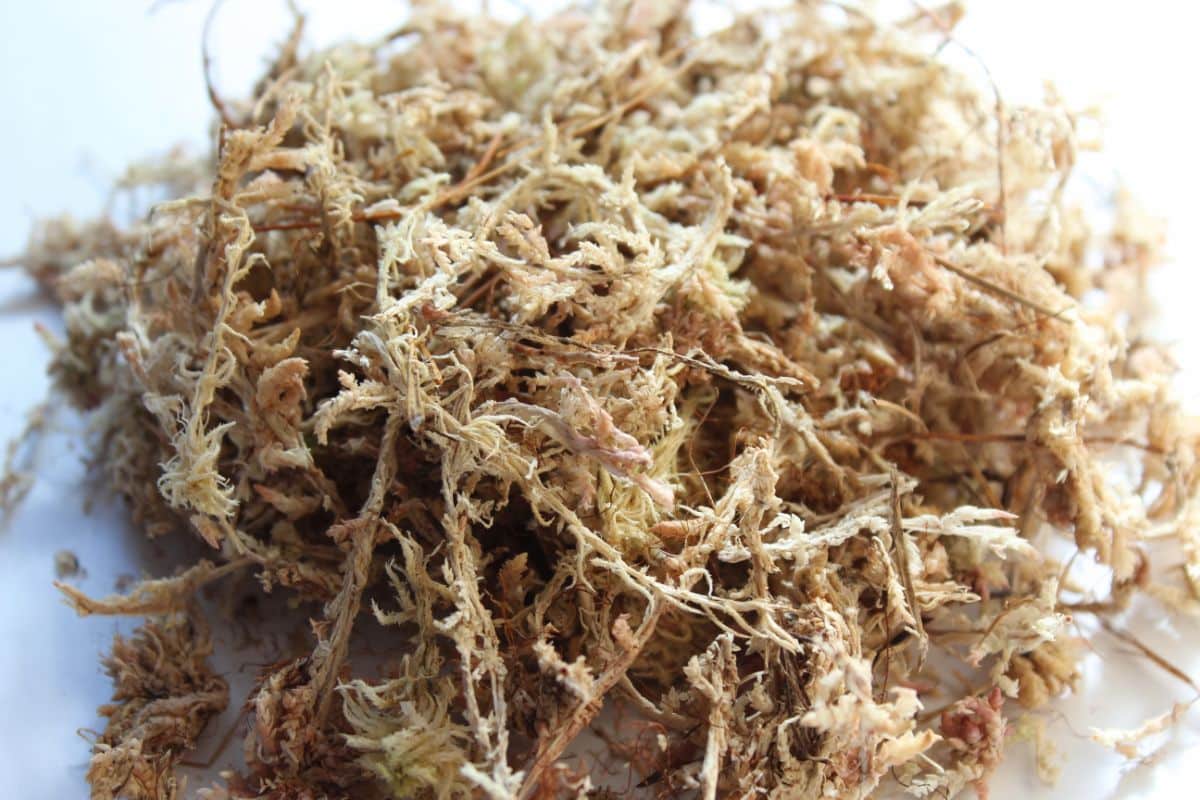
When you’re ready to make your own moss poles, get out your preserved sphagnum moss and give it a good soak in fresh water.
You can either do this by piling the moss into a plastic bucket or spreading it out on a shallow tray. Sphagnum moss only needs to soak for a few minutes, so it’s a good idea to start with a smaller quantity of moss and soak more moss if you need to, later on to avoid ending up with lots of leftover sopping wet moss!
Soaking moss ahead of time makes it much easier to get your moss good and wet. Moist moss will absorb water more readily, too, so it will be that much quicker to moisten your moss poles in the future.
Plus, if you presoak your sphagnum moss, you’ll also wash away some of the dust and debris on your moss, which will make your moss poles much tidier!
Step 2: Measure out your hardware cloth.
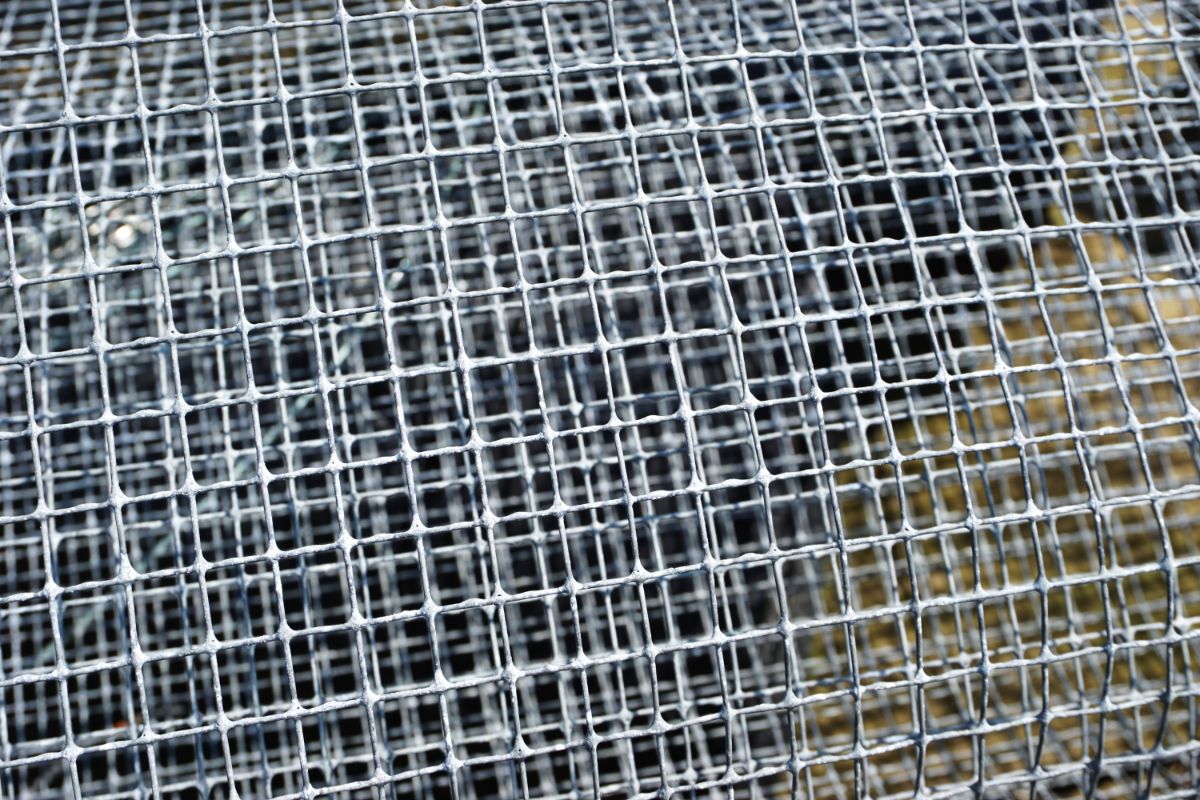
Next, measure the height of your plant and then measure out how much hardware cloth you’ll need to make a cylindrical moss pole. Moss poles can be as wide or narrow as you like, but wider poles tend to be easier to work with. As far as pole height goes, that too can vary, but you’ll want your moss pole to be about 6 to 12” taller than your houseplant so you can bury part of the pole in your houseplant potting mix.
Step 3: Cut and shape your hardware cloth.
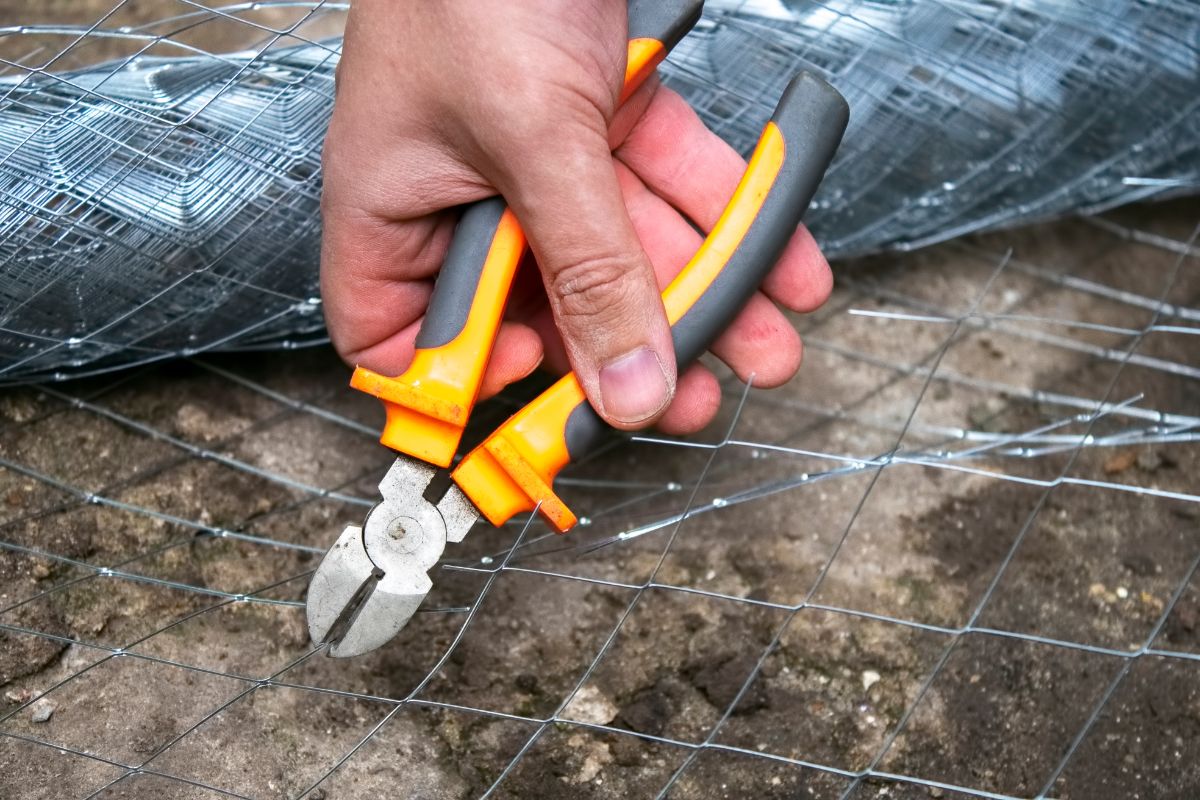
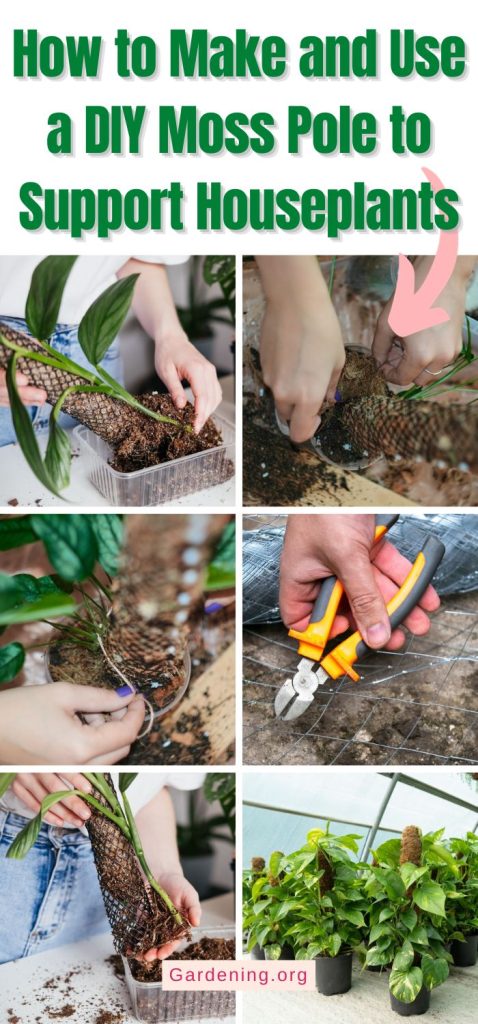
Once you’ve marked out how much hardware cloth you’ll need, don your protective gloves and start cutting your hardware cloth with wire cutters. Remember that hardware cloth has sharp edges, so go slowly and handle the cut ends with care. Because hardware cloth can sometimes flip around as you cut it, it’s wise to wear protective eyewear when you’re working.
Step 4: Pack in your moss.
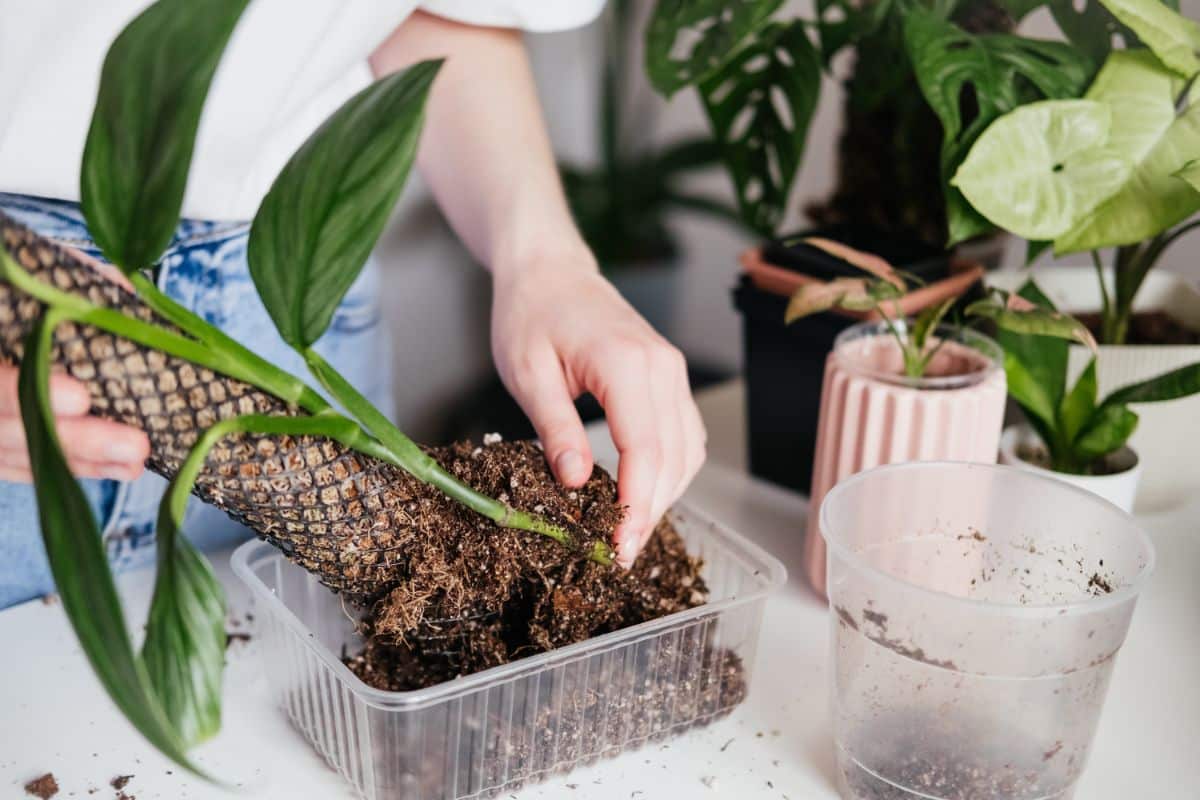
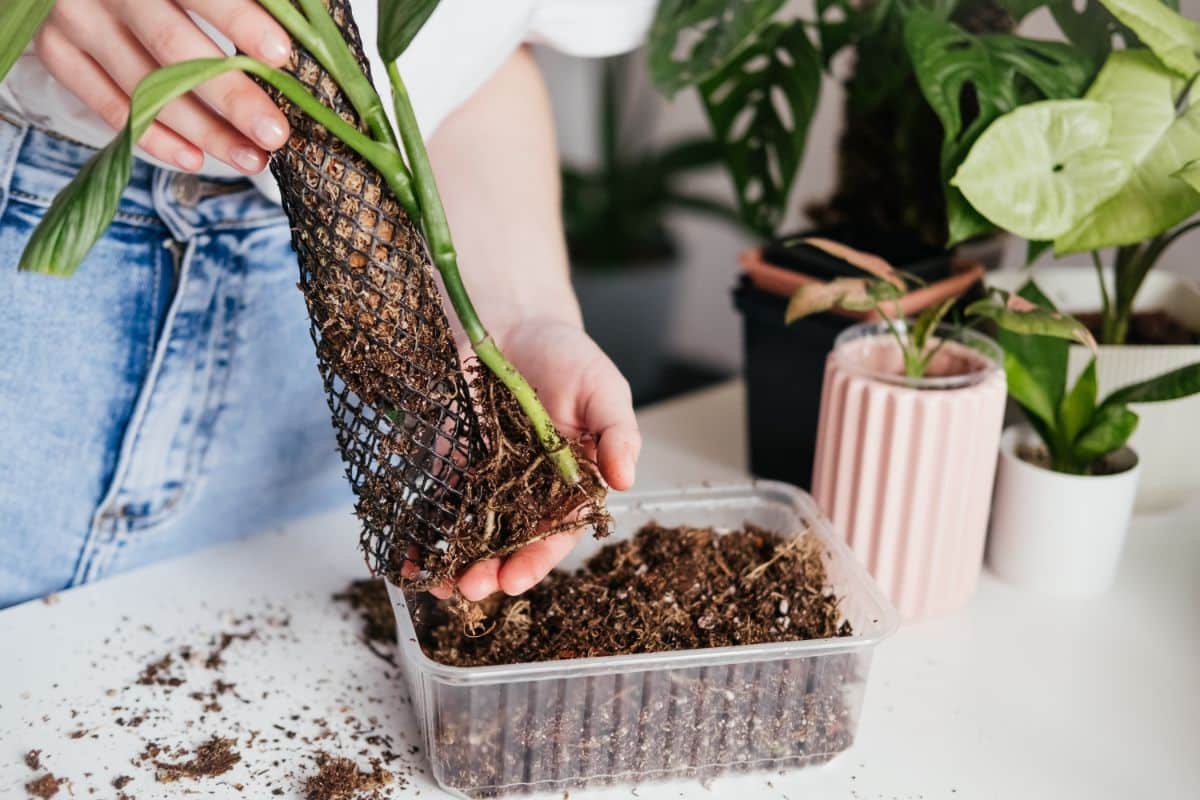
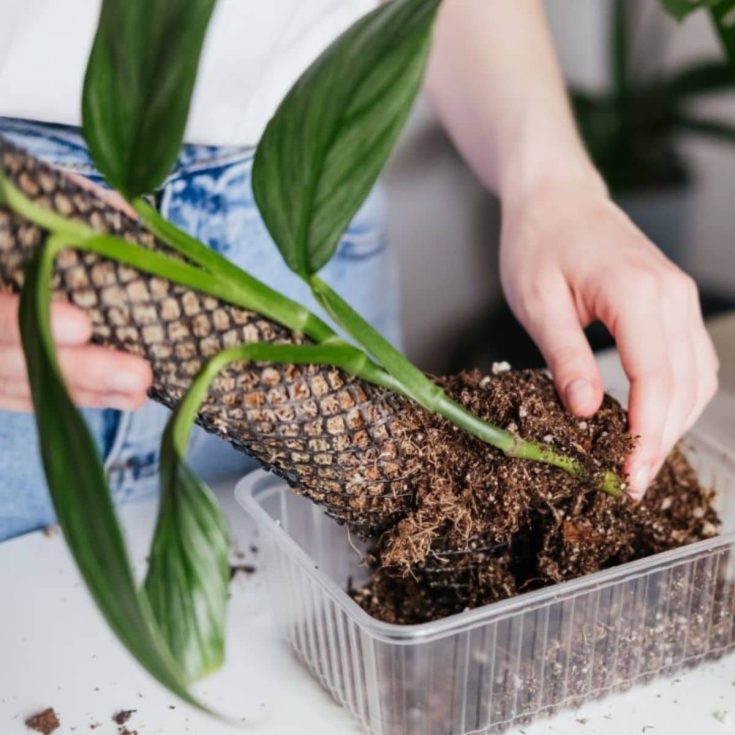
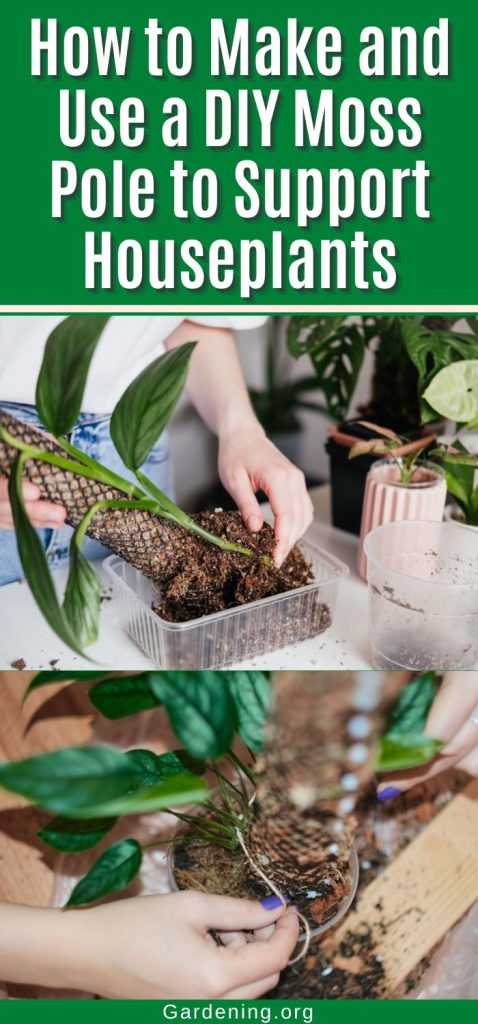
Now that you have your hardware cloth cut, it’s time to shape it into a cylindrical form. When that’s done, take a handful of sphagnum moss, squeeze the extra moisture out of it, and start to pack the moss into the hardware cloth form. Continue this process with more handfuls of moss until your hardware cloth cylinder is snugly packed with moss.
Sphagnum moss will break down over time, so make sure you use lots of moss to keep the moss from moving around. Once you add your plants, the moss will give your plant roots a nice place to anchor and grow.
At this point of the process, you have the option to add an additional support stake, or you can add the stake at the end (or you can omit it entirely!) Adding an extra support stake will make our pole even sturdier, and it’s a good idea to include a support stake if you need to hold up a heavy plant or you intend to extend your moss pole to hold tall stems. However, if you’re just working with a lightweight vining plant, you may not need to add a plant stake at all.
If you want to add the plant stake inside of your moss pole, place the stake inside your hardware cloth cylinder before you add the sphagnum moss, and then pack the moss around the pole. If you’d prefer to add the stake to the exterior of the moss pole, see step 7.
Step 5: Secure the hardware cloth cylinder with coated wire.
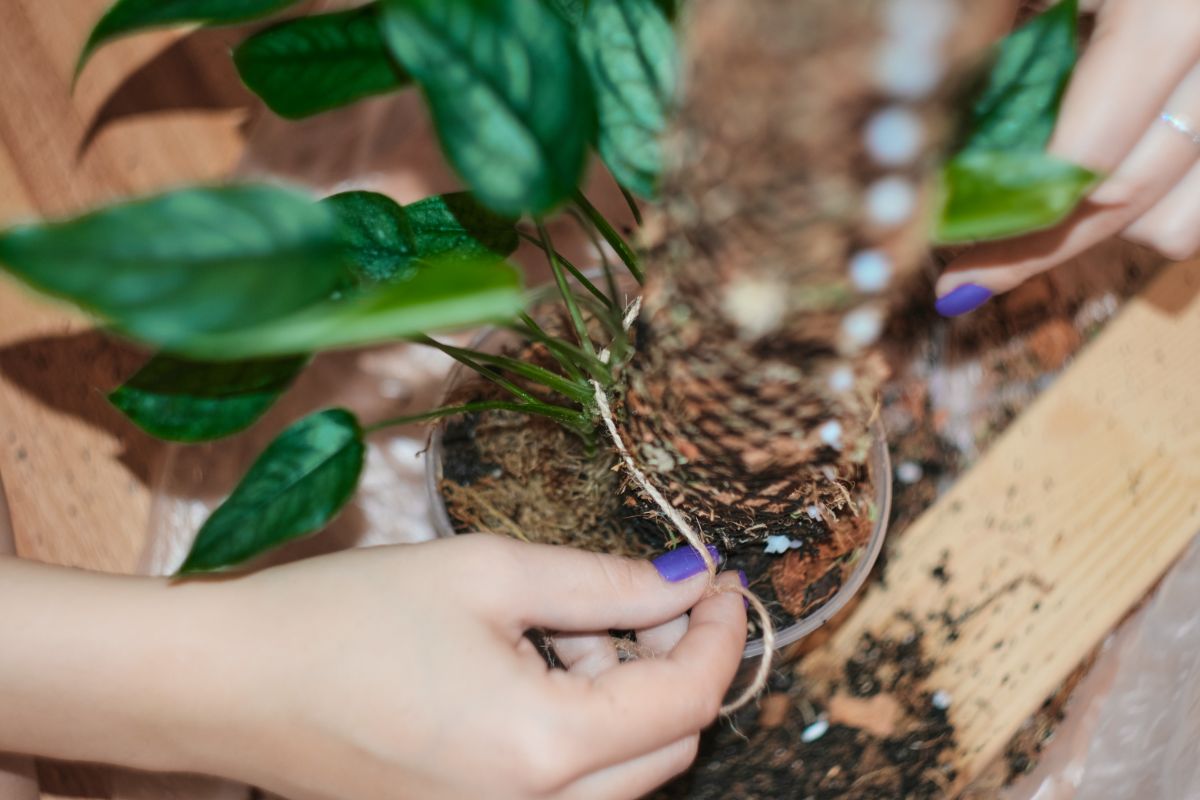
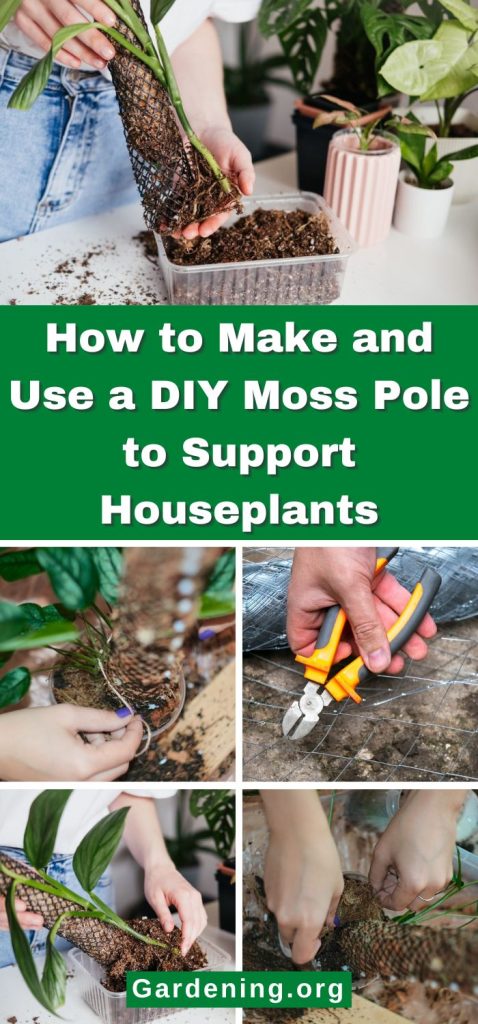
Now that your hardware cloth cylinder is packed with sphagnum moss, it’s time to tie everything shut tight. To do this, hold the hardware cloth cylinder closed with one hand and then begin stitching up the opening with your coated wire. It can help to tie off the wire at the base of the cylinder first and then stitch up the cylinder by weaving the wire in and out of every 6th hole along the hardware cloth edge.
When you’re done “sewing” up the pole, wrap the loose ends of your wire around each other and then tuck the wire ends into the top of your moss pole to make everything nice and neat.
Step 6: Install your moss pole.
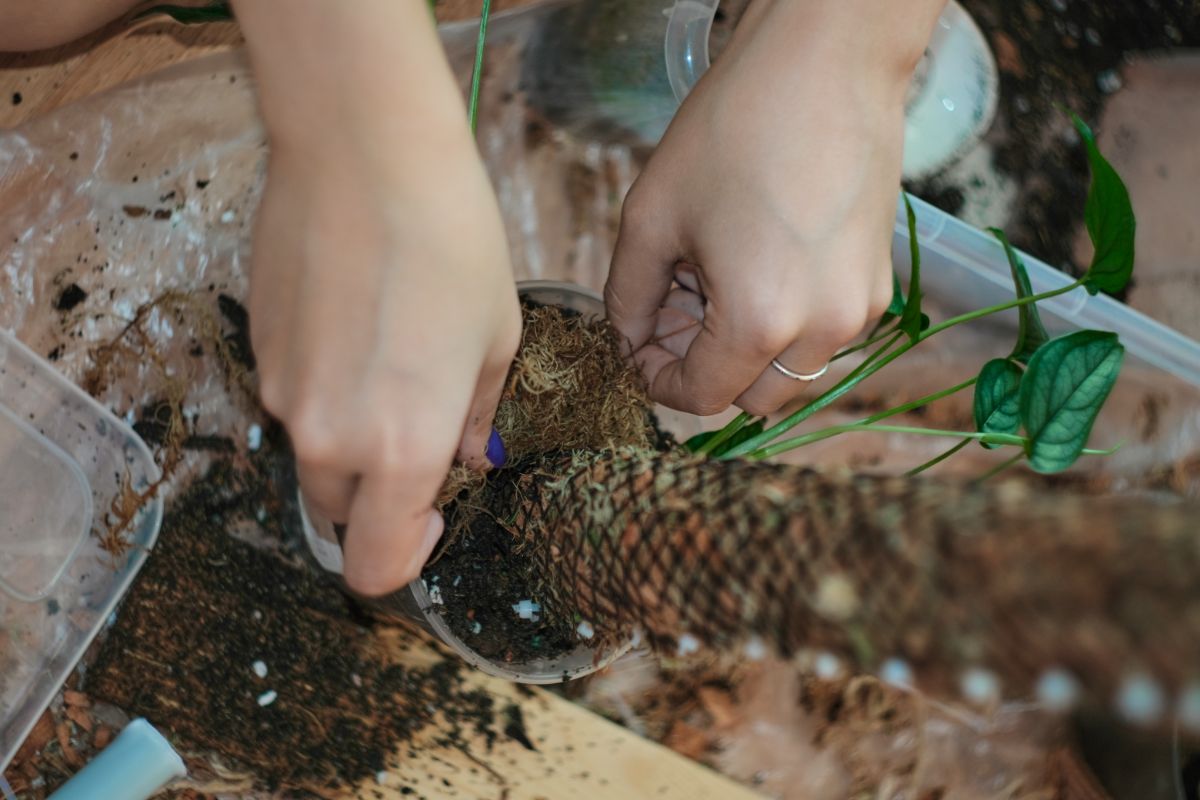
At this point, you should have a finished moss pole, which is ready to be used in any potted plant or container garden.
To install the moss pole, sink your pole into an empty plant pot so that the bottom of the pole is sitting against the bottom of the plant pot. Then, place your plant into the pot and loosely secure the plant’s stem to your pole with plant clips, twine, or coated wire. After that, just fill up your plant pot with a rich potting mix and give your plant a deep drink of water to help it settle in.
Step 7: Anchor your plant in place.
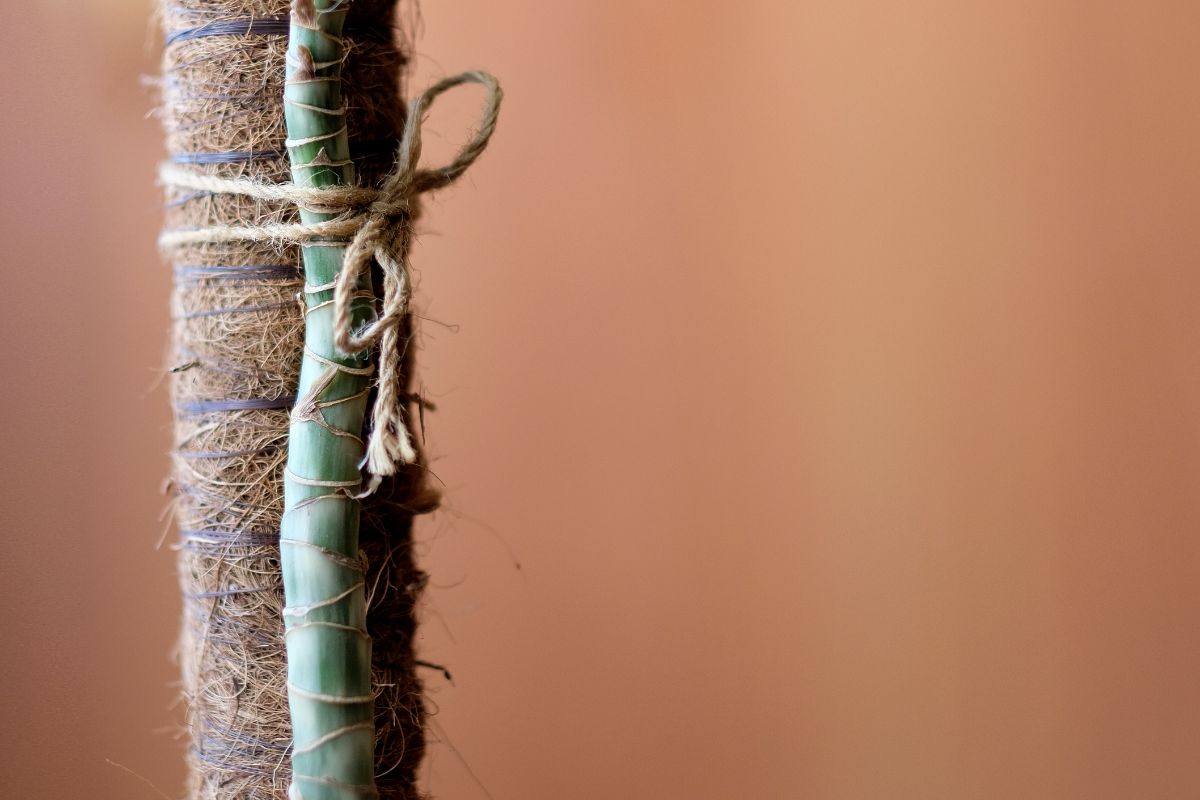
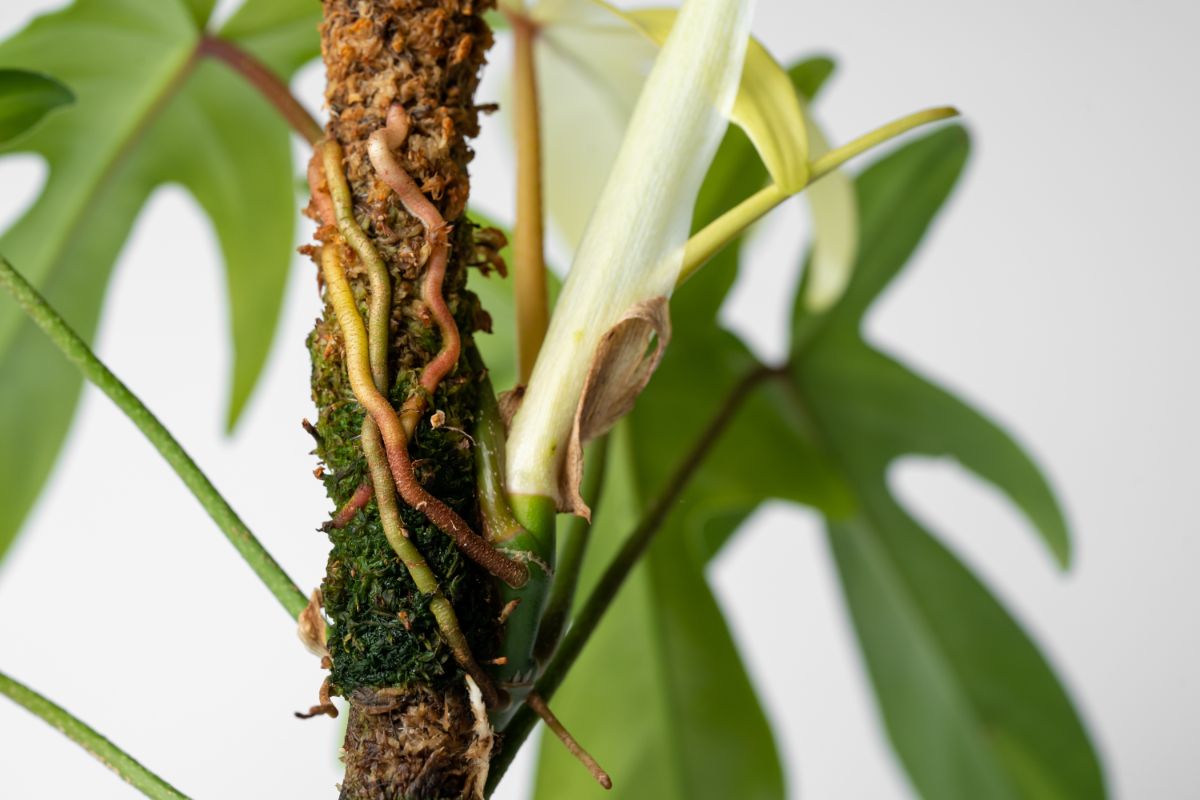
Depending on how large your plant is, you may need to secure your plant’s stems and vines to the moss pole with a lot of clips. If your plant has aerial roots, position the roots against the moss pole so the plant can grow into the pole and anchor itself in place.
Moss poles are quite sturdy on their own, and you may not need to do anything else to strengthen your pole. However, if you’re growing heavy or tall plants and you didn’t add a plastic stake to the center of the pole in Step 4, you can also attach an exterior support stake to your moss pole now.
To do this, simply sink a plastic stake beside your moss pole and attach the stake to your moss pole with several sections of coated wire.
Step 8: Extending your moss pole (optional).

If you install your moss pole and you realize it’s too short or you have a fast-growing plant that rapidly outgrows your moss pole, don’t despair. You can always extend moss poles after you install them!
To extend your pole, follow the steps above by first cutting an appropriate length of hardware cloth and then shape it into a loose cylinder form.
Then, slip the bottom of your hardware cloth cylinder over the top of your existing moss pole and anchor the bottom in place with coated wire.
After that, start packing your moss pole extension with more pre-moistened sphagnum moss and stitch up the open end of the moss pole extension as you go.
When you’ve added enough length to your moss pole, finish sewing the extension shut, wrap up the loose ends of the wire, and tuck them into the top of your moss pole extension.
Extended moss poles can be quite tall, which can make them more unwieldy. To avoid this, consider installing a plastic support stake either inside your moss pole extension or anchor it to the side of your moss pole.
How to maintain a plant moss pole
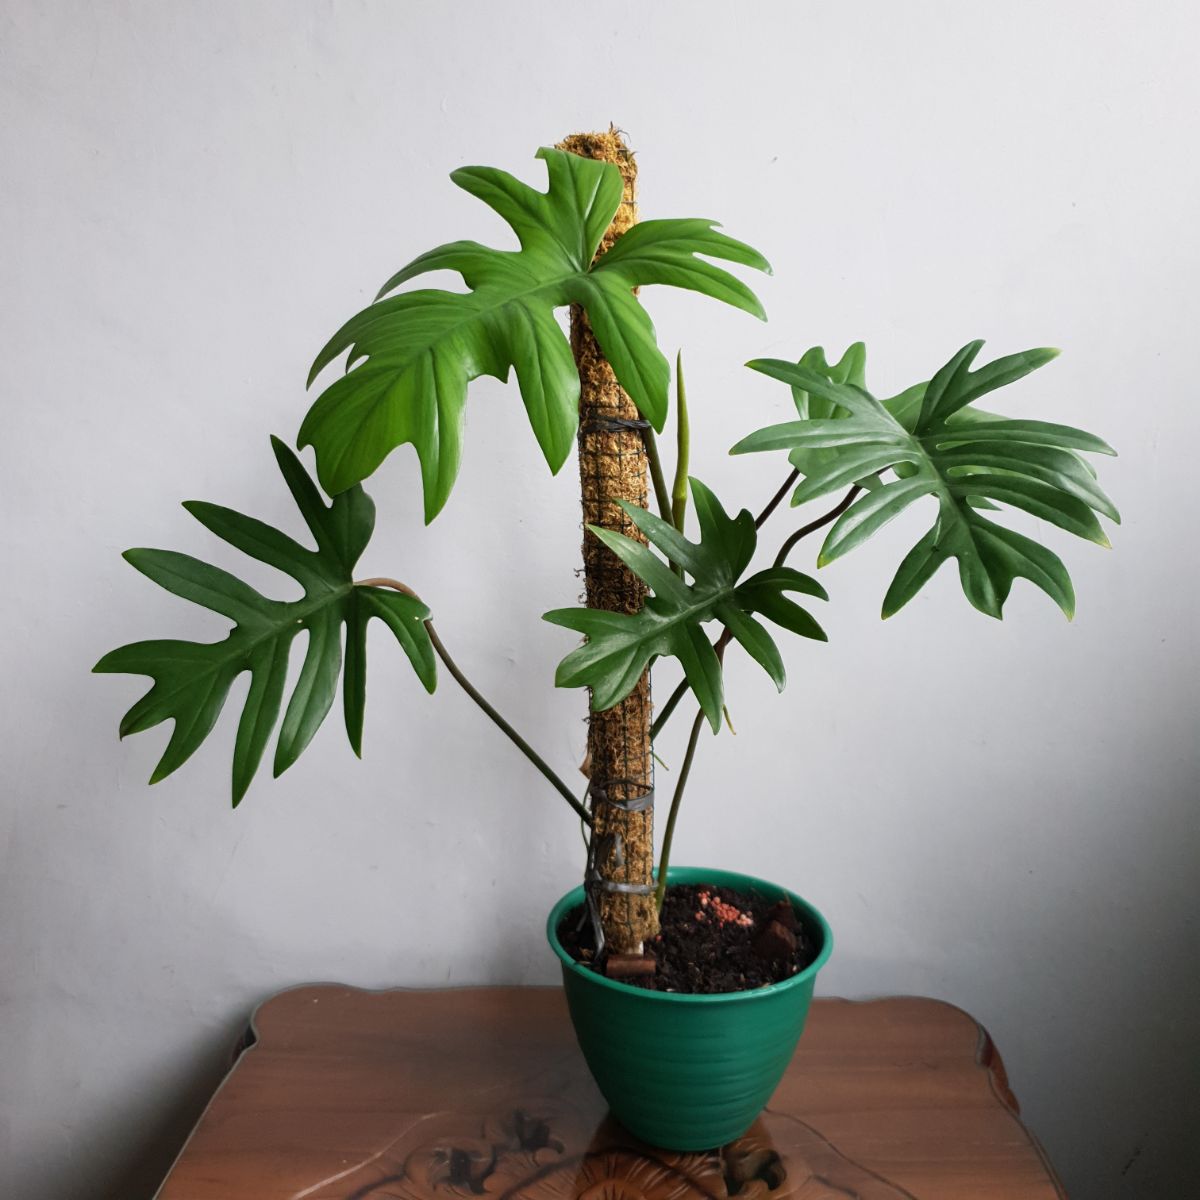
Moss poles help to humidify plants, and they add extra moisture to aerial roots, too, but you will need to keep your moss poles moist if you want to get the most benefits out of them.
While moss poles can be used just as support systems, if you want to use them to boost humidity for moisture-loving plants, mark your calendar to help you remember to water your moss pole every few days.
If you forget to water your moss pole, the moss itself will let you know when it’s time to water by changing color. Once the moss starts to lighten, it’s time to bring out your watering can.
It’s best to water moss poles regularly and deeply, as poles that are allowed to dry out won’t retain water as well, and they can make a mess when you water them.
Depending on how dry your home is, you may need to water your pole every 2 to 3 days, but in humid areas, you can water your pole even less.
To water, simply place the spout of your watering can or a water bottle at the top of your pole and pour the water slowly into the moss to keep it from overflowing.
Beyond watering moss poles, these plant support systems need very little care or maintenance; however, sphagnum moss will break down over time.
When your moss has shrunken and looks worn out, feel free to replace your moss pole with a new one or freshen up the pole you already have.
If you want to reuse your pole, simply snip the wire closure open, replace the old sphagnum moss with new moss, stitch the pole back up, and secure it to your plant again!
Best plants to grow on moss poles
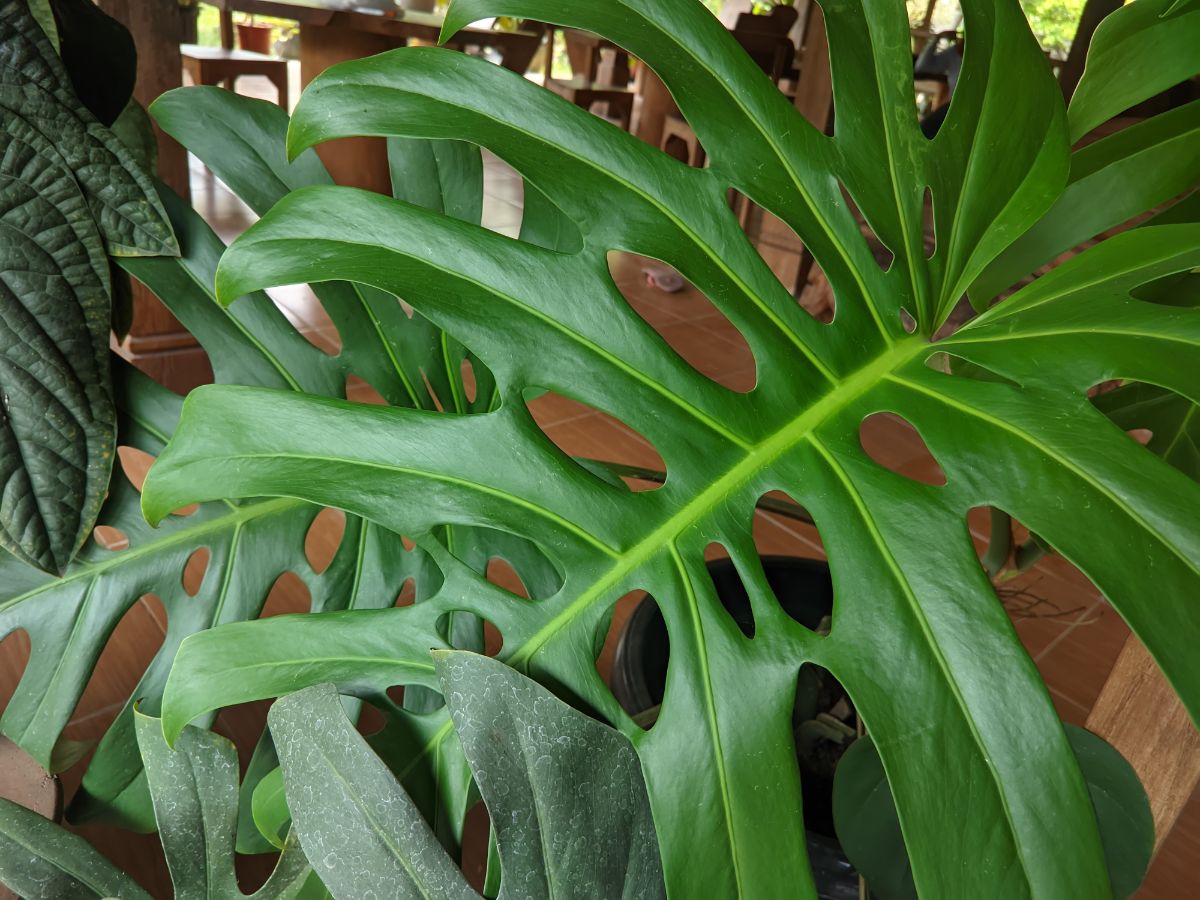
Many different plants can benefit from the addition of moss poles, but plants with vining stems and aerial roots work particularly well with these plant support systems.
While you can experiment with using moss poles on other houseplants in your collection, some of the best plants to grow with moss poles include:
- Monstera deliciosa
- Swiss cheese plants (Monstera Adansonii)
- All types of pothos (Epipremnum aureum)
- Velvet leaf philodendron (Philodendron rugosum)
- Heart leaf philodendron (Philodendron hederaceum)
- Arrowhead vine (Syngonium podophyllum)
- Scindapsus pictus
- Rhaphidophora tetrasperma
Frequently asked questions
Do I soak the moss pole before using it?
Yes, it’s best to soak moss poles before you install them, as this makes watering poles much easier later on! The best way to presoak moss poles is to soak the moss itself before you place it inside of your moss pole form. However, if you forget to presoak your moss, you can also soak the entire pole by submerging it in water for a few minutes.
How often do you moisten a moss pole?
How often moss poles will need to be watered will depend on several factors. If your home is very dry or you’re growing water-loving plants, you may need to water your poles every 2 to 3 days; however, poles in humid areas may need to be watered even less. A good rule of thumb is to water your pole enough so that it stays consistently moist but not soggy, and always water your pole when the moss starts to lighten in color.
Should I mist a moss pole?
Misting moss poles can keep them from drying out, but it’s not the most efficient way of keeping moss poles moist. Water mist tends to evaporate quickly, and it doesn’t do much to keep moss poles wet. Instead, try watering your moss pole at the top either with a watering can or a bottle of water.
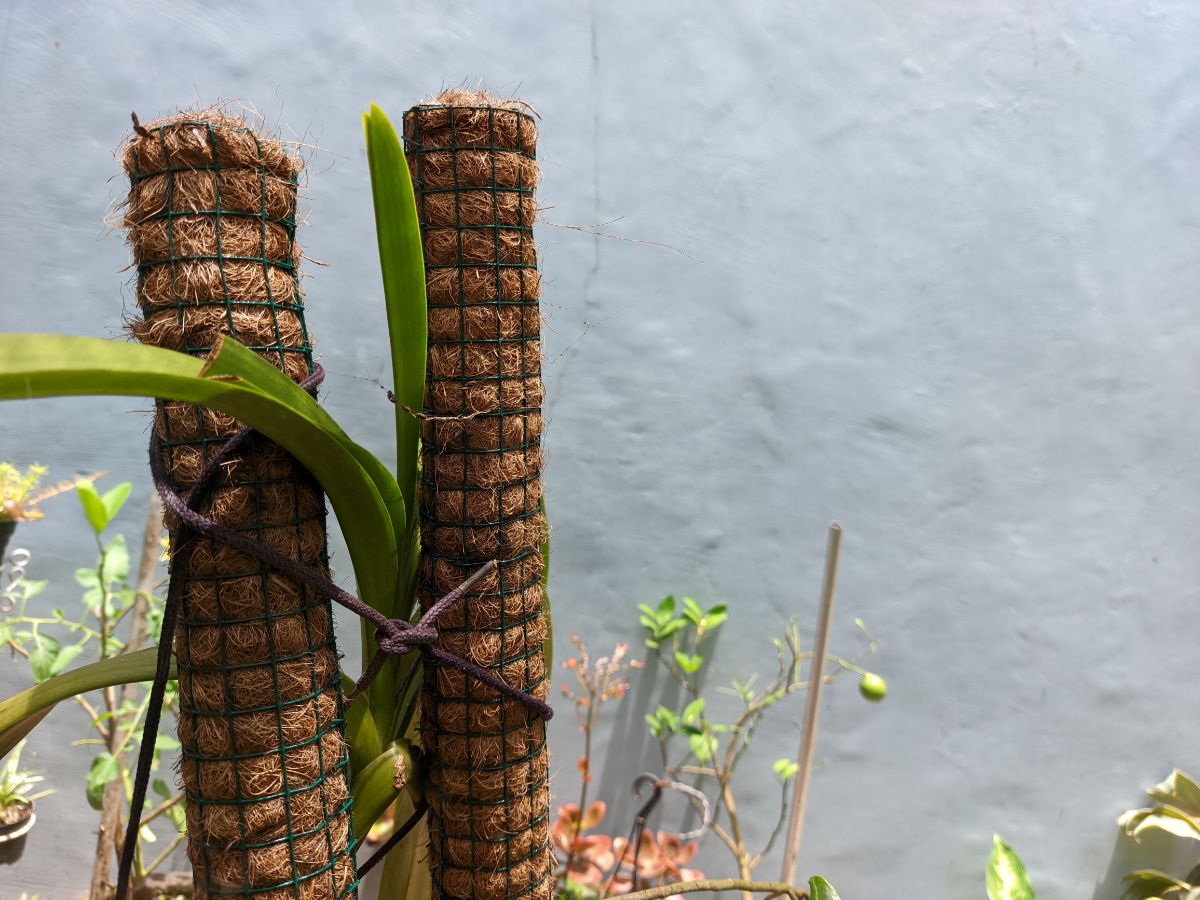
Which is better, the coco pole or the moss pole?
Moss poles and coco coir poles may look alike, but these two plant support systems are used slightly differently, and they have different perks. Moss poles retain water a bit better than coco poles, but moss poles will need to be refreshed with new moss from time to time. Coco coir poles are ideal for supporting heavy plants, but the wooden stakes in coco coir poles can start to rot in moist environments.
How do you keep a moss pole alive?
Moss poles aren’t technically alive because they are generally made with preserved sphagnum moss. However, if you want your moss pole to look its best and add extra humidity to plants, you will need to water your moss pole every few days.
How long does a moss pole last?
Moss poles generally last for a year or more, but the sphagnum moss inside moss poles can break down and become compact over the years. Luckily, you can just replace the old moss with new sphagnum moss and reuse moss pole forms as long as they haven’t started to rust!
Summary
Making your own homemade moss pole helps to save money, and it’s the best way to get a perfectly sized moss pole for your specific houseplants. With just a bit of preserved moss, wire, and hardware cloth, you can shape moss poles to your unique needs, and these handy support systems will help to protect your plants from breaks and provide extra humidity, too!
Creating a moss pole is one way to enhance the growth of your plants and provide climbing houseplants with a space to spread. But if you’d like to learn more houseplant care tips, be sure to check out our guide on boosting houseplant humidity with a humidifier!
DIY Moss Pole
Create a natural and attractive support system for your climbing plants with a DIY moss pole. Learn how to make one yourself with this easy-to-follow guide.
Materials
- Plastic-coated hardware cloth
- Plastic-coated stakes
- Plastic-coated wire
- Sphagnum moss
Tools
- Sturdy gloves
- Wire cutters
- Protective eyewear
Instructions
- Soak your sphagnum moss. You can either do this by piling the moss into a plastic bucket or spreading it out on a shallow tray. Sphagnum moss only needs to soak for a few minutes, so it’s a good idea to start with a smaller quantity of moss and soak more moss if you need to, later on to avoid ending up with lots of leftover sopping wet moss!
- Measure out your hardware cloth. Moss poles can be as wide or narrow as you like, but wider poles tend to be easier to work with. As far as pole height goes, that too can vary, but you’ll want your moss pole to be about 6 to 12” taller than your houseplant so you can bury part of the pole in your houseplant potting mix.
- Cut and shape your hardware cloth. Once you’ve marked out how much hardware cloth you’ll need, don your protective gloves and start cutting your hardware cloth with wire cutters. Remember that hardware cloth has sharp edges, so go slowly and handle the cut ends with care.
- Pack in your moss. Take a handful of sphagnum moss, squeeze the extra moisture out of it, and start to pack the moss into the hardware cloth form. Continue this process with more handfuls of moss until your hardware cloth cylinder is snugly packed with moss.
- Secure the hardware cloth cylinder with coated wire. Hold the hardware cloth cylinder closed with one hand and then begin stitching up the opening with your coated wire. It can help to tie off the wire at the base of the cylinder first and then stitch up the cylinder by weaving the wire in and out of every 6th hole along the hardware cloth edge. When you’re done “sewing” up the pole, wrap the loose ends of your wire around each other and then tuck the wire ends into the top of your moss pole to make everything nice and neat.
- Install your moss pole. To install the moss pole, sink your pole into an empty plant pot so that the bottom of the pole is sitting against the bottom of the plant pot. Then, place your plant into the pot and loosely secure the plant’s stem to your pole with plant clips, twine, or coated wire. After that, just fill up your plant pot with a rich potting mix and give your plant a deep drink of water to help it settle in.
- Anchor your plant in place. Depending on how large your plant is, you may need to secure your plant’s stems and vines to the moss pole with a lot of clips. If your plant has aerial roots, position the roots against the moss pole so the plant can grow into the pole and anchor itself in place.
- Extending your moss pole (optional). To extend your pole, follow the steps above by first cutting an appropriate length of hardware cloth and then shape it into a loose cylinder form. Then, slip the bottom of your hardware cloth cylinder over the top of your existing moss pole and anchor the bottom in place with coated wire. After that, start packing your moss pole extension with more pre-moistened sphagnum moss and stitch up the open end of the moss pole extension as you go. When you’ve added enough length to your moss pole, finish sewing the extension shut, wrap up the loose ends of the wire, and tuck them into the top of your moss pole extension.
Notes
- Moss poles are quite sturdy on their own, and you may not need to do anything else to strengthen your pole. However, if you’re growing heavy or tall plants and you didn’t add a plastic stake to the center of the pole in Step 4, you can also attach an exterior support stake to your moss pole now. To do this, simply sink a plastic stake beside your moss pole and attach the stake to your moss pole with several sections of coated wire.
- If you want to add the plant stake inside of your moss pole, place the stake inside your hardware cloth cylinder before you add the sphagnum moss, and then pack the moss around the pole. If you’d prefer to add the stake to the exterior of the moss pole, see step 7.
- Soaking moss ahead of time makes it much easier to get your moss good and wet. Moist moss will absorb water more readily, too, so it will be that much quicker to moisten your moss poles in the future. Plus, if you presoak your sphagnum moss, you’ll also wash away some of the dust and debris on your moss, which will make your moss poles much tidier!
- It’s best to water moss poles regularly and deeply, as poles that are allowed to dry out won’t retain water as well, and they can make a mess when you water them. Depending on how dry your home is, you may need to water your pole every 2 to 3 days, but in humid areas, you can water your pole even less. To water, simply place the spout of your watering can or a water bottle at the top of your pole and pour the water slowly into the moss to keep it from overflowing.



Leave a Reply