Even when the winter winds are blowing outside and the ground is covered in snow, there are still plenty of gardening tasks to do. And one of the most important tasks is starting your garden seeds indoors.
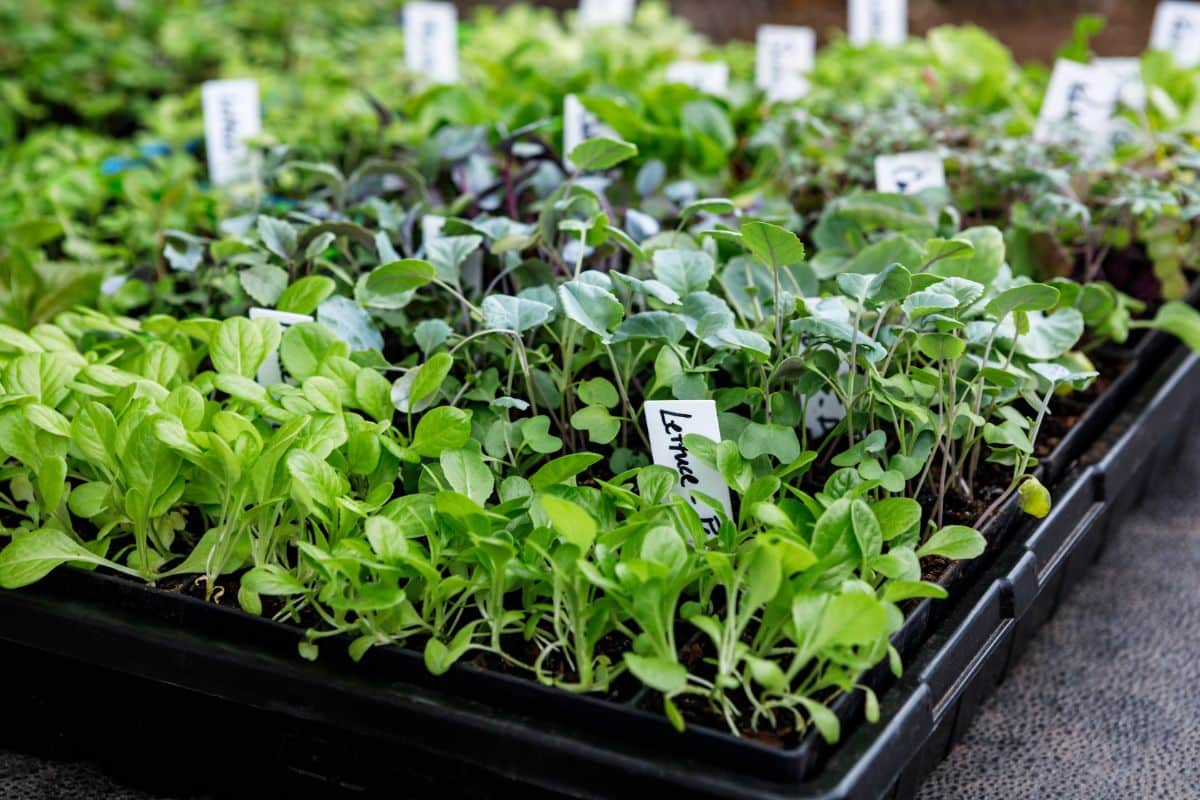
Many seeds need to be started inside to ensure that they have enough time to grow to harvest before the autumn frosts arrive. If you’re new to gardening, follow along with this seed-starting guide and start growing healthy seedlings for your garden this spring.
Jump to:
- Seed Starting Basics: A Guide to Starting Seeds Indoors
- Do a bit of research
- Know when to plant
- Pick the right grow lights
- Prep your pots and starting mix
- Plant your seeds
- Water properly
- Using humidity domes
- Consider heating mats
- Try out a fan
- Fertilizing your seedlings
- Thinning out your plants
- Pot up if needed
- Hardening off your plant starts
- Frequently asked questions
- Summary
Seed Starting Basics: A Guide to Starting Seeds Indoors
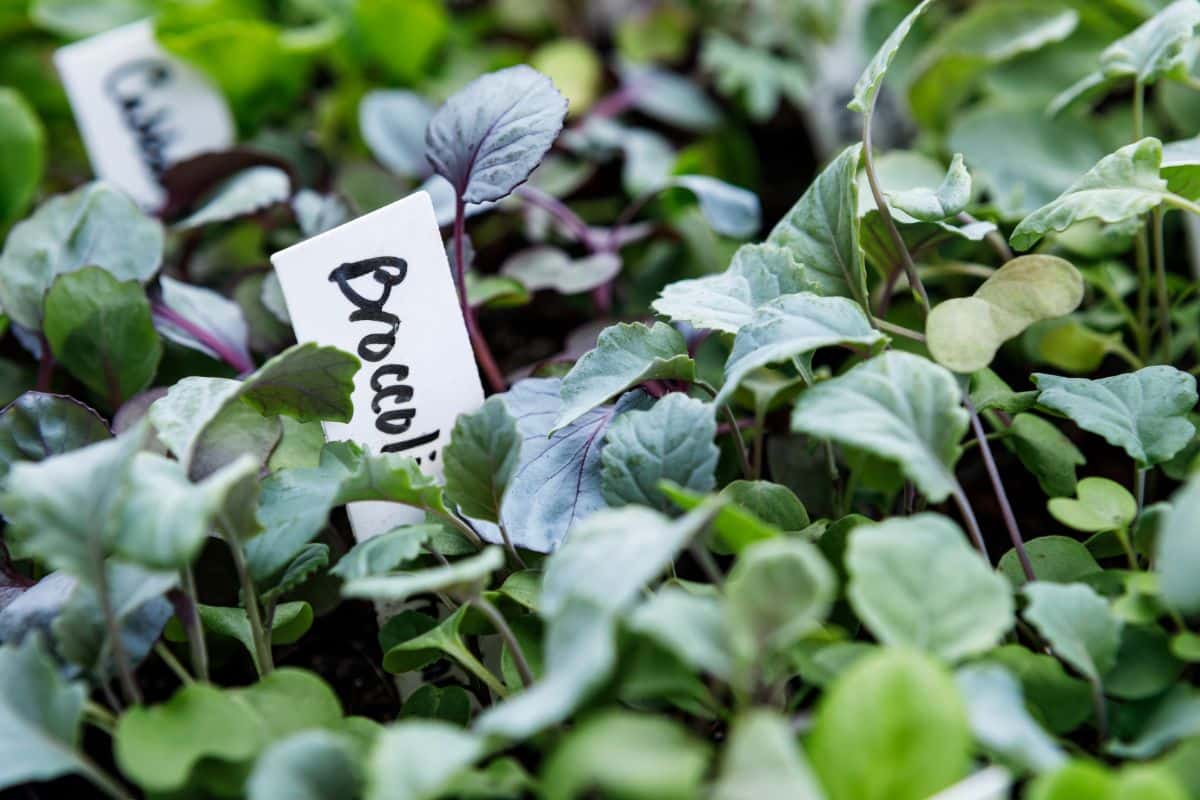
From figuring out when to plant your seeds to transitioning your homegrown seedlings to outdoor living, there are certain steps to follow to grow the healthiest seedlings indoors. Below are our top tips for seed starting and how to troubleshoot some of the most common indoor gardening issues.
Do a bit of research
The first step to starting seeds is to plan out your garden and have a general idea of the plants you would like to grow. Different plants have different growing requirements and need to be planted at different times of the year and in different ways. So your planting schedule will reflect the types of plants you want to grow.
If you’re still unsure about the types of plants you want to grow, it’s a good idea to look at your weekly grocery shopping list and consider the vegetables, fruits, and herbs that you buy regularly. Much of the produce you buy at the grocery store can be grown in your own backyard, which will save you money and provide you with fresher and healthier produce too.
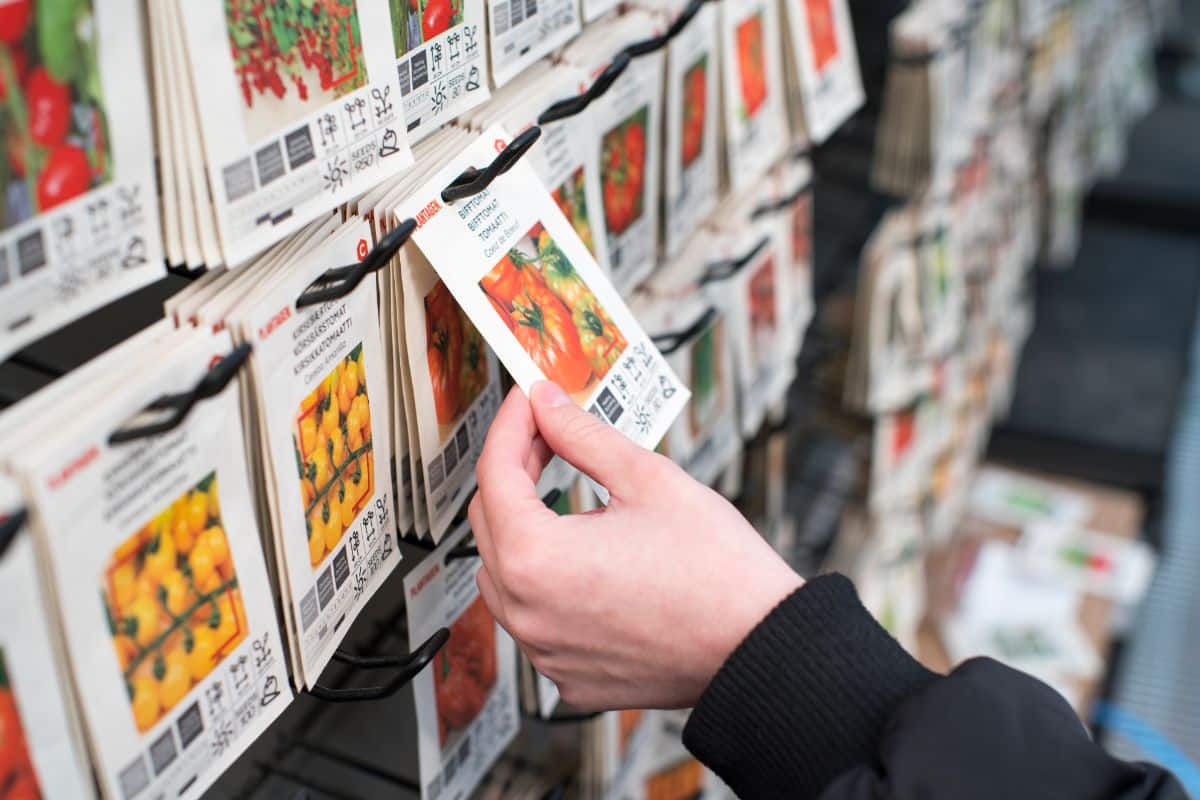
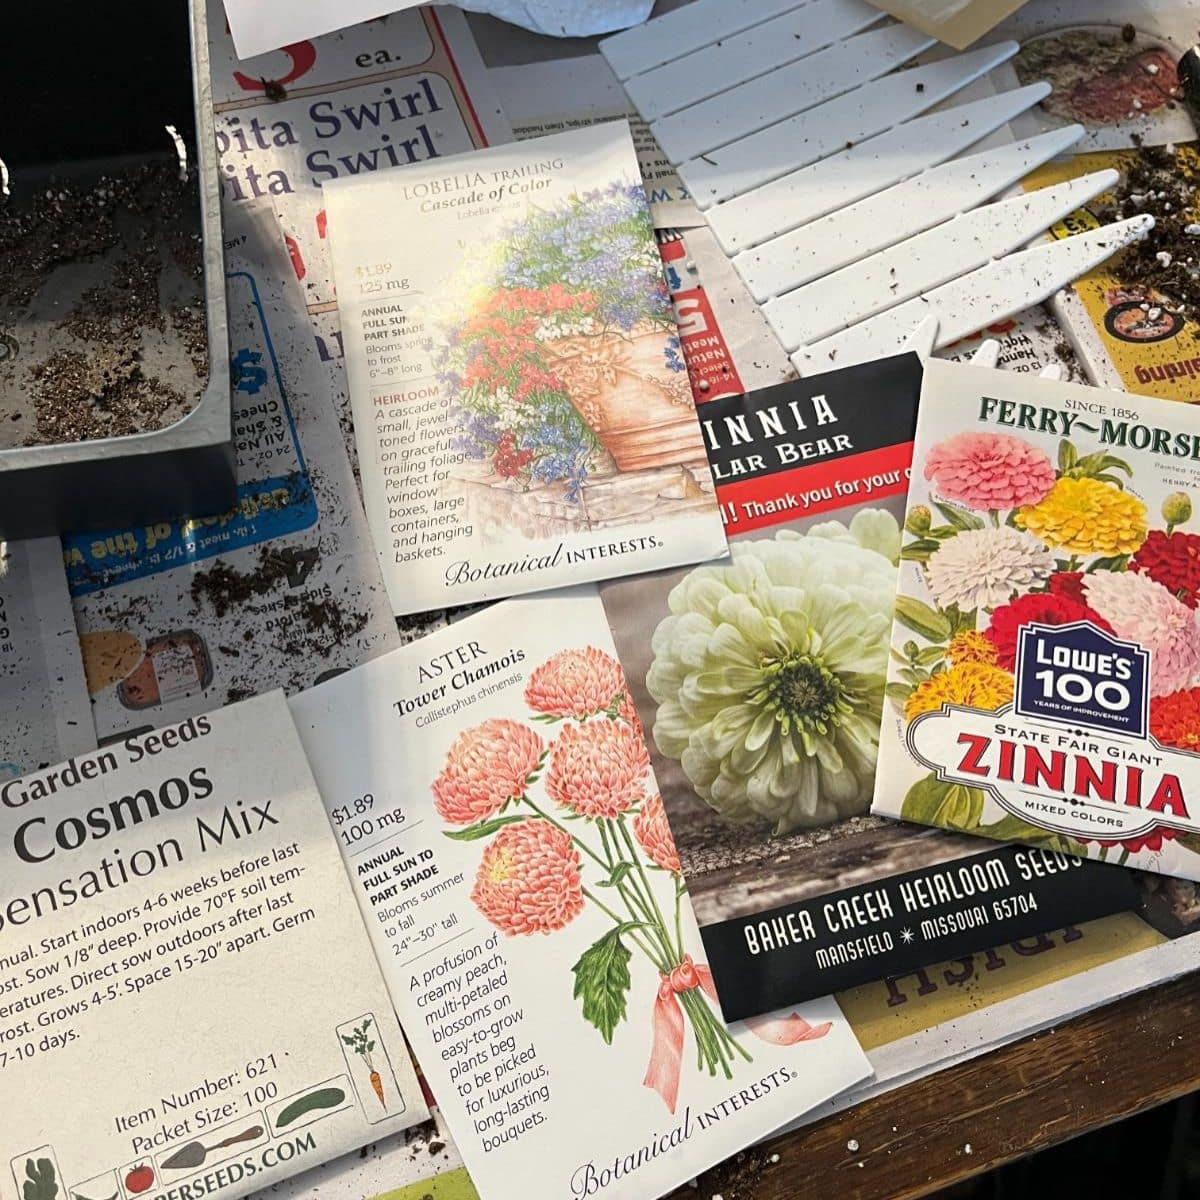
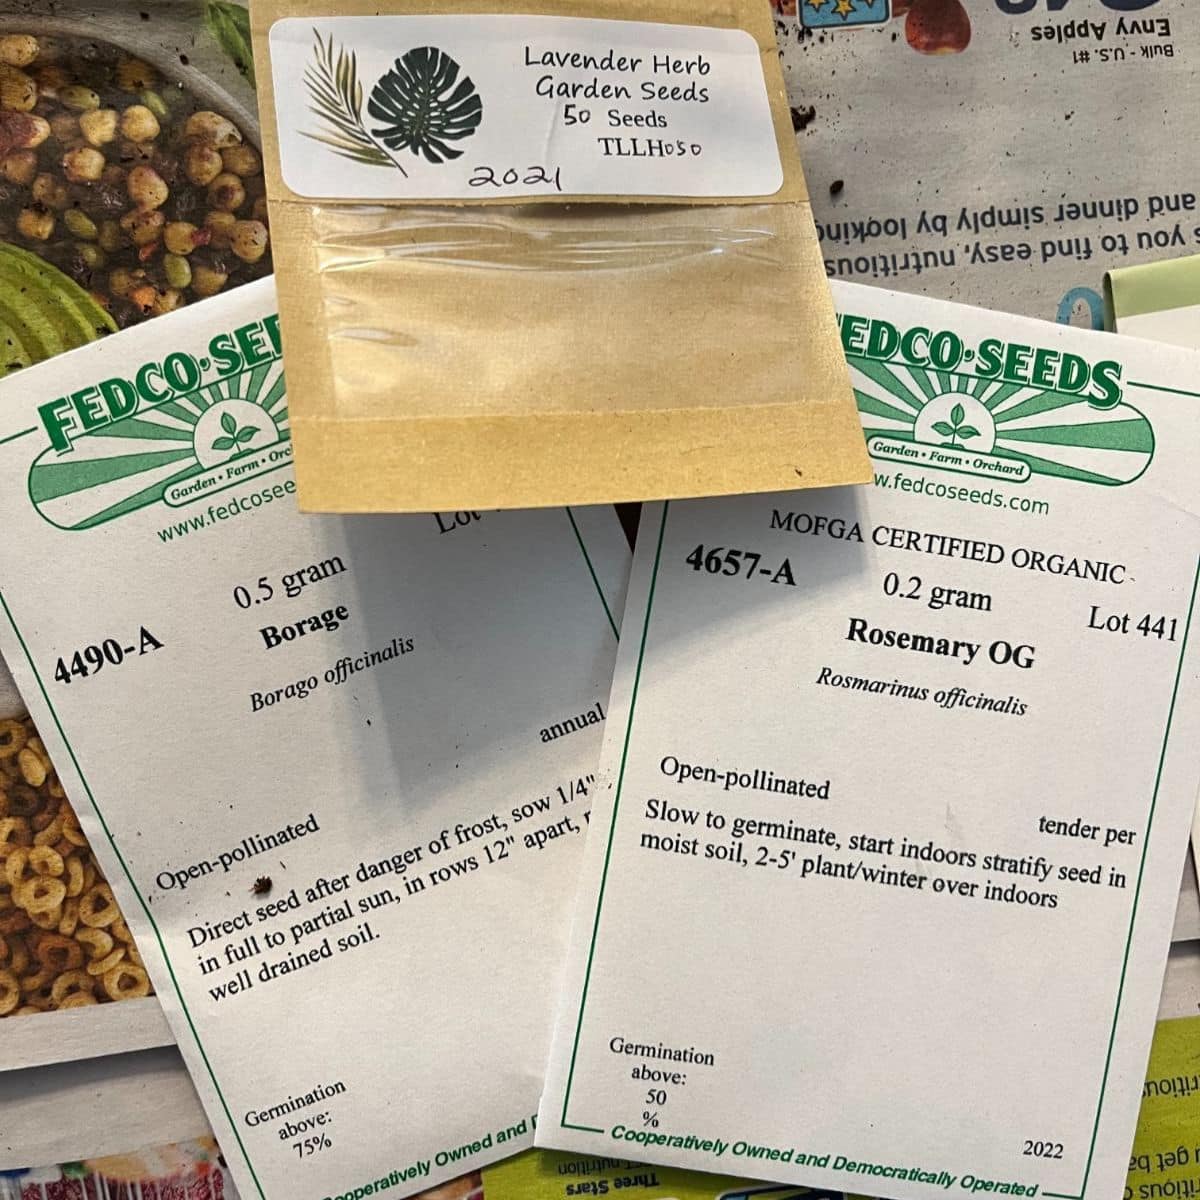
Once you’ve decided what plants you’d like to grow and you’ve ordered and received your seeds, take a look at your seed packet for planting instructions. Seed packets usually contain very helpful information, including when to plant your seeds and the number of days until your produce will be ready to harvest. Knowing these pieces of information will help you determine when you need to sow your seeds indoors.
Additionally, some plants like corn, melons, and beans are usually best planted when directly sown in your garden, so you probably won’t need to start these seeds inside. This is because these seeds have tender vines and roots than can get damaged easily during transplant. These plants also mature quicker than some other vegetable varieties, meaning they’ll still be able to reach full maturity, even if they’re planted later in spring.
Any seeds that are recommended for transplanting or transplant only, however, should be started indoors in spring. These plants have a longer growing season and generally won’t be able to mature fully if you wait until late spring to plant them. Plants like tomatoes, peppers, and celery are almost always started inside so that they have enough time to grow before the autumn frosts arrive.
Know when to plant
After you’ve done a bit of research and determined which seeds you’ll need to start indoors, you’ll then want to figure out when to start planting. Most seed packets contain information to guide you with this, and instructions will usually recommend that you start seeds “4 weeks before your last frost date” or “6 weeks before your last frost date” and so on. Using this information, you can easily determine when you need to start sowing your seeds.
Your last frost date is the last date at which, on average, frost is expected in your region. Although this date is not exact, it will give you a pretty good idea of when to sow your seeds. If you’re unsure what your last frost date is, you can look up your frost dates with your zip code on the Old Farmer’s Almanac website.
Pick the right grow lights
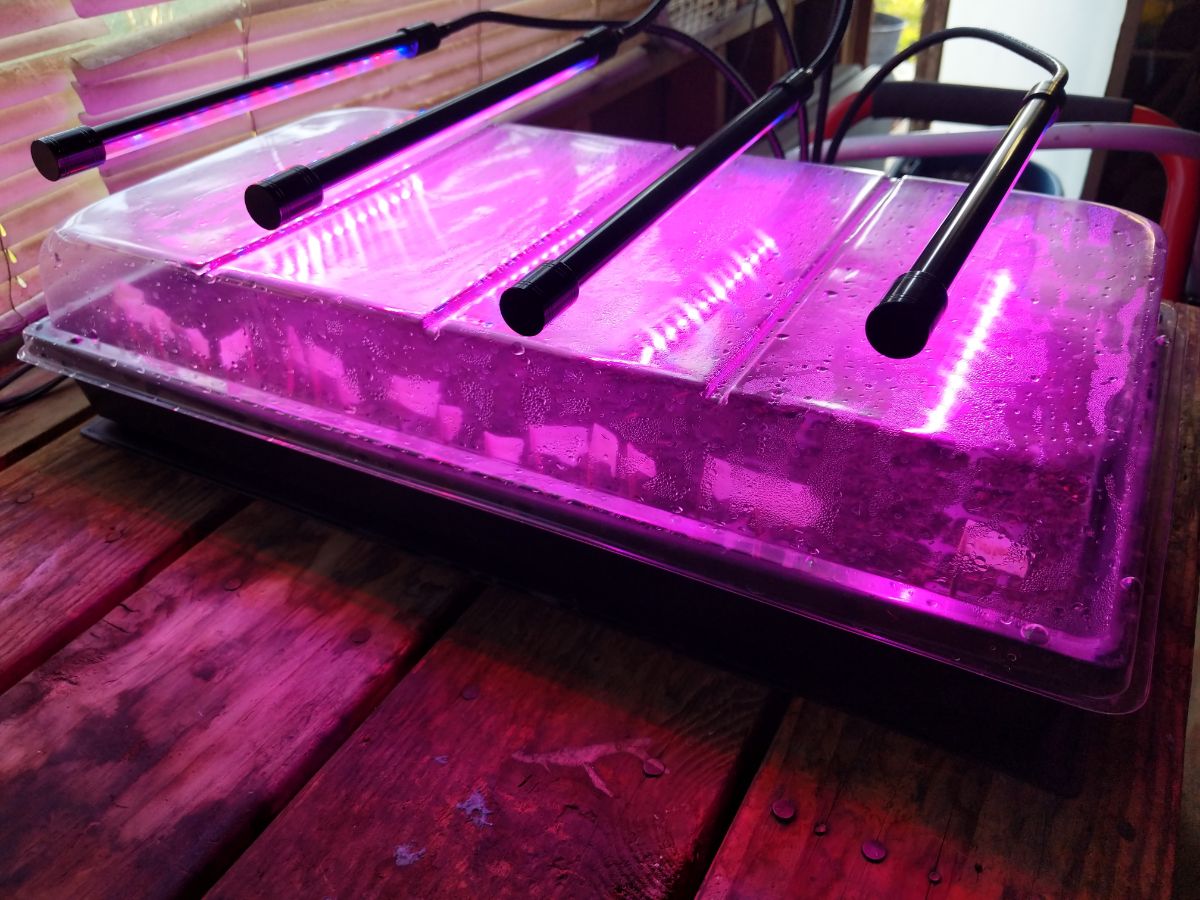
Many new gardeners try to grow seedlings on their windowsill, but unless you have a very brightly lit window, your seedlings likely won’t get enough light. Seedlings grown in poor lighting will usually stretch towards the light and grow spindly and elongated. This makes their stems much weaker and more likely to fall over or break off.
Proper lighting is essential for seedling growth, especially vegetables, herbs, and fruit, which usually require lots of bright light to grow properly. When growing, seedlings generally need about 14 to 16 hours of bright light. Plants use more blue and green light when they’re seedlings, although full spectrum lights are usually the best choices for grow room setups.
If you’re on the hunt for a grow light, check out LED or fluorescent shop lights. These are often some of the most economical lights on the market, and they work very well for seed starting.
You’ll may also want to pair your grow lights with a timer that automatically turns the lights on and off during the day. Just as too little light can impair seedling growth, too much light can also stress your new plants, and you don’t want that.
Prep your pots and starting mix
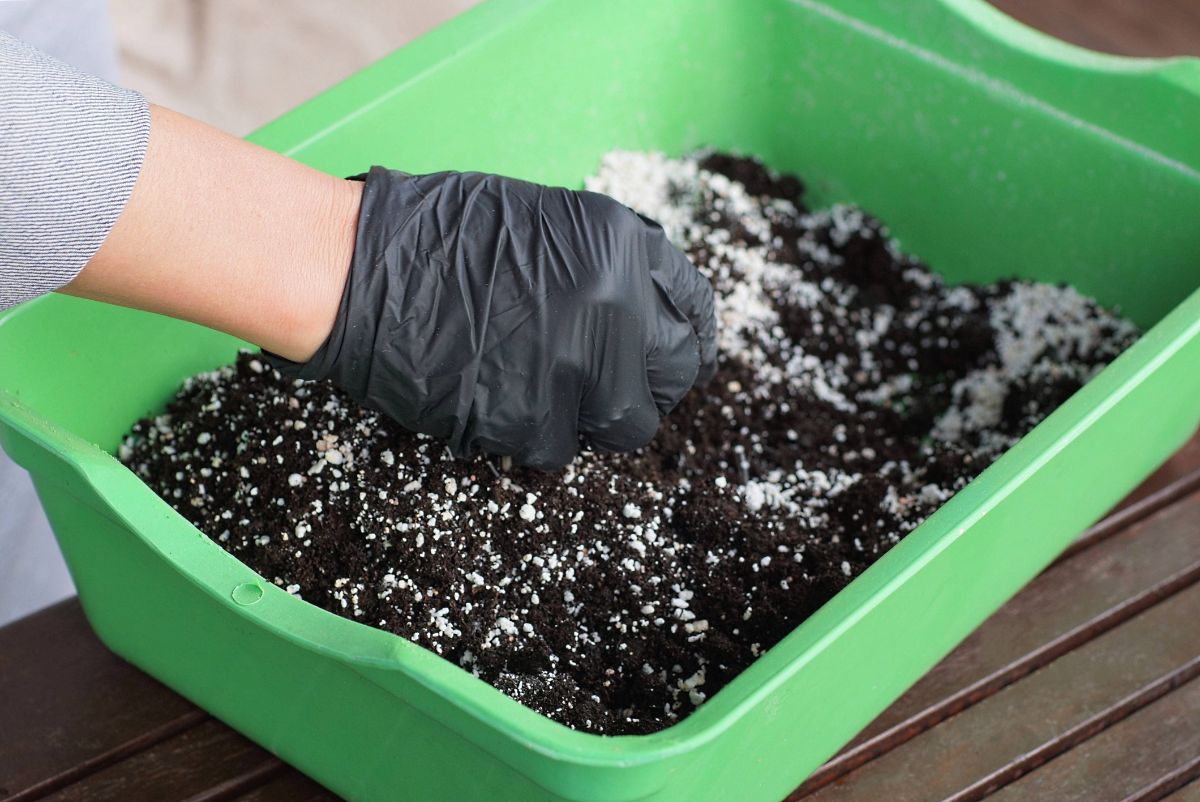
After you have your lights picked out, it’s time to move on to your pots. Many gardeners choose to use individual or upcycled pots made from yogurt containers and other old plastic cups. You can also use peat pots or seed starting trays.
If you’ve gardened in previous years and are looking to reuse pots you’ve planted in before, it’s a good idea to sterilize your planters prior to sowing your seeds. Some plant diseases, like damping off, may linger on old plant pots and reinfect new seedlings. In order to sterilize old pots, spray them down with a mixture of 1 part bleach to 9 parts water.
Once your pots are prepped, premoisten your seed starting mix and then fill your pots with the mixture. After filling your pots, gently press down on the seed-starting mixture. The goal is to make sure you get enough seed starting mixture in your pots, but you don’t want to overly compact it, which may inhibit root development.
Any seed starting mix will work well for growing your own veggie seeds – you can make your own mix, or you can purchase a premade mix online or at your local garden center. Keep in mind that garden soil and standard potting mix is usually too dense for tender seedlings, so you will want to look for a seed starting mix that is especially designed for seedling growth.
Plant your seeds
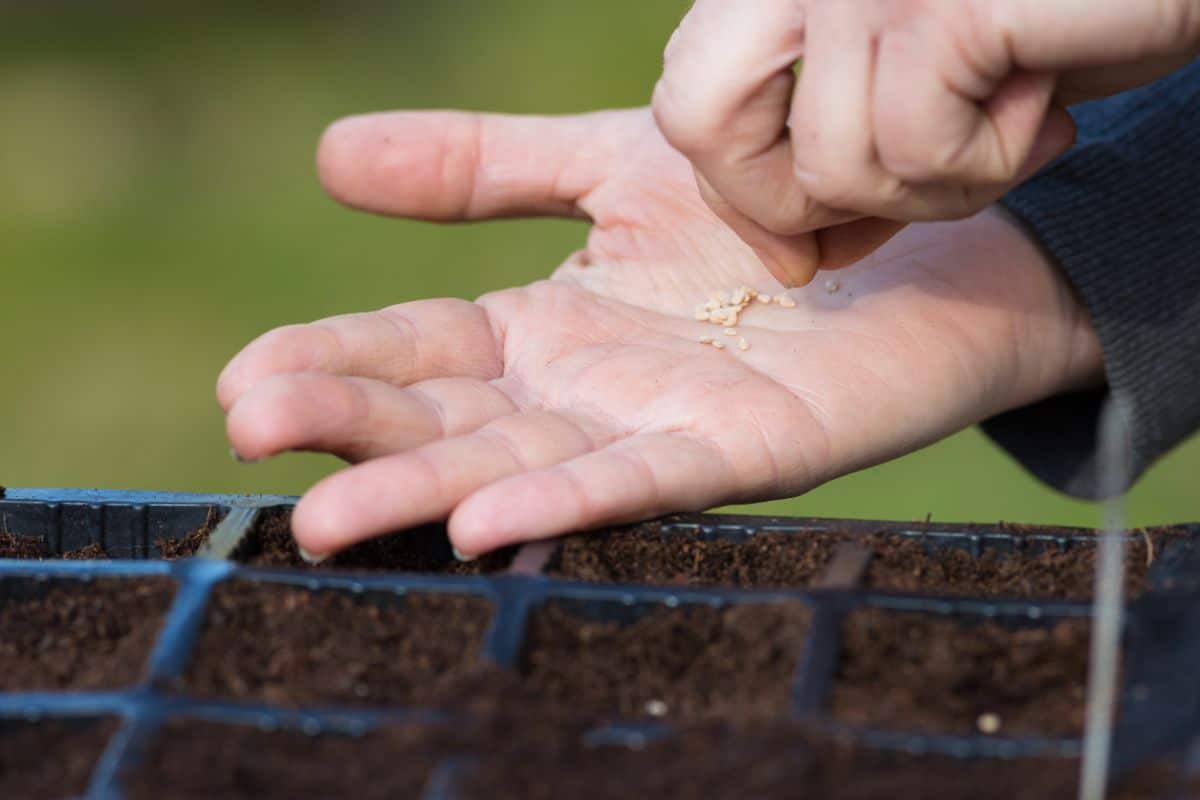
Now that your pots are prepped, it’s time to plant. But different seeds may have different planting requirements, so it’s important that you follow any instructions that are provided on your seed packet.
Some seeds require light to germinate, so they should only be planted on the very top of the soil line. Other seeds grow best when planted at particular planting depths, generally ranging from ⅛ to ½” deep. If you plant your seeds at the wrong depth, it’s possible your seeds may not germinate at all; therefore, following proper planting instructions is critical to growing successful seedlings.
Other seeds, particularly native wildflowers and medicinal herb seeds, may need to be cold stratified prior to planting, which will jumpstart their germination. Cold stratification is a process by which seeds are tricked into sprouting by simulating the freeze-thaw cycle of winter and spring by placing seeds in your refrigerator for several weeks. Seeds that need to be cold stratified will usually include this detail on their seed packet.
Finally, larger seeds, like peas, beans, and corn, sometimes have better germination rates if they are presoaked in water or on a moist paper towel for a few hours or overnight. Seeds with tough shells, like nasturtiums, have better germination rates if they are lightly scratched or scarified against a bit of sandpaper prior to planting.
Because seeds do have different needs, your best bet is to follow the planting instructions on your seed packet or do a bit of research online for particular seed varieties prior to planting. This will make certain that your seeds germinate well and will help you to grow the healthiest seedlings you can.
Keep in mind that not all seeds will germinate, so many gardeners choose to plant 2 to 3 seedlings per planting hole and then thin out the seedlings later. This can be particularly important if you’re planting older seeds, as germination rates will decline after a few years. In general, seeds will maintain their germination rates for about 3 to 5 years, but germination rates will be lower with older seeds.
Tip: Don’t forget to label your seedlings! When you’re planting a lot of seeds at one time, it can be very easy to lose track of what you planted where. Plant labels can help you remember what you planted, and you can also jot down the seed companies you purchased seeds from to determine which companies have the best germination rates and which companies you’d like to buy from again.
Water properly
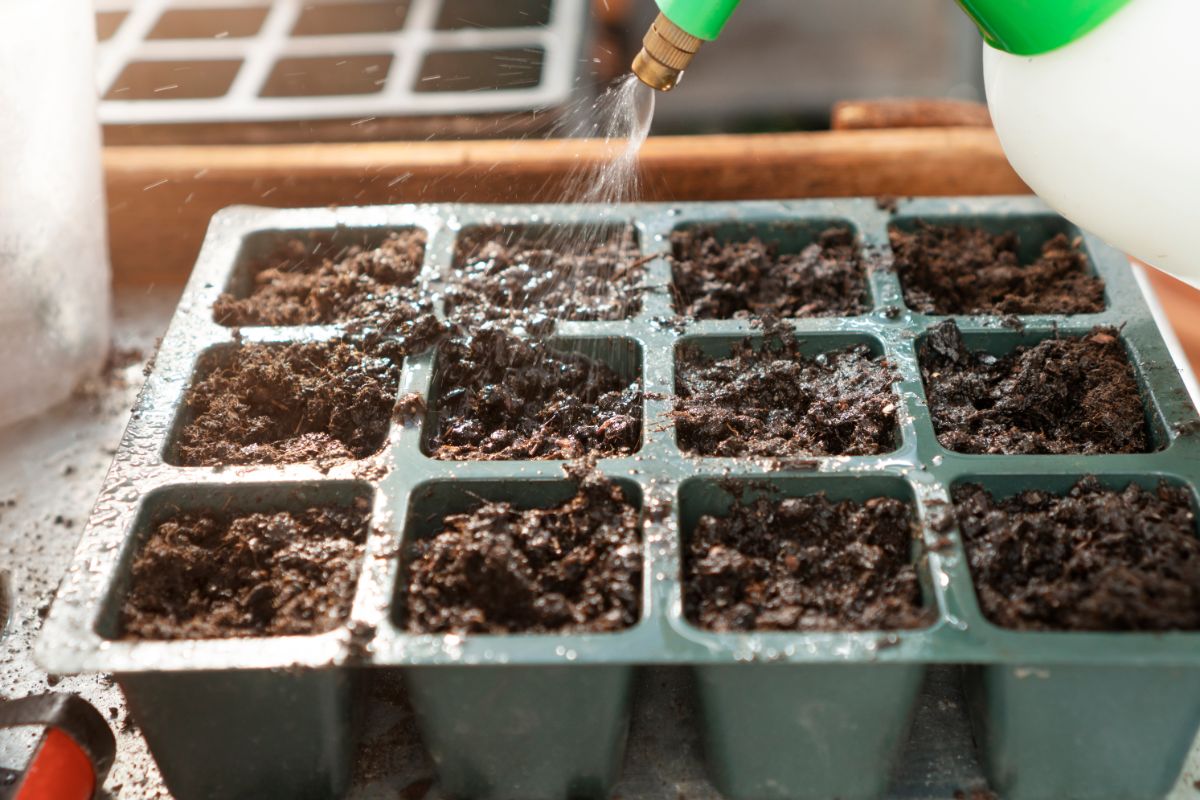
Seedlings are very delicate, and they can’t handle periods of drought well. Nor is overwatering a good idea, as this can lead to damping off, root rot, and/or seedling death. Providing your seedlings with consistently moist but not soggy soil is the best way to grow healthy plants; however, it can be a bit tricky to figure out a proper watering regime.
Most gardeners choose to water their seedlings from the top, but this must be done gently to avoid overwatering your plants or washing away lightweight seeds with a stream of water. Using a small watering can intended for houseplants is one good way to regulate your water flow, although watering your plants with garden sprayers can make watering even easier. Garden sprayers have a large water reservoir, which is handy if you have a lot of seeds to water, and you can usually adjust the water flow rate for very precise watering.
Alternatively, if you have the time for it, you can try bottom watering, which is the recommended method of watering to grow the healthiest seedlings around. Bottom watering ensures that you won’t disturb lightweight seeds while watering and it also helps prevent overwatering.
To bottom water your seeds, place your seedling pots on a tray full of about 1” of water and allow your pots to rest there, absorbing water, for 15 to 20 minutes. After this time, remove your seedling pots from the tray and allow the excess water to drip away onto another tray. When your pots have finished draining, pour the extra water out of the drip tray and return your seedling trays to their stand.
Using humidity domes
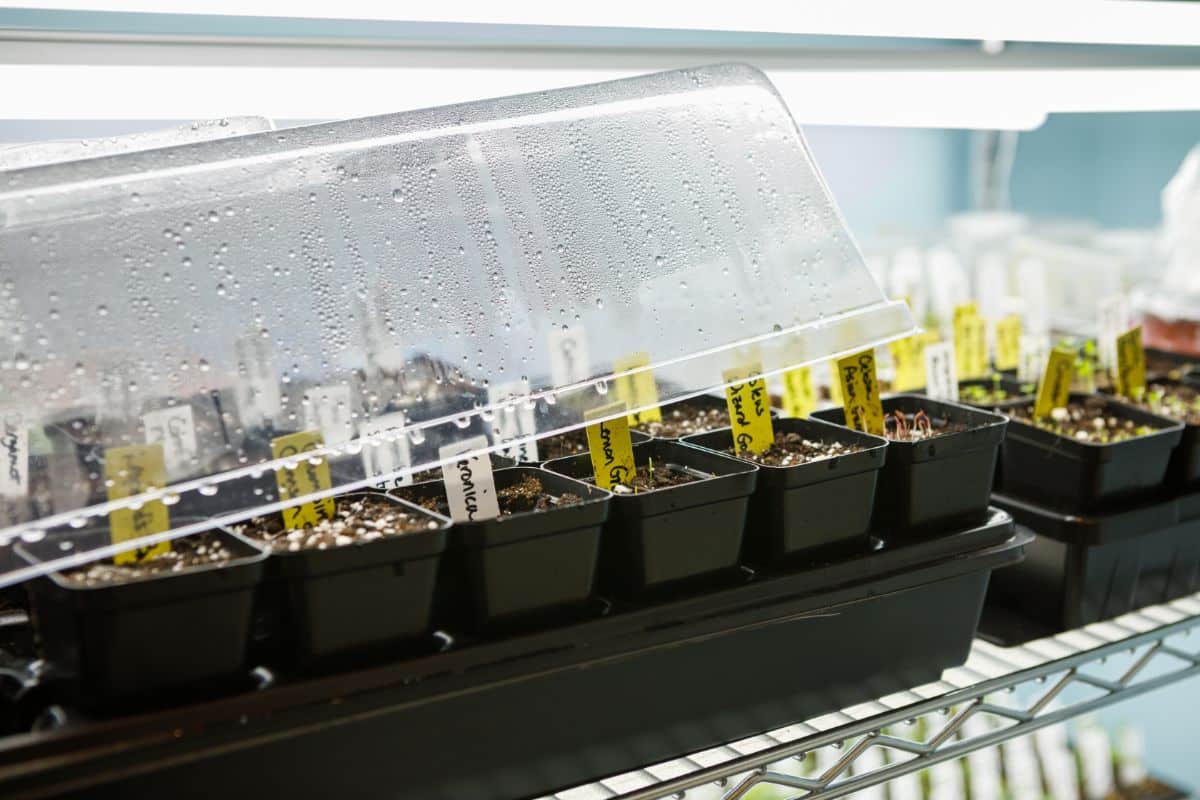
Many seed starting trays come with their own built-in humidity domes to help regulate moisture levels around tender seedlings and to prevent soil from drying out too quickly. Even if planters don’t come with these domes, gardeners will often cover newly planted seeds with plastic to help lock in moisture and speed up germination rates. While this is a great technique, it does come with one caveat: don’t leave humidity domes on your seedling trays for too long.
Once your seedlings have sprouted, humidity domes and other plastic coverings should be removed in order to prevent issues like damping off. Damping off is caused by a fungi that thrives in cool and moist environments with poor airflow. If damping off occurs, it can cause rapid seedling collapse and death, so you definitely will want to remove plastic coverings to prevent this devastating disease.
Consider heating mats
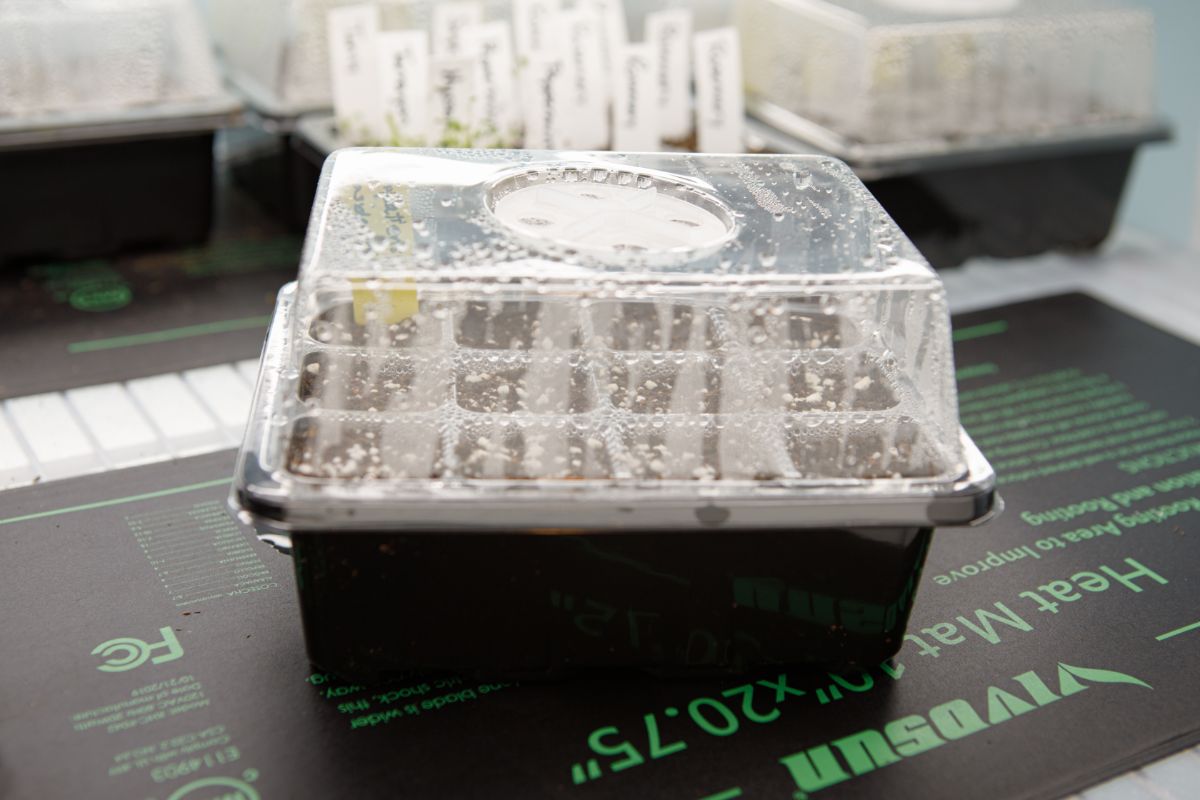
Not all seedlings need heating mats, but they can dramatically speed up the germination rates of certain types of plants, most notably plants in the nightshade family. Tomatoes, peppers, eggplants, and other nightshades will grow much more rapidly when placed on top of a heating mat. Seedlings should only be left on heating mats until they germinate; running heating mats after germination can cause soil to dry out too quickly and stress out your plants.
If you choose to use a heating mat, make sure that you purchase one that is intended for use with plants. Heating mats intended for personal use are not safe for this task, as they are not as water resistant as mats developed for garden use. Heating mats can be run 24 hours a day until your seeds germinate.
Try out a fan
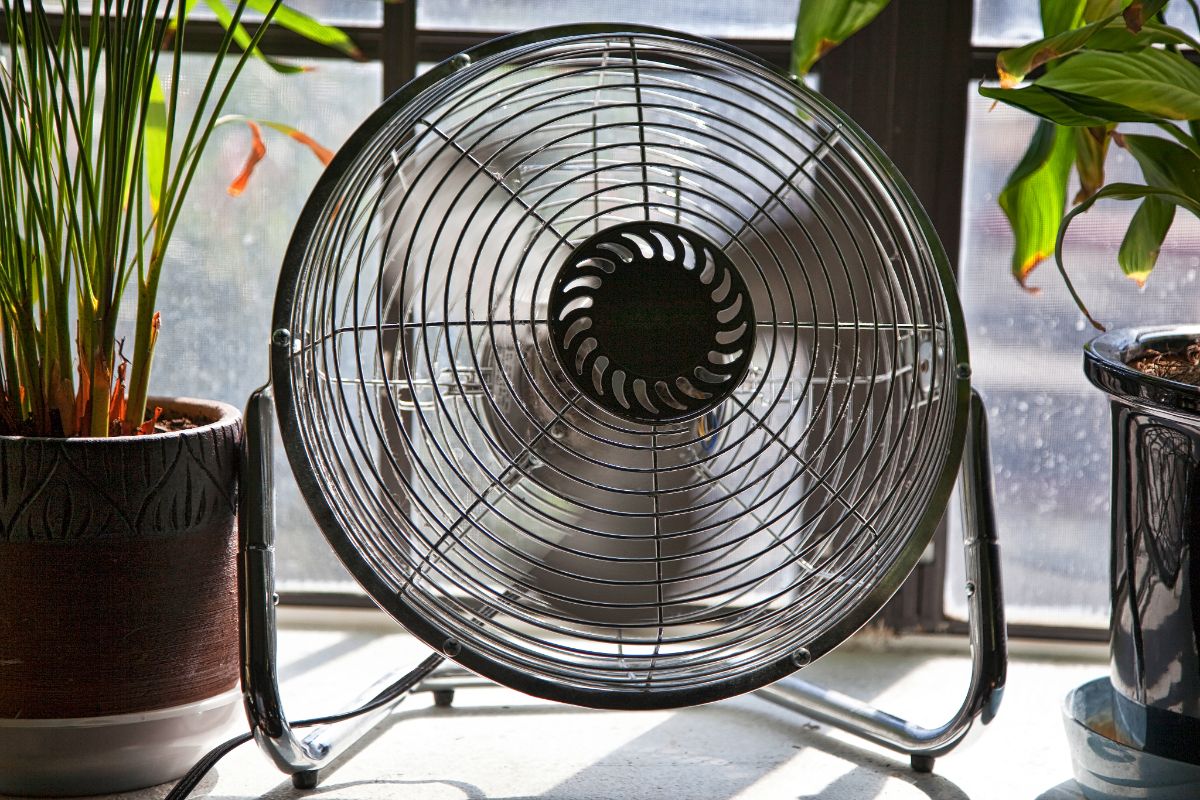
Damping off can be a real problem with seeds started indoors. Removing humidity domes after seeds germinate is one good way to prevent this disease; however, there are other steps you can take too. Adding a fan to your grow room setup is one easy way to help prevent damping off and grow healthier seedlings too.
Many large-scale greenhouses employ fans in order to regulate humidity levels and increase air circulation. This diminishes the chances that damping off will occur, but it also helps prevent other issues, like plant edema.
Adding a fan to your seedlings can also help strengthen your plants’ tender stems, as the gentle movement of airflow will simulate how the breeze moves about in outdoor gardens. This naturally encourages seedlings to grow sturdier stems and results in more resilient plants.
Fertilizing your seedlings
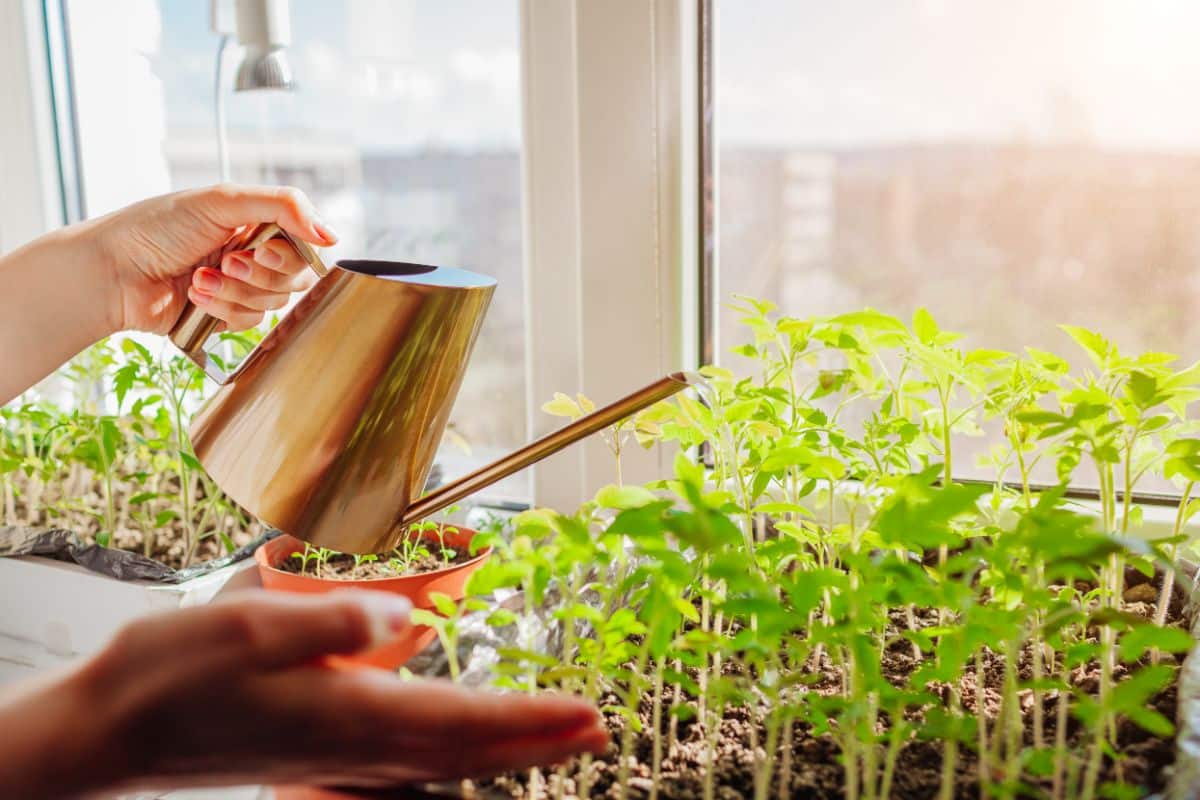
Seeds contain energy reservoirs within the seed capsule, so they don’t fertilize when they’re first planted. However, as seedlings grow, they use up their energy reserves and may need an extra boost of organic fertilizer to keep them growing strong.
Adding fertilizer to indoor seedlings isn’t always necessary, but it can help you grow healthier plants. In general, if you want to fertilize your plants, look for organic, liquid fertilizers, which are usually better tolerated than synthetic ones. Dilute fertilizers to ¼ the strength prior to application to avoid overwhelming your tender seedlings.
If you don’t want to use fertilizer, you can also make a compost tea out of worm castings, compost, or aged manure.
Fertilizer should be applied once a week, and you can gradually increase the amount of fertilizer you feed your plants as your seedlings develop more true leaves.
Thinning out your plants
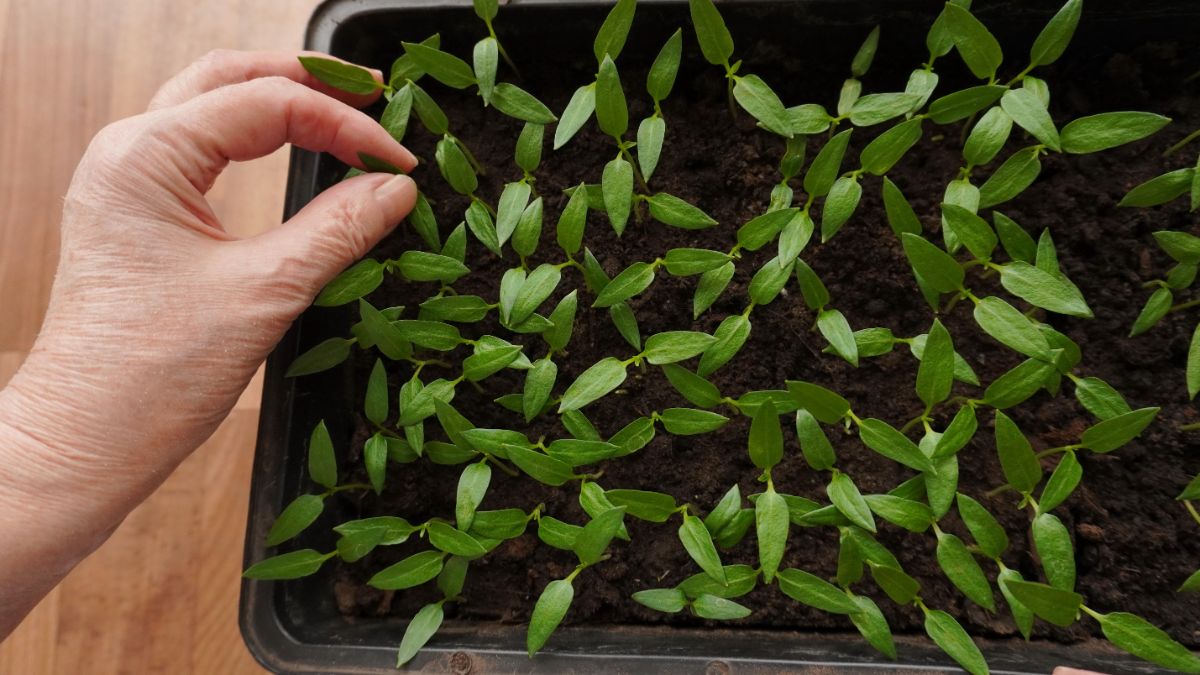
Depending on how many seeds you planted per pot or planting cell, you may need to thin out your plants. This task can tend to stress new gardeners out a bit, but if you don’t thin out your plants, your seedlings will be overcrowded and will compete for the nutrients and water they need. This will result in weaker plants and stunted growth.
When transplanting your seeds in your garden in spring, you’ll want to follow the proper spacing instructions provided on your seed packet to determine how densely you can plant your seedlings. However, when thinning out plants indoors, you’ll generally want one seedling per pot or planting cell.
You may try to thin your seedlings by gently teasing them apart and then potting individual plants in their own pots (called potting up or pricking out). But this can be difficult to do, may stress your plants out, and can result in your seedlings’ stems or roots becoming damaged.
Often the easiest way to thin out seedlings is to snip away extra seedlings with your kitchen shears. Select the strongest seedlings and prune away the rest. This will give your remaining seedlings more access to nutrients and water and will also give them an energy boost as the roots from the removed seedlings break down and enrich the surrounding soil.
For best results, wait until your seeds have developed two pairs of true leaves (as opposed to seed leaves) before thinning out your plants. It’s also a good idea to sterilize your scissors prior to thinning with a mixture of 1 part bleach to 9 parts water. This will make certain that you don’t accidentally spread harmful pathogens between your plants.
Thinning your seedlings may feel like a terrible waste, but you can usually put those thinned-out plants to good use. Edible seedlings, like radishes, broccoli, and cabbage, make wonderful microgreens and can be used as salad toppers, garnishes or sprinkled on sandwiches to elevate their flavor. Inedible seedlings, like tomatoes, can be composted and will provide a nice boost of nitrogen to your compost bin.
Pot up if needed
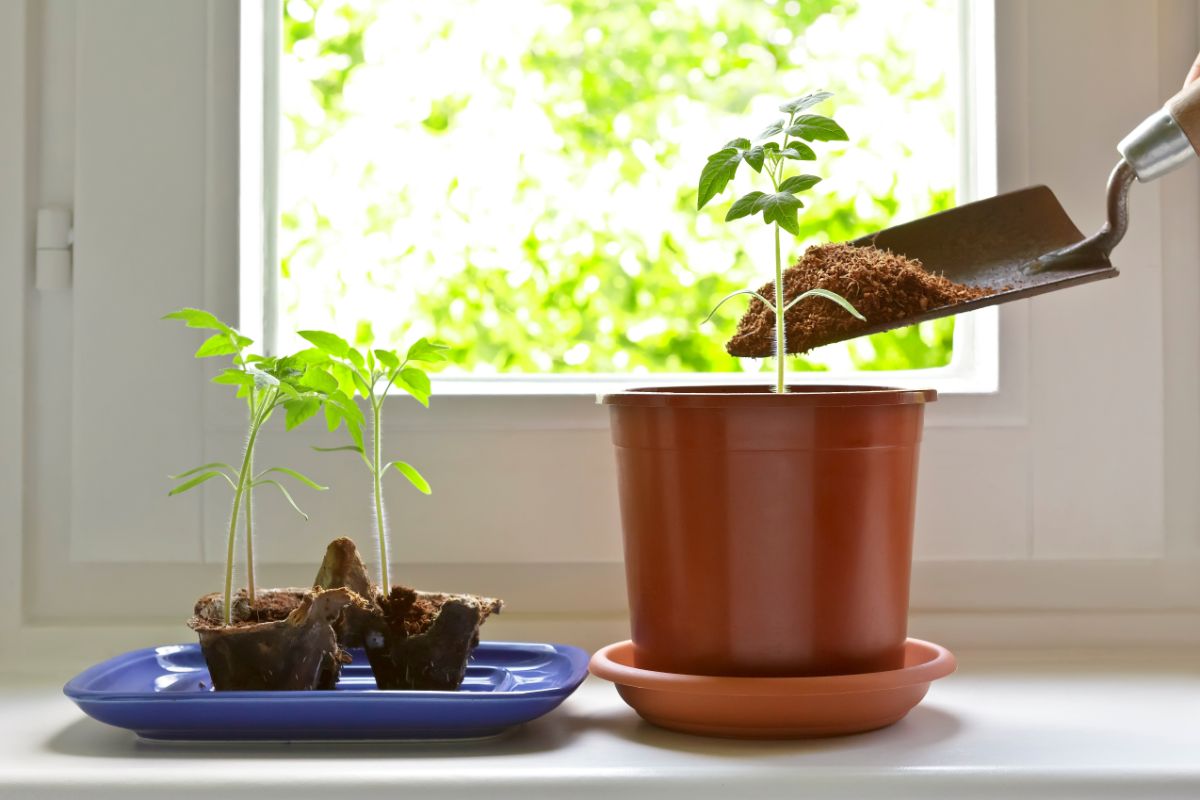
Most seedlings will grow quite happily indoors in their original container until it’s time to transplant them outside. But this isn’t always the case. Some plants, particularly those that grow quickly or that need to be started very early in spring, may need to be potted up into a larger container before they can be transplanted outside.
Repotting your plants into larger containers can help increase airflow and will give your plants’ roots more room to develop, resulting in healthier and more vigorously growing plants. You’ll probably want to pot up or repot your plants if:
- Your seedlings are over twice as tall as their pot is high
- Your seedlings have developed a large amount of roots which are escaping through the drainage holes of your pots
- The soil dries out very quickly
- Your seedlings appear stunted or have stopped growing
If you need to repot your plants, be sure to pot them into containers with adequate drainage holes to avoid soggy soil. Peat pots are one good option, as they are biodegradable and can be planted along with your seedling when it’s time to transplant. This means you won’t have to disturb your seedlings’ roots again at the time of planting.
Alternatively, you can use other pots for repotting, but if they don’t have drainage holes, be sure to poke or drill some in the base of your planters first. You can use a standard seed starting mix when repotting your plants.
Hardening off your plant starts
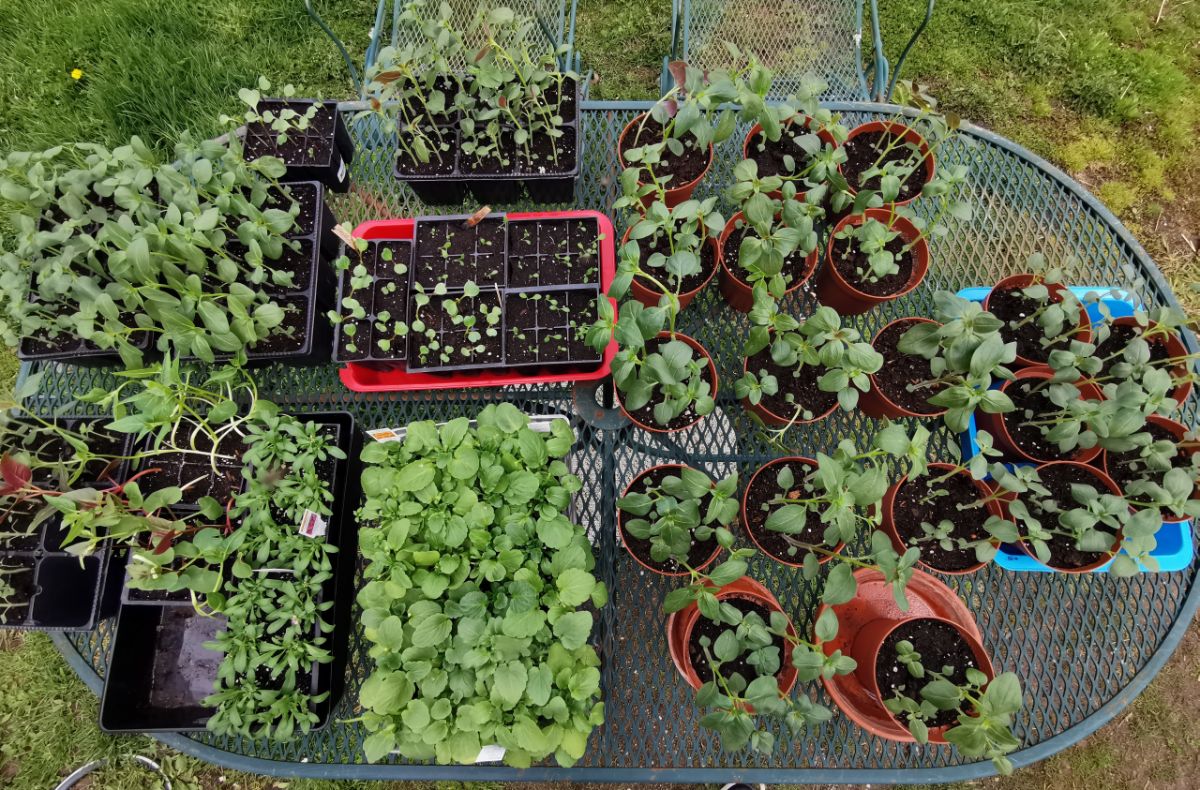
In late spring, after the danger of frost has passed, it will be time to transplant your seedlings outdoors. But hold that thought. Moving your seedlings outside too quickly can have disastrous consequences as tender plants struggle to adapt to the change in temperature, light, and other factors.
In order to help your plants better adjust to the change, you’ll want to follow a process known as “hardening off” to gradually expose your seedlings to the increased light and cooler temperatures of outdoor living. To do this, on a warm day, move your seedlings outdoors into a spot in your yard with dappled light and leave them there for an hour or two before returning them back inside. Continue this process over the course of a week or two, gradually increasing the amount of light your plants are exposed to and the length of time they are outdoors until they can handle full sun.
Once your plants have adapted to this change, you’ll be ready to transplant your new plants into your veggie garden and start growing!
Note: Keep in mind that some plants are better able to handle cooler temperatures than others. For example, tomatoes are warm-weather loving plants and can be very stressed or even killed by temperatures below 55°F. For this reason, you may not want to harden off all your plants at once and, instead, wait until temperatures increase to begin the hardening-off process for plants like tomatoes.
Frequently asked questions
Different seeds should be started at different times throughout the year, so you will want to consult your seed packet to determine when to sow particular seed varieties. For the most, the majority of seeds started indoors should be planted between February and April. Slow-growing plants, like celery, are usually started in February, while most other seeds, including tomatoes, are usually started in March.
Not all plants transplant well, and these plants will grow best when directly sown outdoors in spring. Vining plants, like morning glories, melons, beans, and peas, can be difficult to start inside, while fast-growing plants like corn can quickly overwhelm an indoor setup.
Generally yes. Unless you have a very bright window, you should invest in a grow light to ensure that your plants grow as healthy as possible. Most vegetables require bright light to grow properly, and poorly lit grow rooms will result in spindly and weak seedlings that won’t transplant well.
Most seeds can be sown directly in the soil, although there are a few exceptions. Large seeds, like corn and beans, can benefit from being soaked in water or a moist paper towel prior to planting. Native wildflower and medicinal herb seeds, on the other hand, often need to be cold-stratified prior to planting in order to jumpstart germination.
Very small seeds can be difficult to presoak prior to planting, so it is best to sow them directly in the soil. This includes plants like lettuces, radishes, spinach, celery, carrots, and turnips.
You can grow seeds in potting soil, but it is not ideal. Potting soil has a more coarse and dense texture than seed-starting mixtures, which can inhibit root development. Seed-starting mixes are light and fluffy and have been especially designed to provide the best moisture drainage to support seedling development.
Summary
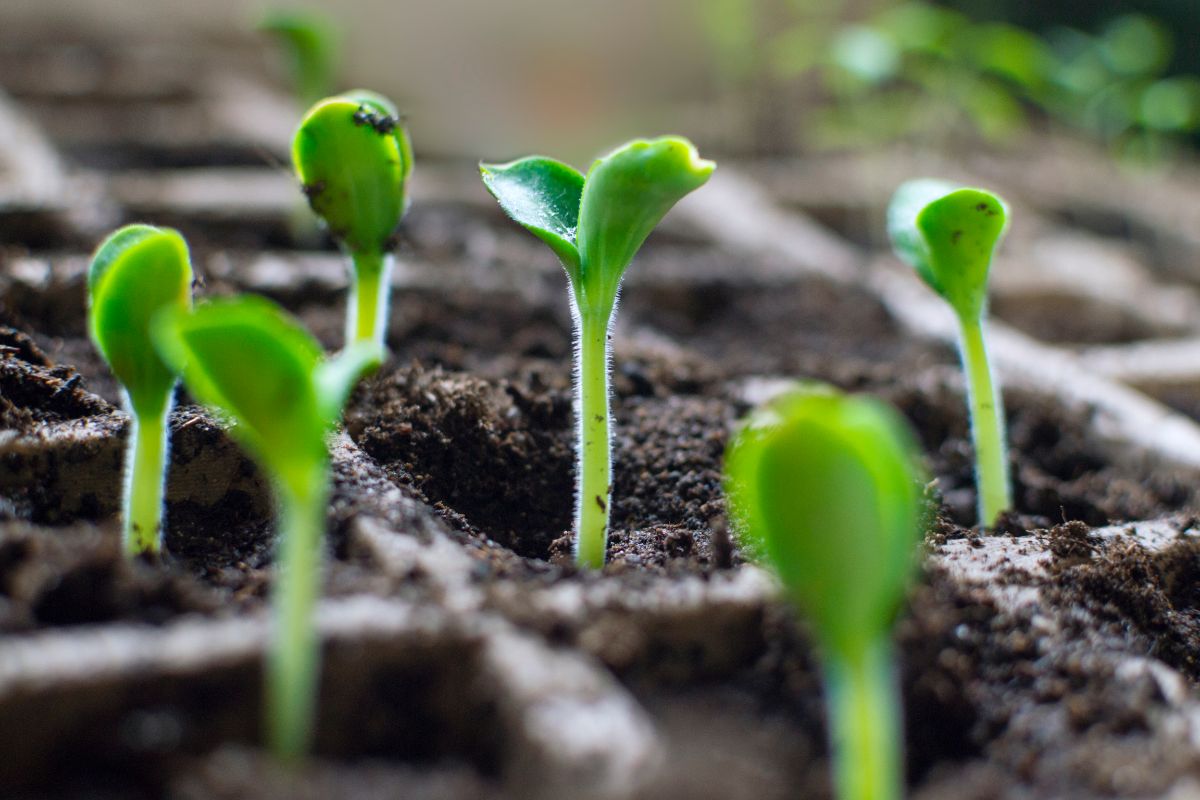
Starting seeds indoors is a wonderful way to extend your growing season and expand the number and variety of plants you can grow in your garden. If you limit yourself to storebought nursery starts, plants can get pricey fast, and you’ll have a smaller selection of plant varieties to choose from. However, plants grown from seed are much more economical to keep, and you’ll be able to grow a much greater diversity of plants when ordering from seed catalogs.
Even when your garden is asleep in winter, there are still a lot of garden tasks you can do. You can start weaving a basket for gathering your summer’s produce, map out new garden beds, and, of course, start your seeds. Keeping seeds indoors will allow you to keep gardening almost all year round, and when spring arrives, you’ll have a head start on your new garden with all the seedlings you grew during the winter!
If you’d like to learn more about starting plants from seeds, check out our guide on the best seeds to grow for self-sufficiency and seed saving here.

Claire Dune
Great post. Hope my frost calculator will be of some use to your readers: https://www.gardenreviews.co.uk/calculators/first-and-last-frost-days/