“Hardening off” or to “harden off” refers to the process of gradually introducing indoor or greenhouse-grown plants to life outdoors. The purpose of hardening off transplants is to get them ready to live full-time outside in the garden (or raised bed, patio, or container garden). It’s a necessary step to avoid plant damage, plant loss, and to reduce harmful stress when transplanting.
Jump to:
- Why Is It Important to Harden Off Garden Transplants?
- What Plants Need to Be Hardened Off For Outdoor Planting?
- When Should You Start Hardening Off Your Plants?
- How To Harden Off Transplants, Step by Step
- Not An Exact Science – Do Your Best With The Schedule You Can keep
- Alternative Ways to Harden Off Plants
- A Few Final Tips to Help Manage Hardening Off
Why Is It Important to Harden Off Garden Transplants?
Plants that are started inside, whether in your home or in a greenhouse, have lived a protected life. Their environment has been nothing but stable. It is completely climate-controlled. The temperature is always the same and it is always optimal. It “rains” just enough, never too much; moisture is always there when it is needed.
Life outside is anything but these things.
Life indoors comes with none of the inconsistencies or fluctuations of Mother Nature. The light outside is much stronger and more intense. Outdoors plants deal with rising and falling temperatures and can commonly experience a range of 20 or 30 degrees in a single day. Winds and rains come in all variations of volume and strength.
None of these are variations that plants deal with inside in their protected growing environment. And so, indoors plants need to be taught to deal with them—to acclimate to these new, changing growing conditions, to get stronger so they can withstand those conditions.
Without hardening off, transplants can suffer from sunburn, cold damage, drowning, wilting, and breakage. At best it’s a stress the plants don’t need and a sure way to slow and stunt growth. At worst, plants will die and you’ll need to start all over again with replacements.
What Plants Need to Be Hardened Off For Outdoor Planting?
The answer here is simple. Any plant that is started indoors or kept indoors for a significant period of time needs to be hardened off before it can live outside. This includes:
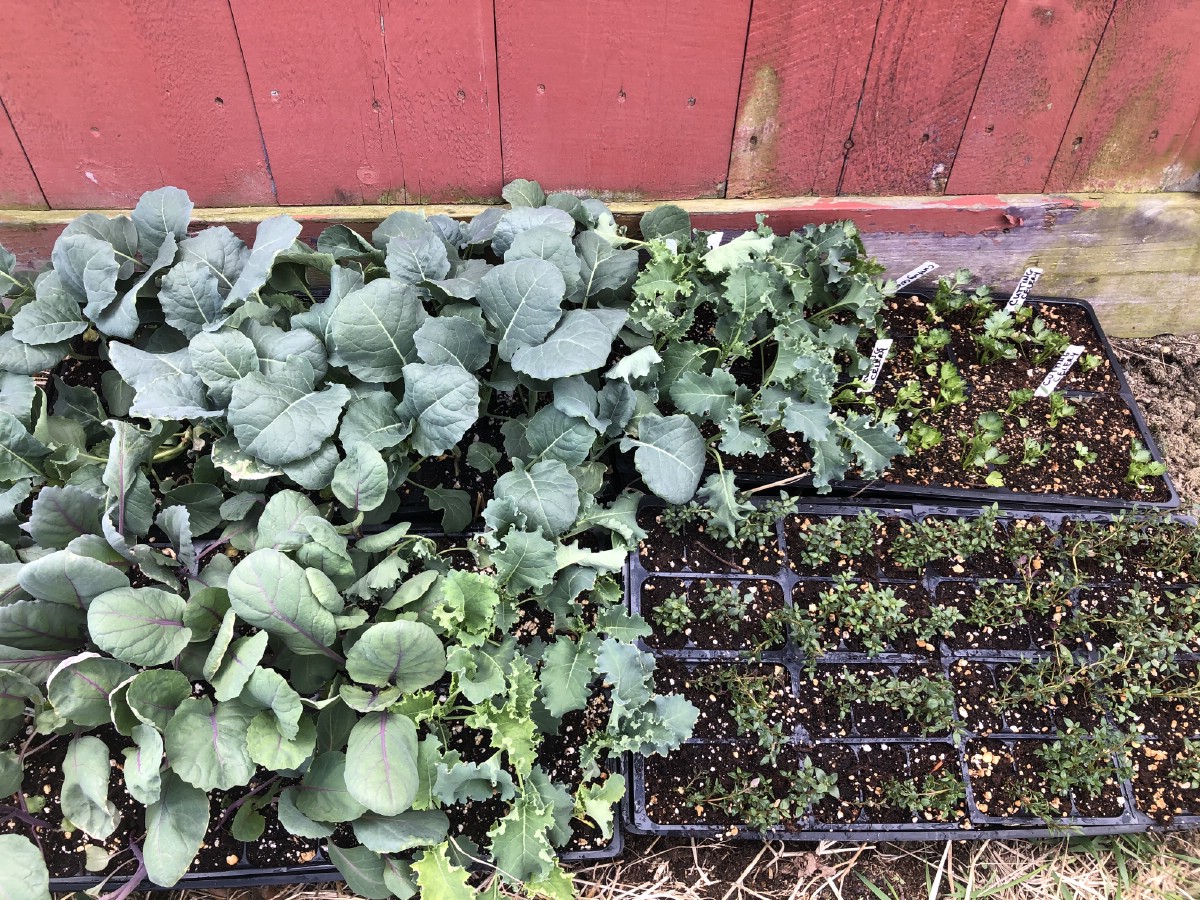
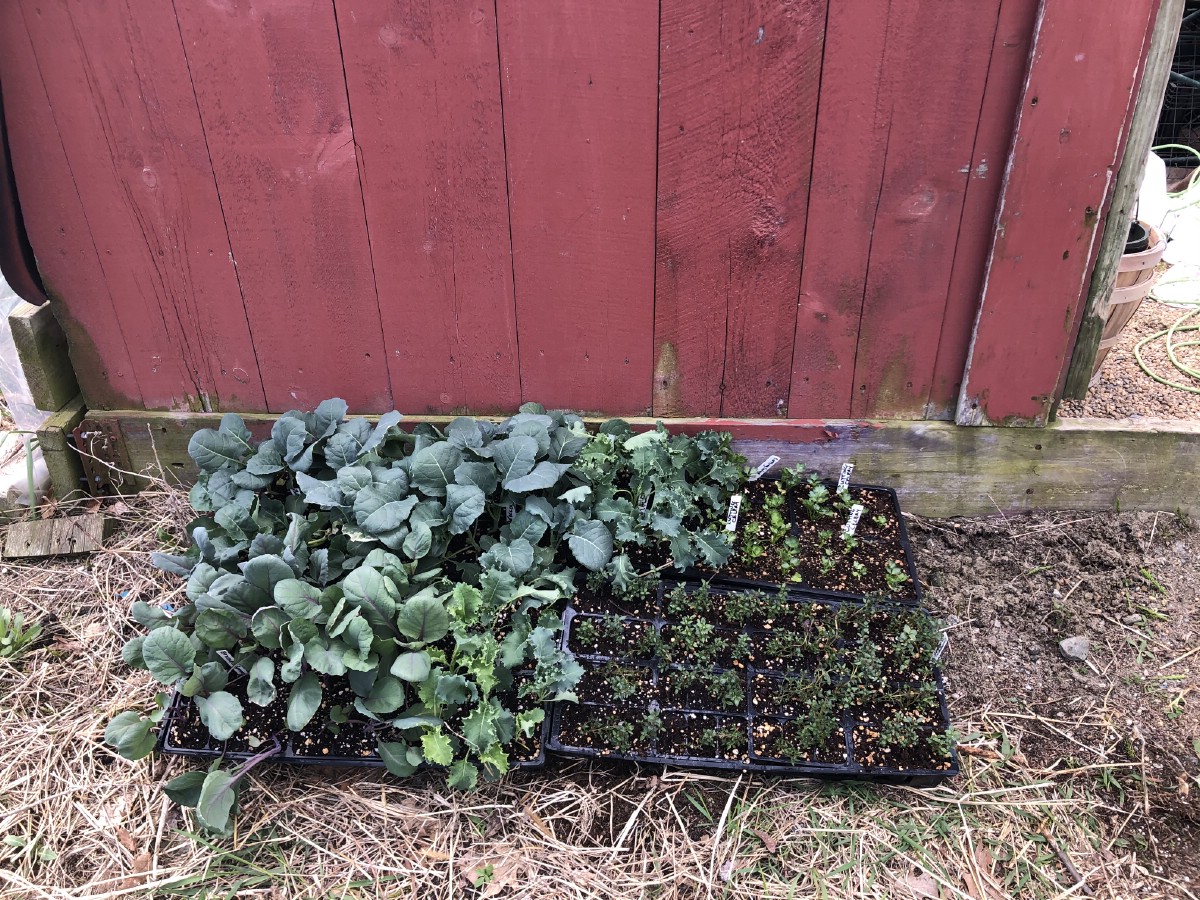
- Seedlings or transplants that you started from seed
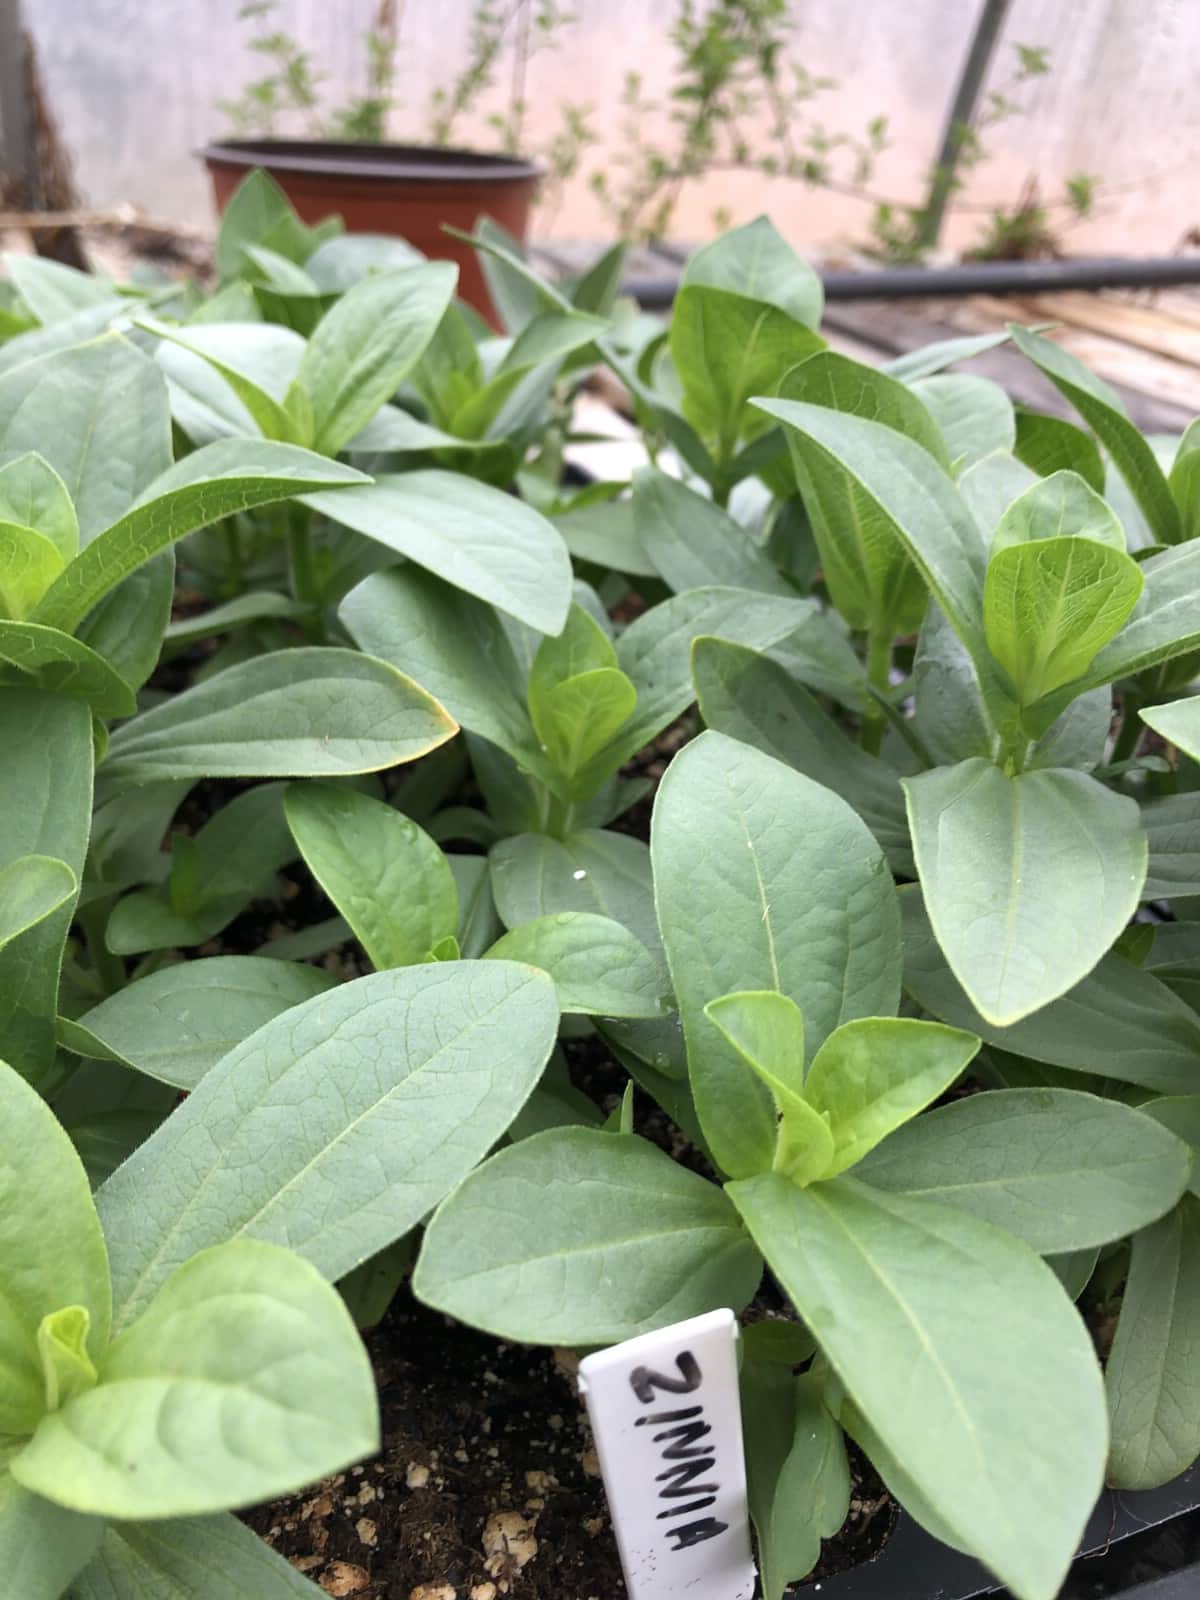
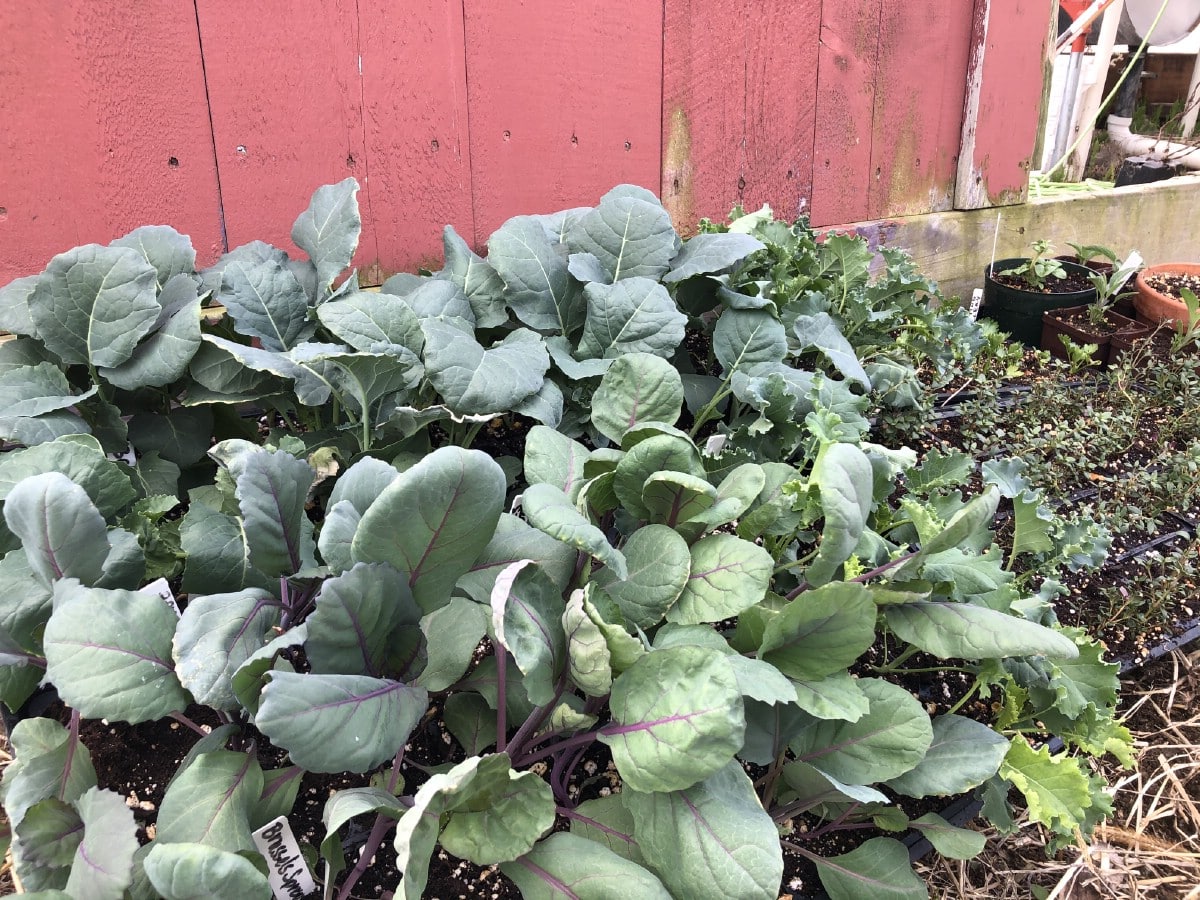
- Plants that have been grown in a greenhouse
- Plants that have been overwintering inside in your home or in a greenhouse
- Herbs or plants that you dug last season to continue to grow and harvest inside
- Sensitive and tropical patio plants and ornamentals are grown inside in cooler months
If a plant has spent more than a couple of weeks indoors, harden it off to acclimate it to outside conditions before leaving it out full time. You should even consider hardening off plants or transplants that you have purchased from a greenhouse or nursery. Unless you are 100% sure that the grower has hardened the plants off prior to selling, protect your investment by taking the time to harden them off.
To sum up, hardening off is not about plant type or variety. It is about preparing plants for new climates and environments.
When Should You Start Hardening Off Your Plants?
Ideally, you should plan to start hardening off your plants about two weeks before you plan to plant them outside. In a pinch, the process can be condensed into a week to 10 days and in a real pinch, as few as three days, but the best results and easiest transition for your plants is to harden them off over the recommended 14-day period.
Plan hardening off within the time frame of your target planting date. This often means that you will be hardening off your plants before it is considered “safe” to plant them outside—before your last frost date and/or before soil temperatures have warmed. Depending on your planned planting time, this typically means you will start hardening off plants a couple of weeks before your last frost date.
The weather, nights especially, might still be a little cool and you might still get frosts overnight in the early days. That is all perfectly okay (and expected). You just need to take care not to have your plants outside and unprotected on very cold days or when a frost might hit.
The Right Day and Time
Not only should you plan according to your calendar, frost, and planting dates, but you should plan to start hardening according to the weather (to the best of your ability).
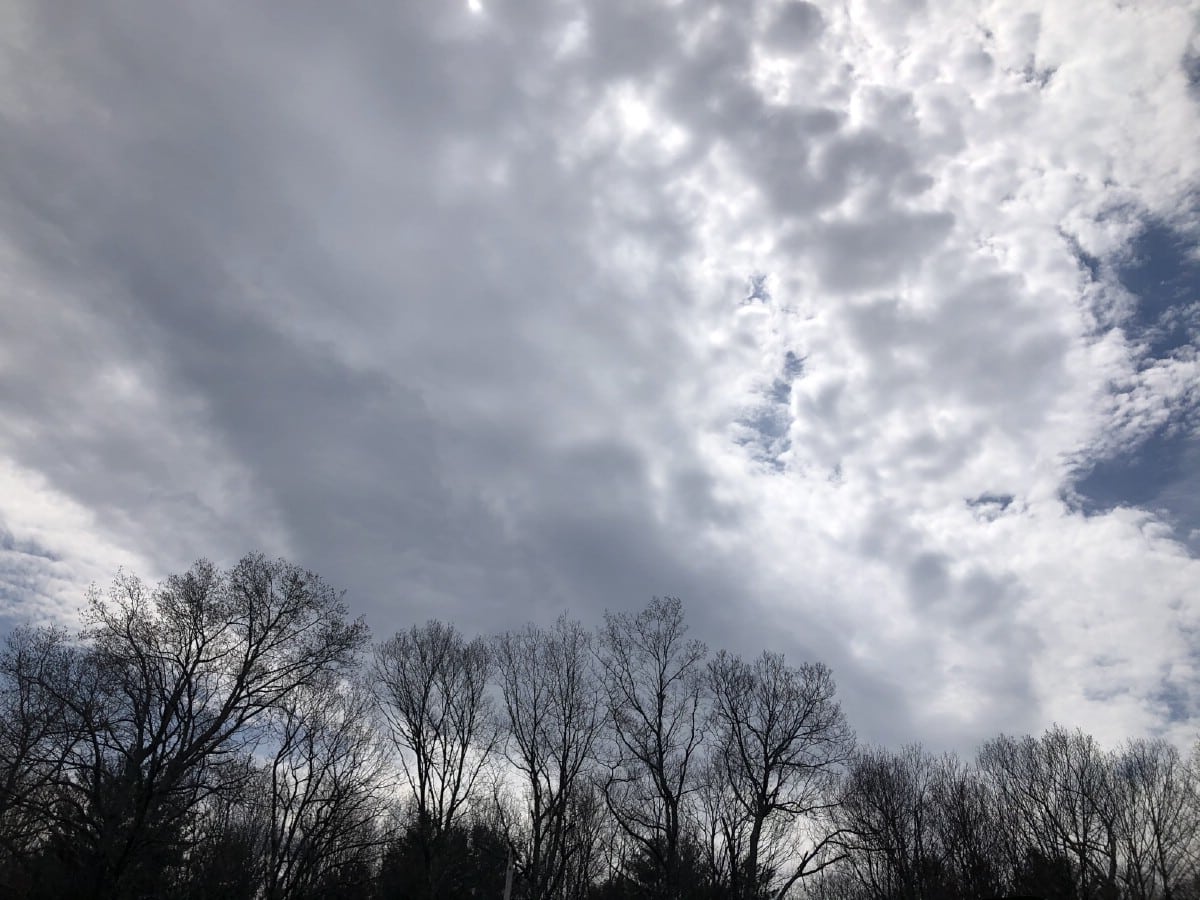
It is best to start hardening off plants on a day that is calm and as close to windless as you can manage. The day should be rain-free (though an overcast day is a good day to start for sun protection).
Plan for a good time of day, too. In the first days of the hardening process, try to avoid taking your plants outside in the heat of the day. Mornings are good after a few hours of warm-up, but avoid the middle of the day when the sun is strongest (usually between 11 a.m. and 3 p.m.). If mornings are not possible, late afternoon or early morning is a workable time to start the process. In the best-case scenario, mid-morning will be best for a start. A weekend or days when you are home for most of the day will work best.
To recap, start to harden off your plants on a day
- With no wind
- When you can be available for at least a couple of hours
- With no rain
- With moderately warm temperatures
How To Harden Off Transplants, Step by Step
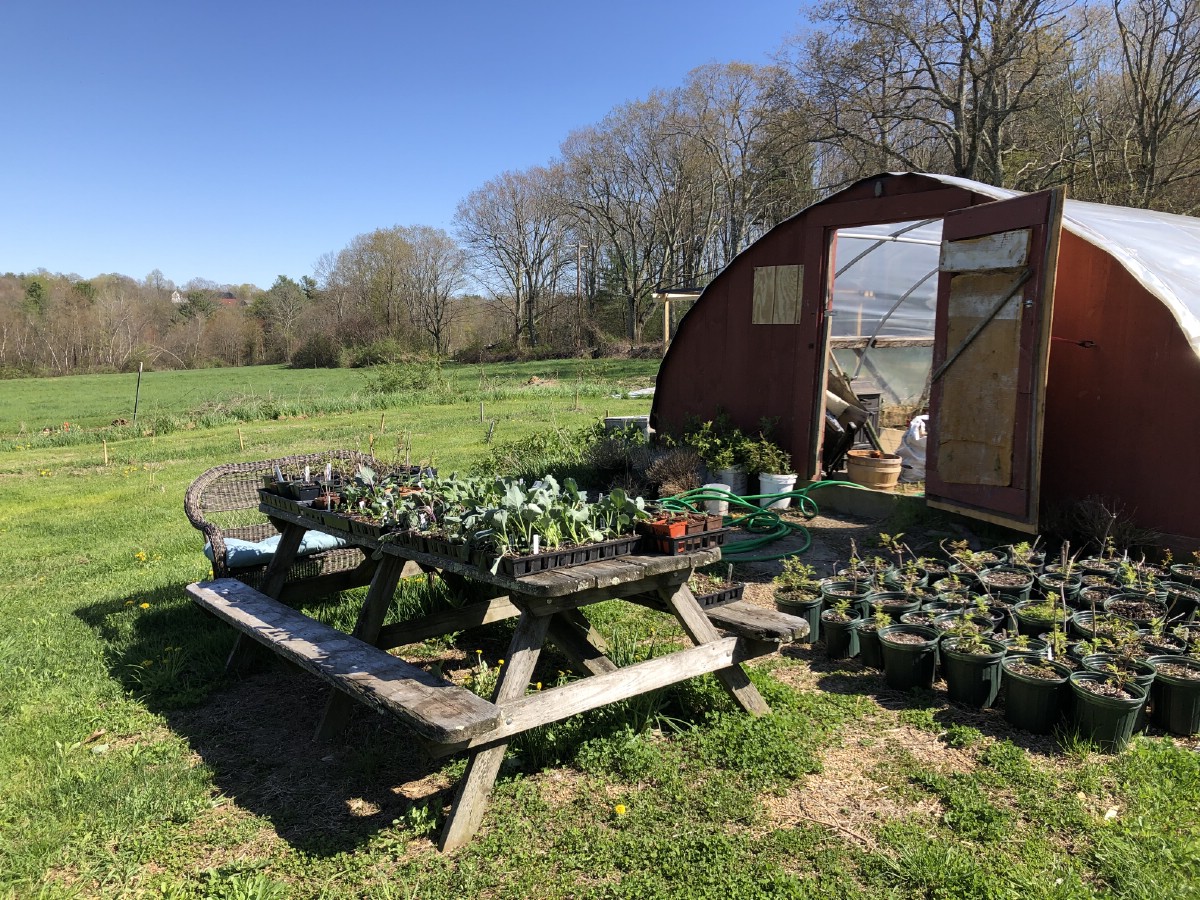
The process starts with just an hour or two of exposure and then slowly builds up to full days and eventually overnights outside until by the end you do not need to bring your plants back inside at all (weather permitting).
Be aware that plants will dry out quicker outside. Check your plants and know that you may need to water them twice or even three times a day, particularly on windy, hot, and sunny days.
Day 1: Put your plants outside for about two hours. On the first day, they should be protected from any wind or strong breeze. Keep them in a shaded spot the entire time they are outside today. A porch or patio next to a wall is a good spot for the first day.
Day 2: Take your plants outside for about two hours, up to three. Today, start your plants in the sun for an hour and then move them into the shade for one or two hours before taking them back inside.
Day 3: Each day now, extend the time your plants stay outside by an hour. Give your plants two or three hours of sun today and another hour or so in the shade.
Day 4 onward: By day 4, you can leave your plants in the sun the entire time they are outside. Also, continue to increase their time outdoors—add about an hour a day.
By around Day 10 or 11, you should be able to leave your plants outside overnight as well. Just do NOT leave plants out overnight if there is a danger of frost. If temperatures will be lower than 45F, it is wise to bring them inside or at leave cover them with a layer of row cover or cotton sheets.
From here on out, as long as the weather is cooperating (nothing too severe, nothing freezing), your plants can live outside around the clock. If the forecast is good, you can now plant your transplants outside from Day 12 or after. Do note, however, that your plants should be planted in their permanent homes within the next two weeks to prevent stunting.
Not An Exact Science – Do Your Best With The Schedule You Can keep
You’re bound to find different variations on this hardening off schedule, but they’ll all have one thing in common—a slow start that gradually builds to full-time outdoor living. This means, as long as you’ve covered the basics and taken some care early on in the process, you can vary the timing and process a bit, too.
The “ideal” hardening off schedule is not always practical for everyone. We all have different schedules—work, school, kids, commitments…
Maybe a morning schedule is too much for you to keep. Maybe you can’t get out to bring your plants back at the exact right hour. Maybe weather interrupts your calendar’s plan. Do the best you can, work somewhere within this framework, follow a few of the tips and tricks listed later here, focus more on the protection and limited exposures in the early days, and you’ll come out just fine. The timeline isn’t set in stone and close enough is good enough.
This Hardening Process May Be Interrupted
Weather is not always as predictable as we’d like, not even for a two-week period. If your weather turns extreme or severe—extreme cold, frosts or freezing, (less likely) extreme heat, high winds, strong storms, or flooding, torrential downpours, it’s okay to start and stop for a day or two until things right themselves again. In fact, it’s advised.
Skipping a day or two once you’ve started the hardening process in deference to bad weather or conditions does not mean you have to start over. Take the day off, then resume your schedule where you stopped. Your plants are much better off staying inside for an extra day than they are being drown, frozen, broken, or blown about.
Alternative Ways to Harden Off Plants
We don’t all have the luxury of timing and scheduling that an ideal hardening off schedule dictates. Some of us are just gone for too much of the day to make it work. Sometimes the weather just refuses to give you the window you want. In cases such as these, there are some less ideal but still effective steps you can take to start acclimating your plants to life outdoors.
Hardening off is, basically, a stress-inducing and strengthening process. By mimicking the stresses and exposures of nature, you can help prepare your plants for outdoor living. Here are some ways to introduce beneficial stresses to your plants:
- Induce water stress by letting plants get dryer than usual and holding off a little longer before watering. Just be sure not to over-dry your plants. You should not let the pots get to the point of hard and dusty.
- Create wind exposure with a fan. A constant, strong direct blast is not advisable, but a medium oscillating fan can mimic outdoor breezes and moderate winds.
- Periodically brush your hand over the plants’ tops. This helps to stimulate stronger stem growth.
- Try to create more variation in temperature. Raise and lower heat. Move your plants around to hot spots in the house for a while. Place plants in an extra sunny window. Move them from sunny spot to sunny spot throughout the day.
- Deny fertilizer for a period of two weeks before moving your plants outside.
Even with these induced stresses, you do want to get your garden transplants outside at some point. Even if all you can manage is a few hours a day, give them that time. Combine this with one or more of the stresses above and when you have more time, such as on a day off or on the weekend, they’ll be more able to withstand an extended amount of time outside.
A Few Final Tips to Help Manage Hardening Off
Here are a few collected tips and tricks-of-the-trade to help you solve some of the issues that might come up while hardening off your plants:
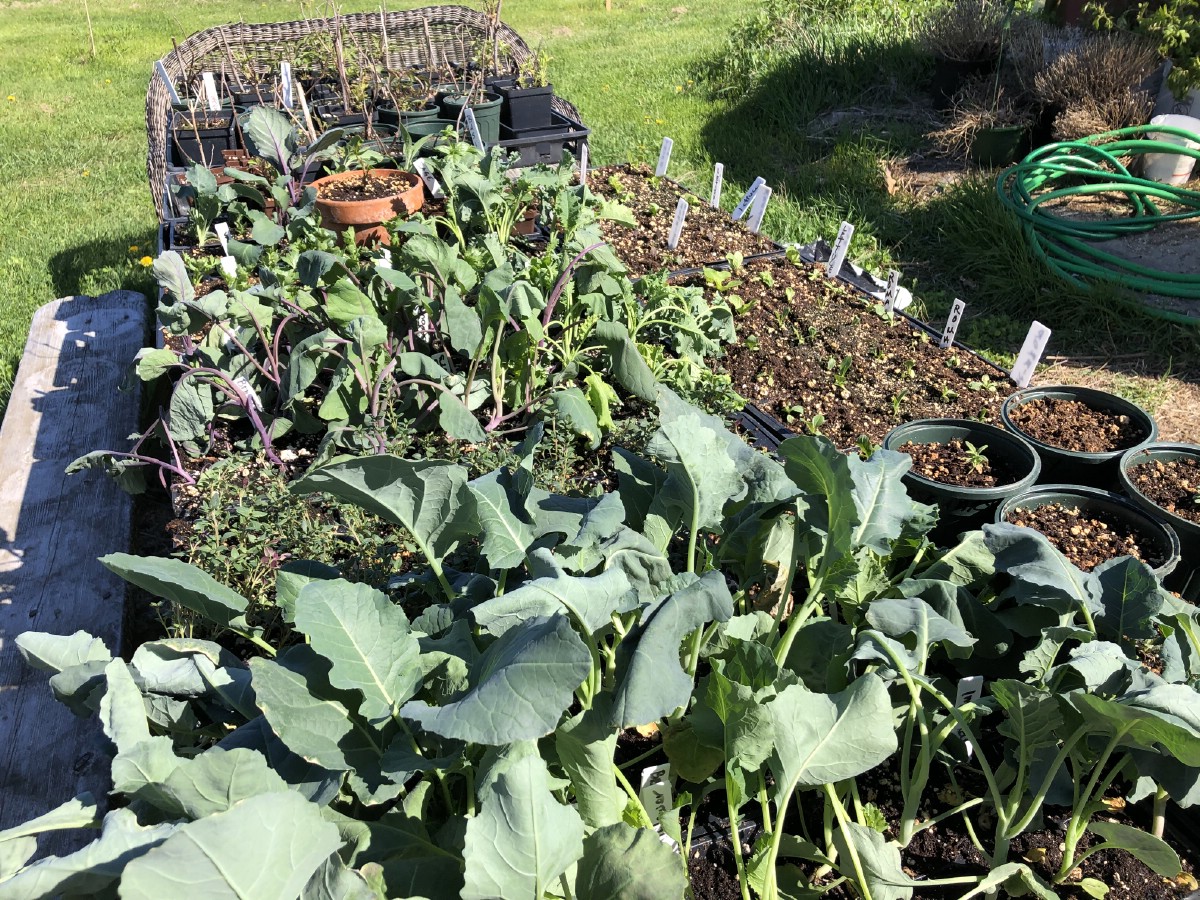
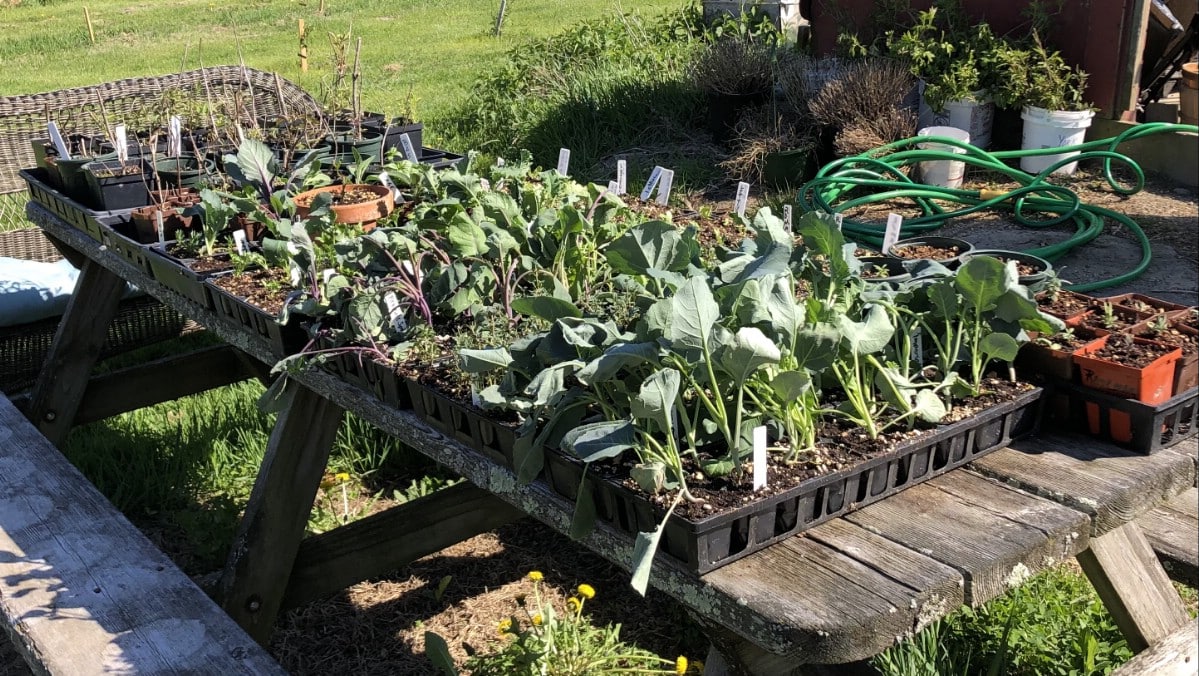
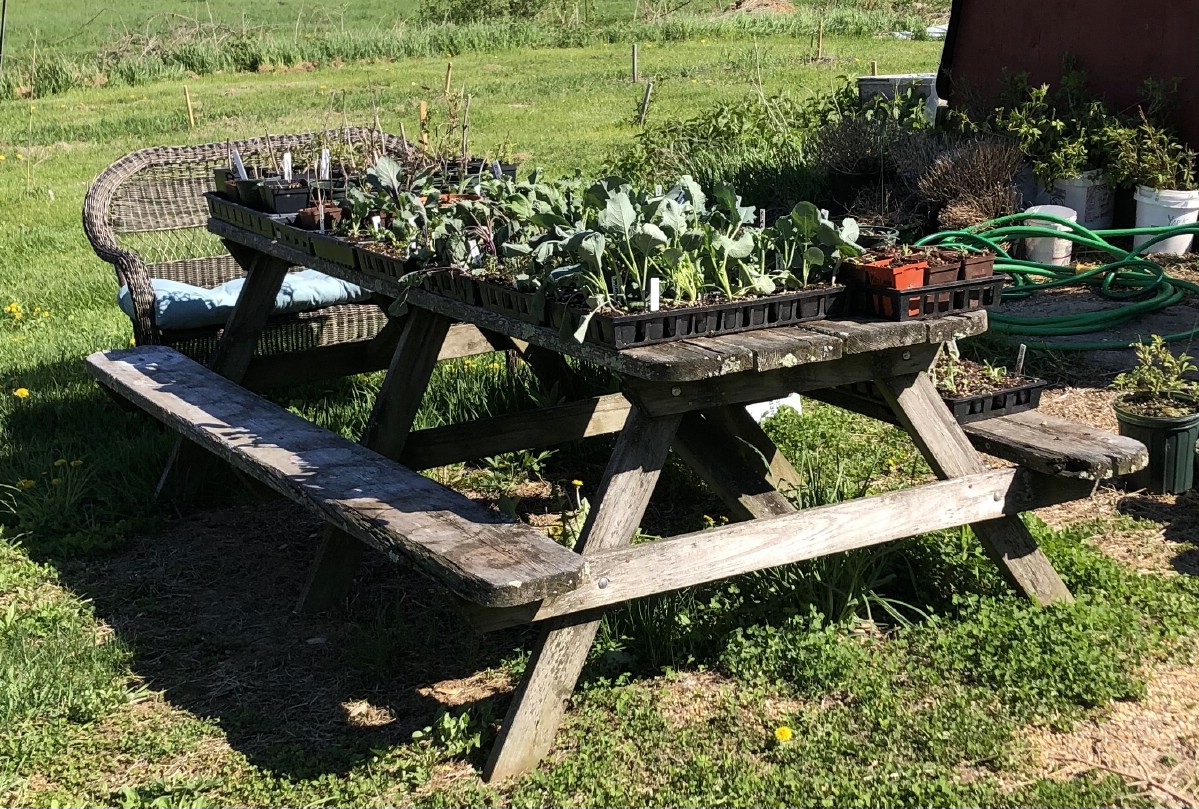
Save Time Shuffling Plants
Save time shuffling plants by condensing them into plant flat or trays. Carrying many plants will be easy this way.
Use a two- or -three-shelf garden cart or something similar (like a microwave or kitchen cart) to move your plants in and out. Keep your plants on the shelf inside at night, then you can just move the entire cart outside in the morning.
Quickly Control Sun and Shade with a Patio Umbrella
Use a patio umbrella above your plants to quickly and easily change sun to shade. That way, you only need a few seconds to “move” your plants out of the sun when needed. If necessary due to work or schedule, you can leave the plants under the umbrella all day while you’re gone—
indirect light in the early days with outdoor exposure is better than no outdoor exposure at all.
Similarly, you can use a sheet or floating row cover to quickly cover your plants and shade them without having to do the big in-and-out shuffle. You can use row cover to protect the plants overnight, too, as long as temperatures will not be too low (under 40-45F) until they are ready for unprotected outside overnights. This way, those plants do not need to be moved inside just to be schlepped back outside in the morning when you’re pressed for time.
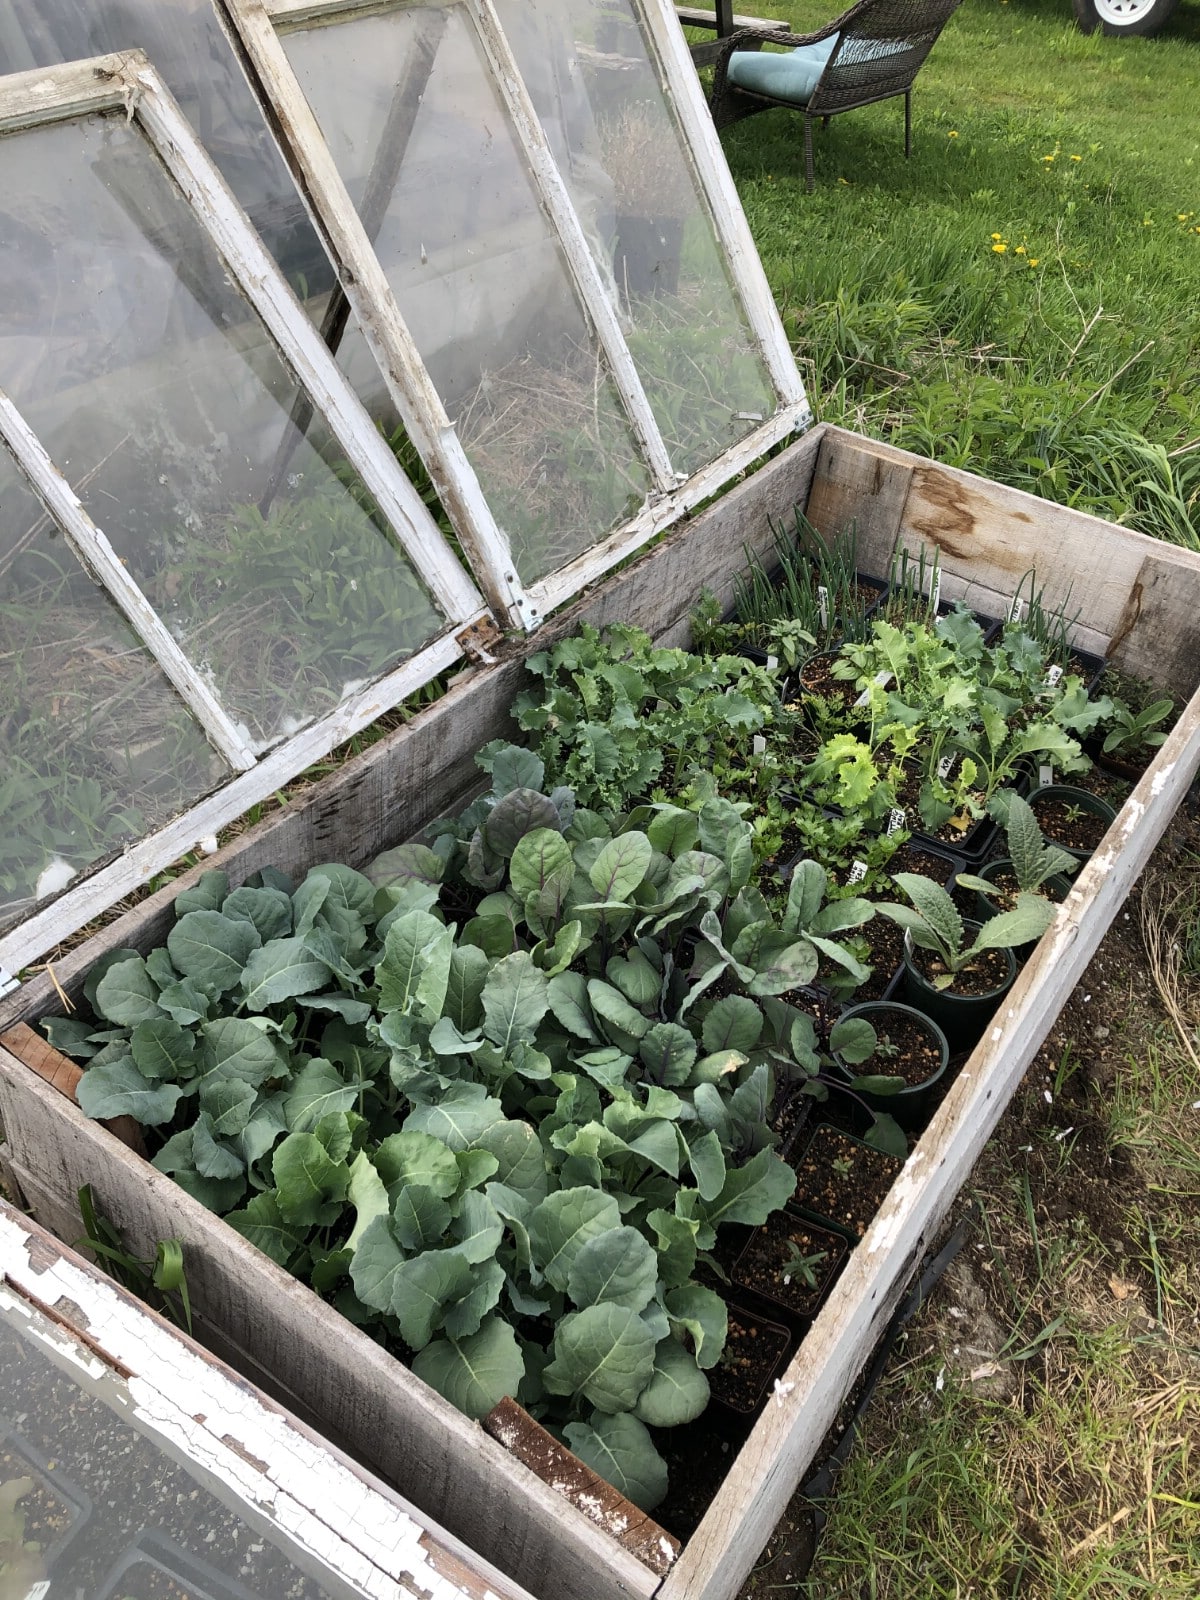
Easily Create Climates with Cold Frames
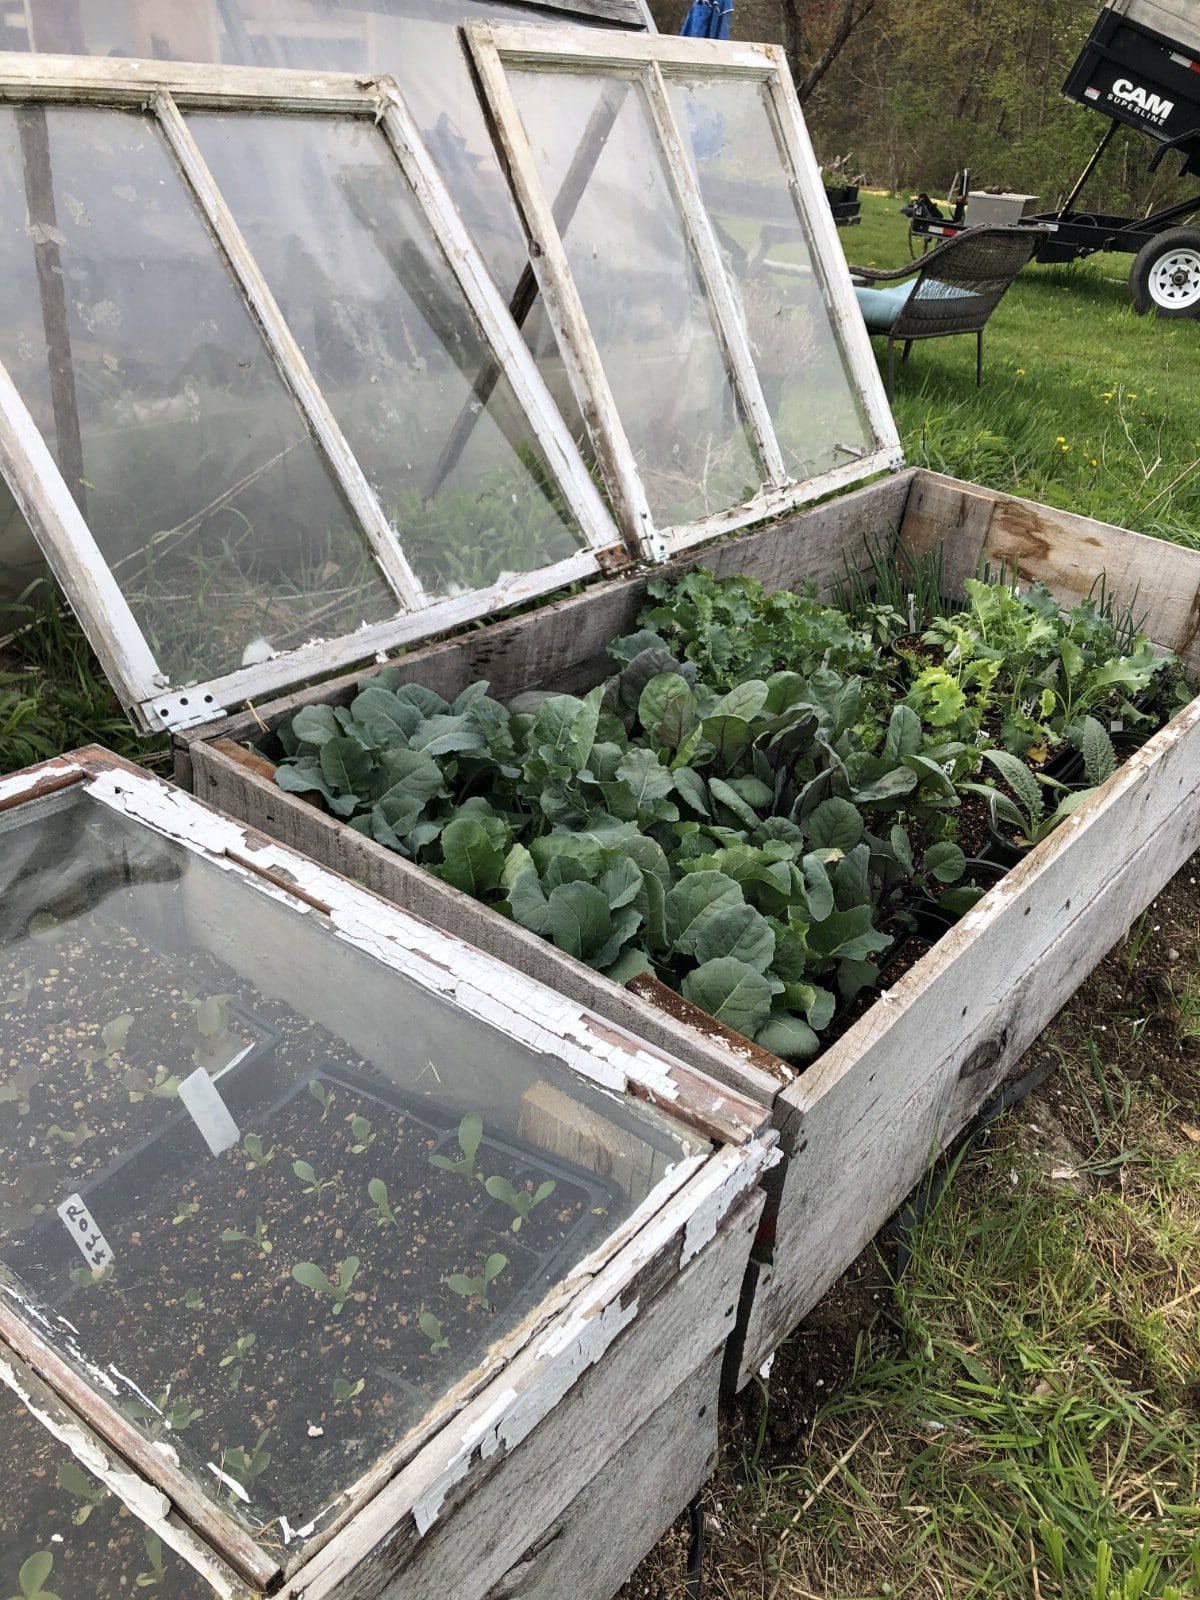
A cold frame can make hardening off much easier. Instead of constantly moving plants in and out, open and close the cold frame to create exposure. You can use row cover or sheets of cardboard to provide shade if necessary and you can cover the clear top with a blanket or hay for added insulation on cold and frosty nights.
Some people use those small, inexpensive plastic-zippered greenhouses on a deck or patio. This can work, too, and is controlled in a fashion similar to cold frame growing. Do be aware that small greenhouses should be anchored as they are prone to be blown away in a strong wind, with all your lovely plants inside them. Small plastic greenhouses do not circulate air well so too much time closed inside of them can result in condensation, dampness, and disease. Also, be aware that the greenhouse effect can cause very high (too high) temperatures in these greenhouses on sunny days.
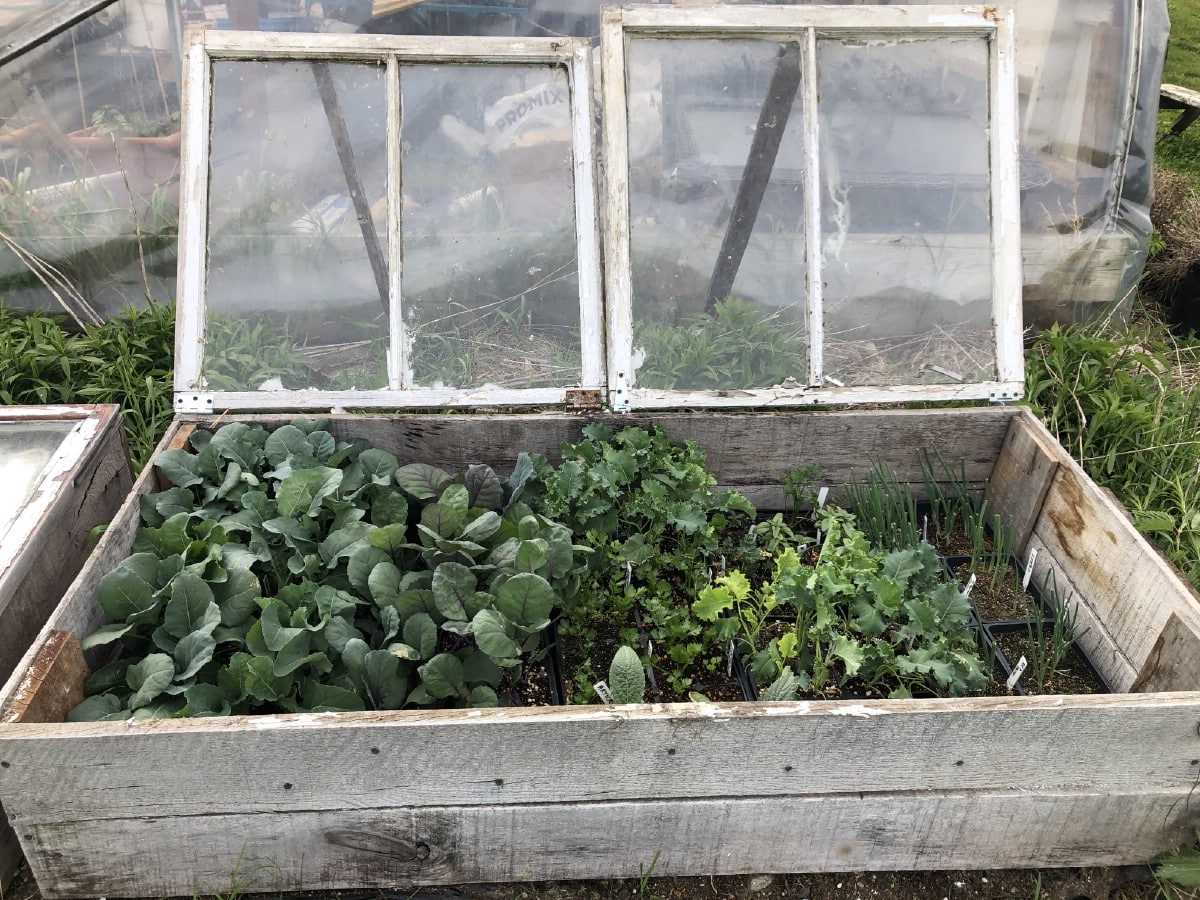
If you do not have a cold frame, you can build a permanent structure from reclaimed wood and windows. A simple temporary cold frame can be constructed using straw or hay bales and old windows or a sheet of Plexiglas as a top. (The straw can be reused for mulching in the garden and the glass or windows can be stored for use next year, or used at the end of the season to make another impromptu cold frame to use as a harvest extender.
Armed with these instructions, tips, and tricks, you’re sure to find a workable way to harden off your garden vegetables and transplants. Happier, healthier, more prepared plants will thank you with good growth and vigor.
Leave a Reply