
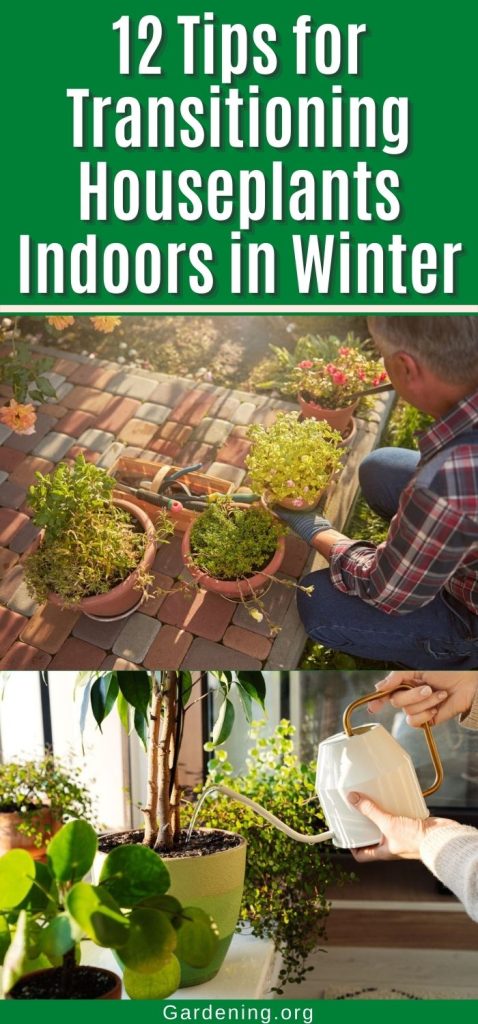
Many plant keepers choose to move their houseplants outdoors during the warmer months. Once outside, increased light and humidity levels will boost plant growth, encourage plant blooms and offer other benefits. But at the end of the season, when temperatures begin to drop, it’s time to start bringing your houseplants indoors.
While it may seem simple enough to do, there are some important steps to follow to help your plants better adapt to their changing environment. From reduced light levels to the possibility of overwintering pests, your plants may struggle when moved indoors. To make the transition go as easily as possible, we’ve put together this easy care guide on how to properly transition your houseplants indoors for winter.
Read on for our top tips and other suggestions for overwintering your houseplants below.
Jump to:
- 12 Tips for Transitioning Houseplants Indoors
- 1. Watch the weather
- 2. Go slow
- 3. Check your plants for pests
- 4. Treat your plants organically
- 5. Provide adequate lighting
- 6. Boost humidity levels
- 7. Reduce fertilizer
- 8. Repot if needed
- 9. Adjust watering requirements
- 10. Tidy up your plants
- 11. Clean off plant leaves
- 12. Take cuttings if needed
- Frequently Asked Questions
- Summary
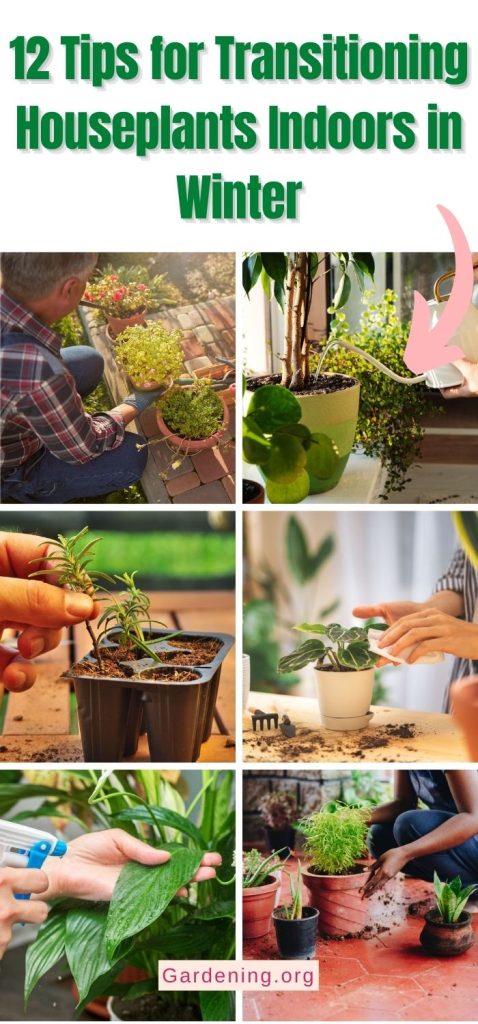
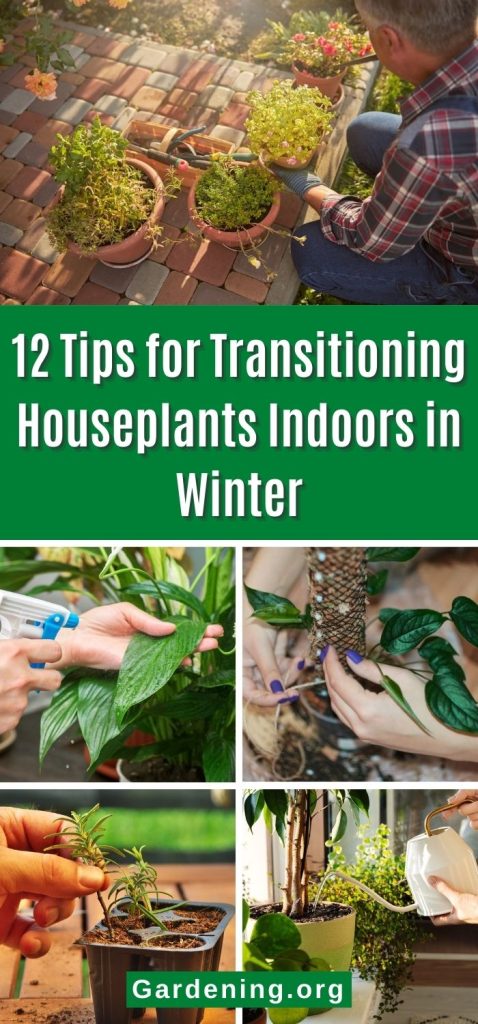
12 Tips for Transitioning Houseplants Indoors
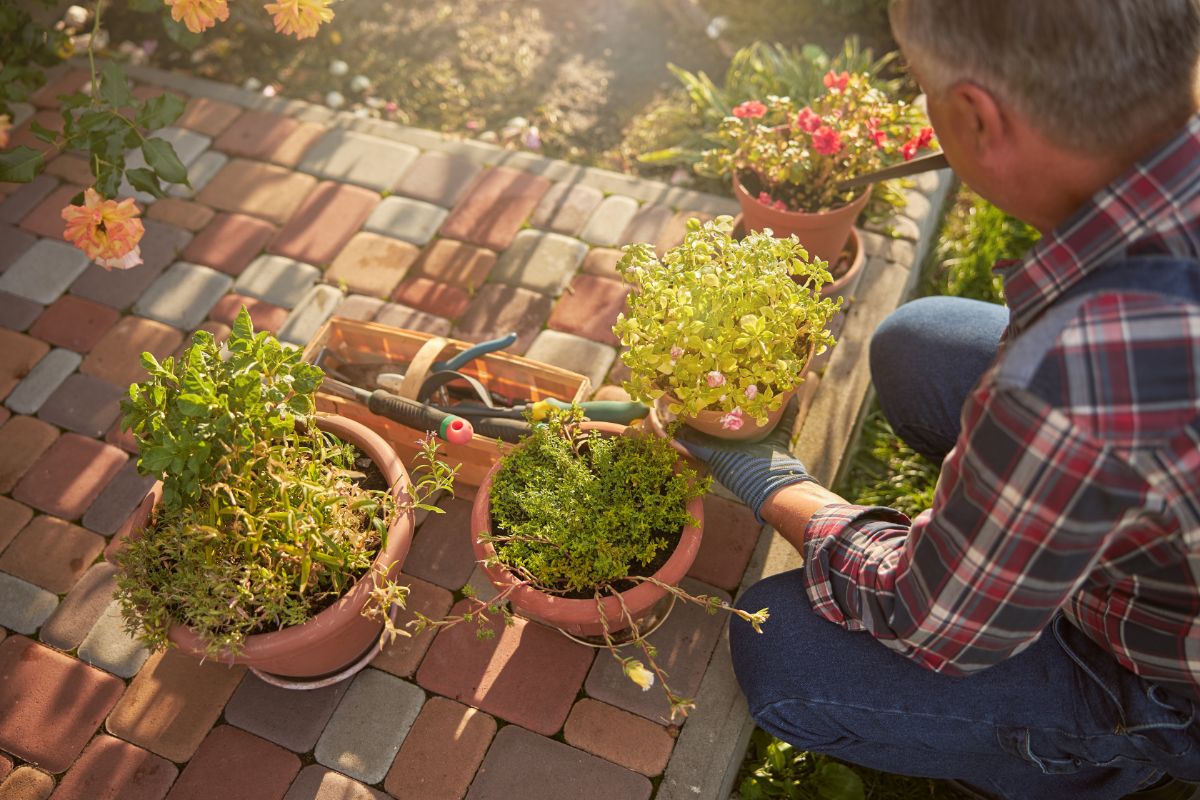
After growing outside during the summer, houseplants usually experience rapid growth. But when cooler temperatures arrive, it’s time to bring your houseplant collection inside!
Knowing when and how to bring your houseplants indoors in autumn can guarantee you have healthy and thriving plants all year long. Below are our top tips for making sure your plants successfully transition to indoor life.
1. Watch the weather
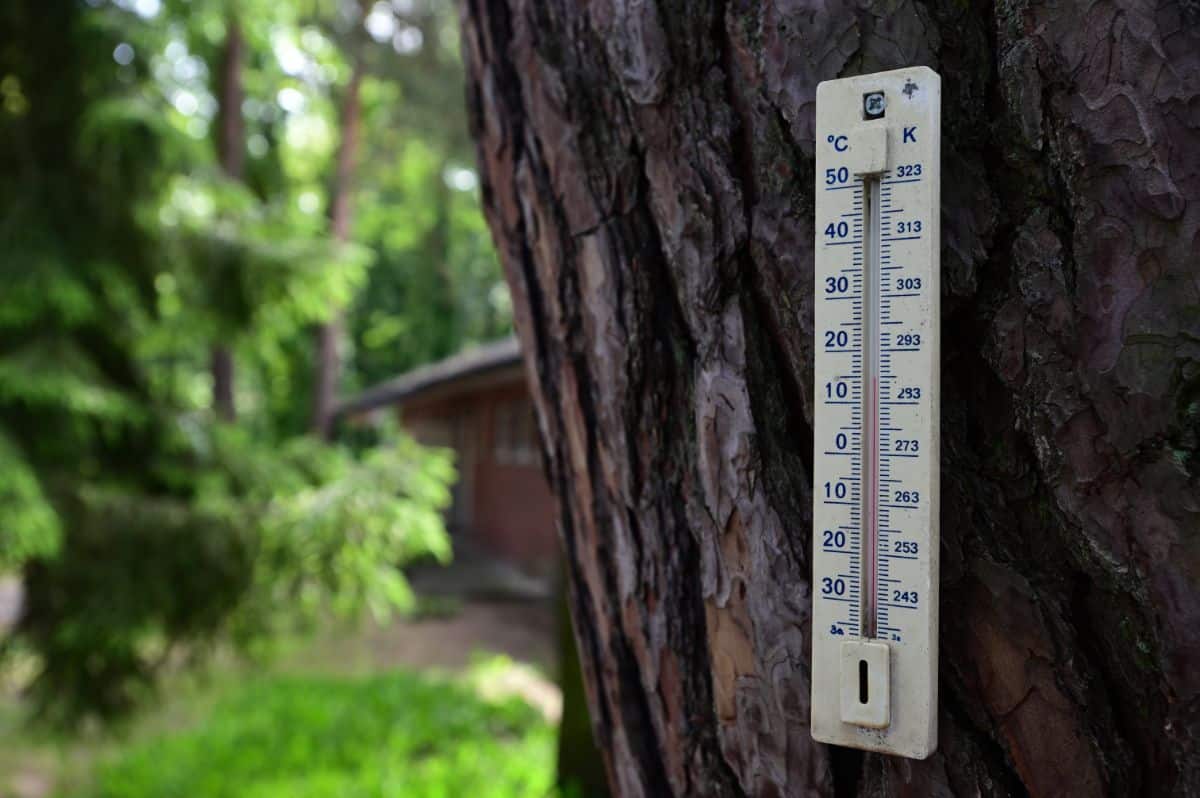
If your houseplants spent the summer outdoors, it may be tempting to take advantage of the last bit of the growing season by leaving your houseplants outside as long as possible. However, if you’re watching the frost forecast, keep in mind that many houseplants are tropicals that can’t handle very cool temperatures, even when temperatures are still above freezing.
In fact, temperatures below 55°F can be hard on most tropical houseplants. That means, you’ll want to bring your plants indoors when nights start to get very cool. Waiting until you see a frost warning may be too late to bring in your plants!
2. Go slow
Moving plants outdoors in spring is a slow process, particularly for new plant starts that need to be transitioned outside via a process known as hardening off. Hardening off helps plants grown indoors adapt to the different light intensity and temperatures of outdoor living and can ensure plants continue to thrive after transplanting. For best results, plants are usually placed outdoors over the course of a week or so, during which time the amount of light and heat they are exposed to is gradually increased.
A similar process should be followed when bringing your houseplants back inside in autumn. Just as with hardening off, over a week or so, move your houseplants to an area of your yard with increasing shade, prior to relocating them back inside. This will prevent your plants from entering a state of shock due to fluctuating temperature, humidity, and light levels.
Properly transitioning your plants back inside can help eliminate other issues, too, like leaf drop, which occurs when plants are overly stressed.
3. Check your plants for pests
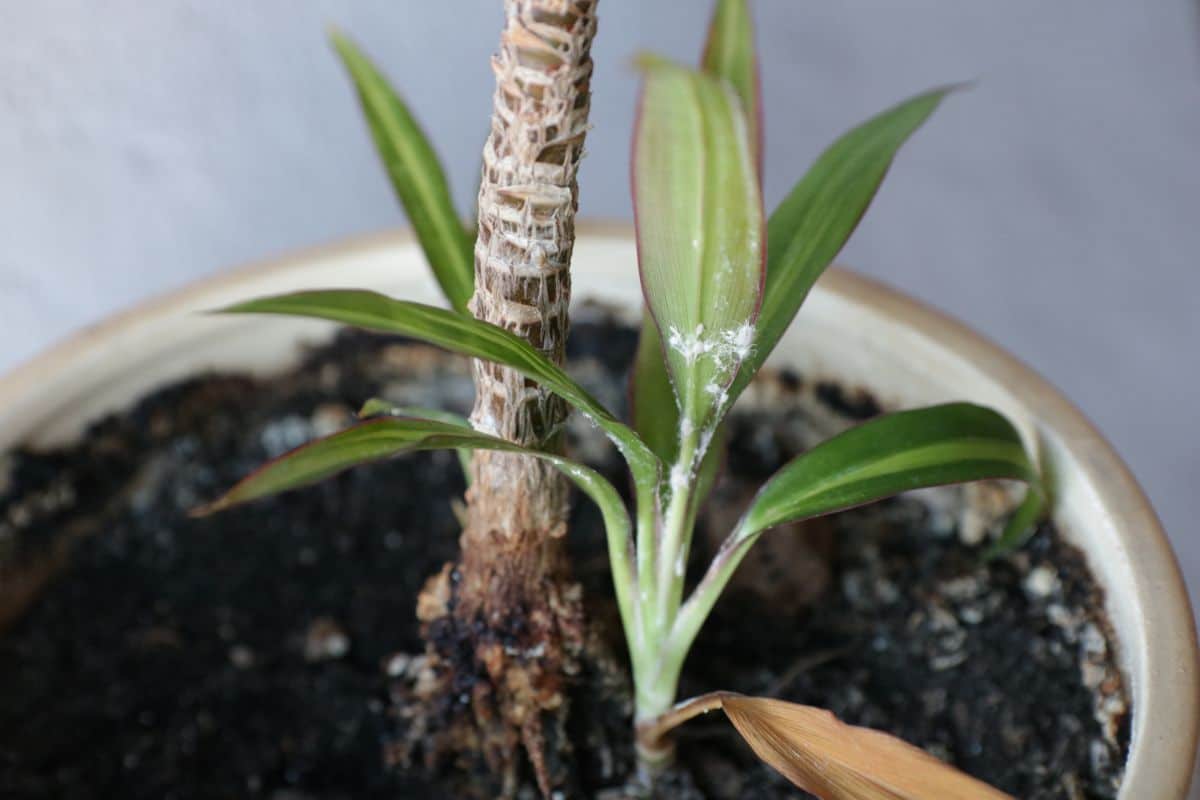
There are tons of different outdoor plant pests, and there’s nothing worse than accidentally bringing those pests inside on your houseplants. From mealybugs to spider mites, many pests can accidentally hitch a ride on your plant’s leaves. Once indoors, most indoor growing environments are just right to encourage these troublesome pests to reproduce rapidly and become an even greater nuisance.
To keep unwanted pests outs, make sure you carefully inspect your houseplants when bringing them back inside. Check plant leaves, leaf undersides, and stems for any signs of bumps or white fuzz, which may indicate scale or mealybugs. Be on the lookout for yellow leaves, stippled leaf coloring from sap-sucking insects, sticky honeydew residue, spider mite webbing, and anything else that looks out of place.
4. Treat your plants organically
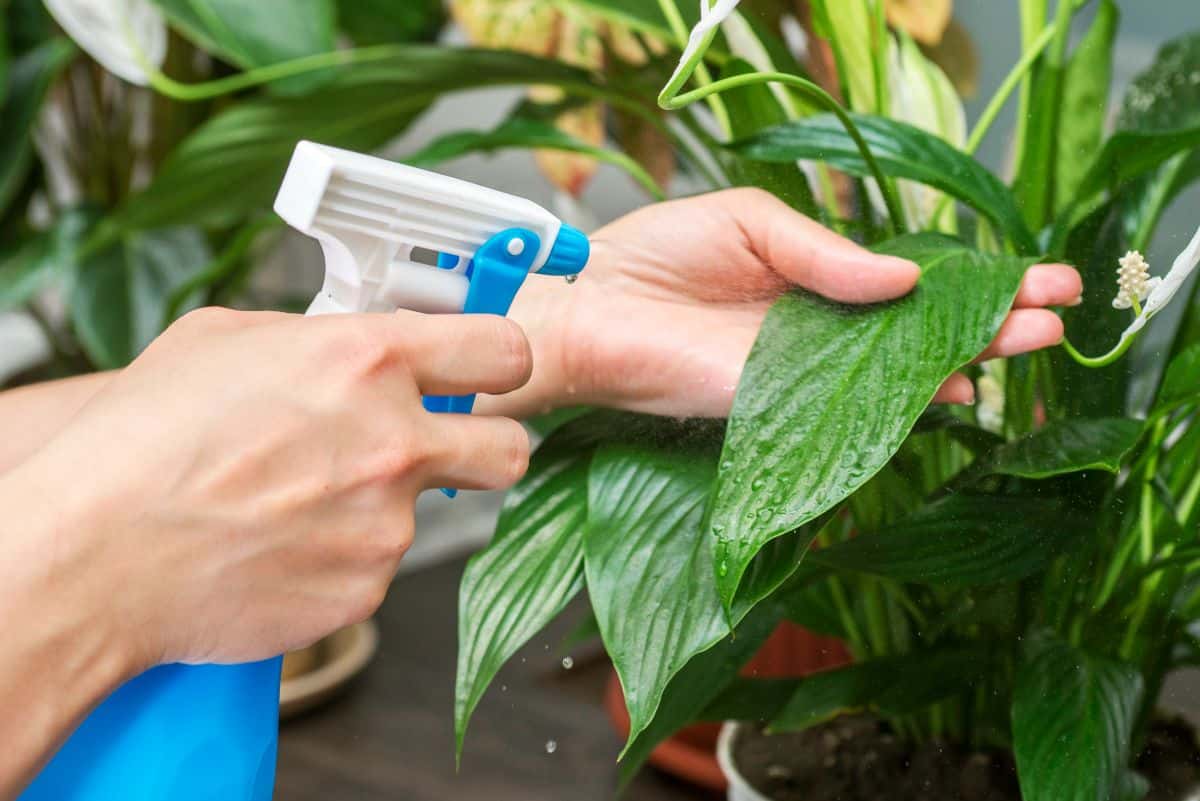
If you find any signs of pests on your plants, you’ll want to act quickly. Pests indoors can cause a lot of destruction fast, so treat your plants thoroughly with an organic pesticidal treatment.
For many pests, like spider mites and aphids, a homemade insecticidal soap spray is usually all that you need. To make your own, simply mix a few drops of Castile soap into a gallon of water and saturate your plants with the mixture, being sure to coat the underside of leaves too. To increase the effectiveness of your spray, you can also add a bit of neem oil to the mix.
Other pests, like hard-bodied scale, can be a bit trickier to fully eradicate. Although insecticidal soaps and neem may work on these pests, you may have better luck with horticultural oils. For best results, treat your plants every 7 to 10 days with your treatment of choice until all signs of infestation are gone and then treat one more time.
Even if your houseplants don’t show any signs of pests, it can still be a good idea to treat your plants anyway. Spraying leaves down with a DIY vinegar insect spray, insecticidal soap, or neem oil when you bring them indoors can help ensure no nasty pests are hitching a ride. Just remember to spray your plants in the evening after the sun sets to prevent leaf burn.
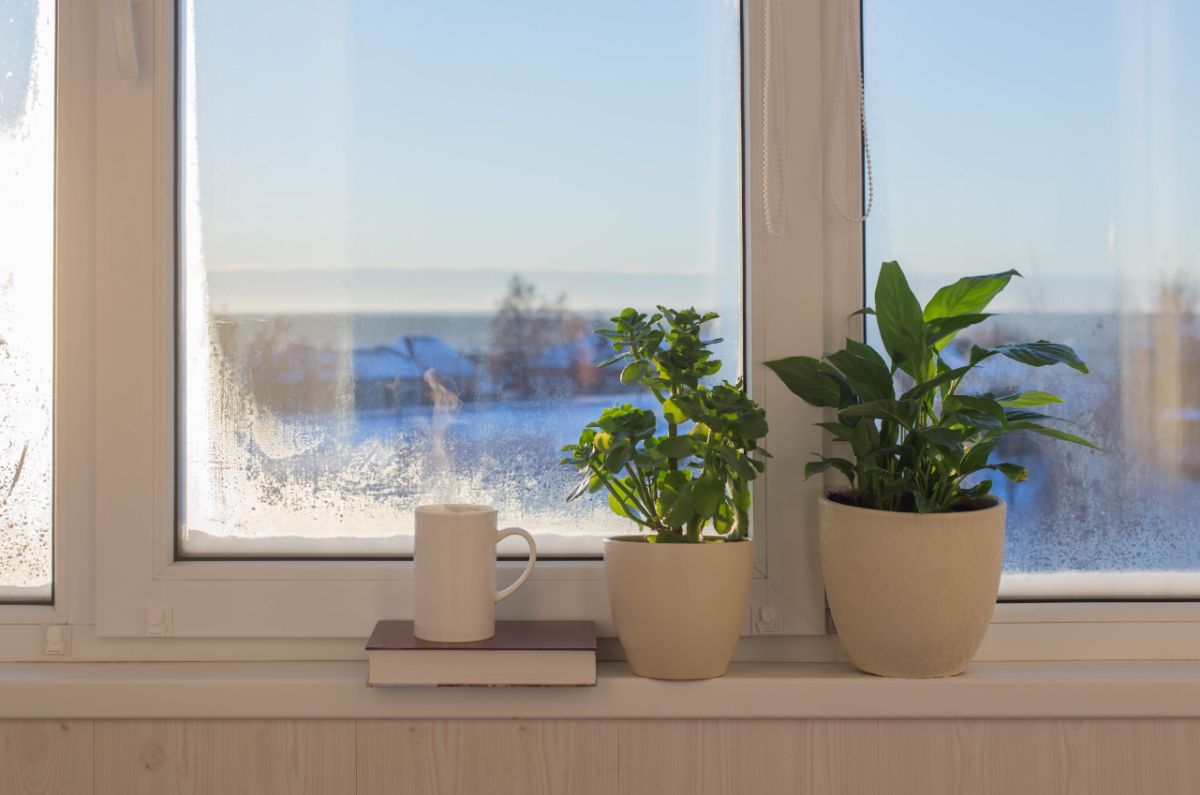
5. Provide adequate lighting
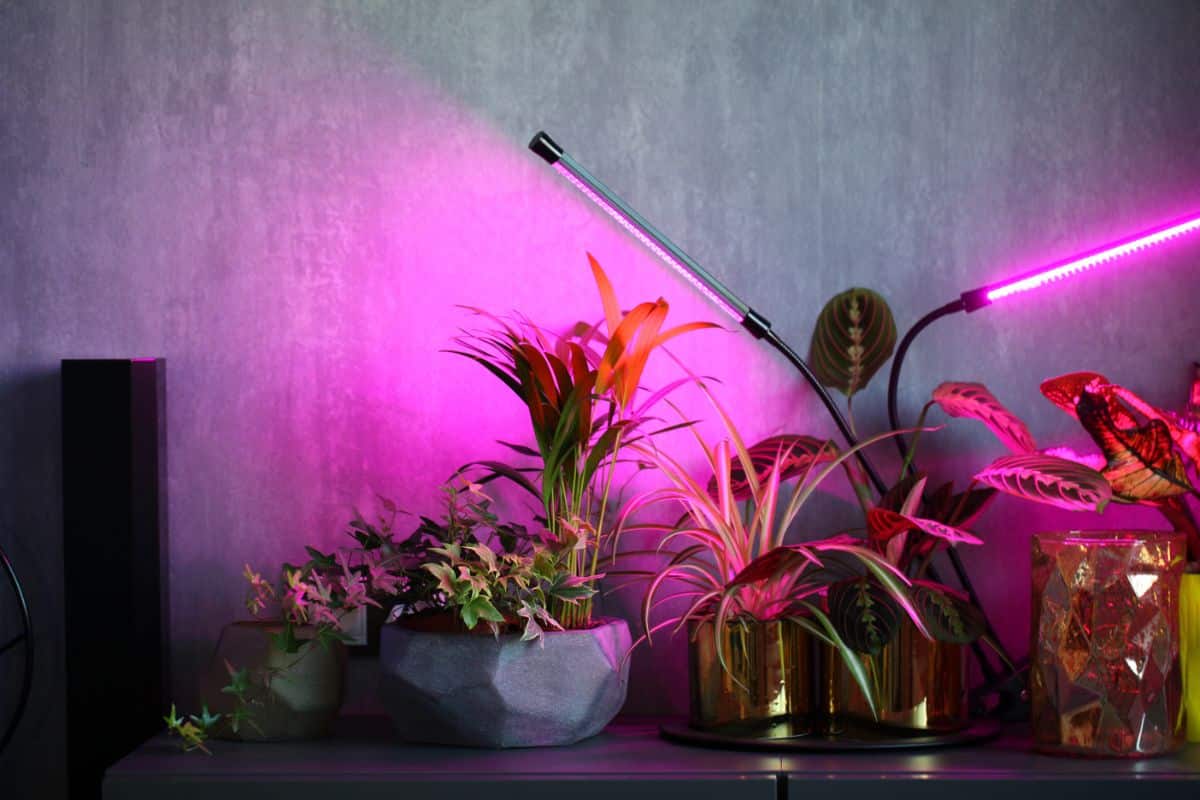
Depending on the type of houseplants you keep and how bright your windows are, you may not need to provide your plants with any additional lighting. However, poorly lit rooms and indirect light may be insufficient for many houseplant varieties, especially after spending the warmer months outside getting lots of bright sunlight.
To help your plants adapt to indoor light, be sure to slowly transition your plants inside over the course of a week or two. Follow recommended lighting requirements for specific plant types and add grow lights to your set up if you need to.
Most houseplants will do well under full-spectrum lighting, which provides a proper balance of cool and warm light to replicate natural lighting conditions. LED grow lights are one popular option as they use less energy to run them and they often allow you to adjust blue and red lighting levels based on what your plants need. In general, blue light can boost foliage growth, while red light encourages flowering.
For a more budget-friendly option, grow bulbs are another excellent solution. These bulbs simply screw into to any standard light you already have, including table lamps and floor lamps. That means you won’t need to store bulky grow lights all year long and you can keep your plant care budget to a minimum too!
6. Boost humidity levels
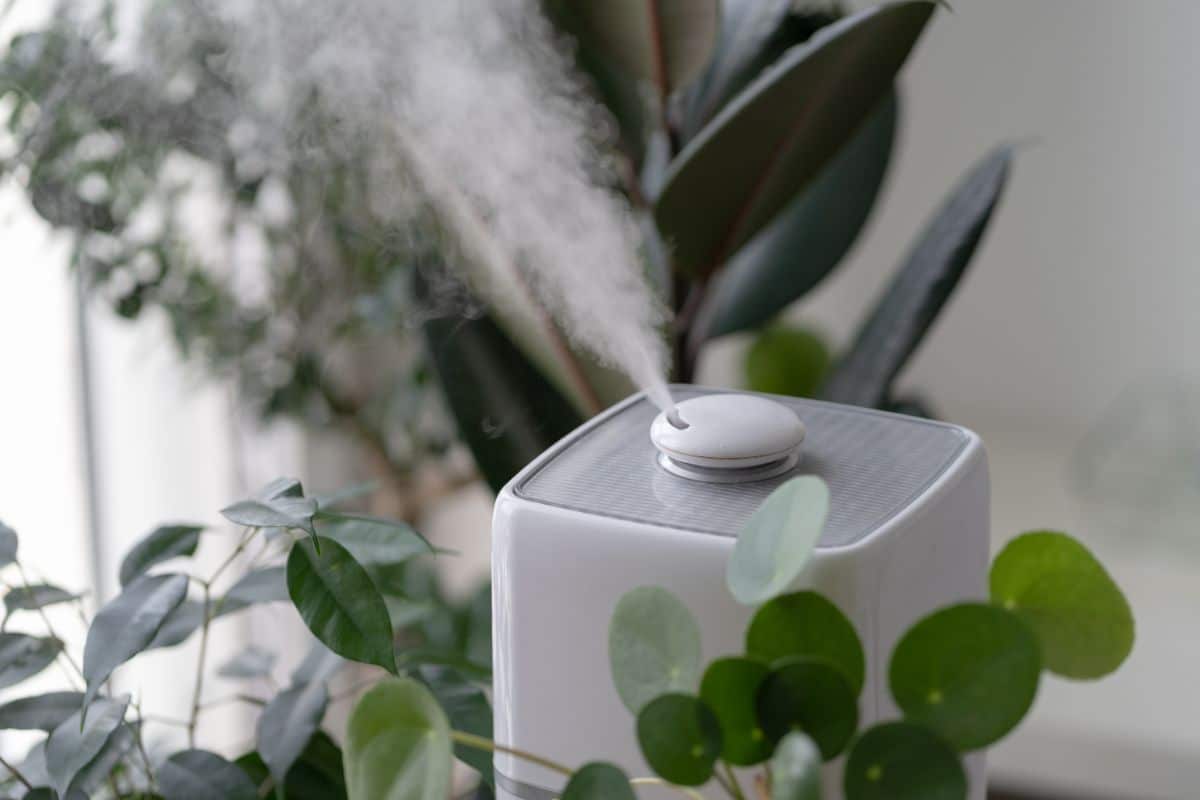
Outdoor humidity levels are usually higher than indoors, but in winter, that difference can be even more drastic. With fireplaces and space heaters running, indoor air can get very dry in wintertime, which can cause plant leaves to turn brown and crispy, particularly around leaf margins.
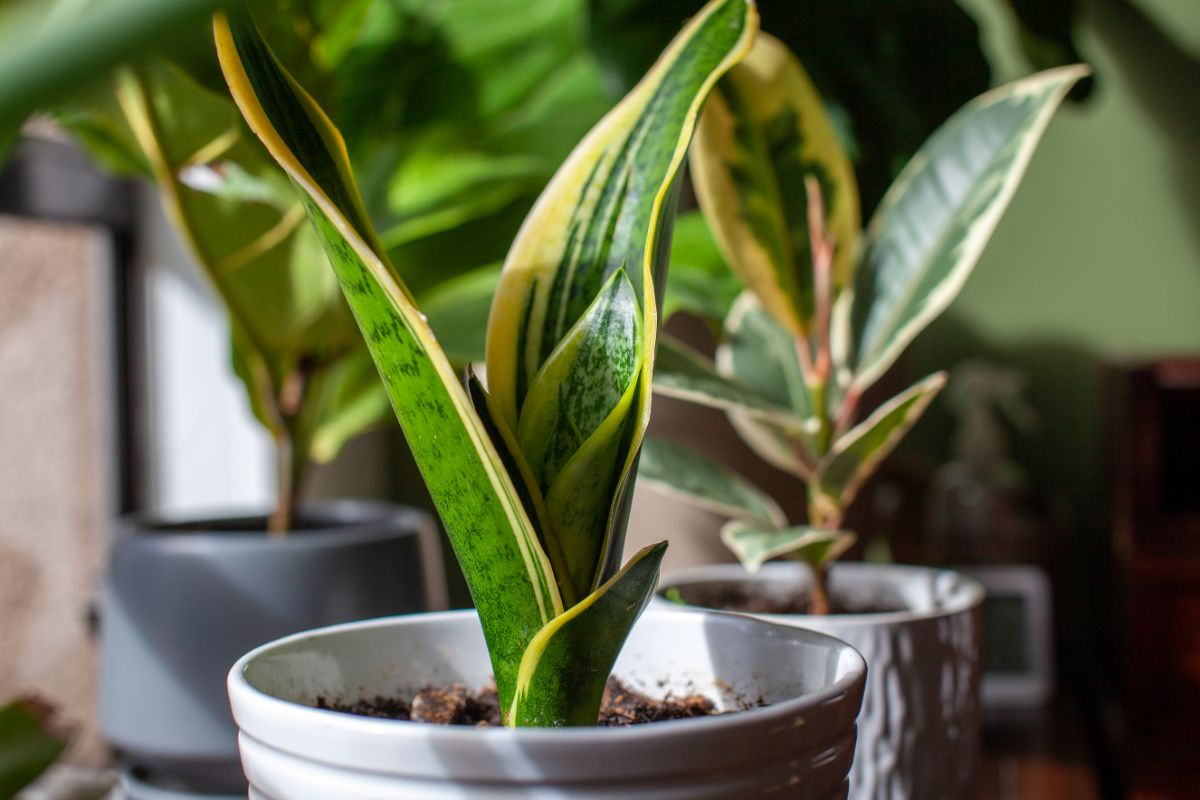
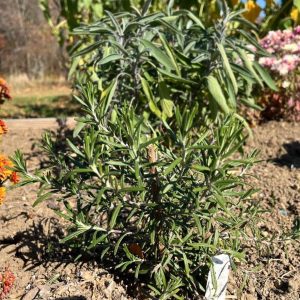
While not all houseplants require high humidity, many tropical species do. Ferns, in particular, require high humidity, as do sensitive plants like polka-dot plants, nerve plants and rattlesnake plants. Woody-stemmed herbs, like rosemary, also crave an extra humidity boost when grown indoors.
To keep your plants looking their best, try placing a humidifier in your grow room or perch your plant pots on top of a pebble tray with some water. As the water evaporates, it will add much-needed moisture to your plants’ environment, helping leaves to grow better and maintain their lush look. If you choose to work with a humidifier, cool mist humidifiers are often best for houseplants and even come in mini options for small spaces too!
While pebble trays work well for many tropical plant species, if you have plants that love very high humidity levels, like ferns, consider placing your plants in a steamy, well-lit bathroom. Your plants will love the extra humidity and they’ll also help regulate humidity levels, which can naturally counteract mold and mildew growth.
7. Reduce fertilizer
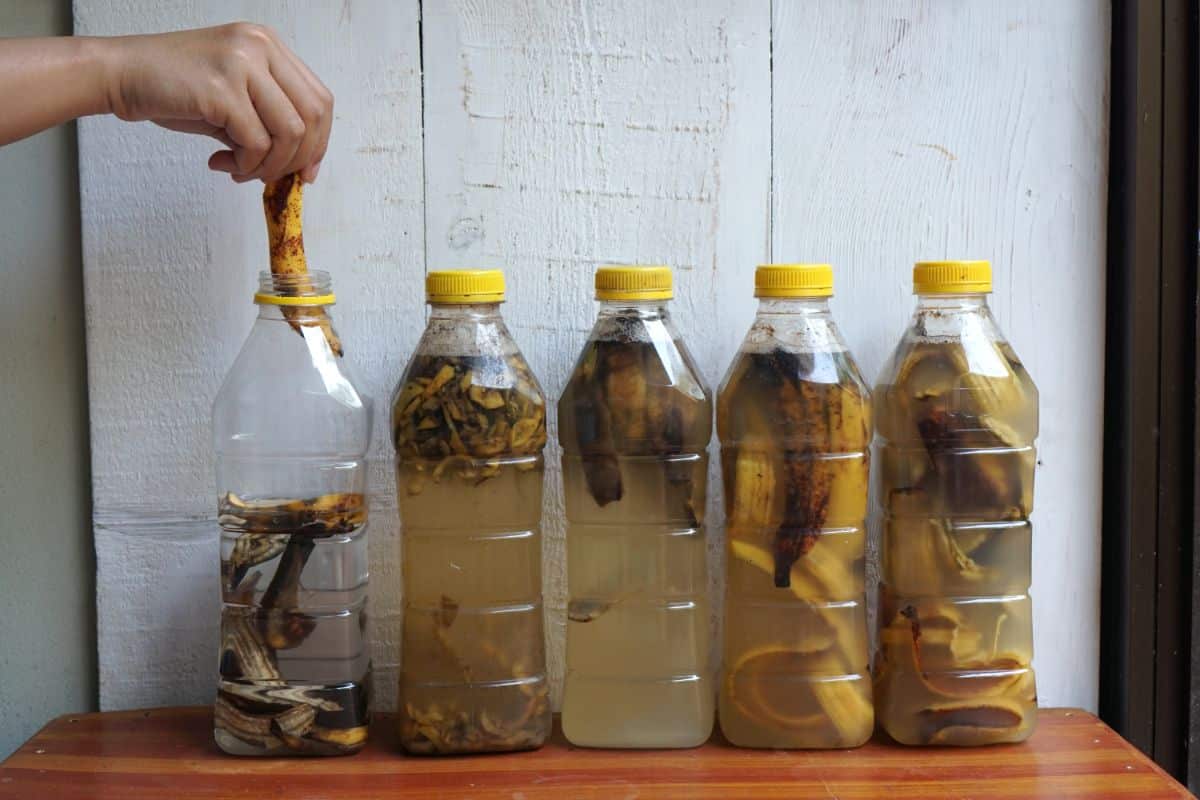
The growth rate of most plants slows in autumn and winter and some plant species even go fully dormant during this part of the year. Since plants aren’t actively growing, they require much less fertilizer. In fact, many gardeners choose not to fertilize at all in the cooler months.
Since plants need less fertilizer at this time, continuing to apply fertilizer at a standard rate may overwhelm your plants or even cause plant tissue burn as plants fail to absorb the fertilizer.
If you do decide to use fertilizer during fall and winter, apply it sparingly and consider diluting the fertilizer before application. Opting for all natural DIY fertilizers or making your own with coffee grounds, banana peels or other kitchen scraps is usually a safer option too, which is less likely to cause issues with overfertilization.
8. Repot if needed
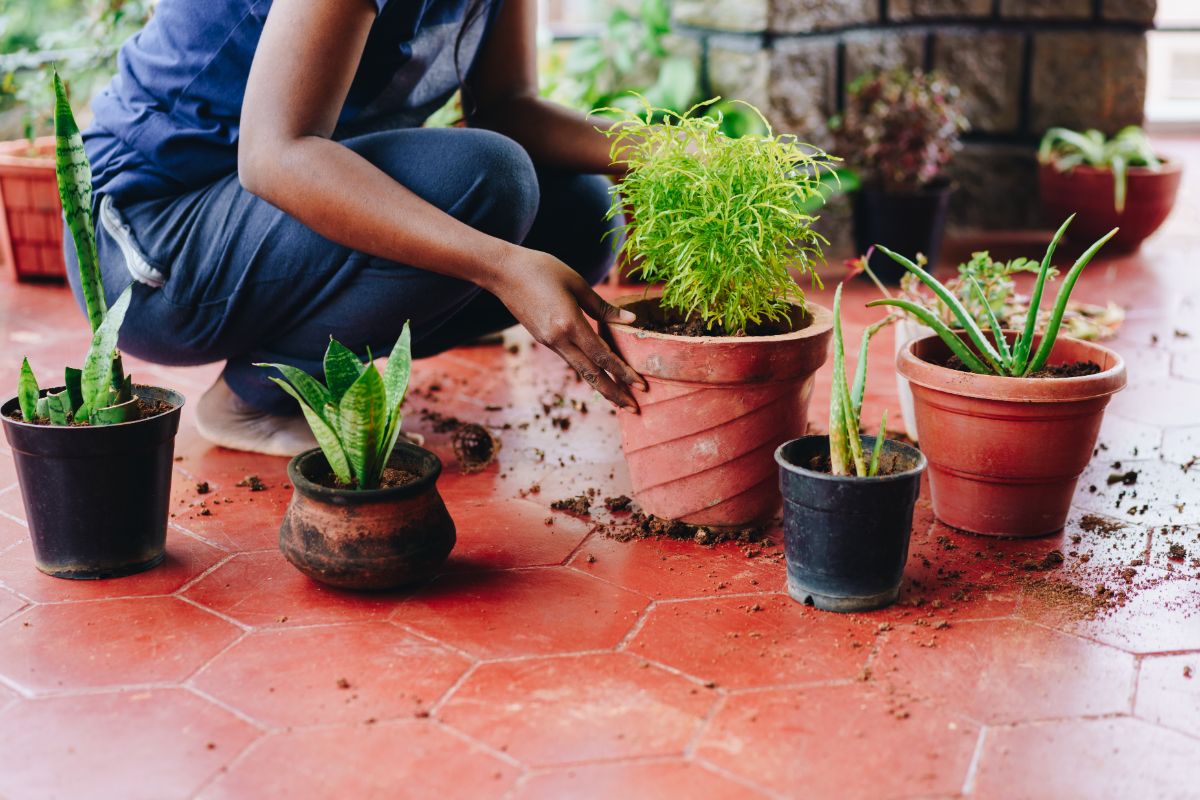
Repotting houseplants is usually done in spring and summer when the plants are actively growing. However, you can also repot your plants in autumn and there are a few reasons why you may want to do so.
First, after spending all summer outdoors, houseplant soil may feel compacted due to rain and weather. Or it may be harboring insects, like ants, that have decided to take up residence in your plant’s pot.
Additionally, due to the increased growth rate during the warmer months, you may notice your houseplant has gotten much larger since spring. If your plant looks bigger above ground, that usually means its roots have grown too. And, if those roots grew too much, your plant may be rootbound.
If your plant appears to be rootbound or the soil looks like it could use freshening up, consider repotting your plants before bringing them back indoors. This will give you a chance to replace their potting mix with new, nutrient-rich soil and inspect your plants for signs of pests. You can also use this time to clean up old mineral or salt stains on terracotta pots with a bit of vinegar.
9. Adjust watering requirements
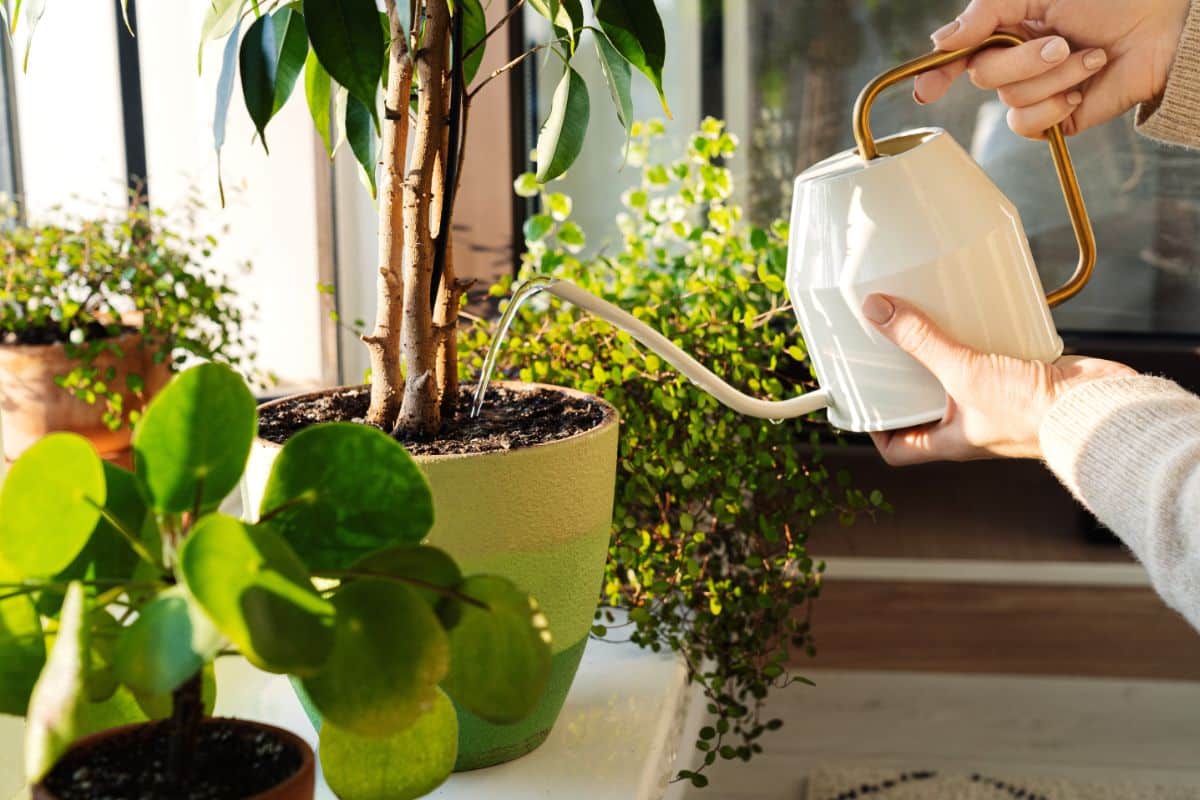
Just as houseplants don’t need much fertilizer during the cooler months, they usually need less water too.
Because they are not actively growing, or are growing slower, watering can usually be reduced significantly for most houseplants after bringing them indoors in autumn. Since it can sometimes be tricky to figure out exactly how much water plants need throughout the year, try pressing your finger into your plant’s soil to test moisture levels. For most tropical plants, it’s time to water when the top 1 to 2” of soil feels dry to the touch, but if the soil still feels wet, put away that watering can!
10. Tidy up your plants
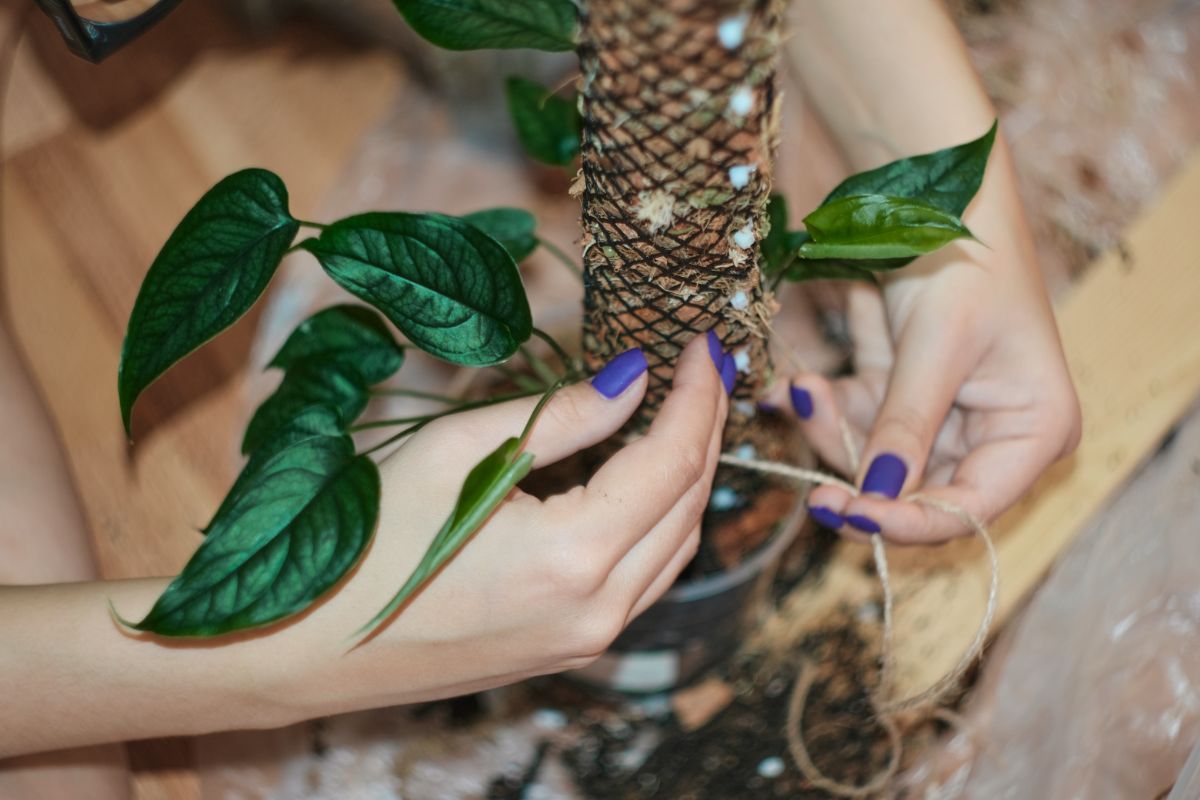
Plants can grow a lot during the summer months and can get quite unruly looking by season’s end. So, if you notice your plants are looking messy when you bring them indoors, take the time to clean them up.
Pruning away leggy stems can make your plants look tidier and promote bushier, vertical growth. It can also help you get loads of cuttings to propagate new plants with.
If you don’t want to prune your plant, adding trellising or moss support poles can help tame overgrown plants and ensure they fit snugly on your indoor display shelves.
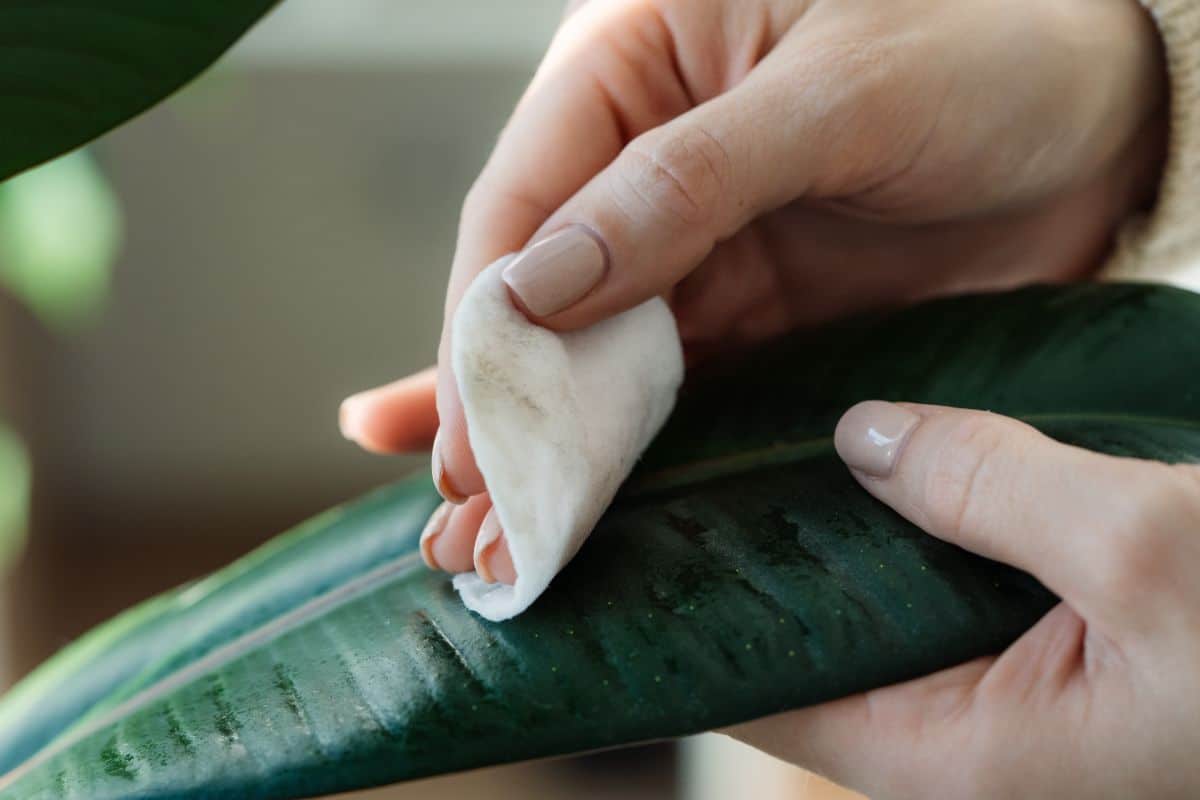
11. Clean off plant leaves
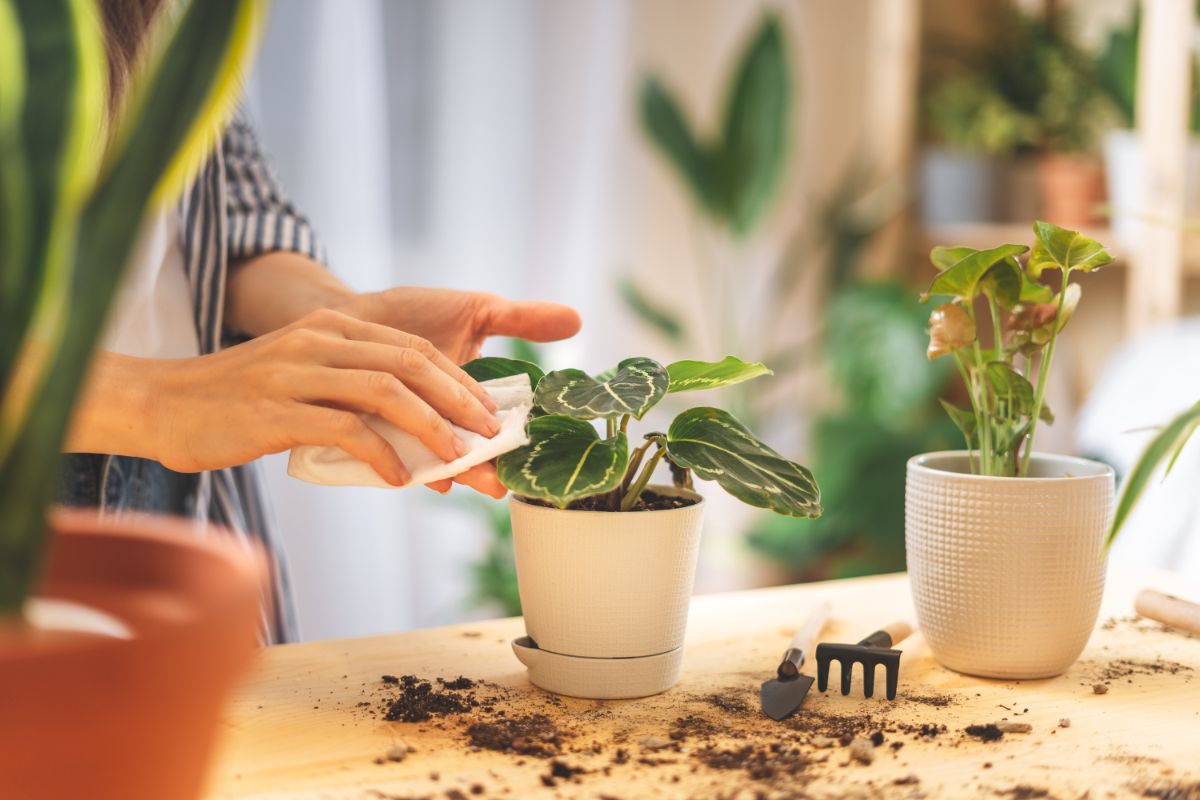
Rain, fertilizer and pollen can all leave unsightly water stains and debris on plant leaves. But this isn’t just unappealing. Any debris leftover on your plant’s leaves can block sunlight and limit your plant’s ability to photosynthesize.
When bringing your plant indoors, try wiping off their leaves with water and a damp microfiber cloth or other soft material. After that, dust your plant’s leaves regularly throughout fall and winter until your plant’s are ready to go back outside. This will make certain that your plants get the most out of all that gorgeous, winter sunlight filtering in your windows!
12. Take cuttings if needed
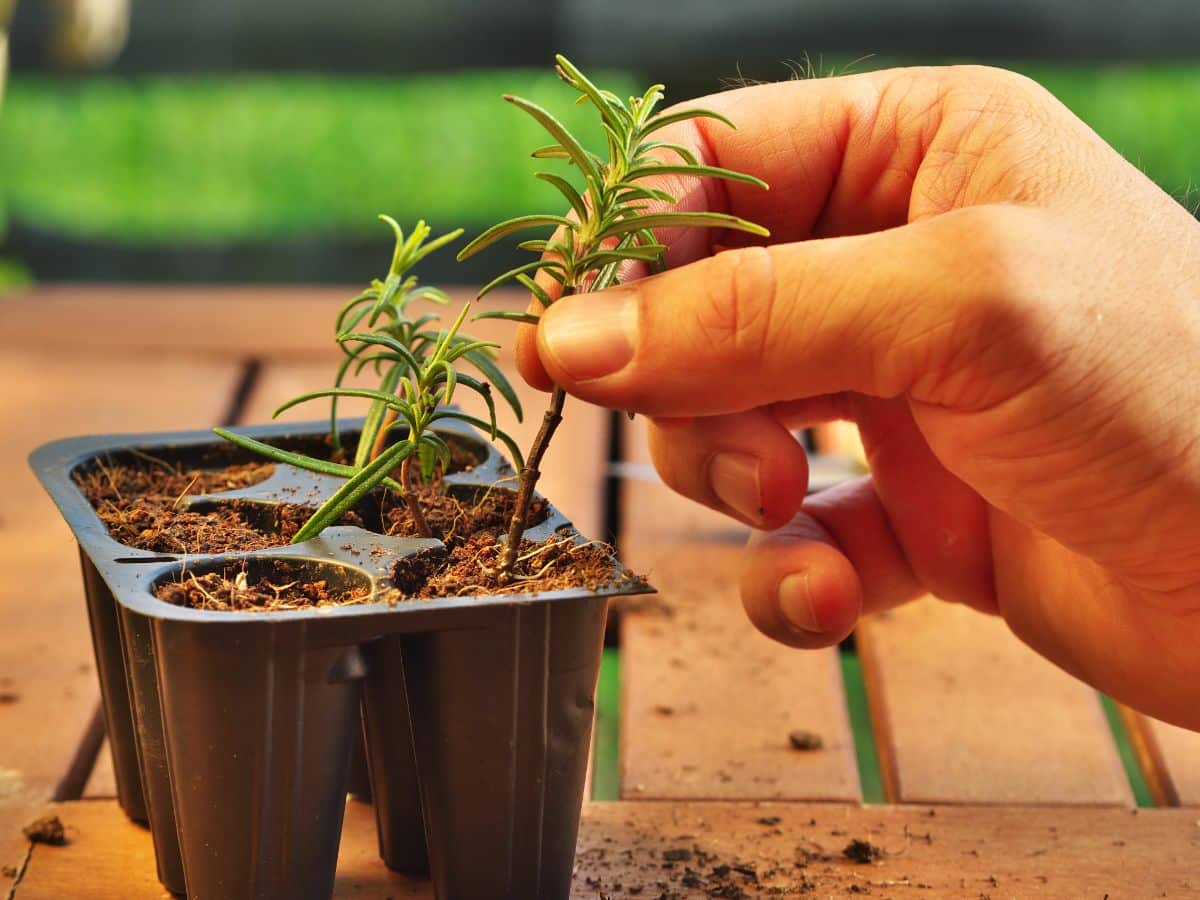
Pruning your plants when you bring them indoors in autumn can help your houseplant collection look its best and give you lots of new cuttings to propagate. But if you have annual plants and herbs that you’ve been growing outdoors in your garden, you may be able to bring those inside too. But with a catch!
Overwintering some annual ornamentals and culinary herbs indoors can save you money as you won’t need to purchase those same plants in spring. But sometimes the transition indoors is too difficult for these tender plants.
Instead, taking cuttings of those plants and rooting them in soil or water is often easier than overwintering the entire plant. Dipping cut stem ends in rooting hormone prior to potting them up can jumpstart the root’s growth process too.
Frequently Asked Questions
Many houseplants are tropical species, so they need to be brought indoors in early autumn before freezing temperatures arrive. Because cool night temperatures can be hard on these tropical plants, aim to bring your plants indoors when nighttime temperatures reach about 50 to 55°F.
Spider mites, mealybugs and other pests can be a nuisance indoors. Dipping your plant in a bath of Castile soap and water or spraying your plants with organic insecticidal soap sprays, horticultural oils or neem oil will help debug your plants and prevent an indoor infestation.
When it’s time to bring your plants indoors, gradually acclimate your plants to reduced lighting by moving them to shady spots in your yard. Be sure to check your plants well for insect pests and provide them with adequate lighting when they finally move inside.
If you’re growing annuals or tender herbs outdoors and winter is approaching, you may be able to overwinter your plants inside and then replant them outside in spring. To increase the chances that plants will adapt to indoor life, be sure to provide them with lots of bright, indirect light or a grow light and increase humidity by adding a humidifier or pebble tray to your setup.
Summary
Placing your houseplants outside during the summer months is an easy way to boost plant growth, promote flowering and improve your plant’s health overall. But when temperatures start to drop, moving your plants indoors is an essential part of plant keeping in autumn.
With the help of this guide, we hope you feel more confident about how to successfully transition your houseplants back indoors in fall. For more plant content, check out our guide on propagating rosemary and bring your outdoor herb garden inside this winter!

Leave a Reply