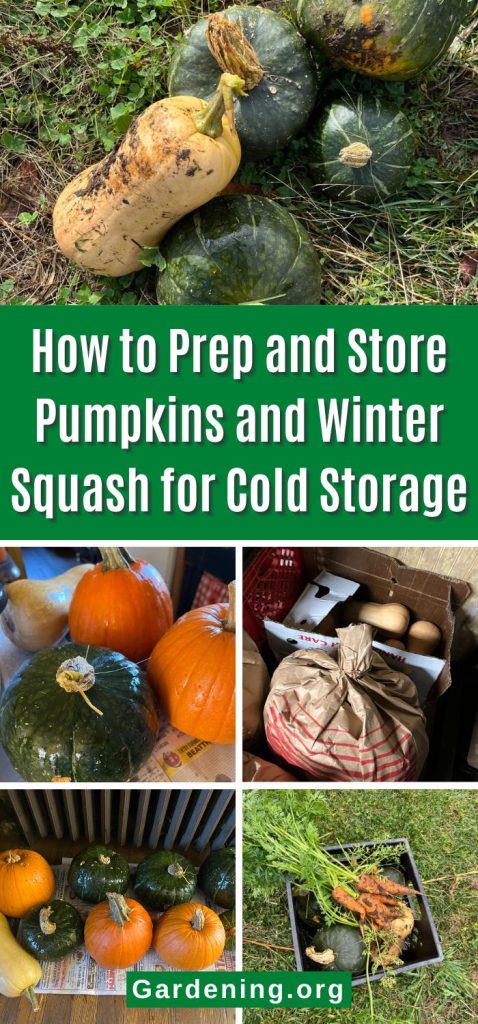

Winter squash and pumpkins are great things to grow in your garden. They are healthy and nutritious and are excellent sources of fiber (for both you and your pets!).
They are delicious and versatile—cook with them, bake with them, serve them as side dishes, or make them into main dish soups. The possibilities are almost endless.
What's more, they are easy to grow. As long-season growers, if you prep a good spot and use a good mulch or weed barrier, you can almost forget about them until harvest time. (ALMOST! Do check periodically for insect pests and signs of disease like powdery mildew...but also know that these things are easy to treat with good organic methods).
Indeed, for a minimal investment in time, money, and effort, you can grow an abundance of food just by growing a small squash and pumpkin patch. Once they’re grown and ripened, though, then what? How do you store them to feed your family this winter?
Jump to:
Easy-Storing Winter Squash
One of the absolute biggest advantages to growing and using winter squash and pumpkins for off-season eating is that they are extremely easy to store. There is very little work required to get your winter squash ready for storing, and there is little required in terms of storage—all you need is a cool space that won’t freeze. No electricity, no refrigeration, no canning, freezing, or dehydrating required. It’s THAT easy!
(Note here that the term “winter squash” can be used interchangeably with pumpkins, since pumpkins are, in fact, a winter squash.)
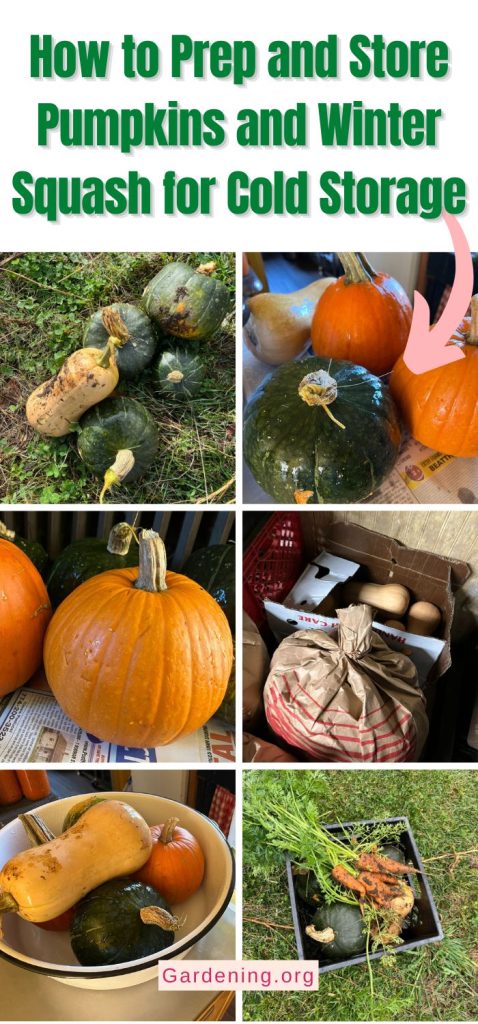
A Simple Four Step Process for Curing and Storing Winter Squash and Pumpkins
In four simple steps, you will have your winter squash ready for long-term storage. All told, the average home gardener probably won’t even spend an hour in hands-on work getting their winter squash and pumpkins into storage.
The four steps or phases of prepping winter squash for storing are cleaning, curing, ripening, and storing. Some of these steps (like ripening) overlap and happen mostly on their own. Here’s a closer look at the how-to of each step:
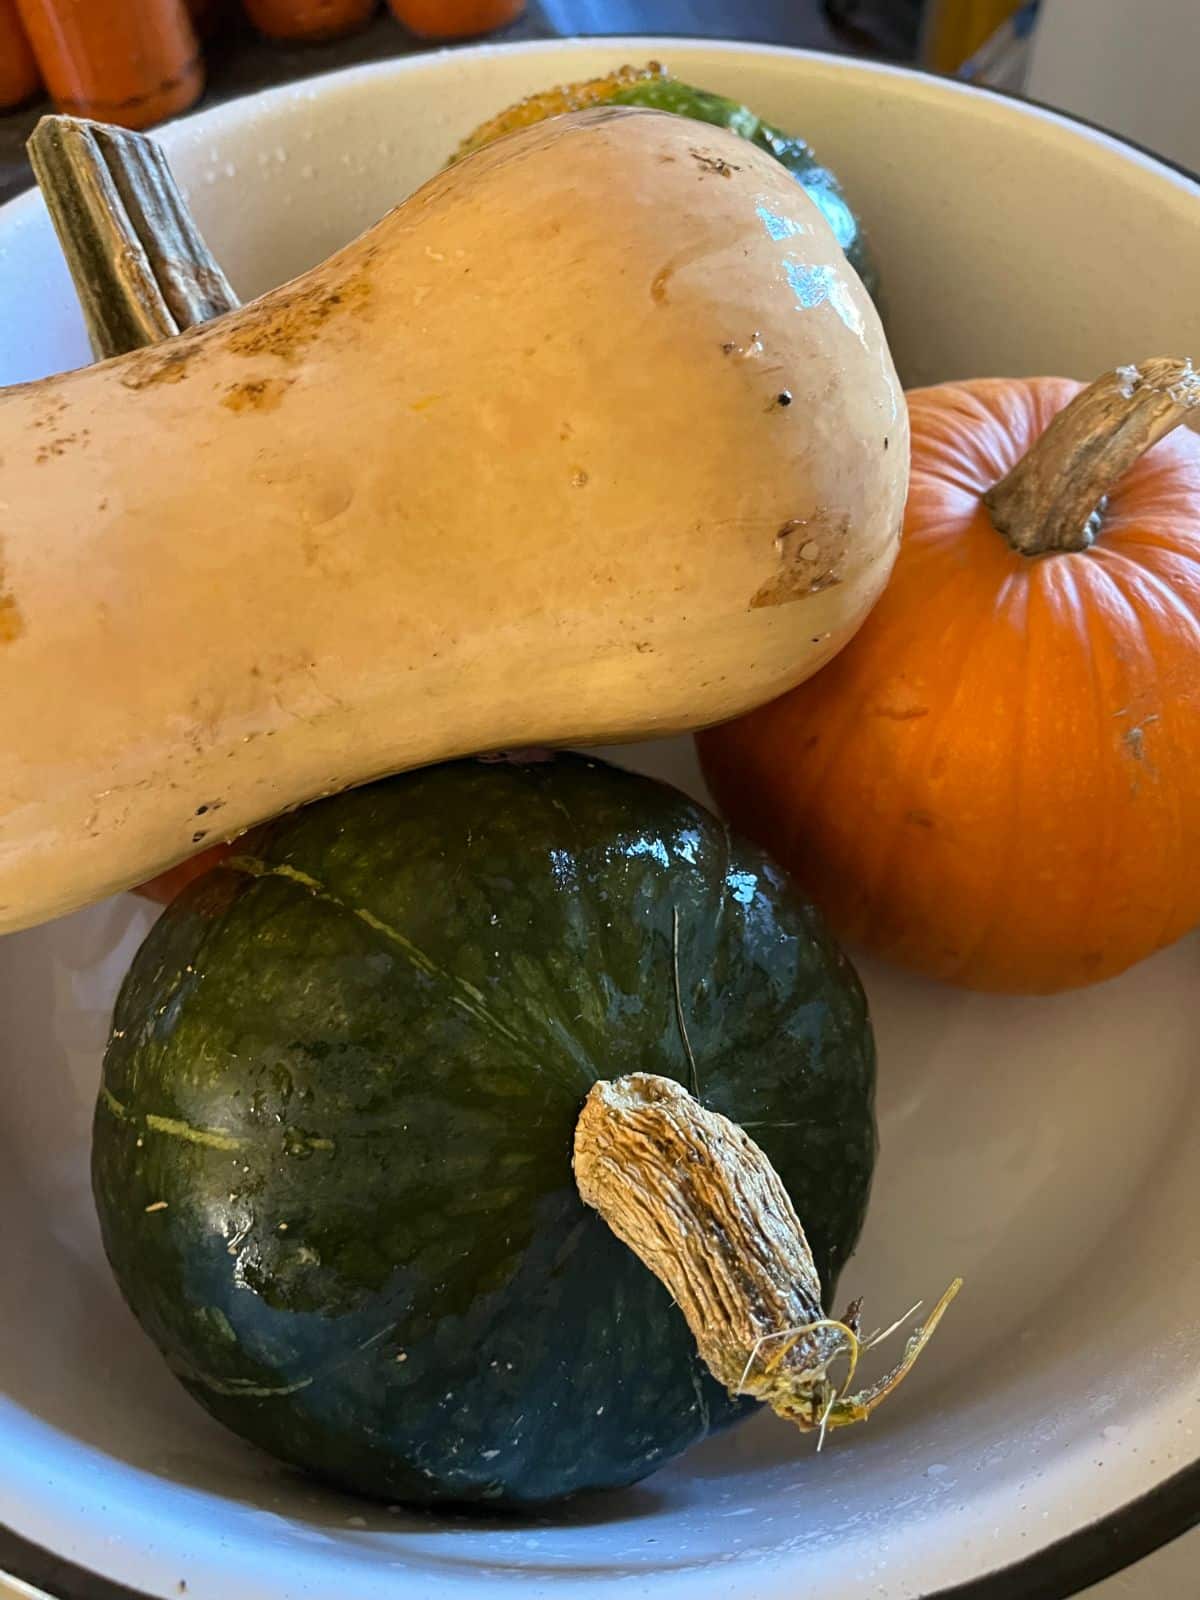
1. Cleaning
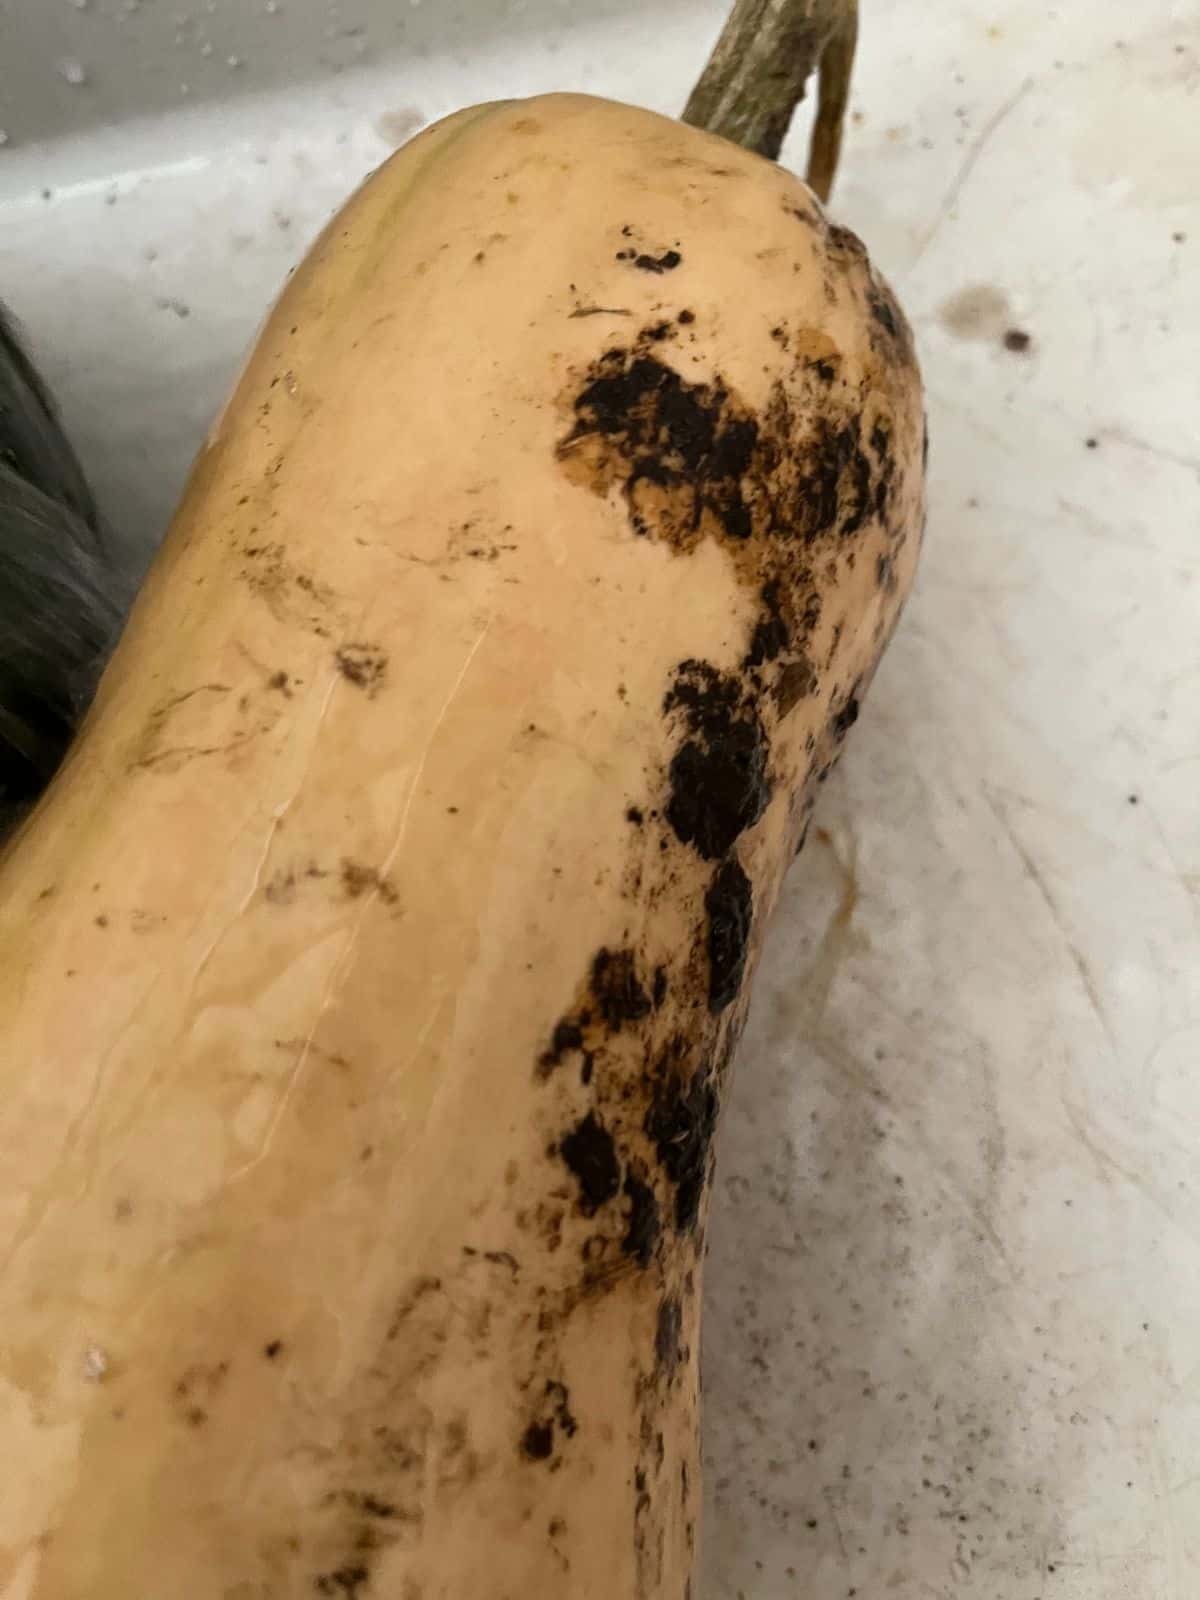
The first thing you want to do after you harvest your ripe winter squash and pumpkins is to clean them. The purpose of cleaning is to remove caked-on dirt and detritus and also to disinfect the surface of the skin. This easy disinfecting step will kill off bacteria, insects and larvae, molds, fungal spores, and spores and pathogens that cause rotting.
Before disinfecting, wipe, rub, or spray off thick mud and dirt. Then disinfect.
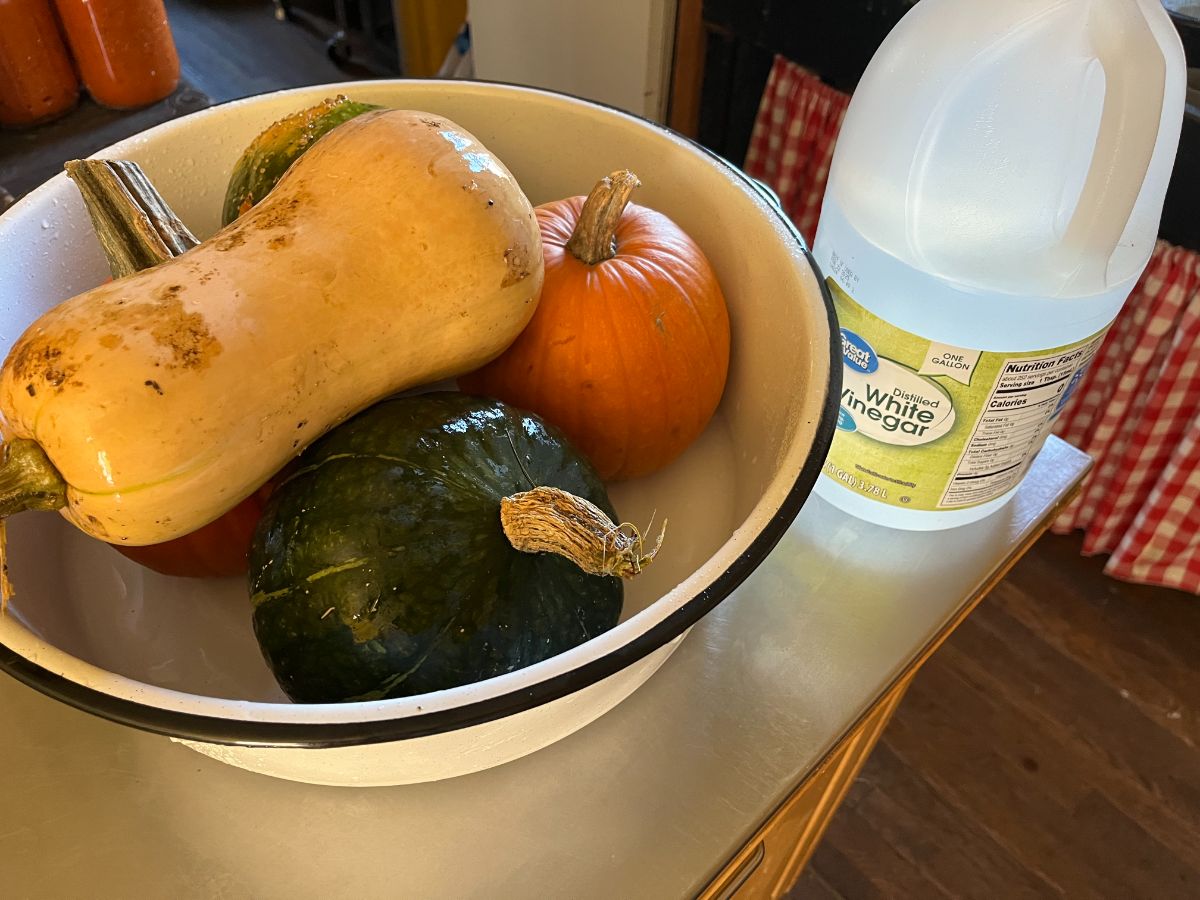
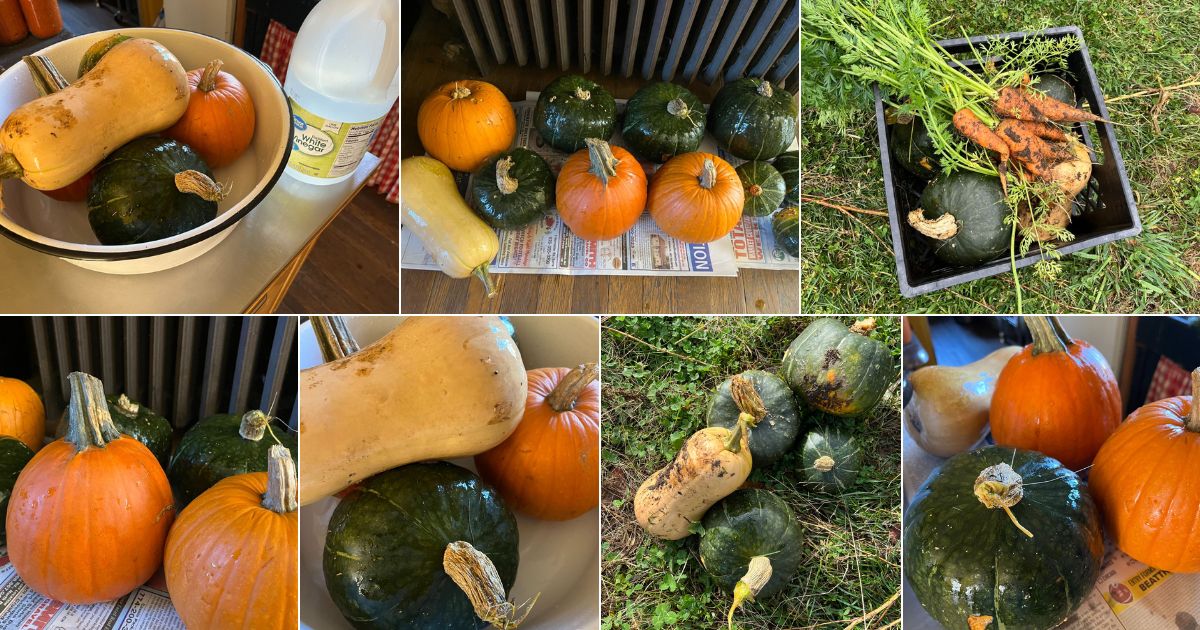
Disinfecting your winter squash is easy:
- Mix a solution of vinegar and water in a one to four ratio (one cup of vinegar and four cups of water, for example).
- Wipe down the entire skin and surface of the squash, using a rag.
That’s it. That’s all there is to it. Now you are ready to move on to the curing stage.
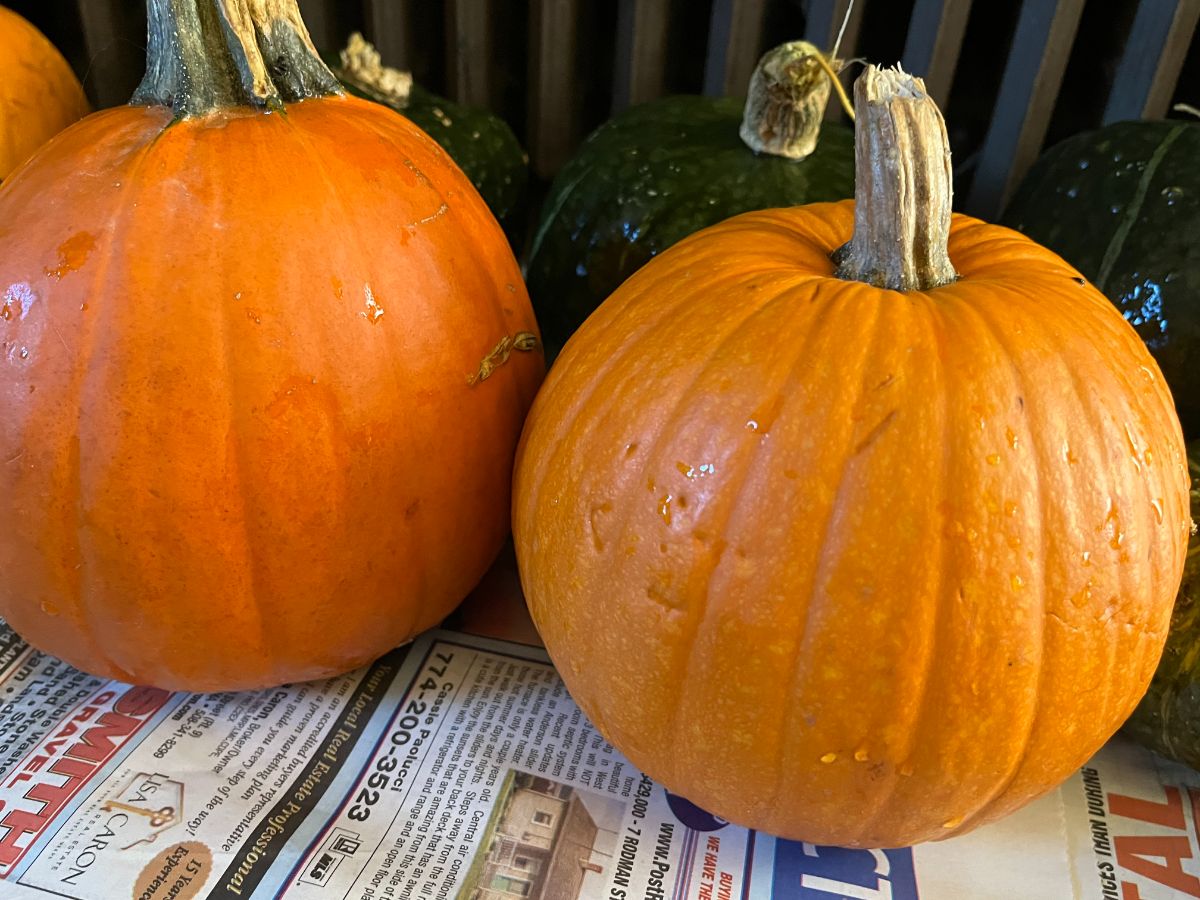
2. Curing
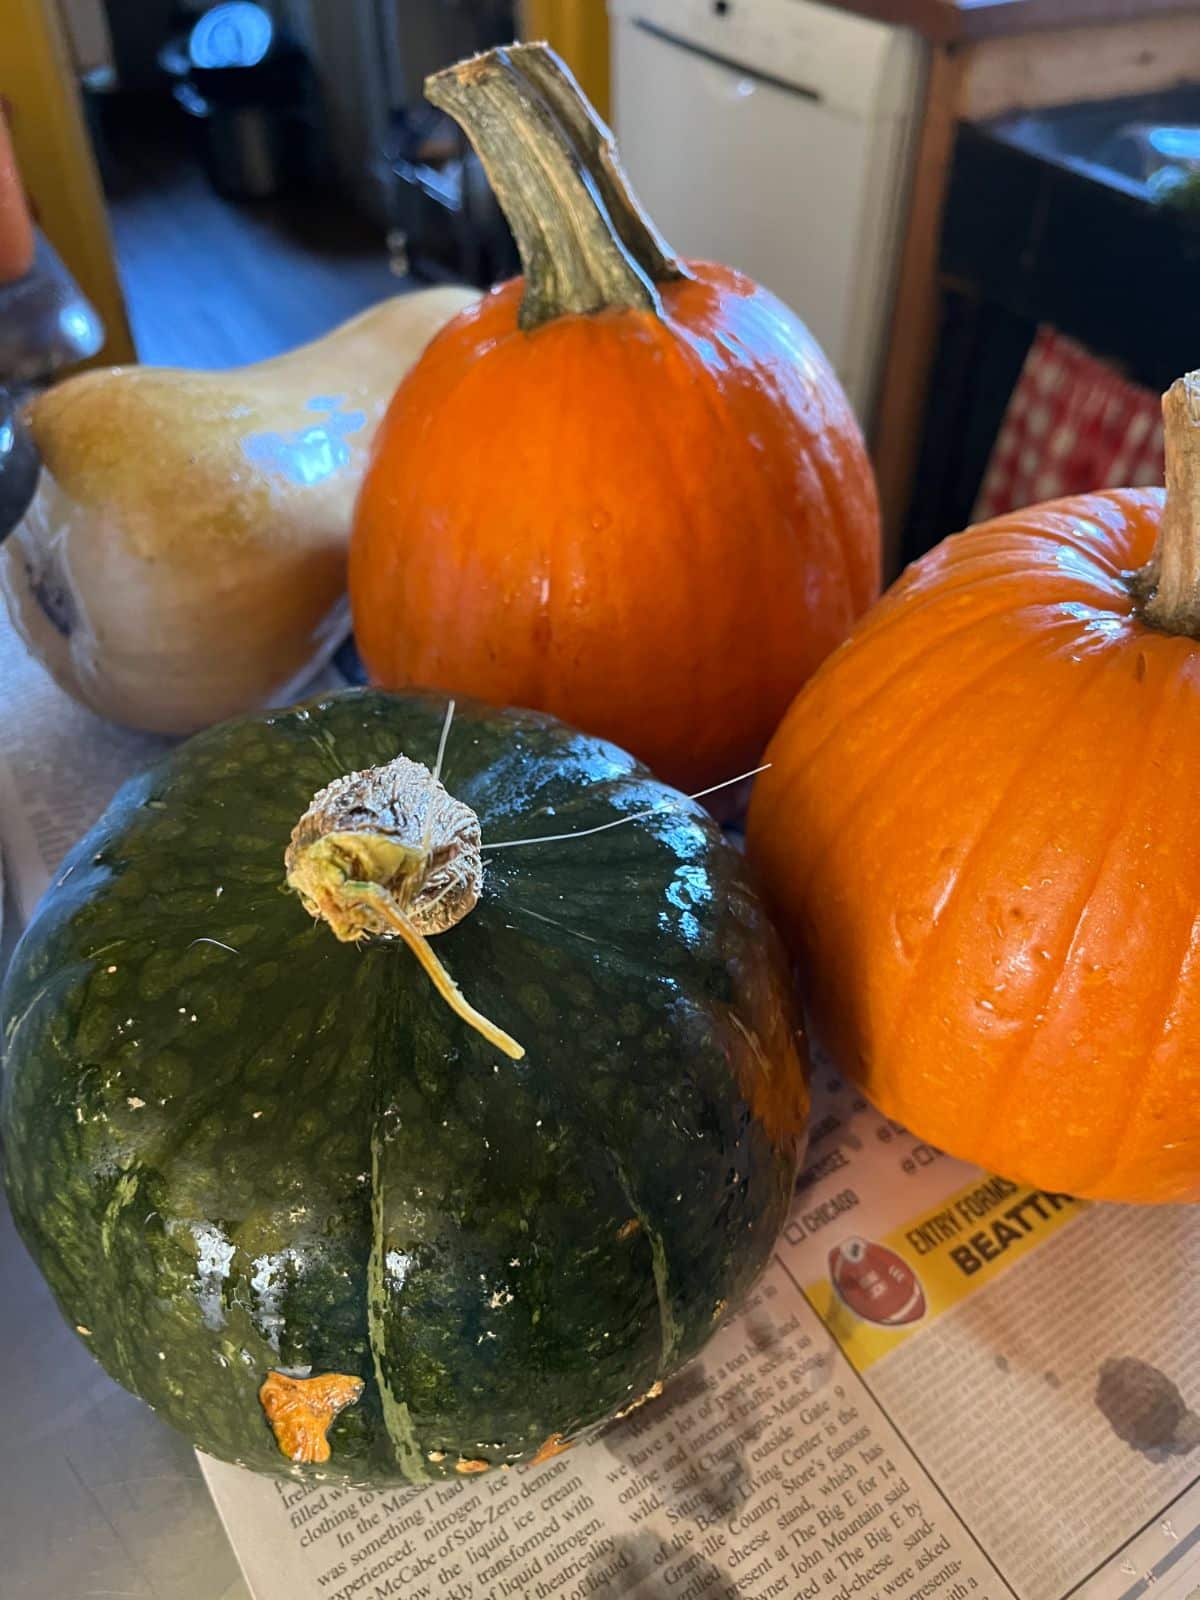
The purpose of the curing stage is to harden the skin to seal the interior of the squash. This step also will allow the stem to dry and seal. In this phase you are likely to notice a deepening or darkening of the skin and the stem’s color. That just means that the process of curing is working. In some squash this may be a subtle change, so don’t worry if it’s not obvious to you. As long as you have followed these steps, your squash will be in good shape for storing.
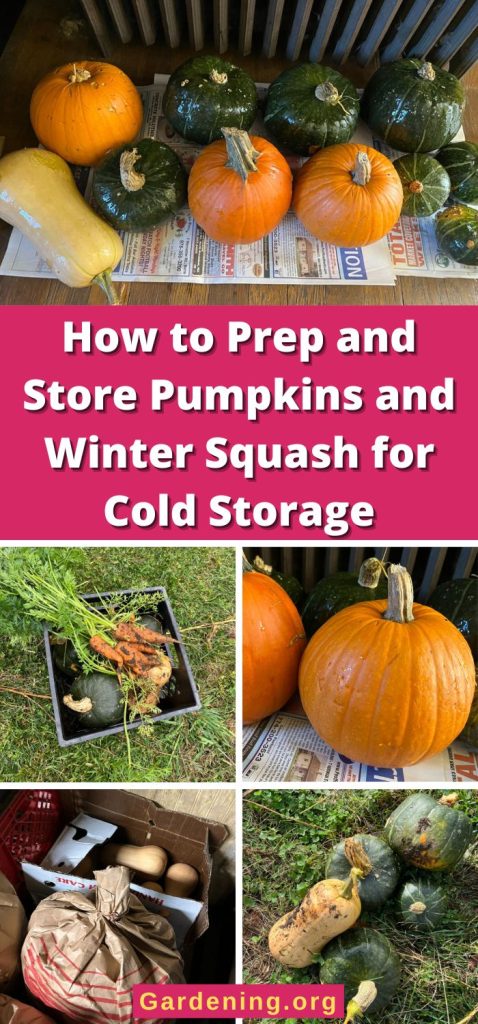
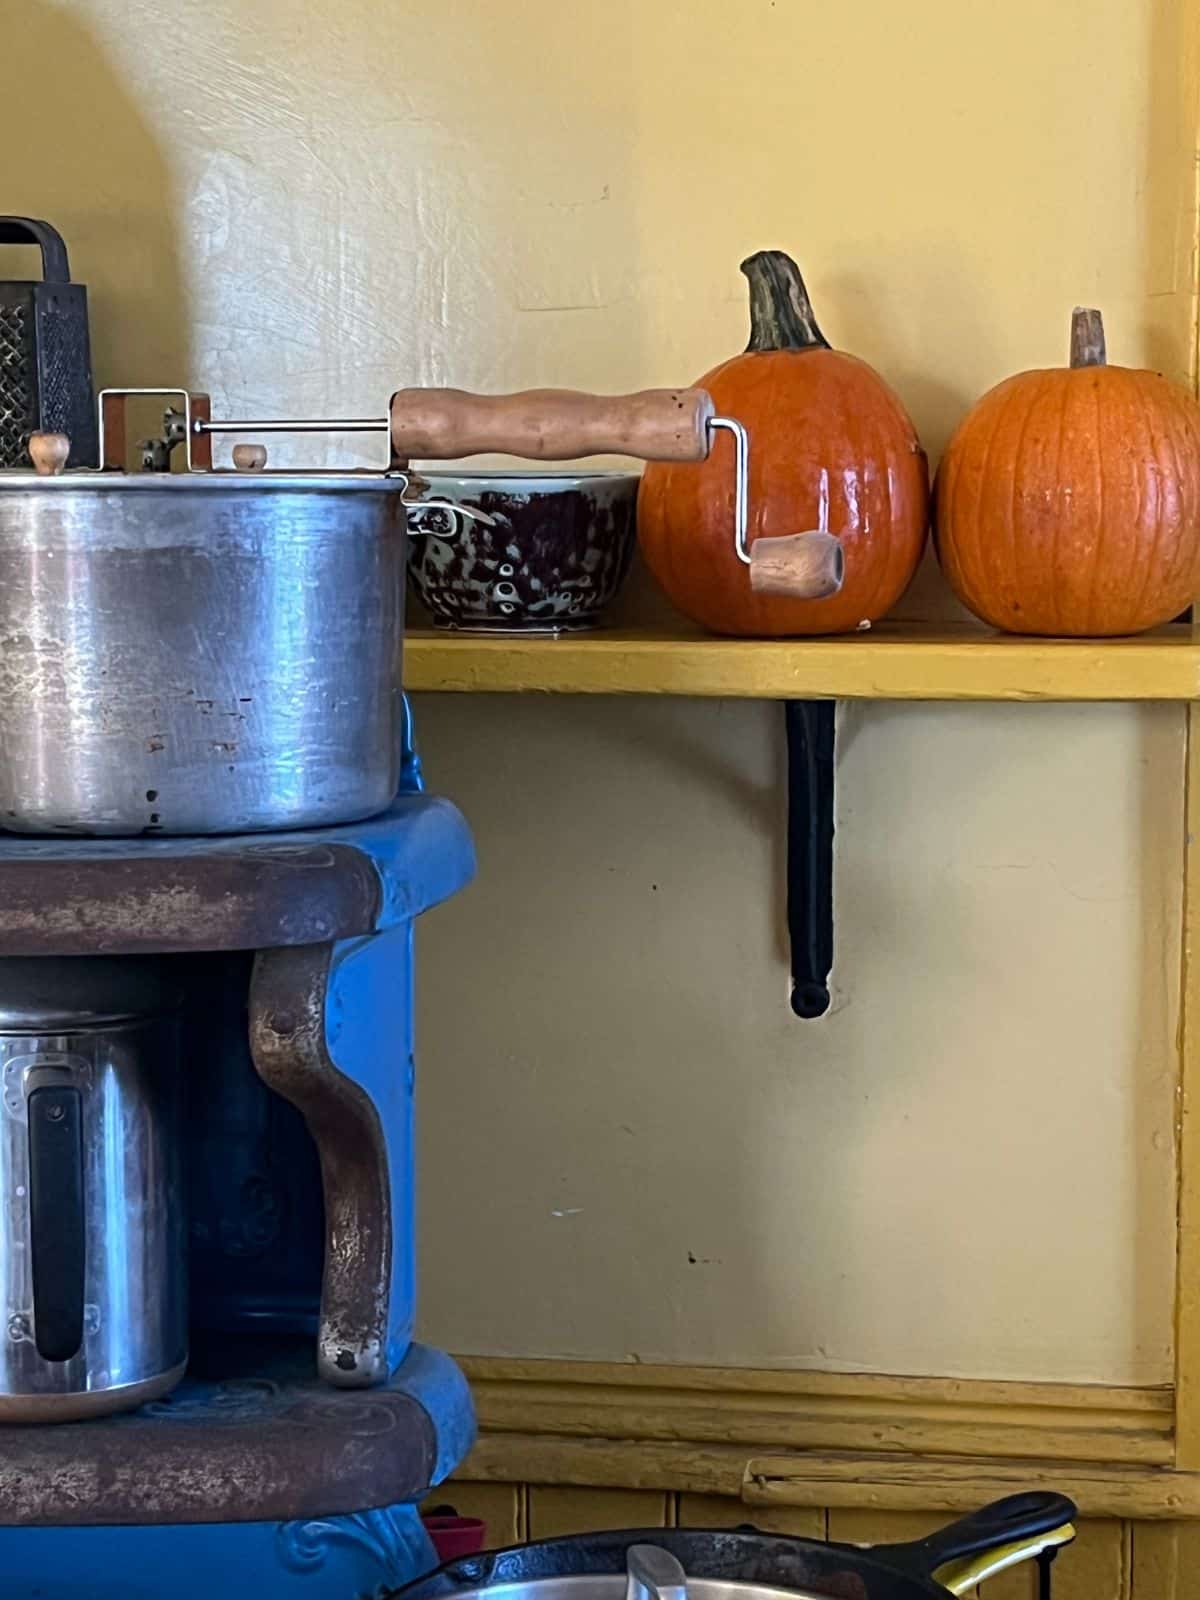
While curing, you will keep your winter squash and pumpkins in a warmer area than you will for long-term storage.
- After disinfecting with vinegar, place your winter squash in a warm area—one where they can stay for a couple of weeks without being battered or without needing to be moved too often (to be clear, moving them won’t cause harm, it’ll just complicate your life!)
- The area should be as close to 80 F to 90 F as you can achieve. This may be difficult to achieve during the fall months, so do your best. If the best you can do is warm room temperature, that’ll be fine. If you can place your squash near or behind a heat source, this can help increase the temperature range for your squash, even though the average room temperature you are experiencing is lower. (This might be in a room with a wood stove, near a heater, or on a mantel or shelf above a heat source.)
- Keep squash dry during the curing stage.
- Leave your squash in the curing area for one to two weeks.
3. Ripening
Ripening isn’t a step so much as it is a waiting period. It’s simply the amount of time that you should wait, ideally, between harvesting and eating your winter squash. During ripening, the amount of dry matter decreases in the squash and the sugar content (or “brix”) increases. This means that your ripened squash will be moister and more flavorful, with a fuller, deeper taste.
As a side note, it is safe to eat squash during this period, but you’ll enjoy it more if you wait a couple of weeks.
- For most winter squash, wait two to four weeks for it to ripen before you eat it.
You don’t have to do anything to the squash during this time. In fact, ripening will just happen while you cure and store your squash.
There are different ideal curing times for different types of winter squash. On average, and if in doubt, two weeks to a month is a good rule of thumb. Here are some recommended ripening times for some of the more popular varieties of winter squash:
- Acorn squash, Delicata squash, Mini Hubbard squash, Pumpkins, and Spaghetti squash: 2 to 4 weeks
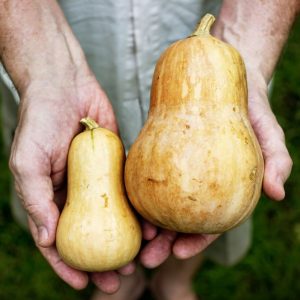
- Buttercup squash, Butternut squash, Hubbard squash, Kabocha squash: 1 to 2 months
Don’t overthink the ripening step. Harvest your squash, cure them, and start enjoying them in a few weeks. You won’t be disappointed.
4. Storing
After your squash are cleaned and cured (and while you wait out the period of ripening), they’re ready to be moved into their permanent storage space. This is where they will stay until you eat them. Yum!
Here’s how to store your winter squash:
- Store winter squash and pumpkins in a cool place with medium-high humidity and good air circulation.
- Pack or place the squash for long-term storage. Again, choose a space where the squash won’t be bumped, thumped, bruised, or moved around a lot.
- The most important thing is this: do not let your stored squash freeze!
- Stacking and packing can cause bruising and pressure injuries. It can also restrict airflow.
- If you can, set squash in a single layer on a dry floor or shelf. If that is not reasonable, you can layer the squash two or three high. Try to avoid anything higher or deeper than three high.
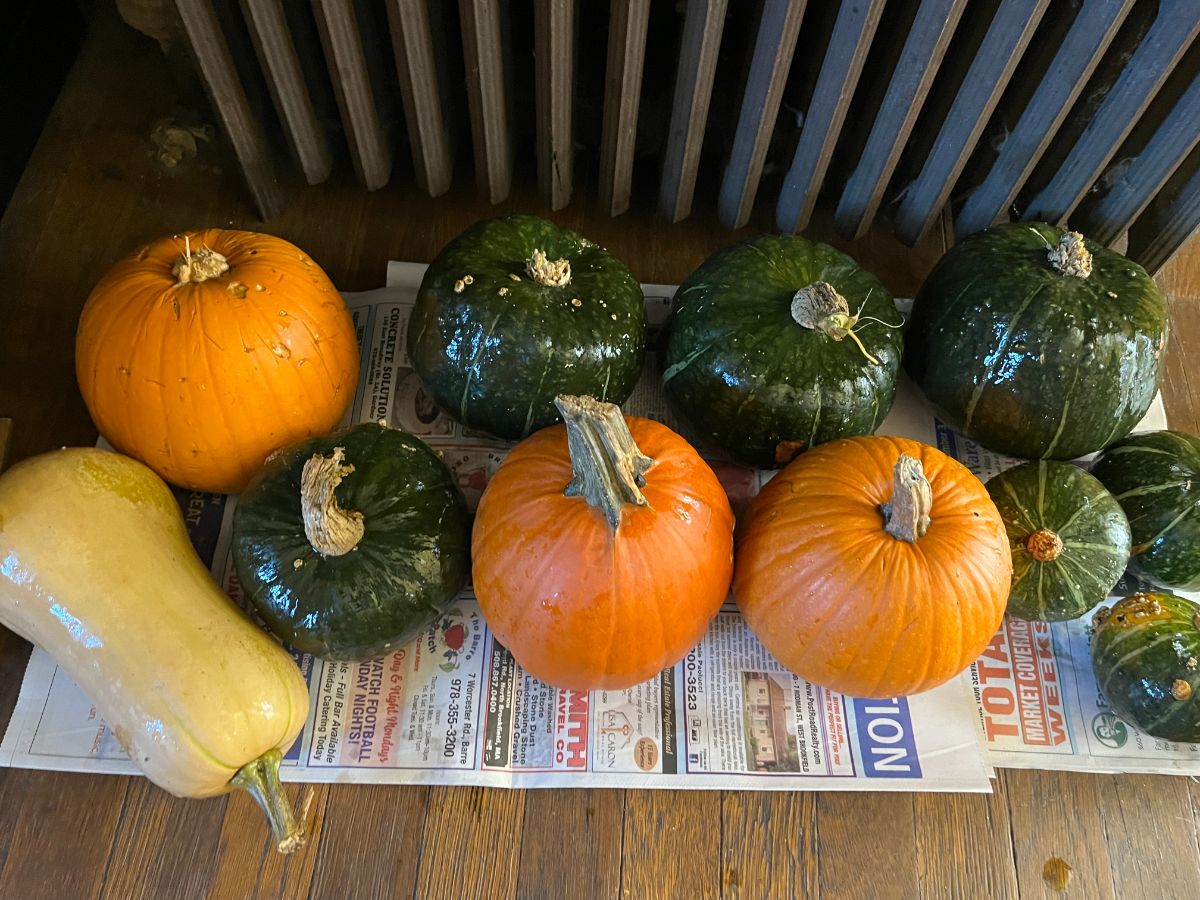
- If you need to pack or crate your squash for the sake of space and safety, keep them in open boxes or crates or bushel baskets. Some people choose to put a layer of newspaper in between each squash to reduce transmitting pathogens that cause rot and to reduce injury to the rinds that result in premature rotting. Don’t use more than one or two sheets of paper and don’t wrap the vegetables up tight—give them some room to breathe.
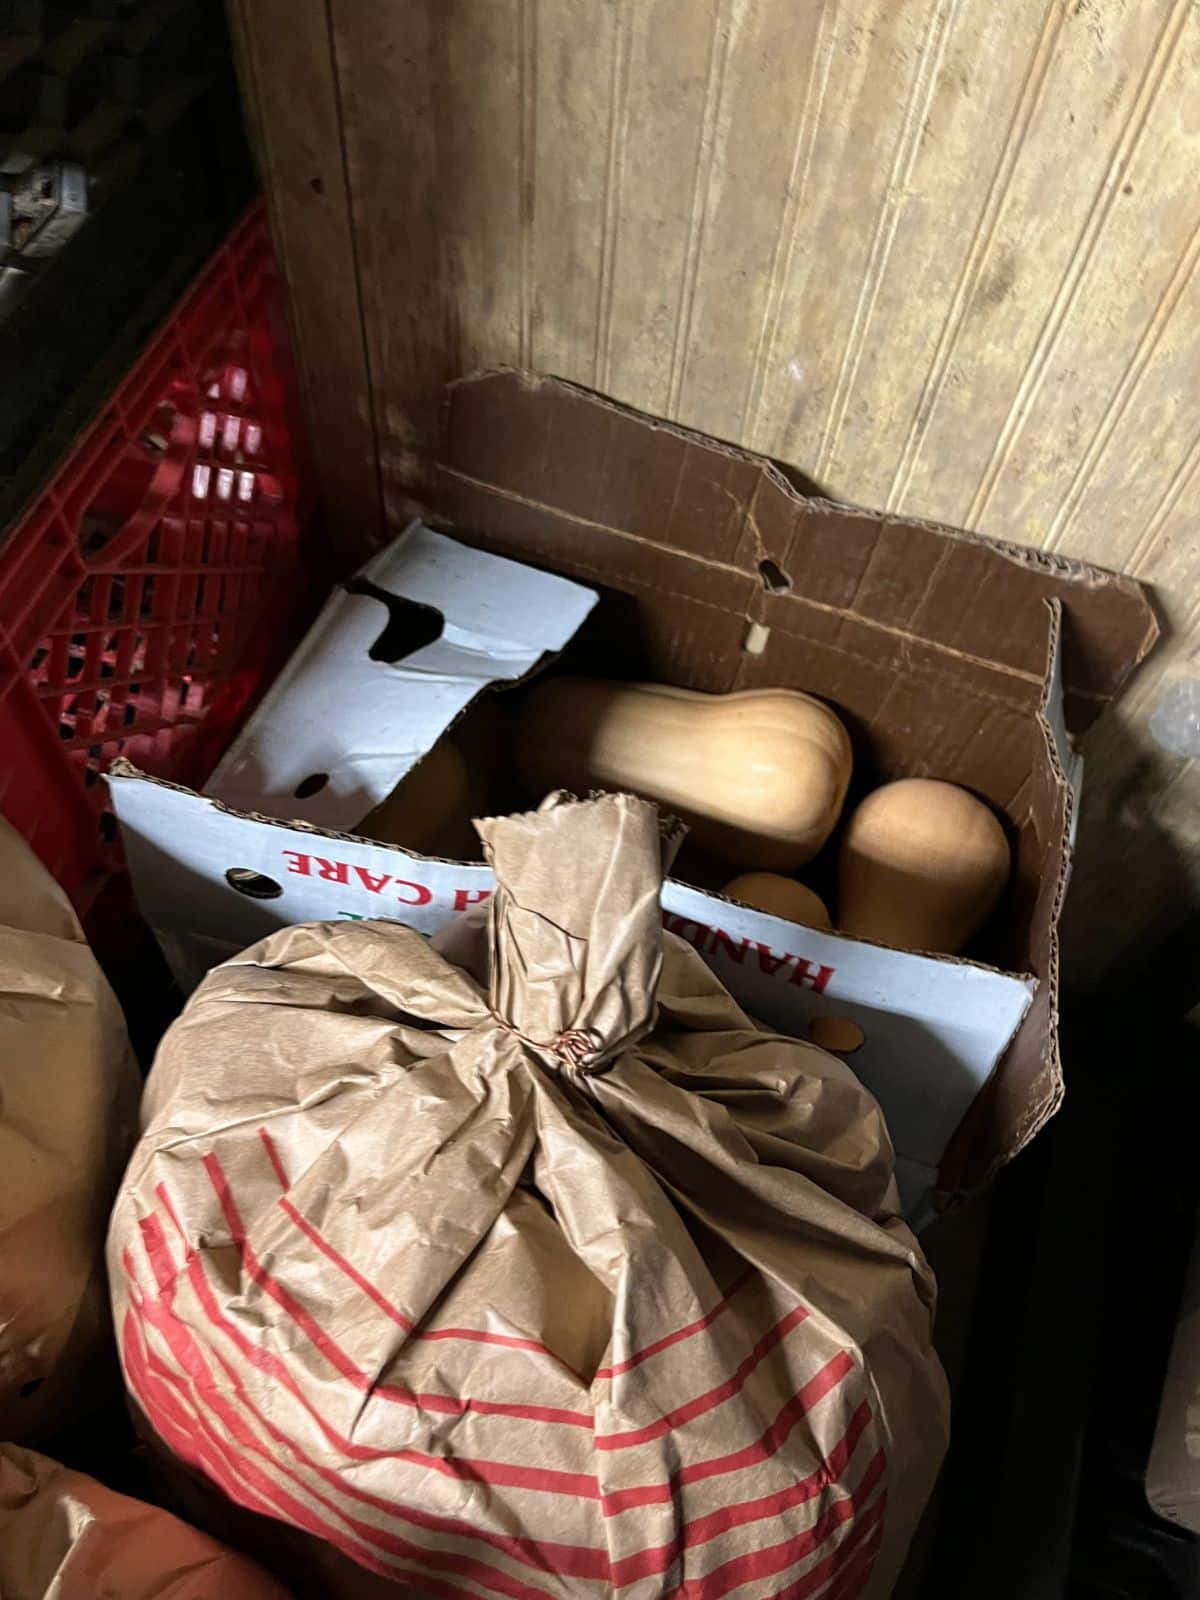
- Some good storage container options include: open cardboard boxes, milk crates, thin wood bushel baskets, fruit or orchard boxes, produce boxes from the grocery store with ventilation
Ideal Storage Conditions
Ideal storage conditions are 50 to 60 degrees Fahrenheit and 50 to 70 percent humidity. These are often the conditions found in older houses with dirt-floor basements or unheated basements.
Even more modern houses can usually find a spot with close to these conditions in a minimally heated cellar. Of course, if you're lucky enough to have a cold room or root cellar, those are excellent places to store your winter squash.
Keep in mind that the ideal is exactly that—the ideal storage conditions...the best-case scenario. That doesn’t mean that close enough isn’t good enough, though. Choose your spot the best you can, even if it’s in your kitchen, pantry, or normal food-storage area. Even at room temperatures, well-prepped and cured winter squash will keep well for many weeks, and probably months.
Other Options for Storing Winter Squash in Your Home
Not everyone is blessed with a storage cellar or cold basement room. If that sounds like you, just do the best you can to find the cool (but not too cold or freezing) space. If you look, you’ll probably find a cool corner of your home where it might be reasonable to store your winter squash. Some ideas might be:
- An unheated closet
- Under a bed in a guest room or area where the heat might be kept lower
- Along an outside wall away from heat in your kitchen or a spare room
- In an unheated pantry or food cabinet
- The lowest shelf or point in a storage space (because heat rises, so the floor will be colder than the higher room air).
Storage Times for Common Squash and Pumpkin Varieties

With good storage conditions, your winter squash and pumpkins can be counted on to keep for several months. As with everything else, the storage time will vary for different types of squash. Here are the average lifespans in storage for some common winter squashes:
- 2 to 3 months: Pumpkins, Acorn squash, Delicata squash, Mini Hubbard squash, Spaghetti squash
- 4 to 6 months: Buttercup squash, Butternut squash*, Hubbard squash*, Kabocha squash
*Hubbard and Butternut squash varieties may easily last longer than six months when stored well.
For Best Squash Storage Results
Keep an eye on your squash and check your stored foods from time to time.
Remove any squash that are showing signs of rot.
If you have squashes that were bruised, scarred, or that lost their stems, use those up first.
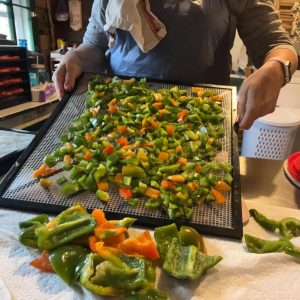
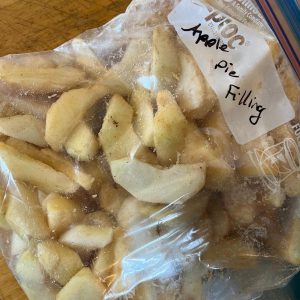
When your squash starts to near the end of their expected storage limits, use them or preserve them in some other way, such as freezing or dehydrating.
Because they last so long and because one single squash can provide so much, winter squash and pumpkins make excellent vegetables for growing, storing, and eating throughout the cold months. Now that you know how easy it is to prep and store winter squash, be sure to add these easy growers to your garden to increase your self-sufficiency. You won’t be sorry you did!
Leave a Reply