The Pros and Cons of Canning, Freezing and Dehydrating for Food Storage
Jump to:
- Pros and Cons of Freezing as a Garden Produce Preservation Method
- Canning Pros and Cons for Preserving Fruits and Vegetables
- The Pros and Cons of Drying (Dehydrating) Fruits, Vegetables, and Herbs
- What Is the Best Preservation Method for Preserving Nutrients in Vegetables and Fruits?
- Preserving Fresh Is Really the Goal
- Learning How to Can, Freeze, and Dehydrate Garden Harvests
- So, What is the Best Way to Preserve and Store Your Harvest?
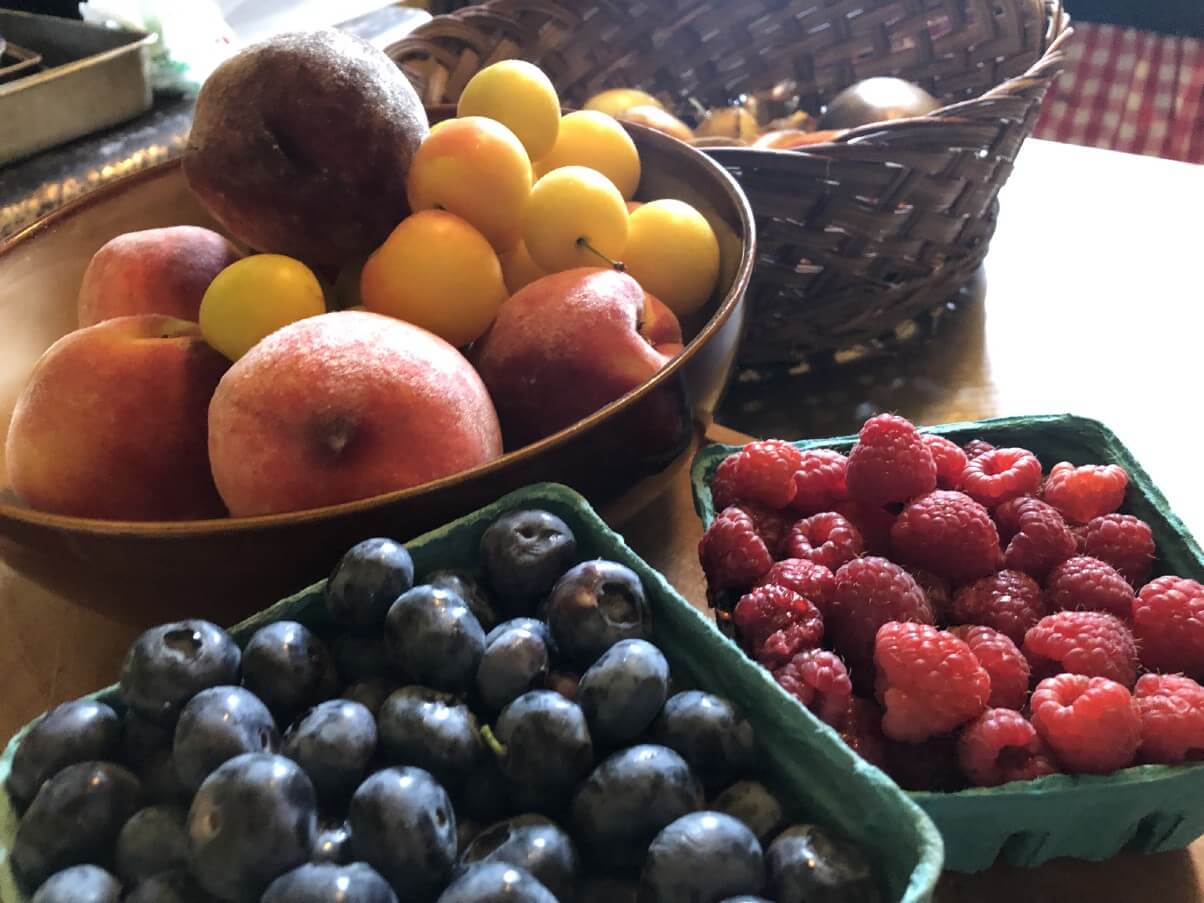
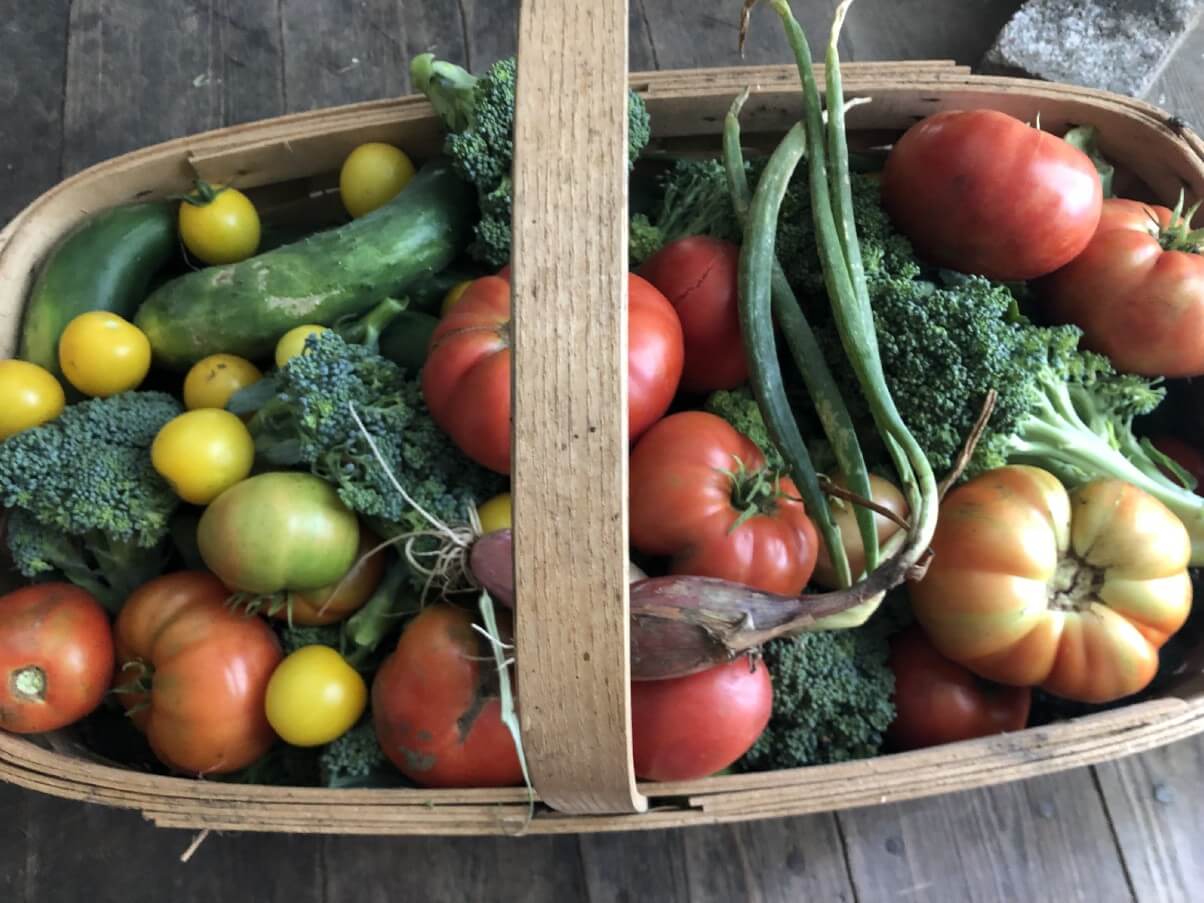
With your garden growing, you’re sure to have an abundance of something, if not everything. While fresh eating is a true taste and nutrition treat, the season for fresh vegetables and produce is relatively short. To take it to the next-best level of taste, nutrition, and self-sufficiency, and economy, you’ll want to save what you can—to preserve your harvest. This is the best way to reduce your food’s carbon footprint, maximize nutrition, and get the most out of your garden adventures.
Preserving fruit, vegetables, and produce can seem like an overwhelming task to the beginner. Even seasoned preservationists can find learning a new method of food preservation and storage a bit daunting. Here, we’ll take a look at the three most popular, safe, and manageable storage methods for your homegrown (or fresh-bought local) produce, and help you decide which is right for you.
Pros and Cons of Freezing as a Garden Produce Preservation Method
Freezing produce to preserve it and store it is arguably the easiest method or at least the method that is most comfortable and most familiar to people. This makes it a good method for the beginner.
Closest to Fresh Taste, Textures Vary

Freezing your produce will give you the closest to fresh taste (though of course, it cannot really be exactly like fresh-from-the-garden harvests). You will, however, find that most fruits and especially vegetables that are properly frozen will not taste a lot different than vegetables that you harvest fresh and then cook.
The texture of frozen fruits and vegetables can be somewhat unfavorable. This differs quite a lot depending on the type of fruit or vegetable and how it is used when it is cooked or prepared. Because freezing causes a lot of softening when cooked or thawed, some produce just isn’t that attractive or enjoyable once it’s been frozen. The softer the produce, the mushier the end result. How much of an issue this is for you depends on what you like to eat, how you like to eat it, and how well that fruit or veggie comes out of the frozen state.
Only Basic Kitchen Skills Required
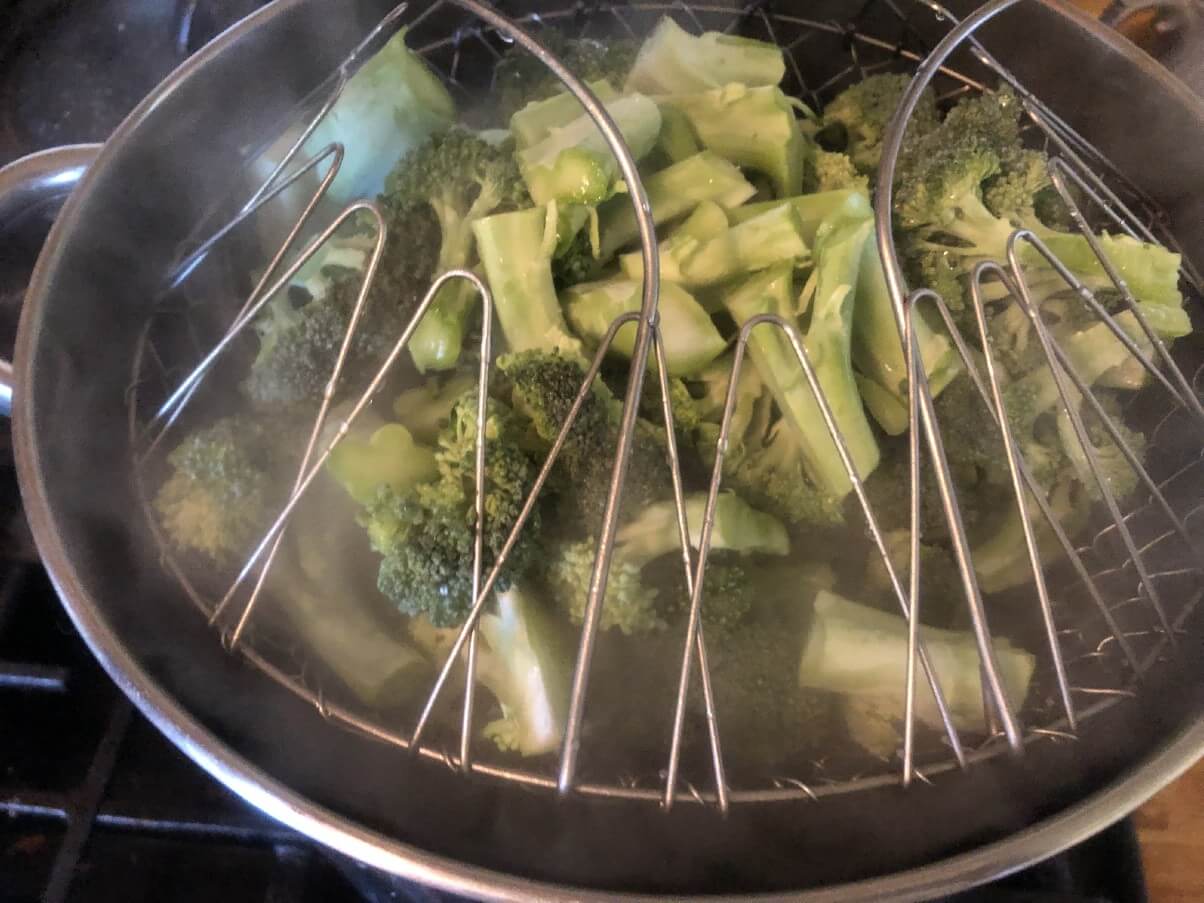
For most vegetables and fruits the process of freezing to preserve them is one of prepping the produce (washing, de-stemming or coring as needed depending on the type of vegetable or fruit, cutting to size if needed), then blanch in boiling water to halt enzyme function and preserve vitamins and nutrients, draining, packing, labeling, and freezing. Blanching times and prep instructions will vary depending on the type of produce, but for the most part, the process consists of basic cooking and kitchen skills that people are pretty familiar with. Some fruits and vegetables do not require blanching prior to freezing.
Fast and Easy, Minimal Equipment
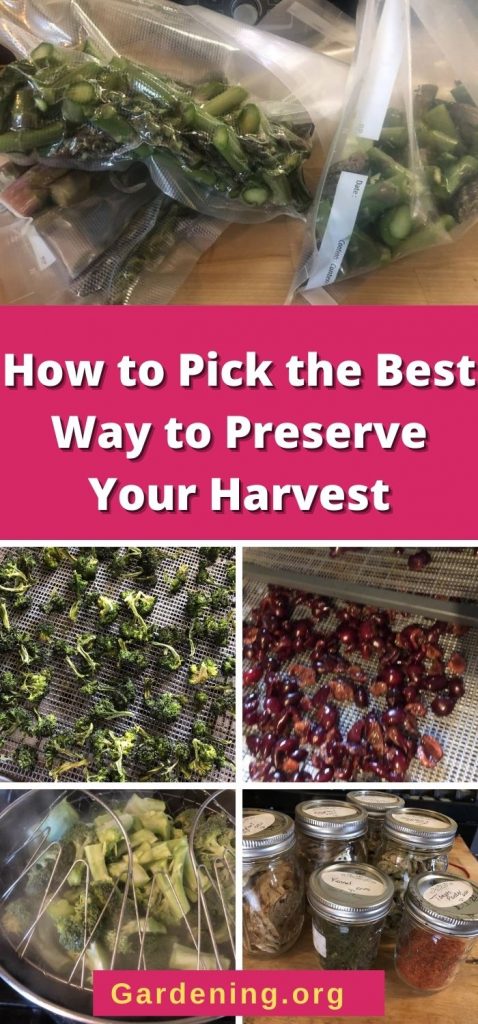
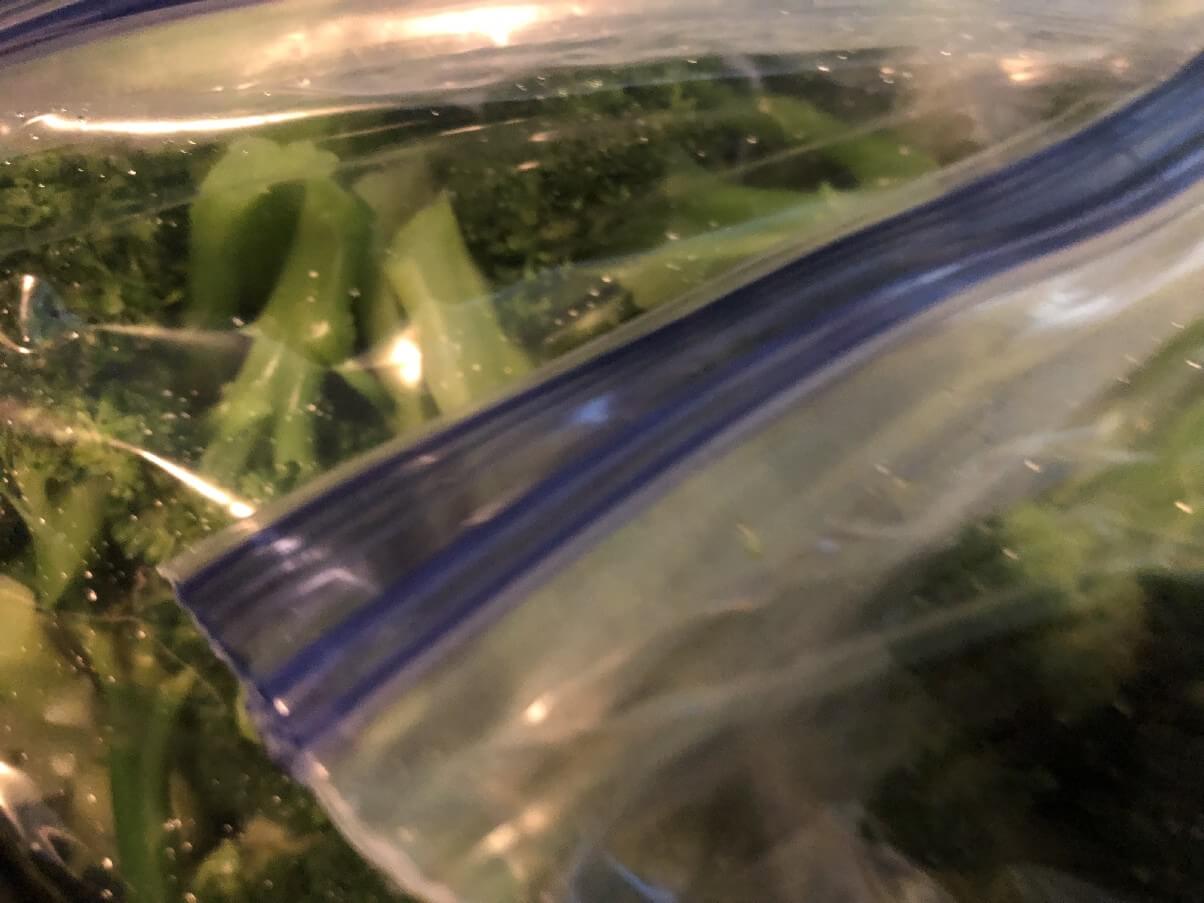
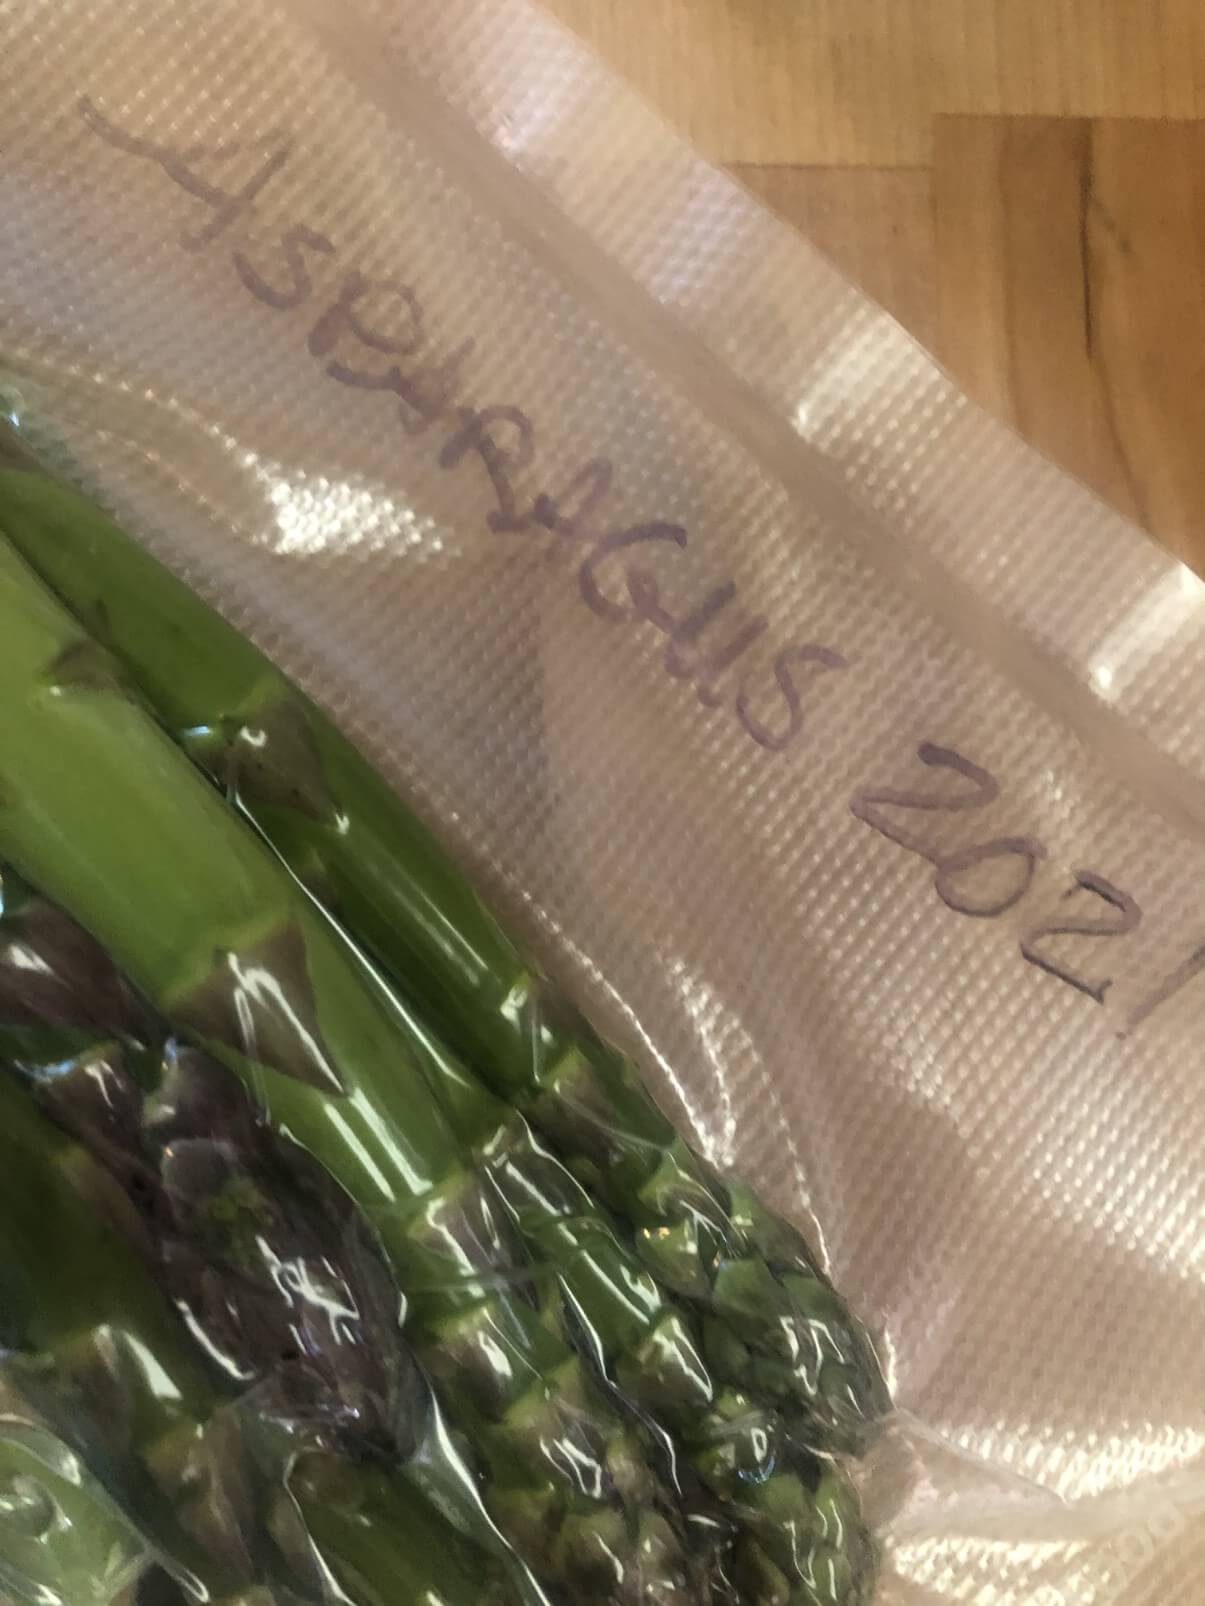
Relatively speaking, freezing is a fast and easy method of preserving your harvest (though admittedly prepping and blanching can take some time, particularly for large harvests—but preparation is a step that is required of all methods of preservation. Freezing your foods also requires little in terms of specialized equipment (mostly just freezers bags or containers and a pot, though if you do choose to invest a little, a vacuum sealer unit will enhance quality and length of life in the freezer—though the bags needed can be pricy).
However, freezing garden harvests it is not without its drawbacks.
Consider Costs and Freezer Shelf Life
The initial costs of a freezer or freezers large enough to preserve a year’s worth of food are high, and the freezer will need replacing in 10 to 20 years. Freezers have ongoing energy needs, which means an ongoing carbon footprint and utility costs. Freezing your foods, as compared to drying or canning, has the biggest net energy use and cost associated with it.
Though the shelf life of frozen foods is long (8 to 12 months or more), they are less stable in terms of preserving nutrition and their longevity is the lowest of the three methods discussed here.
Nevertheless, the process and the food safety considerations for freezing and consuming frozen homegrown foods is good, with little risk (though of course there is always some risk and especially so when working with blanching and boiling water), and a low pathogen risk. It should be noted that—assuming no thawing and holding at unsafe temperatures once frozen—degradation tends to be more an issue of quality and desirable palatability than pathogen-related risks.
Recap Freezing Pros and Cons
- Fast
- Easy (likely easiest for beginner preservers)
- Low learning curve
- Little equipment needed
- Close to the fresh taste
- Sometimes unfavorable texture results
- Low safety risk in terms of processing
- Consumption risk is low and more related to quality
- Continual energy needs over life of stored product
- Highest overall energy costs
- Highest overall carbon footprint
- Risk of food loss in event of freezer or power failures (relies on electricity and grid)
- The high initial cost of the freezer(s)
- Lowest shelf life of the three methods
Canning Pros and Cons for Preserving Fruits and Vegetables
Canning to preserve fresh produce might possibly be the first thing that comes to mind when people think of preserving their harvests. Canning has been around for a long time. Many of us remember our mothers and grandmothers canning the garden harvests to feed us during winter. Even if you have never canned, you might have some level of familiarity with the process or at least its products.
Most Hands-On and Time-Consuming
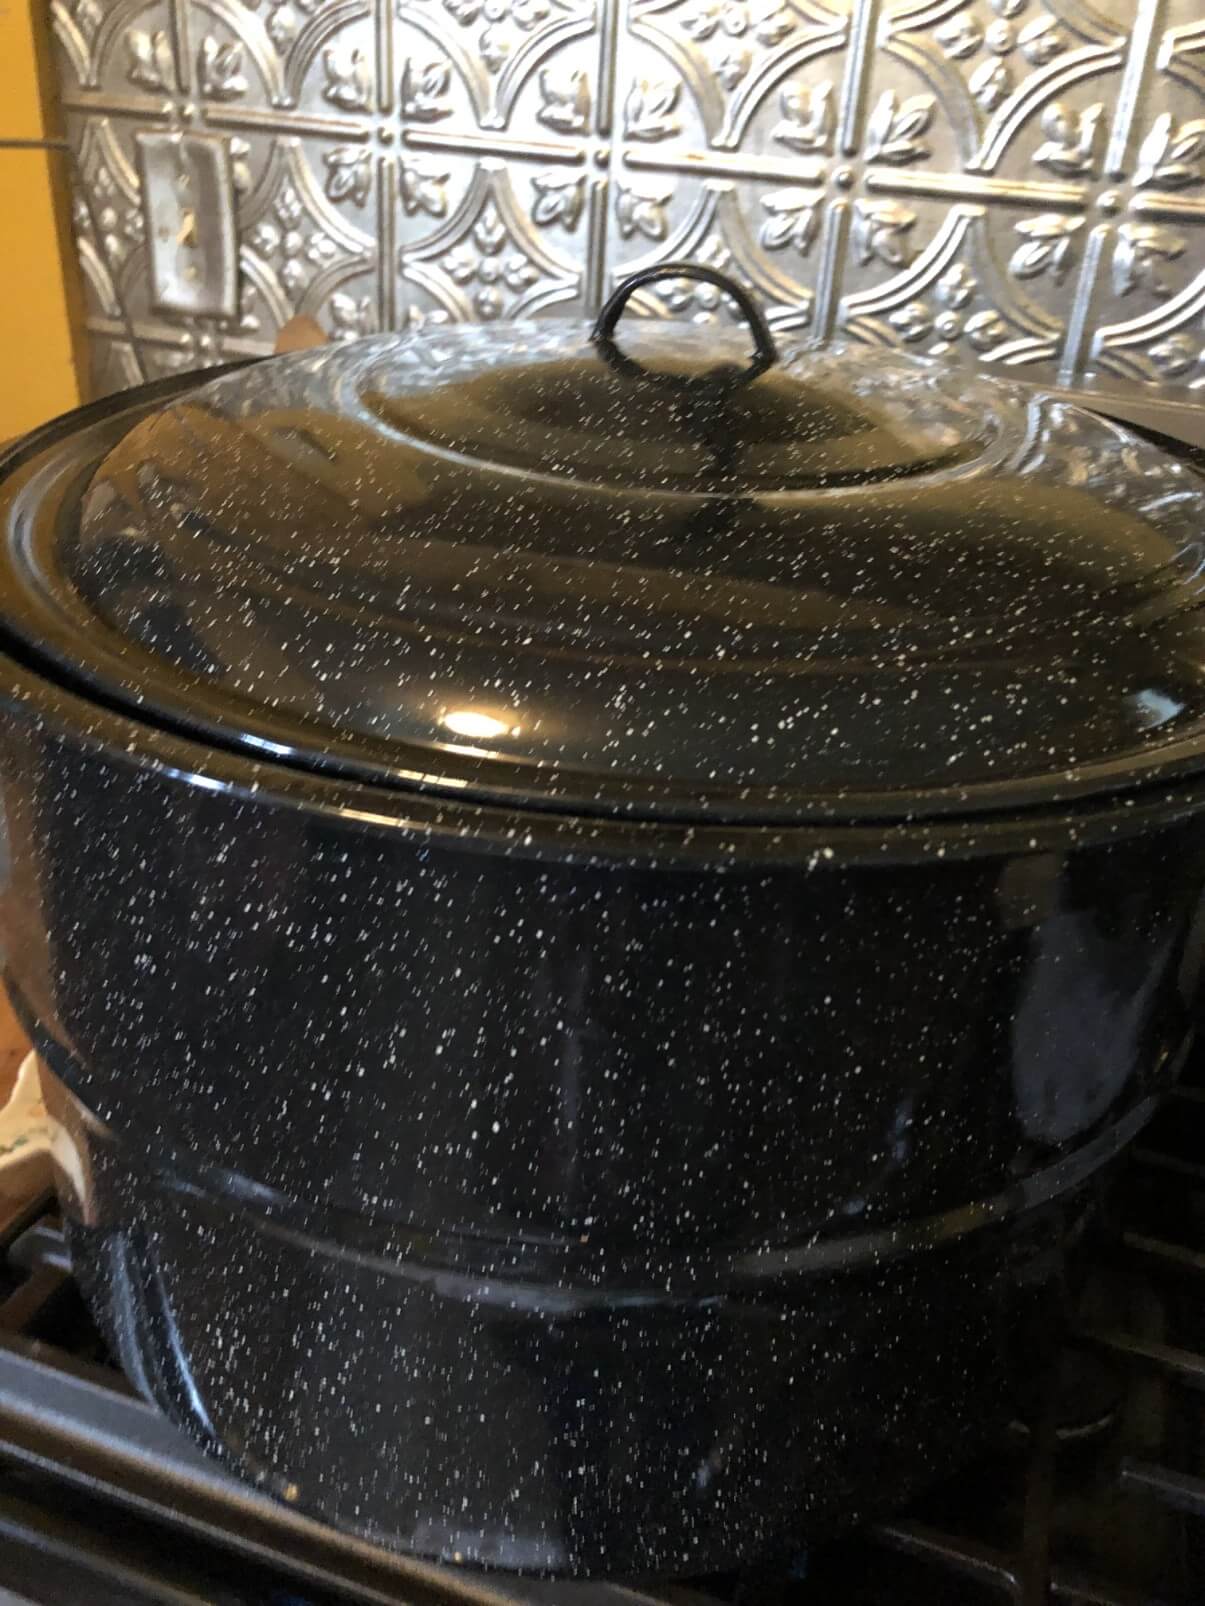
Canning is the most hands-on and time-consuming of the three methods. Not only does it require produce preparation, but it also requires sterilization of equipment, packing and/or cooking the product, and then canning (processing) of jars to vacuum seal. Start to finish, even the easier canning products will be a time investment measured in hours.
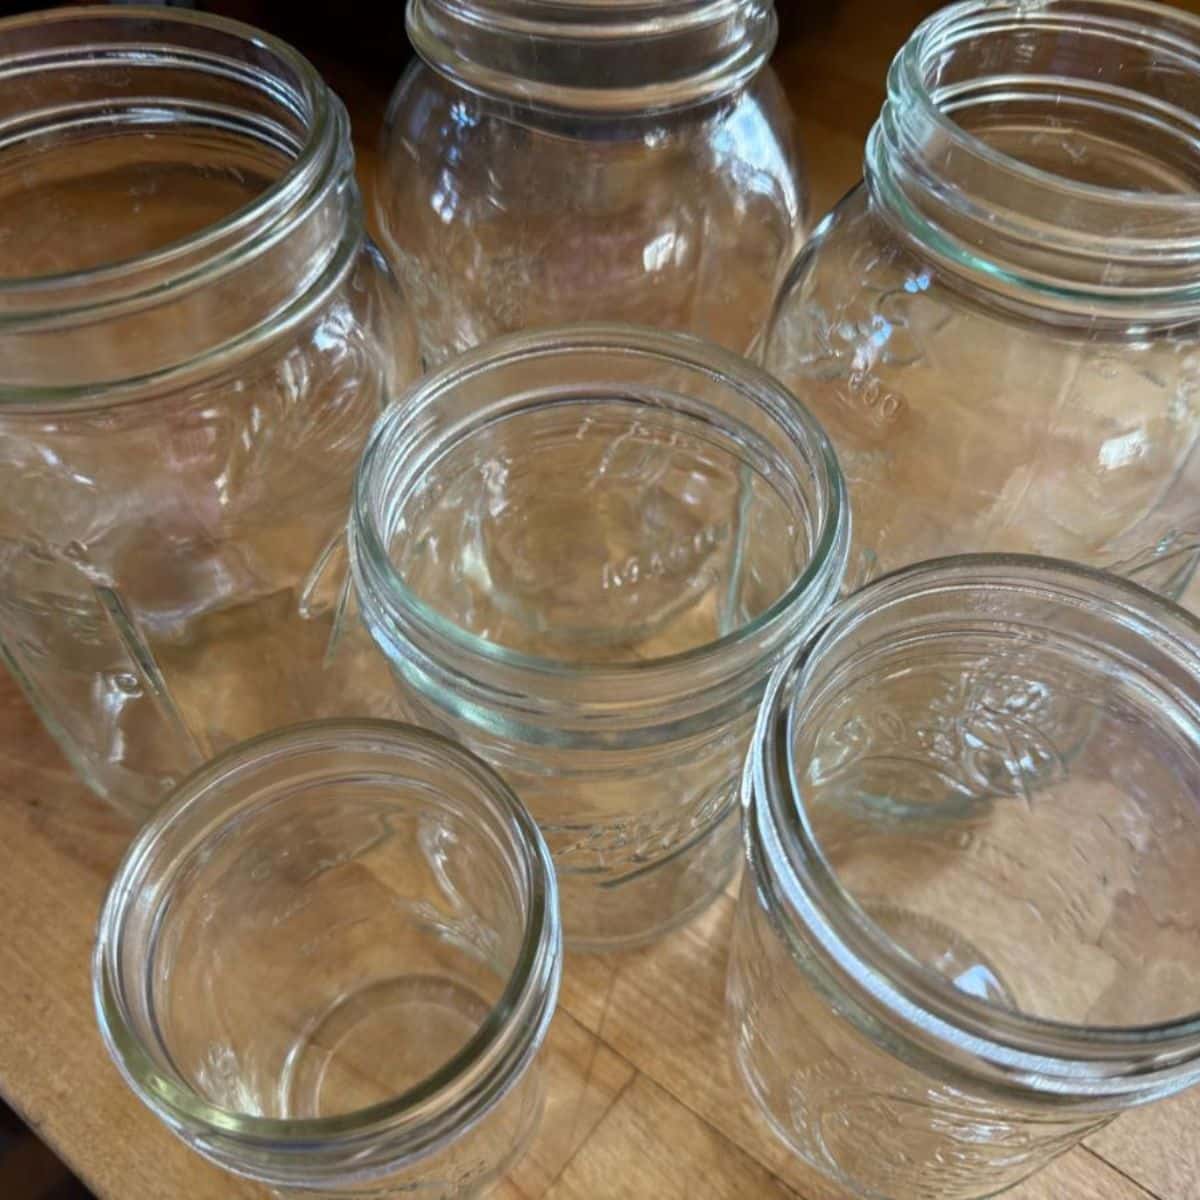
Equipment and Supply Considerations
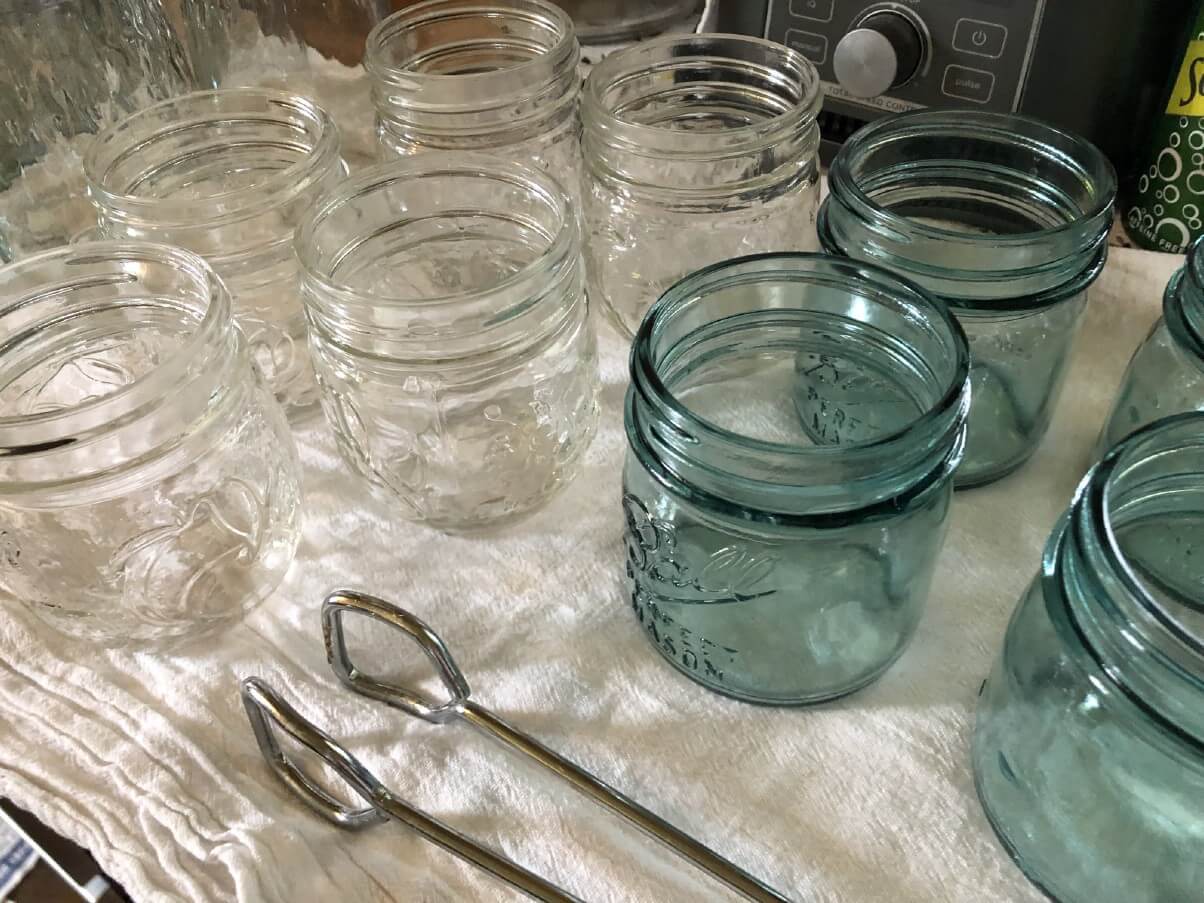
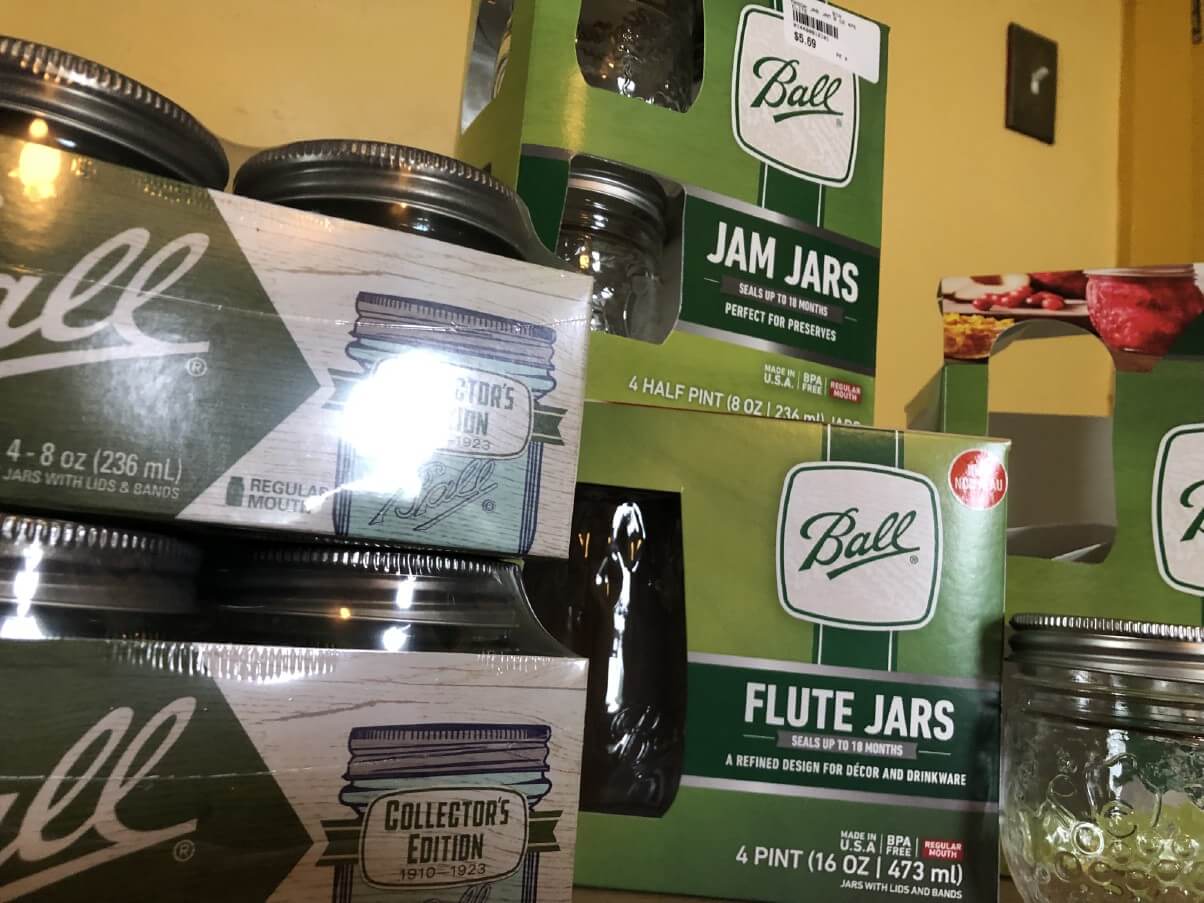
Canning involves more equipment than freezing and dehydrating, and that comes at some expense. Much of that equipment—most of it, in fact—can be reused many times over and for many years; so, while the initial investment might be large, the cost when spread out over time becomes much less. Canners, jars, and specialty utensils like tongs and jar lifters are all reusable. The only thing that needs replacing every time is the vacuum-sealing flat metal lids that most jars need (unless you are using something like a Weck-style jar with reusable lids, though these also require gaskets that may need replacing and are very expensive, to begin with).
The cost of metal replacement lids is small. The bigger issue is that in some locations and in some years the demand for those lids is bigger than the supply, and shortages can leave you without the ability to can your goods. This has been a more recent issue but it is, although not usually, always a possibility. When equipment shortages prevail, canning might be your last option and you may need to look too drying or freezing instead. Both of these have more flexibility in terms of storage vessels.
A Bigger Learning Curve
Because canning is more involved, there is simply more to know and a bigger learning curve than freezing, and arguably over dehydrating as well. In fact, there are two different methods used in canning—water bath canning and pressure canning. Water bath canning is appropriate for acidic foods and pickled products while pressure canning is necessary for low acid foods or foods that contain a combination of acid and low-acid foods. In addition to learning how to perform each method, you’ll need to learn what method to use for the types of produce and recipes you are planning to can.
Shelf Stable and Not Grid Dependent
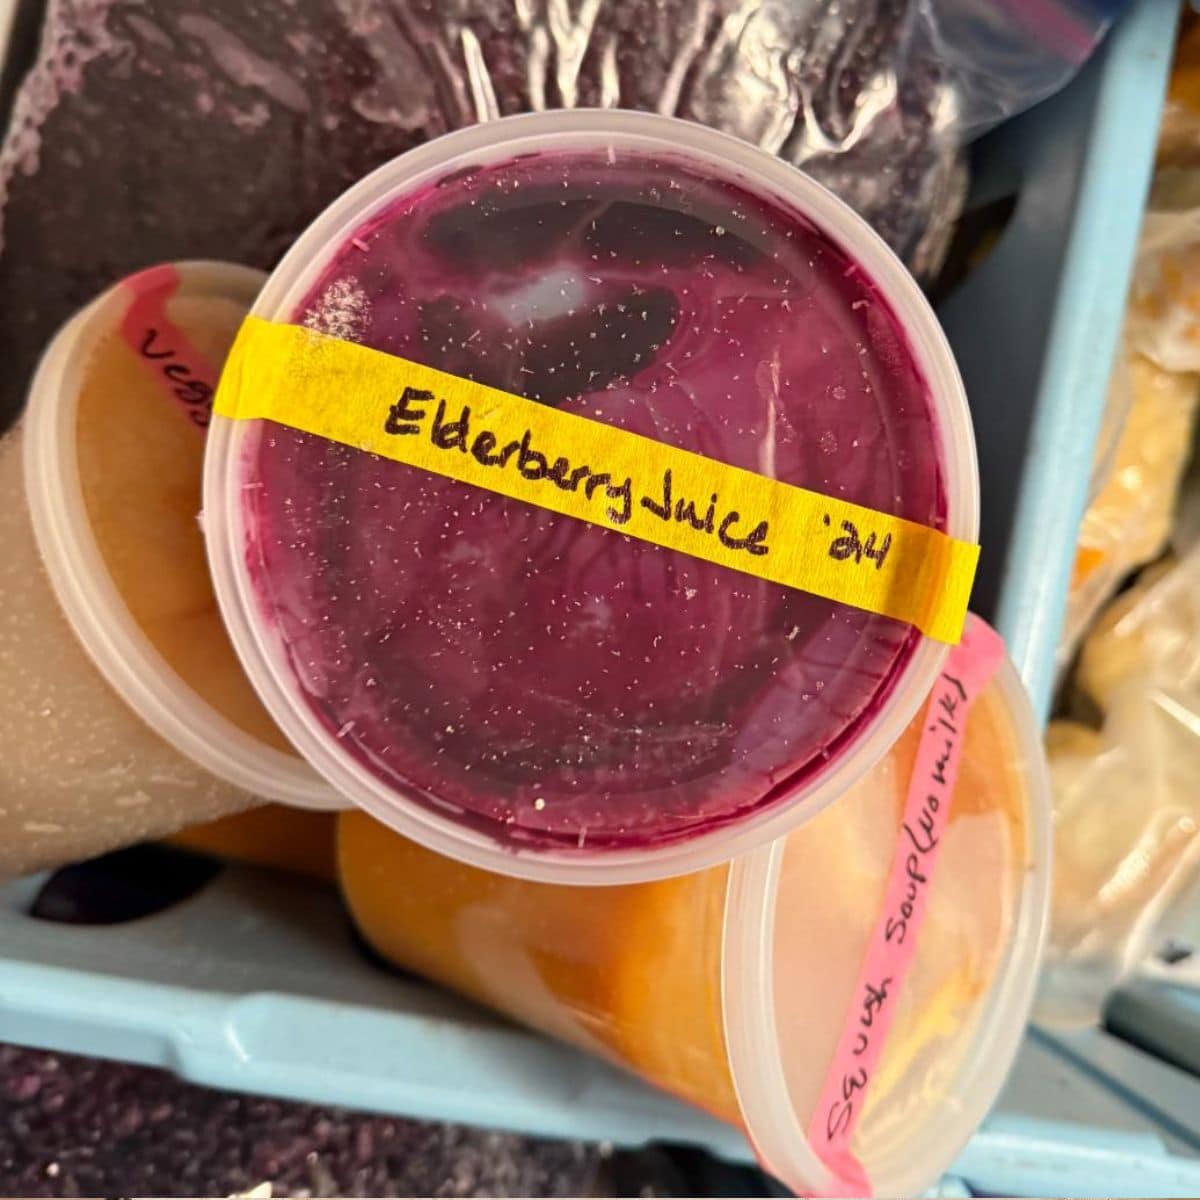
One of the biggest “pros” of canning is that the product, once canned and sealed properly, is shelf-stable—meaning that it can simply be stored in a cellar, cabinet, or pantry at room temperature and requires no refrigeration (unless opened).
Canned products do not rely on utilities or an electric grid. Not only does this mean that your product storage costs are virtually nothing, but it also means that you do not risk losing your grown, harvested, and preserved products if the power goes out or your freezer fails you.
Canning may, in fact, be the most eco- and carbon-friendly of the three preservation methods. It is certainly more energy-friendly than freezing, and possibly more green than dehydrating (resources differ on this point and some of that comes down to how and what you are drying).
Nevertheless, overall, canning is a very earth-friendly method of food preservation and one that means very little risk to you of food loss for properly canned products.
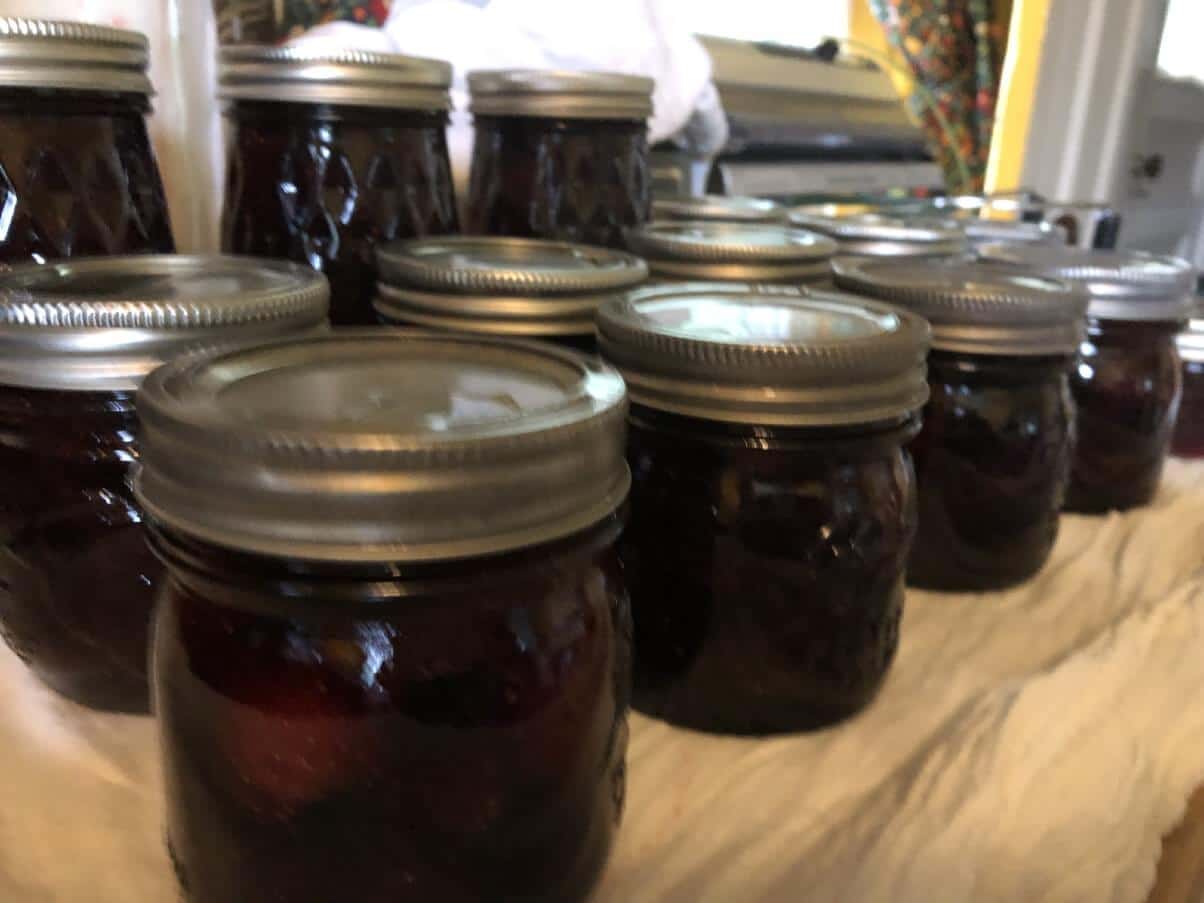
Long Shelf Life
Canned products also have a long shelf life—a minimum of 18 months. Canned products have a longer quality shelf life than frozen produce, with little change to the product in storage. Their nutrition also remains more stable once preserved than produce stored in a freezer—freezer burn and air infiltration take their toll on stored frozen produce.
Proper Processing Limits Pathogen Risk
No method of preserving or consuming food can be 100% risk-free. After all, even consuming grocery store produce and factory-prepared products is not without risk. Canning, however, carries an increased risk over freezing and dehydrating. Proper processing is crucial. Checking your stored products prior to use to make sure that seals remained intact and the product integrity was preserved is important. That said, the big issues will present at the time of canning. Learning what to look for in product integrity is important, but not difficult. While this is all-important and requires education and attention, you should not be scared away from canning as a way to preserve your harvest. The least safe does not equal unsafe.
More Added Ingredients Needed
For some canned products—pickles, jams, jellies, canned recipes, for example—added ingredients are needed. These might be as simple as spices, but maybe sugars or salts. This can be a problem for people who are limiting their salt and sugar intake, or who have special health or dietary considerations. This is not a typical issue with frozen fruits and vegetables. It can sometimes be a consideration for prepping dehydrated foods but tends to be more optional and flexible in dried produce. With canned foods you cannot simply leave out these ingredients because they are natural preservatives that are critical to product safety.
Favored Flavors
As with freezing, there are taste and flavor benefits to canning. This is, of course, highly subjective and really depends on what you and your family prefer, but many fruits and vegetables are preferable when canned as opposed to being frozen or dehydrated. For some produce, texture is best preserved with canning. This all can differ from one type of fruit or vegetable to another, but taste, flavor, and texture are certain things to consider when choosing your preservation method.
Recap Canning Pros and Cons
- Shelf-stable
- Product not lost to power or freezer failure
- Flavors and textures are preferable for many products
- Very energy efficient overall and a green method of preservation
- May require added ingredients, including salt and sugar
- Initial equipment investment is high
- Equipment can be reused for many years, lowering overall expense
- Supply intensive
- Supply shortages can be an issue
- Bigger learning curve
- Most hands-on and time-consuming
- Higher pathogen risk
- Long shelf life with nutrients well preserved in storage
The Pros and Cons of Drying (Dehydrating) Fruits, Vegetables, and Herbs
Drying or dehydrating is the last of the three preservation methods. It is the one that is probably least familiar to most people, despite the fact that it is arguably the oldest method of preserving foods.
A Bit of a Learning Curve
Like canning, dehydrating also comes with a bit of a learning curve. That curve is probably less than canning because once you know the basics and learn how to dry different types of fruits and vegetables, you’ll find that the process and preparation remain much the same. Still, as it is a less popular preservation method many people will require some learning in order to safely dehydrate their garden produce.
For many of us, there is also a learning curve in terms of learning how to use the dried product. We are more familiar with cooking with frozen and canned foods. Though this may require learning some new dishes and techniques, many home cooks learning to use dried products find that they prefer the dried foods, at least for use in certain things.
Cooking with Dried Foods
Learning how to rehydrate your produce (which is not required for all uses) is easy. Not all products require a separate rehydration step, depending on the food’s use. For example, many beans and vegetables can be thrown straight into soups, stews, casseroles, and more. Many vegetables readily rehydrate when tossed into a boiling pot of pasta. And then, many dried products are good to use as is or make tasty, healthy snacks straight out of the container.
There are many ways to cook with dried foods and often more flexible options for dried foods as opposed to frozen or canned. For example, a dried berry may be rehydrated to make a pie, jelly, or flavored syrup or maybe used dry in a trail mix. It might also be used in a tea mix or used in baked goods. Once you start looking for ways to use your dried goods, you might be surprised by how many options there are.
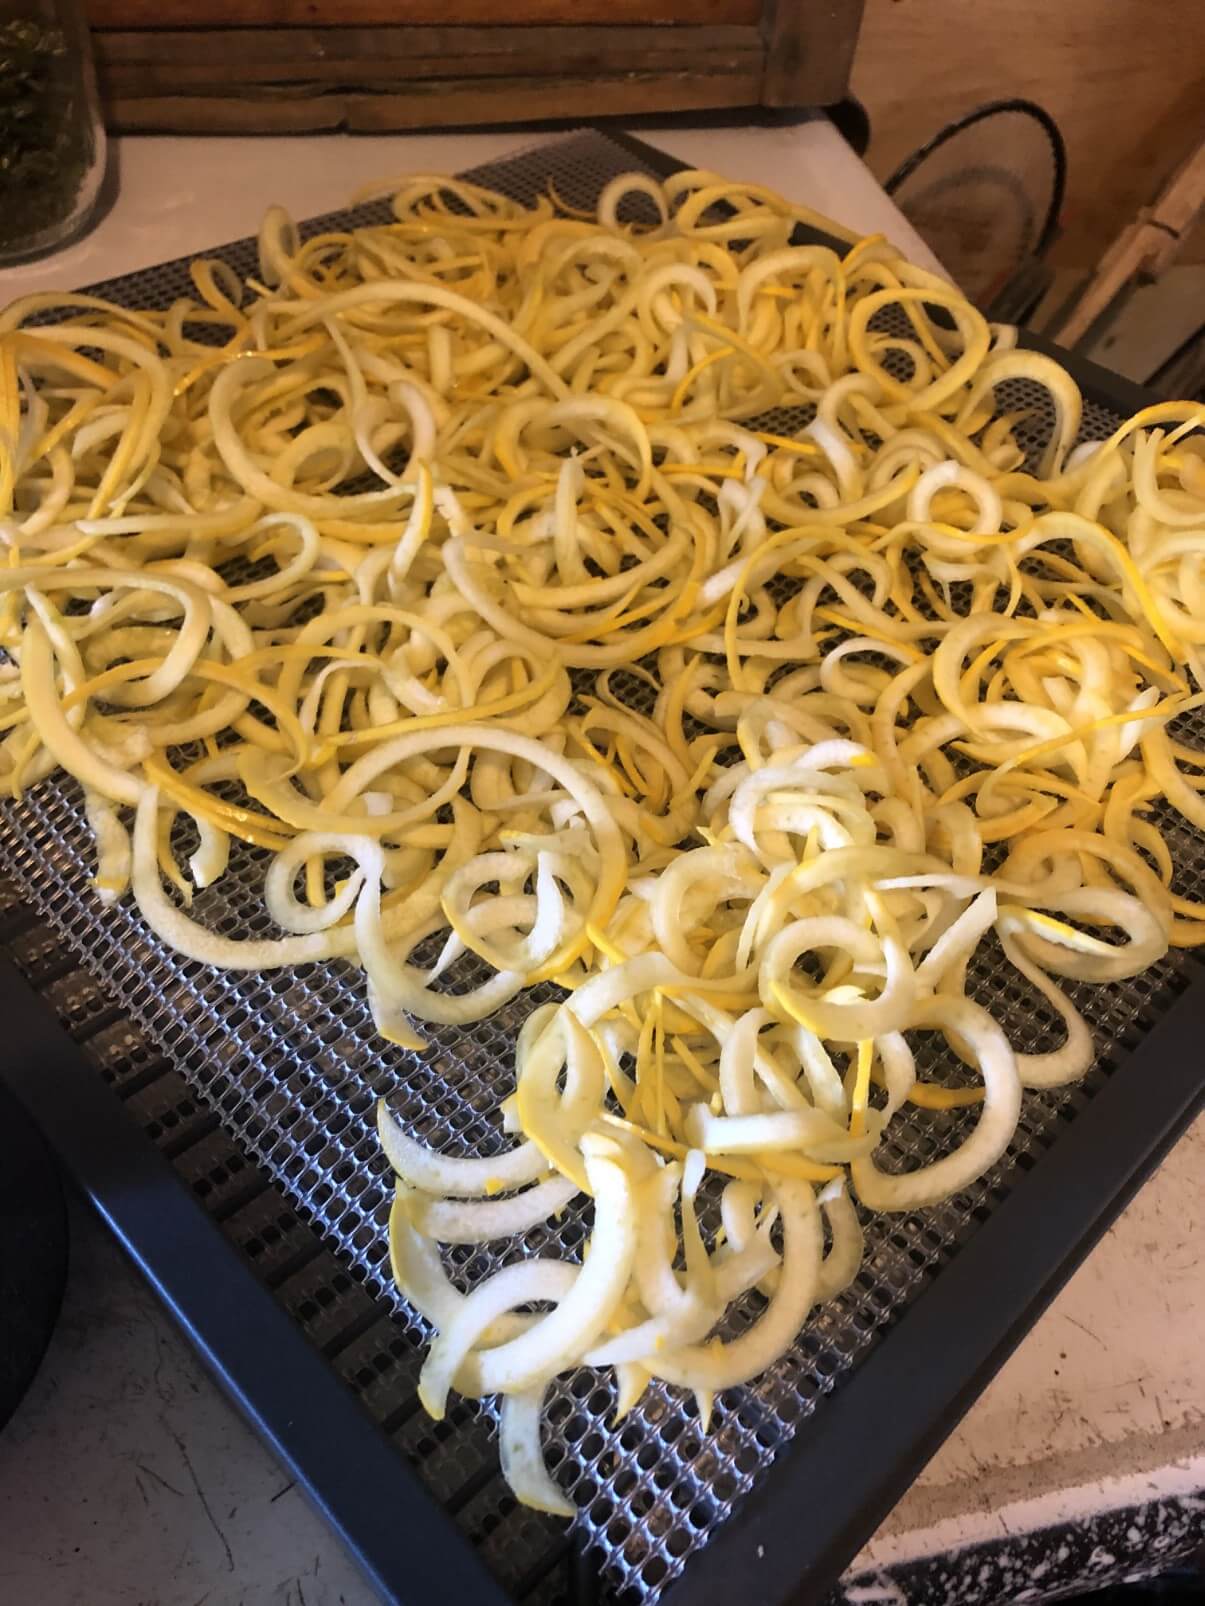
Because the preparation (chopping and portioning, etc.) is done at the time of drying, your dried foods will be ready to use with little to no further prep—your carrots will already be diced or sliced and ready for the stew pot.
Mix and Match Prep-Ahead
Once you have several different kinds of dried fruits or vegetables, you can easily use them to make new combined products for prep-ahead cooking. For example, you can combine herbs and spices for seasoning mixes or different kinds of vegetables and herbs for soup mixes. Add in some rice, beans, or noodles with some powdered bouillon and you’ve got a meal waiting for you to just add water and simmer!
Taste, Texture, and Flavor Considerations
Some dried products taste almost exactly like their fresh counterparts when used in cooking and dishes. There are some fruits and berries that, when rehydrated, you would be hard-pressed to know did not come from a fresh-frozen product. Others, however, might take on a bit of a cooked or caramelized flavor. Overall, especially when used in combination dishes, you will find very little flavor difference when cooking from dehydrated produce. A bit of trialing and testing in small batches will help you learn what you do and do not like dried.
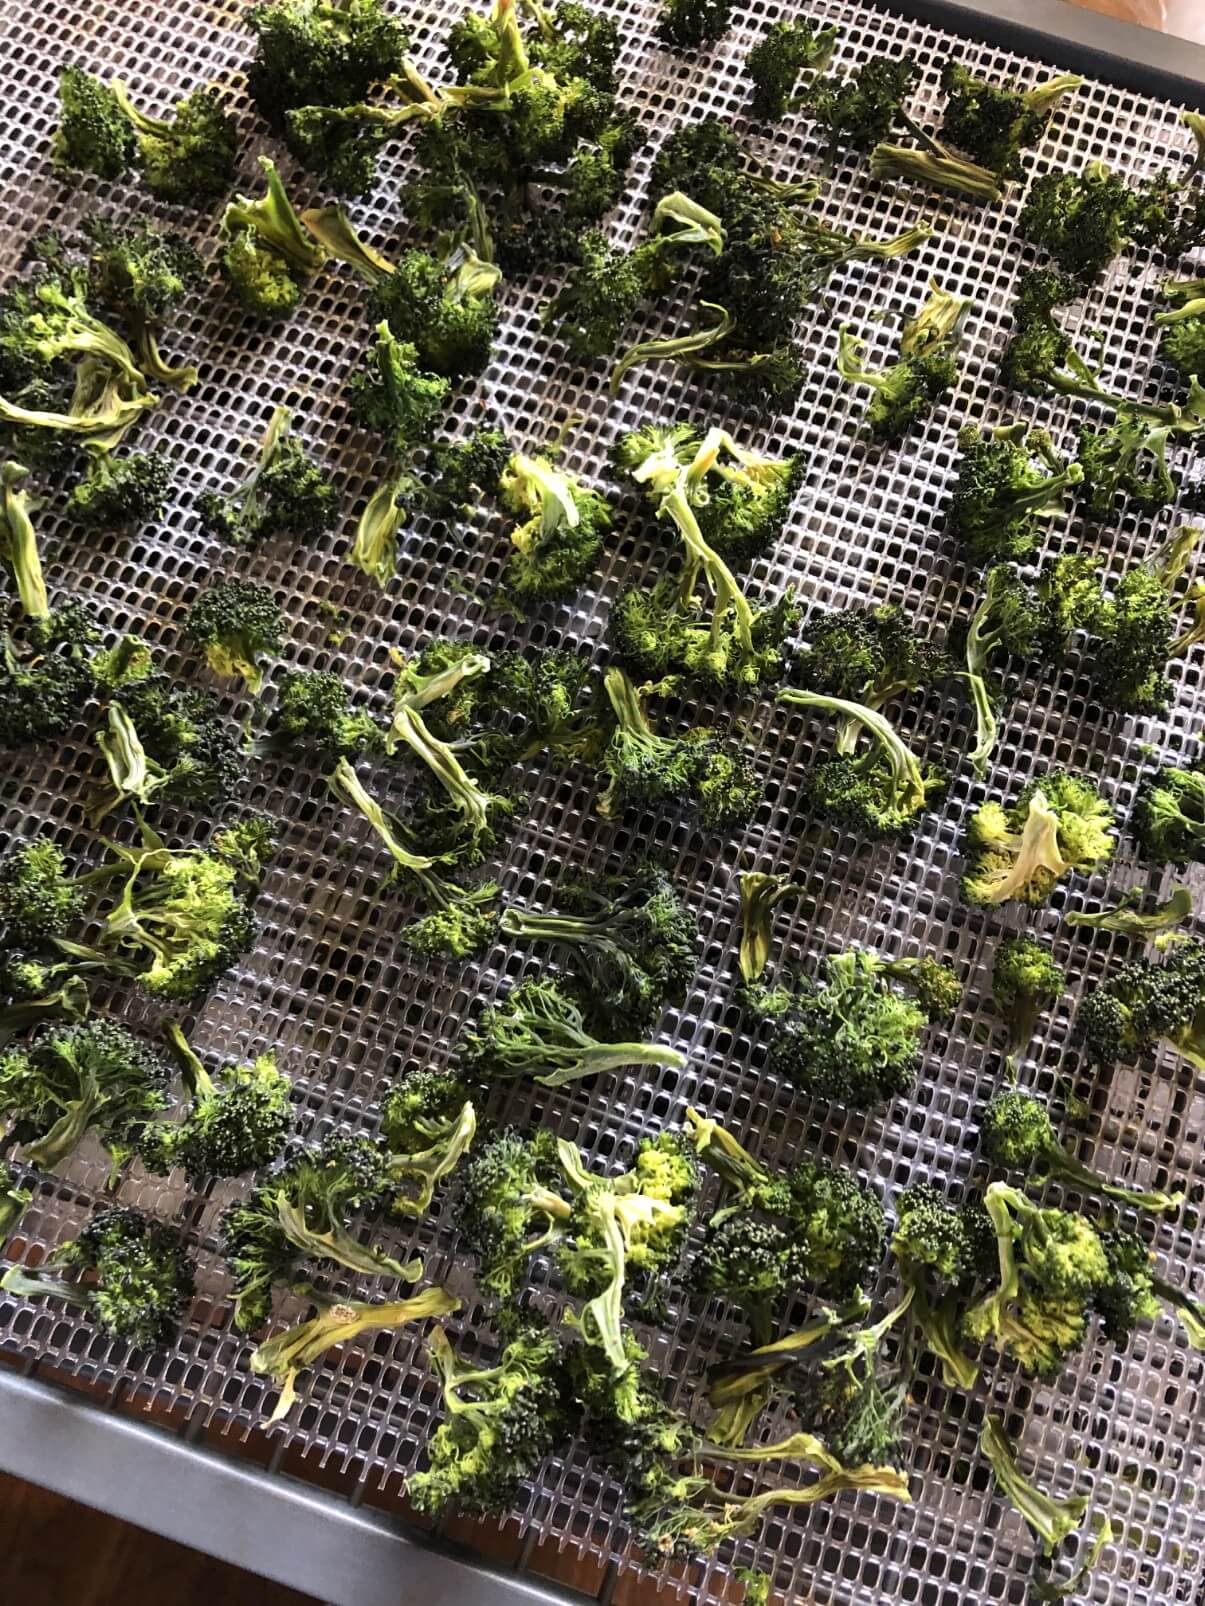
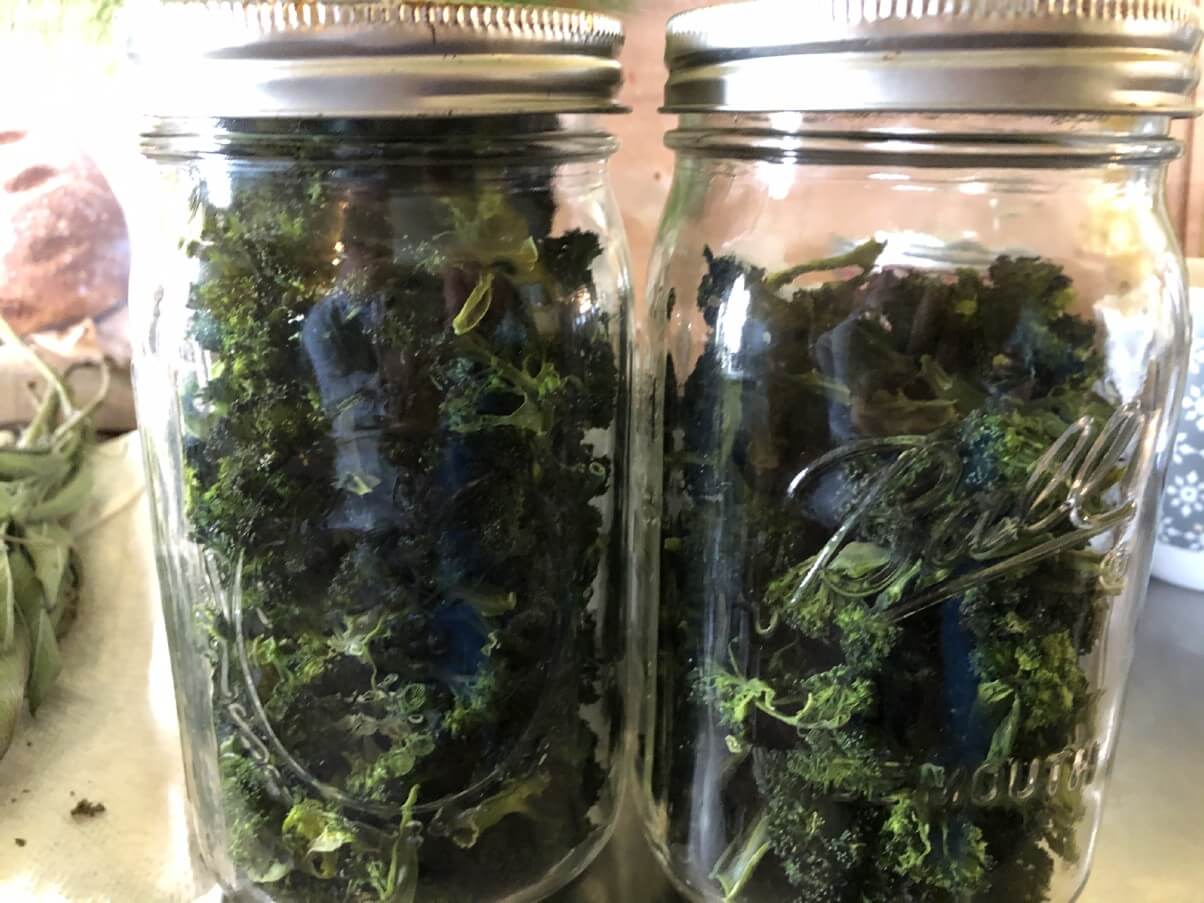
In addition, a lot of people prefer the texture of previously dried foods for certain produce. While some foods—summer squash and zucchini, for example—break down once frozen or canned and turn into mush when used, these same vegetables when dried and minimally rehydrated can present quite differently. Even some vegetables that do well frozen might be preferable from dried—dried broccoli, cooked and rehydrated, is very good and does not overcook or soften as easily as it does from fresh-frozen.
Initial Equipment Investment
Today’s dehydrating does carry some equipment investment with it. When we think about dehydrating, most of us think about buying a dehydrator that is designed to do the job. The initial investment in a quality dehydrator can be a bit of an expense—plan to spend a minimum of $100 or more. While this is probably the best way to control the process and requires the least watching, and while you will probably prefer to dehydrate your produce with a dehydrator, it is not the only option.
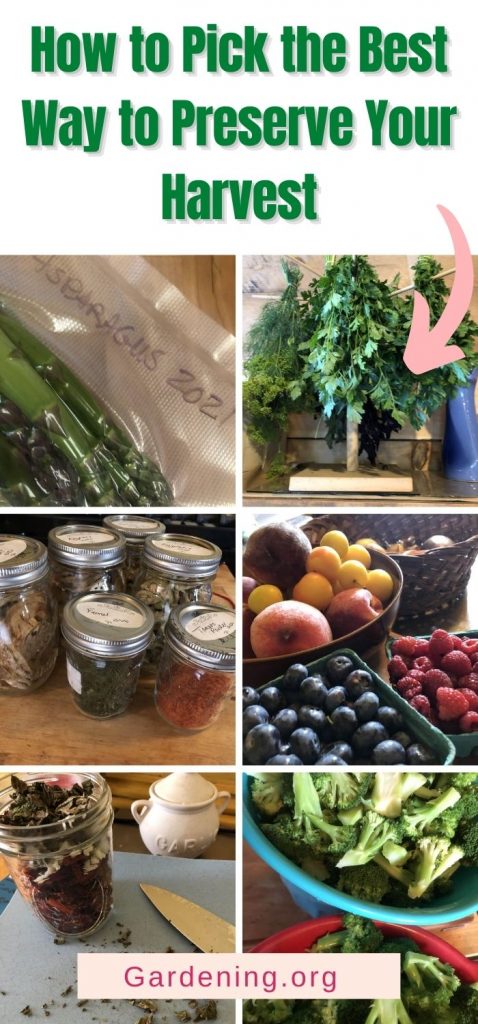
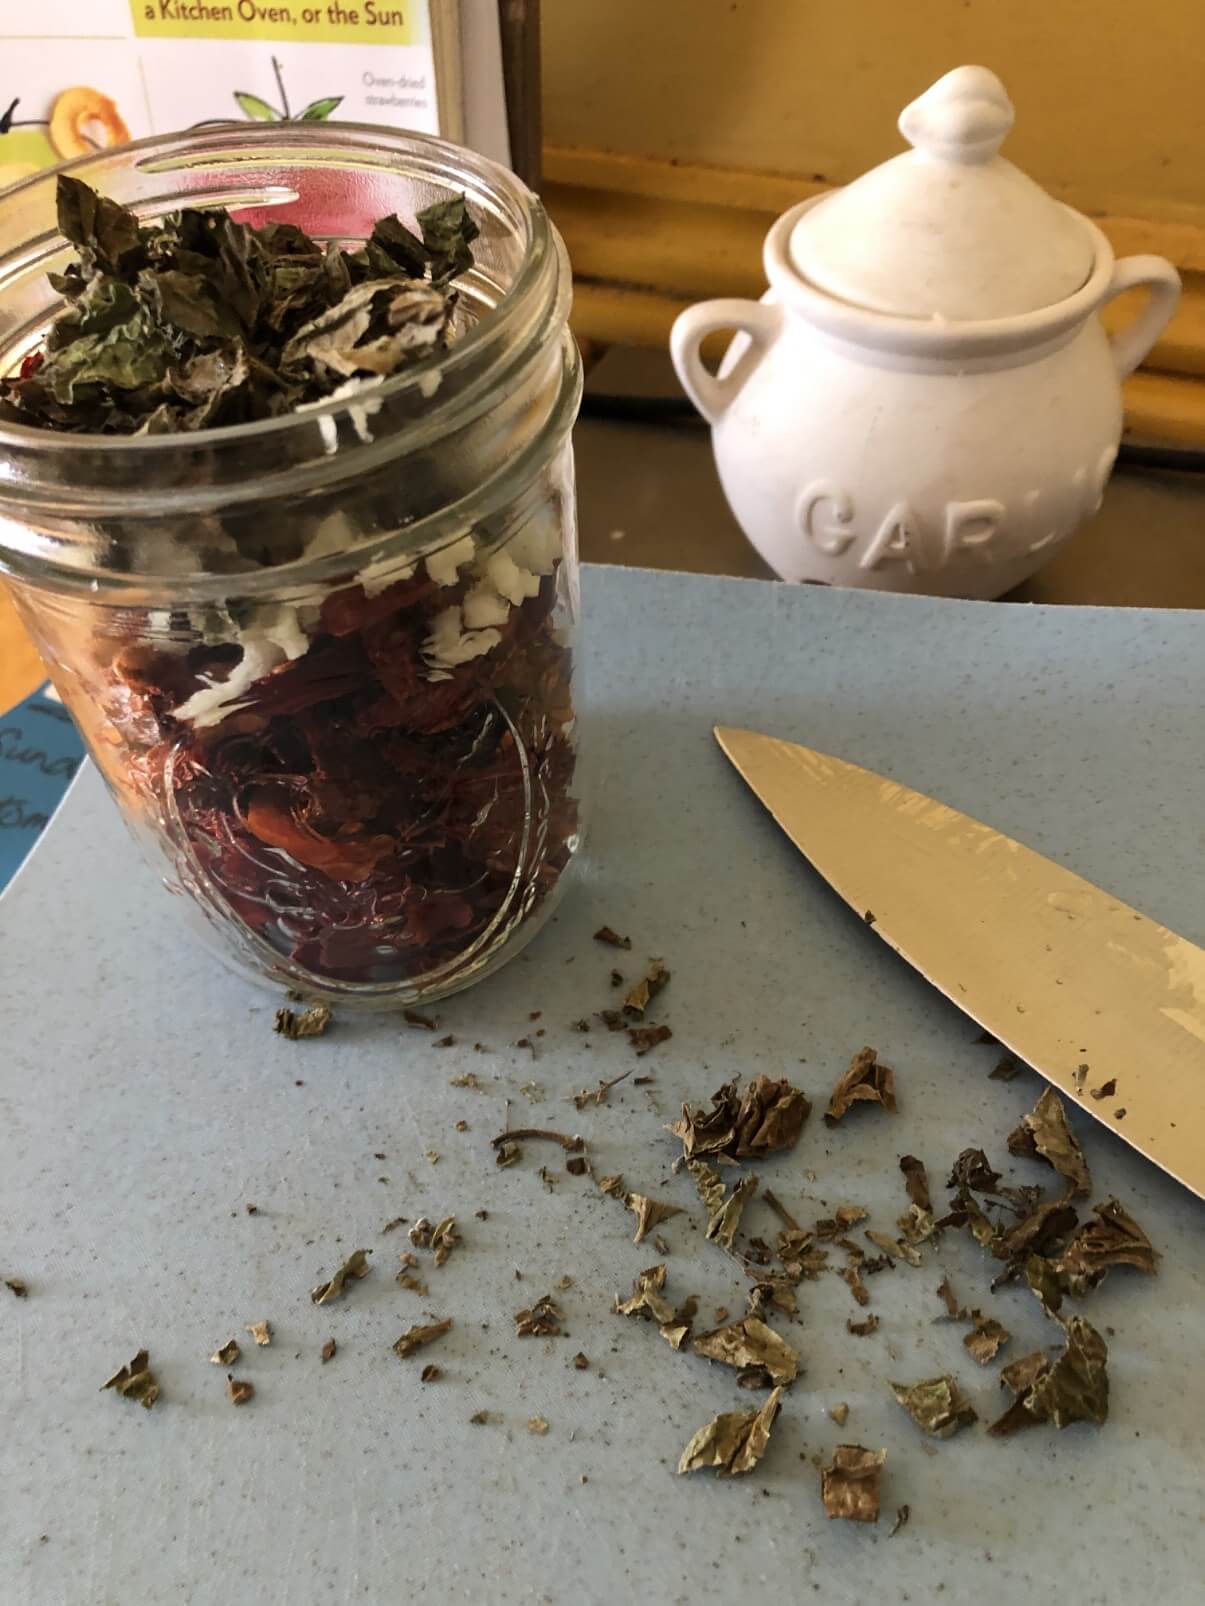
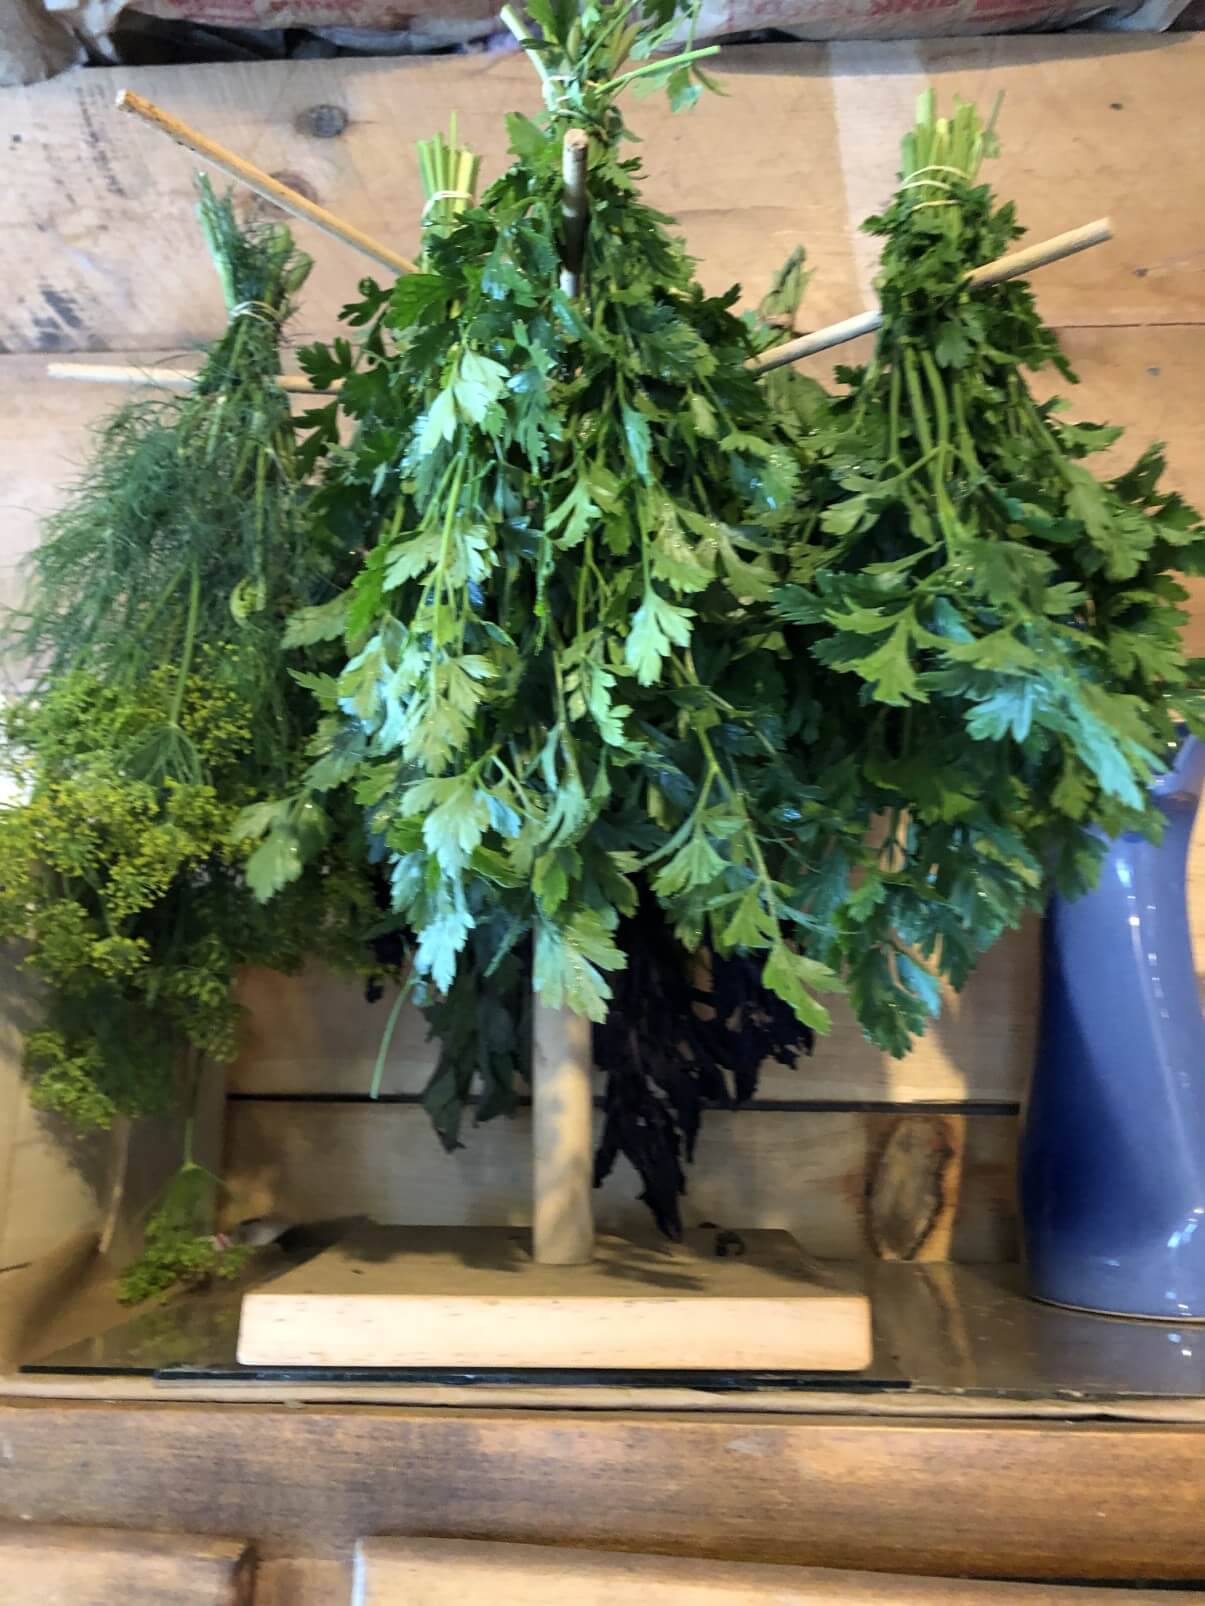
Many (but not all) types of produce can be safely dried with no equipment at all—using air or the sun, for example. This is often preferred for some things, especially delicate, leafy herbs. It is not recommended as safe for all produce.
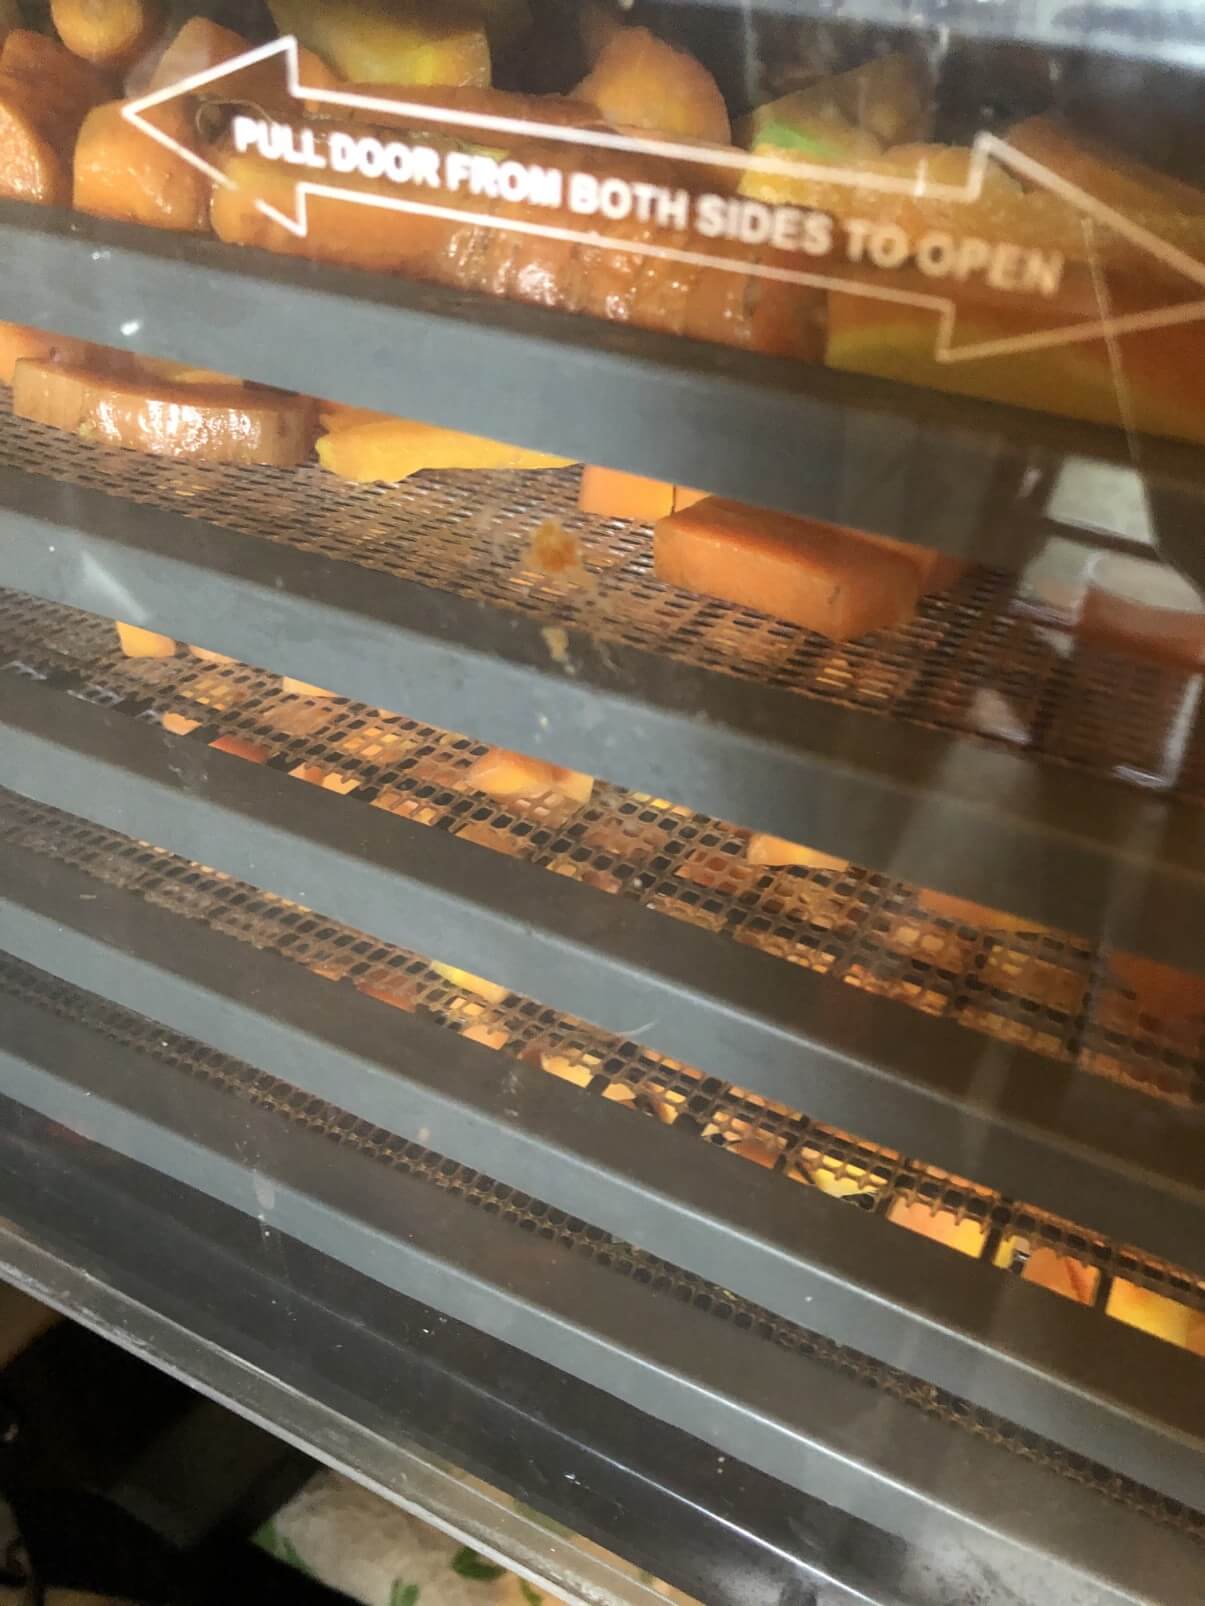
Most produce that can be dried in a dehydrator can also be dried in your kitchen oven (as long as your oven has a low enough setting that will allow it to dry without cooking or baking first). This method is not usually the most energy-efficient and drying in the oven might take longer, increasing its inefficiency, but it is a good method for many fruits and vegetables that is safe and requires no new equipment investment.
Dehydrating Time Investments
Dehydrating does not typically involve a huge hands-on time investment; as far as active, hands-on time for you, dehydrating will require some product preparation but it is usually less than that of freezing and definitely less than canning. You will spend less of your own time drying produce than you will with any other method.
That said, the process itself takes quite a lot of time. Six hours is the bare minimum that a given product will take to dehydrate in a dehydrator or an oven. Eight to 14 hours is more realistic. This means that your dehydrator or oven will need to run for that amount of time. It is not active—you can be doing all manner of things while your products dehydrate—but it is a lot of time for units to run and will come with some cost in electricity and/or utilities. Products dried by natural means (such as air or solar) may take a week or weeks to dry properly (though obviously, this method is free).
Heat and Odor
Some produce can have quite a strong odor when dehydrating as the products basically concentrate themselves. This concentration can also mean quite concentrated flavors, which you may or may not like. What this means is that, if you are running an oven or dehydrator for many hours in your home, and that vegetable or fruit is particularly odiferous (broccoli, cabbage, and some mushrooms come to mind), the odor may be overwhelming.
Heat is also an issue because both ovens and dehydrators throw a lot of heat while they are drying your produce. This can be quite uncomfortable at certain times of year—especially in the heat of summer when most harvests are coming in.
There are ways to overcome this drawback, though, such as dehydrating on a covered porch or in a separate room, basement, or entry room.
Eco-Friendly Considerations

The utility used by dehydrators and ovens can be considerable, though most resources consider dehydrating to be fairly eco-friendly overall. Though appliances do require energy sources for the many hours that they run, once dried there is no energy used at all in storage, and so the net use is much lower than freezing and equal to or less than canning. Energy usage is practically nothing for produce that can be safely dried with natural air or solar methods.
Researchers tend to differ somewhat between whether canning or drying foods is more eco-friendly, but the University of Colorado lists drying foods as the most energy-efficient of the three options.
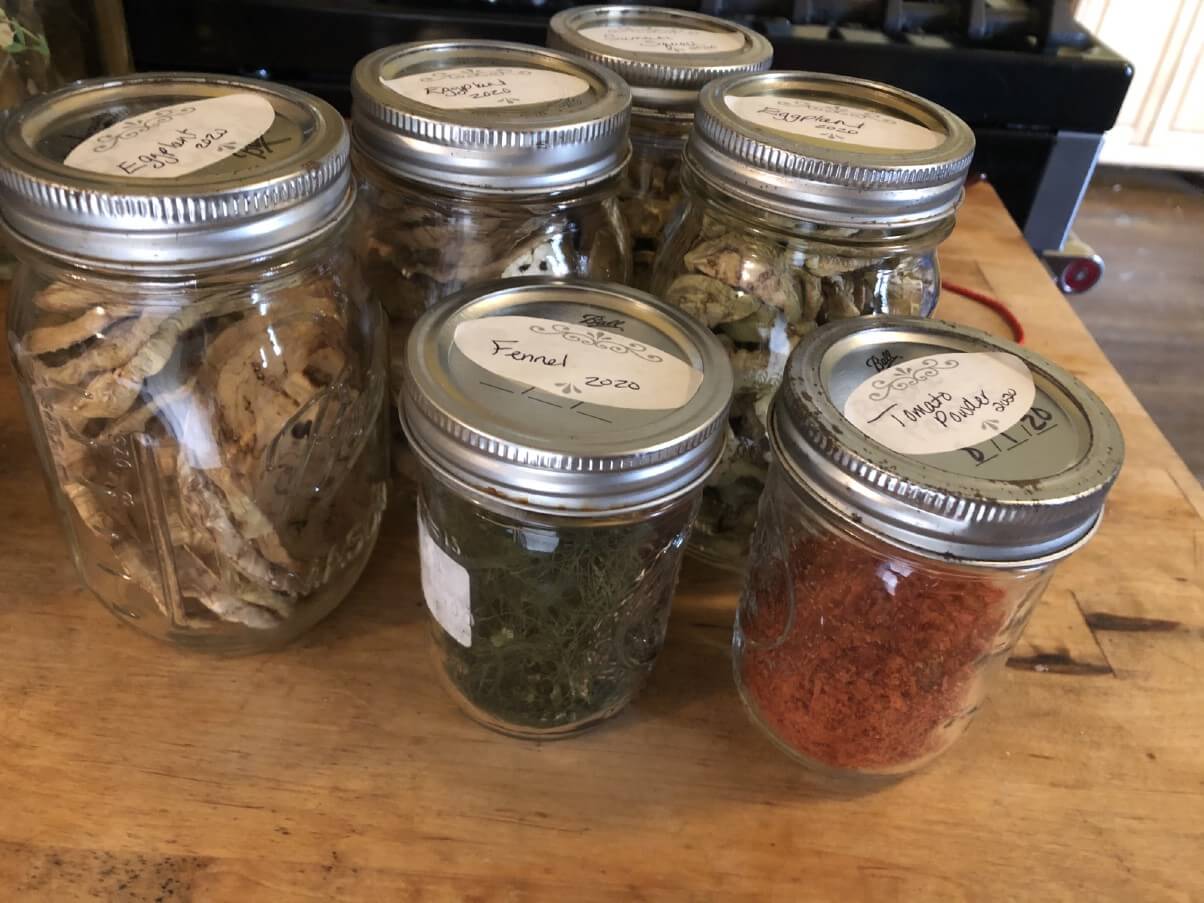
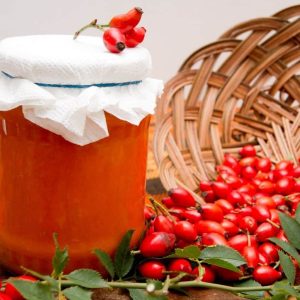
Seriously a Space-Saver
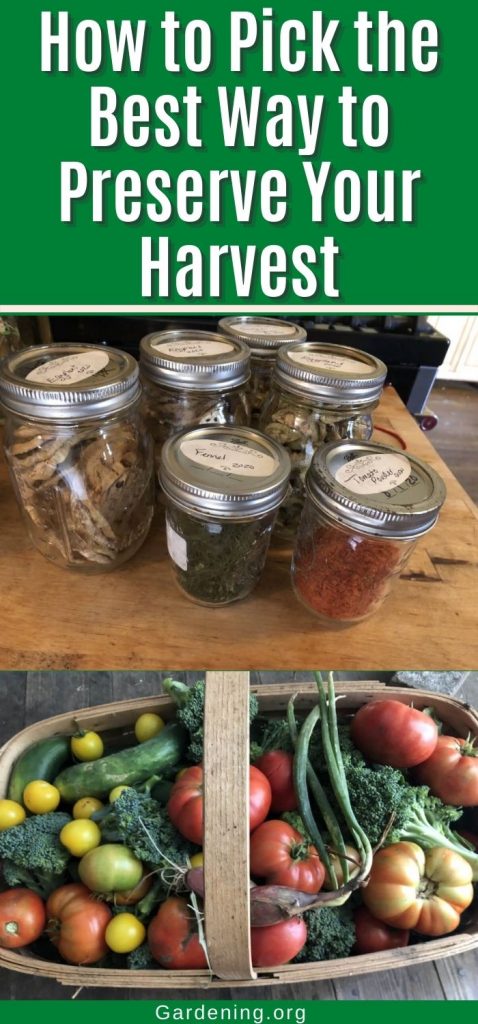
One of the best reasons to dehydrate your harvest is the ease of storing products. There is no real special equipment required—air-tight seals on canning jars or baggies are enough for good storage. Even your canning jar lids can be reused for as long as they are in good shape.
Upping your game with a vacuum sealer attachment for your jars, though not required, will keep your preserved harvests even better. Vac-sealed bags will keep these products extremely well.
In addition to ease of storage, though, there is also the issue of space to consider. Fruits and vegetables are mostly water. When you take that water away through drying or dehydrating, you are left with a product that is up to 95% reduced in mass. You might store your entire harvest in less than half the space you would have stored one single jar of the same, and you’ll never have to worry if the power goes out or the freezer quits working.
Dried foods can be easily stored in bulk or in smaller units without taking up nearly the space of canned or frozen produce.
Longest Shelf Life of All
The shelf life of well-dried fruits and vegetables is exceptionally long. It is the longest of all the preservation methods—up to five years! For this reason, drying and dehydrating are often the method of choice for those who want to prepare for more than just the coming winter.
Recap Drying Pros and Cons
- Some learning curve for many people
- The learning curve for cooking and using the dried product
- Heat and odor considerations
- Possibly high energy use at the time of drying
- Potential significant investment initially
- Little to no equipment investment after appliance purchase
- Passive (solar, air) drying options for many types of herbs and produce
- Little hands-on time required
- Huge storage space-saver
- Good product flavor
- Often superior texture
- Flexible uses for the end product
- Convenient to use dried foods in many dishes
- Mix and match to make new prepped dishes
- Easy bulk storage options
- Low carbon footprint and eco-friendly
- Utility-free storage
- No loss due to power or refrigeration failure
- Very safe, low pathogen risk
- Longest shelf life, up to 5 years
What Is the Best Preservation Method for Preserving Nutrients in Vegetables and Fruits?
This raises the question—of the available home preservation methods, which is best for preserving vitamins and nutrients?
The answer to this question is not so simple. It depends on more than just which preservation method is best—it depends on the vegetables, fruit, and vitamins and nutrients in question. And of those, there are too many possible focal points, possibilities, and combinations to consider.
For example, fiber is almost always preserved regardless of the preserving method of choice. Vitamin C, on the other hand, is impacted by such factors as heat and oxidation, which vary depending on preservation methods and cooking methods, too.
To take it a step further, sometimes the method of preservation itself can be good at maintaining the nutrition of your food, but the storage method associated with that method (for example, breakdown in a freezer after months of storage) will cause a decline that another method may not. To further complicate the matter, some breakdown can actually be beneficial, because even though there is a net loss, the processing makes the nutrients more available to you when digested. So, no simple answer, indeed!
At the end of the day, all preservation methods do a good job of preserving the nutrients that can be preserved, to the extent that they can be preserved. Of these three, there is no very clear guideline to recommend one over the other. In making your choice, you might consider such factors as the purity of the product and ingredients. (In other words, is there a lot of salt or sugar in your preserved product?)
Preserving Fresh Is Really the Goal
What is probably more important than which method you choose is how well and how quickly you preserve your harvests.
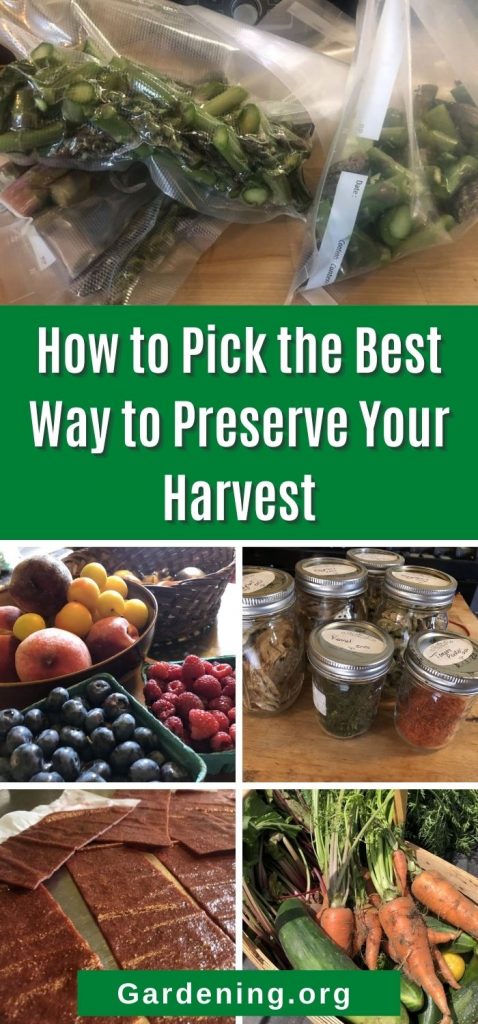
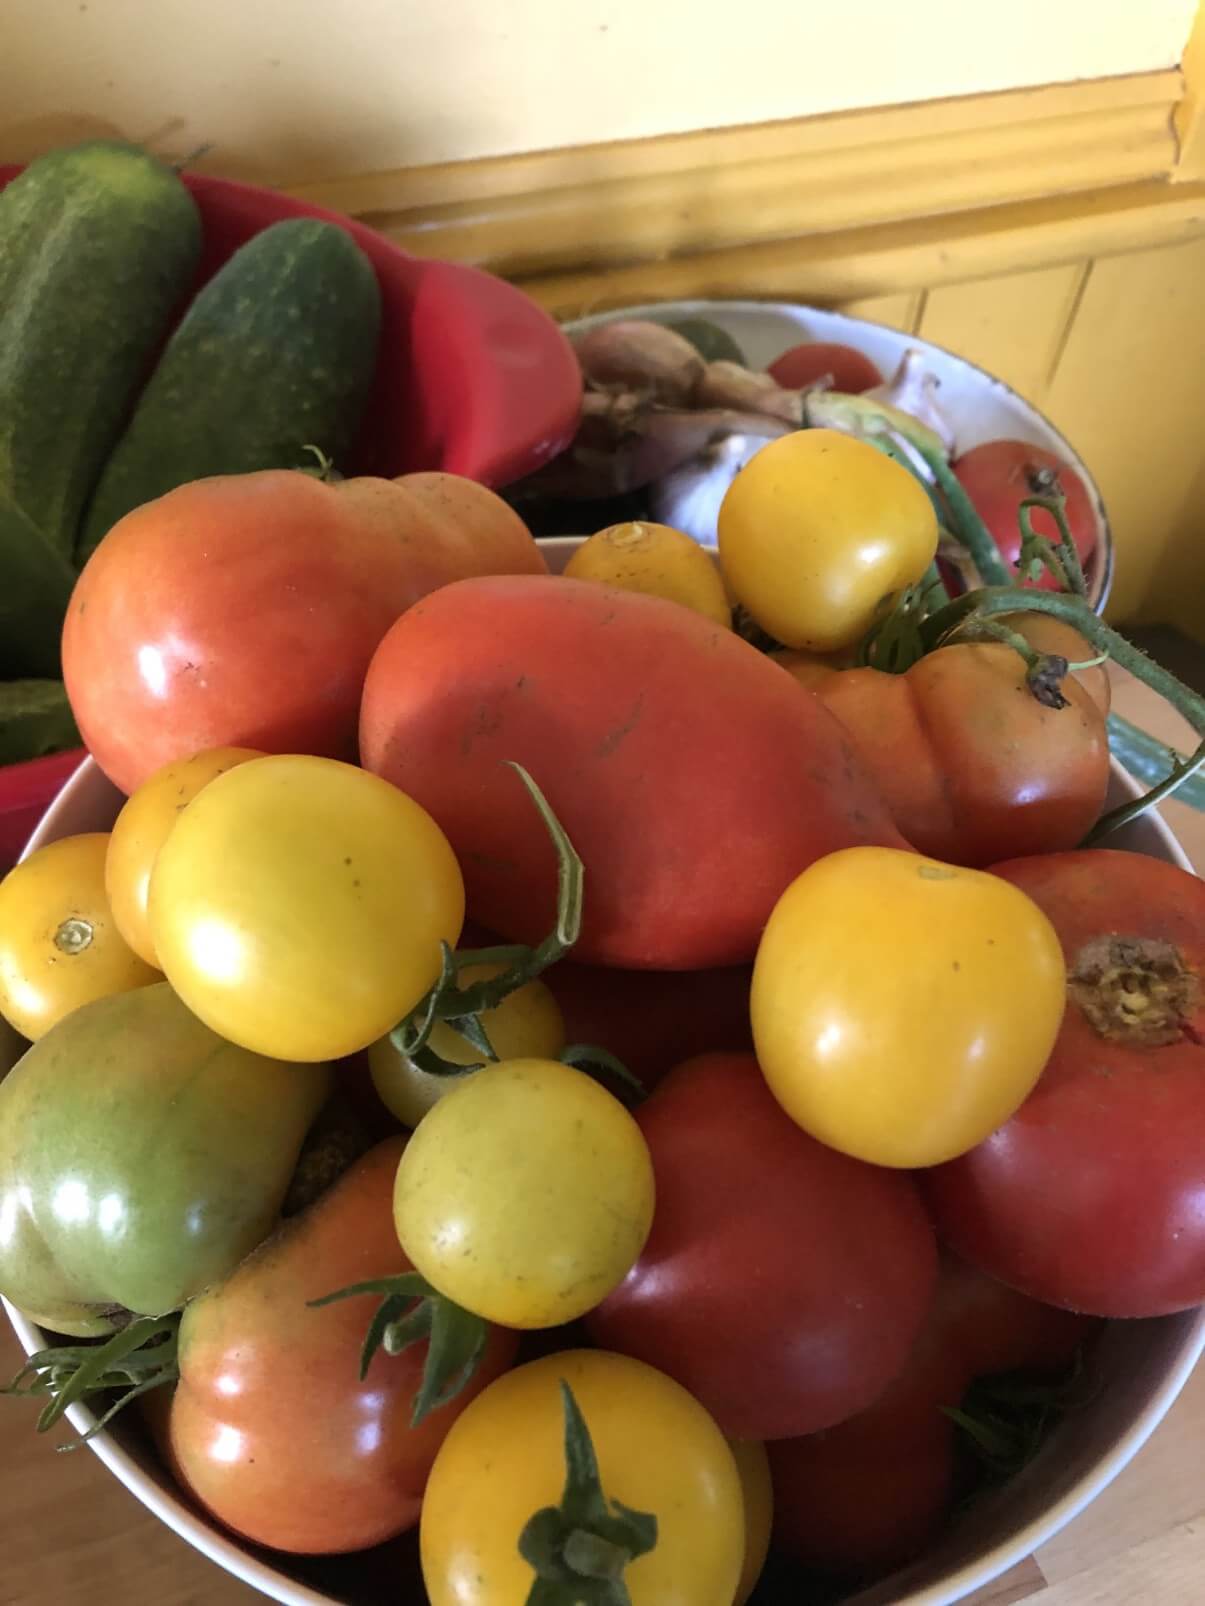
The quality of your produce is key. One benefit to preserving your harvests at home is access to the freshest fruit and vegetables possible. Homegrown and locally-sourced foods are at the ultimate peak in nutrient density because nutrition begins to break down even in “fresh” grocery produce, beginning at the time of harvest. So, something you grow and preserve in short order at home can be more nutritious even than what you can by in a grocery store if it was harvested under-ripe, has been refrigerated for weeks, and has lost nutrients.
While it is interesting and certainly worth your time to learn what you can about preserving to preserve nutrition, your time will be best spent in choosing the best method or methods that are most reasonable and most manageable for you and getting your gorgeous fresh produce well-preserved as quickly as is possible for you—no matter how you do it!
Learning How to Can, Freeze, and Dehydrate Garden Harvests
Where can you go to learn more and to learn more specific instructions for preserving your homegrown harvest?
You can start with online resources including quality canning websites, reputable and reliable online canners, and many universities. In the U.S. each state university system has what is called an Extension Service designed (in part) to aid in food production and gardening and also in safe food preservation. They are accessible online and via hotline numbers and online contacts. There is also the U.S. National Center for Home Food Preservation which is an excellent dedicated source of home food preserving information. Though these resources are U.S.-based, they are available to anyone with internet access all over the world.
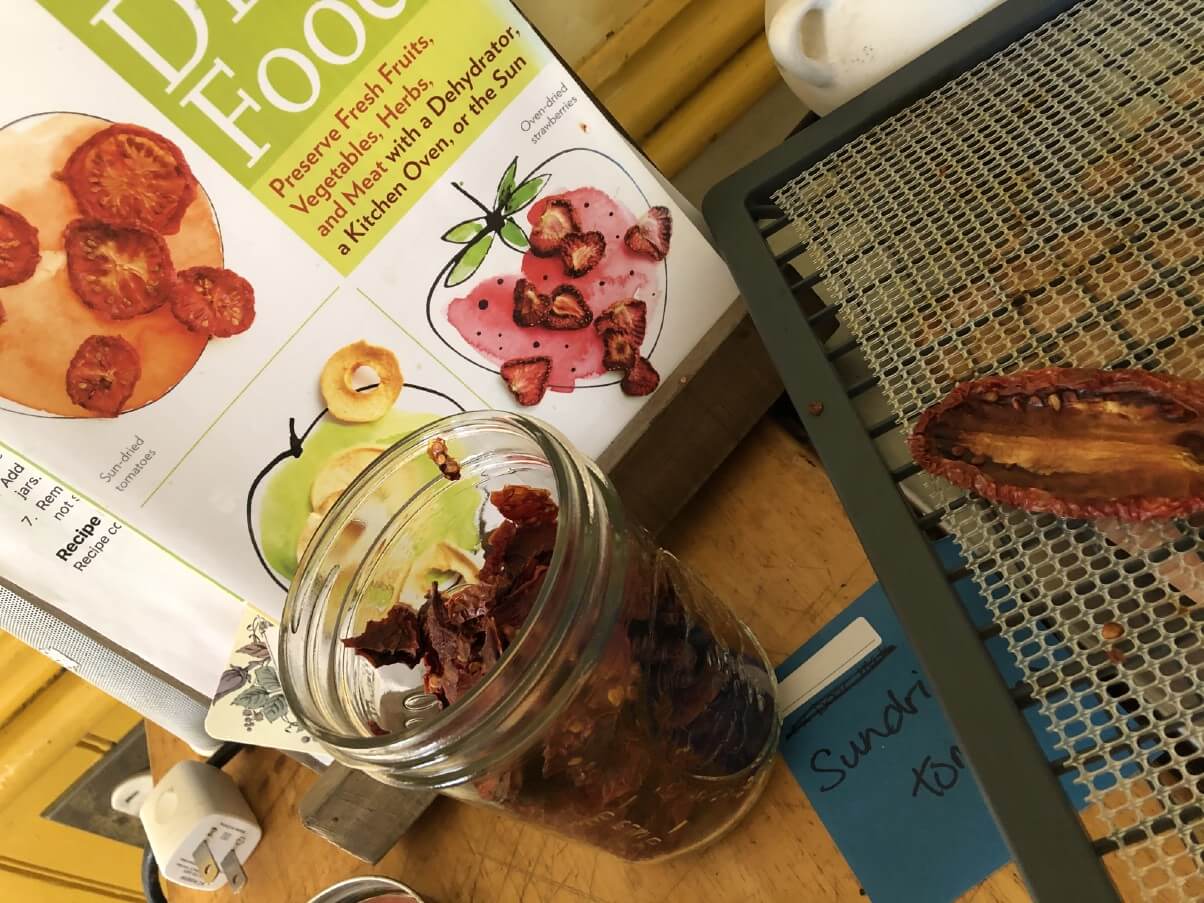
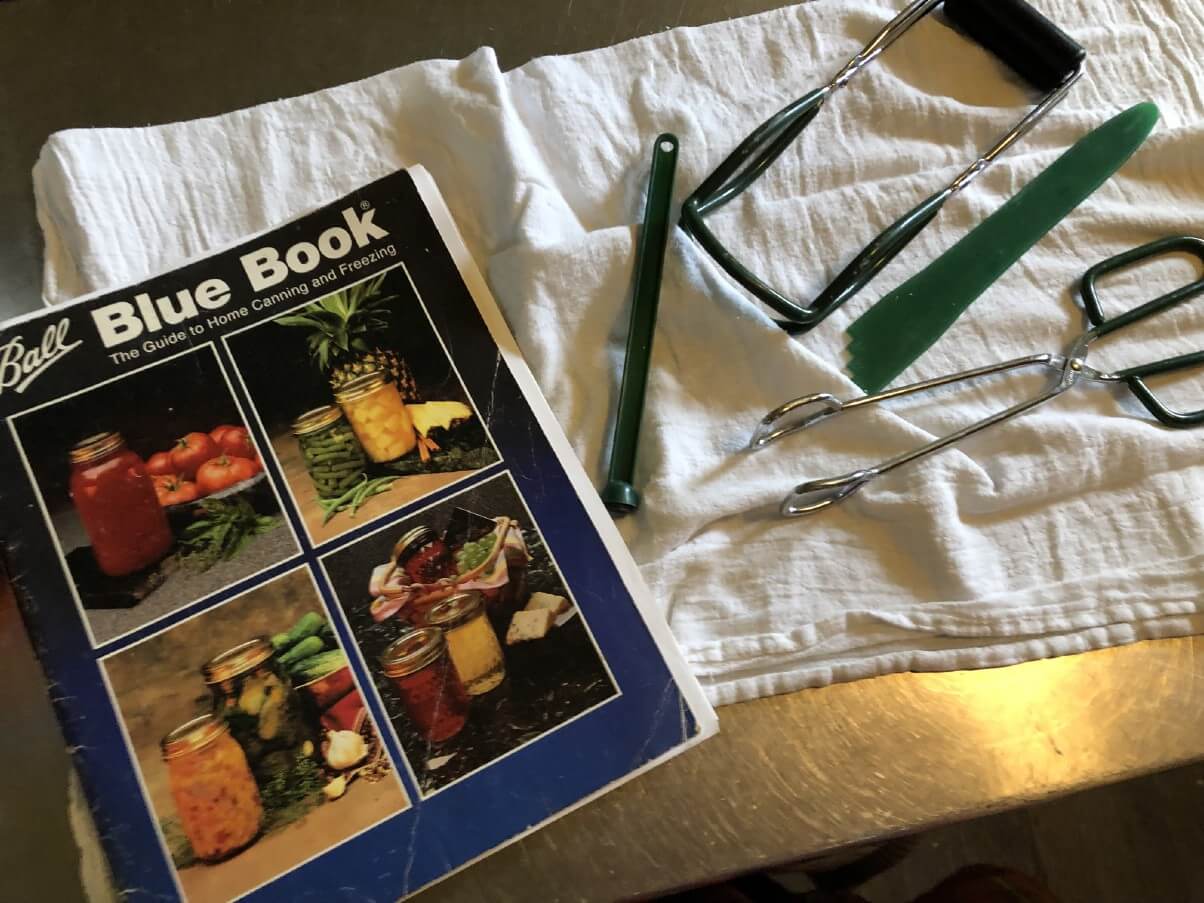
It is always wise to also invest in a few good books for preserving. A tried and true preserving “bible” that is kept updated with new recipes, instructions, and updated safety recommendations for all three preserving methods is the Ball Blue Book Guide to Preserving. An excellent title dedicated to dehydrating is The Beginner’s Guide to Making and Using Dried Foods by Teresa Marrone. Of course, there are many other great resources, but these are two that will set you well on your way to safely preserving many varieties of homegrown, home-preserved foods.
Finally, do not discount the learning and value of online groups, forums, and social media pages dedicated to preserving, freezing, and home canning. Though of course there will be much advice and many opinions and you will need to educate yourself and make good decisions about who to listen to, these are places where knowledgeable, experienced home canners and preservers gather; helpful groups can be an excellent place to turn when you need a fast answer to a preservation question.
So, What is the Best Way to Preserve and Store Your Harvest?
Truth be told, no one preservation method is the answer. Your own circumstance, facility, utility, and access to supplies will all impact your decision. The best method is likely a mix for most of us—mainly because certain fruits and vegetables are more suited and more enjoyable for certain methods of preservation.
Start with one method, learn it, enjoy the learning process, and then move on to the next. Once you have a little experience with each, you’re sure to find that you enjoy a mix of all three—some fresh-frozen produce, some dried, and some canned. As you begin to use your harvest preserves, some favorites will begin to emerge. Learn. Grow. Do. Find the balance and mix of preservation products that appeal to your palate, your wallet, and your time, and enjoy the harvest!

Leave a Reply