Elderberries are very easy to propagate from cuttings. Once you’ve located a good bush, you can take cuttings to propagate loads more bushes. There’s no harm done to the original elderberry bush to speak of, and in fact, pruning cuttings often results in a stronger, better-shaped, and more productive bush.
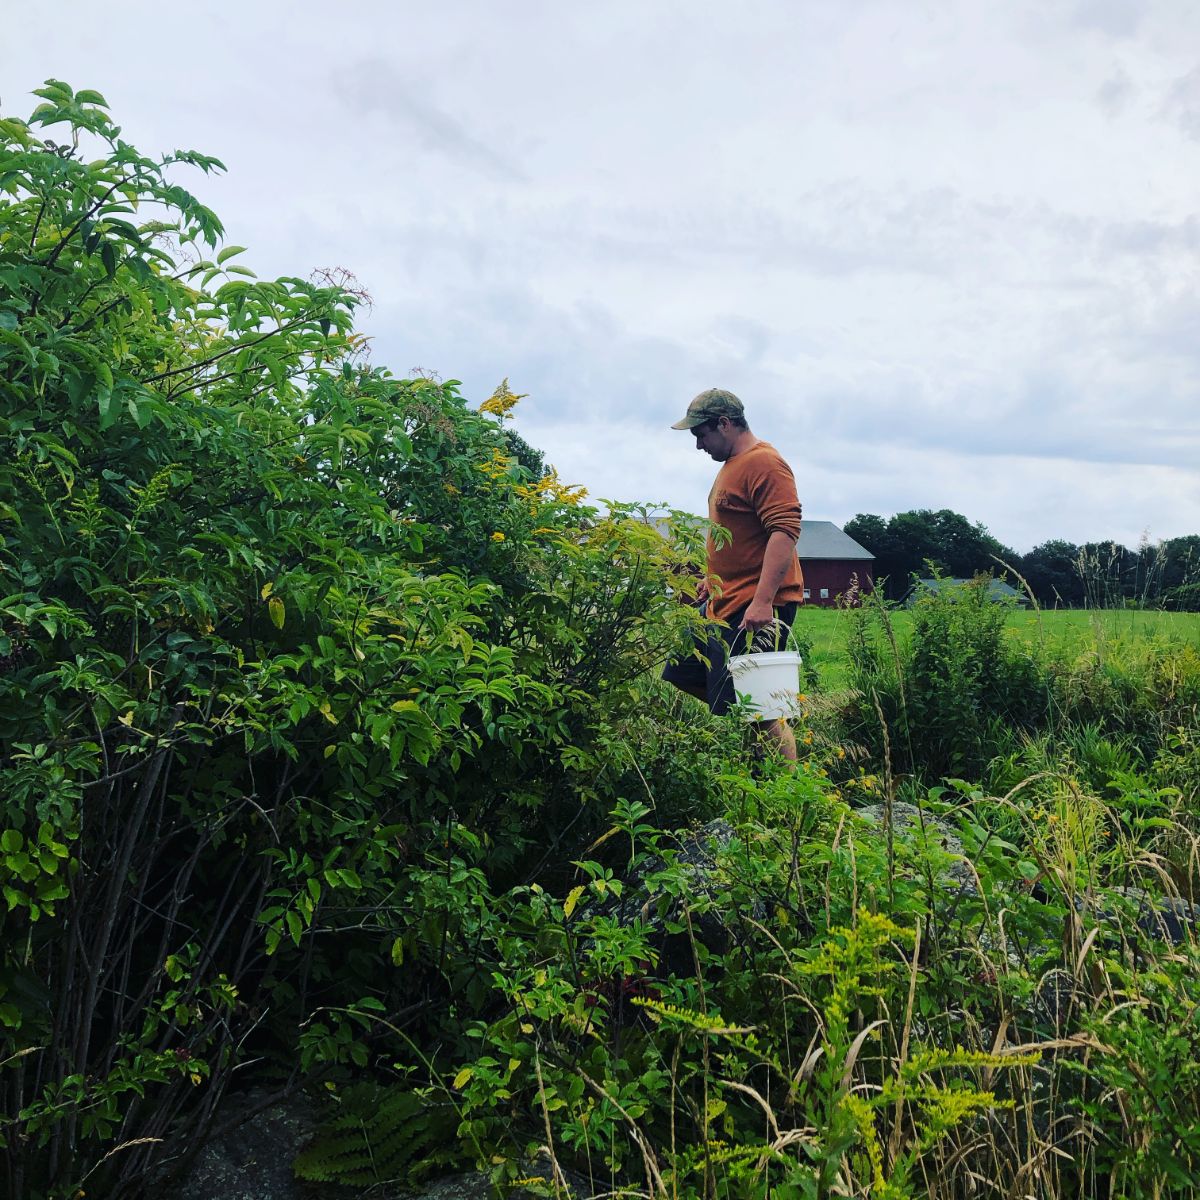
To grow the best elderberries at home, though, you want to start with cuttings from the best bushes you can find. That means looking for a few key features so you can maximize your yields and harvests. Here are some pointers on what you want to be on the lookout for.
Jump to:
- Can I Propagate Elderberries from Seed?
- Why cuttings are better than seeds for propagating elderberries
- Does Taking Cuttings Harm Elderberry Bushes?
- Native vs. Cultivated Elderberry Varieties: Which is Best?
- What to Look for In a Good Elderberry Bush
- Picking a Bush to Meet Your Own Goals and Standards
- When to Take Elderberry Cuttings for Propagating
- Propagating Elderberries at Other Times of Year
- How to Take and Plant Elderberry Cuttings
- Tips for Finding and Sourcing Elderberry Cuttings
- There’s Not Really a Bad Elderberry for Propagating, But There is Often a Better One
Can I Propagate Elderberries from Seed?
First, let’s dispense with one of the commonly asked questions about growing elderberries:
Can you grow elderberry bushes from seed?
The short answer is yes, you can. Growing elderberry from seed is not usually the best way to go, though. Here’s why.
Elderberry seeds typically require scarification and cold stratification.
Scarification means to cut, break, or scratch through the hard outer surface of the seed. It’s common for hard seeds like morning glories and moon flowers. It’s also a lot easier to do on large seeds. Elderberries are not large seeds. They’re quite tiny, in fact.
Cold stratification just means that the seeds spend a long period of time—usually many weeks or months—exposed to very cold or freezing temperatures...similar to what seeds would experience in their native climates over a typical winter.
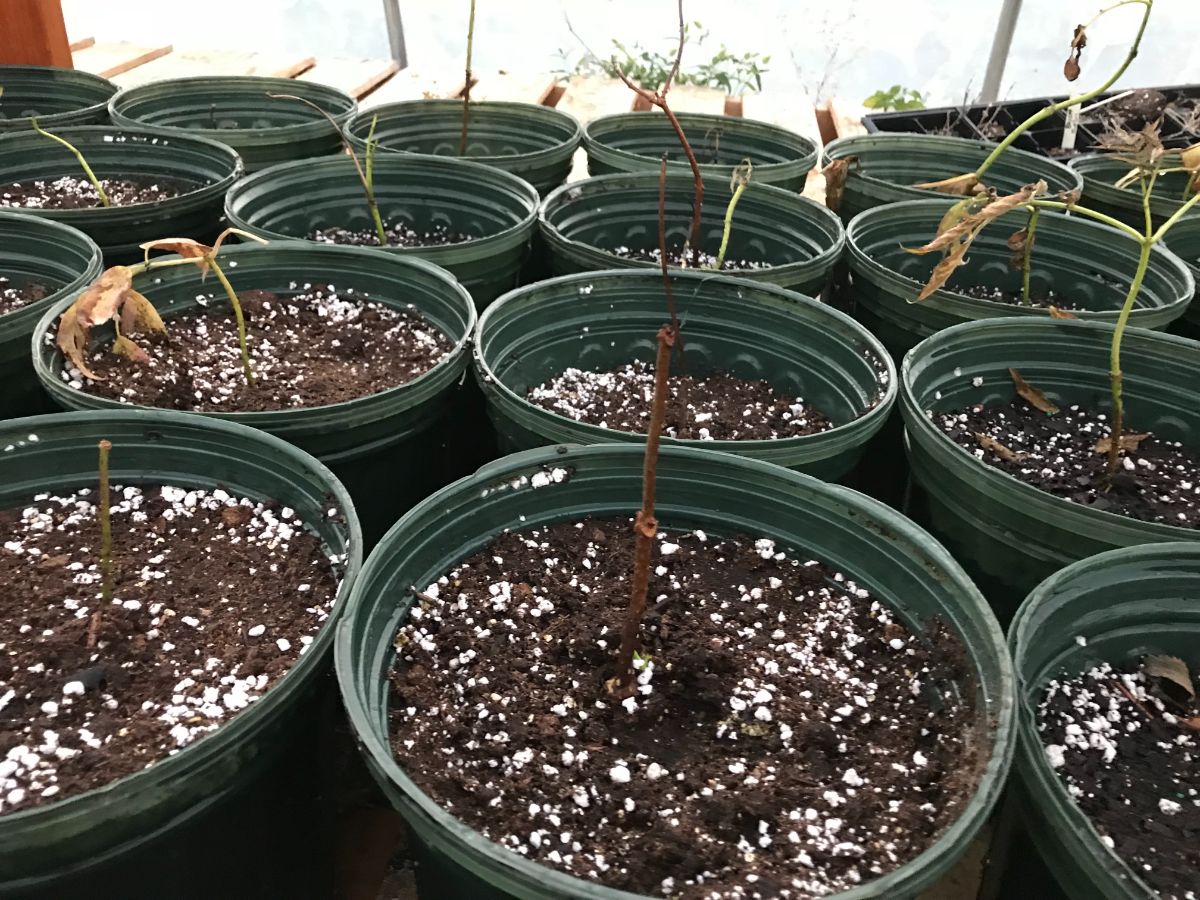
Cold stratification isn’t hard to do, but it’s time-consuming. Planting elderberry seeds in a pot and leaving them out to overwinter will do the trick in most cases (similar to winter sowing methods for other seeds and garden plants). But that sets you back by many months.
Why cuttings are better than seeds for propagating elderberries
There is a bigger reason that propagating elderberries from cuttings instead of seeds is best.
The biggest reason is plant reliability.
When you propagate elderberries (or any plant, for that matter) from cuttings, you know exactly what you are going to get from the bush that grows. Cuttings are a clone, a carbon copy of the plant they are taken from. You may get some slight variation based on soil nutrients and planting location, but the genetics will not change from the parent plant they are taken from.
When you plant from seed, you cannot be sure that you will get the same plant with the same genetics or the same results. This is because seeds are formed in berries from flower blossoms. Those blossoms are pollinated by insects and by wind. They might be pollinated by other flowers on the same plant, which means they would have most or the same genetics, but they have a high possibility—maybe even a probability—of being cross-pollinated with other elderberry bushes and having mixed genetics.
New combinations of mixed genetics can result in similar but different individual plant characteristics. So, in the end, you just can’t be sure if the elderberry bush you grow from seed will be a great one or a dud.
The good news is that this makes it easy to find the best elderberry bushes available to you, to take cuttings from them, and to propagate and grow the best of the best specimens. All you have to do is look for the plants with those favorable characteristics.
Does Taking Cuttings Harm Elderberry Bushes?
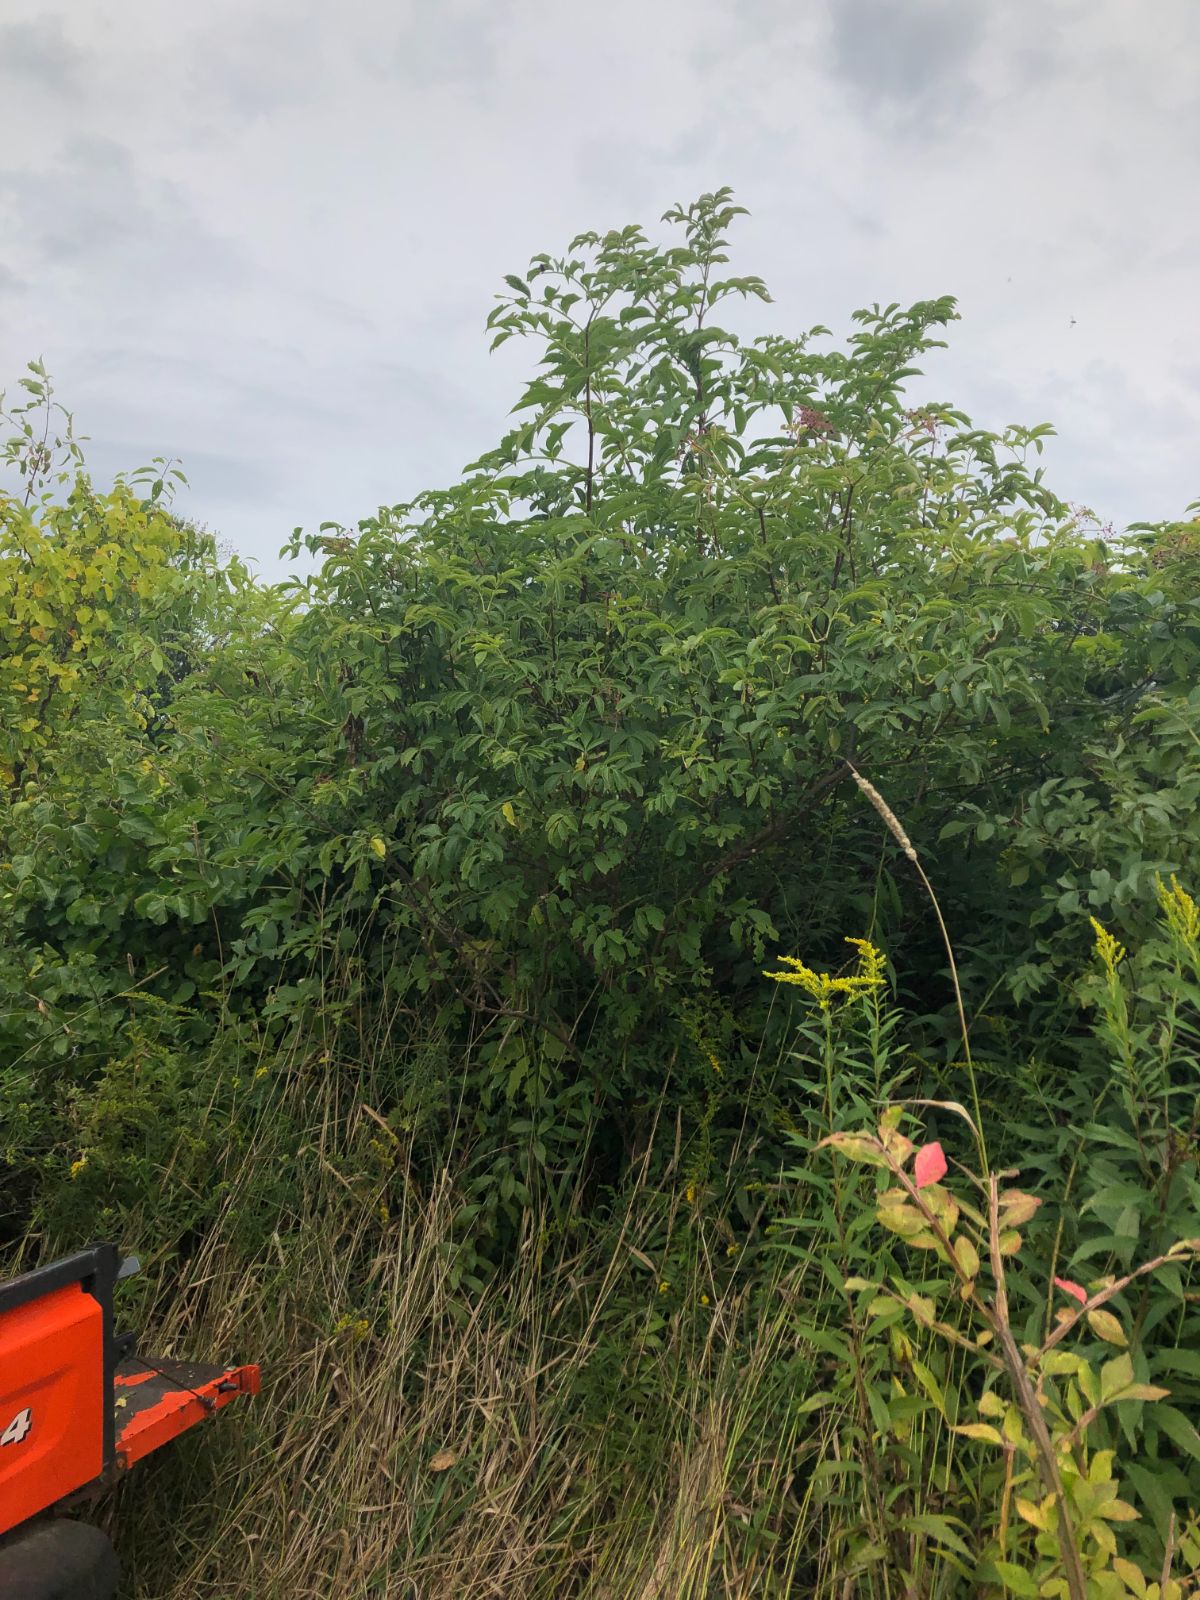
Taking cuttings is not harmful to elderberry bushes. Even if you take cuttings while the bushes are growing, you won’t be causing them much, if any, harm. The cuts will heal and seal, and the bushes will continue to grow and thrive.
If you look at roadside elderberry bushes that are often mowed and trimmed by road maintenance crews, you’ll notice it hardly ever kills them. It may reduce their height (which may be favorable), but it often results in the bushes sending out more side shoots from the ground up, spreading the bush and causing it to grow wider and round rather than tall and unreachable. It also tends to result in a nice canopy of berries that are more synchronized in growing and ripening.
Cuttings are most often taken during dormancy, in which case the elderberry virtually doesn't notice the loss at all.
Native vs. Cultivated Elderberry Varieties: Which is Best?
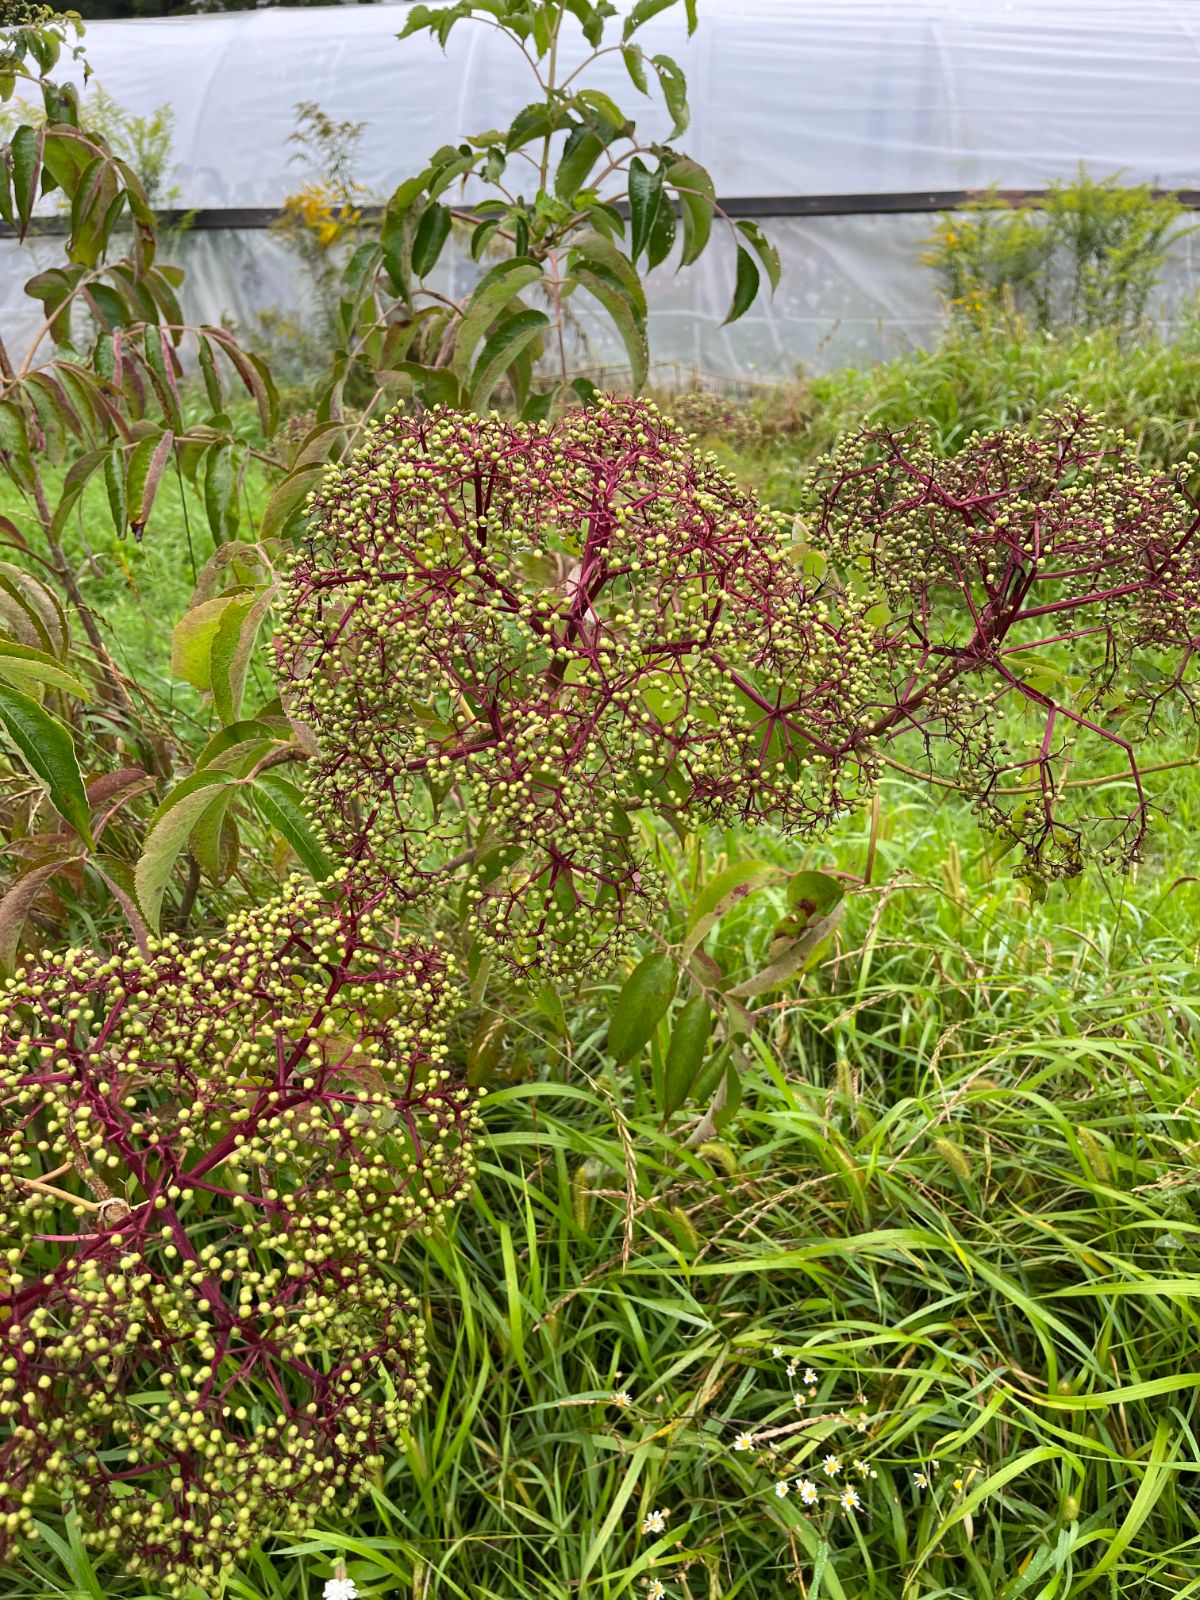
The best elderberry bush for you is the bush you have. If that is a native wild bush, that’s the best. If it comes from your or your neighbor’s cultivated, named variety of elderberry, that’s great, too.
Cultivated elderberries—those that have names and are sold by varieties—are simply wild elderberry plants that were chosen and selectively bred because they had good characteristics that people were looking for. Many were selected because they work well in a field setting, or they are better for commercial growing because the berries ripen together, or they grow big, nice clusters of flowers or berries.
They might have been selected for a geographical location or because they had a higher sugar content. Perhaps they were picked because their harvests were timed differently.
New varieties of elderberry are being developed all the time when someone finds a bush that looks good and performs well.
These are often characteristics that we want in a home elderberry planting, too, so these cultivated varieties are great for backyard growers as well. But that doesn’t mean that you shouldn’t propagate free elderberries from wild or neighborhood plants that you like.
You might even do better if you select cuttings from promising local or even native wild bushes instead of cultivated, named varieties. The wild and native bushes around you (which are probably the same species as most of the commercial varieties, just not selectively grown) are acclimated to your local climate. They are adjusted to your growing season, and the want to survive has made them so that they are sure to ripen and succeed where you live.
A lot of the named cultivated varieties in the United States were developed in the mid-west. They typically do well in locations all over North America and Canada, but they sometimes have difficulty fitting in with colder climates.
European elderberries are well suited to Europe and the UK, but less so to growing in North America. Blue elderberry varieties are native to the North American west coast and Mexico. They can be difficult to grow in other areas.
So you see, there’s no straight answer, but there is also no wrong choice. It’s smart to stick with cuttings from elderberries that you see growing and thriving where you are and then go ahead and try out some others if you want to explore or expand more.
What to Look for In a Good Elderberry Bush
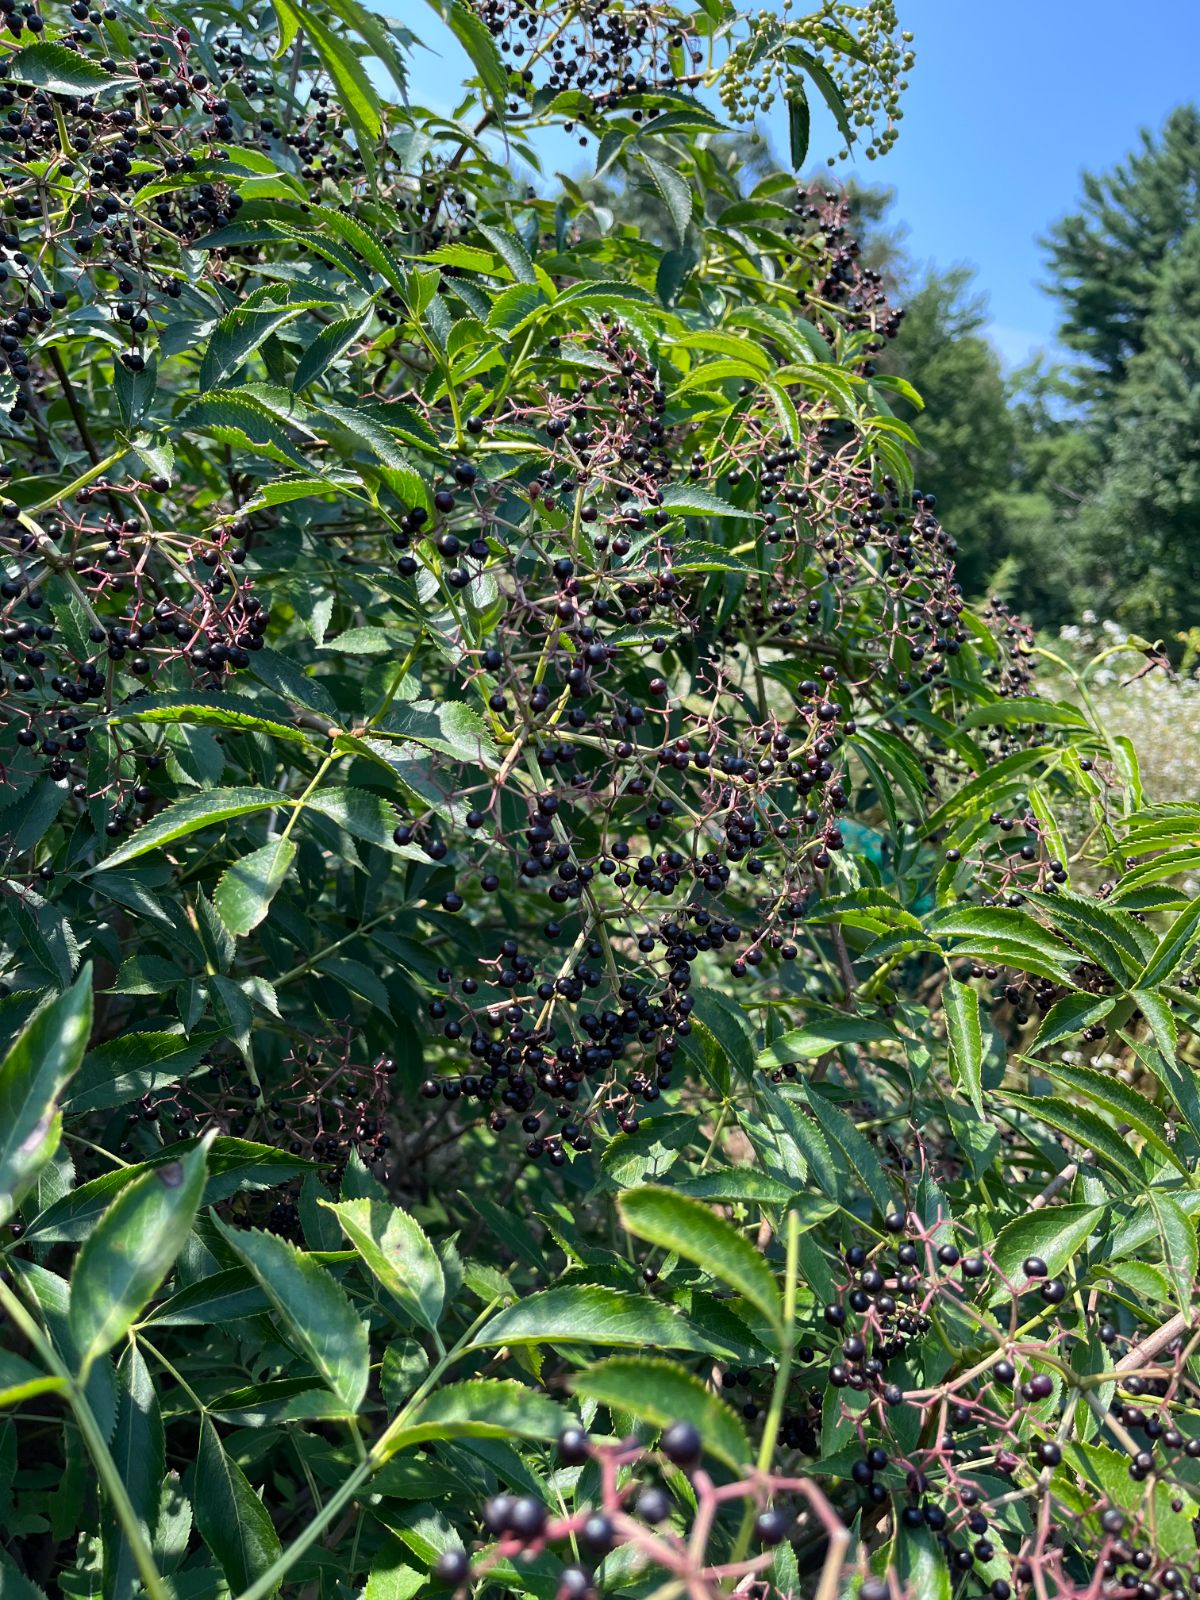
What we look for in an elderberry bush to take cuttings from, propagate, and grow are desirable traits. Traits that make harvesting better, easier, more reliable, and with increased yields.
Here are some of the characteristics you should look for in a good elderberry bush worth propagating (or growing into new plants):
- Bushes that set blossoms all over at about the same time. In other words, don’t choose bushes that drag out blossoming for too long, or you will not get a large harvest of berries at the same time, and picking and harvesting will be difficult. It will also be difficult to use what you have, as you'll have to wait to save up.
- Many clusters of ripened berries ready at the same time
- Large clusters of elderberries
- Larger, plumper berries in comparison to other bushes
- Umbels or clusters that don’t “shatter”; this means the clusters hold onto their berries until they are ripe enough to harvest, and they don’t drop too many berries when they become ripe and ready
- If possible, look for a bush that holds its berries well (including ripening and under ripe or almost ripe berries), even if you get severe weather. This can be a lot to ask of a berry bush, but if you find a bush that has favorable characteristics and it holds up well in the elements, propagate it. Thunderstorms, heavy winds, and rains are a reality of summer when elderberries are growing and ripening.
- Clusters (umbels) that tip and hang down when ripe, so they are upside down, and birds have a harder time reaching them
- A growth habit that makes picking easy—for example, a bush not too tall so you can’t reach the berries to pick them
- Bushes that ripen earlier rather than later so the berries have enough time to completely ripen before the weather cools and ripening stops
- Bushes that are mostly determinate or lean on the side of determinate
- Bushes that don’t flower too late and aren’t putting a lot of energy into flowers when they should be ripening berries
- Reliability—pick the bush that is a steady, reliable performer and exhibits wanted characteristics year after year
- If possible, choose a good bush that is growing in similar conditions to where you will be planting yours so you know it is likely to thrive in those conditions.
Picking a Bush to Meet Your Own Goals and Standards
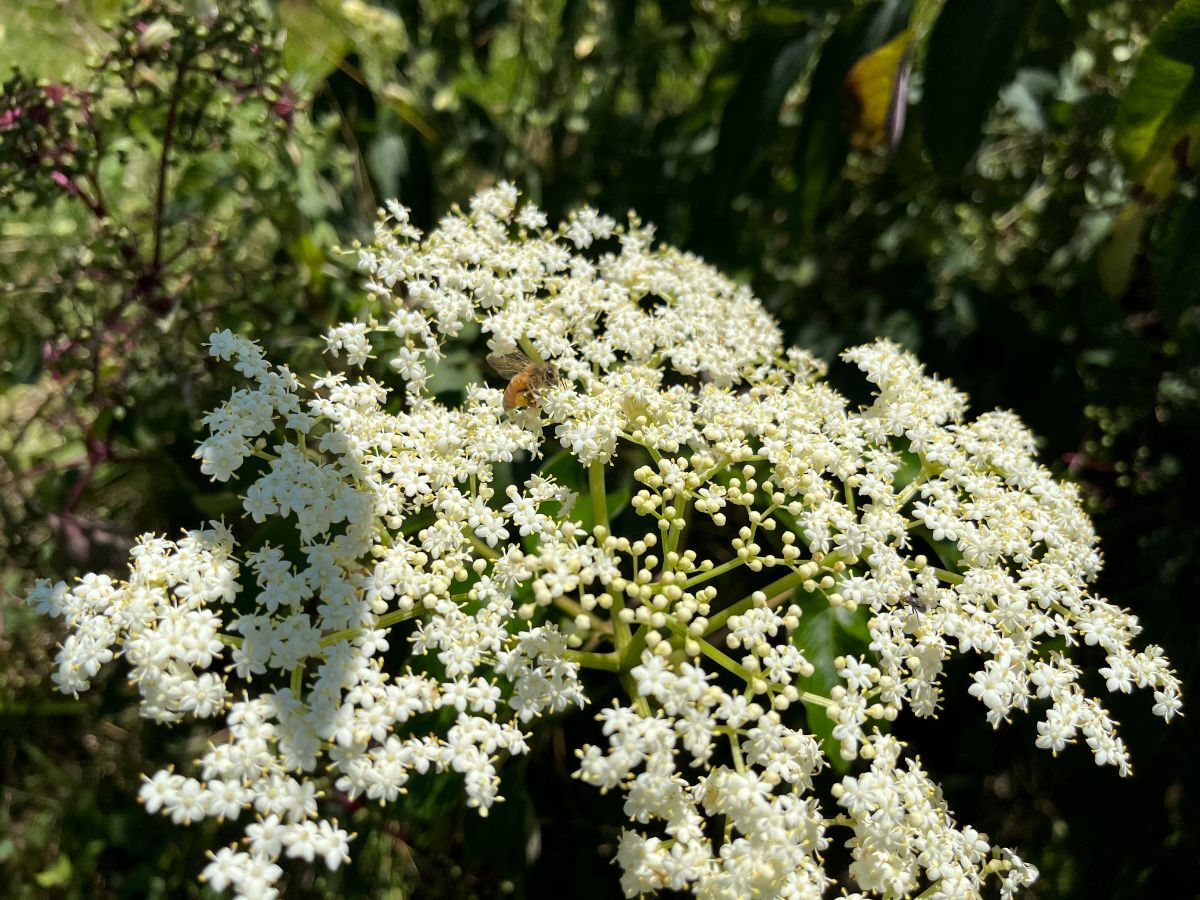
Though these are things that are most commonly recommended by growers and the things most of us want in an elderberry bush, you may have some criteria of your own that you want to fulfill.
For example, maybe you’re more into elderflowers than elderberries. You might want a bush that grows more aromatic flowers for a better scent or flavor.
Or, you may need a compact bush that grows more upright and stays better in a narrow, more confined area. You want a bush that grows up more than it grows out.
Alternatively, you may want a bush that will spread over a large space and fill in like a hedge. Look for a bush that is spreading along the ground by sending out a lot of side shoots from the roots.
Maybe you’re going for earlier ripening for an earlier harvest or later ripening that fits your life’s schedule better; maybe you want later ripening to extend the harvest period when combined with your earlier ripening varieties.
Whatever it is you want to grow, look for that criteria. Your selection qualities do not need to be the same as anyone else’s.
When to Take Elderberry Cuttings for Propagating
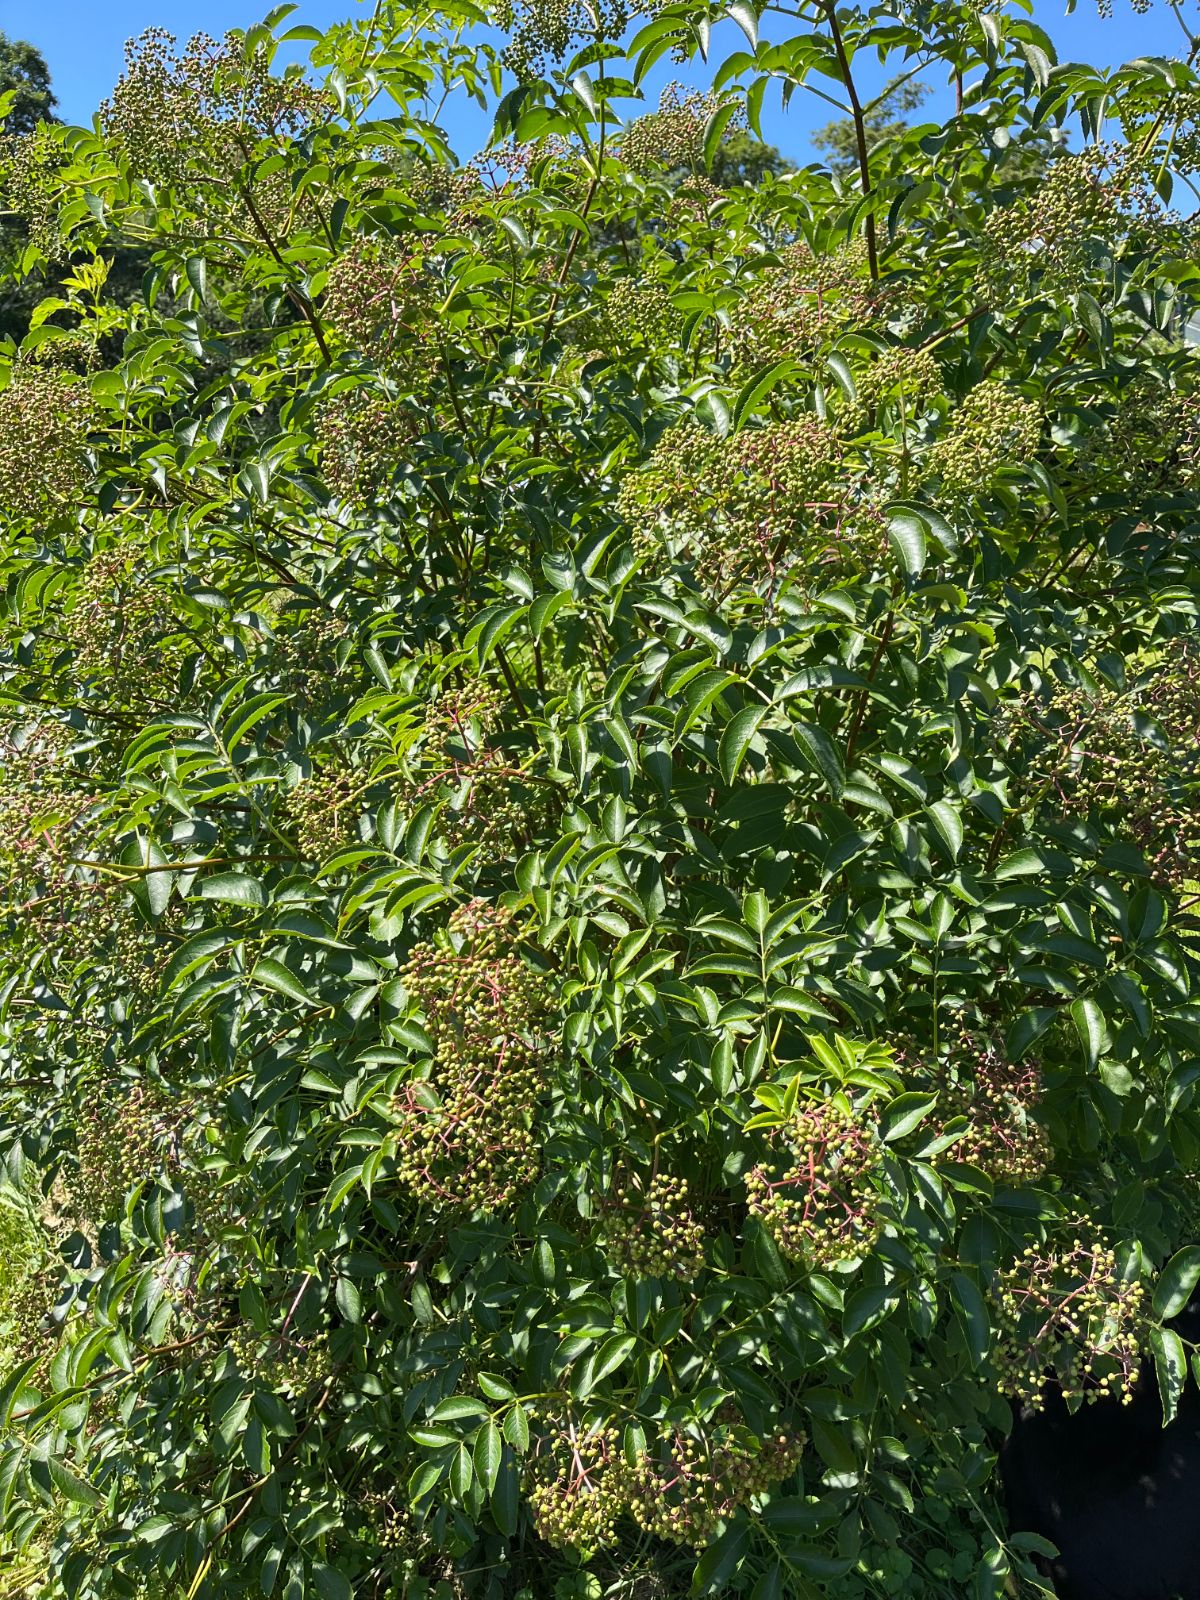
By far, the most highly recommended time of year to take elderberry cuttings is in the winter when the plants are dormant. This is the time of year experts recommend for taking cuttings. This can be any time after hard frosts and freezes when the plant is not actively growing and after leaves have fallen off. Cuttings should be taken before the leaf buds start to swell and break into leaves in the spring.
That said, elderberries are resilient and forgiving, so if you end up a little on the late side, you can still take cuttings and get them in the ground.
Commercial growers and gardeners simply make their cuttings when they prune the bushes for the year. Bushes are pruned while dormant. The cuttings can then be stored in a plastic bag with a damp paper towel in a refrigerator (not a freezer) until you plant them in the ground. Elderberry cuttings can stay stored for several months this way.
If you are sticking with conventional wisdom and planning to collect your cuttings for propagating in the winter while the plants are dormant, you need to make sure you can find and identify those bushes in the winter when they are dormant and leafless. It’s much harder to identify elderberry when it has no leaves, flowers, or berries on it.
Tie some flags to the bush or (if you own the bush or have permission) mark the bushes you want to take cuttings from with some spray paint, so you know you are taking cuttings from elderberry and not some other plant when you come back to them in the winter.
Some people also use apps like Google Maps to drop a pin at the location so they can easily remember where the good bushes are.
Propagating Elderberries at Other Times of Year
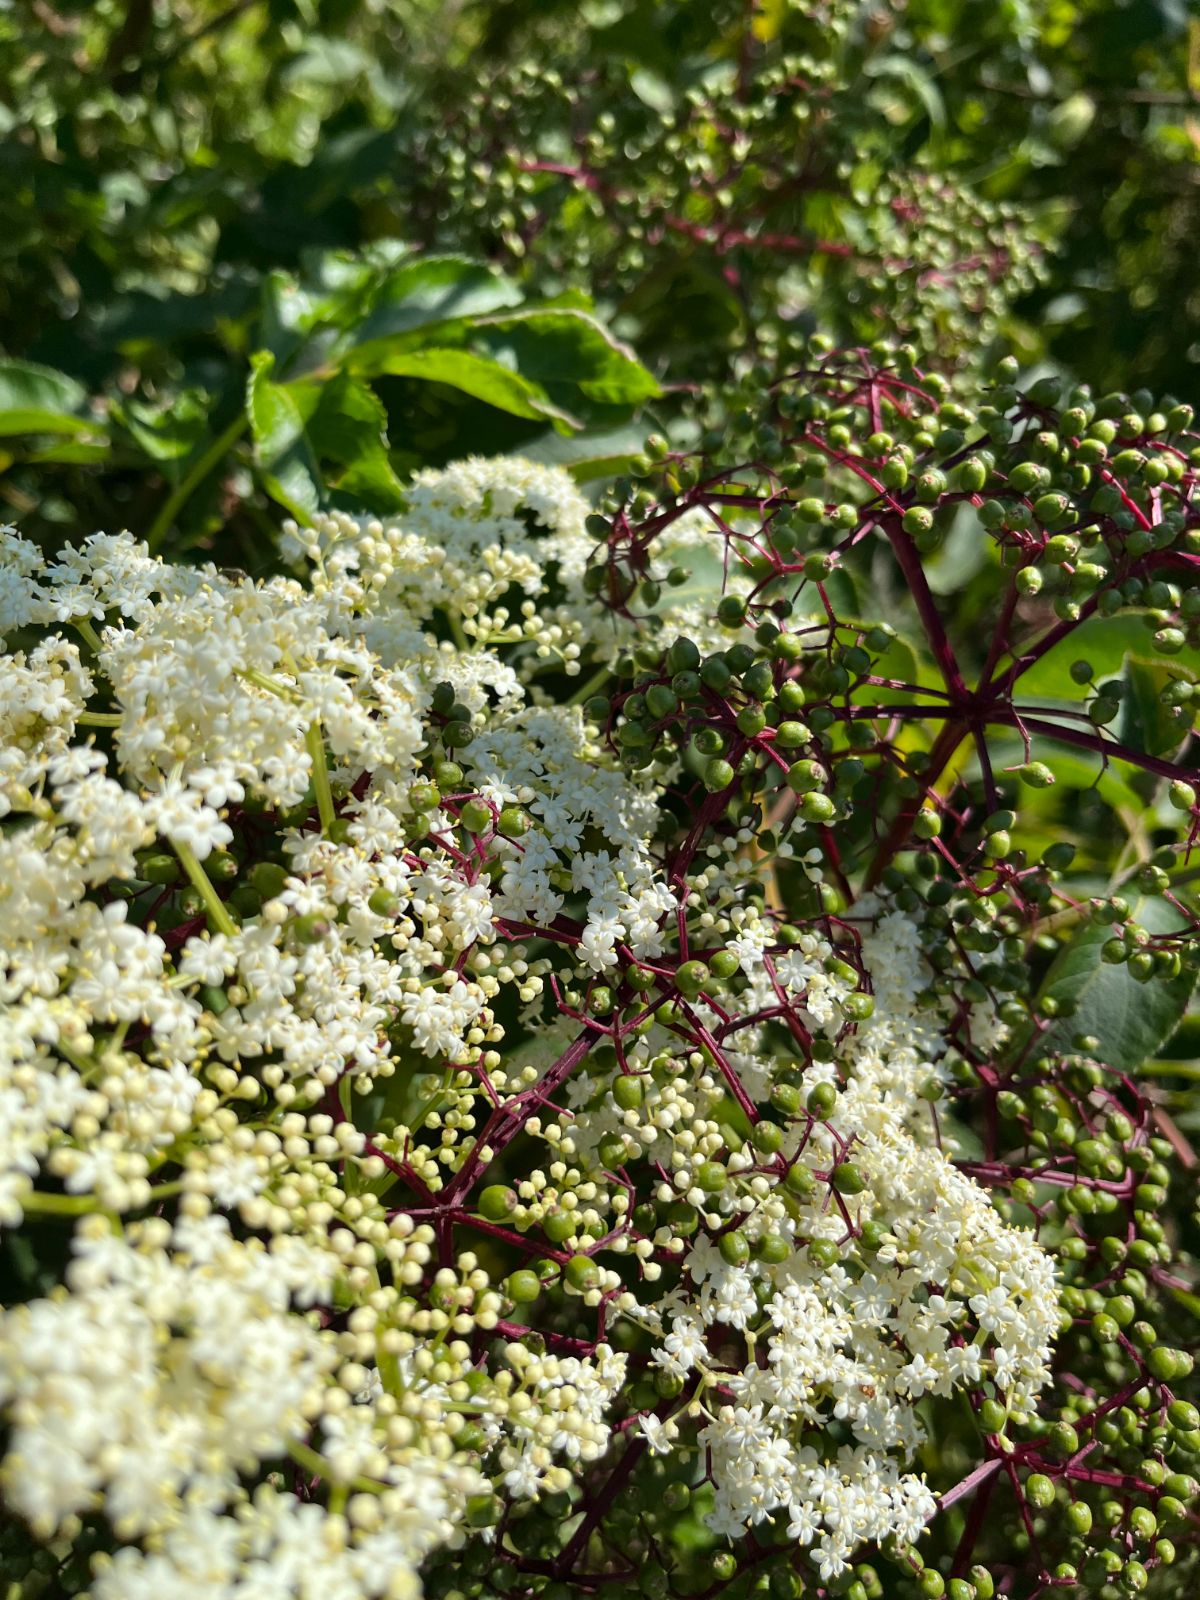
Elderberries will root at most any time of year as long as you keep them well watered. Late winter and early spring are the better times for taking cuttings and planting them in the ground because cold weather promotes root growth over leafy growth, which is what you want in the beginning.
That doesn’t mean that you can’t propagate elderberries at other times of the year, especially if you don’t mind taking a (very small) risk or stretching the “rules” and recommendations of propagating elderberries.
Even green elderberry cuttings will root. They root well and quickly in water, but you may suffer some losses when you transplant from water to soil, so it’s smart to over-plant to cover some losses.
Woody cuttings will often root even if stuck directly in the ground in the middle of summer, but this can be tough in hot areas and hot weather, and it is critical that you water the cuttings religiously. Elderberries must have lots of water to root—especially when planting off-season cuttings in summer!
The one thing that is different about rooting and planting elderberry cuttings in the summer and fall is that the cuttings are already in a growth phase, so you can’t store them like you can store dormant cuttings. Either plant the cuttings directly in the ground when you take them (immediately when you take them) or pot the cuttings in pots of soil (the same way you plant them in the ground). And never let the pots dry out while the elderberries root.
Elderberries grow well from either cuttings or rooted and transplanted potted plants. Cuttings are easier to plant because you don’t even need to dig a hole, and you can just sink the cuttings in loose ground. However you choose to do it, you should do just fine as long as things stay watered.
Losses are usually low with elderberry propagation, but some failure is always possible, and since cuttings are free or cheap and easy to make, it’s never bad to make a few extra for backup.
Two to three inches of water per week is recommended for the establishment period, and one to two inches per week is recommended for established plants. (But elderberries love water, so as long as it drains away, they won’t mind having more!)
How to Take and Plant Elderberry Cuttings
Taking elderberry cuttings is easy:
- Find a section of woody stem with at least two sets of leaf nodes. Leaves grow opposite each other, so this means one set of two parallel buds at the top and another set at the bottom.
- The cutting should be about 9 to 12 inches or longer.
- The woody stem needs to be at least the diameter of a pencil (thicker is even better), or it will dry out before it can grow good roots.
- Cut the stem below the second bottom set of leaf nodes.
- Cut an angled cut on the bottom. This tells you that that is the bottom that goes into the ground, and it gives the cutting a point to help sink it into the ground.
- Make a flat cut across the top. This tells you this is the top and to plant “This End Up”.
- You can usually get several cuttings off one stem because you can make a cutting for every two or three sets of leaf nodes as long as the diameter of the stems stays thick enough. Most stems are several feet long, so making multiple cuttings is easy.
It’s easy to plant elderberry cuttings. You literally only need to stick them in the ground. All you need to do is make sure that the lower set of bud nodes is a few inches in the ground and that it makes good soil contact (if there are buds or leaves forming on the bottom node set, just quickly strip them off).
Then, keep the cuttings watered while they root. Elderberries need more water in the first year while they are rooting or getting established.
Tips for Finding and Sourcing Elderberry Cuttings
Free is a nice price, and that’s what you get when you take cuttings to propagate from wild foraged elderberries. You might have a nice neighbor, friend, or family member who will let you take cuttings, too.
If you are sourcing foraged cuttings, keep an eye out throughout the year. Look for elderberries when they are blooming because they are easier to see then. Take note of the elderberry bushes you like so you can find them again. Mark good plants.
Look for elderberries in the places where they are more likely to grow. This is in places with good soil and good water.
Near rivers, river-bottom land, streams, and water is a common locations, but you can find elderberries almost anywhere they have enough water to sprout and grow. A moist side of a field or along a stone wall is possible, too. Birds spread elderberries, so it’s possible to find them almost anywhere there is good enough soil and adequate moisture.
If you can’t find wild or neighborhood elderberries to cultivate, you can buy them from reputable buyers. You can also buy potted plants and bare-root elderberry plants. The best time of year to order and buy is in the winter (from January on) and into the early spring.
Cuttings will not be available for sale all year long since they are only taken and stored while dormant.
Some good growers and sellers to buy elderberry plants and elderberry cuttings from are:
There’s Not Really a Bad Elderberry for Propagating, But There is Often a Better One
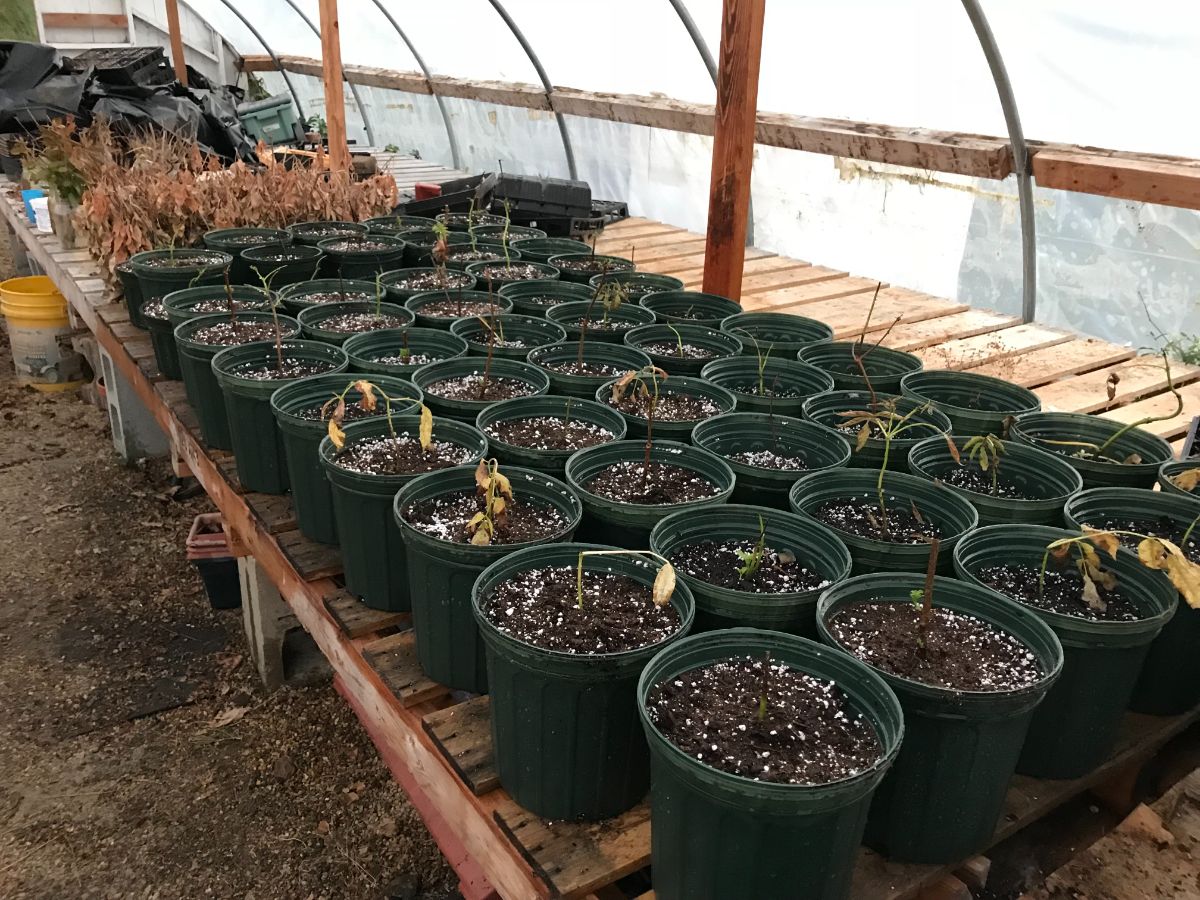
As we talked about above, all elderberries started out as wild, native elderberries somewhere. So, almost any elderberry bush you find is a good elderberry to propagate and grow. If you pay attention to the bushes around you, you are sure to find some that are better than others.
This is when you want to start being selective and taking your cuttings from the best of the best plants. Consider the plants available to you, take from the best, and enjoy your new elderberry orchard!
Not sure how or when to pick your elderberries? Find out here: https://gardening.org/how-and-when-to-pick-elderberries/



Leave a Reply