You’d have a hard time finding a perennial garden flower that is easier to grow, more forgiving of neglect, and with more uses. We’re talking about yarrow, Achillea millefolium.
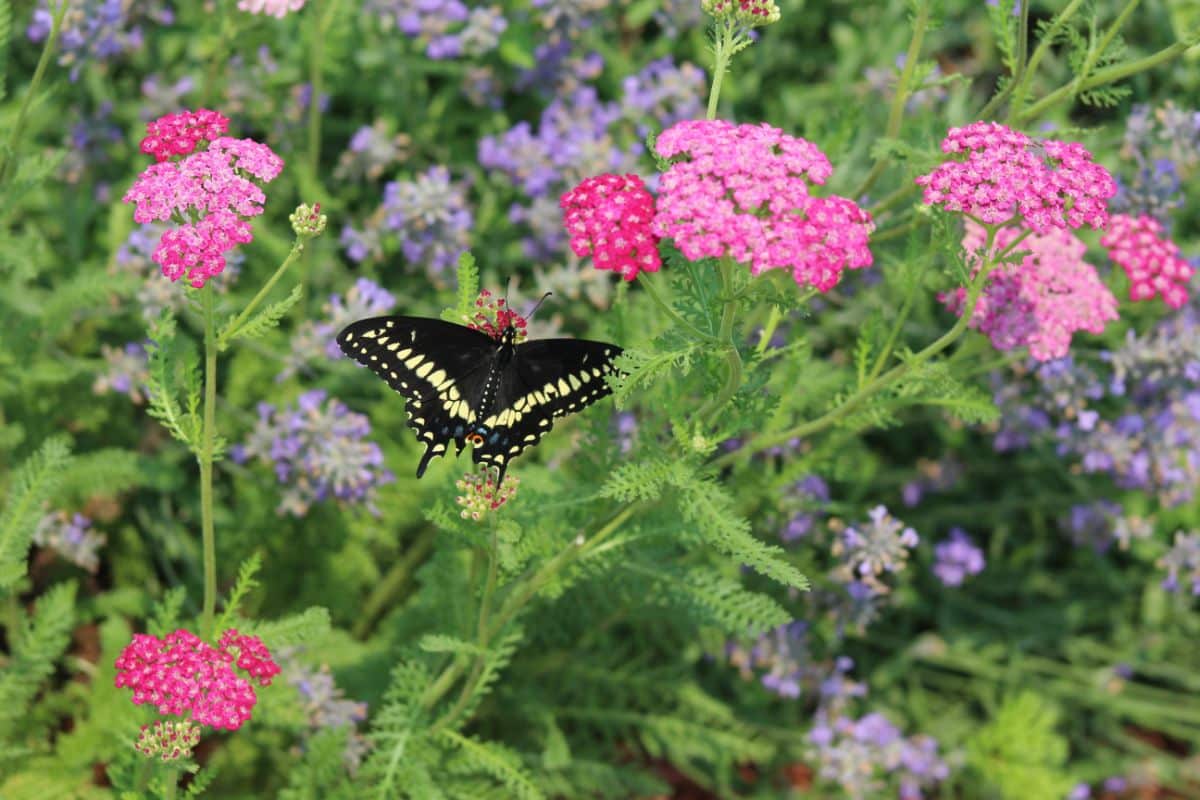
Common yarrow is native to Europe and North America. This herbaceous perennial tolerates poor soil, drought, cold, heat, and you name it. It will grow in most of the continental United States, from USDA zone 2 to zone 9.
Yarrow has been used as a medicinal plant since ancient times. Many cultures have found a use for it, ranging from treatment for toothache to wound healing. Modern studies are being conducted on yarrow’s efficacy for everything from IBS to treating neurological diseases.
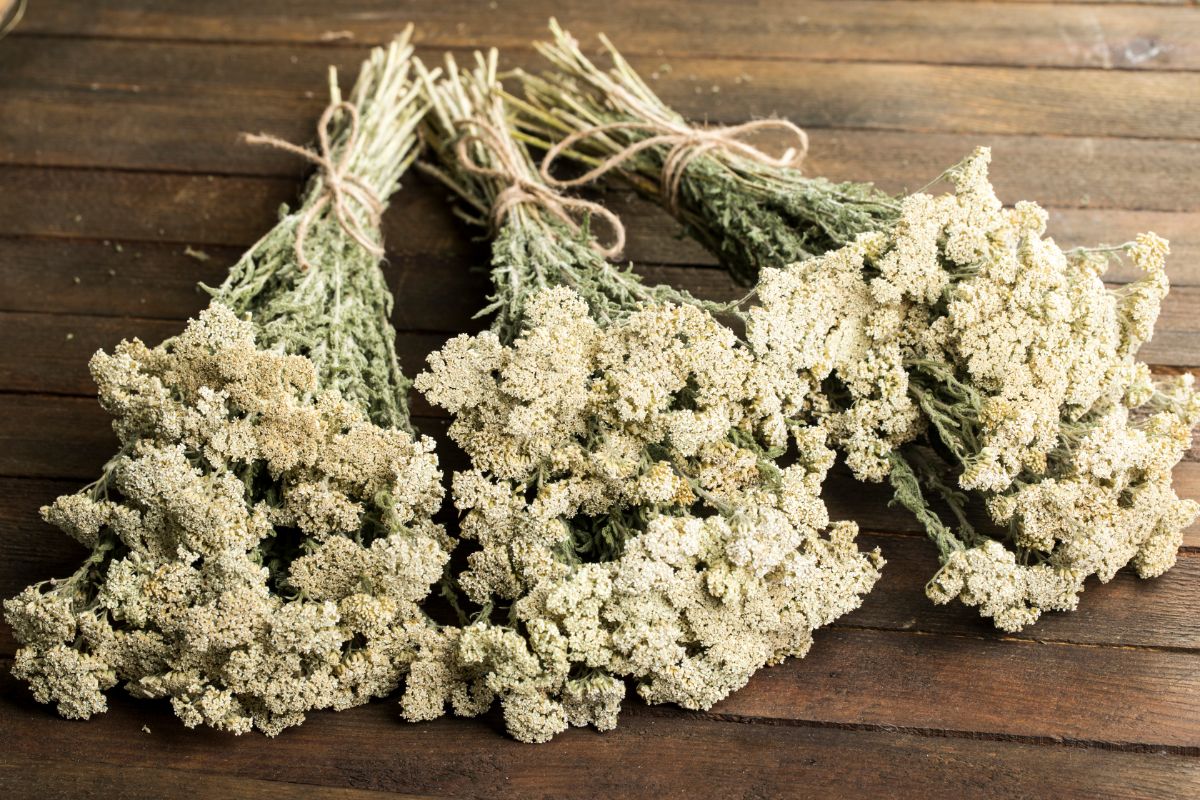
More than just useful, yarrow makes great cut flower bouquets with excellent vase life and is ideal for drying and using in dried floral arrangements. With colors varying from white to pink, red, and yellow, yarrow is versatile and easy to use.
Yarrow is highly deer resistant. They basically won’t touch it. If four-legged garden predators are an issue for you, several extensive patches of yarrow can provide greenery and colorful flowers without the need for expensive fencing.
A, millefolium is perfect for gardeners who have a little trouble getting out daily. Or every week. Once established, yarrow will be happy to do its thing without your attention. It will bloom from early summer–usually starting in June–all the way to frost.
Pollinators absolutely love yarrow. Bees, beneficial predatory insects, butterflies, and even hummingbirds enjoy this native plant. It is lightly frost tolerant and will continue to look green and alive after tender annuals like zinnias and tomatoes have long since departed the garden for the compost pile.
Jump to:
Yarrow in the Landscape
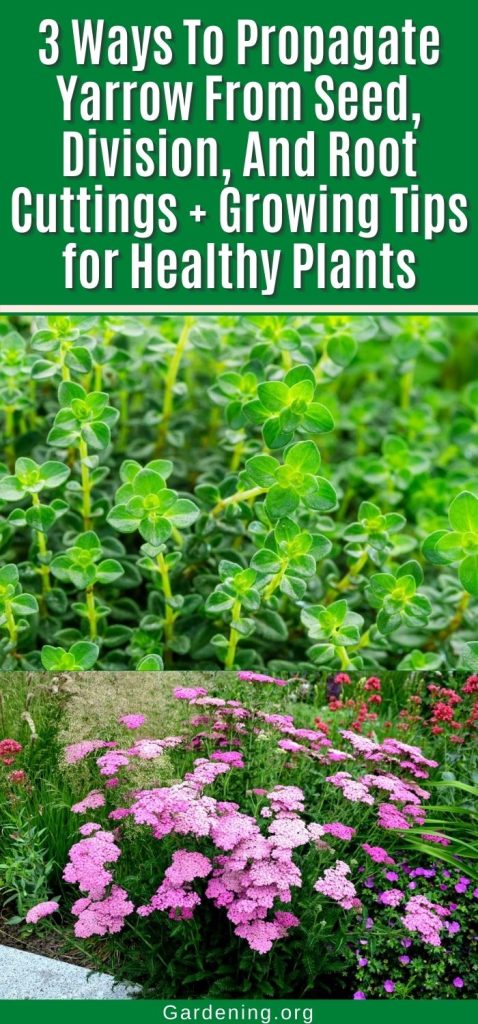
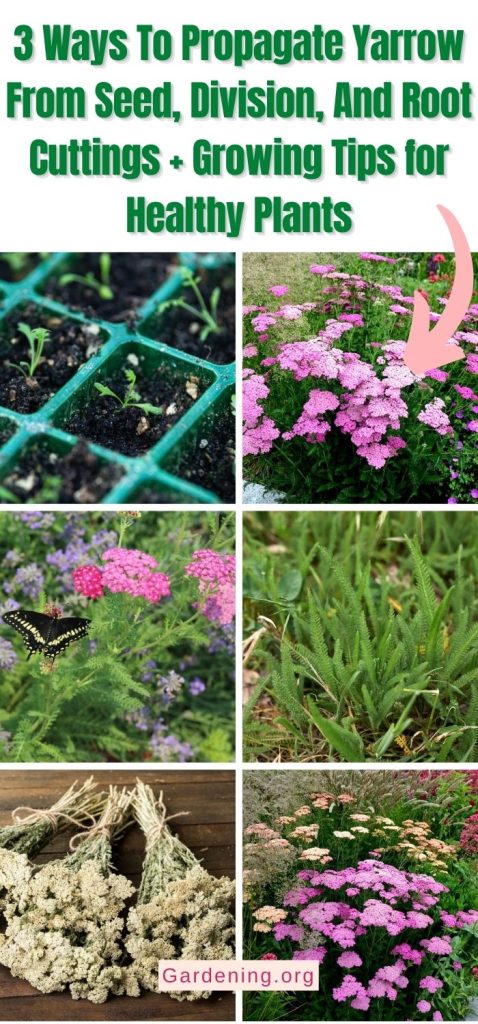
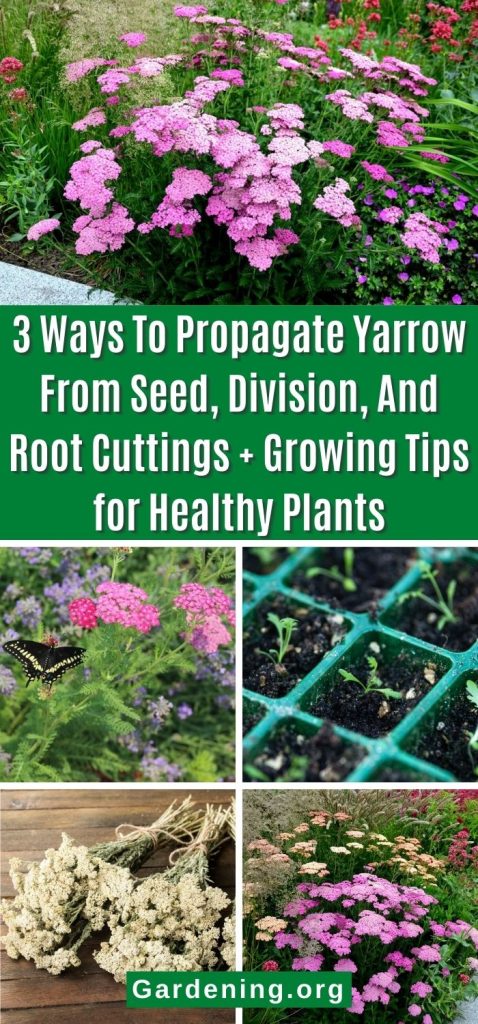
While diversity in your garden and in the wild is good, yarrow looks the best, and attracts the most attention from pollinators and people, when it is grown in a larger patch. A spreading perennial, yarrow can create a stunning mass display of delicate flower heads on top of lace-like foliage. Don’t hesitate to plant several patches for the best effect.
Learning to divide yarrow will provide many free, newly propagated plants to populate your other garden beds. Or, grow them out in pots and give them away to your neighbors. Imagine the possibilities if every other house had a patch of pollinator habitat.
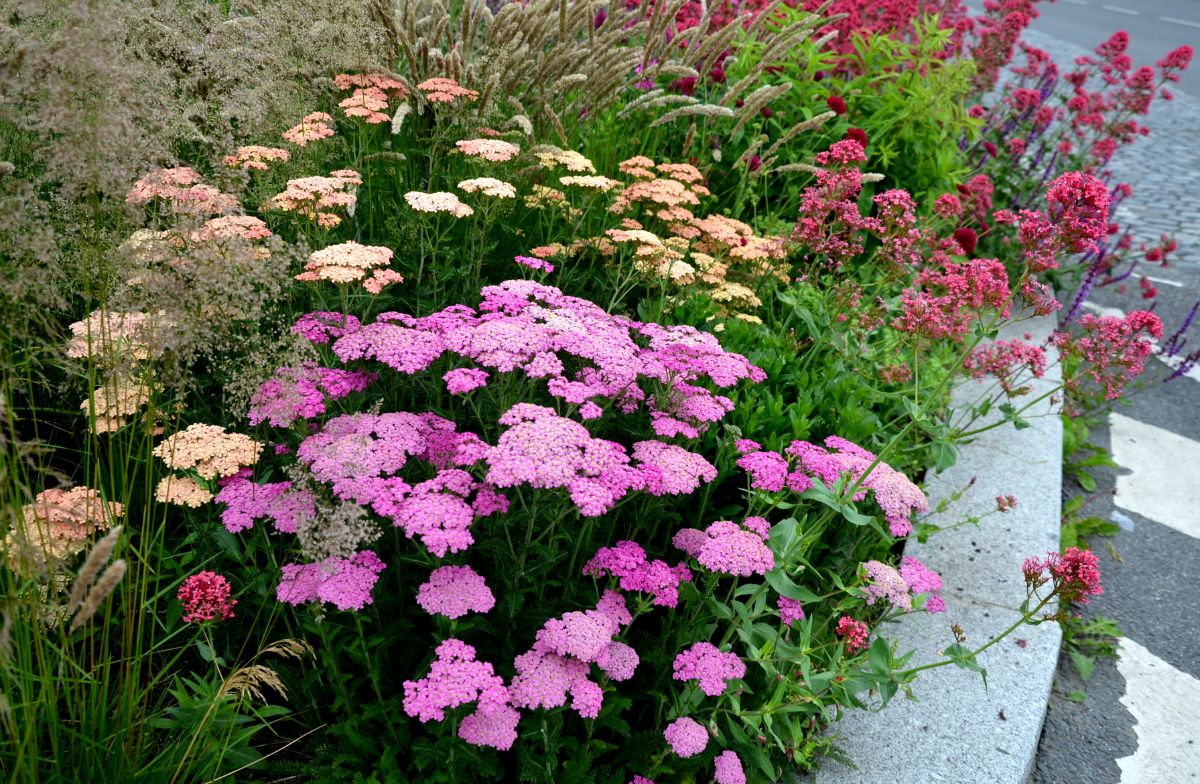
Yarrow is gorgeous alone, but like in nature, looks even better when used in the landscape with other complimentary plants. Ornamental grasses, native flowers like Monarda, Echinacea, and Rudbeckia, and even kitchen herbs can all be combined with yarrow for aesthetic and functional displays.
If you don’t have enough space to garden, don’t fret. Yarrow will grow well in a pot on your deck or balcony.. A few ornamental grasses and some yarrow make for a low-maintenance perennial planter that will provide beauty for years to come.
3 Simple Ways To Propagate Yarrow
Yarrow is most commonly propagated by root division. Propagating from root cuttings and from seeds are also effective ways to get more yarrow.
Yarrow started from seed will flower during the first year–a nice bonus–as many perennials grown from seed will not flower until their second year. Plants produced from root cuttings should take off during the first year they are planted, and all will flourish in the second year.
Remember the old perennial growth phrase–first, they sleep, then creep, then leap.
How to Propagate Yarrow by Division
Division is by far the easiest way to multiply your yarrow plants. Not only is it practical, but you will likely need to divide your yarrow clump every few years anyway to keep it thriving.
Propagating by taking clumps from the edge is an excellent way to control the spread of your yarrow if you don’t want it to get larger and crowd other plants. It is simple, and you can accomplish it in just a few minutes.
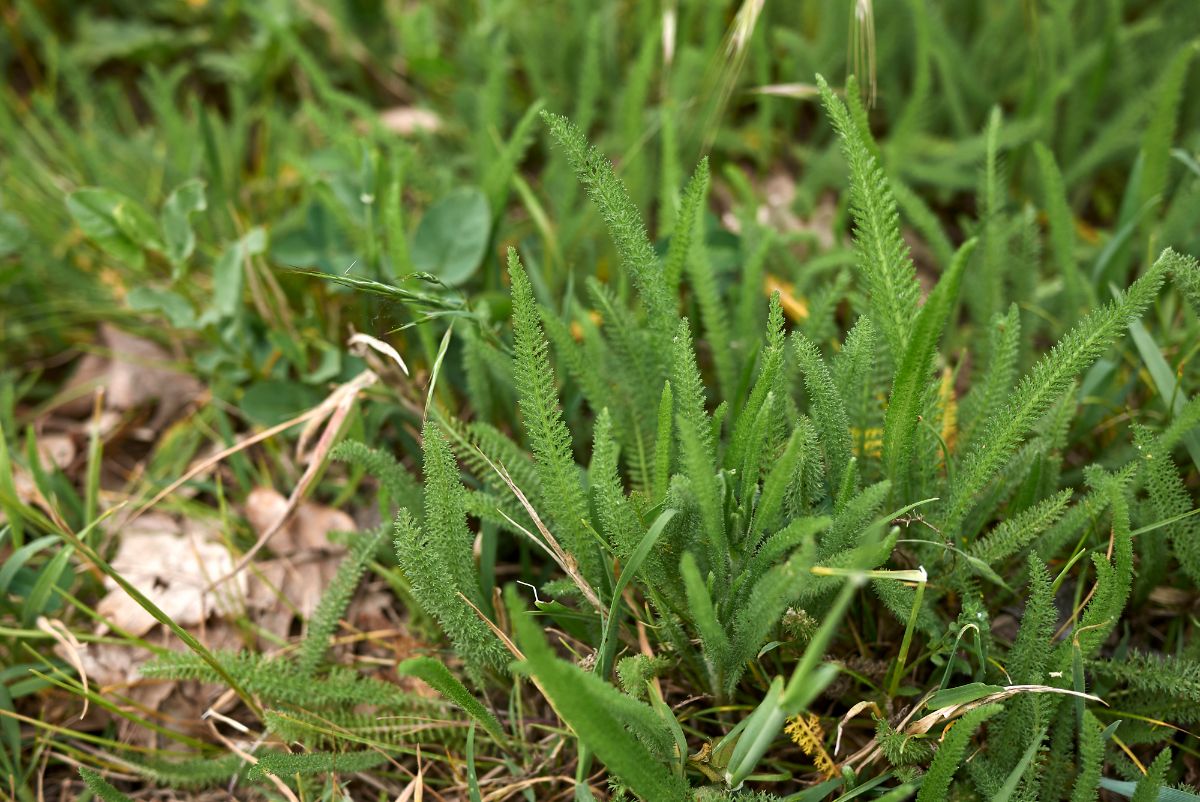
An established patch of yarrow can be divided after the new shoots pop up in spring. Yarrow can actually be divided at any time, as long as the new plants have time to settle in and grow roots before the ground freezes in fall. It’s simply easier to do in the springtime, and your plants benefit from an entire growing season to grow.
- When the plants are just popping up and are only a few inches tall, take a garden trowel and carefully dig up part of the clump. Yarrow doesn’t root very deeply, and they generally come up pretty easily.
- Separate the clumps if you grabbed a bigger one. Keep at least a few shoots together with the roots. Don’t divide them too far or you are essentially taking root cuttings that will need more care. For best results, keep the new root-plant balls about the size of a tea saucer.
- Plant your divided yarrow plants in their new homes and water well. Keep the crown at the same depth as it was. A little mulch is a welcome addition and keeps the weeds down.
Time to Refresh the Old Clump
If your yarrow has grown large, and the center is getting a bit woody and sparse, dig up the entire plant and divide it.
- Dig up the whole root clump and cut it into several large pieces with your spade or an old kitchen knife.
- Like above, each new root ball should have at least 3-4 shoots. A tea saucer-sized clump works well, but you can certainly transplant a larger portion.
- Replant each new chunk, mulch, and water in.
How To Propagate Yarrow From Root Cuttings
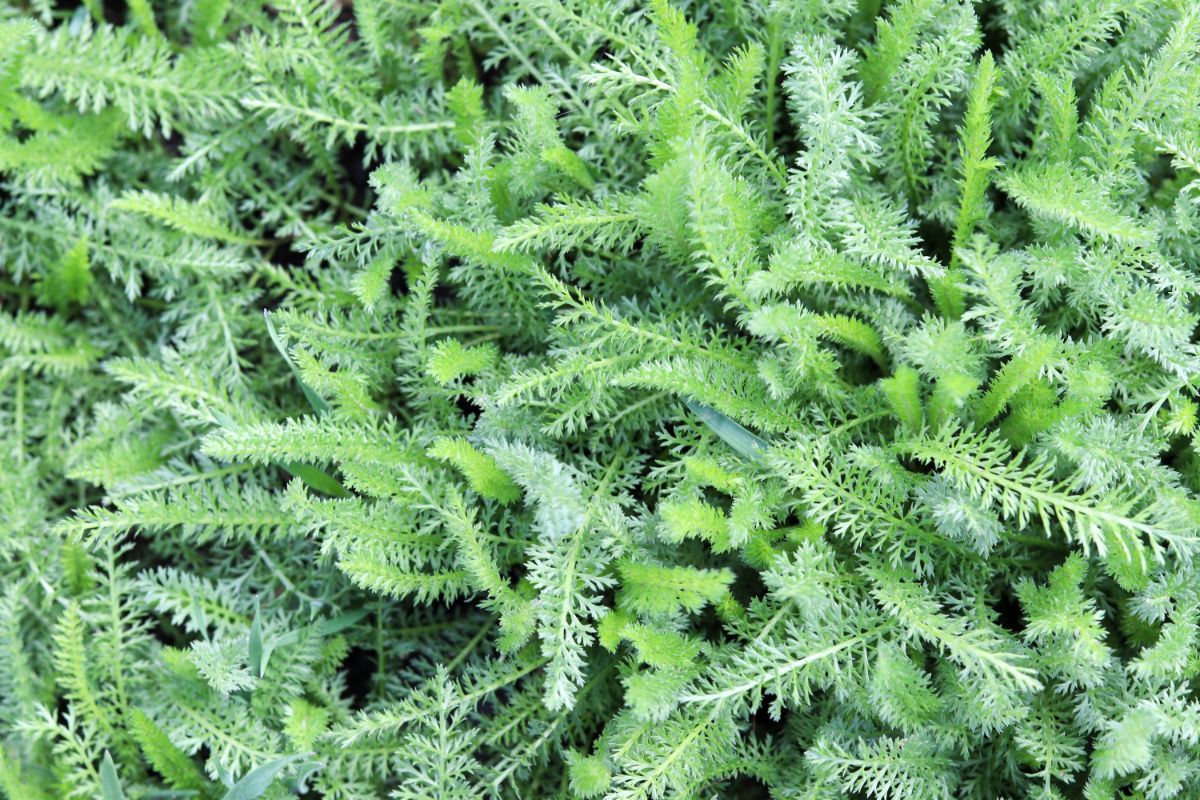
Yarrow spreads by rhizomes, and taking root cuttings is an easy and less invasive way to propagate your plant. If your yarrow is not ready to divide but you’d like to start propagating a few new plants, root cuttings are the way to go.
Follow these steps:
- In spring, brush away the soil and find the long, horizontal roots of the plant. They likely have tiny sprouts popping up every few inches. Follow a new stem down and gently pull it loose from the soil. You’ll see the little roots attached to the rhizome.
- Use pruning shears to trim off pieces of rhizome. You can cut an inch or two on either side of a sprout if there is more than one. Otherwise, cut a stem and a long enough piece of the rhizome to get a few little roots included.
- Plant each root cutting in a 6-inch pot prefilled with potting mix and coco coir or perlite. Remember that yarrow does not need rich soil, but it does need well-drained soil.
- Keep the crown, where the stems meet the roots, at the same level as it was on the mother plant. Water in well and place them in a bright spot out of direct sunlight for a couple weeks.
- You may see some transplant shock initially. However, yarrow root cuttings grow quickly. In about 3-4 weeks, they should be showing new growth and ready to go to their new homes.
Tip: If you cared for the yarrow root cuttings in a greenhouse or indoors, remember to harden them off before planting them directly outside.
How To Grow Yarrow From Seeds
Yarrow is easy enough to grow from seed. If you’d like to try some of the newer colors available, or your local garden center doesn’t have a good selection, growing from seed might be the route you need to take.
Seeds are less expensive than nursery plants as well. A hundred seeds will run you about five bucks, and the plants will grow to about two feet tall in their first year. Eager to please, they will flower the first year from seed.
Sow yarrow seeds indoors 8-10 weeks before your last frost. Record the date you sowed them and the date the majority sprouted in your garden journal.
To get started:
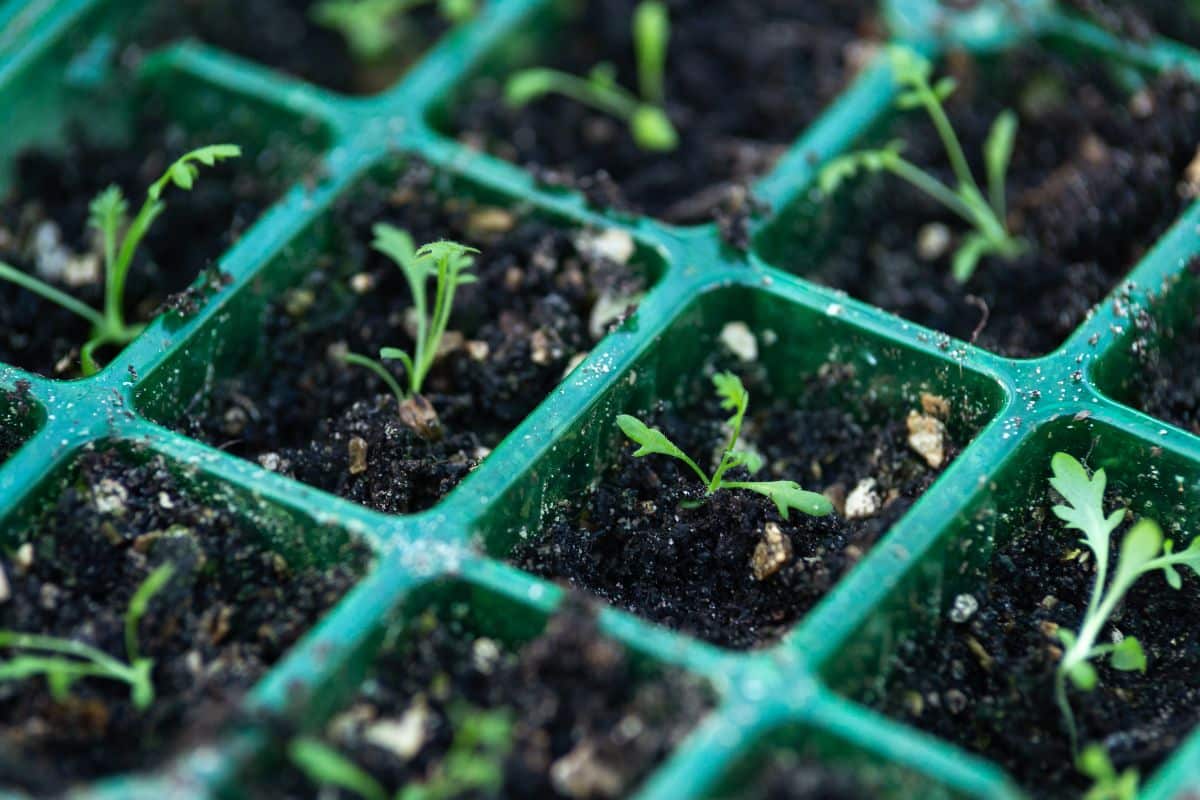
- Prepare your seed tray or flat. Use any seed starting mix as long as it is well-drained. If in doubt, add some perlite. Pre-moisten the mix.
- These seeds are tiny. If you are planting them in cells or soil blocks, use a toothpick to pick them up and place them. Slightly moisten the end of the toothpick and then firmly touch it to the seed. The seed will stick, and you can ‘wipe it off’ onto the soil. Bright light helps you see where you’ve already dropped off a seed.
- Yarrow seeds need light to germinate, so don’t bury them. You can lightly press them down to ensure they are in contact with the soil, but resist the urge to push them below the surface.
- Mist the soil and seeds, cover them with a humidity dome or plastic wrap and place it in a bright, warm location. Germination takes about 1-3 weeks, depending on the temperature.
Keep the seedlings moist. If you plant them in a tray, prick them out and transplant them into cells or pots when they have two sets of leaves. Don’t forget to harden them off before planting outside.
Tips For Growing Yarrow
Drainage, Soil, and Sunlight Needs of Yarrow
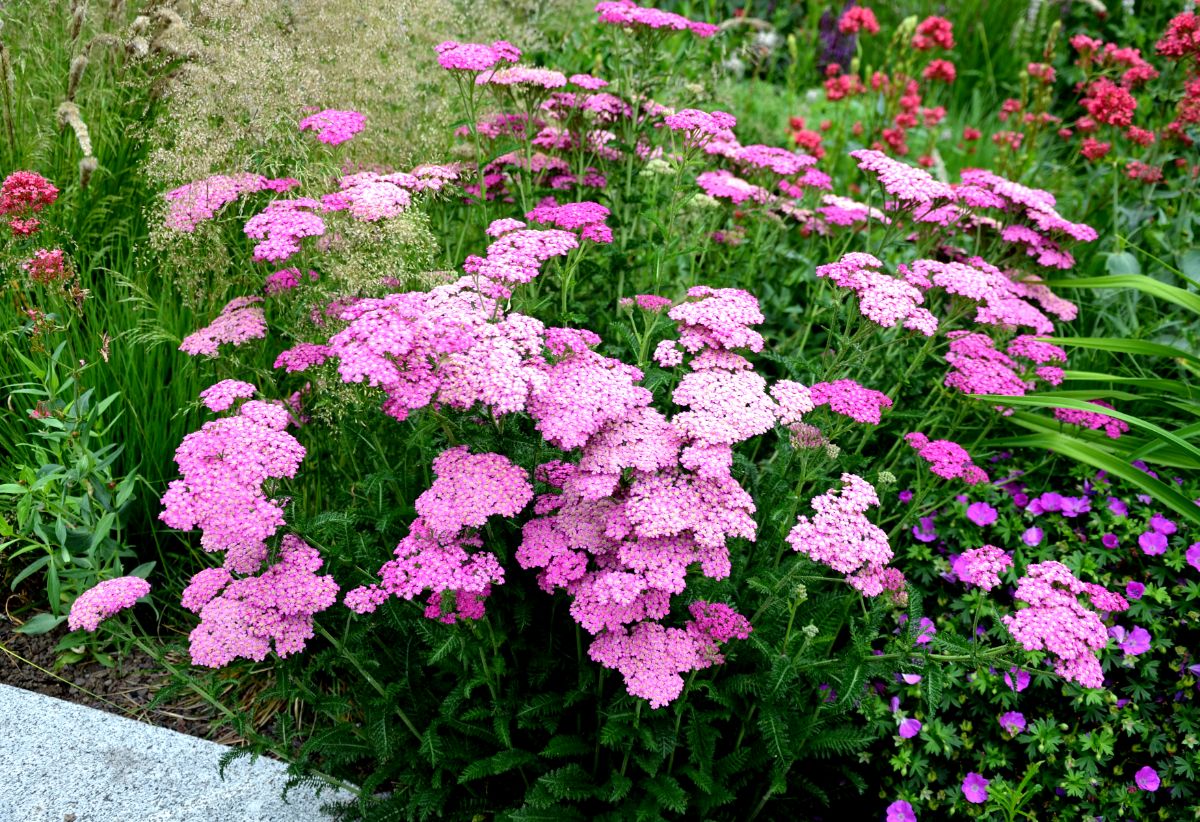
- Yarrow needs excellent drainage. It does quite well on stony, dry, and less fertile sites and is commonly found along the side of the road and in the ditch. A little compost worked into the bed will help it grow large and full, but don’t overdo it.
- Mulch is your friend. Not only does it encourage beneficial soil microorganisms and provide them a healthy environment, but it also drastically cuts down on weeding. Even though your yarrow is drought tolerant once established, it will still enjoy being mulched and weed-free.
- Yarrow enjoys 6-8 hours per day of bright sunlight. Less light will result in slower growth and spindly plants.
Deadheading
Trimming off old or almost-spent flowers will prolong your yarrow’s bloom period and keep it looking neat. However, the flowers last for weeks on the stem, so you won’t need to spend much time deadheading, unlike some other flowers. If you save seeds, you’ll need to leave a few flowers intact.
Divide the Entire Plant Now and Then
As we discussed, yarrow should be divided every few years to keep the center green and soft. Forgetting it won’t kill it, but yarrow patches can continue to spread outward and become lackluster in the center if neglected. A few minutes will not only give you more yarrow plants, but also refresh the old one.





Leave a Reply