We all know the Boston fern. It’s that giant, green, gorgeous fern with graceful drooping fronds in hanging baskets all over our social media feed. They decorate front porches all summer long and are also popular for tall planters in lobbies of businesses and hotels.
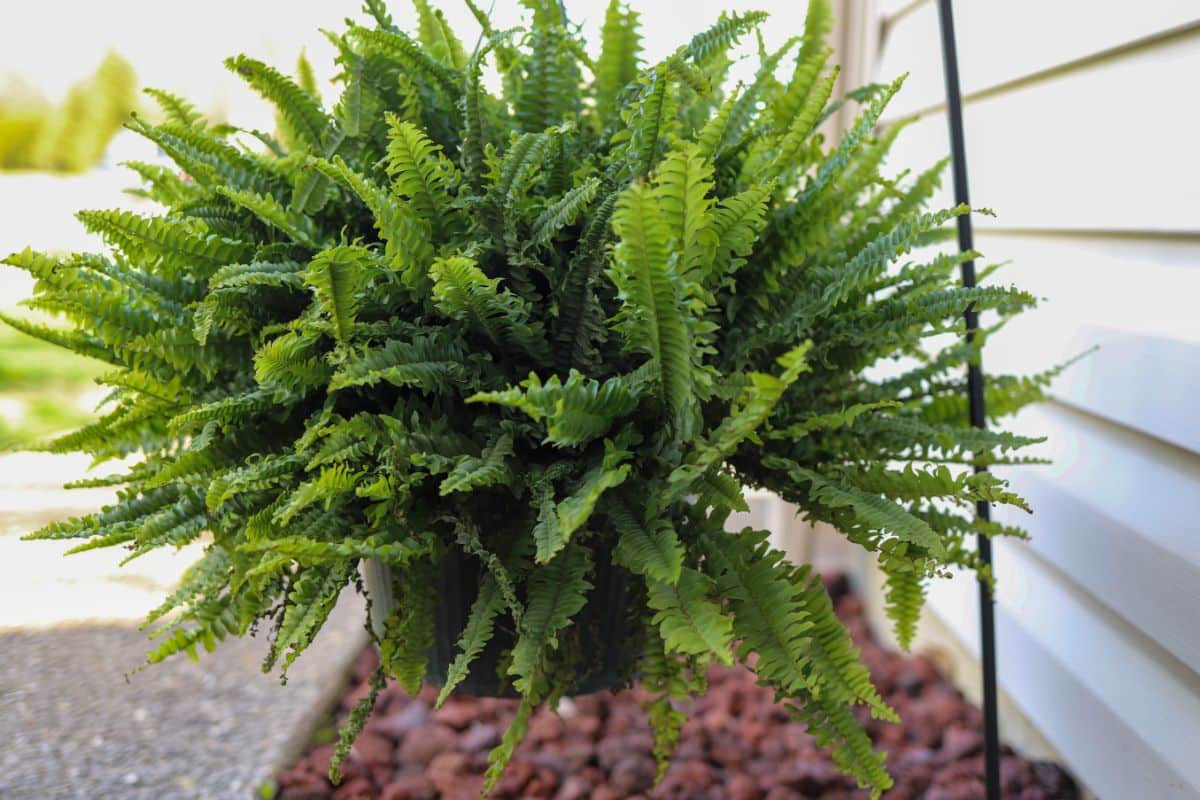
Boston ferns, a naturally occurring variety of Nephrolepis exaltata, are today’s most popular indoor fern. Native to Florida and further south to South America, Boston ferns were introduced as houseplants over one hundred years ago.
Widely available and growing to enormous proportions, Boston ferns make great displays in hanging baskets or side tables. You can even grow them in a shady spot in your garden if the climate is warm enough. They have long, sword-shaped arching fronds that start upright and gracefully droop over as they get larger.
If you have a large Boston fern that has overgrown its basket or pot, you can turn it into two or four ferns in a few minutes. And do it again next year.
While N. exaltata are not expensive, good-sized specimens can still command a high price tag at the garden center. If your fern is happy, it is trying to propagate itself anyway, so you might as well learn how to help it, and get some free ferns in the process.
Be careful: propagating ferns is addictive. You might get a reputation for being a little fern-crazy.
Jump to:
- The Easy Way To Propagate Boston Ferns
- How to Propagate Boston Ferns by Division
- To Separate A Fern Shoot From the Mother Plant
- To Propagate Boston Ferns When You Are Repotting
- When it is time to repot your Boston fern
- Tips for Growing a Happy Boston Fern
- Soil, Sunlight, and Fertilizer Needs of Boston Ferns
- Common Problems With Boston Ferns
The Easy Way To Propagate Boston Ferns

Ferns do not make fruits or seeds. Instead, ferns are replicated sexually by spores and vegetatively by rhizomes. Propagating ferns by spore is possible for most species but definitely is more involved and time-consuming.
Most varieties of Boston fern are sterile, so spore propagation won’t work for them. You probably have a sterile variety if you don’t see any spore organs on the bottom sides of mature leaves. However, propagating Boston ferns by division is super easy and fast.
How to Propagate Boston Ferns by Division
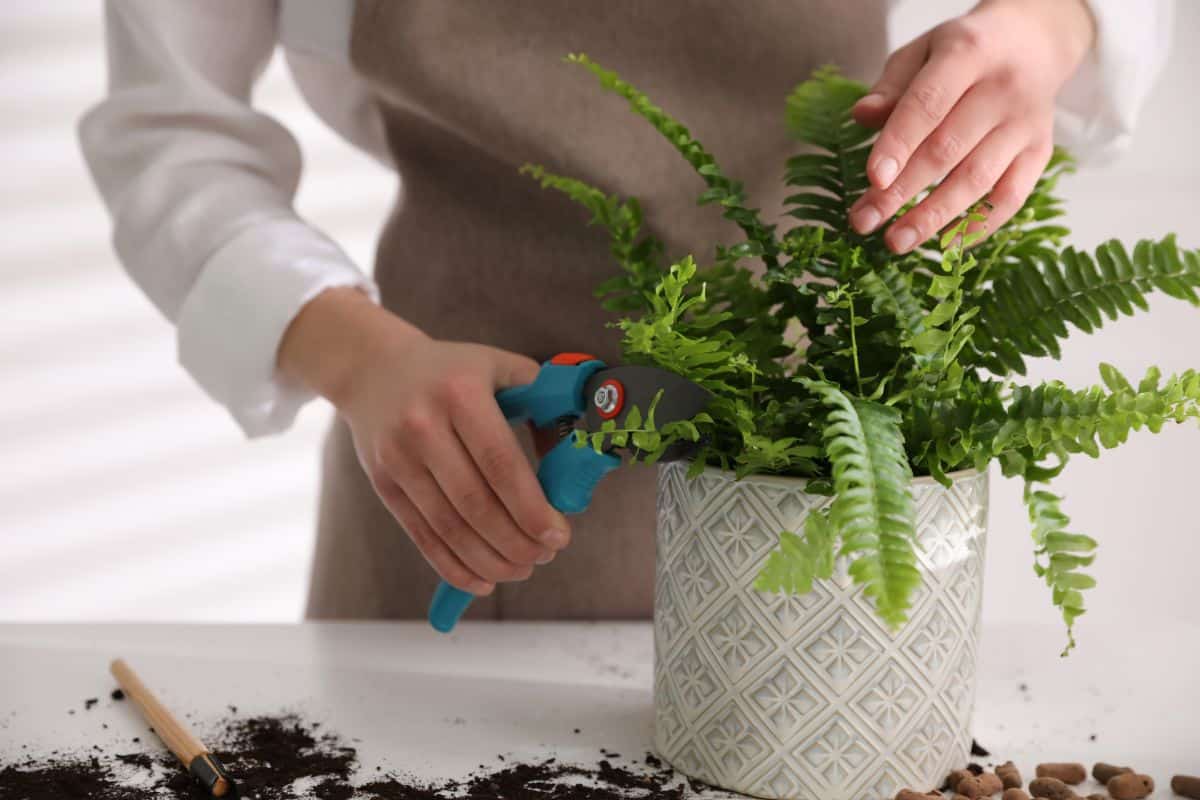
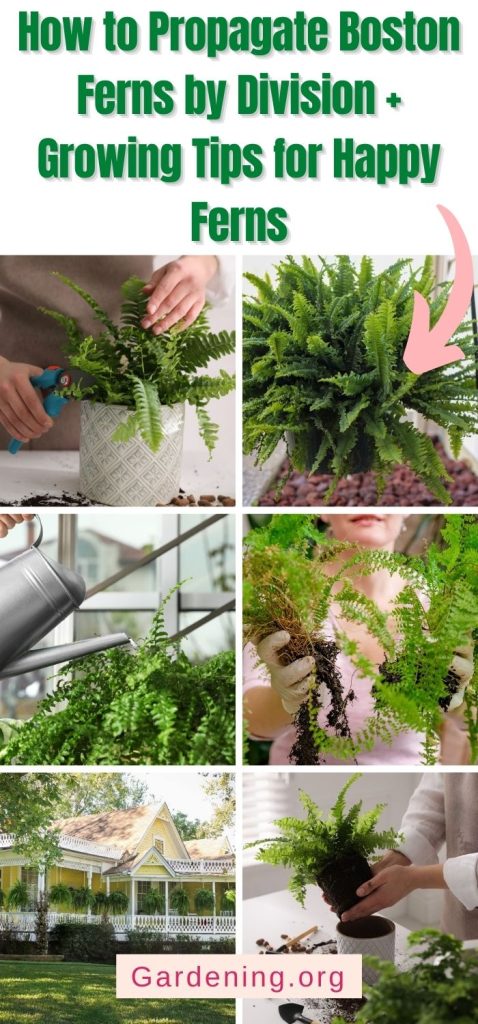
Propagating your Boston fern by division is easy to do when repotting. But it can be done at other times. Ferns send out rhizomes, specialized underground plant stems with nodes that can grow shoots and roots.
If your fern has been in its current location for a while, take a look. You may notice fronds that appear to be coming from the soil several inches away instead of from the main root ball. These little fronds are actually a new fern connected to the mother plant by the root system.
If your fern is not ready for repotting but has some rhizome sprouts at the edges of the pot, you can separate them and make a new potted fern plant.
To Separate A Fern Shoot From the Mother Plant

- Fill a new pot half full with a mix of coir, perlite, or other moisture-retaining mixture. Compost, coir, and perlite together make a good fern mix. Make sure the new pot has suitable drainage holes available. Ferns like it moist, but too much water will lead to root rot and kill the plant.
- Carefully move or trim fronds out of the way, so you can access the young fern.
- Loosen the soil around the baby fern using a spoon or miniature trowel.
- You will have to cut the rhizome by breaking it with the spoon or trowel or snipping it with a pair of scissors. Don’t use your expensive fancy scissors in the soil and dull them. Find an old or cheap pair.
- Carefully lift and separate the little fern from the mother plant to avoid damaging the root system.
- Place the newly lifted fern in the pot, spreading out the roots, and fill the remainder of the way with your planting mix.
- Lightly firm the mix around the fern and water thoroughly.
Place your new fern in a bright location out of direct sunlight for several weeks, keeping the soil well-watered.
To Propagate Boston Ferns When You Are Repotting
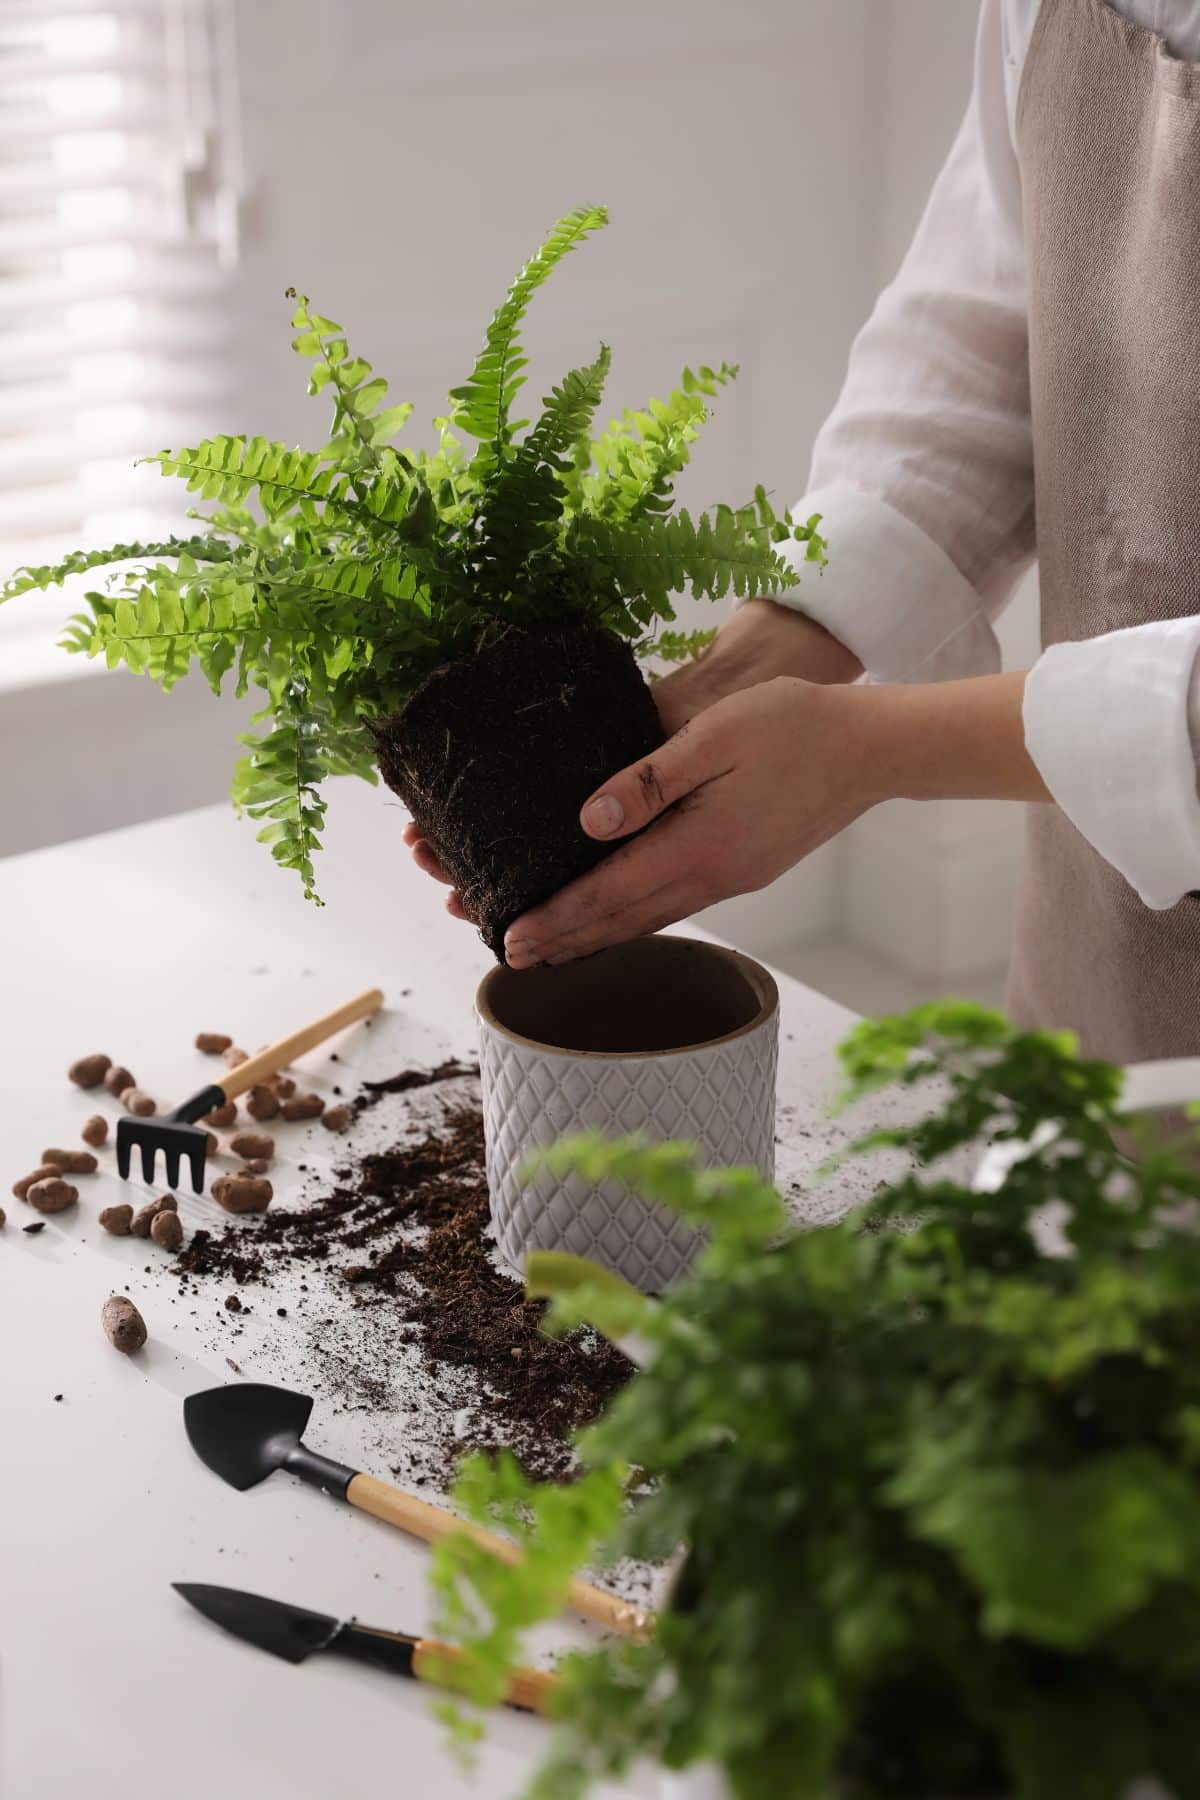
This is the too-simple way to get more ferns. Don’t tell your friends it was this easy. Not only will you get more ferns, but your ferns will have green, new growth, and have room to grow again.
If you are in the market for a new Boston fern, you can purposely buy one that has overgrown its container and needs to be repotted. By dividing your new fern, it’s effectively Buy One, Get One Free (or two or three).
Your fern will outgrow its pot and need to be replanted reasonably often, perhaps as often as every other year or more often if it is happy.
When it is time to repot your Boston fern

- Trim off any brown, dead, or sparse fronds.
- Prepare several new pots with a well-draining but fertile potting mix. Add perlite to enhance drainage.
- Gently loosen your fern from its current pot and set it on a clean surface.
- Use a long, sharp knife to cut through the rootball, dividing it in half or even into four or five pieces. Make sure to keep some fronds with each division.
- Plant each newly divided root section in a pot as a new plant, and water thoroughly.
- Keep out of direct sunlight for the next month or two as the fern acclimates to its new container. Don’t worry. It will start to fill out again after it gets over the transplant shock.
If you live in Zone 9 or higher and can grow Boston ferns outside, they can get quite large.
- Divide them the same way as above, but using a garden spade.
- Transplant them to their new location and give them some tender care.
- Small divisions can be potted up, given to a friend, or brought indoors as houseplants.
Tips for Growing a Happy Boston Fern

Ferns are a bit trickier than pothos or snake plants. They often get a reputation for being difficult, but that is not the case. Follow these tips to have healthy, vibrant ferns that are the envy of your friends.
Soil, Sunlight, and Fertilizer Needs of Boston Ferns
Sunlight: Boston fern likes to have bright but indirect light, or if grown outside, dappled sunlight. It will enjoy gentle morning sun but should be shaded from midday or afternoon sunlight.
Many people bring them home, plant them in a coco fiber basket, and hang them in a spot exposed to direct afternoon sun. Oops. Scorched fern.
Instead, place them where they will be protected from direct sun, like under the porch roof or another shady spot.
Soil and water: Ferns like fertile, moist, and well-drained soil. If growing in a pot, make sure there is adequate drainage. Baskets usually have too much drainage and need more frequent watering.
Don’t forget to water your outside ferns. They likely won’t get enough moisture from rain if they are living under a porch roof or other structure. Check the soil with your finger and water before it is completely dried out.
The fern you bought from the big box store may have been in its pot for more than a year, so repot it and give it some fresh soil to grow in. Add coir or perlite to your potting mix to ensure drainage and water retention.
Fertilizer: Boston ferns grown in containers can be fertilized in the spring and summer with a balanced 10-10-10 fertilizer every month or so. Cut back during the fall and winter when growth is slower.
Common Problems With Boston Ferns
Spider Mites
Spider mites are sometimes a problem on container-grown ferns. That may be the problem if you see wispy, faint web-like strands on your fern. Tiny yellow spots can also be an indicator.
You can get rid of spider mites on your Boston fern in a couple of ways. Try both for a 1-2 punch.
- One of the easiest ways to reduce the population is to give your fern a shower. Place it in the shower or tub and give it a fairly vigorous shower with lukewarm water. Take care not to actually wash all the soil out of the pot.
- Insecticidal soap sprayed on the leaves is also effective. Several treatments will likely be needed. Monitor other houseplants to make sure the little bugs have not spread.
Brown leaves
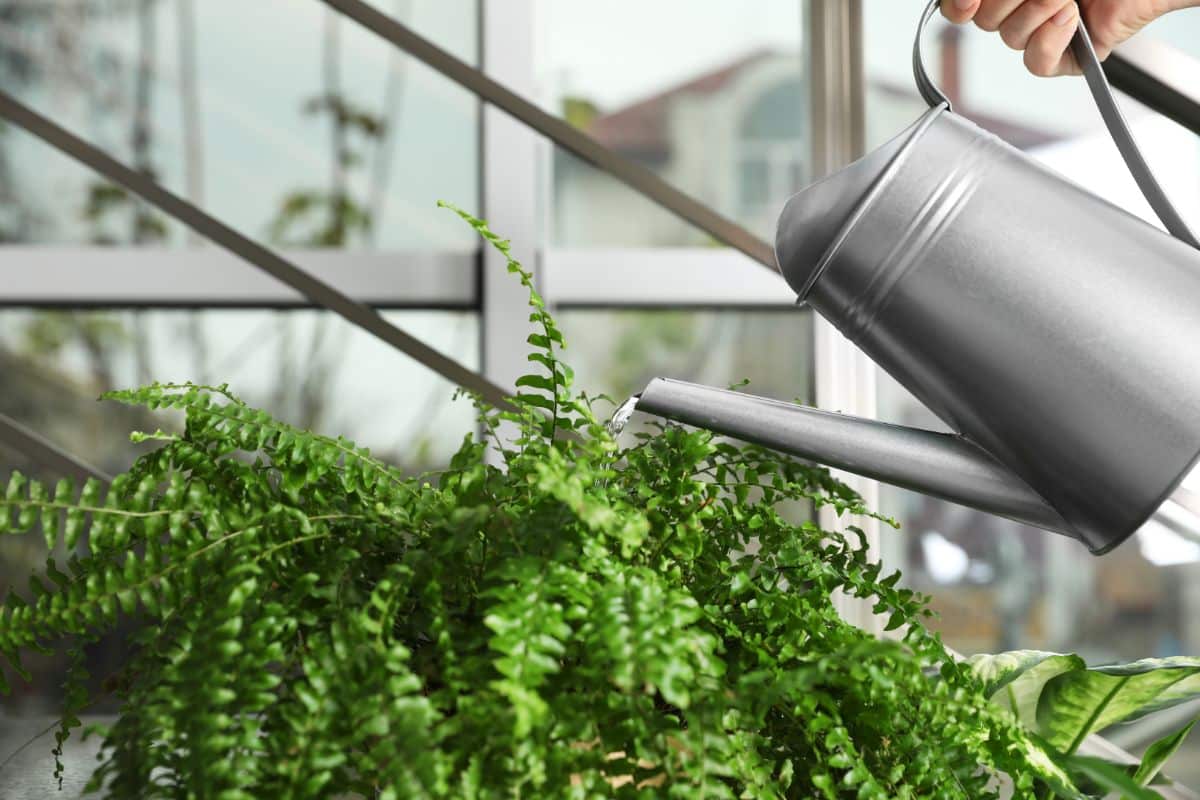
If your Boston fern’s leaves are turning brown and crispy at the tips, underwatering is most likely the issue. Ferns like to grow in moist soil.
If you forgot to water your fern before you took off for vacation and now it looks a bit unhappy, not to worry, you’re not alone.
- Take your fern to the sink and give it a deep watering.
- Slowly water it until water comes out of the drainage holes.
- If you have let the soil completely dry out, water will run out of the bottom of the pot right away. Keep at it.
- Make sure the soil is good and moist all the way through. Ferns like deep waterings, not frequent light waterings that won’t get water down to the roots.
Dividing ferns is easy to get the hang of. Give it a try. Soon you can have ferns all over your home. And that’s the point, right?




Leave a Reply