I can admit it. When it comes to growing the garden, I’m good at the planting, at least half controlled chaos with the weeding, and I often lose it on the harvesting and preserving end.
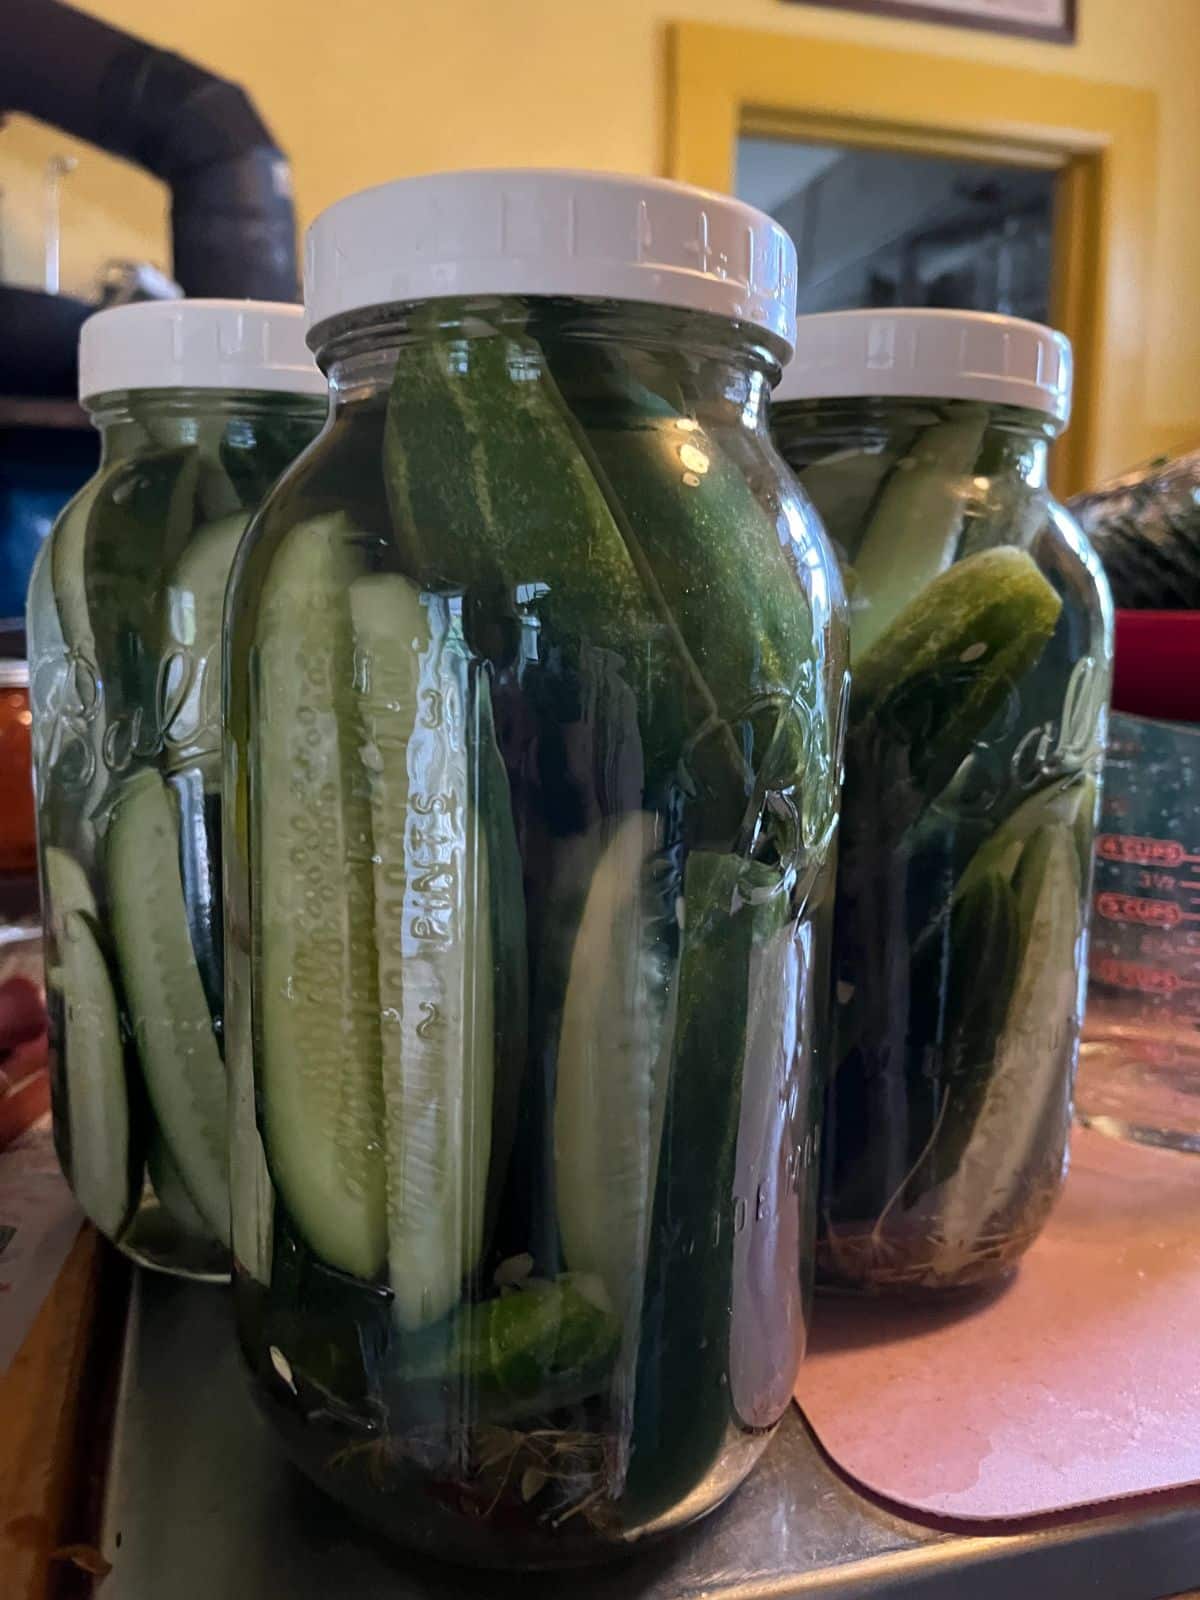
Ridiculous, right?
It is a little bit, I agree. After all, there isn’t much sense in growing a garden that I never actually use, is there!?
Jump to:
- The Cycle of My Garden Life
- Why Pickling, in Particular
- Pickling Hacks to Help You Get It Done
- 1. Keep your basic brine ingredients on hand
- 2. Have plenty of jars on hand, too
- 3. Make your pickling brine ahead of time and keep the brine on hand
- 4. Refrigerate your pre-made brine
- 5. Make extra brine when you’re pickling
- 6. Find one basic, versatile brine for flexible pickling
- 7. Make refrigerator pickles
- 8. Pickle in small batches
- 9. Keep “Add-on” jars going
- 10. Pickle mixed products
- 11. Flex your recipes
- 12. Save up for a big day
- 13. Buy the balance at a local farm or farmers’ market
- 14. Preserve just what you’ll use
- 15. Prep one day, pickle another
- 16. Pick the day before
- 17. Store waiting produce well
- 18. Use the buddy system
- Find What Works for You
The Cycle of My Garden Life
I think one of the problems with following through and preserving my produce is that there is a time crunch and pile-up of garden projects by the time my vegetables are ready to use.
Planting comes at a time of year when that’s all that needs to be focused on in the garden; it’s the one task that’s going on then, without a lot of other gardening distractions.
Weeding is a middle ground, a so-so proposition where it’s the main task at hand, but early crops start to horn in and vie for time. Somewhere mixed in, there comes succession planting and early nods toward the fall harvest garden.
But come harvest season, when the plants start producing in full production mode, things get tough. At this time of year, now I’m supposed to keep up with the weeding and make sure the weeds don’t go to seed, keep picking, maybe planting, and put up scores of frozen vegetables, cans of sauce, and pickles, and dehydrate that which I’m dehydrating. Sounds exhausting. If you’re not careful, it is.
One of the other reasons I can cite as a real reason why my preserving doesn’t seem to hit its mark is the fact that harvest times don’t always cooperate. Sometimes there’s a bumper crop ready and waiting, but sometimes there’s only a little bit to be had. There might be more than I need for fresh eating right now, but it’s not always enough for a full round of pickling and preserving. If you’re growing on a small scale, this might be your whole problem.
So what’s a gardener to do?
Well, maybe I can help you by sharing some of the things that work for me.
Why Pickling, in Particular
We’re focusing on pickling here (as opposed to other forms of preserving) for a few reasons. It’s one of the easiest ways to preserve food. It might arguably be one of the safest, too, since the acid in pickled products is the protector. There is no need to pressure can or invest in expensive equipment, and pickling is the most beginner-friendly of the preservation methods.
Pickling can also be one of the faster and more time-friendly of preserving options. At least, once you pick through these hacks, it can be.
Pickling Hacks to Help You Get It Done
Depending on what’s going on in my life and my garden, these are the pickling tips and hacks that I’ve found work for me:
1. Keep your basic brine ingredients on hand
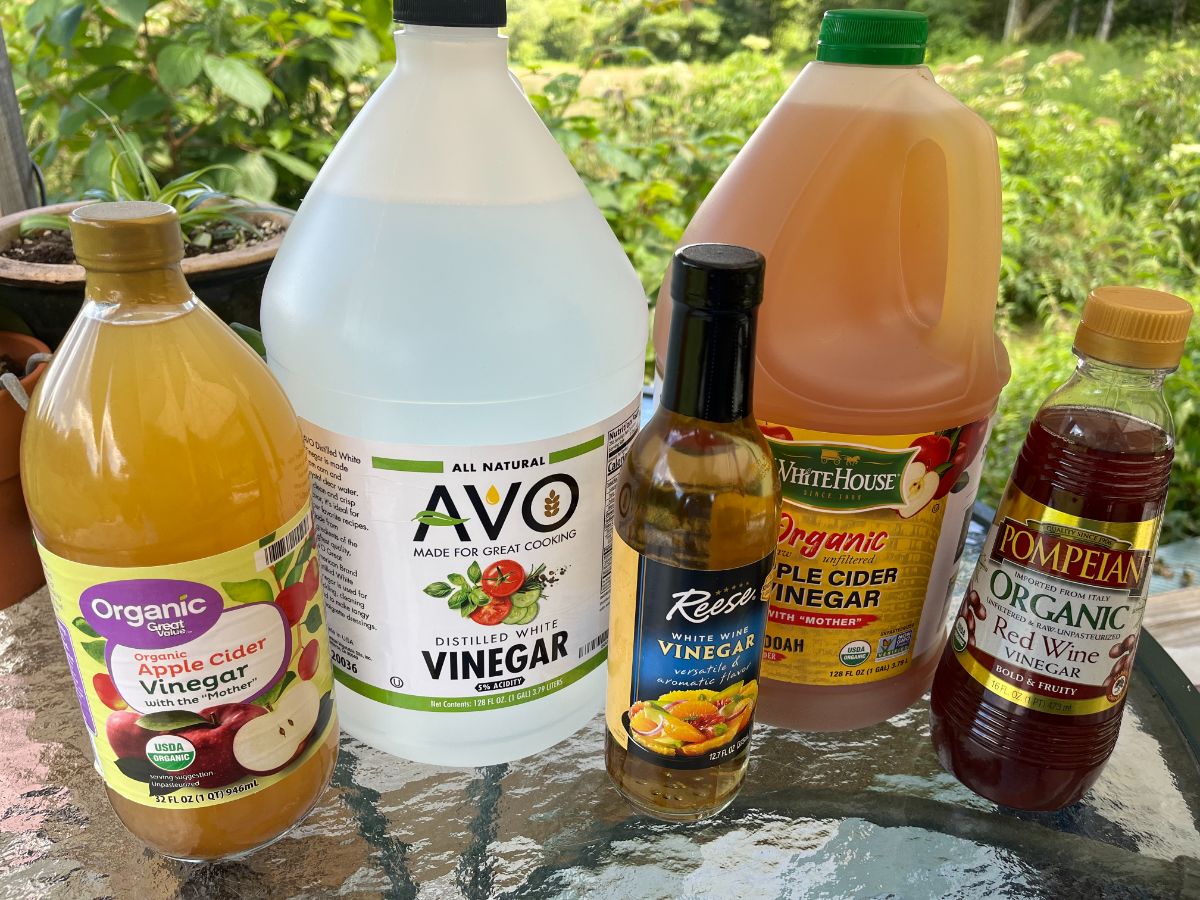
The ingredients in pickling brines are not something that go bad or expire. Vinegar, sugar, and salt are all quite the opposite—they're designed by nature to persevere and preserve. There’s no harm in buying them ahead and stocking up because there’s just no chance of losing them.
Having plenty of the ingredients you need on hand to pickle at a moment’s notice will ensure that you have what you need when you find a window of time to do some pickling and preserving.
*Note – if you like a little spice in your pickles, grab a jar of pickling spices when you stock up, too.
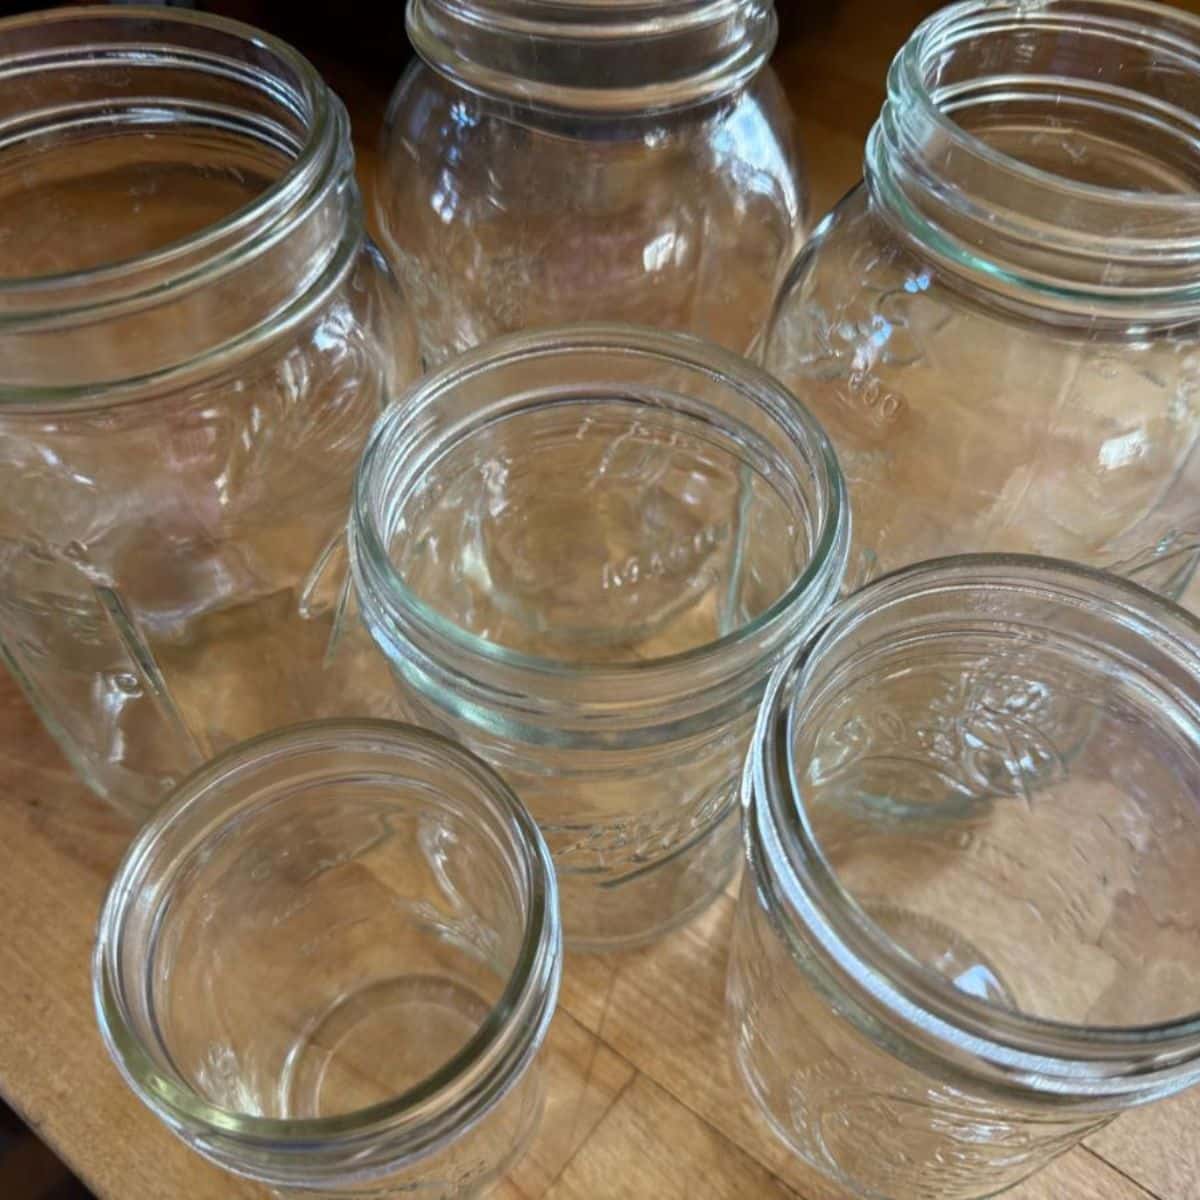
2. Have plenty of jars on hand, too
The worst thing is to have all your pickling ingredients and fresh vegetables ready to go and find out you don’t have any empty jars left.
Take an inventory of what you have on hand, then stock up and try to keep at least one box of jars ahead.
And don’t forget the rings and lids! You can reuse lids if you are making refrigerator pickles, but if you’re canning, you should use new lids every time. This has always been the recommendation, but it seems even more important now as some lids are not sealing as well as they used to, not even the first time around.
Periodically check your rings, too. Rings are reusable for many years, but they will rust and get corroded from vinegar and salt over time, so they’ll need replacing somewhere down the line.
You’ll want all these items on hand and at the ready when you are.
3. Make your pickling brine ahead of time and keep the brine on hand
If you have your brine made already, you can easily throw together a quick batch of pickles while you make dinner. Or you can cut down the time on the pickling day and jump right into your pickling process.
If the recipe is one that requires warm brine, you can just heat the brine when you’re ready to use it. Heat it only to just below simmering (or to simmering and then shut it off). Don’t continue to simmer or boil the brine when you heat it because you will steam away some of the water content and imbalance your brine.
Keep plenty of brine on hand throughout the pickling season, and you’ll always be ready to make a batch of pickles on those days when your garden surprises you with an abundance of fresh produce. You don’t even have to wait until you’re going to pickle to do it. Just mix up some brine when you have a moment (a few moments are all it takes).
4. Refrigerate your pre-made brine
Store premade brine in the refrigerator to keep it fresh until you’re ready to use it, or it can get cloudy and unsafe.
If you take the step of canning the brine and sealing it, it would be safe to keep on the shelf and not under refrigeration, but just throwing a large jug into your refrigerator is a whole lot easier and will save more time.
5. Make extra brine when you’re pickling
Here’s a tip to help you get ahead and have brine on hand—when you’re making brine for pickles, double or triple the batch, then keep it on hand as described above. If you’re already pickling and you have everything pulled out, it’s just a matter of working in larger, doubled, or tripled measurements.
Making extra brine will also prevent you from running out while you’re pickling. We’ve all had that happen. The recipe says it will make “X” pints or quarts, but somehow you end up running short and having to scramble to make new brine to finish your pickles—time suck!
If you’ve got the canner out and you have some extra space, this would be the time when it might be worth canning the brine for future use to make it shelf stable.
6. Find one basic, versatile brine for flexible pickling
This is a top hack that will prove key in being able to pickle quickly and keep brine on hand and at the ready.
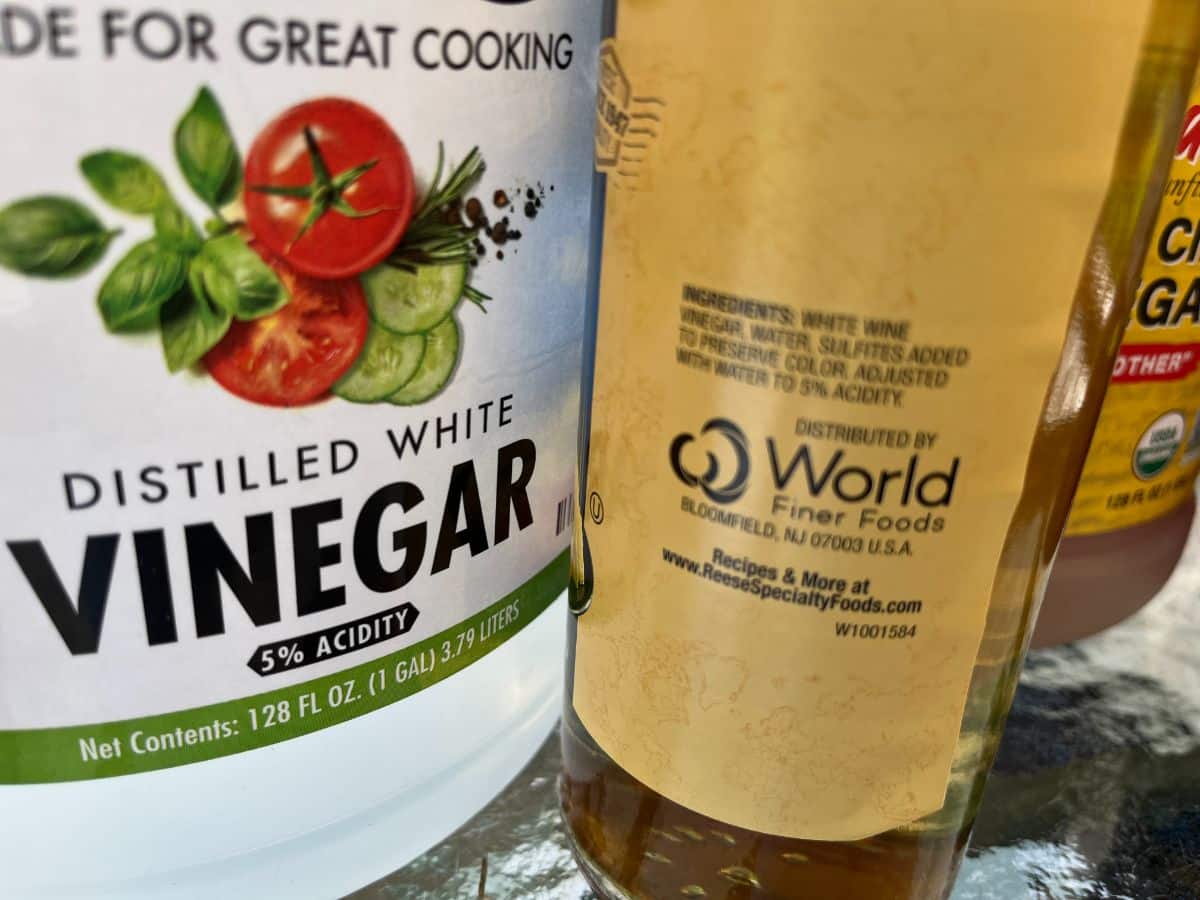
There isn’t much difference between one brine and another, at least not from a preservation perspective. Brine recipes might be a bit different depending on what is being pickled; for example, if a more flavorful vinegar is used to match a product (like red wine vinegar for red onions), but as long as the acidity and salt and/or sugar levels are safe, you can use a good, basic brine for pretty much any type of vegetable—and lots of fruits.
If there is a recipe you love for a specific style of pickle, go ahead and use it, but for general everyday pickling and in the spirit of getting your produce preserved, a solid brine recipe is all you need. If you want to personalize your brine recipe, you can consider substituting a different vinegar as long as you make sure the vinegar is 5% acidity. Five percent acidity is critical to making safe pickled products.
The reason this hack is key is that you won’t spend time mixing up multiple brines or having to try to keep different brines straight for different pickles. You won’t have to wait and see what you'll have available from the garden. It is much easier to keep one good basic brine on hand.
Here’s a good basic pickle brine recipe from Southern Living.
Here’s a basic brine for any type of quick pickle.
7. Make refrigerator pickles
Refrigerator pickles are fast and easy to make. All there is to it is to throw together your brine, clean and prep your cucumbers or other vegetables, throw them in the jar, cover, throw it in the refrigerator, wait a few days to a week, and then eat.
It’s the fastest and easiest way to get your produce pickled. It’s also the best for small quantities of pickles or pickles that you plan to eat up in a short time anyway. (If you’re eating your pickles within a few weeks, it’s not worth the time and utilities to can them.)
8. Pickle in small batches
We tend to think we have to wait to make pickles or preserves until we have a big bumper crop of vegetables ready to process. The problem is that while we’re waiting, we often let smaller amounts of vegetables go by. They go to waste while they’re waiting for enough partners for a big session of canning.
This is ironic because another thing that keeps us from getting our produce pickled is not having enough time for a big canning session. Sometimes you only have a half hour or an hour while you’re making supper in the evening. But that is all the time it takes to throw a small batch of pickles together—especially if you’re making refrigerator pickles and especially if you have your brine pre-made and on hand.
If you only have the produce for a jar or two of pickles, or you only have the time for a small batch, do it. It’s better to have a little than none at all, and it’s better to use produce while it’s fresh than to wait too long or let it go to waste.
9. Keep “Add-on” jars going
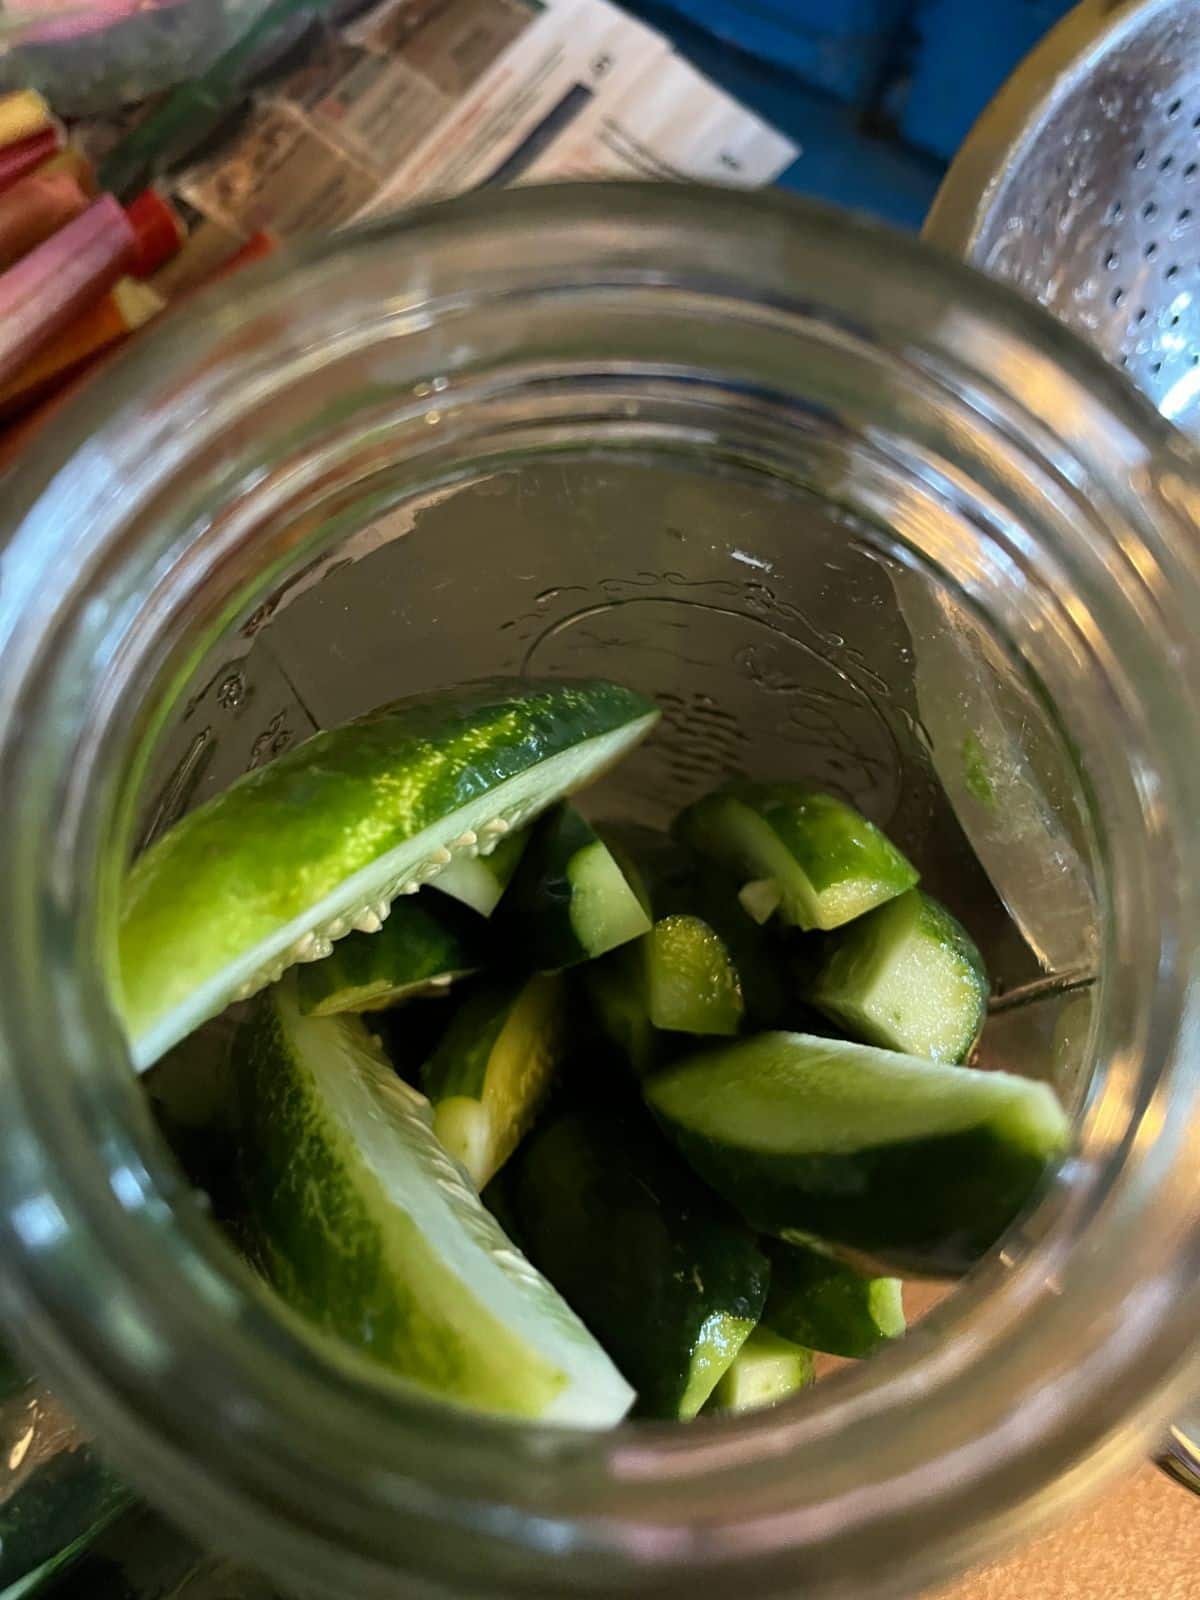
If you only have a few vegetables to pickle at a time, keep a jar of “add-on” pickles going in the fridge. Start a jar of brine, leaving some room to add vegetables (don’t fill the jar, in other words, because the veggies will displace liquid, and it needs somewhere to go). Then, when you have a few cucumbers or whatever vegetables to pickle, you can add it to the jar in a minute.
One thing you have to be conscious of is not adding to the top without ever getting to the bottom. That would eventually leave you with pickles that are too old, and that could spoil the jar. It would be safe to add to an add-on jar for about seven to ten days, possibly up to two weeks. Then cap the jar, let it rest for a week, and start eating it.
Start a new jar about every week to a week and a half. Add-on jars must be kept in the refrigerator.
10. Pickle mixed products
We often think of pickles as being made of just one or two types of vegetables. For example, dill pickles or dilly beans—two of everyone’s favorites. But they don’t have to be. There are plenty of recipes out there, especially older recipes that are combinations of vegetables, like pickled cauliflower and carrots. Many mixed vegetable pickles combine several different types of produce.
Mixed pickles help you get more pickled produce because you have more vegetables to work with. You can pickle when things are just trickling in – a little of this and a little of that — instead of waiting for the big haul.
Usually, in a well-producing garden, you can still make your single-ingredient pickles, too, once the production ramps up to peak volume. But there’s no need to wait and waste in the meantime when you could be making some really tasty combined pickle products.
11. Flex your recipes
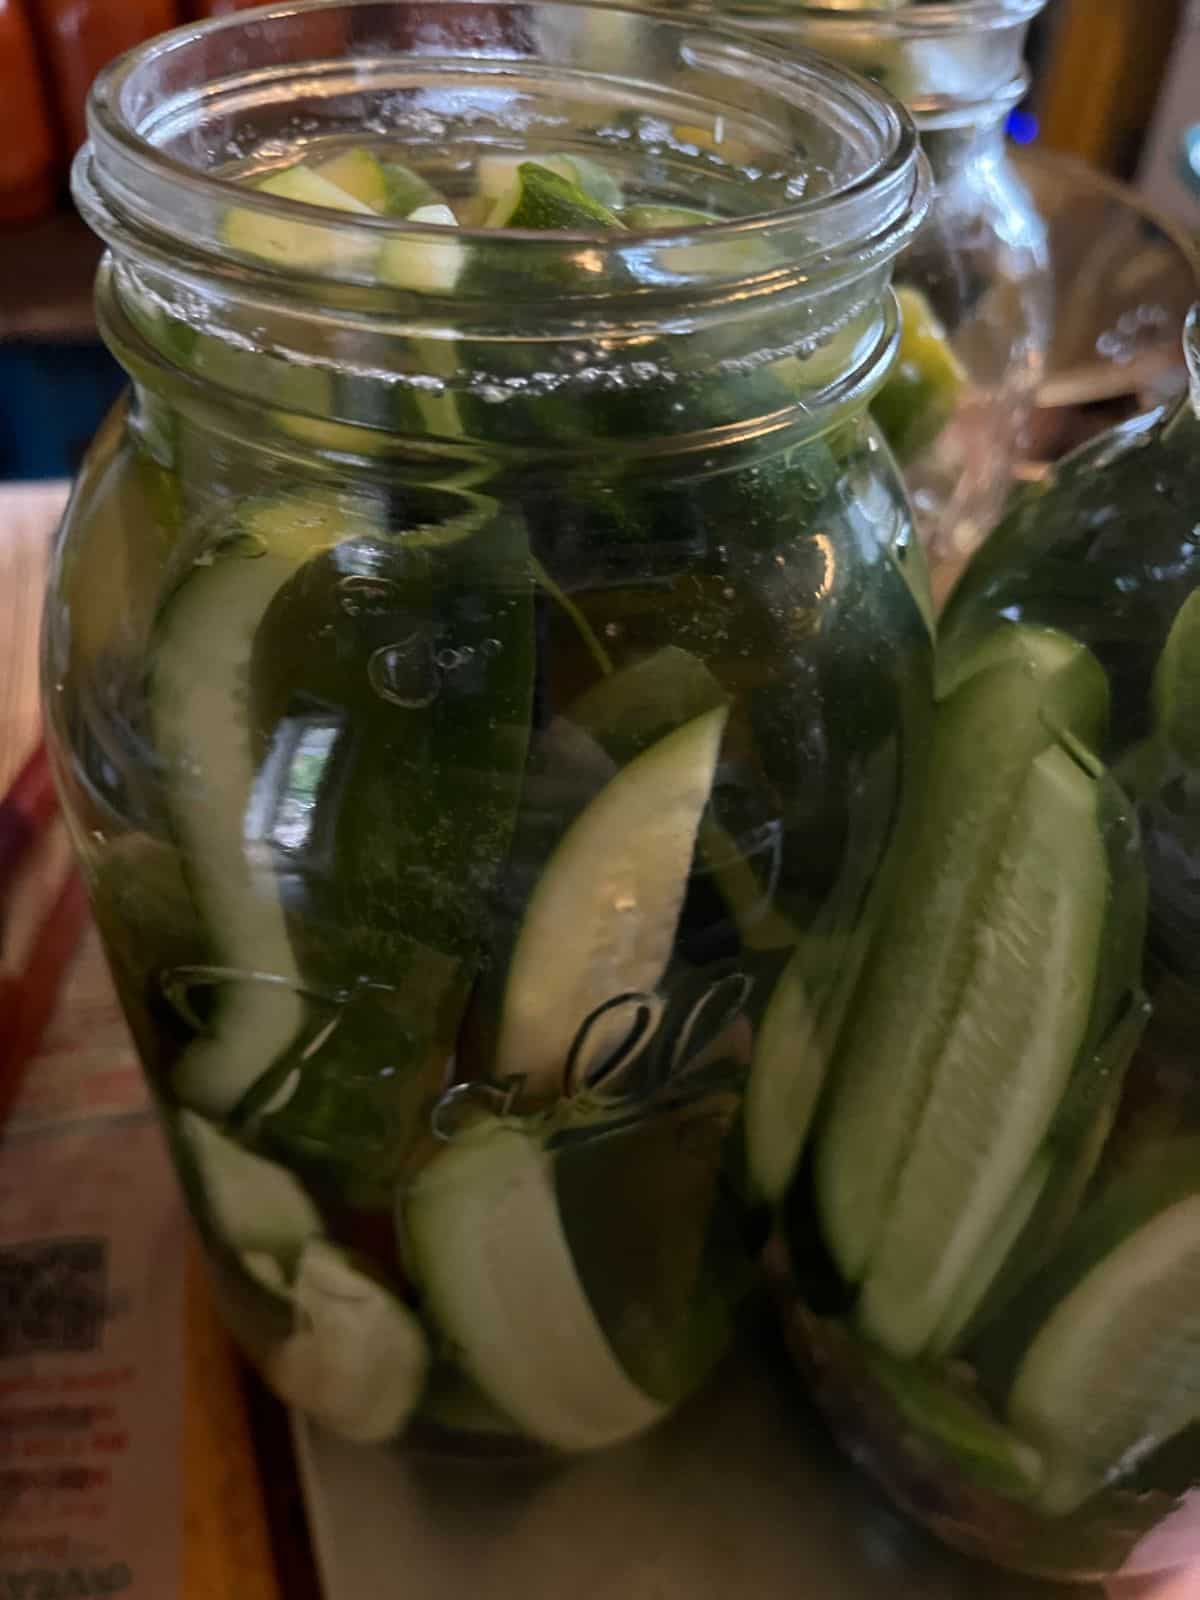
Don’t have the carrots for that mixed pickle? Leave it out. Make it up with something else.
Pickling recipes have flexibility, as we talked about above. You don’t necessarily need to wait for every single last ingredient to make a recipe. Be a little flexible.
Of course, you’re bound to have recipes that you really like and want to make to perfection, and that’s perfectly fine when you have the time and produce.
For those times when you have most of or almost enough, use what you have, get the food pickled and preserved, and maximize your harvest.
Giardiniera is a classic Italian pickled vegetable that has no truly set recipe, at least not at its heart (sure, you’ll find plenty of pretty, exact recipes online now, but that’s now how the Italian matrons originally did it). This is a dish that was made with the produce of the garden in a waste-not-want-not fashion. The point of it was to use what’s ready in the garden instead of wasting it or to clean up what is left in the garden at the end of the season.
12. Save up for a big day
Does this sound opposite to some of the things I just said? Technically, it is. But sometimes, the best way to manage your time is to plan it out, focus, and get a larger job done all at once, instead of spreading it out and having too many other priorities competing for the time.
When the produce is coming in in abundance, it might make the most sense to just take a day, put up all or as much of your produce as you can, and get your preserves on the shelf. Multitasking isn’t always the most efficient way to get things done.
13. Buy the balance at a local farm or farmers’ market
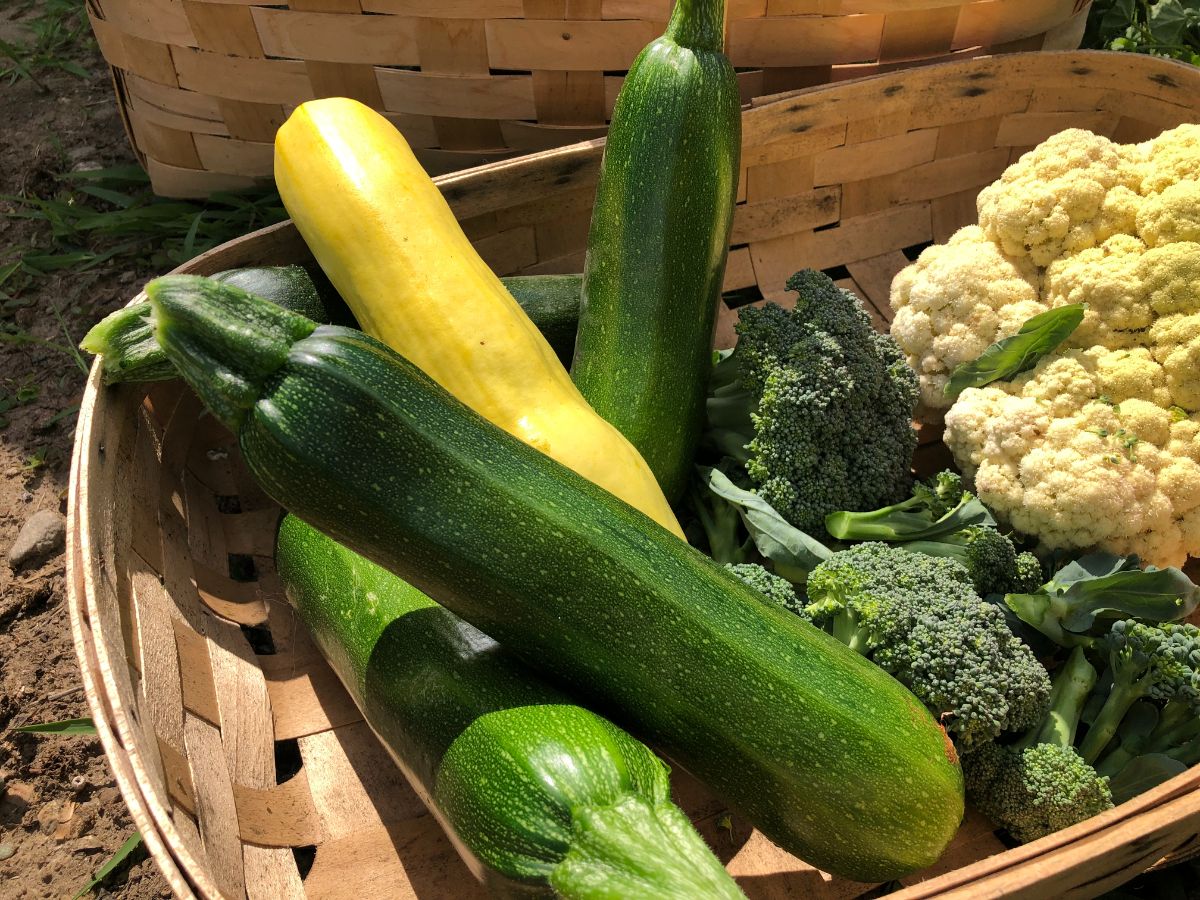
If you’re planning a big pickling day and you still don’t have quite all you need to preserve what you need for the year, there’s no shame in topping up your homegrown produce with produce from a local farm, farm stand, or farmers’ market.
The goal is to eat well, make good use of your homegrown vegetables and fresh produce, and to eat within the seasons (when you preserve homegrown or local produce, that counts). If you need to supplement with an equally good local product, do it.
14. Preserve just what you’ll use
Over time, you’ll come to know how much you really use of different pickles and preserves. When you have a good idea of what you actually need and can and will use, aim for that number. Then stop when you have it.
It’s not unusual for a garden to produce more than what we need. But that doesn’t mean you have to pickle it all. There is no use putting time, money, equipment, and ingredients into pickles that will just end up going to waste.
It might take you some time to find your right number, but pay attention, come to know it, and then after it’s put up, donate or barter the rest of the vegetables you can’t use.
15. Prep one day, pickle another
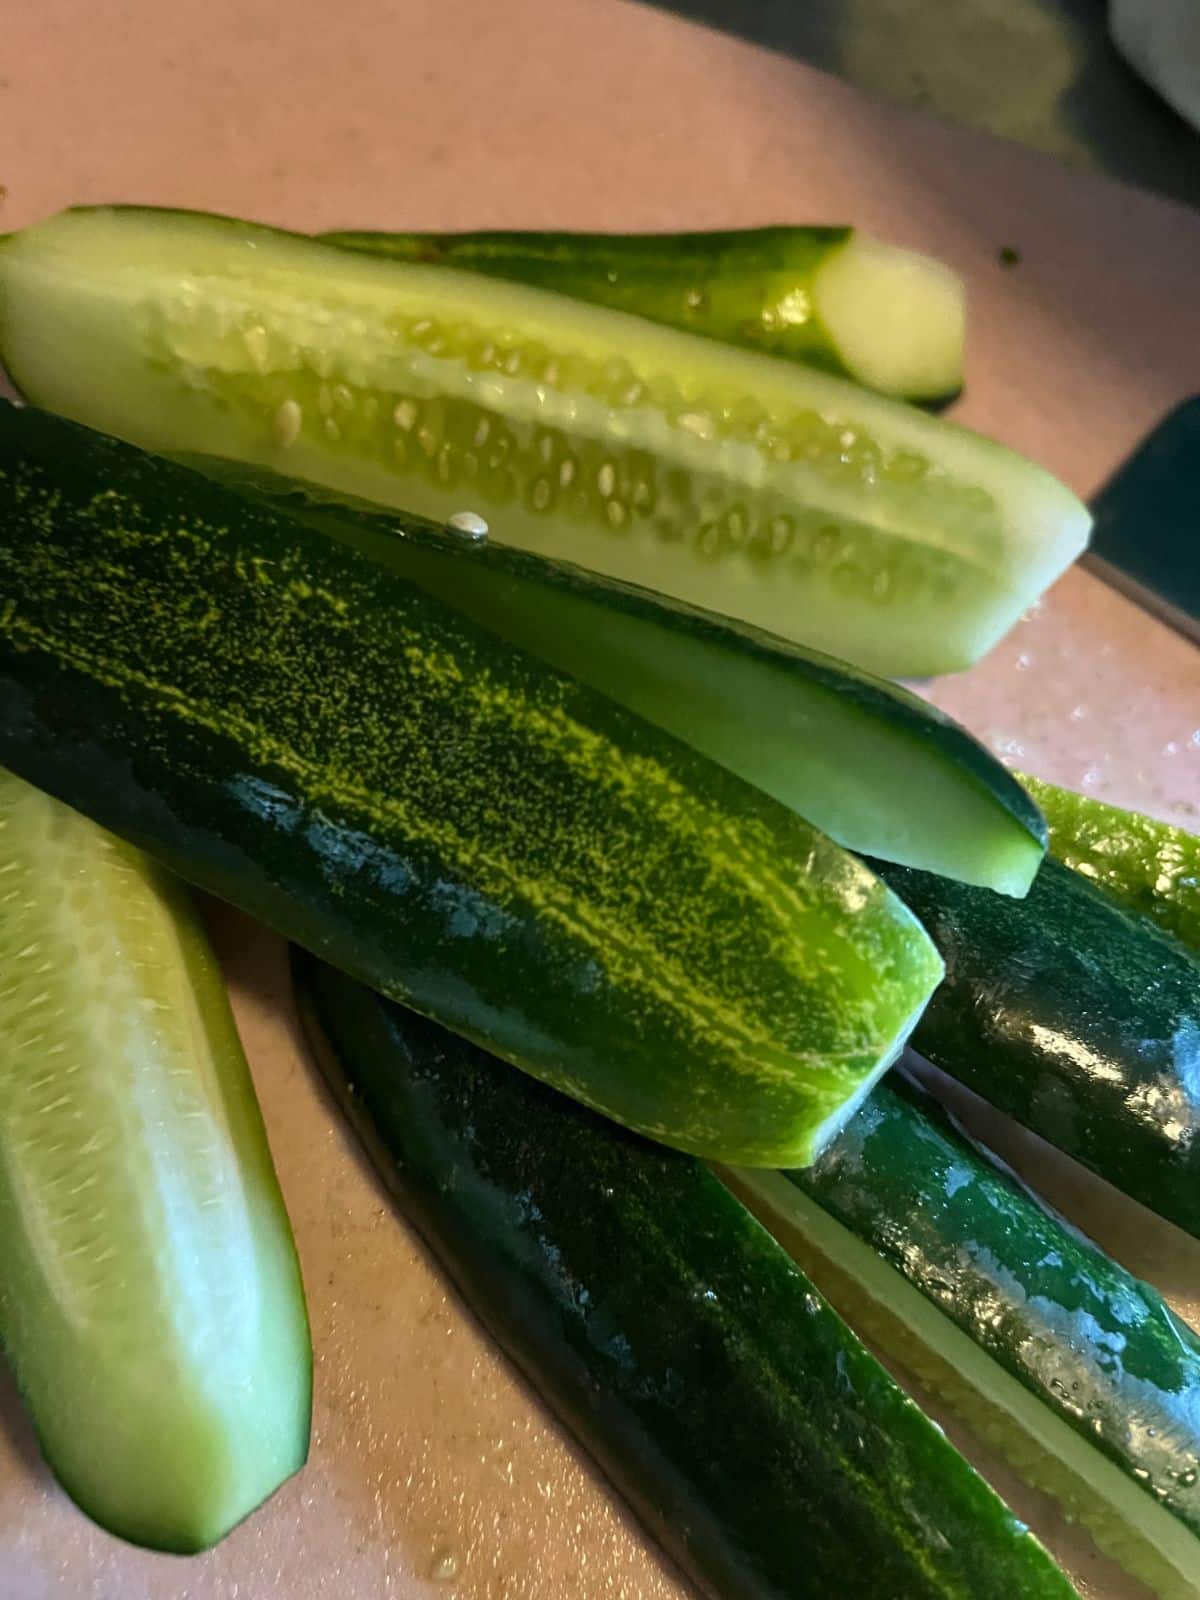
When you have a lot of produce to pickle, that can make for a very long day from start to finish. You might have a hard time finding enough time all in one stretch.
It may be better for you to prep what you can one day, get as much as possible ready to go, then pickle it and process it all the next day.
For example, you might measure out your spices on day one, make your brine, wash, prep, and chop whatever you can the day before, tightly wrap and refrigerate, and then put it all together on day two.
Pull all your ingredients and supplies together and lay them out for a jump start the next day.
Before you go to bed, put your jars in your dishwasher and set them on a delay to sterilize. Or at least have them in there ready to start the sterilization cycle. If the jars cool before you need them and you need the jars to be warm, you can easily run a fast cycle to warm them up.
16. Pick the day before
Picking and pickling all in one day is a lot of work. Yes, it’s best to pickle at the height of freshness, but there’s no great loss if you pick a day or two ahead of time. Truth be told, very few commercial products are getting from the field into the jar on the same day, so cut yourself some slack.
Your homegrown produce that rested for a day or even a few days is fresher than anything that had to get to you by travel channels. Break the work up into more manageable and more reasonable stages, and you’ll find it is much easier to accomplish, with the odds of waste greatly diminished.
17. Store waiting produce well
However, your vegetable (or fruit) needs to be stored to preserve it the best while it awaits its turn in the pickle bath, do that. That is the best way to keep vegetables fresh until you can pickle them. But there’s a trick—and it’s in knowing how each type of vegetable wants to be stored.
Different vegetables need to be stored in different ways in order to maintain their maximum quality and freshness. For example, tomatoes, cucumbers, and peppers should be stored at room temperature, according to Purdue University. But root vegetables, including beets, carrots, and radishes, should be kept refrigerated.
To make things a little more confusing, eggplants, cucumbers, and peppers can be refrigerated for up to three days, says Purdue, but if you refrigerate them, you need to use them soon after they are taken out of the refrigerator. This is so they have the best flavor and stay crisp and fresh after being refrigerated, but we should realize that something that is going to go soft after coming out of the refrigerator is not what we want for canning and pickling. So, storing at cool room temperature would be the better choice.
18. Use the buddy system
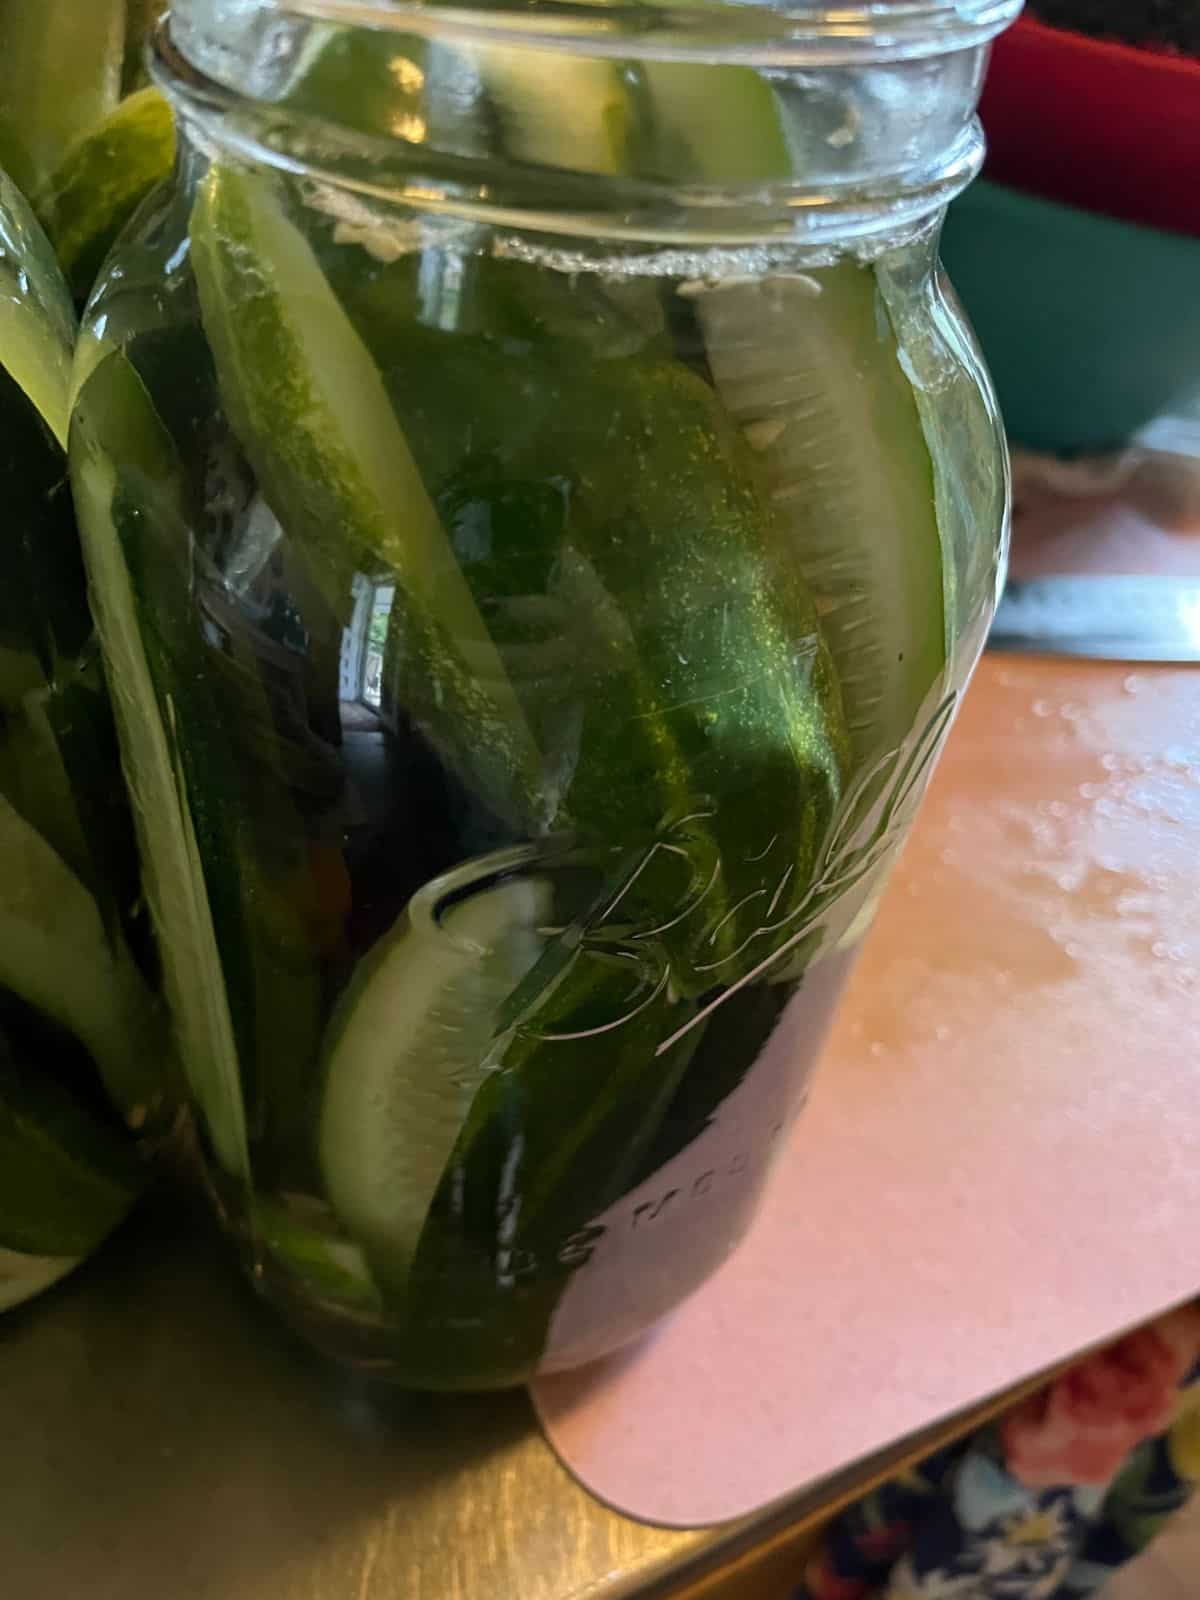
Many hands make light work. If you’ve got a lot to get through, the work will go faster (and probably be more enjoyable) if you have some help.
Find a kindred spirit who likes fresh pickled foods. Pool your resources and can together. You can decide how you will split the finished product. Both parties should walk away with some goodies, even if both of you didn’t grow the vegetables. In fact, “paying” a helper who doesn’t have a garden with quality pickled products is an excellent trade-off.
If you are both gardeners, this is also a good way to come up with a volume of produce to pickle for a big pickling day. Pool your produce!
Don’t forget that kids can make great pickling buddies, too, and they’ll learn something in the process. There are many jobs that you can find for kids to help with, both young and old. Washing, prepping, measuring...if you look for something your kids can do, you’re sure to find it.
Find What Works for You
Truth be told, your “right” way to make pickling more manageable might be more than one of these hacks. You may have days when the produce and the time are both plenty, and the “all at once” big pickling day works. You may have days when you’re pressed and can only handle a little in a short amount of time, and you opt for quick pickles, small batch, or add-in pickling instead.
You may feel like you can’t deal with the work, heat, and mess of canning your products, so you make refrigerator versions instead. And you may decide that you can’t keep it all in your fridge, and you need some of your pickles to be shelf stable. You may decide you have to make the time and take the time to put up shelf-stable canned produce because you need it to last longer than what can be expected in the fridge.
Mixing and matching, doing what you can when you can, and not feeling bad about it is the way to go. There’s a lot going on in people’s lives these days, so find what fits and do what works for you to get your harvests in—and used!
It’s taken me years to almost get a handle on my pickling. Not that the task is hard; it’s not. It’s just not always easy to fit into the rest of life in these crazy modern times. I’ve learned and adapted, and it’s not always the same every year. I’ve found some shortcuts and pre-preps that make it more manageable. You will, too. I hope this helps!

Leave a Reply