Gardens are spaces to express your creativity, to play with colors and let your imagination run wild. And one fun way to do that is to create your own garden decorations.
Designing your own DIY mosaic stepping stones for your garden is simpler than you would think. In fact, it’s easy enough that the whole family can do it, even young children. Even better, this project can be completed quickly, in a single weekend!
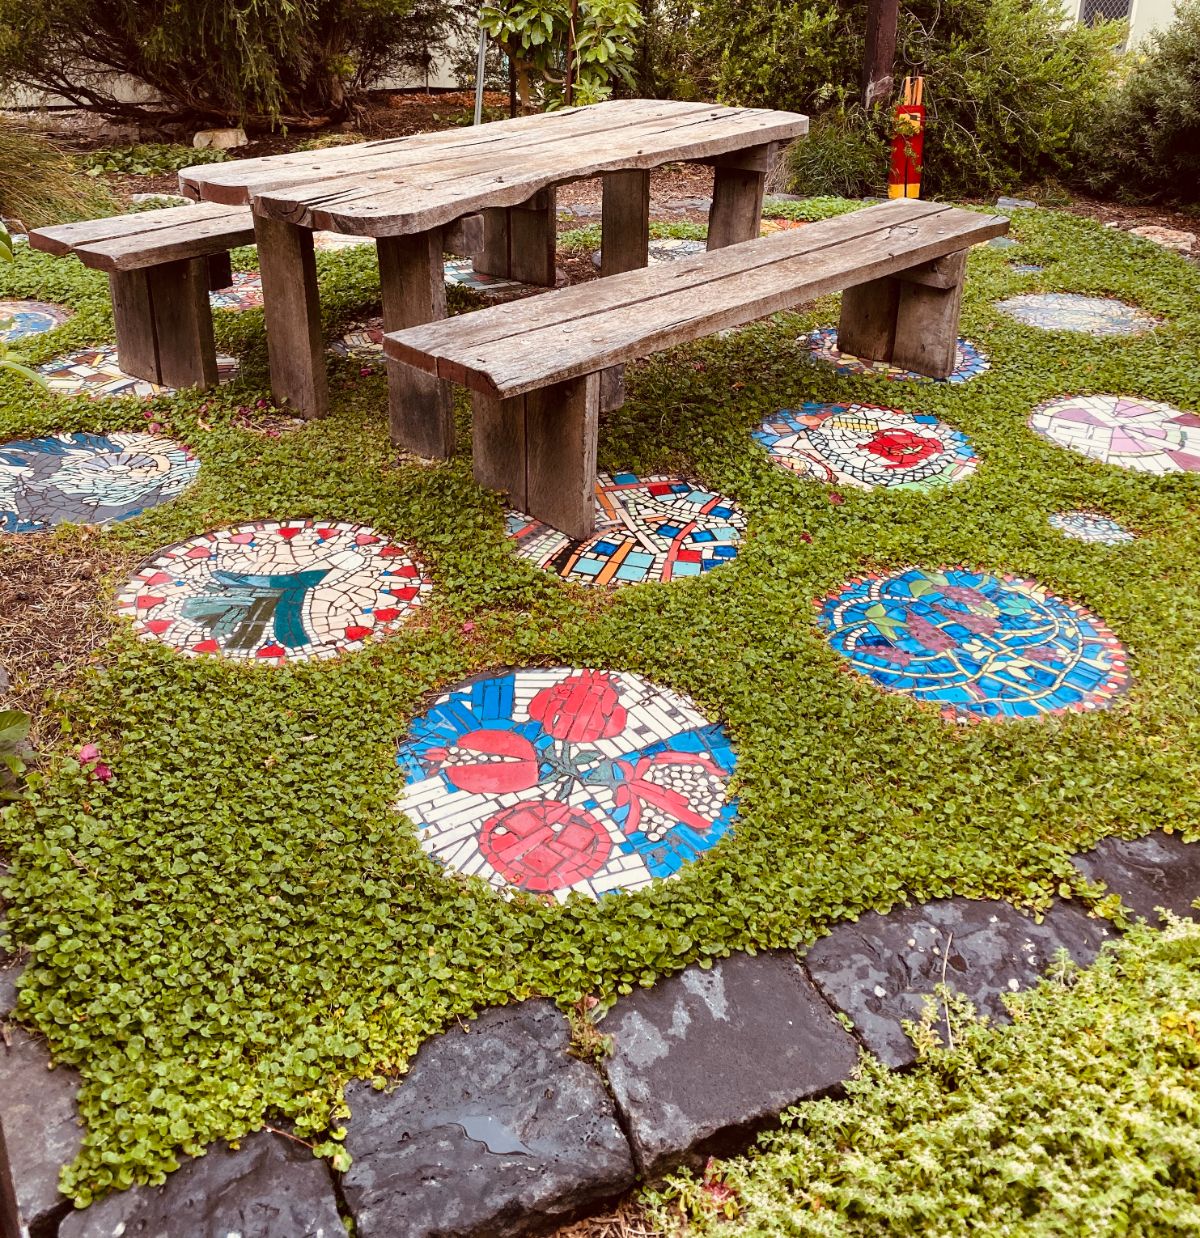
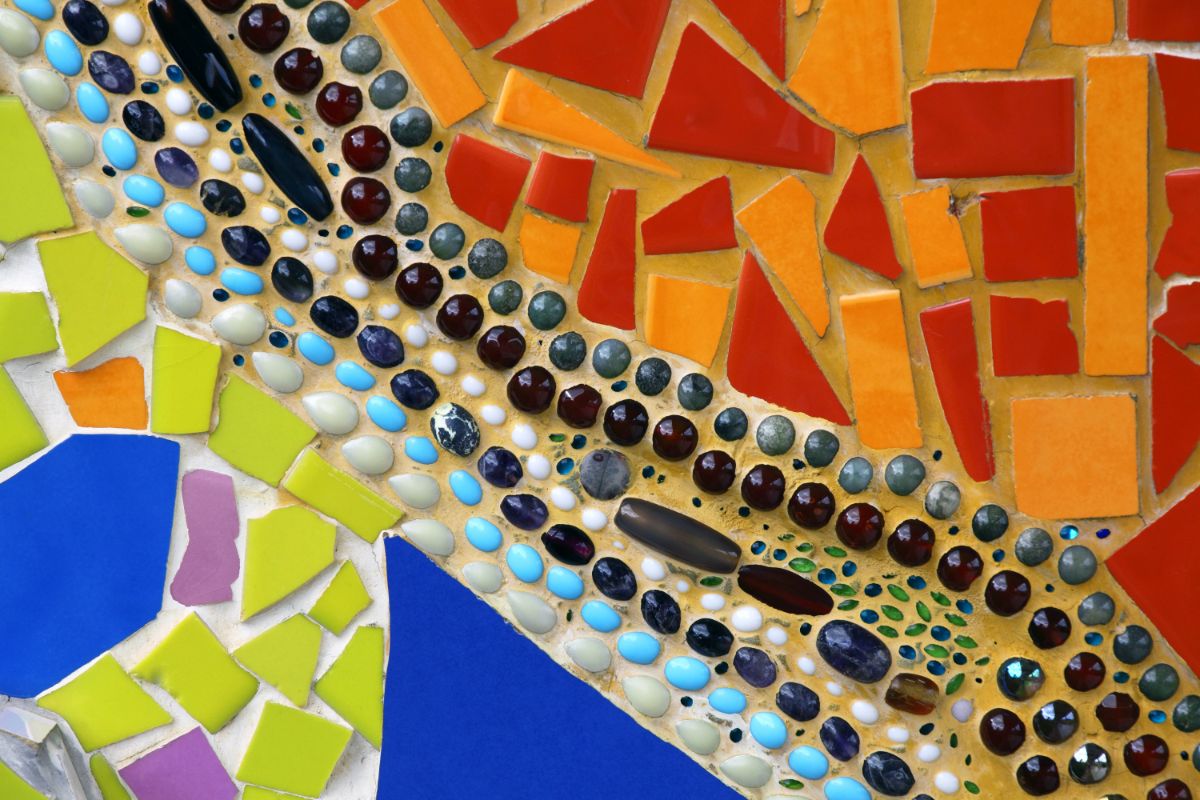
Mosaic stepping stones often combine lots of little tiles, broken pottery pieces, marbles and other fun items. In fact, the only limit on what you can mosaic is your own creativity. By upcycling old heirloom items in your mosaic or personalizing your design, you can easily create a gorgeous memento that will be cherished for generations.

So, if you’re ready to get started with your garden mosaic, we’re here to help. This tutorial will teach you everything you need to know to create colorful and whimsical mosaic stepping stones to add color and fun to your garden or backyard.
Jump to:
Making your own garden mosaic stepping stones

Despite their complicated look, mosaic stepping stones are surprisingly easy to create. All you need is a good imagination, some small tiles or upcycled items for mosaics and a few simple tools and you’re ready to start creating.
Important tips for safety
While mosaic tiling can be fun for all ages, there are some important safety tips to follow to ensure your mosaic project goes as planned. While this is a kid-friendly project, remember that you will be working with sharp items, including broken pieces of china, so it’s important to wear appropriate safety gear.
Adult supervision is recommended for this project. Additionally:
- While pre-mixed grout and mortar work well for mosaic tiles, you can also mix your own. If you decide to go this route, be sure to mix your grout and mortar outdoors in a well-ventilated location and wear proper safety gear, including safety glasses and rubber gloves.
- When working with sharp pieces of tile and ceramic, always wear safety gloves and handle each item with care.
- If you decide to break your own tile and ceramic pieces for your mosaic, remember to wear safety glasses and protective gloves.
What you’ll need:
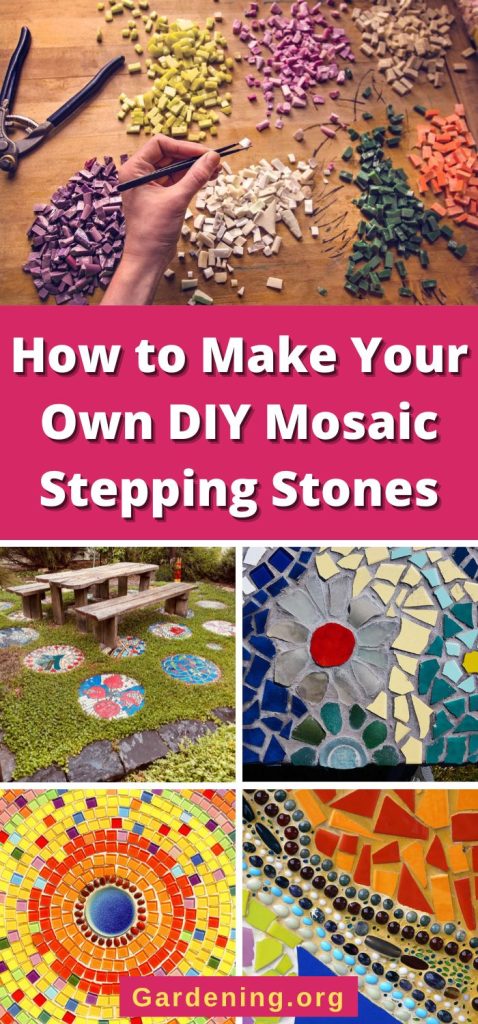
- Mosaic items, including broken pottery, pieces of china, tiles, glass, crystals, marbles or pretty stones. Select colorful items you think will make charming designs or use sentimental pieces, whatever you like. Don’t be afraid to get creative!
- Concrete stepping stones
- Premixed thin-set mortar
- Pre-mixed grout
- Grout float, kitchen spatula or puddy knife
- Hammer or tile cutters
- Notched trowel (with ¼ to ½” notches)
- Sponge
- Soft cloth
- Cardstock or a premade pattern (optional)
- Protective gloves
- Safety mask
- Safety glasses
- Drop cloth (optional)
Step by step instructions for making your own mosaic stepping stones
1. Plan out your design.
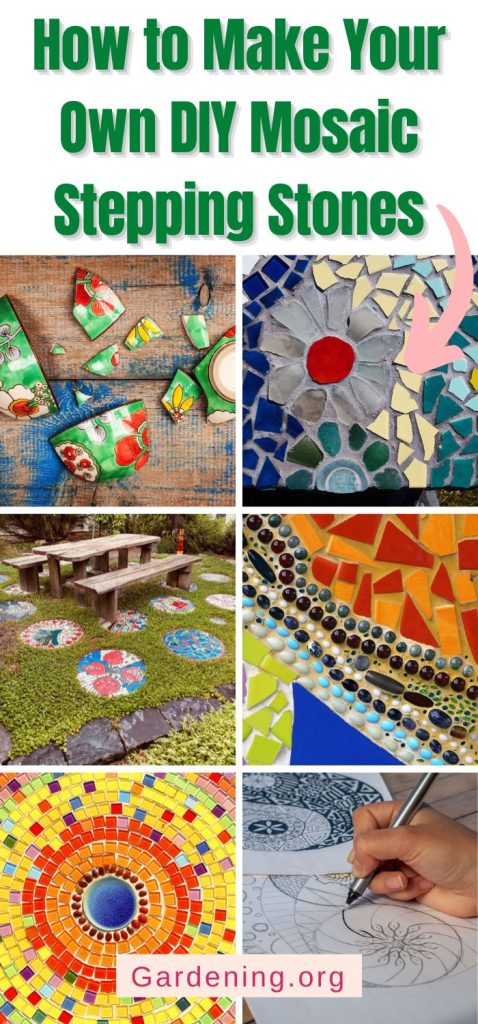
The most important part of creating your own stepping stone is finding a design that inspires you. For inspiration, try flipping through books on mosaics or browse the internet to find some new ideas. Check websites like Pinterest for interesting symbolism, mosaic patterns and other suggestions to get your creative juices flowing.
Frequently, you can find free downloadable patterns, stencils and templates online, or you can order them from websites like Etsy.
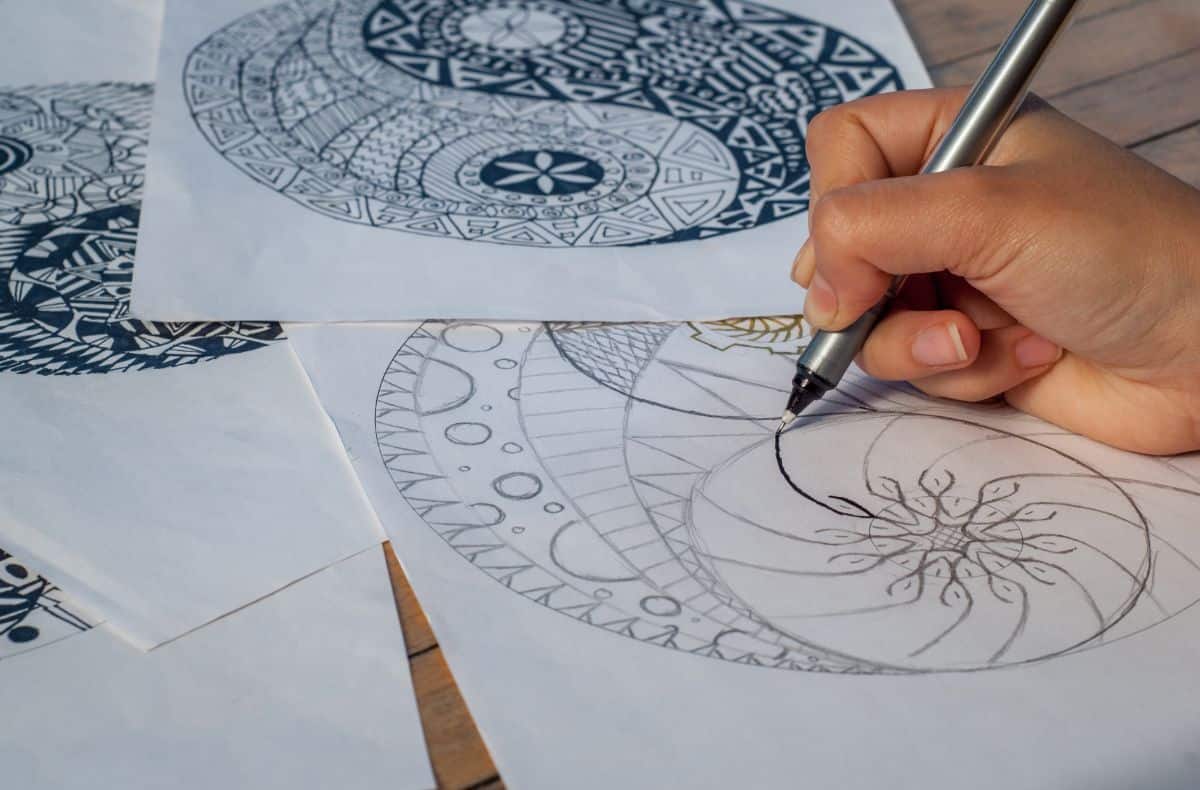
If you’re looking for something a bit more personal, consider drawing your own pattern or free-handing your mosaic piece as you go along. Cutting out shapes and handmade stencils in cardstock is an easy way to ensure your final stepping stone looks exactly the way you’d like.
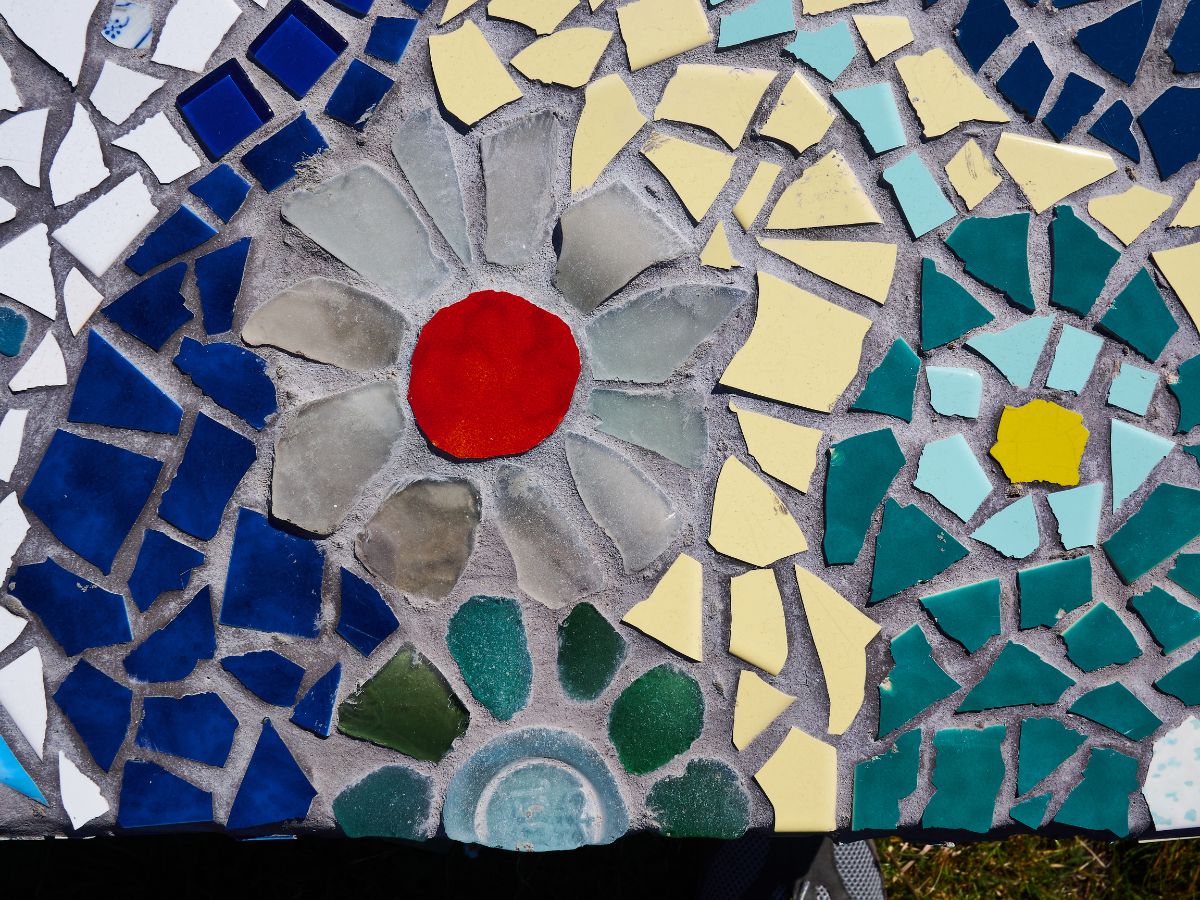
Some popular ideas for garden mosaic stepping stone designs include celestial themes (suns, moons and stars), various flowers (like roses and daffodils), common pollinators (butterflies, bees and dragonflies), geometric patterns and abstract designs. You can also decide to make a very special stone to memorialize a favorite family pet, create portraits of family members or display a favorite saying or family motto.
During this part of the process, you’ll also want to consider what sorts of colors you’d like to use in your stepping stone. This will help you determine what sorts of items will work best for your mosaic tile pieces.
Are you looking to coordinate your stepping stones with your home’s colors, or would you prefer brightly-colored stones for that "wow" factor? Your stepping stones are places to express yourself however you like, so don’t be shy about playing with color!
Finally, if you’re planning on making multiple stepping stones, consider the overall look you’re going for. Perhaps you’d like a bunch of different sorts of stones created by different family members for unique flare. Or maybe you’d rather have a more cohesive look, with similar themes and colors used throughout.
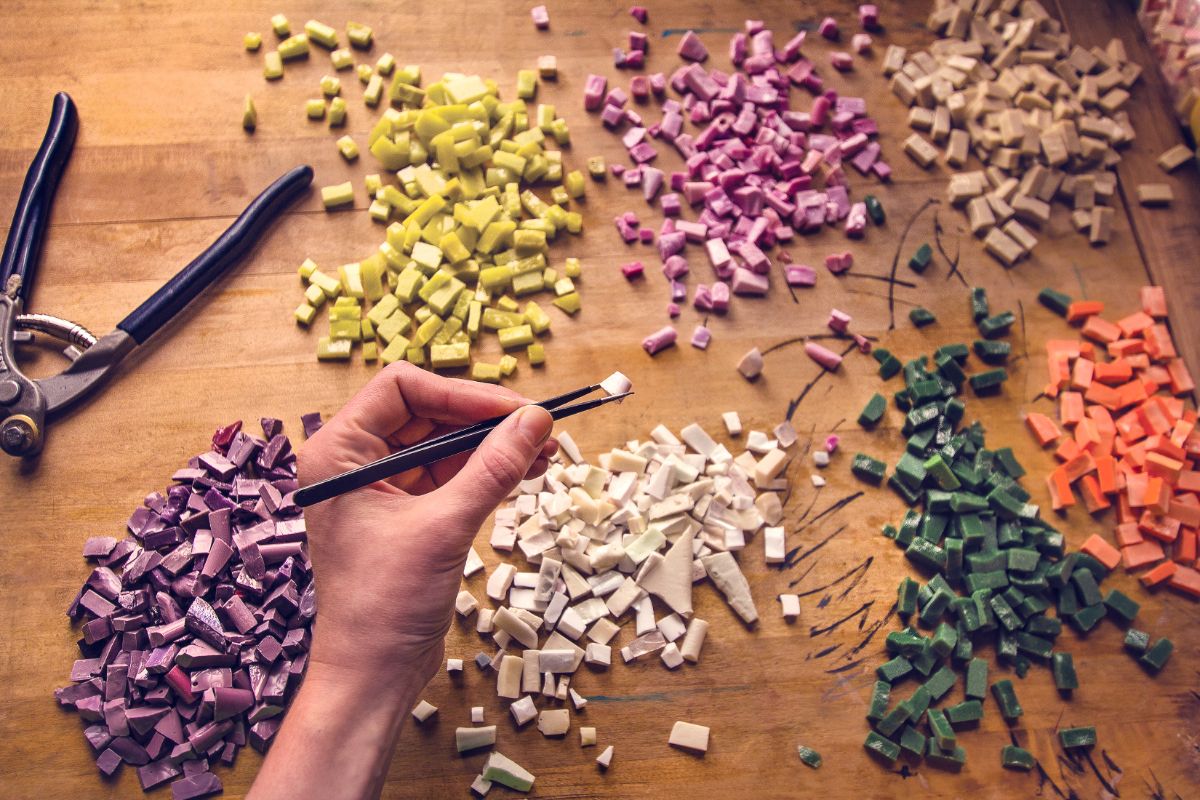
2. Gather your items.
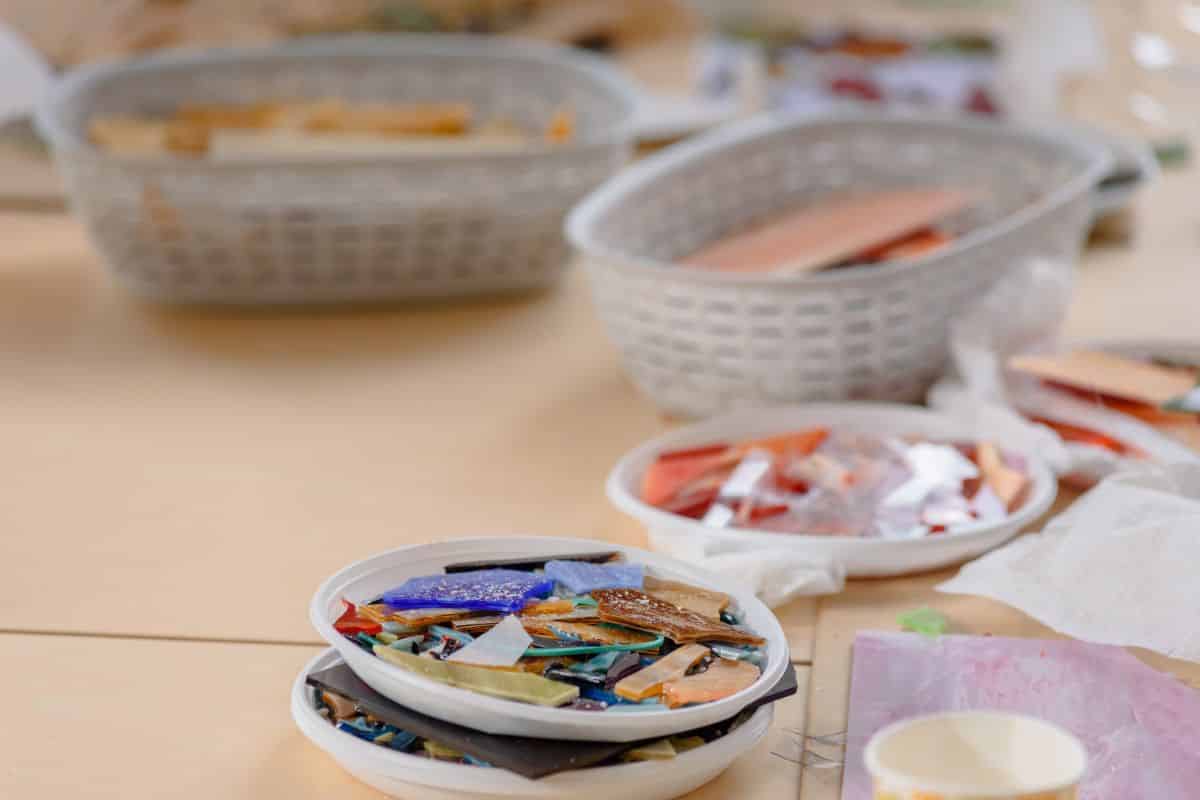
Once you’ve planned out your mosaic designs, it’s time to start finding pieces for your mosaic work. For an easy solution, precut glass or ceramic tiles are available for order online. These premade tiles come in a range of colors and shapes to suit pretty much any design.
It can also be fun to make mosaics out of found objects only for a bit more creative flare. When sourcing materials, try to think outside the box.
Some fun ideas for mosaic pieces include:
- Broken pieces of old tile
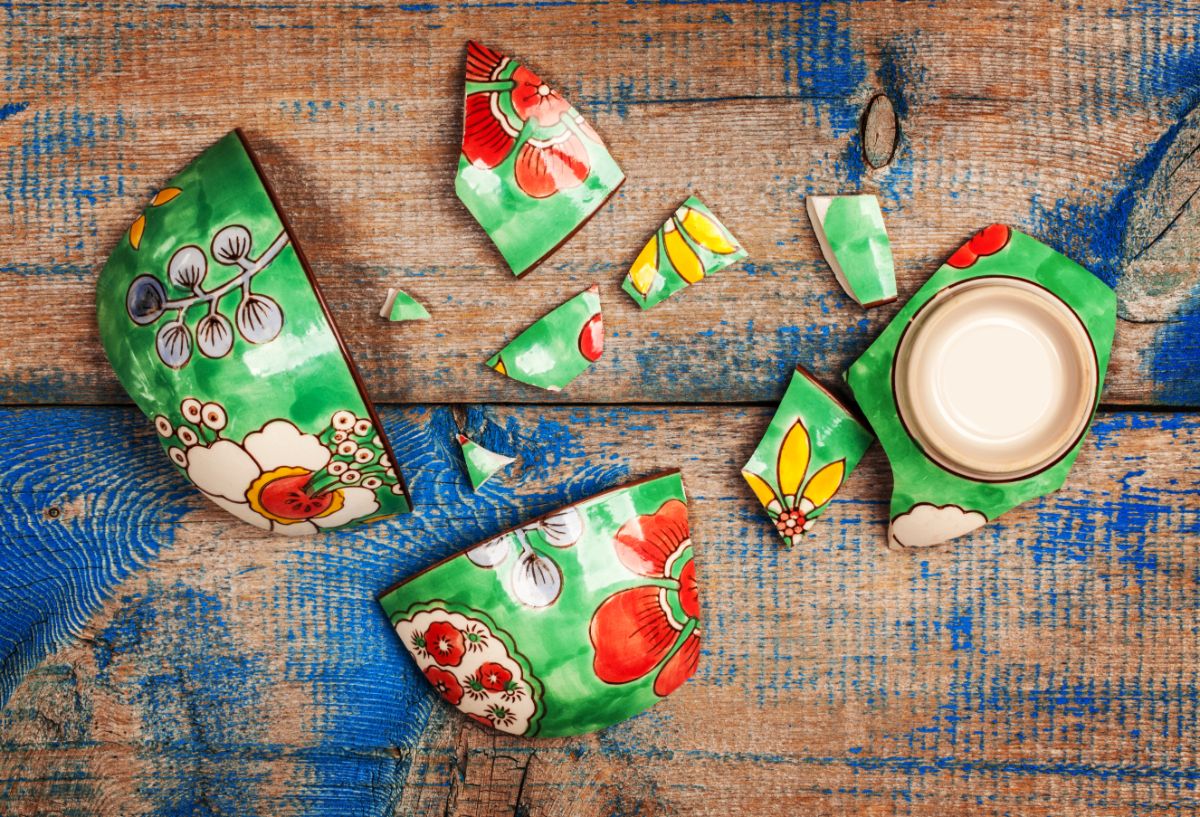
- Broken bits of pottery or porcelain
- Sea glass
- Pretty pebbles and stones you’ve collected on nature walks
- Glass marbles
- Seashells
- Bits of hardware for an industrial look
- Crystals
- Beads
- House keys
- Broken costume jewelry
If you have an old, broken teapot or piece of china, adding it to your mosaic stone can be a wonderful way to upcycle heirloom items and give them a new life too!
Mosaic pieces can come in different sizes and shapes but, for better adhesion, you’ll want your pieces to all be about ½ to 1” square. Larger glass, tile or ceramic items should be broken down into smaller pieces prior to tiling.
To make your own mosaic stones out of larger sections of glass or ceramic, tile nippers can help a lot. Just be sure to wear safety glasses and protective gloves while working with broken pieces to avoid accidental cuts and scrapes.
For a quicker process, or to get more varied mosaic sizes and shapes, simply wrap your tile or scrap ceramic in a sturdy drop cloth and break it into smaller pieces with a hammer. For safety, be sure to wear safety glasses and gloves while doing this too!
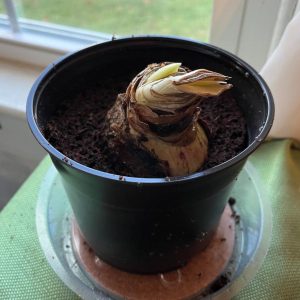
3. Pre-soak your stepping stones.
Concrete stepping stones are porous and usually quite dry when you pick them up. Presoaking your stepping stones before use helps remove any dust or debris that may impact your overall design. It will also ensure that mortar more readily sticks to your stones.
Plan on presoaking your stepping stones for at least 20 minutes before beginning.
4. Apply your mortar.
You can mix your own mortar; however, purchasing premixed mortar is recommended because it is simpler to work with and usually comes in smaller quantities, perfect for just a few stepping stones.
To begin, simply apply a layer of mortar to your stone using your notched trowel, adding about ¼ to ½” of mortar across the surface, depending on what size trowel you’re working with.
Mortar dries in about 15 minutes, so you’ll want to have your design ready to go and you’ll need to work quickly. To buy yourself a bit more time, try working in sections so that you have enough time to fiddle with your design and properly place your mosaics before the mortar hardens.
5. Lay your mosaic tiles.
Now the fun really begins! If you’re using a pattern or stencil, carefully place it on your mortar and begin tracing your shapes with your mosaic bits. Working from the outside in, outline your shapes with mosaic pieces and then fill in each shape with more mosaic.
If you’re free handing your design, just simply start adding mosaics, allowing inspiration to guide you as you go. While you work, pay attention to the colors, textures and shapes of your mosaic pieces to create a cohesive and fun design.
To ensure that your tiles are properly placed, firmly push them into your mortar so that a little bit of mortar rises up on all sides of your tiles. This will help prevent tiles from accidentally falling off later on.
As you tile, allow for a small bit of space for grout between each tile piece. If you’re working with different sorts of mosaic items with different thicknesses, try to even everything out by adding a little more mortar beneath smaller and thinner items to create a smoother stepping stone surface.
6. Remove excess mortar.
Once you’ve laid your mosaic pieces, it’s time to clean up. Using a damp sponge, simply wipe away any excess mortar, but don’t remove too much mortar that you weaken your mosaic design. Also, be sure to properly wring out your sponge beforehand to avoid getting too much water on your design.
After cleaning up your mortar, allow your stepping stone to dry overnight in a warm, dry location.
7. Add grout.
When your mortar is fully cured, it’s time for grout. Grout comes in different colors, including white, gray, tan and black, so pick a mortar that complements the colors in your design. And, while you can mix your own grout, pre-mixed grouts are great for this project because they come in smaller quantities and are less messy to work with.
To apply your grout, plop a large dollop of grout on the middle of your design and smooth it across your stepping stone surface using a grout float, putty knife, or simple kitchen spatula.
As you go, try to press your grout into your mosaic lines firmly. This will help your mosaic adhere better and make the design look cleaner and more refined. You’ll want to make sure that all air pockets between mosaic pieces are properly filled in and then lightly coat the sides of your stone too with a fine layer of grout.
8. Tidy up your stepping stone.
Now, wet your sponge with water and wring it out so it is pretty dry. Then, carefully clean up any excess grout off the surface of your stepping stone, working in all directions and rinsing out your sponge frequently to keep it clean. You’ll want to use a firm touch, but not press so hard that you remove too much grout from between your tiles.
When you’re done, you’ll want your grout surface to be relatively flat and smooth. After your stone is cleaned up, allow it to cure for 24 to 48 hours in a warm, dry location.
Once your grout is dry, buff your stepping stone’s surface with a clean, soft cloth to remove any leftover grout residue.
9. Decorate!
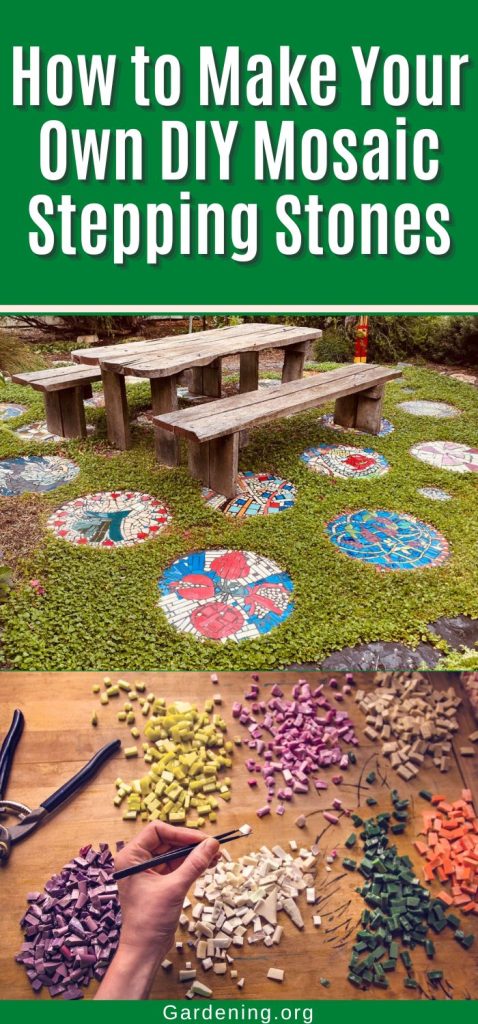
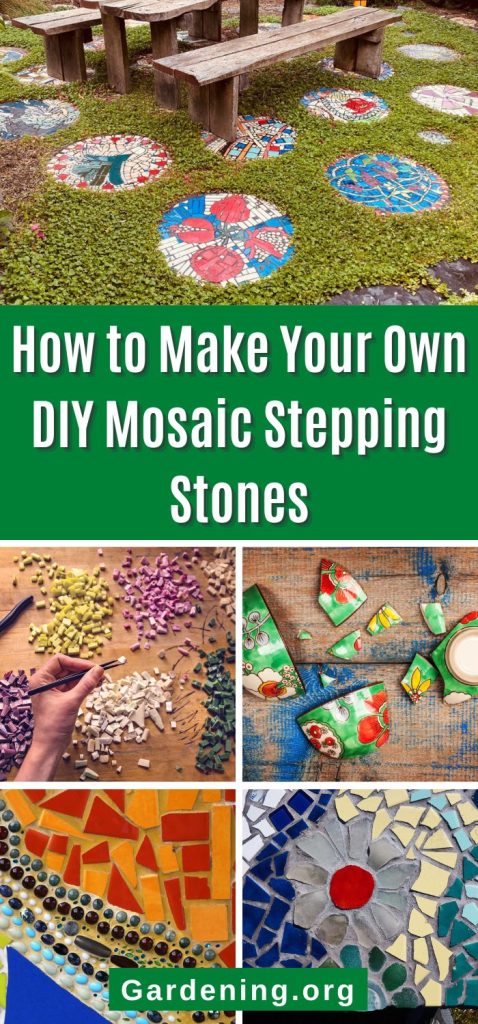
Now that you’ve made your very own stepping stone, it’s ready for your garden.
Your garden stepping stone can be placed anywhere you’d like. Use stepping stones to form new walkways throughout your backyard (an important element of weedless gardening), add your stepping stones beside a favorite garden feature or birdbath, or use them to elevate drab patios with an easy pop of color. Friends and family are sure to love your new garden décor!
A few helpful hints:
- Moisture and humidity can impact how your mortar and grout cures and how long the process takes. For best results, try to complete your project on days when humidity levels are low and temperatures are between 60 and 70°
- Despite our best efforts, sometimes mosaic tiles pop off from time to time. If any tiles get dislodged, simply reattach them with a small amount of tile adhesive.
Conclusion
Creating your own mosaic garden stepping stones is easy and fun for the whole family. The problem is, once you make one stone, the process is usually so enjoyable that you’ll want to make a lot more!
So, if you’re looking for a fun summer project for the kids or just a new way to liven up your garden beds, why not make a few stepping stones this season? They’ll add color and whimsy to your backyard and be a wonderful memento to cherish for years to come.


Clare Jillian
Pictures would have made this more interesting and informative. But good info