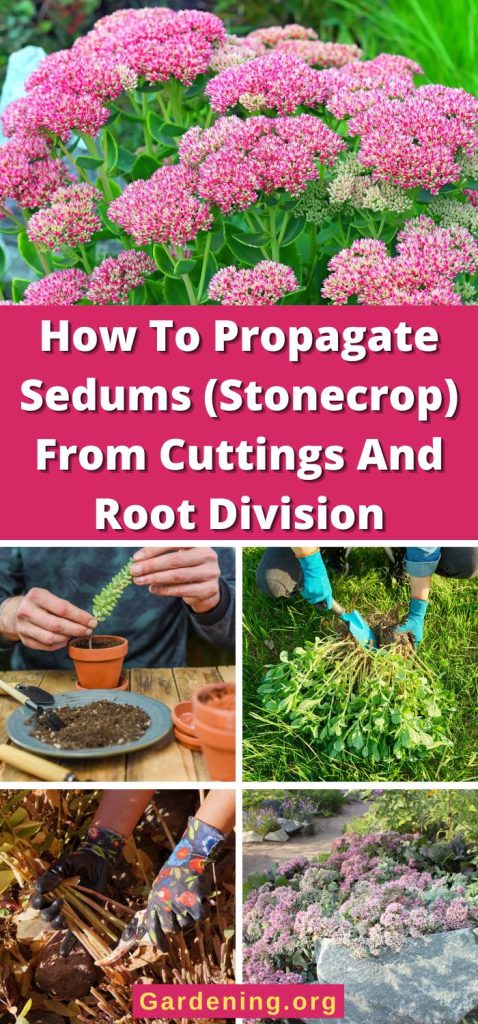

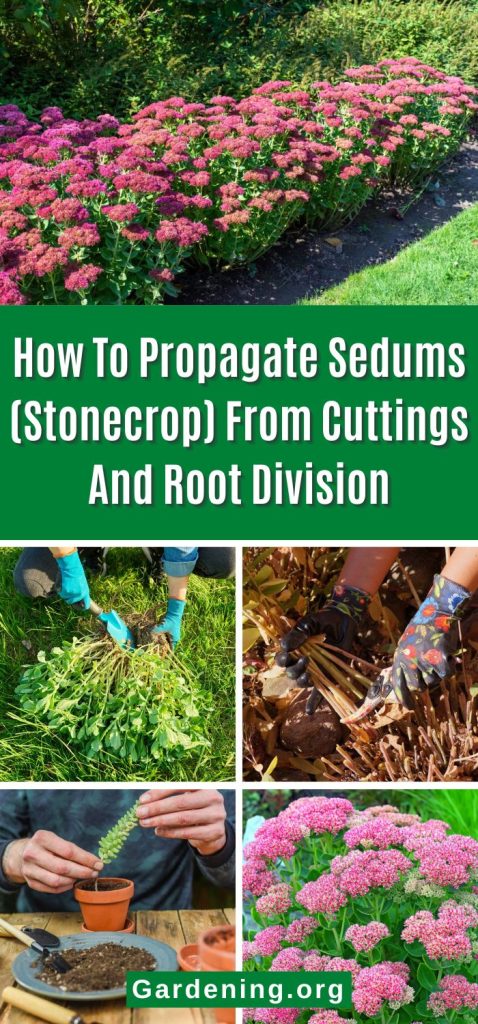
Sedums, also called stonecrops, are a group of succulent plants that are easy to care for and provide long-lasting interest. Their foliage and flowers come in hundreds of colors, shapes, and textures. Truly, there is a sedum to fit any garden design, and this low-maintenance plant deserves a spot in every garden.
Sedums are commonly divided into two categories: ground covers and uprights. We’ll be talking mostly about the upright sedums, but these methods also work for the ground cover varieties.
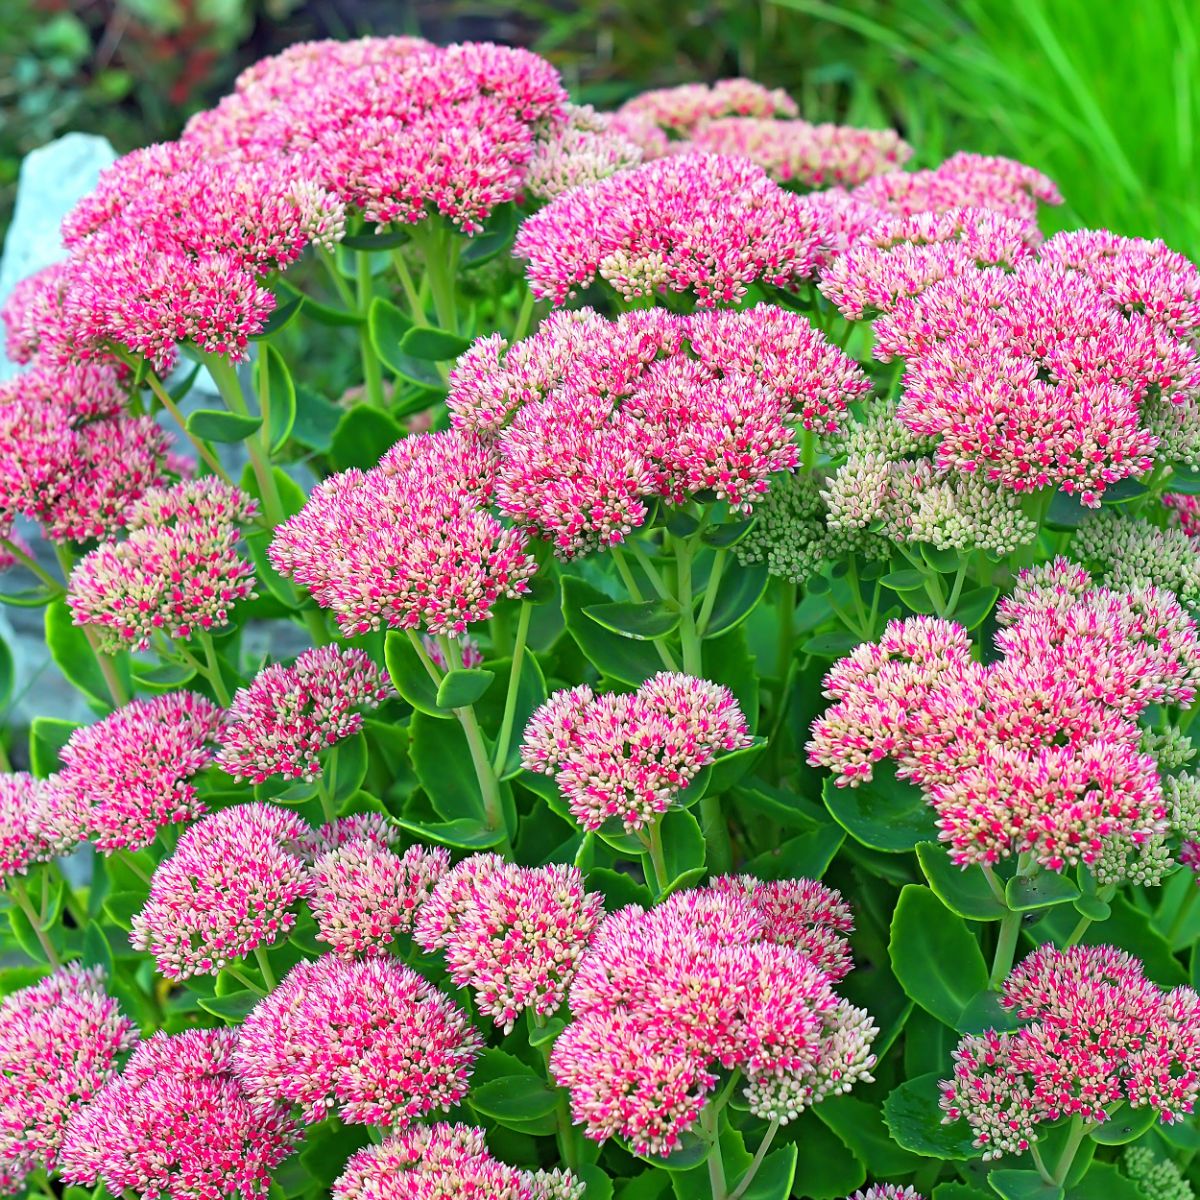
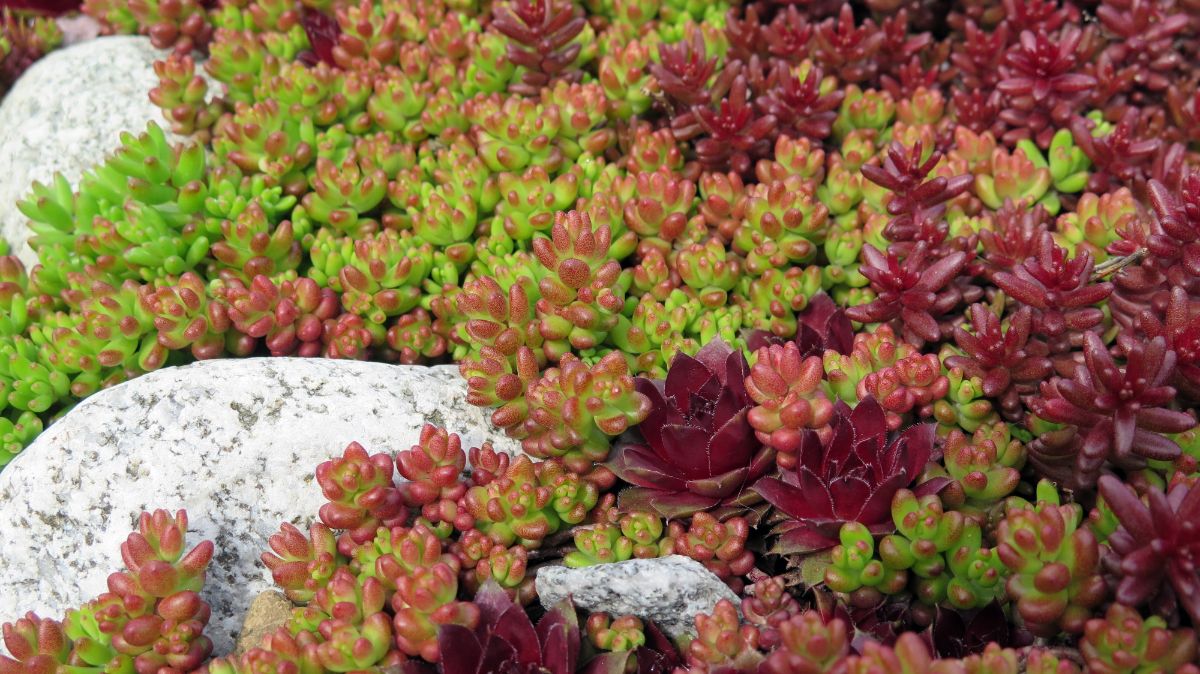
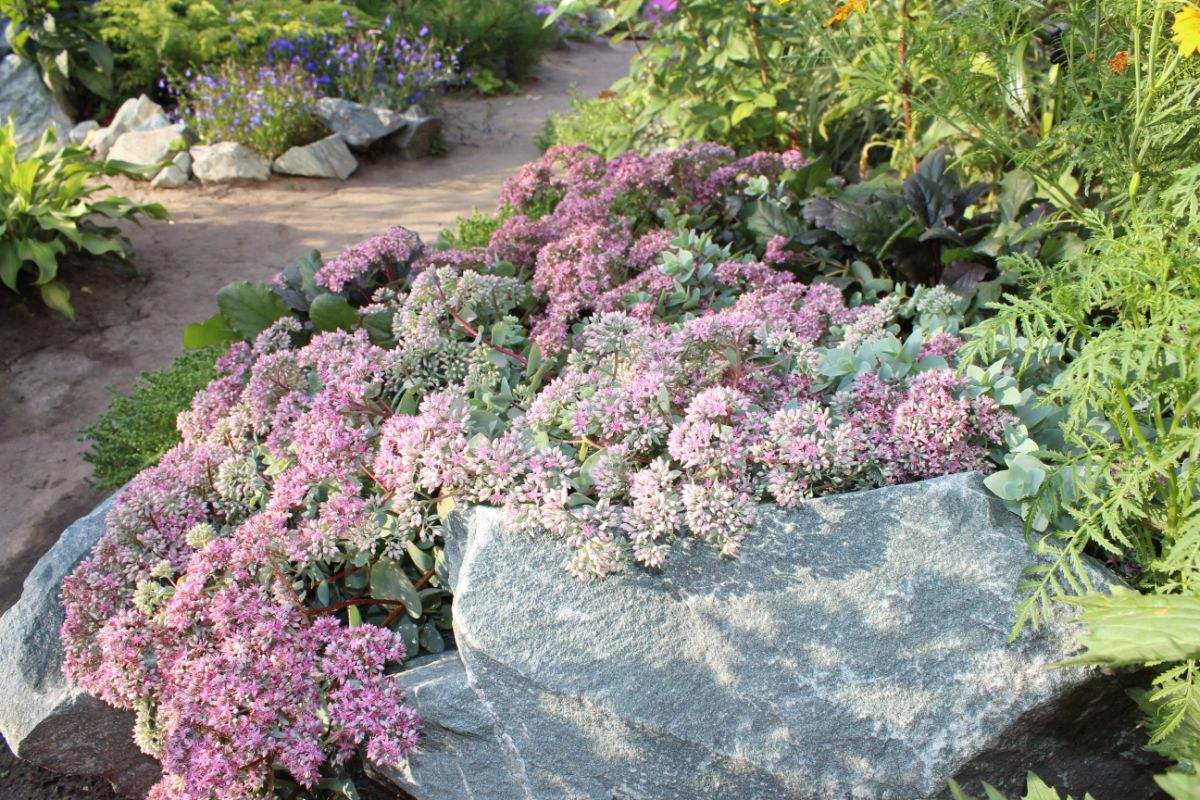
Upright sedums are not only easy to grow, but they also make a visual statement with their unique form and foliage. Sedums won’t blend in and get lost as just one more green plant in your garden.
Stonecrops are also attractive to butterflies and other pollinators. They are a great addition to rock gardens and dry landscaping areas and are drought tolerant. Many are cold hardy to zone 3.
Sedums are available in spring from garden centers and greenhouses. But if you are looking to plant a larger area or create a groundcover, buying that many plants can get expensive.
Experienced gardeners know that propagating your existing plants can save a lot of money and is a fun skill to learn and practice. I get a lot of satisfaction from seeing a plant in my garden that I propagated myself thriving and blooming.
Upright stonecrops will need to be split every few years to maintain the health and vigor of the plant, as well as the aesthetics. Learning how to divide your stonecrop properly will keep your garden looking good and give you free plants to expand or trade with other green-thumbed folks.
Jump to:
How to Grow Sedums from Cuttings
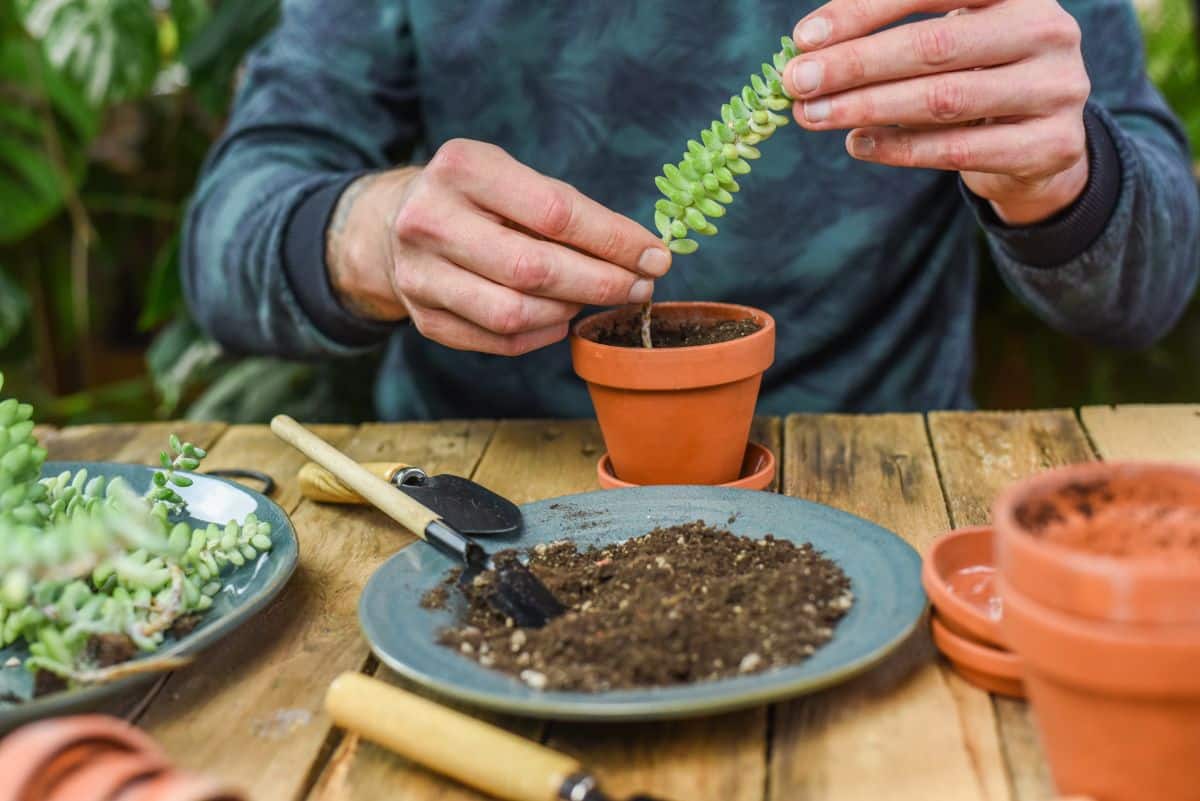
An easy way to propagate sedums, growing new plants from cuttings is simple and relatively quick. Plus, you can turn one sedum into a dozen or more in a season without harming the mother plant.
To Propagate Sedum Plants from Cuttings
- Select a piece of stem 3-4 inches long. It’s okay if it already has a bloom on it. If you have longer stems, that’s fine too. One longer piece can make several cuttings. All you need are leaf nodes.
- Trim it off with sharp scissors or secateurs just below a node. Trim it again on top of a node, leaving two or three nodes and sets of leaves in between.
- Gently remove all but the top set of leaves. If your sedum has loads of small, succulent leaves, remove leaves from the bottom inch or two and leave the rest. These stripped nodes are where roots will develop.
- If the remaining leaves are large, use scissors to snip them in half, reducing the amount of vegetation the new roots will have to support. If they are small, it is okay to leave them as is.
- Fill a container or pot with a well-moistened medium of your choice. Several cuttings can be rooted in one six-inch container.
- Moisten the end of the stem and dip it in a rooting hormone for an extra boost. General strength rooting hormone available at any garden center or home improvement store is acceptable.
Sedums are so willing to root that some will grow without this step, but it gives you a little better chance for success.
- Poke a hole with a pencil or stick and then carefully place the sedum cutting down into the hole to avoid brushing off the rooting hormone.
- Firm the medium around the stem and place it in a bright location out of direct sunlight.
- Keep the potting mix slightly moist but not soggy.
- In 2-3 weeks, you can check the progress of your new sedum’s roots by gently giving the stem a little tug. If there is resistance, your sedum cutting has grown roots. Transplant them into individual pots to grow out further, or gently tuck them straight into your garden.
If you grow them larger, remember to plant your new sedums out in time for them to develop their root system and settle in before the end of your growing season. Try to get them in the ground a month before freezing temperatures in your area.
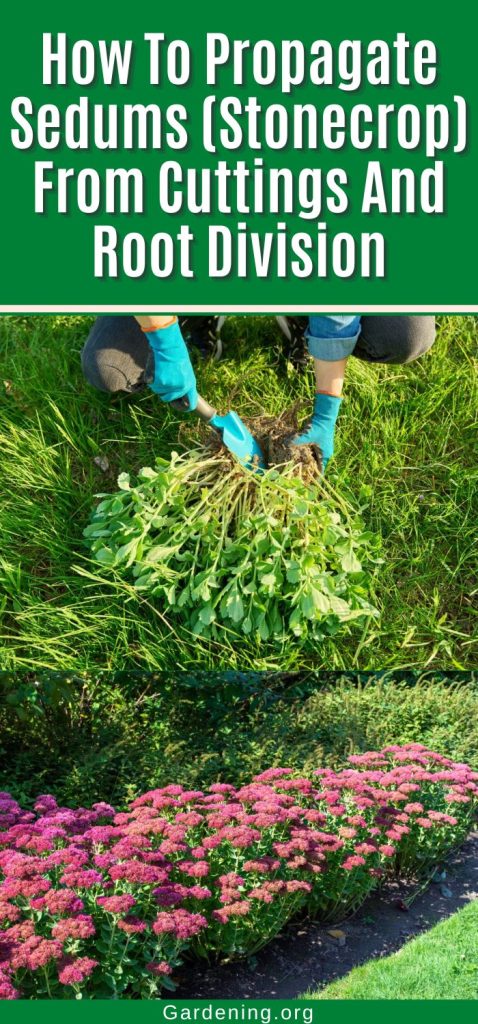
How to Propagate Sedum Plants by Division
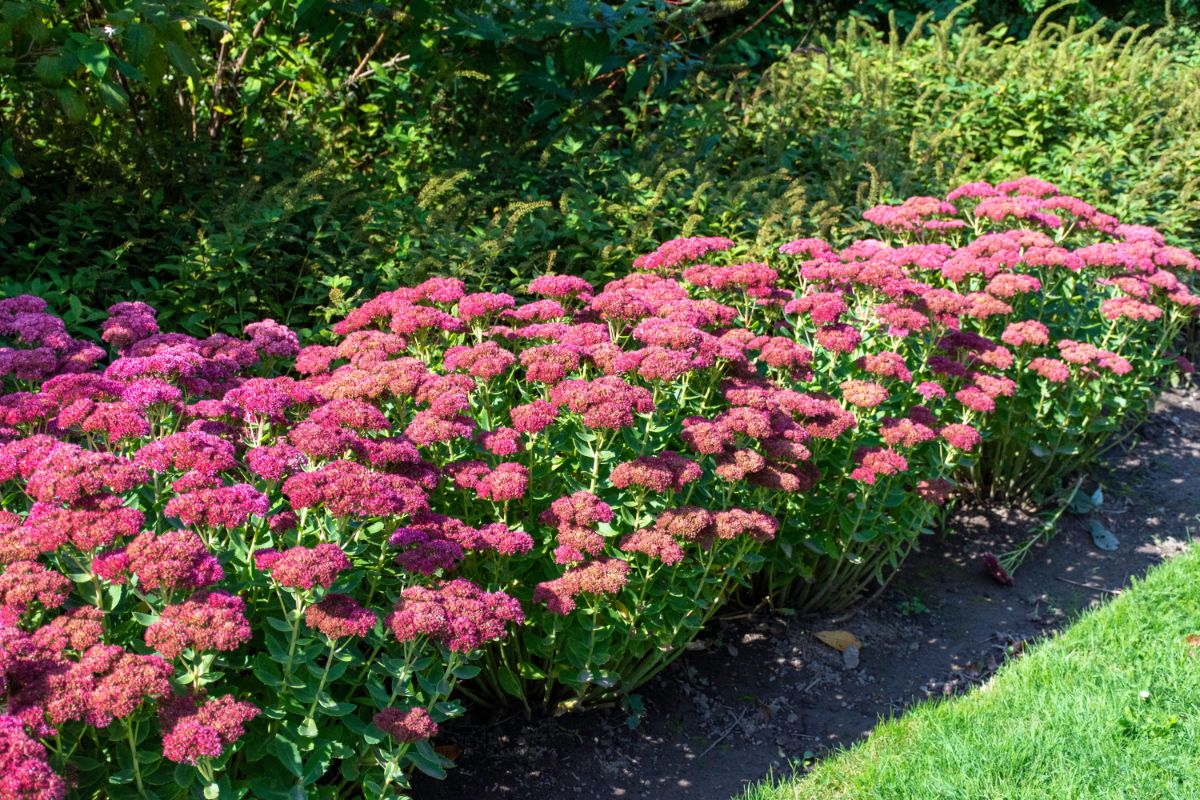
Upright varieties of sedum are easy to propagate by splitting the root ball. As these perennial plants mature, they often begin to flop over to the sides, leaving a hole in the center where they once were lush. This is a perfect sign that your sedum is ready to be divided.
Larger newly purchased plants can be divided before planting as well, kind of like making your own BOGO sale. Toward the middle of summer is a perfect time to peruse the clearance aisle at nurseries. Often, they will deeply discount any remaining perennials rather than holding them over the winter.
Late-season sedums can be a great buy. Even a ratty-looking one can provide cuttings and be divided to create multiple new, healthy plants at a fraction of the cost.
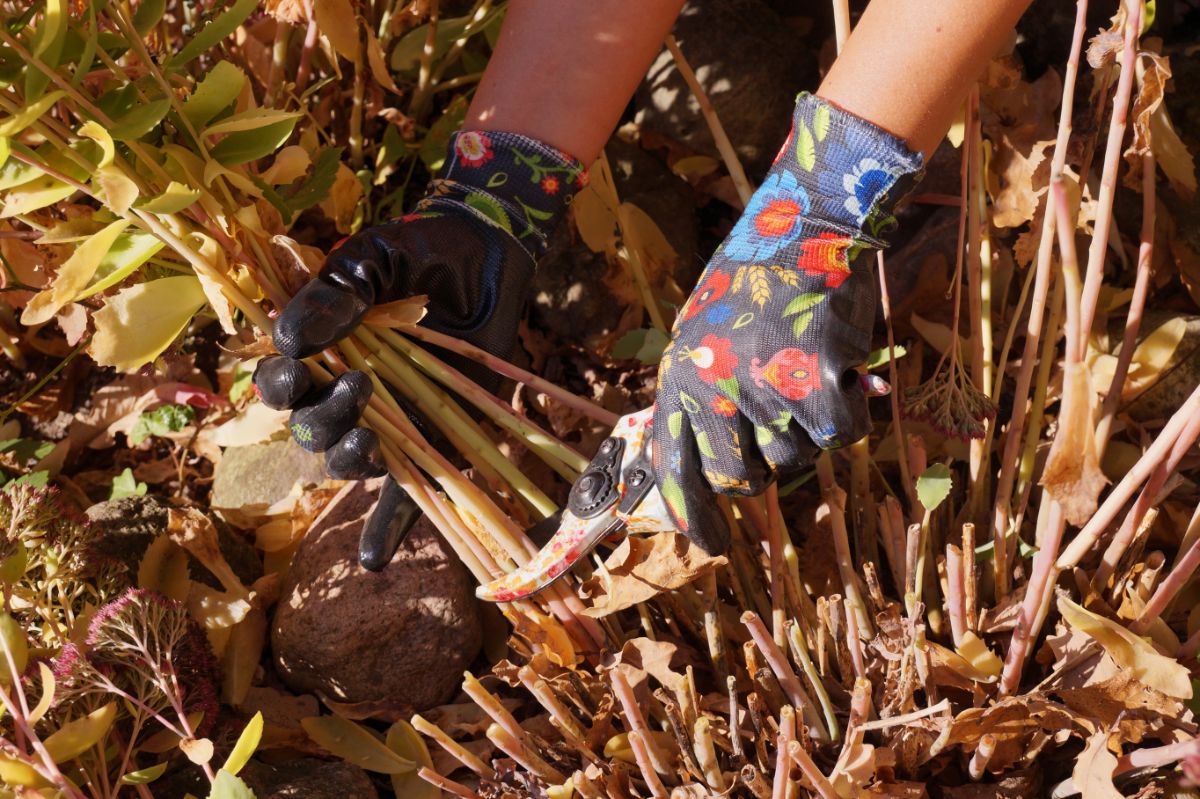
To divide your upright sedum:
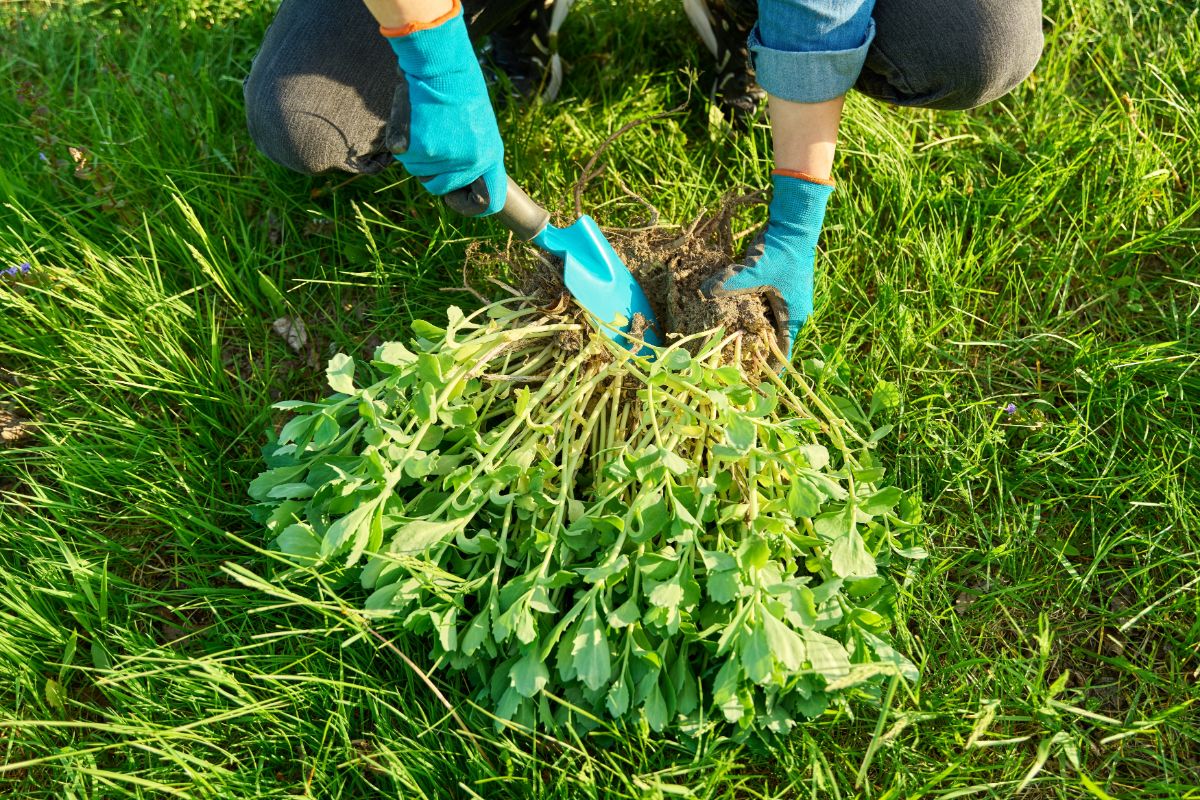
- Use a garden spade to dig around and loosen up the root ball, then lift the entire plant out of the ground.
- Using your hands, gently push and separate the stems. They will have natural breaks where they want to divide.
- Take a sharp spade or a garden knife and cut through the root mass, separating the plant into several new root and stem bunches. You may have to use some force.
- Tuck one new piece into the old spot and transplant the rest into new locations in your garden.
- Water in well and keep an eye on them for the next few weeks, ensuring they don’t completely dry out. Once re-established, they typically won’t need watering.
To divide groundcover type sedums:
- Use your garden spade to loosen and pull up a few stem pieces. They will usually come with some roots. No need to dig up the entire plant.
- Tuck these new little individuals into spots where you want to help the groundcover spread. They can also be planted in pots to grow and be transplanted later when they are larger.
That’s how easy splitting sedums can be. A large plant might be split into four or even six new plants. If you end up with broken stems and smaller root sections when dividing, use those for cuttings or plant them. They will likely grow as well. Sedums are so cooperative they will make you feel like a propagation master.
Tips for Growing Sedums
Pruning Sedums
Sedums in colder areas often won’t need to be pruned back, as the foliage will die back in fall. However, if your zone is not as frigid as mine, you may do a ‘cleanup’ pruning in late winter before the new growth begins.
Sedums grown in rich, moist soil may get large enough to flop over under the weight of their heavy flower heads. You can solve that problem by pruning the plant halfway back in late spring or early summer, causing the plant to be bushier but shorter. Flowering will be delayed a few weeks.
Groundcover-type sedums that are getting a bit out of their assigned areas can simply be dug up with a hand trowel and replanted somewhere else or nipped with shears.
Soil, Sunlight, and Fertilizer Needs of Sedums
Sedum likes locations with full sun. Upright varieties will tolerate partial shade but may produce less vibrant colors. Six hours per day will give you plenty of color, growth, and blooms.
This plant likes to suffer a little. Don’t give it too much water and compost. Let it stay a bit on the dry side in less fertile soil, and it will be fine. Save your compost for other plants. No supplemental fertilizer is required.
Sedums are easy to grow and hard to mess up. They take abuse and flower all summer and fall. Have you tried propagating your sedums? Drop a comment below and tell us how it went.


Marilyn B Terry
Thanks for the information about sedums. I will try to propagate some in pots this autum/winter.