Vibrant green, leafy, aromatic, and tasty. It is easy to grow, tolerant of many growing conditions, perfect for containers, and a bountiful producer. We’re describing mint!
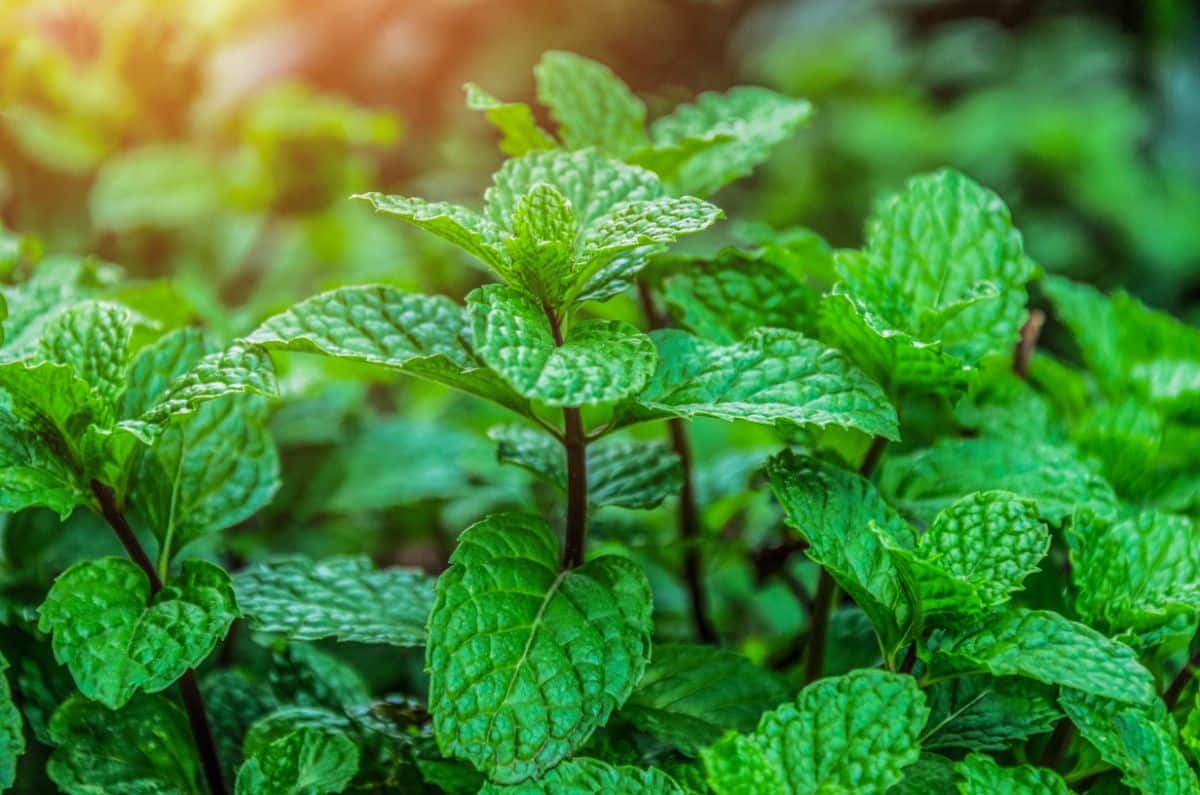
Mint is perfect for people who want to experience growing their own herbs for the kitchen but don’t have a lot of space or are new to gardening. It is quick to grow and can be harvested several times in the growing season or snipped a few times a week as the need arises.
For those with limited space, a few mint plants in containers will provide plenty of leaves for Friday night cocktails, a strawberry-mint-basil salad, making mint sugar, or adding to your smoothies.
Larger plots of mint can provide delicious and fragrant mint for use in ice cream, homemade cosmetics, jellies, syrups, and teas.
Jump to:
Is mint invasive?
You may have heard that mint is invasive, which is not technically accurate. Mint plants belong to the genus Mentha, which is native to all continents except Antarctica. What we should say is that mint may spread vigorously throughout your garden and will invade places where you didn’t want it. To prevent this, gardeners often plant mint in a large pot and then plant the pot in the ground with the edge sticking out.
Why propagate mint?

Propagating mint is relatively easy, but if it spreads so readily, why learn to propagate it at all?
Like many other herbs, mint plants are usually only available at garden centers in late spring and early summer. If you didn’t grab yours in time and want more delicious mint, you’ll have to propagate it. If yours had an oops while you were on vacation, you’ll need to find a friend with some mint to help out or start some from seed.
Mint is available in dozens of different varieties. Knowing how to propagate mint means you can snag a piece from your friend’s patch if they have a fun one, like chocolate mint, apple mint, or Moroccan mint, that you want to try.
Dry your extra mint
Growing mint means you may have too much mint to use fresh. But so many uses for dried mint exist that you may find yourself hoping your patch spreads.
Air drying is the gentlest way to preserve all your extra mint harvest. Mint can be dried by simply harvesting whole stems and tying a string around a bunch, then hanging the bunches upside down in the kitchen by a string.
When the bundles are dry, lay out a sheet of wax paper or newspaper and rub them together until all the leaves have fallen off. Use the paper to make a funnel and pour them into a container.
Get hooked on homemade peppermint ice cream–which really can only be made by mint growers due to the enormous amount of peppermint needed, about two cups of packed leaves–and you’ll be establishing patches anywhere there is space.
Ways to Propagate Mint
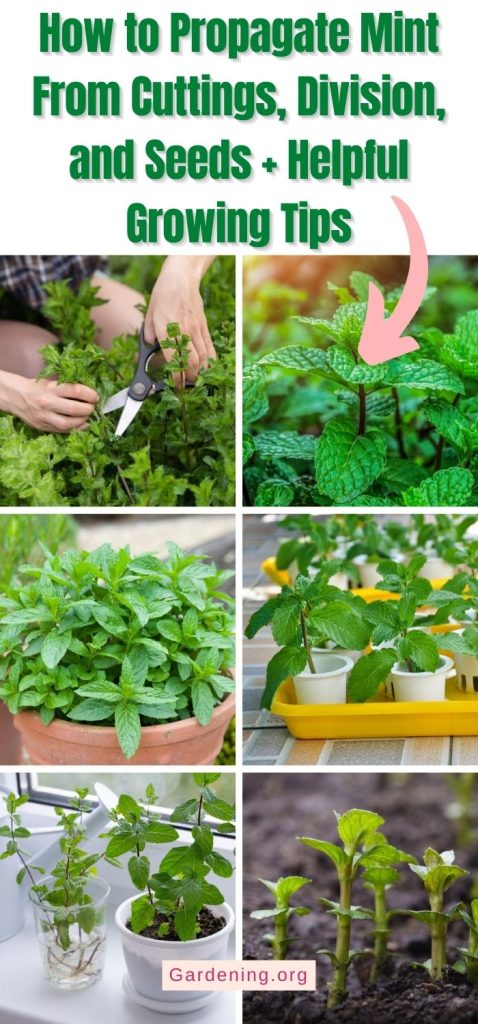
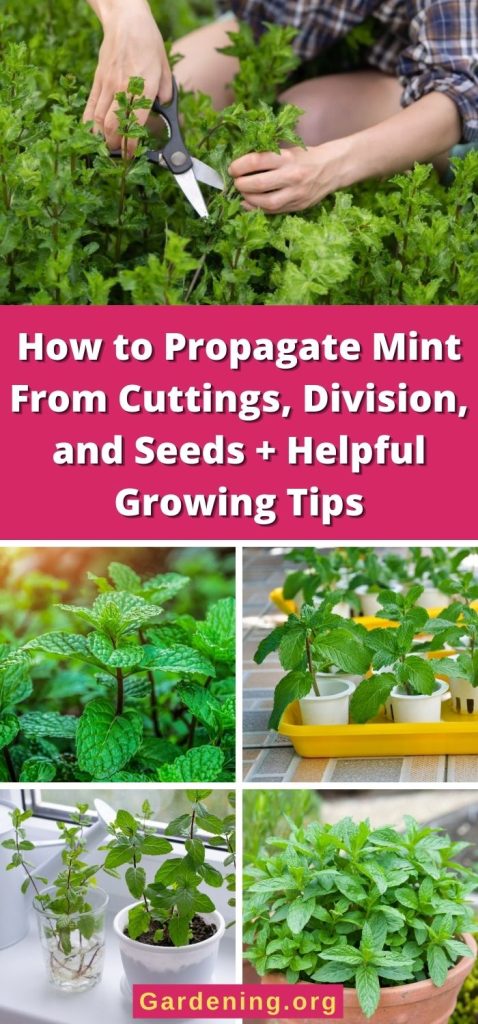
Mint will readily grow roots from cuttings. For best results, take cuttings from new growth in early summer when the plant is fully vigorous and has yet to bloom. However, mint grows so readily that you can try it at any time of the year.
How to Grow Mint from Cuttings
Taking a Cutting
- Cut a stem about 4-5 inches long.
- Gently remove the leaves off the bottom two inches of the stem. Use the leaves in the kitchen.
- Proceed to the directions below for rooting in water or in another medium.
If rooting in water
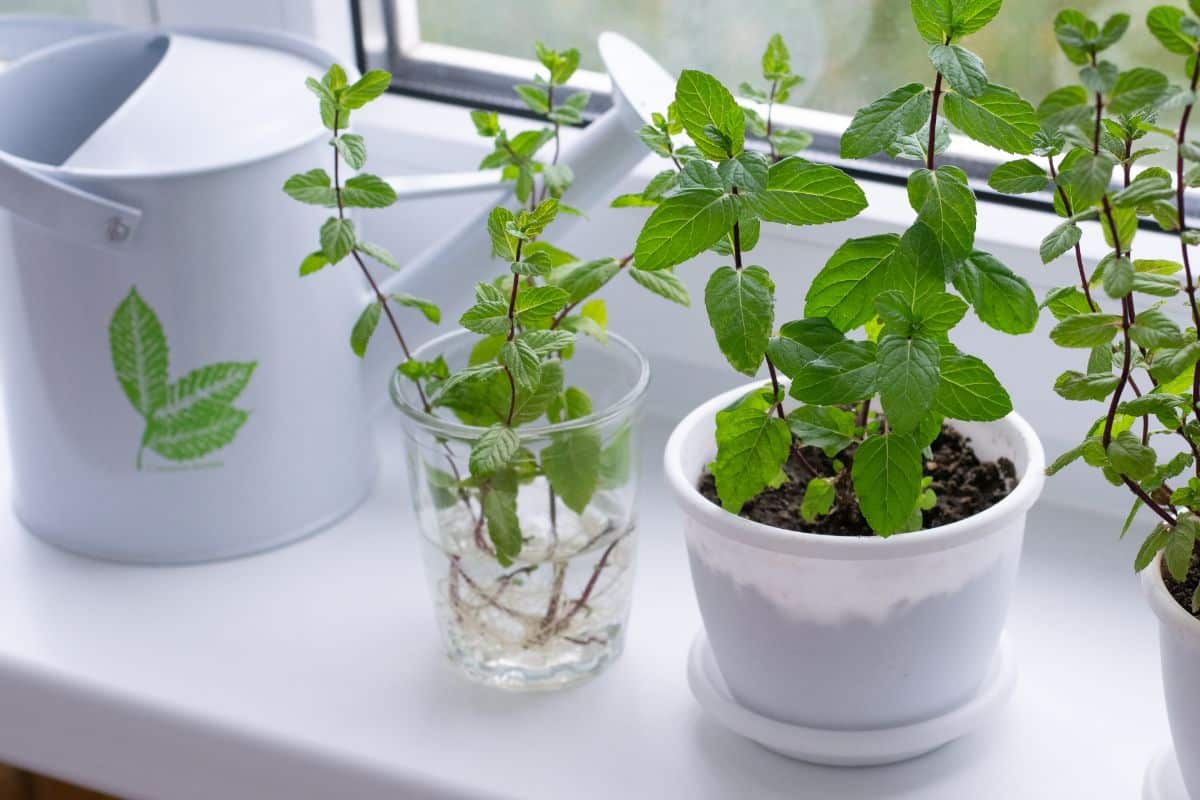
- Place the cuttings in a clear-walled container filled with clean, non-chlorinated water.
Tip: If your tap water is treated, you may need to use another source or let your water sit on the counter for 24-48 hours to allow the chlorine to dissipate. You can also boil it for 15 minutes and let it cool to room temperature.
- Change the water every 3-4 days to keep it fresh, and keep the jar in a brightly lit and warm spot out of direct sunlight.
- Mint will root quickly in water. Little white roots may develop as soon as 3-4 days.
- Once a nice batch of roots has grown, transplant your cuttings to small pots. Four-inch rounds or squares will work fine, but you can plant them directly into their forever pot. Pre-moisten the potting mix first.
If you plan on planting them outside, let them get used to their new soil environment for a couple of weeks, and don’t forget to harden them off.
If rooting in soil or another medium
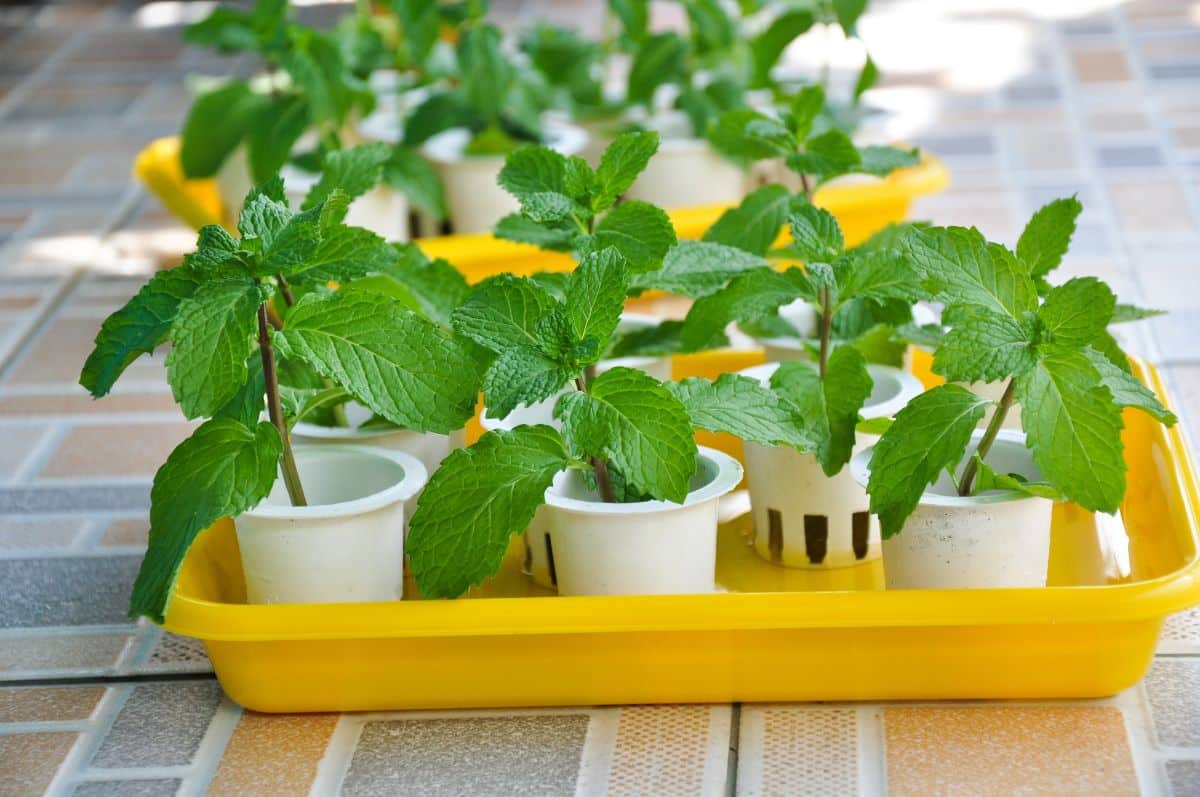
- Any small container will work as long as it is deep enough. I have rooted mint cuttings in old yogurt cups, milk cartons, you name it. Fill your container with pre-moistened potting soil. Ensure there is adequate drainage.
- Poke a hole into the medium for your cutting. A stick or pencil will work fine. Don’t push the cutting all the way to the bottom of the container.
- Optionally, moisten the end of the stem and dip it in a rooting hormone. Mint is willing to root anyway, but your success rate will be higher if you give it some help.
- Place or ‘stick’ your cuttings. Firm the medium around the stem and place it in a bright location out of direct sunlight.
- In 2-3 weeks, you can check the progress of your new plants’ roots by gently giving the stem a little tug. If there is resistance, your mint cutting has grown roots and is ready for potting up.
You may see roots peeking out the drainage holes if they are in four packs or other trays. New growth is also a good indicator that your cuttings are ready to move on.
How to Grow Mint from Seed
Mint can be grown from seed, which may be your only option if you miss the spring plant sales. Many varieties are available, and while not as easy as basil, they will sprout and grow just fine.
Start about six weeks before your last frost date. Mint plants are somewhat frost tolerant, but young plants are less hardy than established ones. My mature mint plants are still green and growing this fall, and we’ve had temperatures down to 22℉.
To start mint from seed:
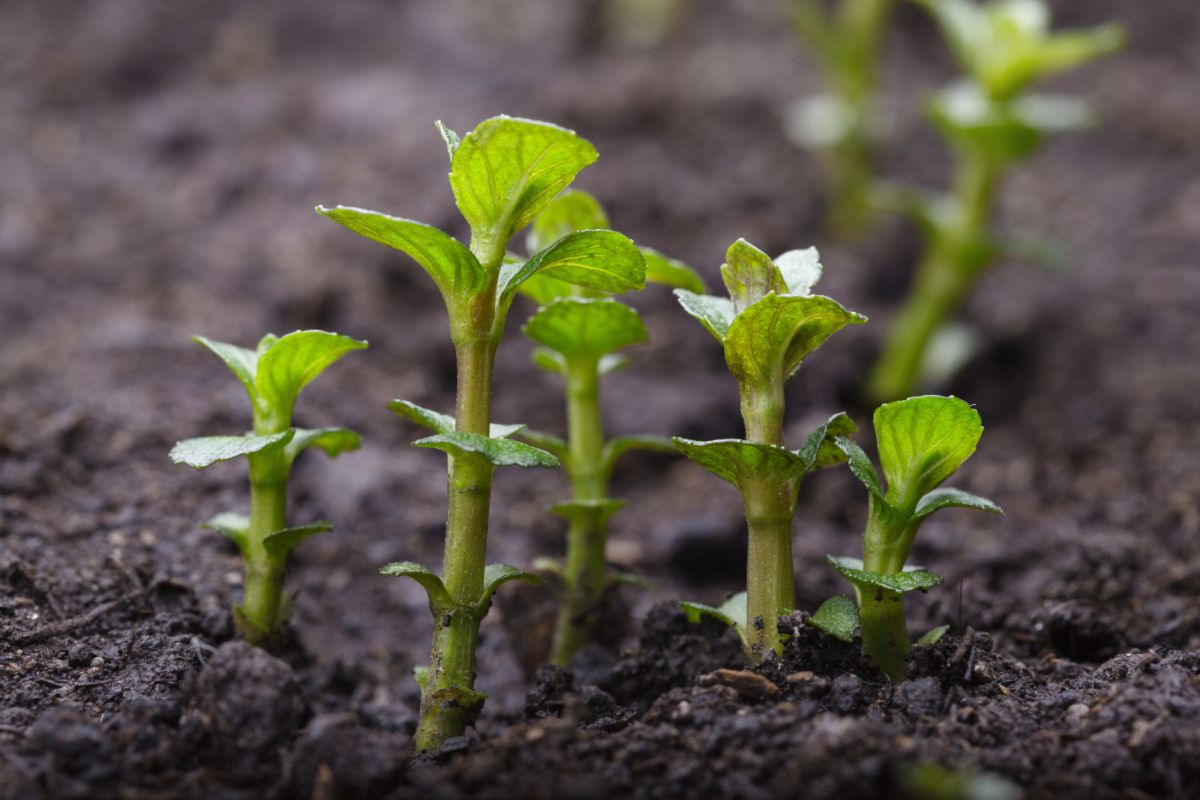
- Prepare your seed starting medium and trays. Any potting or seed-starting mix will work. Fill the tray or cell packs with well-moistened soil. Mint starts well in soil blocks too.
- Mint seeds should be surface sown. You can make a shallow depression and drop the seed into the hole, but don’t cover it up. Sow 2-3 seeds per unit, then thin to one per unit after germinating.
- Cover with a humidity dome or plastic wrap to keep the surface moist.
- Place them under lights or in a sunny, protected, warm location outside. They should sprout in a week to ten days.
- They are ready to move into larger containers when they have a set of true leaves. Plant outside in the ground when they are about 3-4 inches tall and have good leaf growth.
Dividing Mint Plants
For an established plant, the division is the almost foolproof way to propagate more plants, and the fastest.
Mint is a perennial in USDA zones 4-9. If you gave it a spot in the garden with room to run unsupervised, it might grow much larger than you want. Grab a spade and move some to a new location, or pot it up for a gift.
Mint plants you purchased from a nursery can also be divided if they are big enough, giving you two or three plants for the price of one.
If your mint is in a container
- Remove the plant and set the container aside.
- Grab the rootball with your hands and pry it apart, letting it ‘break’ where it will. Keep a good hunk of foliage and stems with each root ball. You can usually separate mint plant roots down to the size of coffee cups as long as there are several stems with foliage for each.
- Replant each piece in a new pot with potting soil and water in well.
For garden bed mint
- Give it a haircut to make it easy to see where you are working, and use this mint in the kitchen.
- Using a spade or trowel, separate a chunk of mint stems + roots and lift it free.
- Plant this new mint ball in a pot or other spot in the garden.
It’s that easy. Mint is very cooperative. You can also propagate mint by snipping off a runner and planting that horizontally in moist soil or by layering a runner and then separating it later. Mint wants to help you propagate it.
Growing Mint in a Container
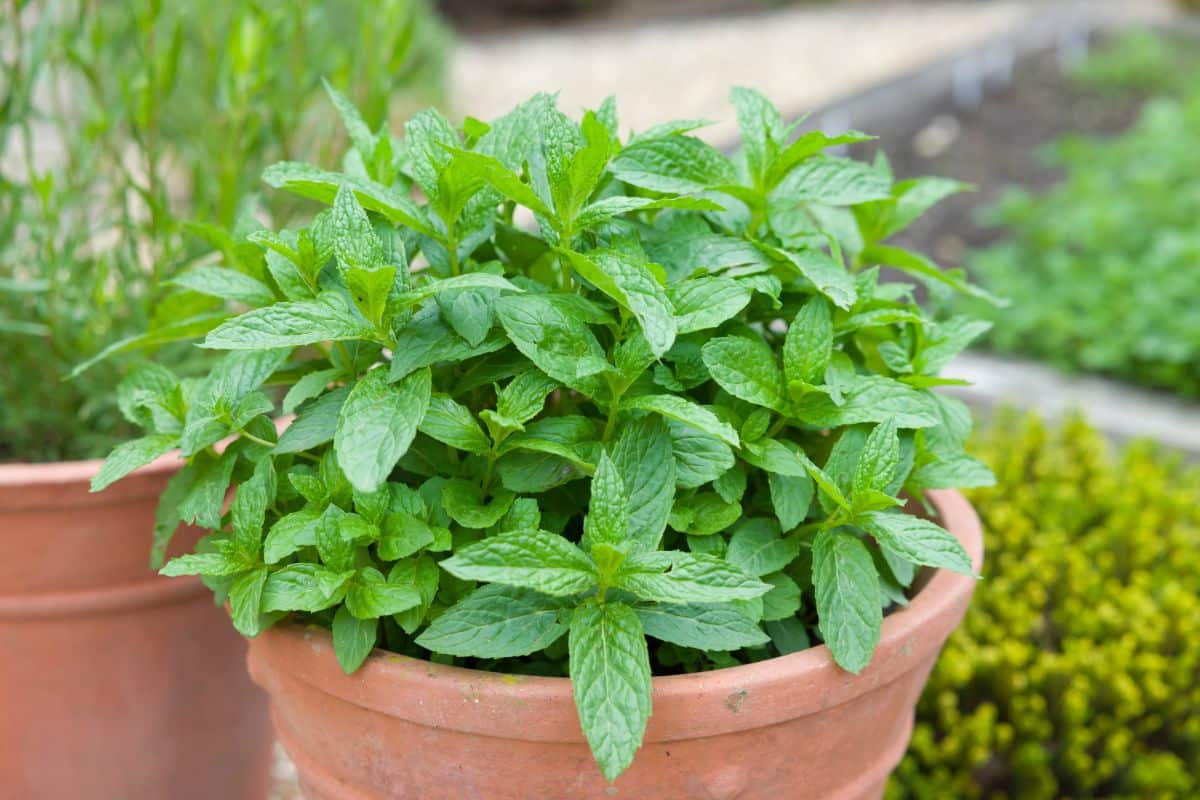
Mint is an excellent potted plant. Not only is it fragrant and tasty, but it also makes a lovely foliage display. Two mint plants in a large container will fill out nicely by midsummer.
Multiple varieties can be planted in a single large pot, but some grow more rapidly than others. Plant varieties in separate containers until you get a feel for their growth habits.
Always choose a container with adequate drainage. Fill it with a good potting mix, and set it in a spot with partial to full sun.
If your deck or balcony receives powerful afternoon sun, put it nearer the wall or give it a bit of shade for those hotter times of the day. If you find it constantly wilty or scorched, find a place with some afternoon protection.
Tips for Growing Mint
Mint is a perennial in USDA zones 4 through 9. It likes to spread and may do so vigorously in a suitable site with sun, moisture, and fertile soil. Even poorer sites may be victimized by the spreading tendencies of mint.
However, mint’s love of wandering makes it an excellent ground cover if you have an area you don’t mind being a fragrant mint field. Follow the dividing instructions above to help it capture the area more quickly.
To grow loads of tasty fresh mint
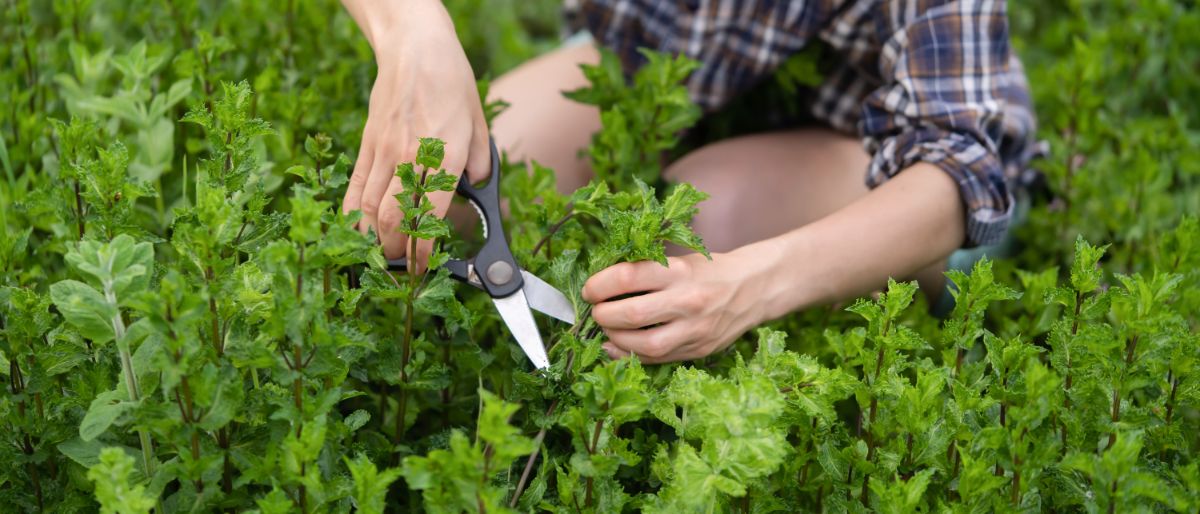
- Pinch young plants. Bushy mint plants covered with foliage are the goal, and pinching your little mint plants when they are a few inches tall will cause them to branch out and fill in.
- Harvest often. Mint growing in good soil or potting mix and ample sun will continue to grow until frost. Give your mint a haircut every few weeks to keep that growth supple and tasty. Keep it from flowering, as that may reduce the mint flavor.
- Water it deeply but less frequently. Mint prefers one large drink to several small ones. If in a container, it may need watering daily during the summer heat to keep it from wilting. Watering once every several days or regular rainfall in a garden bed should be sufficient if your soil has enough organic matter to hold water.
Got a recipe, cocktail, or funny story? Share your favorite way to use mint in the comments below.



Linda
Thank you so much for the useful information.