*This article primarily discusses how to propagate the American Elderberry, Sambucus Canadensis. Techniques discussed may work for other varieties, such as the Blue Elderberry aka Mexican Elderberry, Sambucus Cerulea, though these varieties are often more difficult to root.
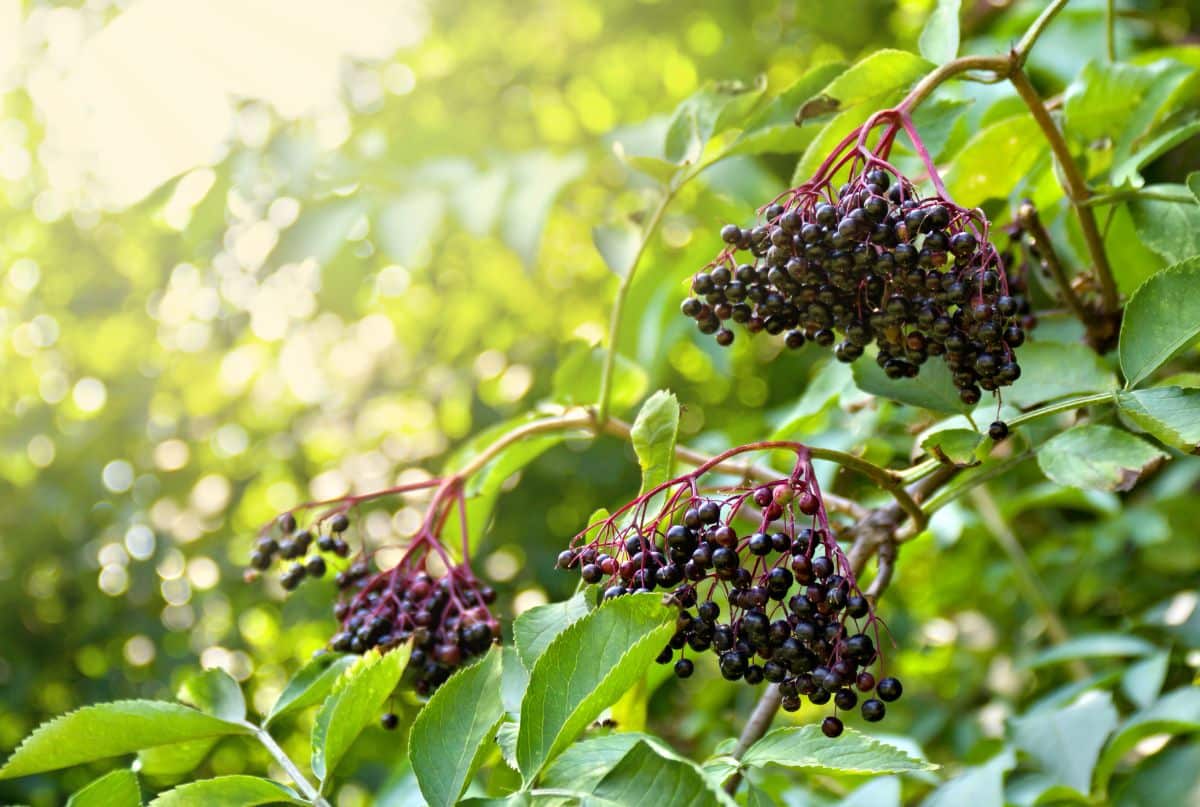
Elderberries are a rare treat. They are seldom sold in stores, and picking them in the wild, if you have a place to do so, can be a battle between yourself, the animals, and other berry pickers.
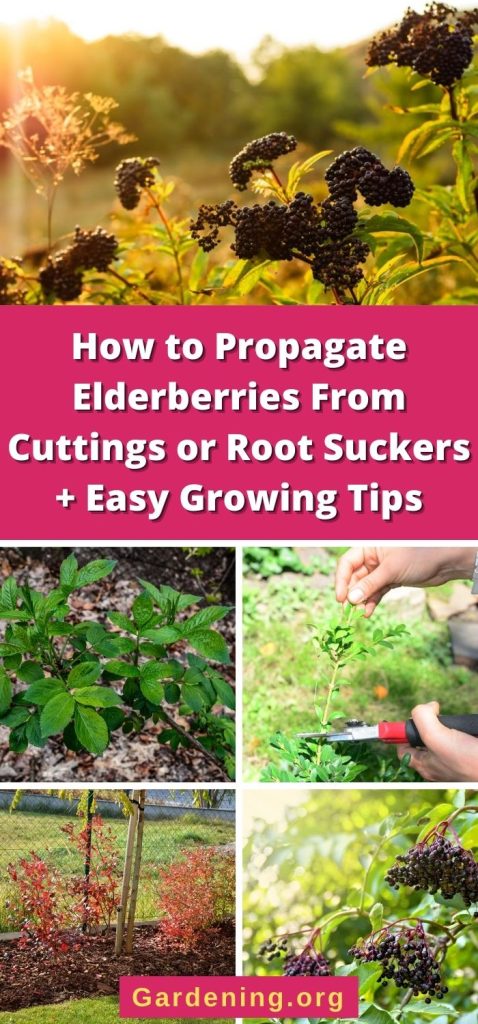
Fortunately for elderberry fans, they are easy to cultivate. Many farmsteads in the Midwest and New England have an ancient elderberry bush or patch around the corner of the shed, behind the garage, or along the back of the yard. I often can identify an old homestead site by the presence of elderberry bushes, even though the buildings are long gone.
Perfect in pies, elderberries are also delicious as jams, jellies, and sauces. The berries make a fantastic dark red wine. I remember my mother making elderberry syrup when I was a child and how good it was on a fat stack of golden pancakes.
Harvested pieces of hardwood are popular in crafts. The wood is hard and polishes easily, but the center is soft, pithy, and easily removed to make hollow tubes for whistles, pipes, pencils, and anything else your imagination can invent.
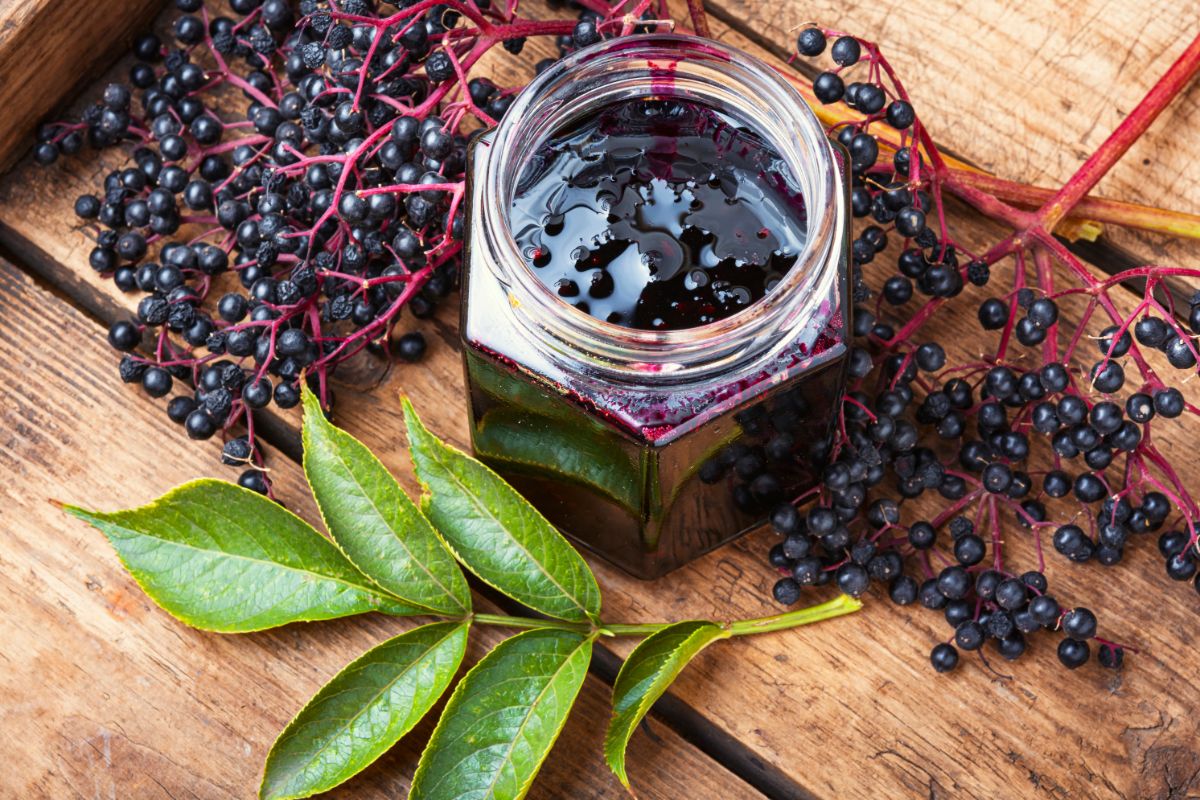
Elderberry flowers are used to make cordials and liqueurs, as well as jellies, elderberry tea, and are even fried as fritters.
So how do you get your hands on these versatile and delicious plants?
Elderberries can be ordered from online nurseries as containerized stock or bare-root plants. However, they are pretty expensive and sell out quickly every spring. They can be difficult to find in local garden centers, though some do carry them.
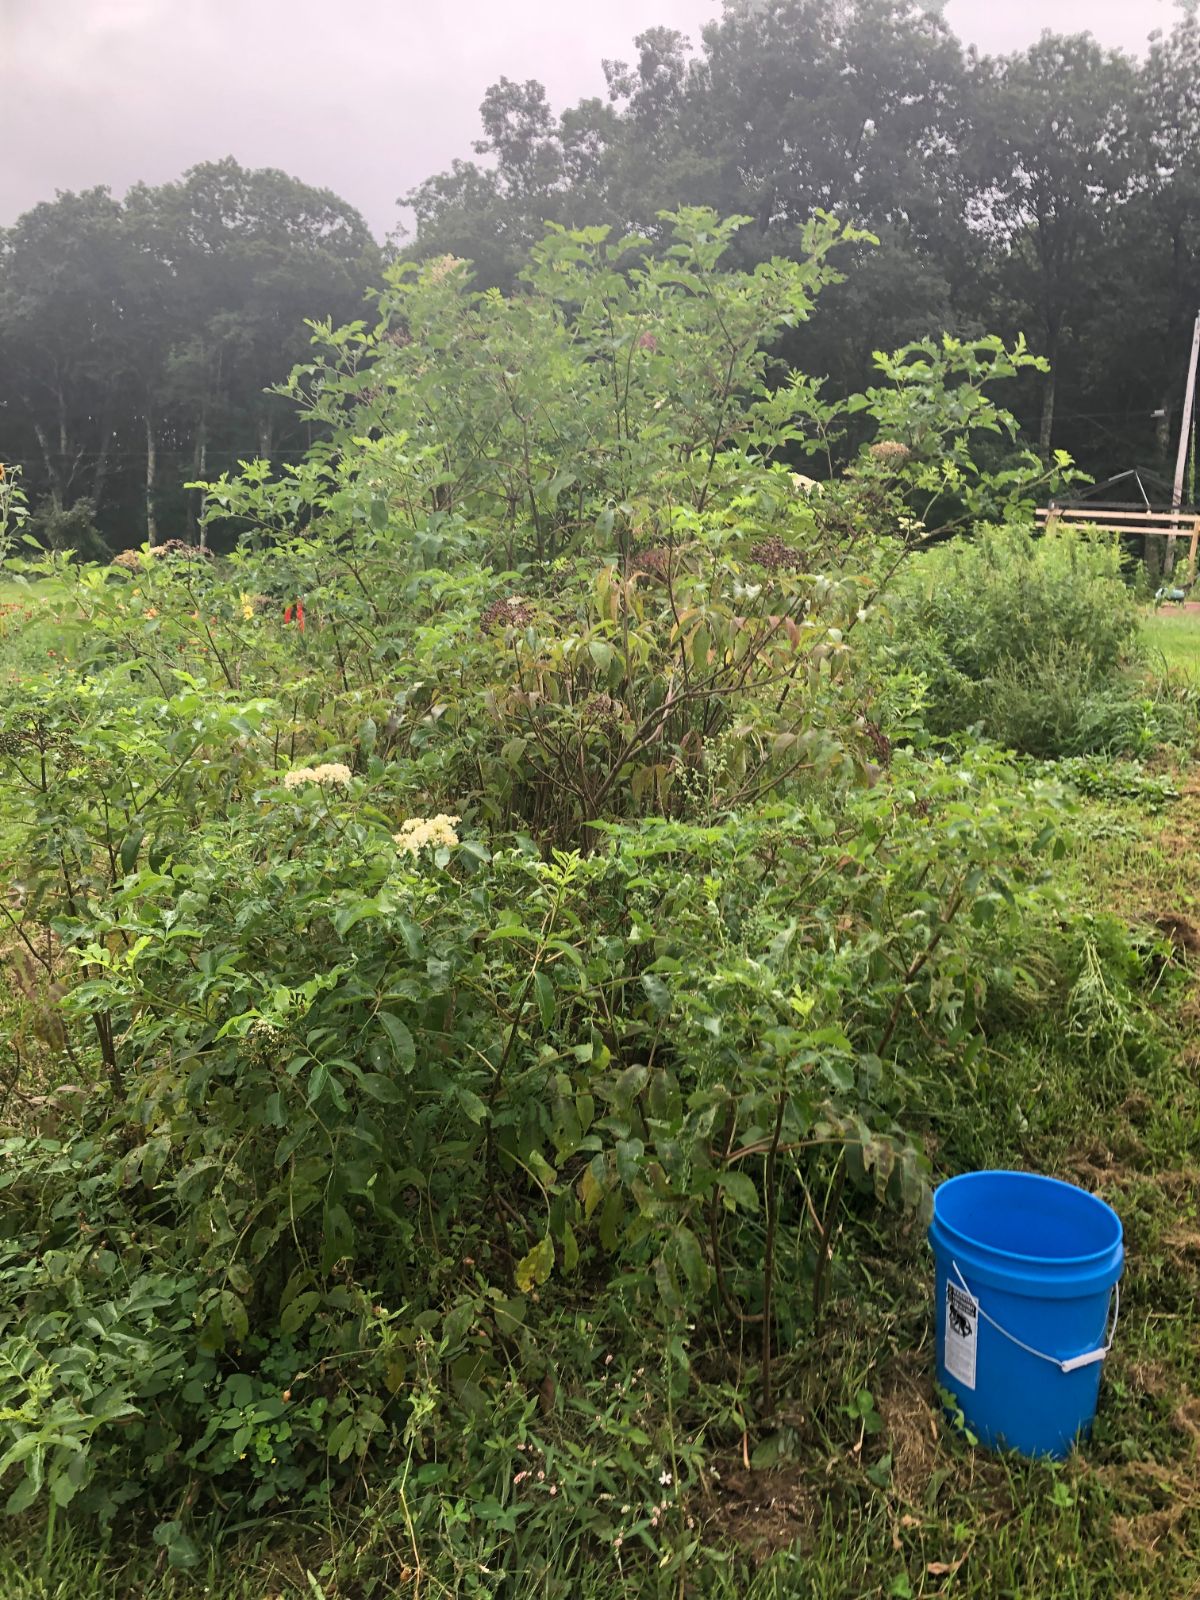
Read on to learn how to start a larger elderberry patch without breaking the bank. They can be successfully propagated to expand your current patch or to create a new patch from Grandma’s old plants.
Tip: While wild elderberries are every bit as delicious, consider starting your propagating and cultivation from a quality nursery-purchased plant. The newer cultivars are tidier in form and have been bred to make the berries grow in easy-to-harvest clusters.
Jump to:
Ways to Propagate Elderberries
Elderberries are commonly propagated by cuttings. When propagating these plants, you can use either hardwood cuttings or softwood cuttings. Both will work but occur at different times of the year.
How To Grow Elderberries From Hardwood Cuttings
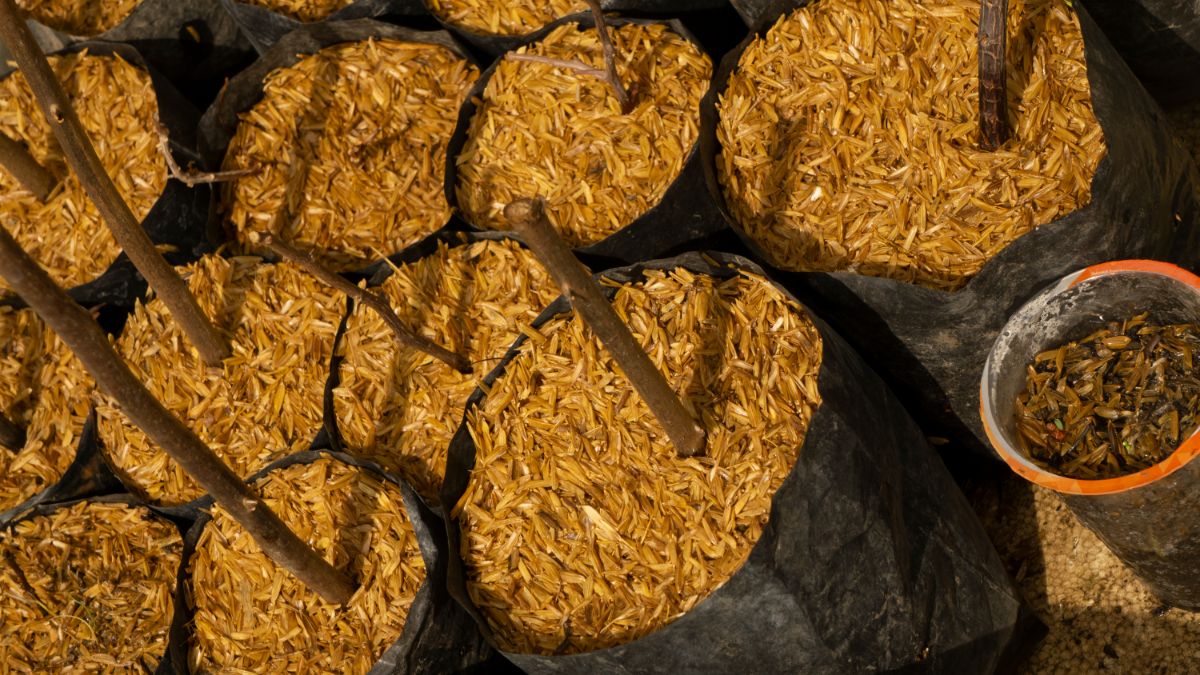
- Take cuttings during the dormant season for your location, but well before spring bud break.
- Select a piece of stem about six inches long, with several nodes. It should be from first-year growth and larger than a pencil in diameter. The hardwood cuttings should still be a bit flexible.
- Prepare your growing medium and moisten it. Tamp it down firmly. A medium-sized pot can hold multiple elderberry cuttings.
- Use a small stick or pencil to make holes in the medium for planting your cuttings.
- Moisten the end of your cuttings and dust them with powdered rooting hormone.
- “Plant” your cuttings in the prepared holes. Make sure to firm up the soil around them, so there are no air pockets.
- Place the container in a warm spot with indirect light. Keep the soil moist, but not wet.
- Check-in 2-3 months to see if they have rooted by giving them a gentle tug.
Tip: hardwood cuttings of elderberries may be easier to propagate because they are not as prone to drying out before developing roots.
How To Grow A New Elderberry Plant By Taking A Softwood Cutting
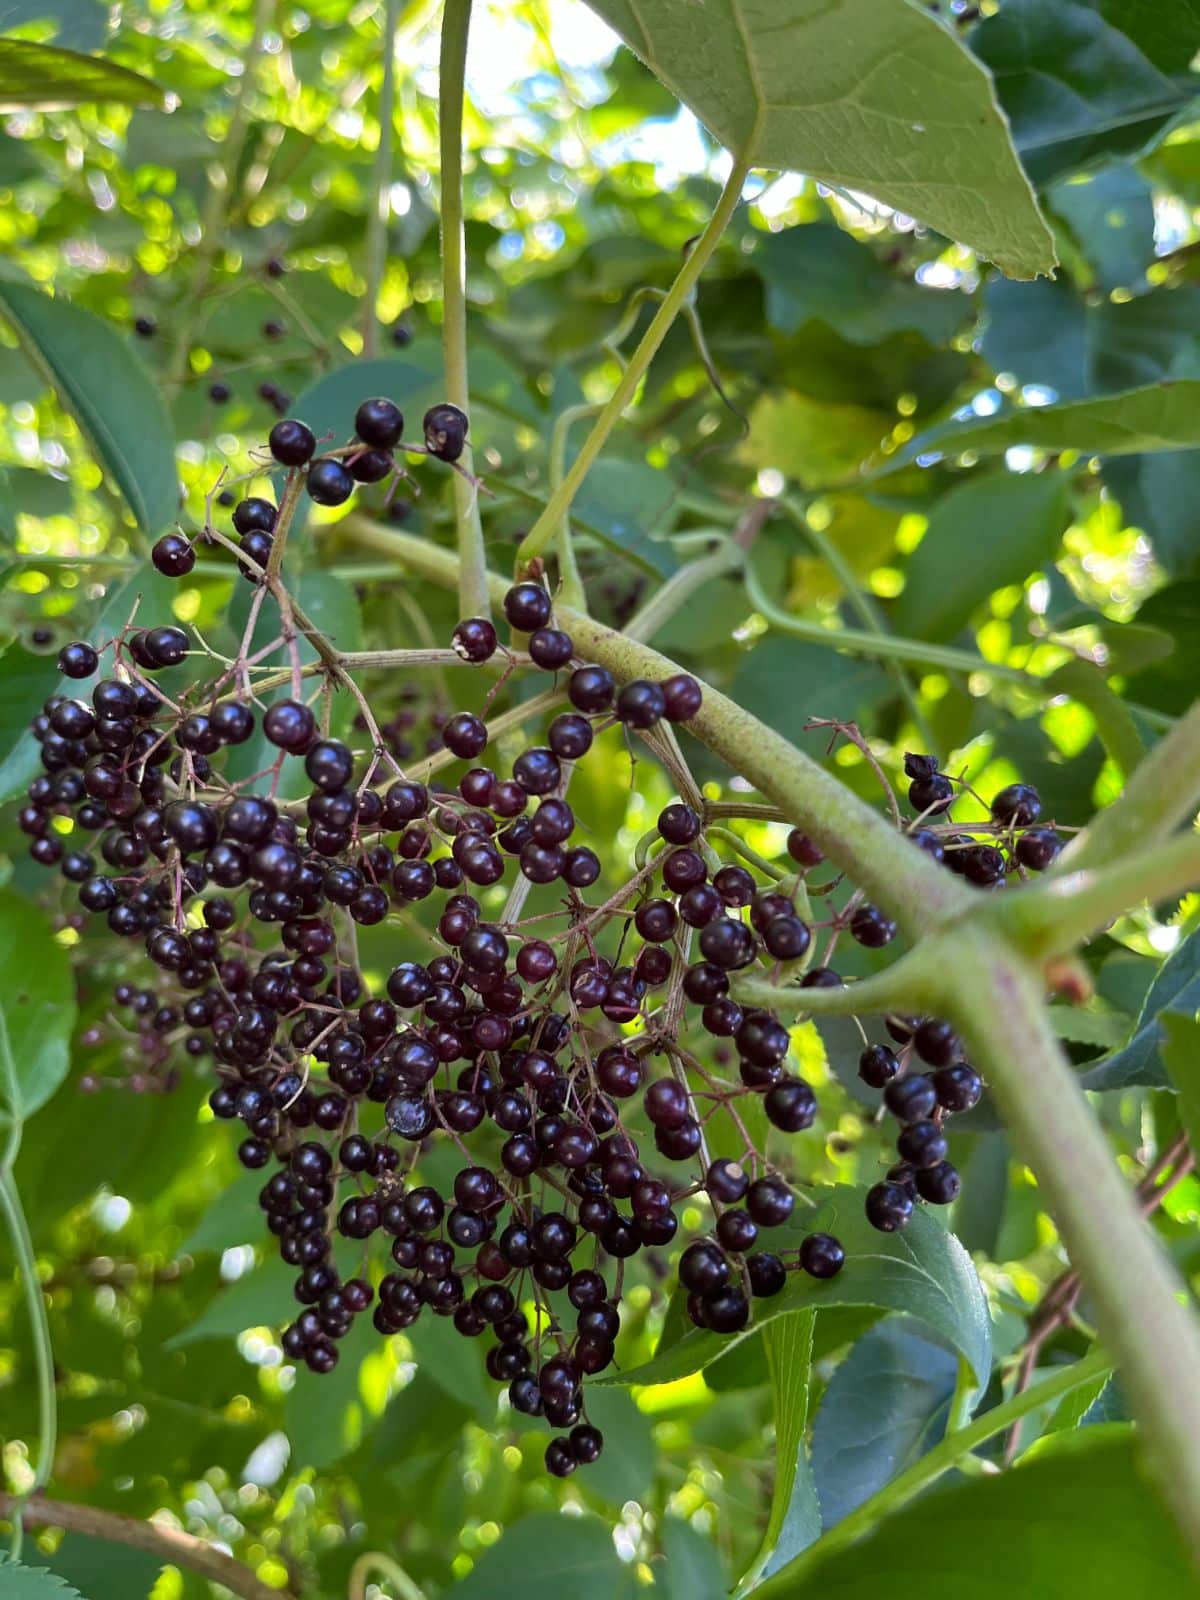
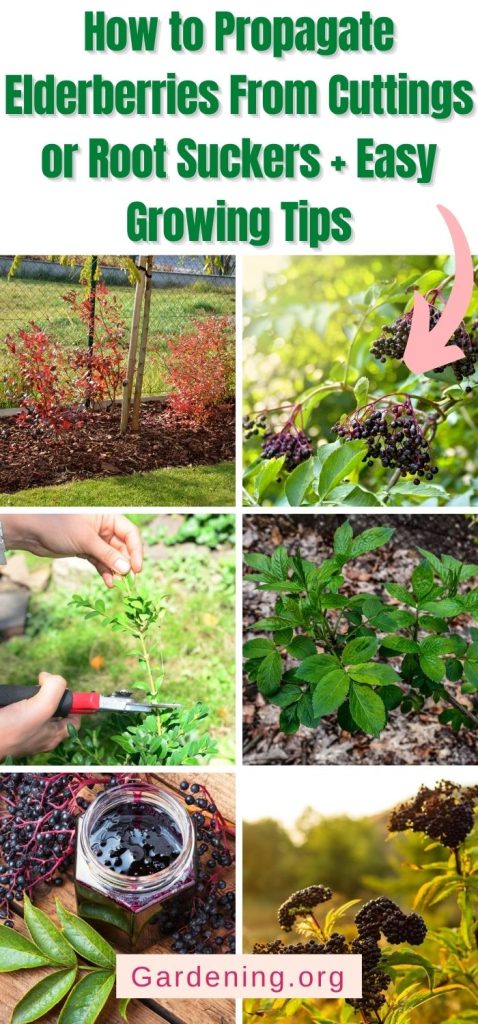
- Take cuttings in early to mid-summer, from new growth that is still green and flexible.
- Select a piece of stem that is about six to eight inches long.
- Trim it off with sharp scissors or secateurs.
- Strip all but the top pair of leaves off the stem, and make a fresh cut just below a node. The node is the most likely place where new roots will develop.
- Moisten the end of the stem and dip it in a rooting hormone.
- Fill a small container or pot with well-moistened seed starting mix, potting soil, or other media such as rock wool or damp sand.
- Poke a hole in the medium for your cutting and gently insert your cutting.
- Firm the medium around the stem and place it in a bright location out of direct sunlight. Don’t let your cuttings sit in the sun until they have rooted well and are putting out new growth.
- Cover the cuttings with a humidity dome or a plastic bag.
- In 1-2 months, you can check the progress of your new plants’ roots by gently giving the stem a little tug. If there is resistance, your elderberry cuttings have grown roots.
- Transplant them into small individual pots to grow until they are ready for transplanting.
How To Propagate Elderberry Plants By Division
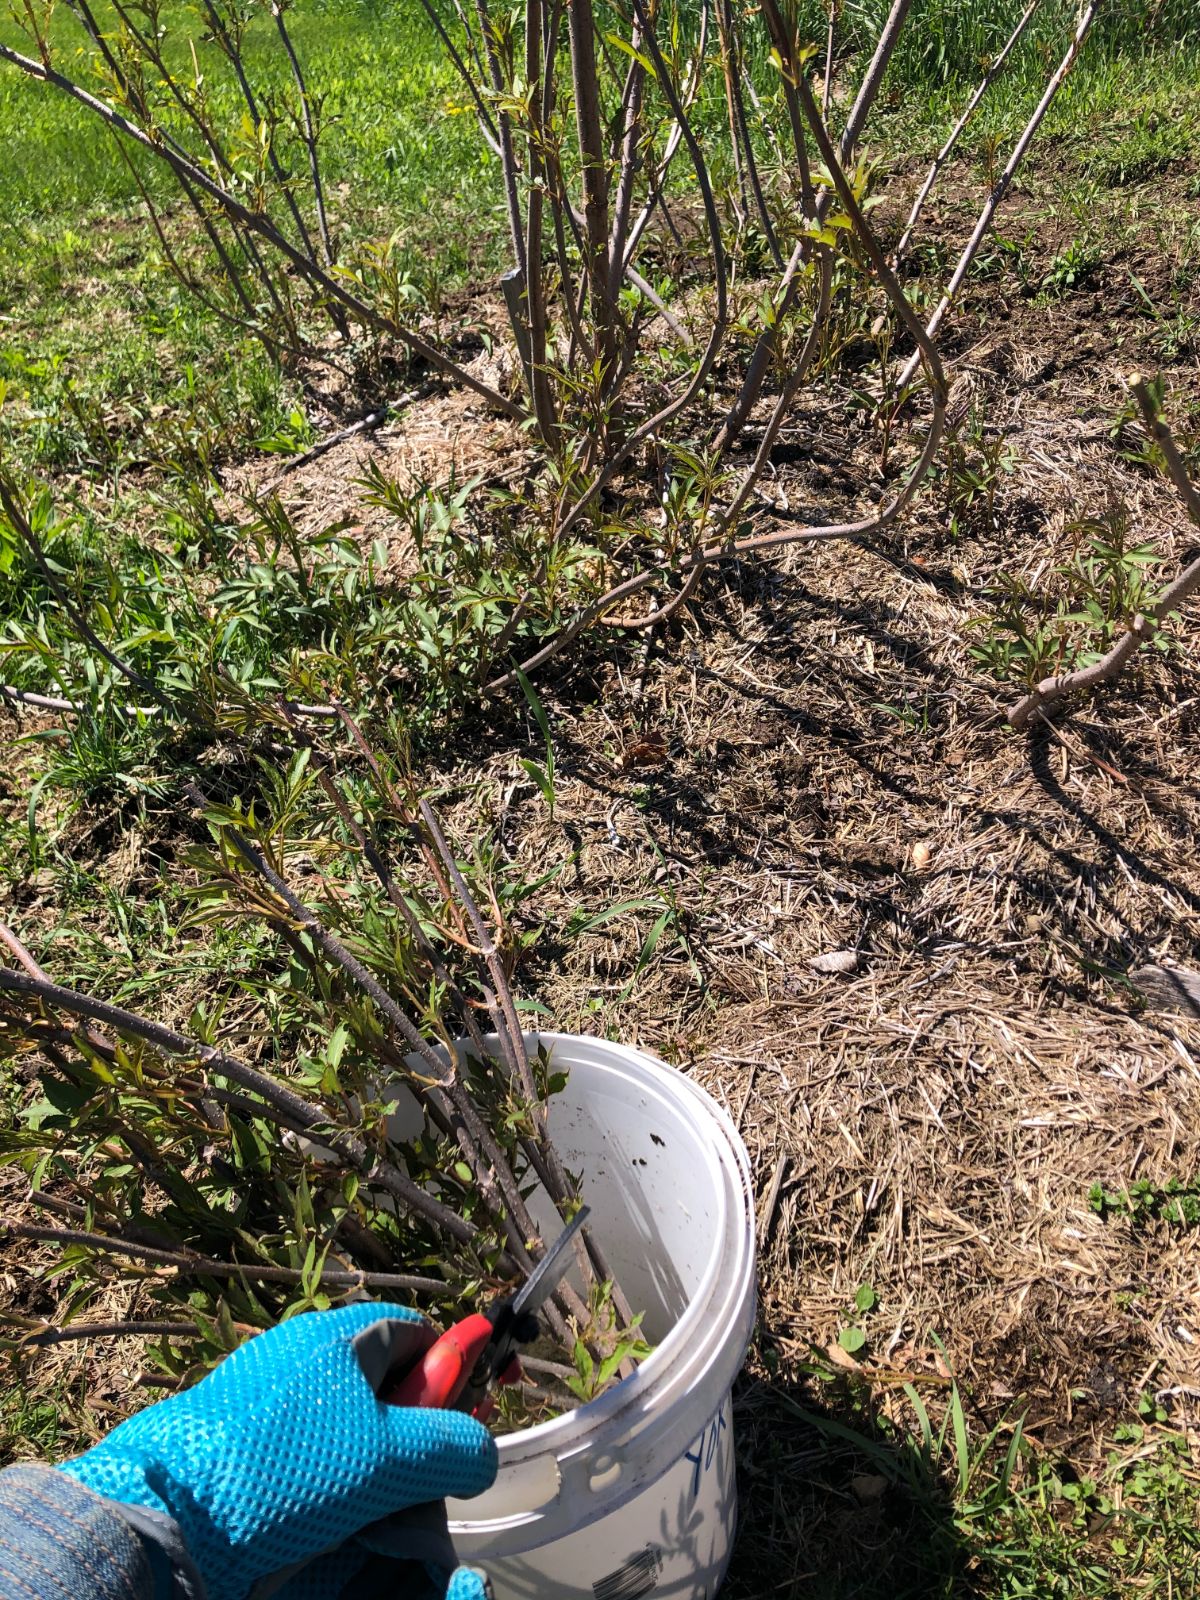
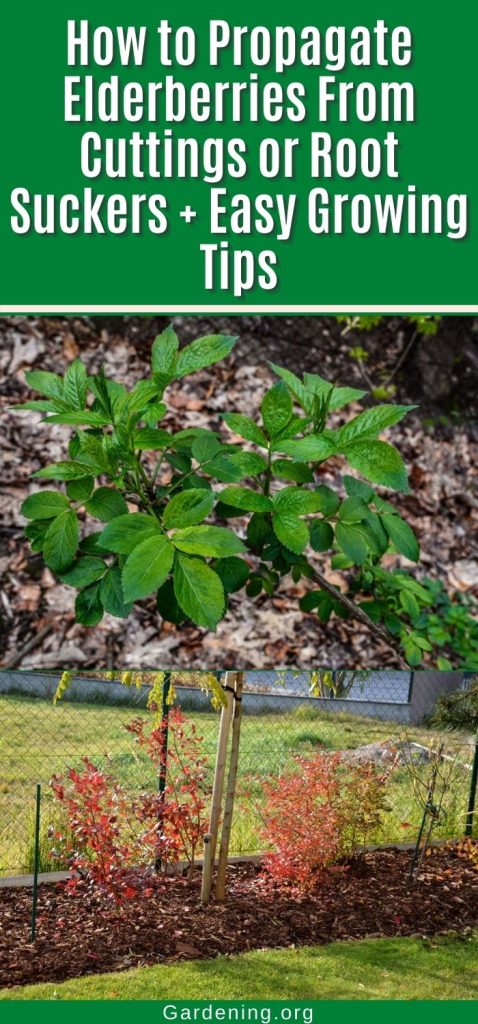
If you have an elderberry shrub, you likely know it sends up suckers from the roots, just like raspberries. These can be dug up and transplanted, or if they need a bit of care, grown in pots until they are ready to go out on their own. The best time to dig up elderberry suckers is early spring or late fall.
- Select a sucker with a stout, slightly woody stem about a foot tall.
- Use a spade to dig up your sucker. Try to get as much of the existing root system as possible–as much as will fit in your pot. You will have to use the spade to sever the current connection to the mother plant.
- Transplant the newly-dug sucker directly, water it in, and mulch it. Water it weekly for the first season.
If the sucker is small, or you didn’t manage to capture many of the fine roots, it may need more care. Grow it out in a pot first so it can receive some tender treatment. - Fill a gallon-sized container with moist potting soil and plant your new elderberry, trimming the roots to fit but taking care not to trim off all the fine roots that will support the plant.
- Trim the remaining foliage to leave only 1-2 sets of leaves. The new elderberry plant will send out more once the roots recover from their transplant shock and are ready to support more leaves.
Tips for Growing Elderberries
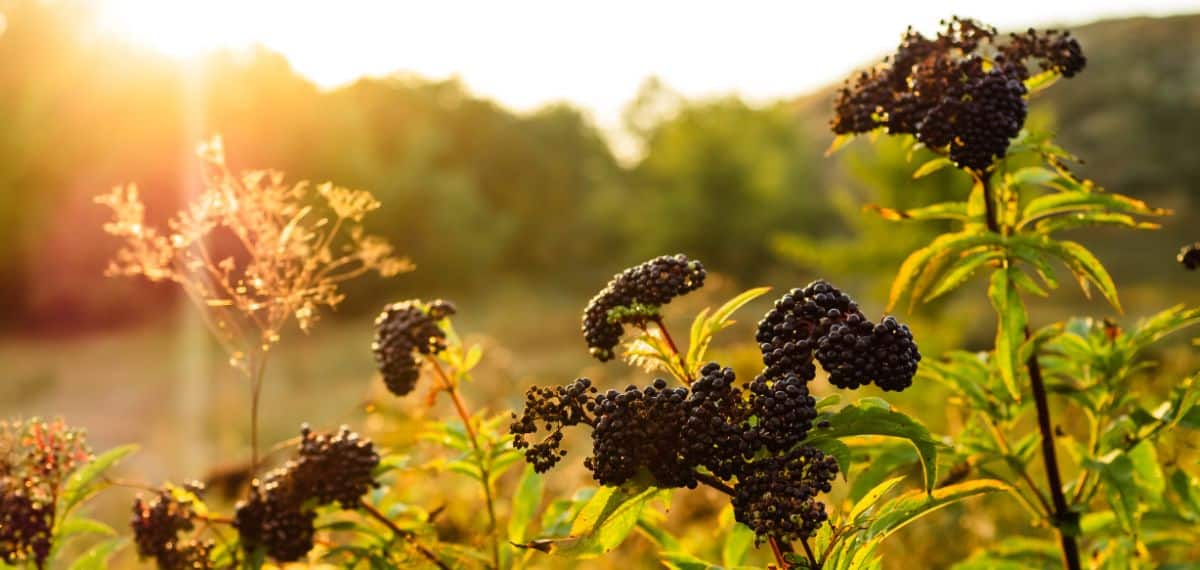
Elderberries are attractive shrubs that need only a few elements to thrive and produce fruit. Follow these quick-growing guidelines.
Prune your Elderberries. While elderberries don’t need pruning to fruit, they will be less productive as the stems get older. After year 3 or 4, when they start to get very woody, older branches can be pruned down to ground level, and the wood can be used for craft purposes. In northern zones, leave two sets of leaf nodes when you prune (about one to two feet of stem) since the growing and ripening season is shorter. If you prune to the ground in northern locations, you may have a hard time getting fruit all the way to ripening in the fall.
Pruning out old stems will encourage new, vigorous growth from the root crown, providing you with a healthier plant and a larger crop.
Elderberries like well-drained soil. They will tolerate mildly damp conditions, but don’t plant them in the marsh or a droughty area prone to drying out.
Once established, your elderberry bushes should not need watering unless a significant drought occurs. If you plant them in rows, providing irrigation will cause a more regular and dependable fruit crop. Aim to give new plants two inches of water per week, and one inch per week for established plants. If you do not get this from natural rains, supplement with irrigation. Elderberries like moisture, so it is difficult to over-water elderberry bushes. If in doubt, more is more.
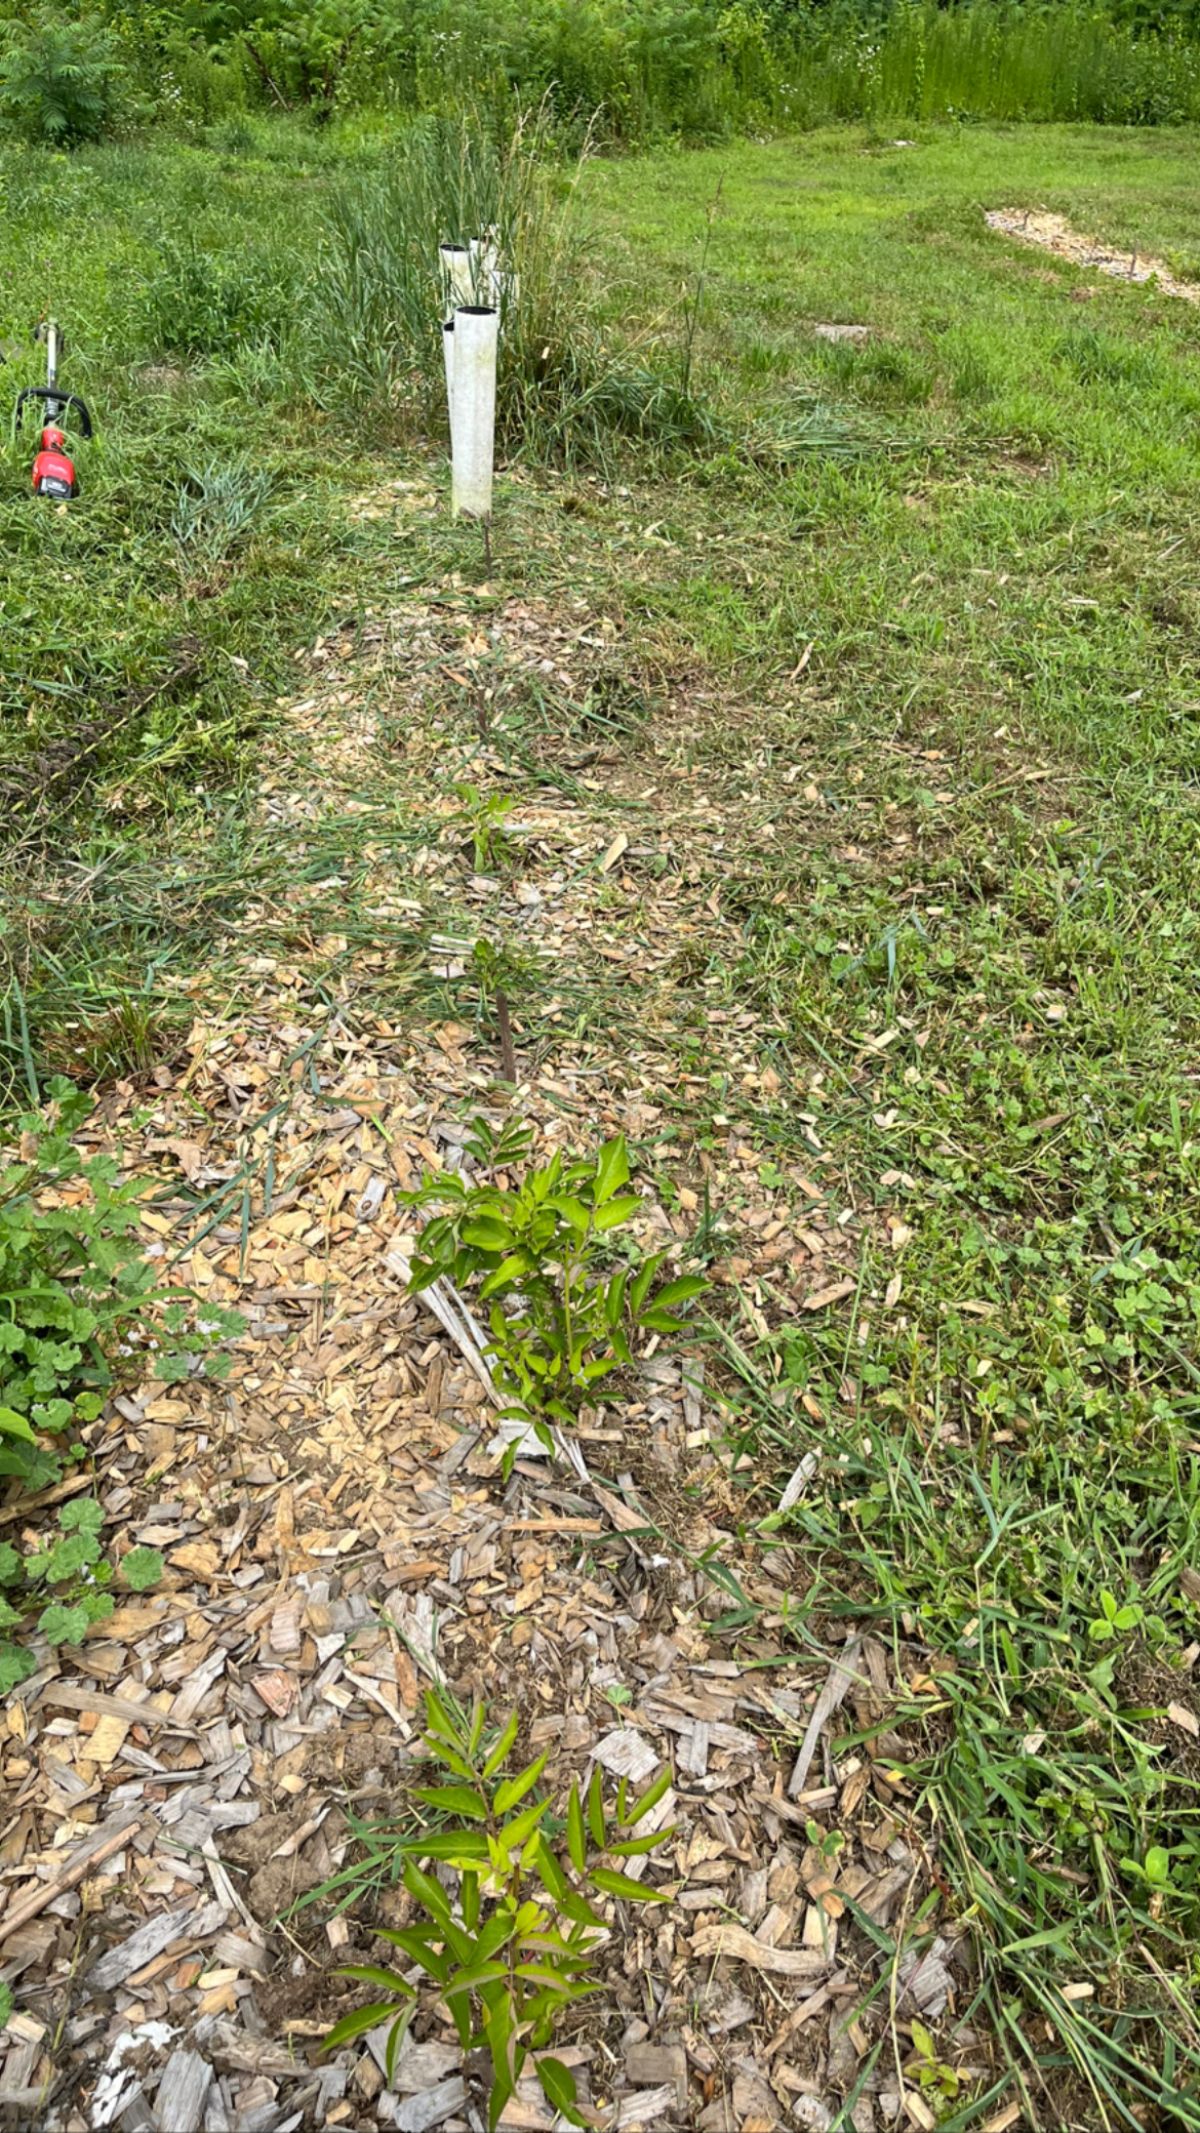
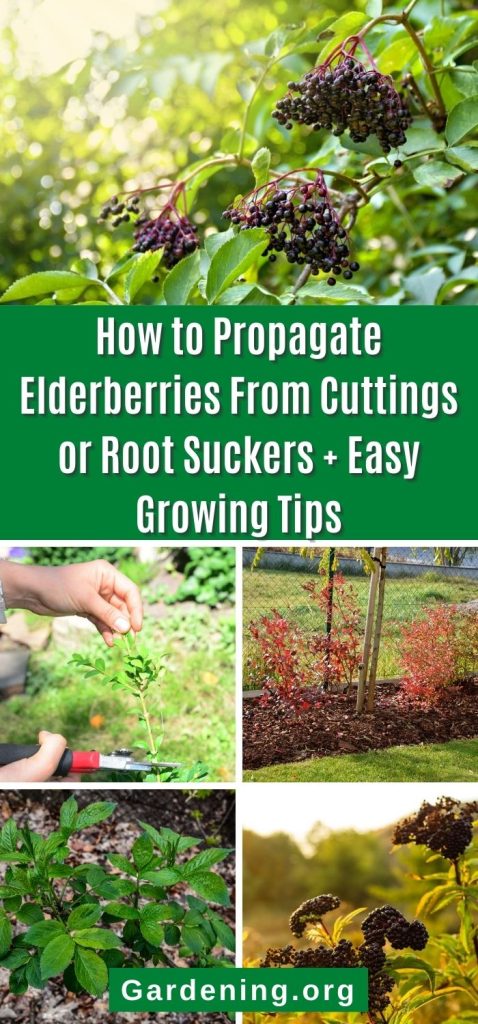
Mulch your elderberry plants. Mulching elderberries provides all the soil-enhancing benefits of mulch, keeps weeds down, and, perhaps most importantly, keeps your weed trimmer string away from your plants.
Don’t pile it high like a volcano. A 2-4 inch thick layer is sufficient. Reapply yearly as necessary.
Elderberries will spread if left to their own. This is fine if you want a lot of elderberries or want to create a hedge with your elderberry plants. They're great for you and great for wildlife. But unless you want the ever-expanding elderberry patch that ate Milwaukee, you will need to trim, mow, or dig up suckers that pop up beyond where you want your berry patch to be. Use them as transplants, or pot them up and give them away if you don’t want to mow them.
Elderberries are easy, tasty, delicious, and cooperative to propagate. Have a favorite elderberry recipe or memory? Drop it in the comments below!

Eamon Castlebara
Mulberries bring back happy childhood memories. I used to go out to the country to pick them in the summer with the boy next door and his father. The family were Pennsylvania-Dutch,but even more fascinating was the fact that the father was actually born a Lenape Indian on an Oklahoma reservation but had been adopted by a Pennsylvania family after his parents were tragically killed. He taught me both German and much of his native tongue as well when I was very young. He also taught me to make wine from the elderberries we'd pick in the countryside year after year.It was the best. After all of these years I can still taste it dancing on my plate.
Mary Ward
Wow sounds like you were very lucky to have that friend! We also enjoy making elderberry wine every year, and I agree-it's the best!!
Dave Goodlin
I live in Vermont, I have cleared more space for new sprouts. Is there a spacing for between the plants. Is this a good time to transplant them or should I wait for spring?
Mary Ward
Fall is a good time to plant elderberries. Especially if you have rooted shoots to dig. You should still have plenty of time for cuttings in the ground, too. Just make sure you keep them watered so they can root.
Spacing ranges anywhere from 2 to 6 feet between cuttings. Two feet would be for more field or commercial type growing. Six would be more for if you want sort of single bushes. They will fill in over time, too, from the shoots that they send. The more toward 2 to 4 feet will create more of a row or hedge-like growing are.