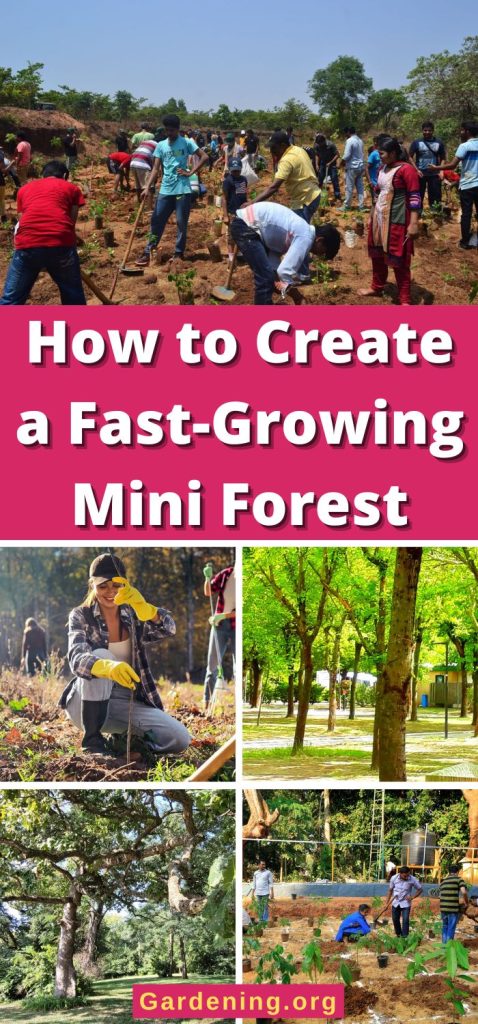
Recently, I ran across Akira Miyawaki’s method of creating tiny forests – also known as pocket forests, mini forests, and microforests.
It’s a fascinating and fast way to grow a forest, especially in urban areas where there’s not much space.
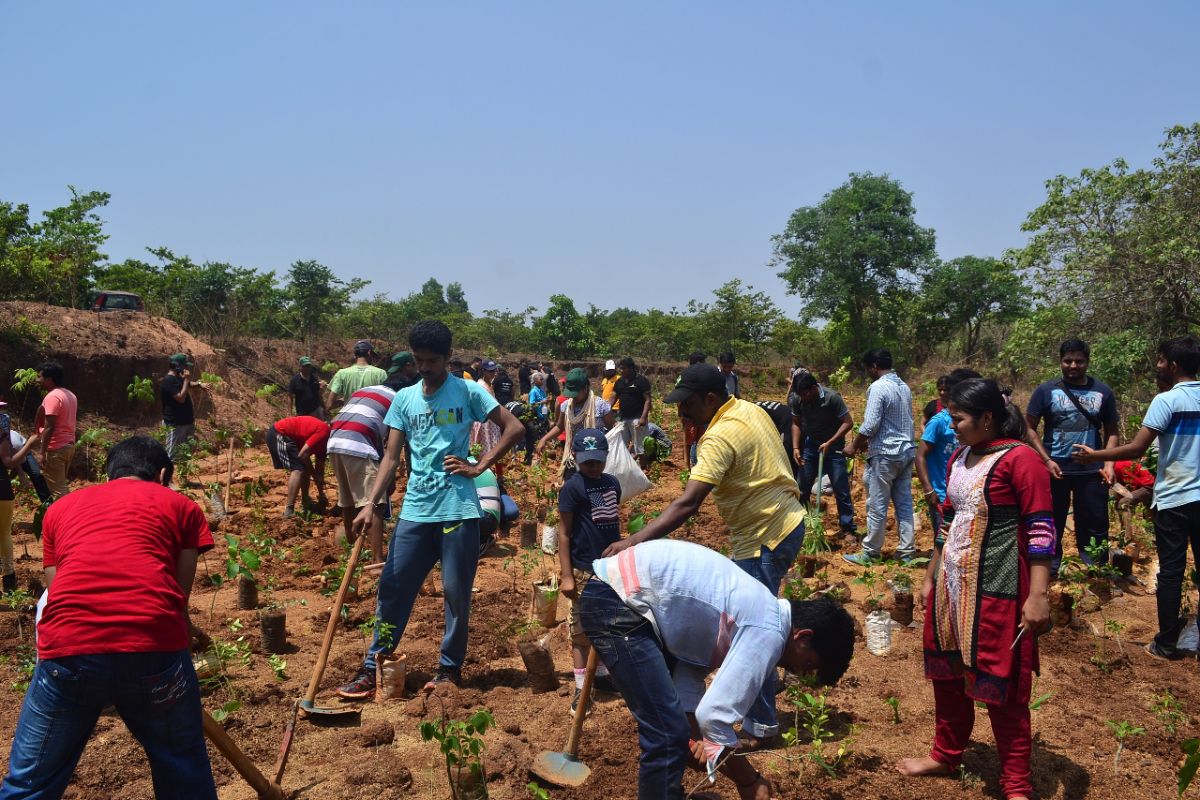
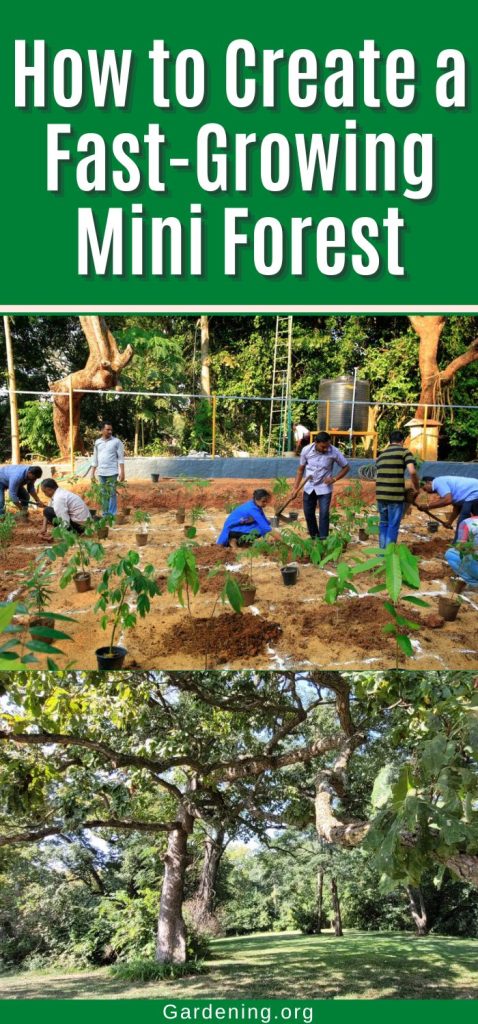
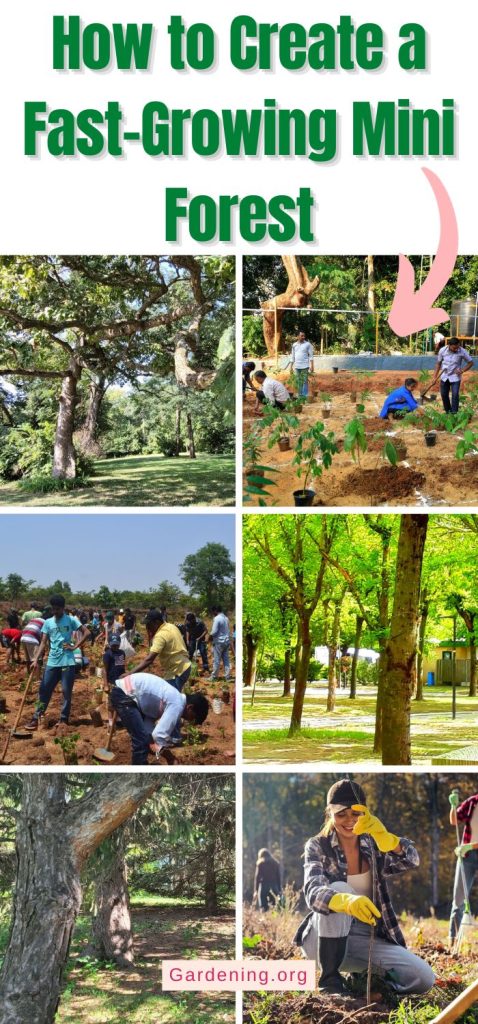
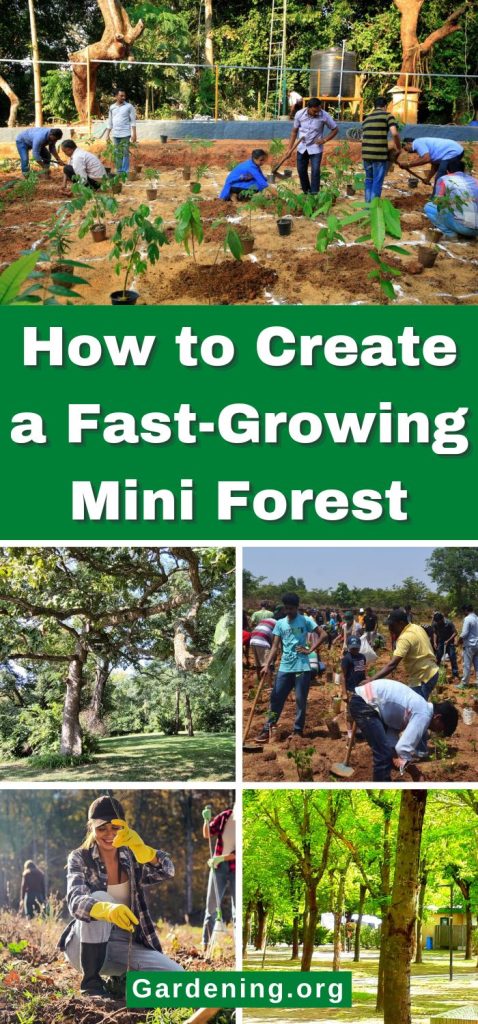
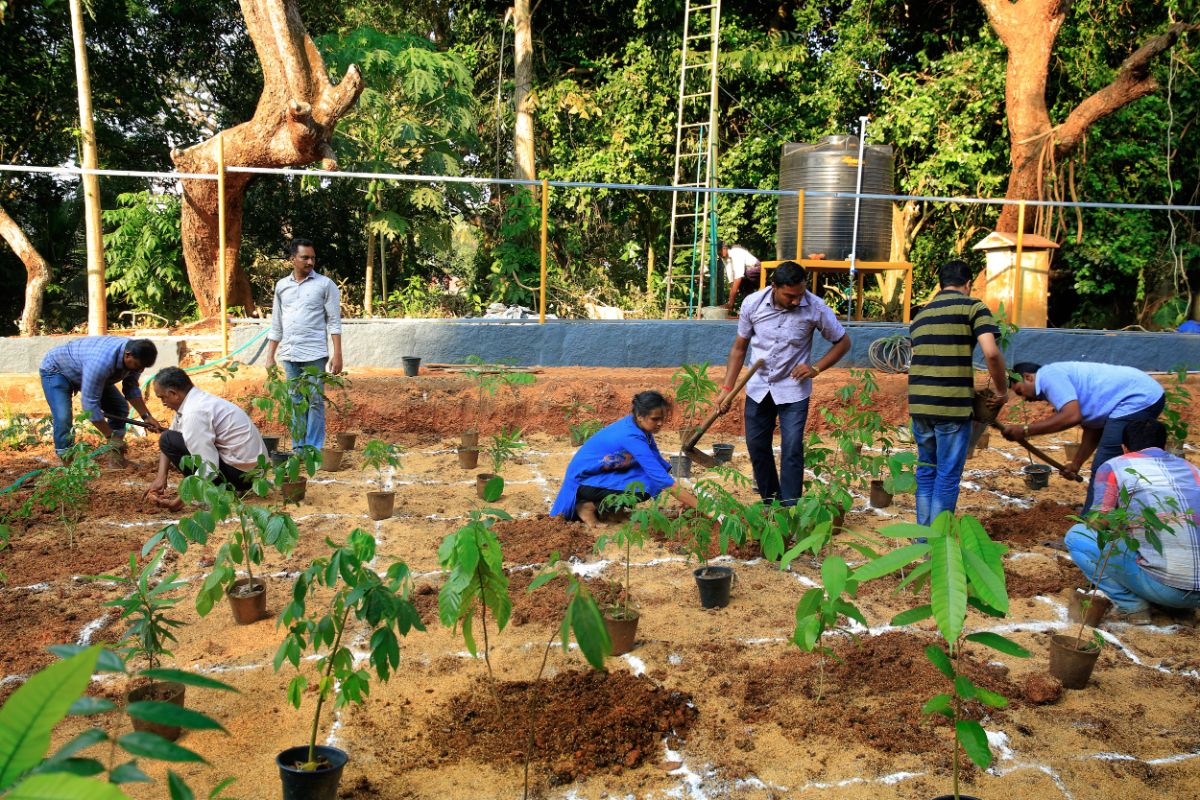
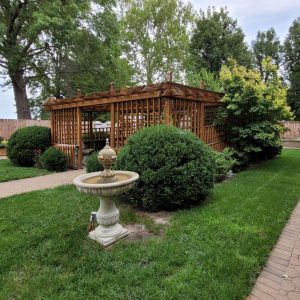
Photo courtesy of Green Saviours, who had planted four microforests when this picture was taken. They followed this up with a fifth microforest with 5,000 saplings!
Think back to science class. In a forest, a new patch of trees will race to the top because the tallest trees get the most sunlight. A lone tree will take its sweet time in growing. But when the same tree is planted among a group of saplings, they’re all going to start stretching!
So, in a Miyawaki forest, a lot of young saplings are planted close to each other. They grow quickly, trying to outpace each other to maturity.
Instead of taking 35 years or more to mature, a Miyawaki forest will mature within 10 years – even sooner. Not bad!
Jump to:
- About Akira Miyawaki and His Forests
- Visit A Local Native Forest If You Can
- How to Plan a Microforest
- CAVEAT: IT’S OKAY TO DO THINGS YOUR OWN WAY.
- It’s Your Microforest – Plant it However You Like
- Orchard Growers Love This One Simple Trick!
- How Can I Create a Large Microforest? I’m Only One Person!
- Where Can I Find Cheap Tree Seedlings?
- Start Trees from Seed, Just as Miyawaki Did
- Prepare the Miniforest Planting Area
- When the Bareroot Trees Arrive
- Miniforest Planting Day!
- Maintaining Your Miniforest
About Akira Miyawaki and His Forests
Akira Miyawaki was a botanist, ecologist, and professor. Starting in the 1960s, with the cooperation of university botanists from Japan, he cataloged the native plants all through the Japanese archipelago, from Okinawa to Hokkaido.
Due to an unprecedented uptick in development and agriculture, pollution was increasing as forests were being rapidly cleared away, destroying many native species.
Fortunately, there were undisturbed forests that had been growing for centuries under the protection of Shinto shrines. Trees are central to the Shinto religion, and trees over 100 years old were considered to have personalities (they’re not wrong) and provided a conduit to the gods. Ancient trees are resilient and treated with respect. Being among trees was healthy for body and spirit.
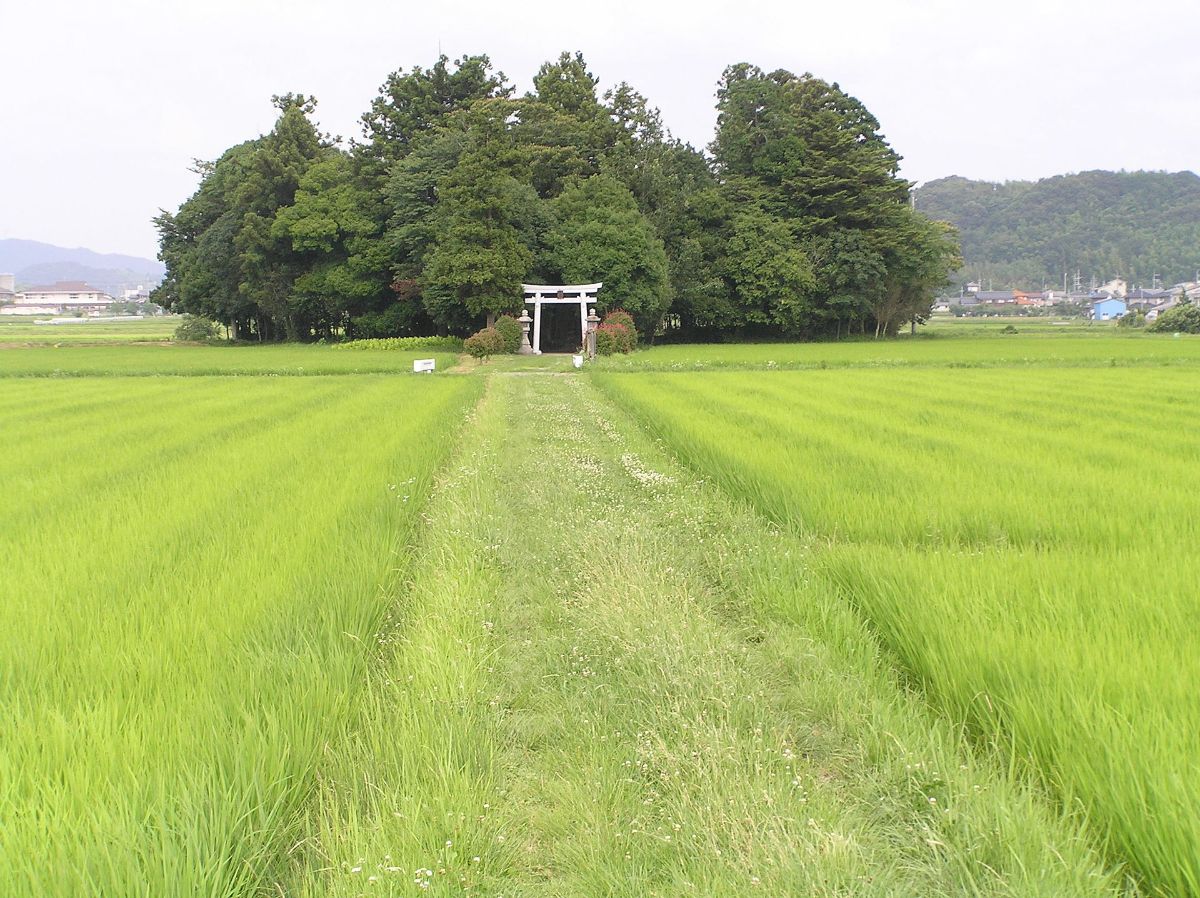
These ancient native species had survived disease, drought, and natural disasters and were still flourishing, offering Miyawaki a time capsule of native plants that would thrive in adverse conditions.
In 1971, Japan established environmental laws requiring corporations to replant forests – and Miyawaki’s university lab suddenly was besieged by industry visitors.
He didn’t want to plant a few trees for public relations and be done. No. He wanted to create real, native forests based on the natural vegetation of the area.
He was hired by a Japanese steelmaking giant to create forests at the corporation’s work sites. Not one to waste time, Miyawaki devised a way to establish a forest in three years – the mini forest.
Miyawaki began planting miniature forests of native trees – the specific natives found in that specific area. He collected seeds and cuttings from the shrine plants, raised their saplings, then planted them close together. This resulted in swiftly-growing, dense forests of native species that could withstand anything that the world threw at them.
Miyawaki chose these trees because they’d been growing for centuries, and they could take anything the local climate could throw at them. Anything that was this self-sufficient was the ultimate no-maintenance plant!
He urged people and businesses to turn to “hometown forest creation by hometown trees.” In this way, people would inherit the trees that had already been growing since ancient times – and grow them as guardian forests for the future.
For 50 years, Miyawaki also worked in collaboration with corporations, prefectures, cities, and organizations in planting trees in Japan and abroad. He is said to have planted over 40 million trees and was widely recognized for his contribution to the environment.
Visit A Local Native Forest If You Can
Miyawaki said that a deep understanding of the land and the historically native plants and trees is vital to planting a microforest.
The tiny forest, as Miyawaki envisioned it, was meant to be grown only with trees native to your area. The proper study of this would involve visiting old native forests that have been unchanged by man for centuries.
Unfortunately, in the United States, ancient native forests are rarer than hen’s teeth.
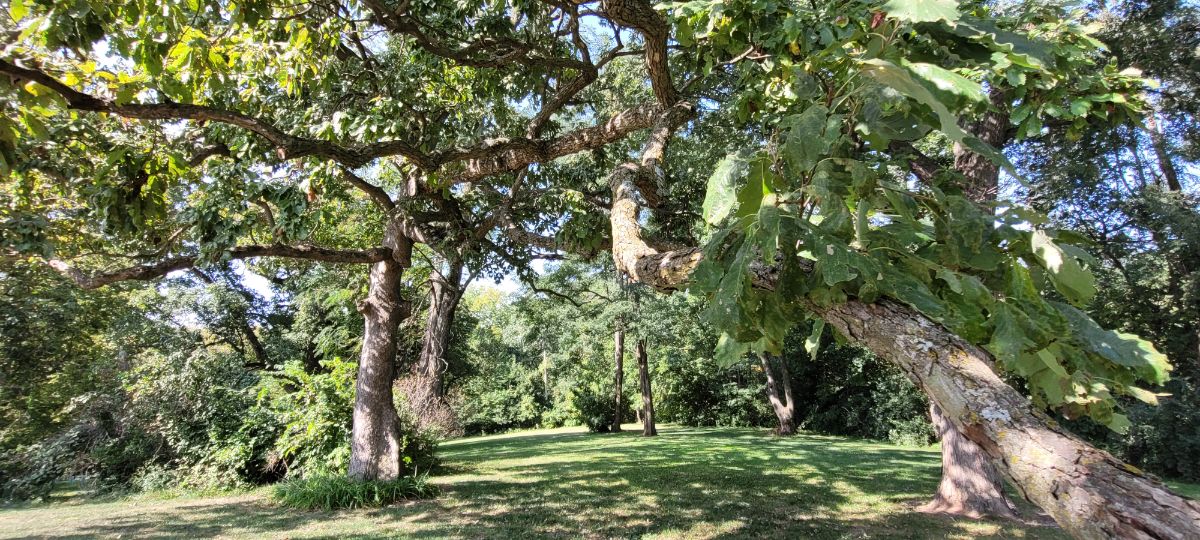
An old-growth forest is defined as having trees that are at least 100 years old, and it’s an area in which it hasn’t had severe disturbances for a long time, such as fire, drought, or logging.
I live in Missouri, which sports 14 million acres of forestland, thanks in great part to the heavily forested Ozark Mountains in the southern half of the state. So we should have a ton of old-growth forest, right?
Alas, no. Here are the stats from the Missouri Department of Conservation.
Out of our 14 million acres of forest, we have:
- 62,000 acres of forest have a few trees that are over 130 years old.
- Fewer than 8,000 acres contain relatively undisturbed old-growth forest.
- Only 800 acres contain excellent examples of old-growth forest.
- 800 acres out of 14 million = less than 0.005 of 1% of Missouri’s forestland.
That’s not much!
Nearly all of the old-growth areas in Missouri are under the protection of the Missouri Department of Conservation, the Department of Natural Resources, and the United States Park Service, so at least you can visit them if you’re prepared to walk and have a map.
Mature forests are more plentiful in the United States and have been extensively mapped in order to try and preserve and conserve forested areas. But we’ve got a long way to go.
At any rate, visit several of your local forests and spend time there. Note which trees you see growing well and what kind of conditions they’re growing in. Take note of trees you really like and read up on them. You might even grow these from seed from the trees you like, then add them to your tiny forest.
How to Plan a Microforest
You can make the microforest any shape you like. Just make sure that the forest area is at least 12 feet wide with no interruptions (such as a path). Keep the path at least 12 feet away from the edge of the forest. Place thorny plants away from the path so they don’t snag you. Make the path at least 20 inches wide so you can walk along it with a wheelbarrow without crashing into stuff.
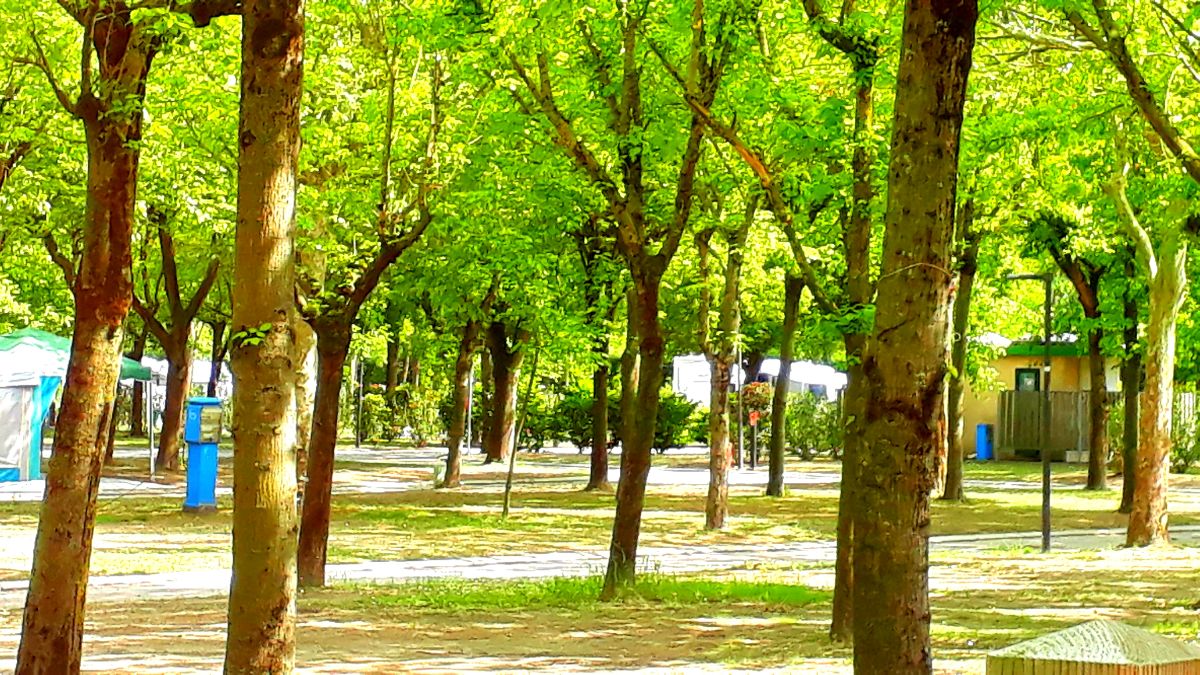
In a true microforest, you’d plan on having about three sapling trees per yard/meter. Growing the saplings so close together will make them grow faster – giving you a leafy canopy overhead in only about three years!
Plant the trees at random, just as they would be in nature, not in straight rows. Miyawaki suggested that, for true randomness, have a child place the trees where they are to be planted.
Don’t plant trees from the same species next to each other. Make your microforest like those fancy state dinners – mix up the guests and make them sit next to different people. Give each sapling at least one foot of space.
So that is the Miyawaki ideal for a microforest.
However! I will add a caveat here.
CAVEAT: IT’S OKAY TO DO THINGS YOUR OWN WAY.
Embroider this on a napkin and wave it like a flag every time a stickler starts talking about how we’re supposed to do things.
It’s Your Microforest – Plant it However You Like
A microforest doesn’t have to be perfectly native. If you plant a microforest with some non-native trees, it will still be awesome, and Miyawaki’s ghost will not haunt your horticultural dreams.
If you want to grow a tidy microforest with lines of trees instead of chaotic trees, that’s also fine.
At this moment, our #1 goal here is to plant a ton of diverse trees that will grow into a forest that will take care of itself. Right now, we need forests, and quickly, to cool urban heat islands, sequester carbon, help pollinators and wildlife, create biodiversity, and for many other reasons.
We can work with a backyard’s worth of space, or less – because Miyawaki is not the only person thinking about how to grow a lot of trees in a tiny space. Orchard growers are, too. And if you prefer order to chaos, they have an easy solution.
Orchard Growers Love This One Simple Trick!
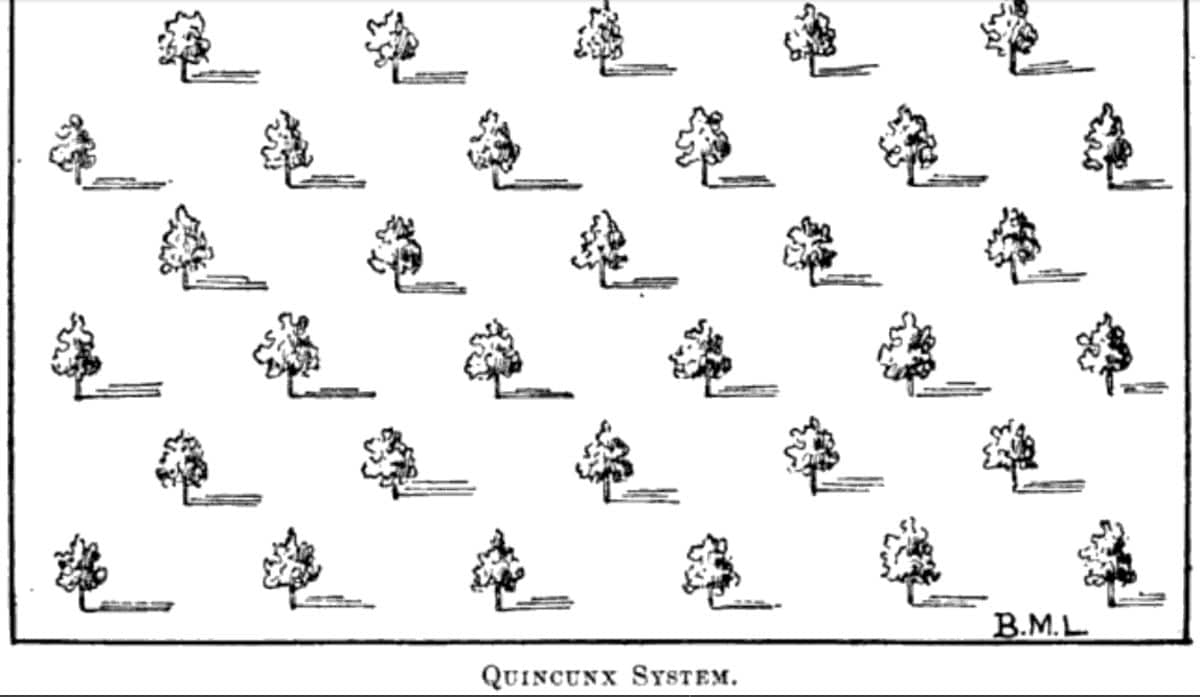
Orchard growers sometimes use a planting pattern called the quincunx to increase yields by filling in extra space while the young trees are maturing.
Quincunx is from the Latin for five-twelfths. It means arranging four objects in a square and placing a fifth object in the middle.
In orchard management, a quincunx arrangement allows you to plant more trees in a smaller area, making them bear fruit earlier.
However, once the canopy starts filling in, the orchard manager needs to thin out the central tree in each quincunx to keep the main trees bearing properly.
But if you’re growing a miniforest, you can keep that extra tree.
So if you’re not quite ready to commit to an utterly random landscape plan, planting in a quincunx might be a more pleasing alternative.
How Can I Create a Large Microforest? I’m Only One Person!
Forest gardens larger than a half-acre are going to take a lot more time to build up. However, there’s a simple solution. Start by building one microforest as the nucleus of your operation. Once it’s in good shape, plant another nearby, then another.
You can put these nuclei right next to each other if you want. Or you can plant them some distance apart, and as your forest expands, you can start merging the microforest nuclei together. This process takes longer, but it also saves money and sanity!
Even cooler: The latter solution allows you to set up different ecosystem patterns, such as shrubby areas, old growth forest, and thickets, between the forest areas – just as they exist in the wild. Place these ecosystems where they’d make sense, of course (such as putting boggy plants in boggy areas). Leave clearings and gaps between the microforests to let sunlight in.
The microforest is appealing because you can start small and branch out from that point. It's easier to add something on later when you’re ready for it.
Where Can I Find Cheap Tree Seedlings?
All of this sounds pretty cool, but trees aren’t that cheap, right? The price of even small trees adds up quickly.
Seedling bundles are one answer. These are bare-root saplings sold in bundles of 25, 50, or more. They’re a cost-efficient way to plant a forest.
In the United States, the Arbor Day Foundation sells small tree seedlings in bulk, but you’ll have to buy 50 of the same variety.
The Missouri Department of Conservation sells a wide variety of native tree and shrub species in bundles of 10 and 25 for very reasonable prices. You can order between September 1 through April 15, and they’re shipped in early spring. Order early because fruit and nut bundles are snapped up very quickly. Note that these are all Missouri native plants, which do best in temperate areas.
If you’re farther north, where the evergreens reign, you can find bareroot conifer bundles through the Connecticut Conservation District. They also offer a wide array of forest wildflowers that you plant inside your miniforest once it gets growing.
Sherwood’s Forests is another northern retailer, but their bareroot tree seedling prices are just right; they also sell fruit and berry trees and bushes in bundles. They are very clear about best practices to keep your bareroot trees alive before and after you get them in the ground!
For southern growers, check out the Georgia Forestry Commission. While bareroot trees from Georgia Pecan Trees are not available in bundles, you can buy one of each variety and plant a miniforest of pecan trees, which sounds like a dream come true.
Start Trees from Seed, Just as Miyawaki Did

Miyawaki put a great deal of work into restoring native forests. He gathered and planted the seeds of native trees. The resultant young saplings were planted in poor soil on deforested land where all the topsoil and humus were gone. But those young saplings grew, and in this way, Miyawaki restored forests in over 1,300 sites in Japan and in other countries around the Pacific.
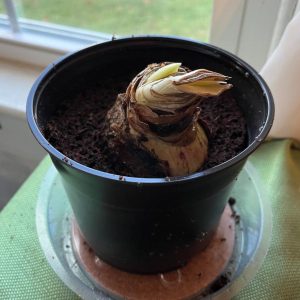
When you find old trees around your area, gather some of their seeds, plant them in pots, and create a new generation of hardy, vigorous trees.
Prepare the Miniforest Planting Area
Before the bareroot seedlings arrive, clear the planting area of grass.
A better way is to cover the area with a layer of cardboard – enough flattened boxes to completely hide all grass and weeds from the sun. You can lay the cardboard directly on the grass and weeds; this will smother them.
Then, top the cardboard with a layer of organic mulch such as hay or straw, wood chips, grass clippings, mulched leaves, or anything that will break down over time and nourish the soil.
If any weeds pop through, clear away the mulch, cover the gap with an extra sheet of cardboard and cover with mulch again.
When the Bareroot Trees Arrive
Have the planting site and tools ready to go before the seedlings arrive because it’s important to get them in the ground as soon as possible after they arrive.
When the bareroot tree seedlings arrive, it’s time to spring into action.
If they arrive in bags, keep the bags closed and don’t open them until you’re ready to put the plants in the ground.
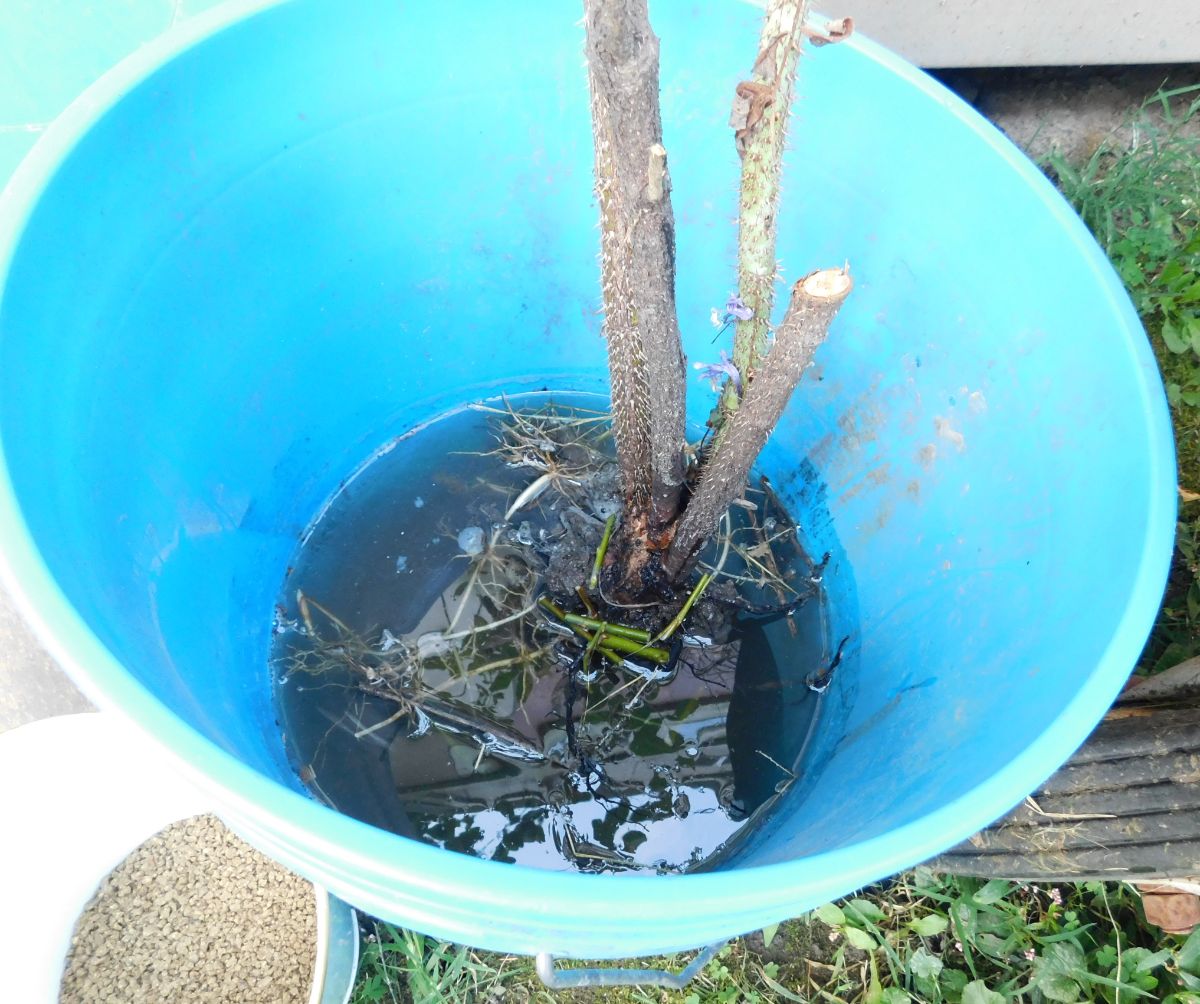
If they’re not in bags, then soak the bareroot tree roots the night before they’re to be planted. Put them in a bucket to which you’ve added a capful of bleach. The water will help get them ready for planting.
It is possible to hold the bareroot trees for a little while if the weather is bad or things go wrong, but two weeks is probably the maximum they’ll stay viable. But don’t put it off. They’ll dry out and die pretty quickly.
Miniforest Planting Day!

On planting day, grab your bareroot trees, a couple of friends, and a shovel, adze, or tree bar. Then head out to the planting site! Overcast days with no wind are best. Don’t plant if the ground is still frozen or during freezing temperatures.
Keep the baby trees in a shady area, and keep the roots in water or in the bag until the moment you put them in the ground. Bare root trees can dry out quickly.
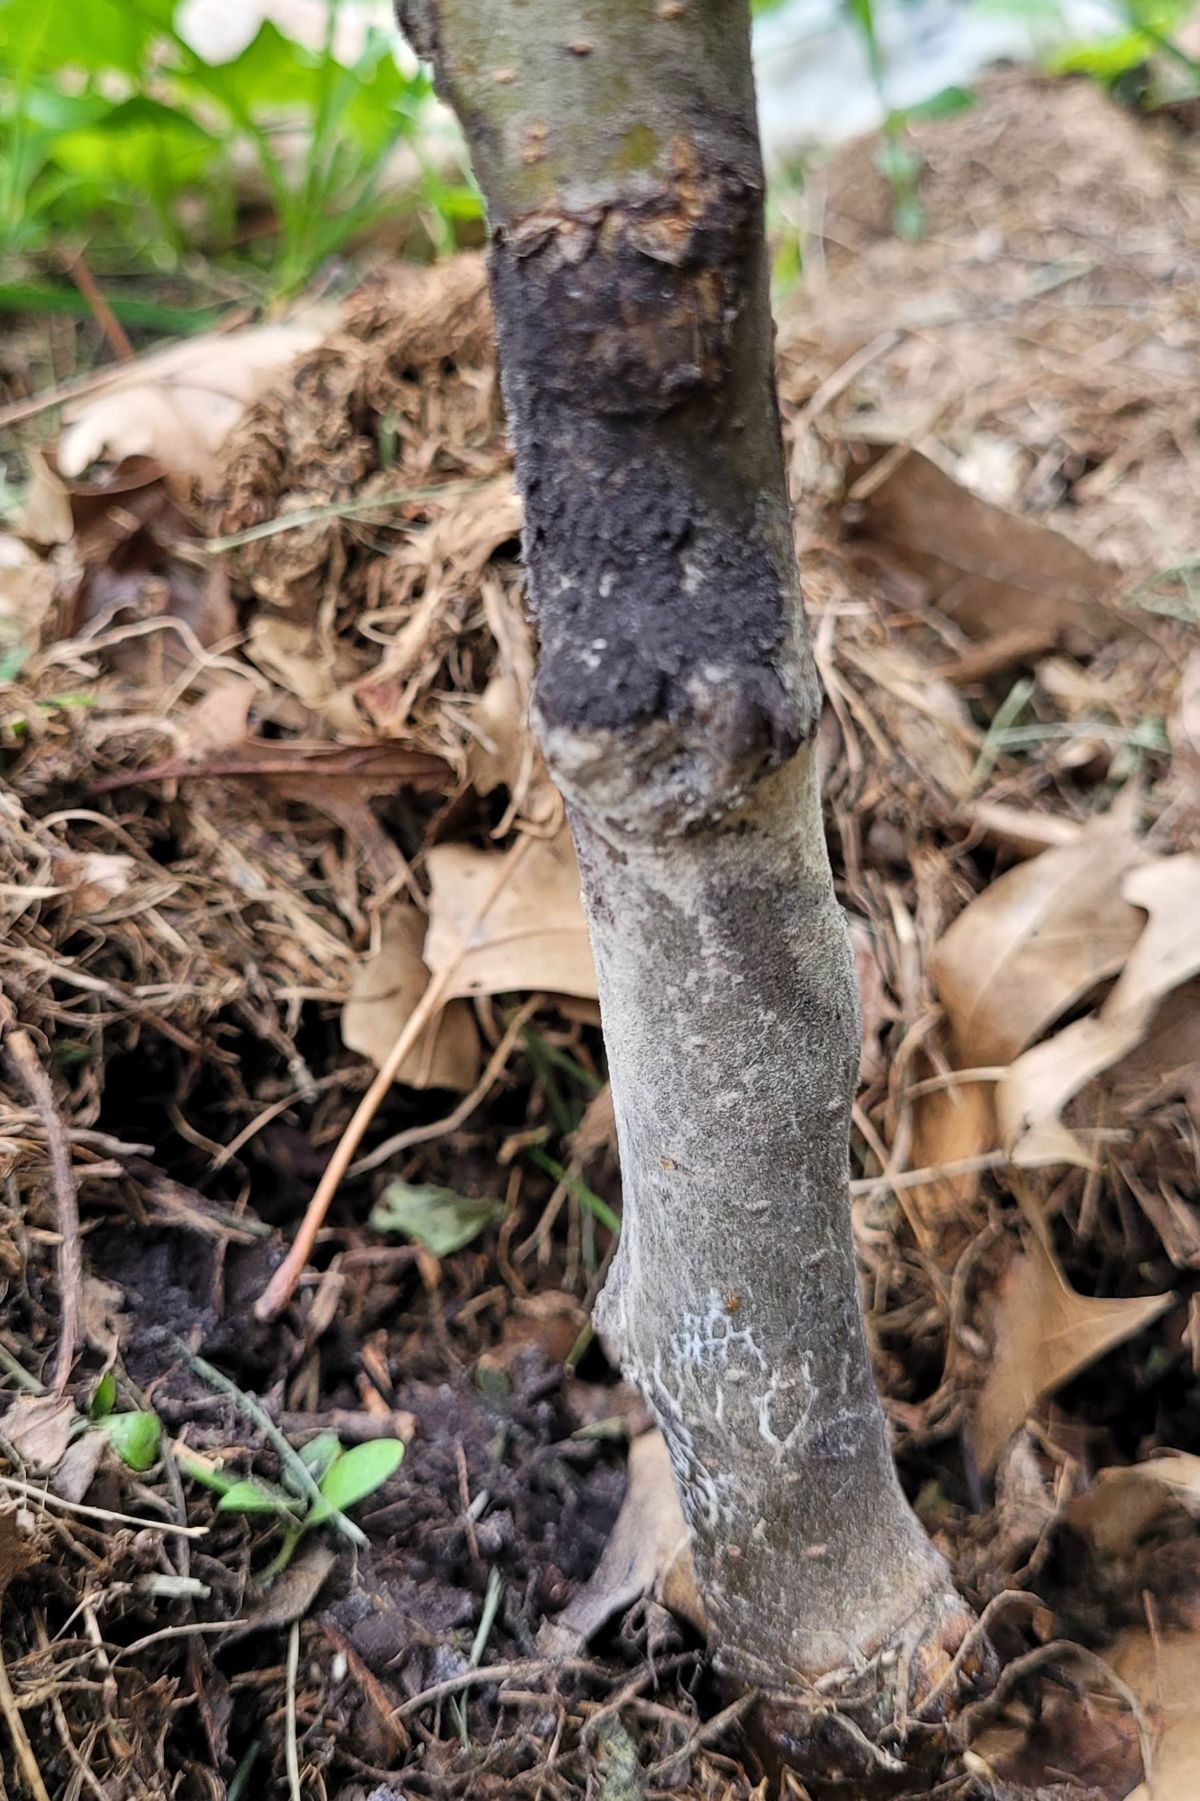
Place them in the ground at the proper depth – just above the place where the roots turn into the stem – and make sure the roots are not bent. Cover the roots and press the soil down with your foot.
Scoot the cardboard up to the tree’s base and cover it with a little mulch. Avoid piling mulch against the tree’s trunk. This can cause mold that can eventually eat through the tree’s cambium layer, girdling the tree and killing it.
Maintaining Your Miniforest
Naturally, you have to care for the young trees until they get established.
For the first three years, mulch them, cut back the weeds, and water the trees when it’s dry. After that, they should be mostly self-sufficient.
Trees that need intensive maintenance after five years aren’t worth it – those plants can go away and wilt.
Trim branches as the trees grow. Do what you like with the forest. Plant forest wildflowers, and add berry bushes around the forest edges. Share everything with the birds. And enjoy your creation.
Leave a Reply