For anyone setting up a greenhouse this year, it is important not just to consider the house itself, but how you will put it up and keep it in place. While most greenhouses come with hoops or poles and a tarp, they do not come with a way to keep it secured in place. That is where this DIY greenhouse stabilizer is a perfect addition to your garden projects. Follow this step-by-step tutorial to make sure your greenhouse stays in place no matter what weather comes your way!
Why You Need a Greenhouse Stabilizer
Even if you live in a mild climate, you are going to face winds and occasional rain or storms. That means your greenhouse may want to shift or move around a bit. This can result in plants being exposed to temperatures or elements outside as well as the potential for them to fall over or get knocked over. Securing your greenhouse is a must so your plants and all of that hard work isn't for naught.
Can This Work on Any Sized Greenhouse?
The tutorial below is specifically set up for the greenhouse that is shown. That means the measurements listed are for that particular greenhouse. However, you can create the same thing with any sized greenhouse. Simply adjust the measurements as directed to fit your own.
Supplies and Tools Needed
- Galvanize framed greenhouse
- Treated lumber
- 3 ½" Galvanized wood screws
- 1 ¼" #8 wood screws
- 1 ½" nails
- Circular saw
- Drill
- Hammer
- Sawhorses
- Tape measure
- Pencil
- Carpenters level
- Protective eyewear
- Ground stakes
- 2 hole EMT snap-on straps
- Garden Buildings tube clip greenhouse frame pipe tube film clip clamp
- Galvanized corner L brackets
- Cinder/concrete blocks
- Tube sand
- Screw eyes
- Paracord 550 diamond braid rope
Tips to Consider Before You Begin
Before you start a project like this, you should always plan a bit ahead to make sure you have everything you need ready and on hand. There are some basic tips below that can make that process easier for you to manage.
- Don't build your greenhouse and base on a windy day. Check the weather forecast and look for a day with winds 5mph or below for an easier process.
- Make sure you have assistance before you begin. This is a project for at least two people.
- Choose the right location. Make sure the area you plan to build your greenhouse is level. If not, use a shovel to flatten areas or fill in with extra dirt or gravel.
- Make sure you face the greenhouse North to South.
- Place the greenhouse away from buildings or trees and preferably on the southwest side of any building for better sun exposure.
Tips for Greenhouse Assembly
- Assemble the greenhouse completely before you begin cutting your wood for the stabilizer. This will guarantee your stabilizer is the accurate size. Even though the greenhouse may have been sold as a specific size there will be variations from one to the other.
- When putting the tarp cover onto the greenhouse, make sure you are careful to line up the seams and grab from the seams A cheap greenhouse will be made with cheap products, including a cheaper tarp. This can prevent rips and damage.
- Keep the doors or flaps zipped while installing the greenhouse.
- When securing your greenhouse with screws, don't tighten them all the way until you are finished building the greenhouse. Once fully standing, tighten the screws. This prevents the pipes from being bent.
- When building your frame with lumber, be sure to lay the uncut lumber on the outside of the greenhouse that is assembled to ensure your measurements are accurate. Don't cut until you are sure your measurements are within ¼-inch give between the wood frame and the steel greenhouse. The greenhouse should fit inside of the wood support.
Once you finish the project, you may also want to build this easy pallet greenhouse bench! A great addition to your greenhouse to help you grow one of these heirloom tomato varieties or other tasty vegetables in your garden!
Set Up Your Greenhouse
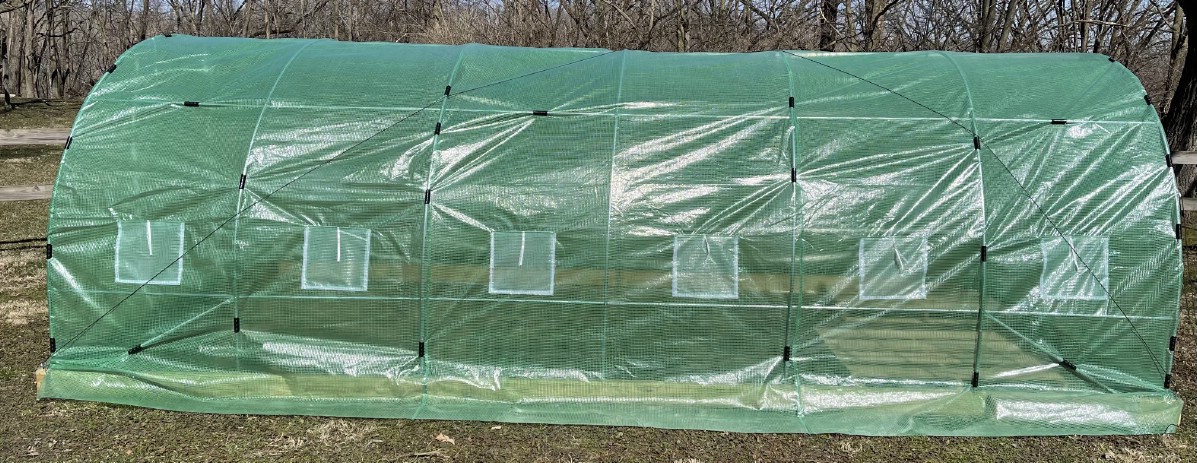
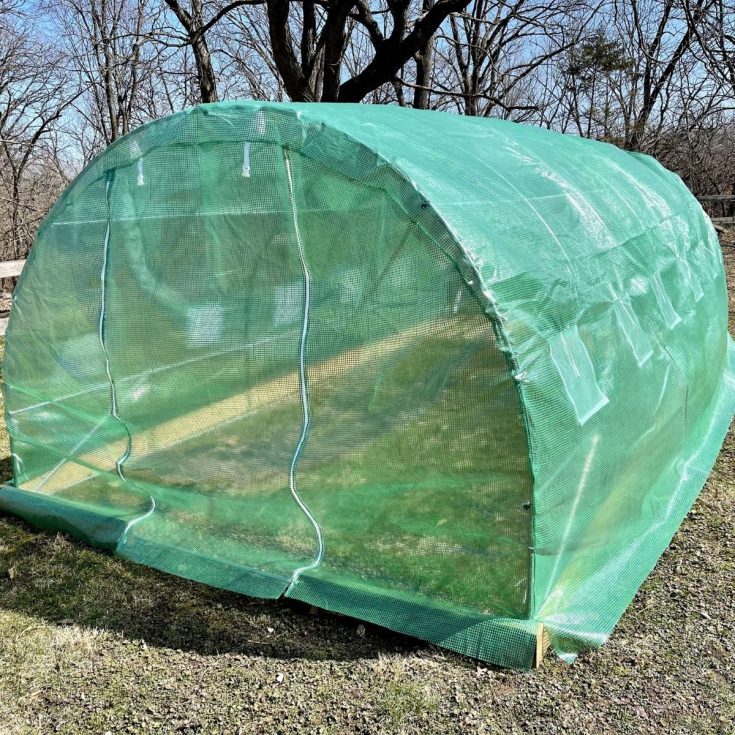
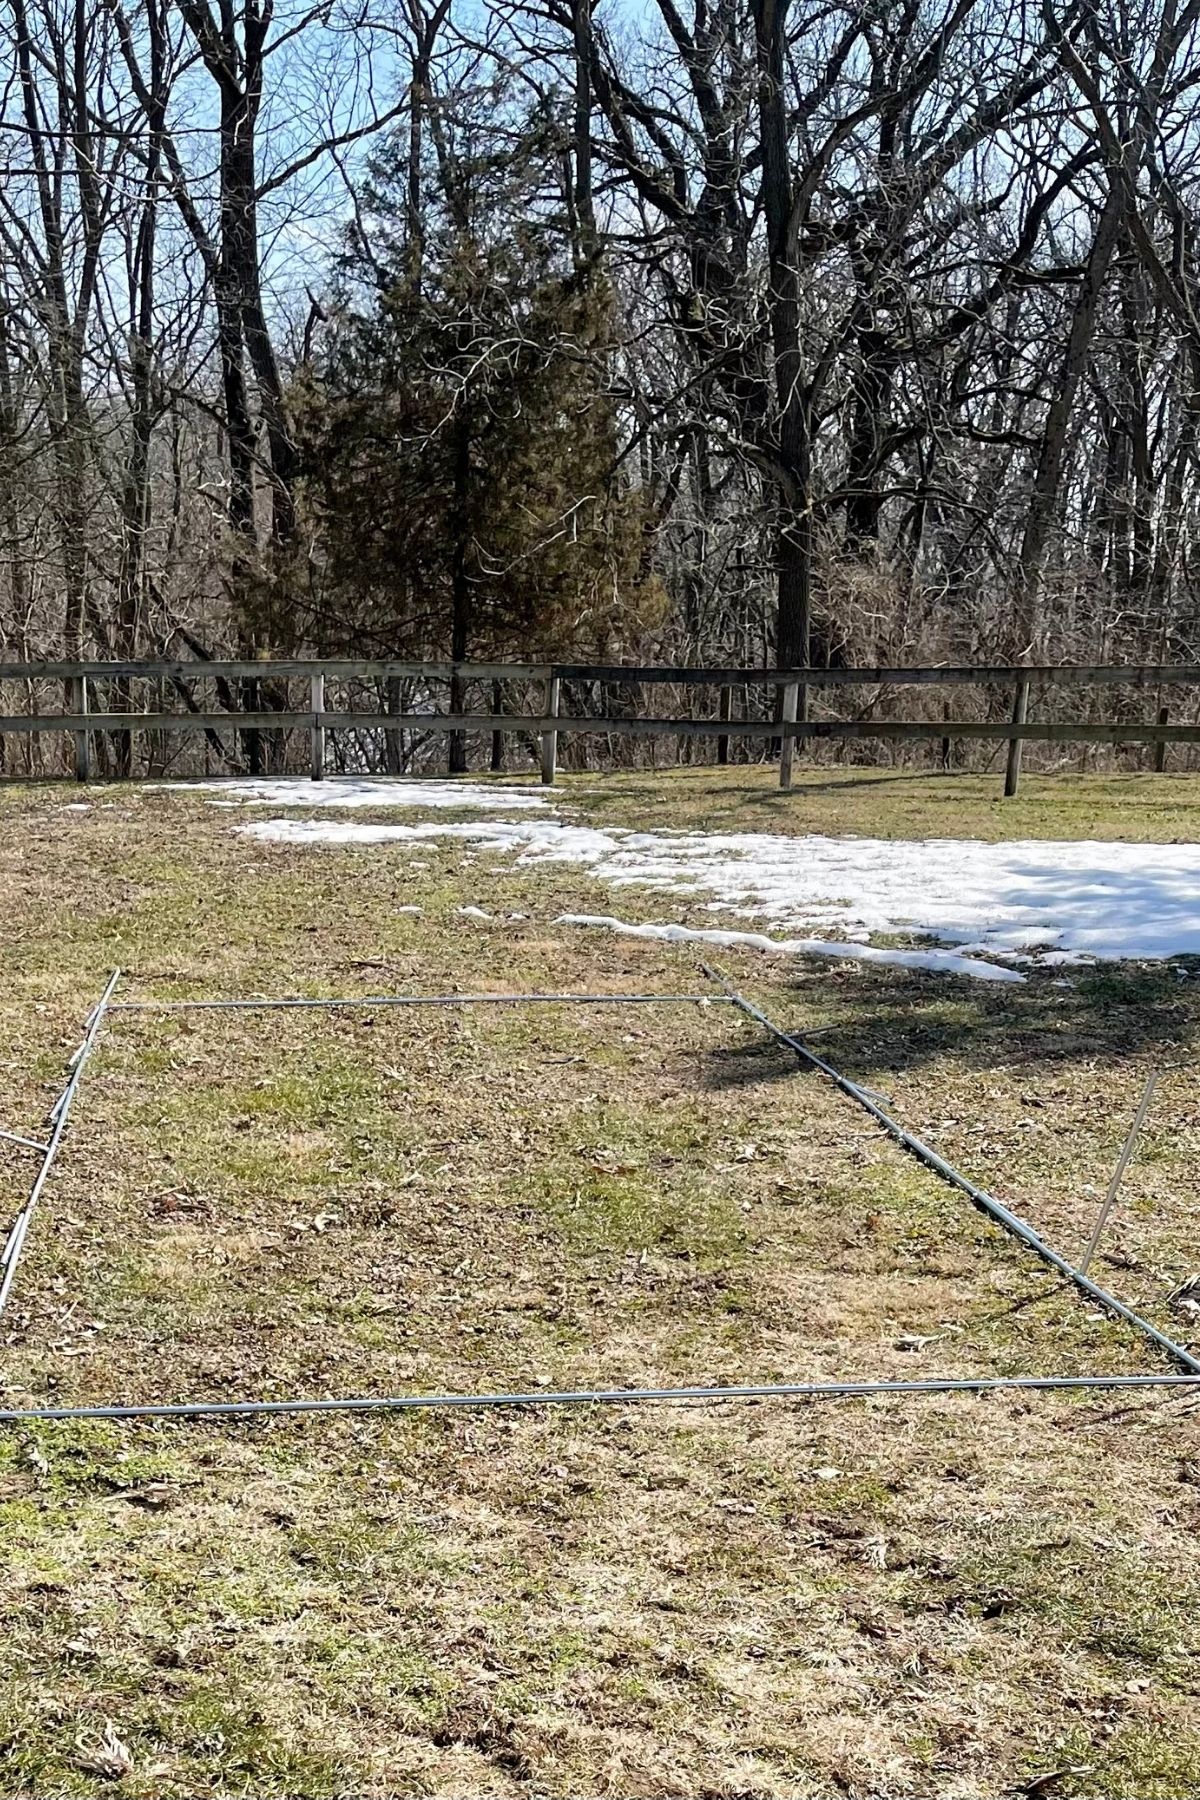
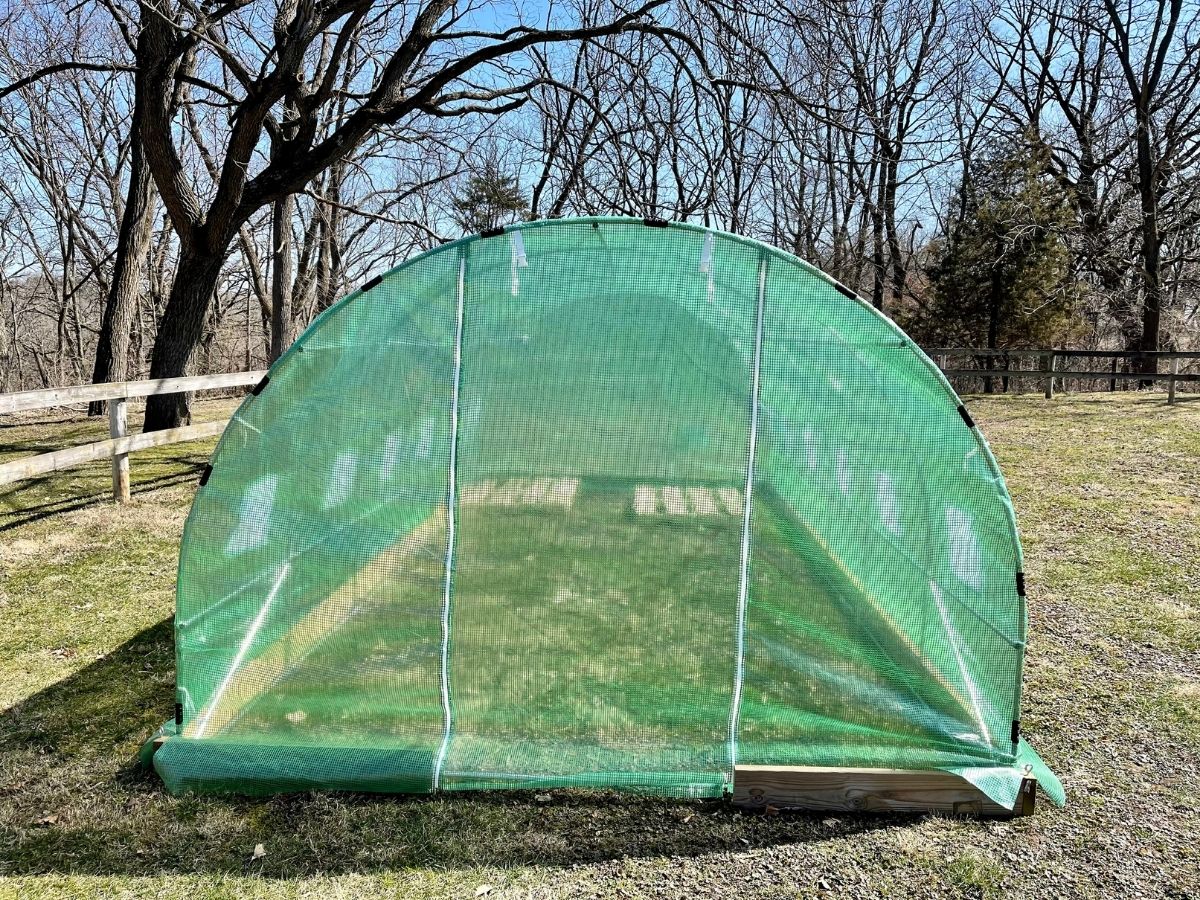
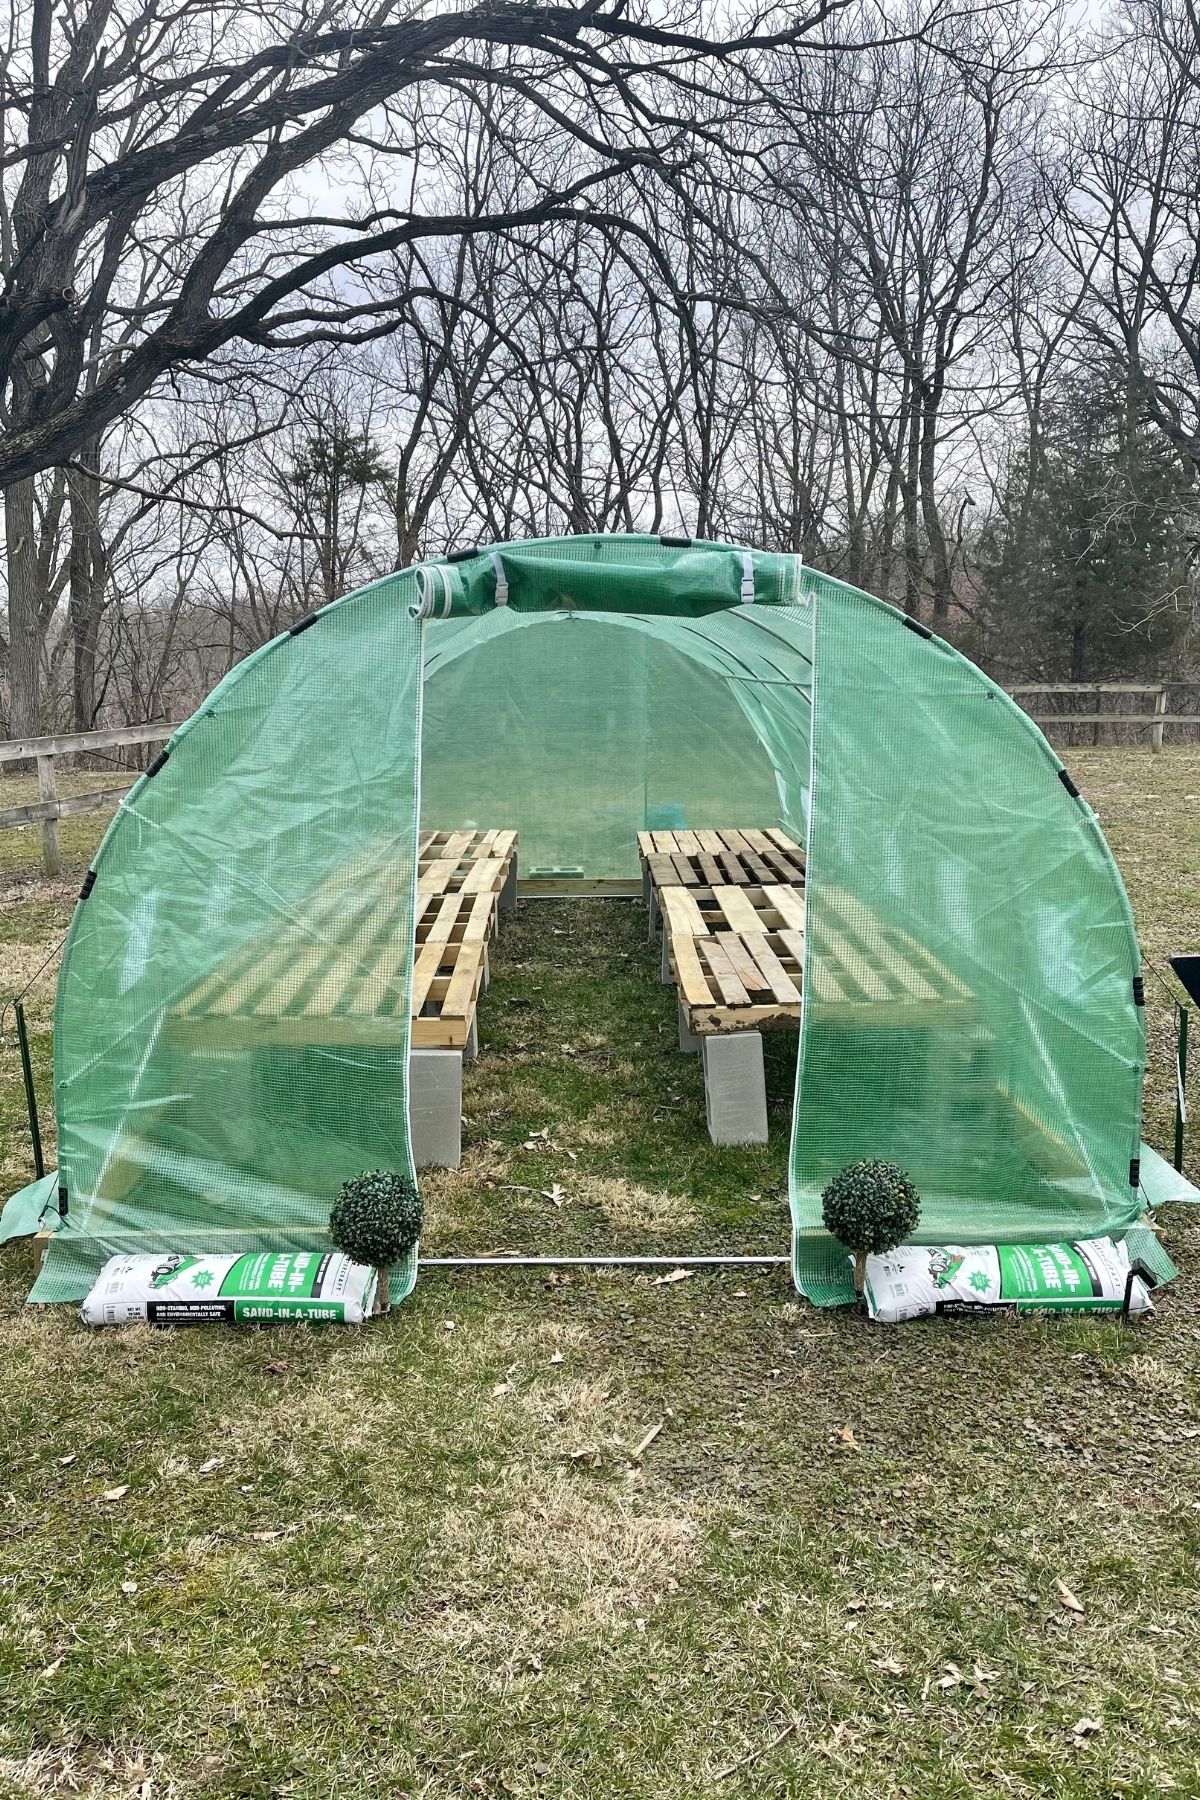
Following your greenhouse manufacturer's instructions, set up the greenhouse completely. The one pictured is an Aoxum Large Walk-In Greenhouse in size, 10'x20'x7' with a single door opening.
The measurements listed below are for the above-mentioned greenhouse specifically. Adjust your greenhouse stabilizer to fit your own choice before cutting wood for the build.
How to Build a Greenhouse Stabilizer
Place the 22' boards on the left side and right side of the greenhouse that has been assembled. If you do not have 22' longboards, you can follow the same procedure we did.
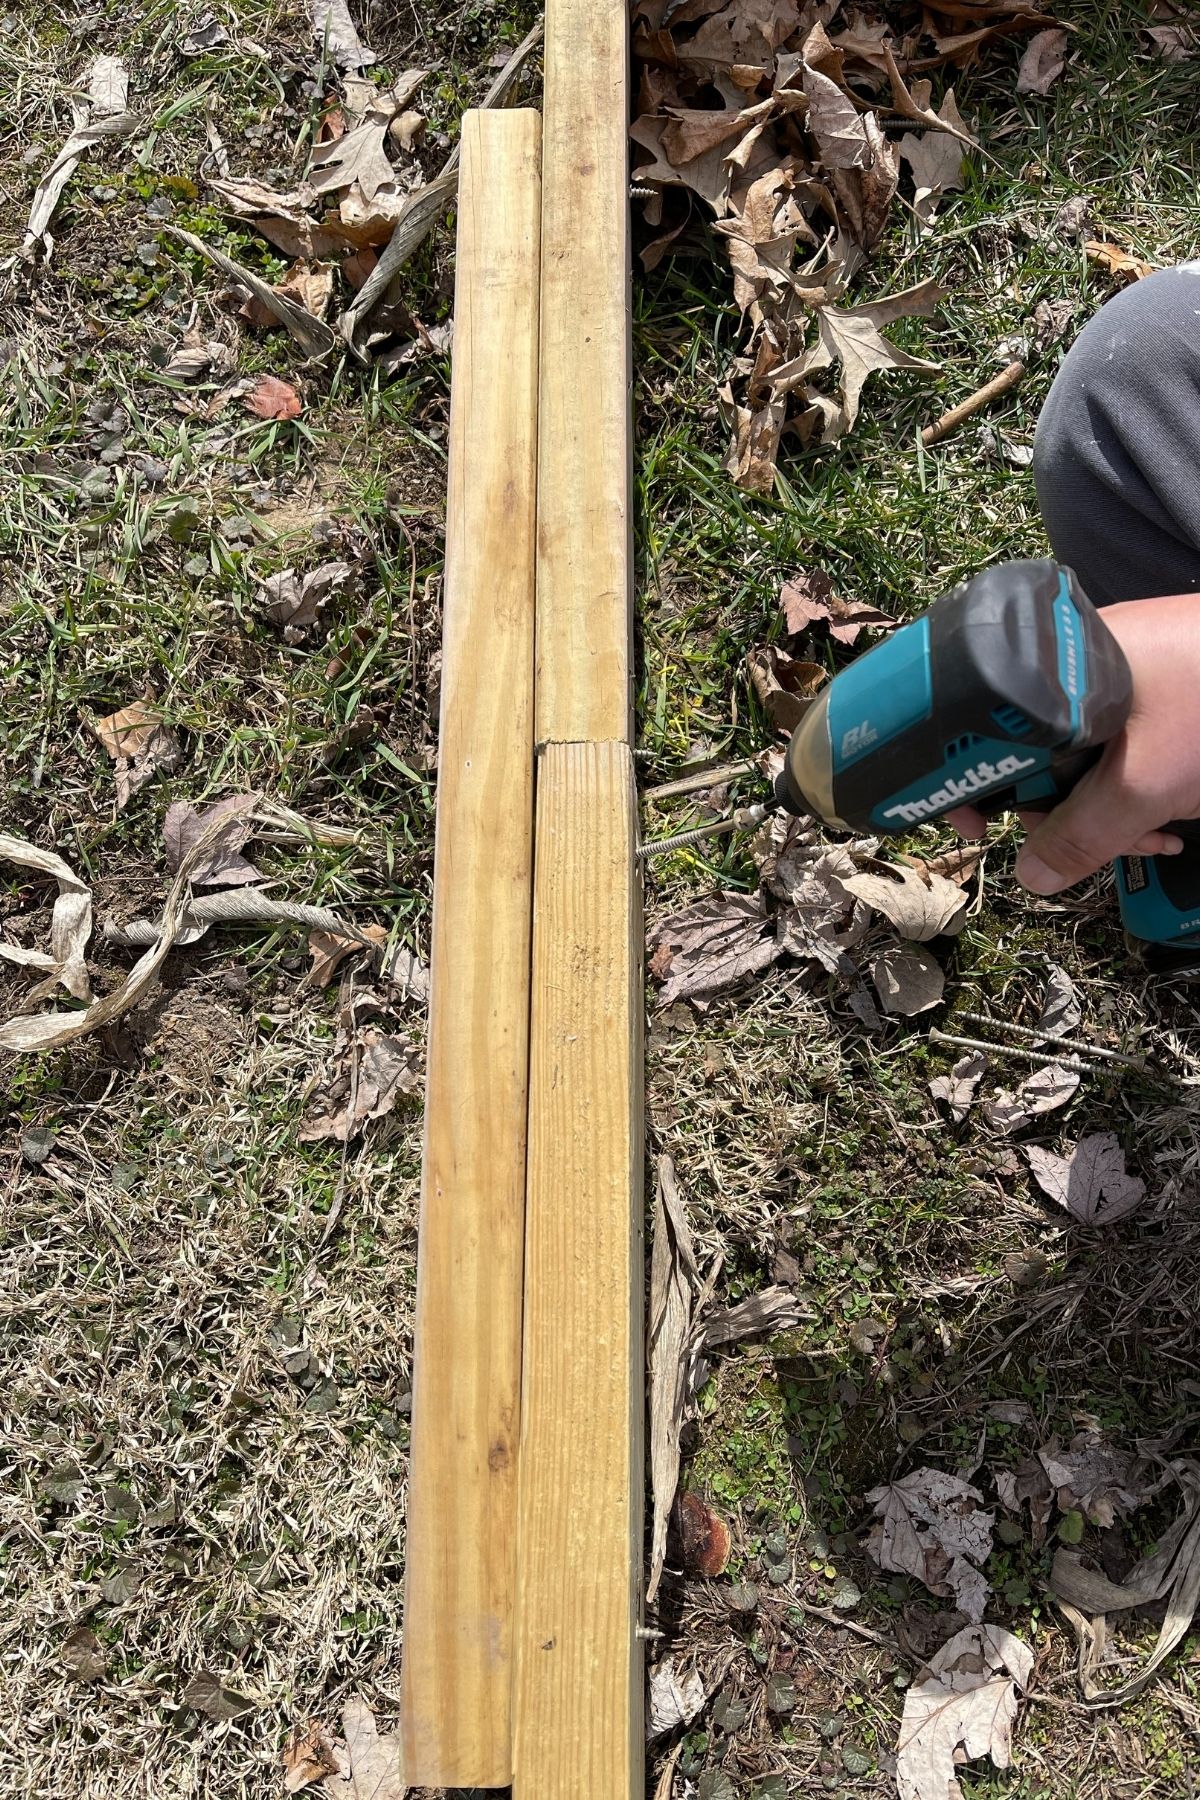
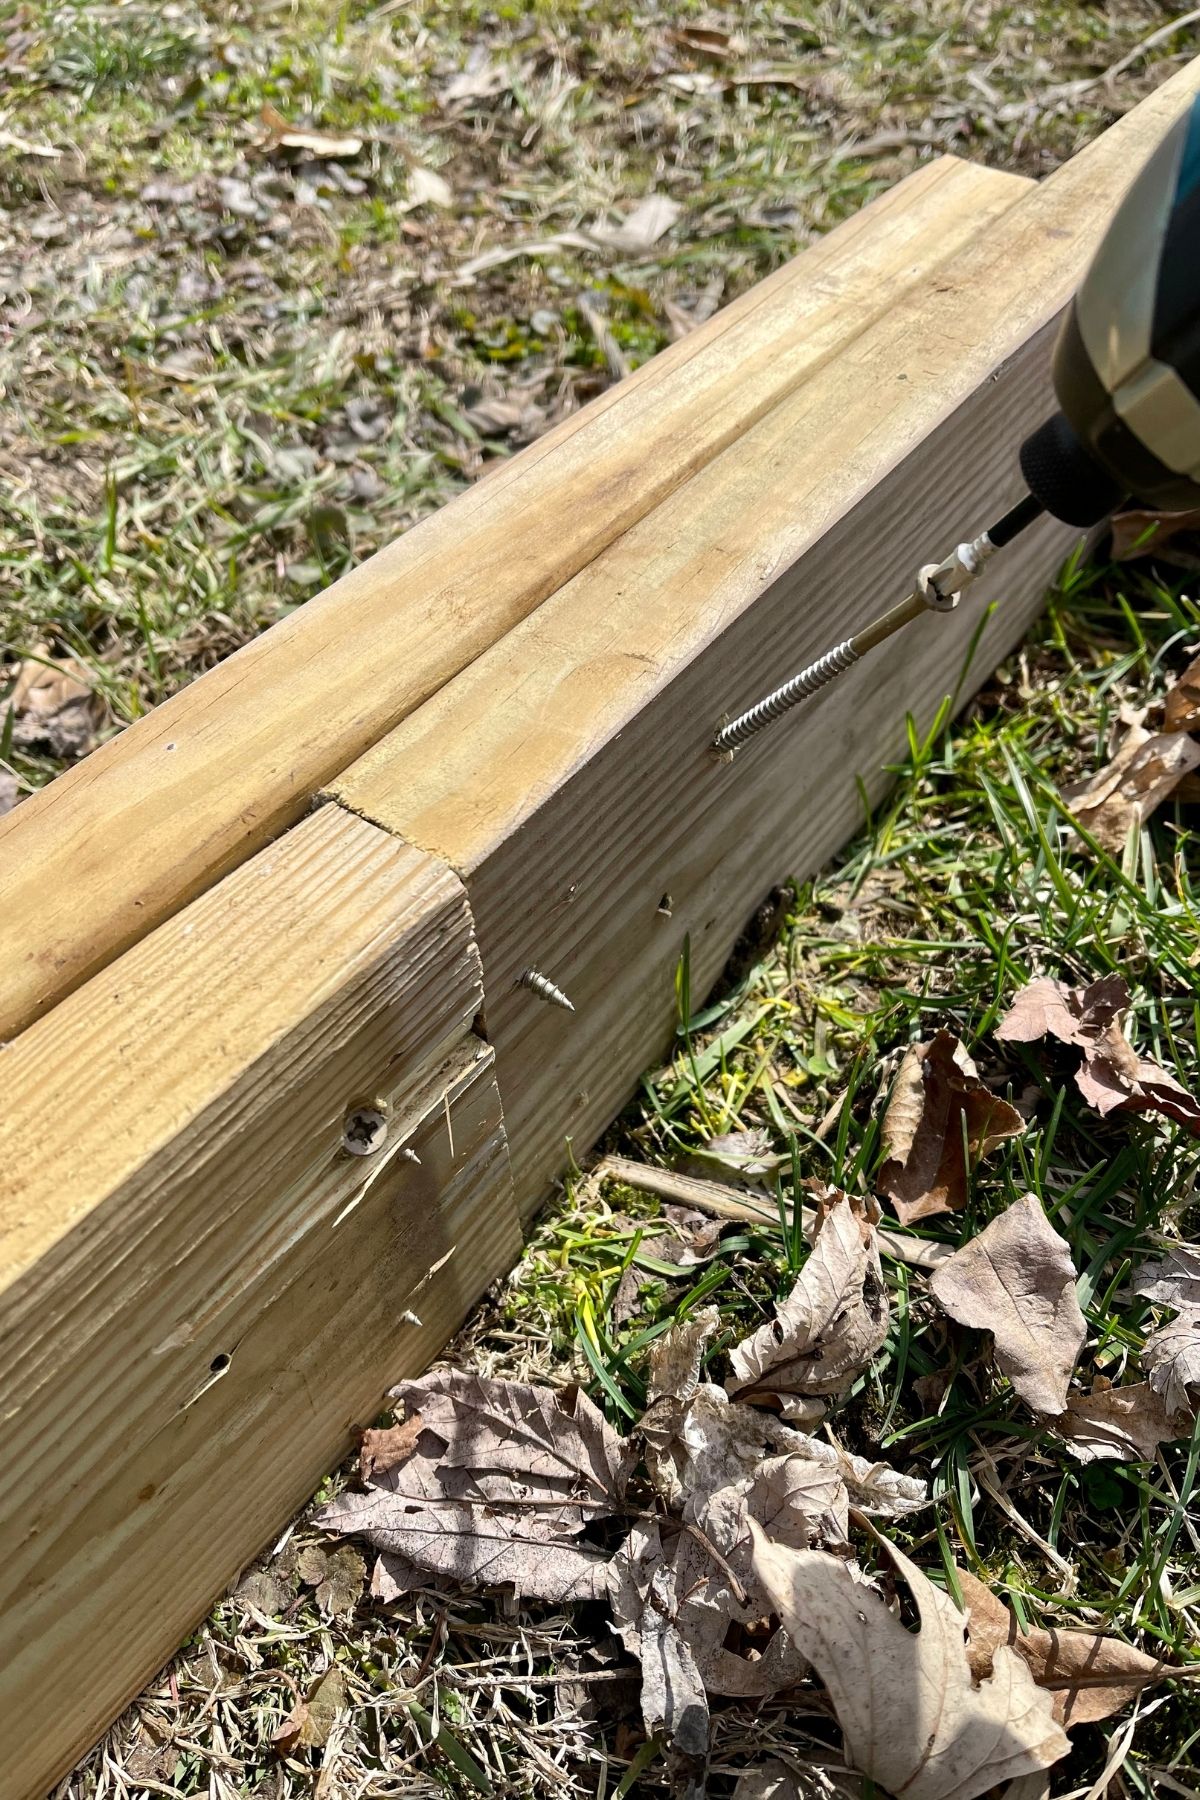
Using 18' boards, we cut an additional 2.05 feet of the same type of board to create the full 20.5 feet needed on each side. We then sistered the 18' board to the 2.05' board with a 3' board on the outside. This was secured with 8 wood screws from the inside going directly through the wood to the outside. Then, we additionally secured the wood by screwing it from the outside to the inside at an angle. The screws going in at an angle add extra support as shown below.
Measure the back of the greenhouse frame from the inside corner of the side lumber support, to the other inside corner of the lumber support (from left to right). Make note of that measurement. Take into consideration the width of the sideboard adds length to the back. Ours was 9'9".
Measure the front of the greenhouse from the inside front corner of the side board to the opening of the door on the greenhouse, and take note of the measurement. Repeat this on the opposite side of the front opening. Ours measured 37 ½" on both sides.
Measure and mark your boards, making sure to measure twice before cutting, to verify it is correct. Cut the boards to size and lay near where it will be needed.
When everything has been measured and cut, it is time to assemble your greenhouse stabilizer.
Using the galvanized screws and drill, secure 3 screws from the outside of the sideboard directly into the backboard. Be sure your wood lines up and is level with each other. Repeat this on the opposite side.
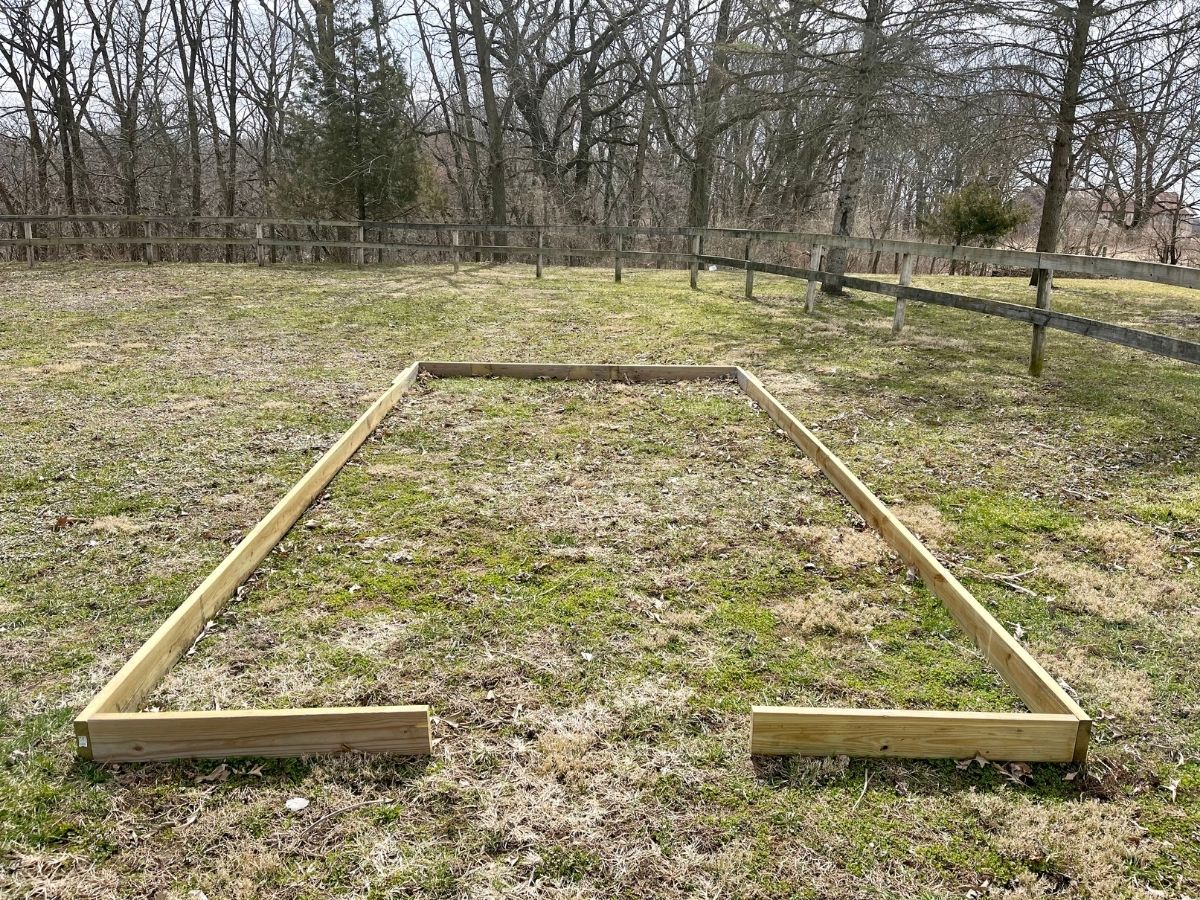
Once both sides are secured, you should have a "u-shaped" frame that is secure.
Move to the front of the frame and repeat the same process securing the 3 screws from the outside of the sideboard to the inside of the front boards. Repeat this on both sides of the front board.
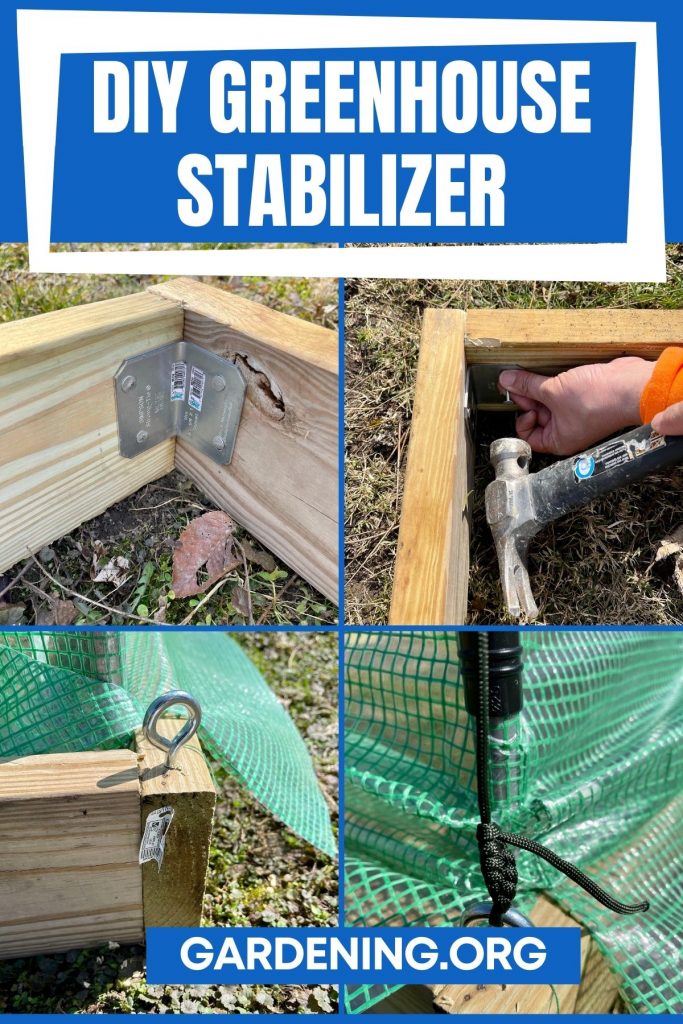
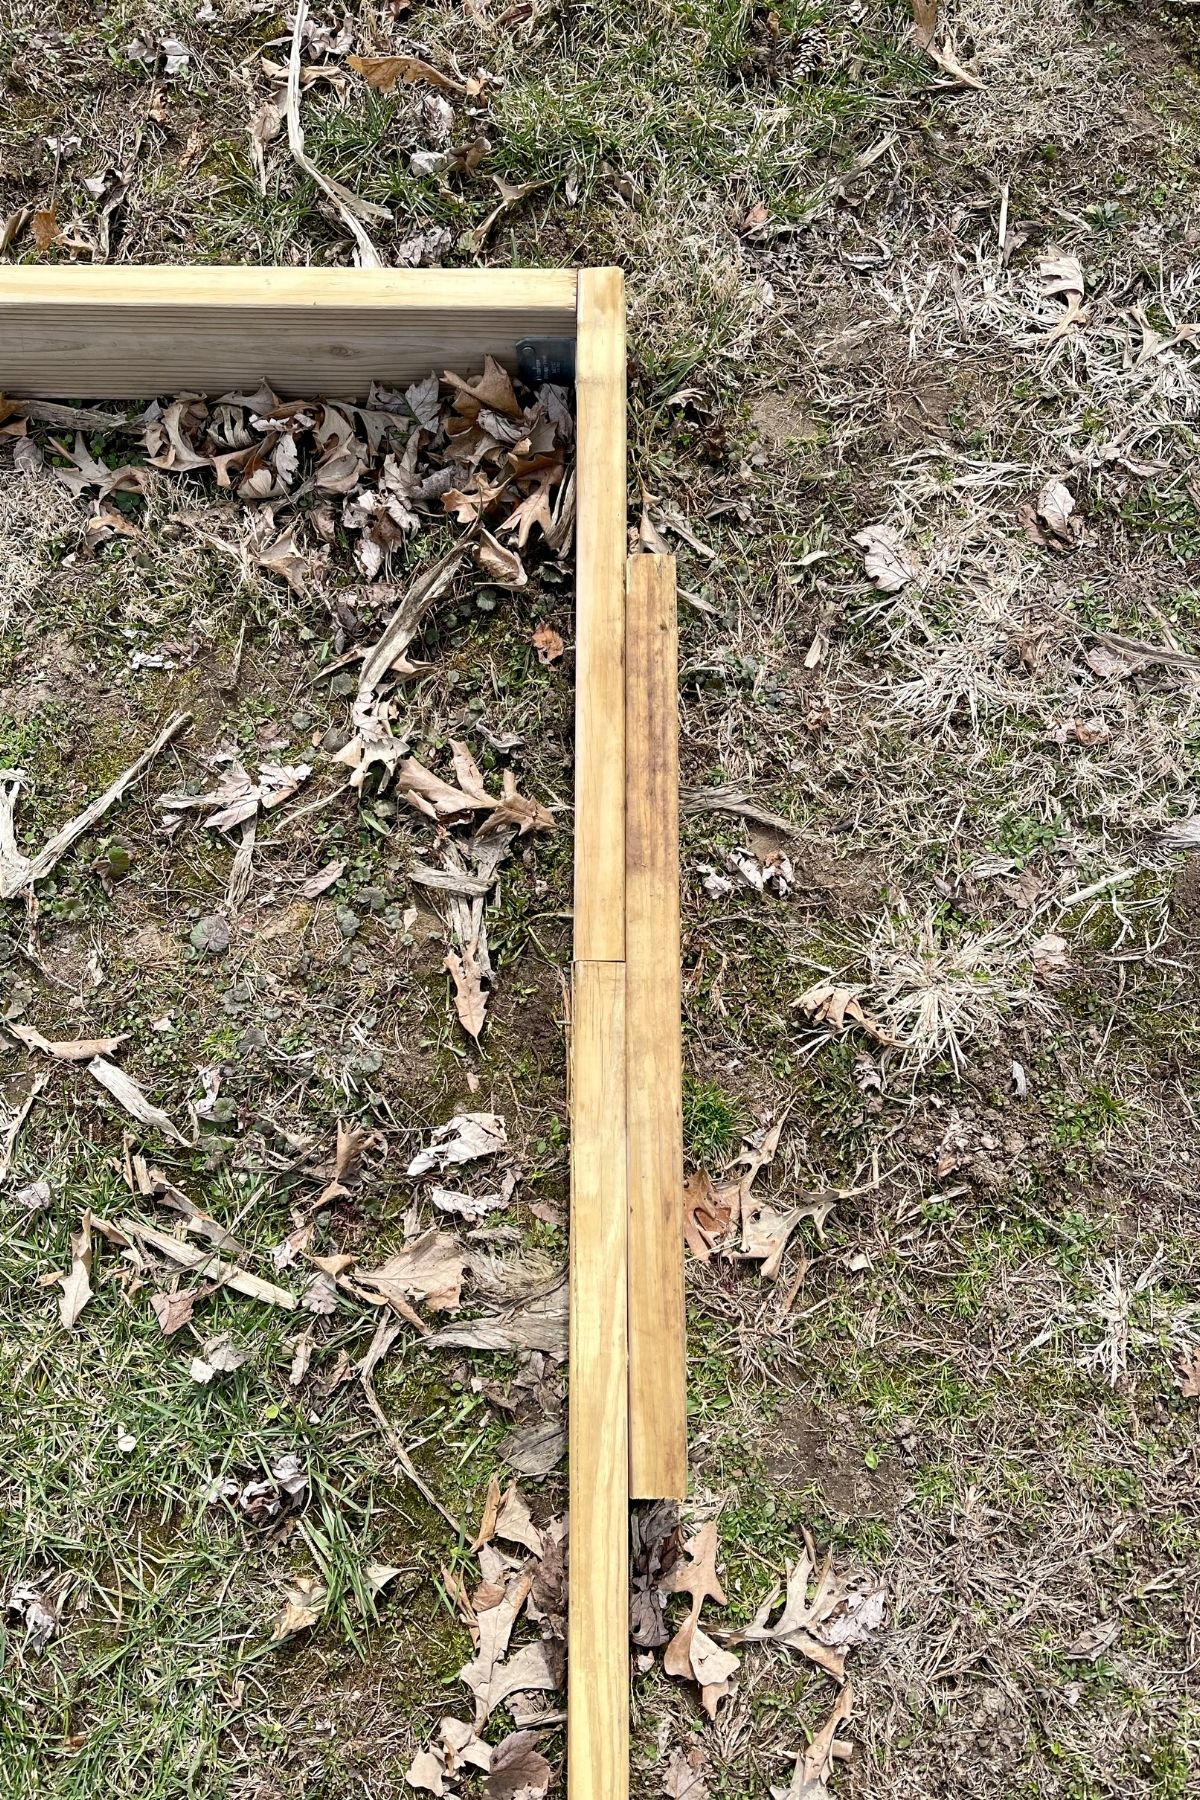
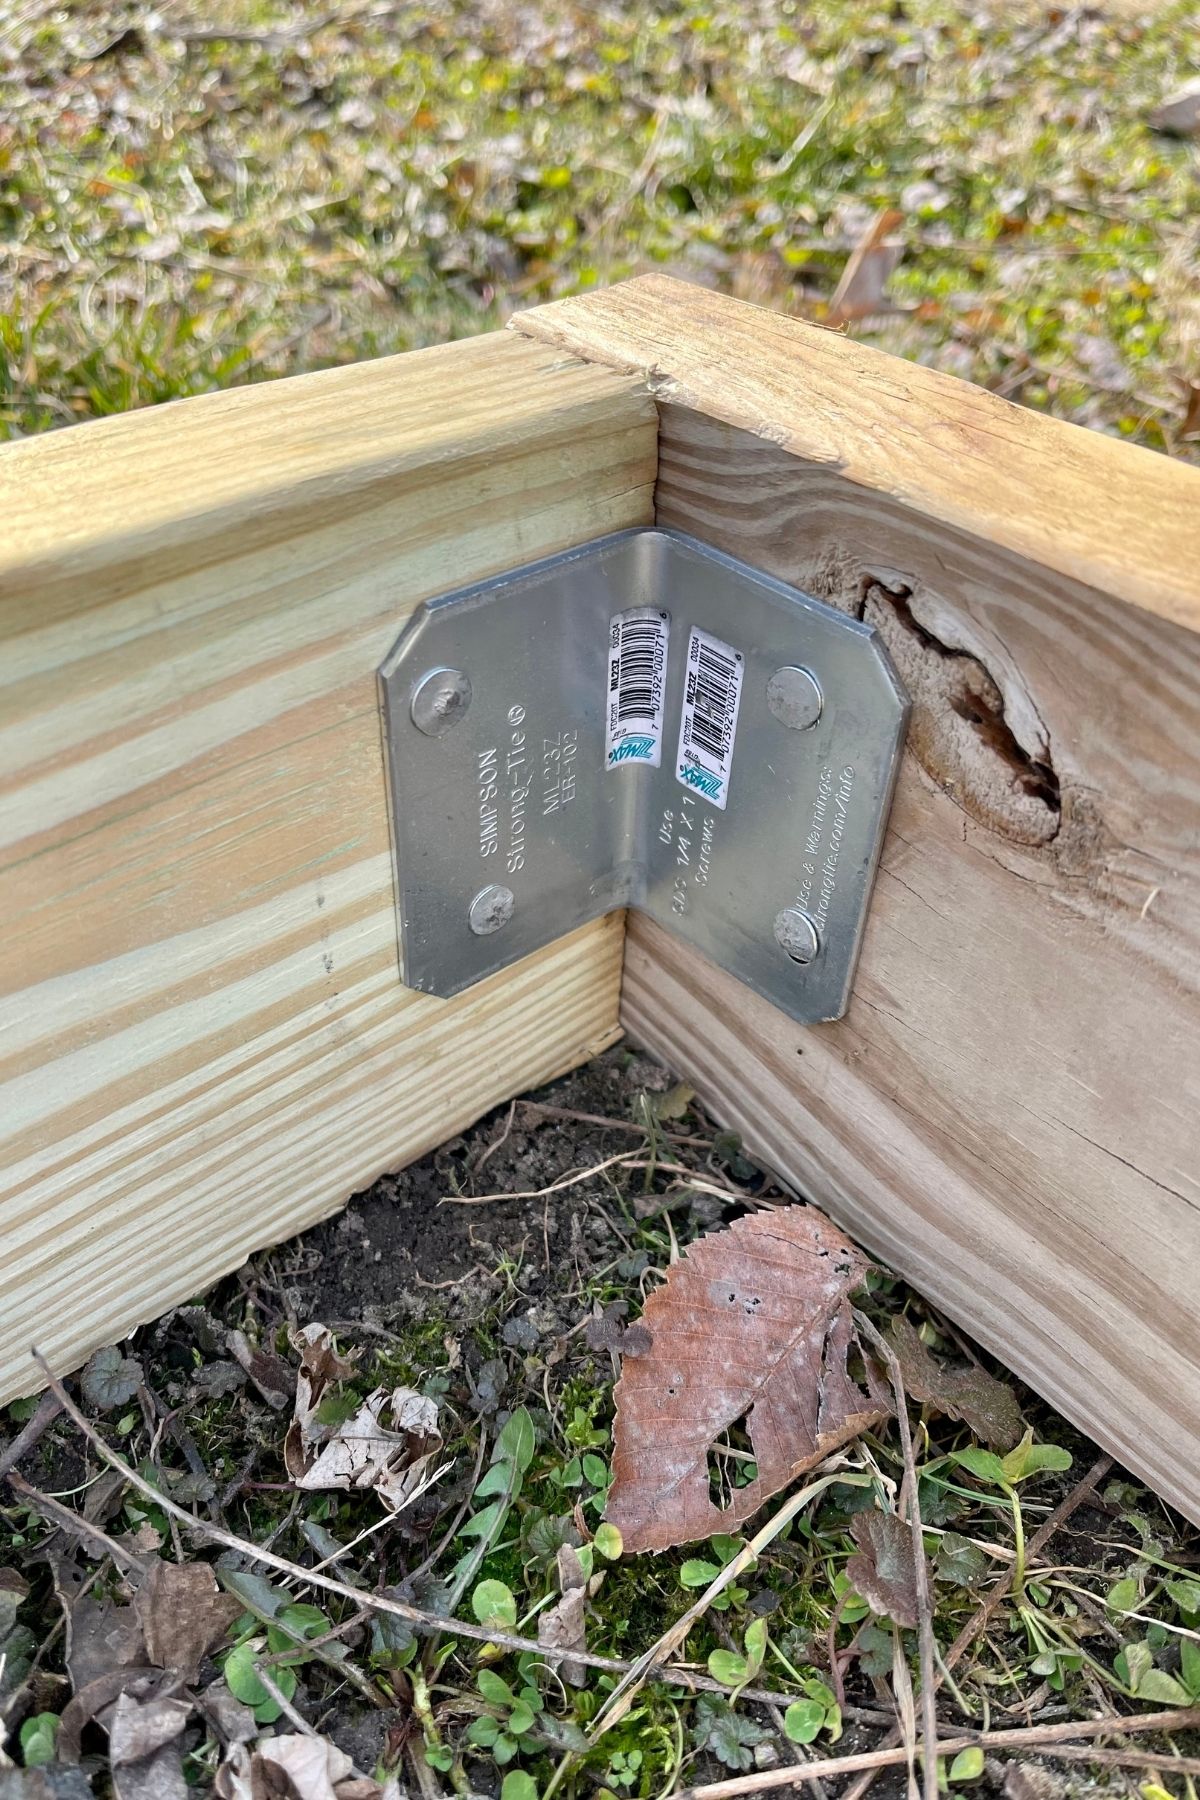
Gather the corner L brackets, your hammer, and 16 nails. Using the corner brackets, add additional support at each corner of the wooden base. Secure by hammering the nails into each corner bracket on the inside of each corner where it meets.
Setup the Assembled Greenhouse
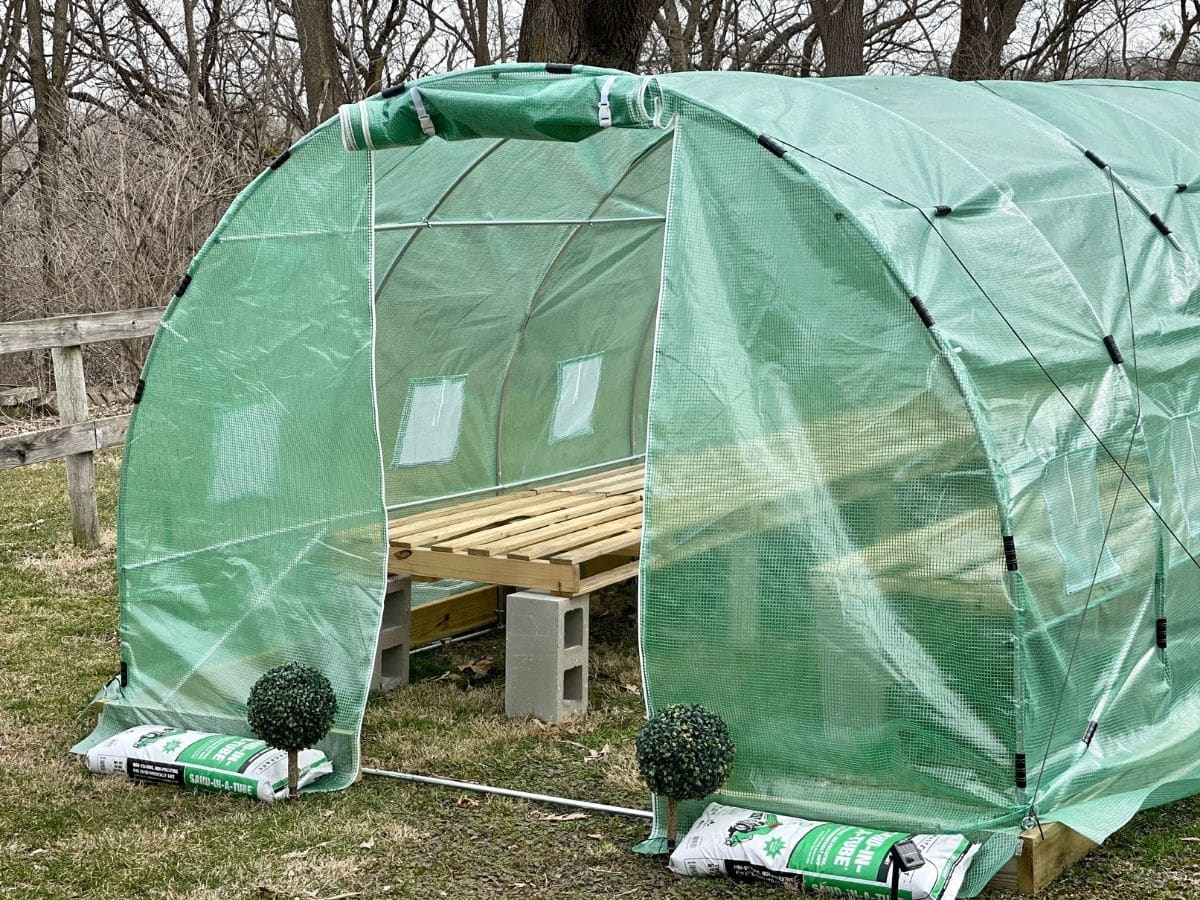
Working with your assistant, place your assembled greenhouse inside the wooden base.
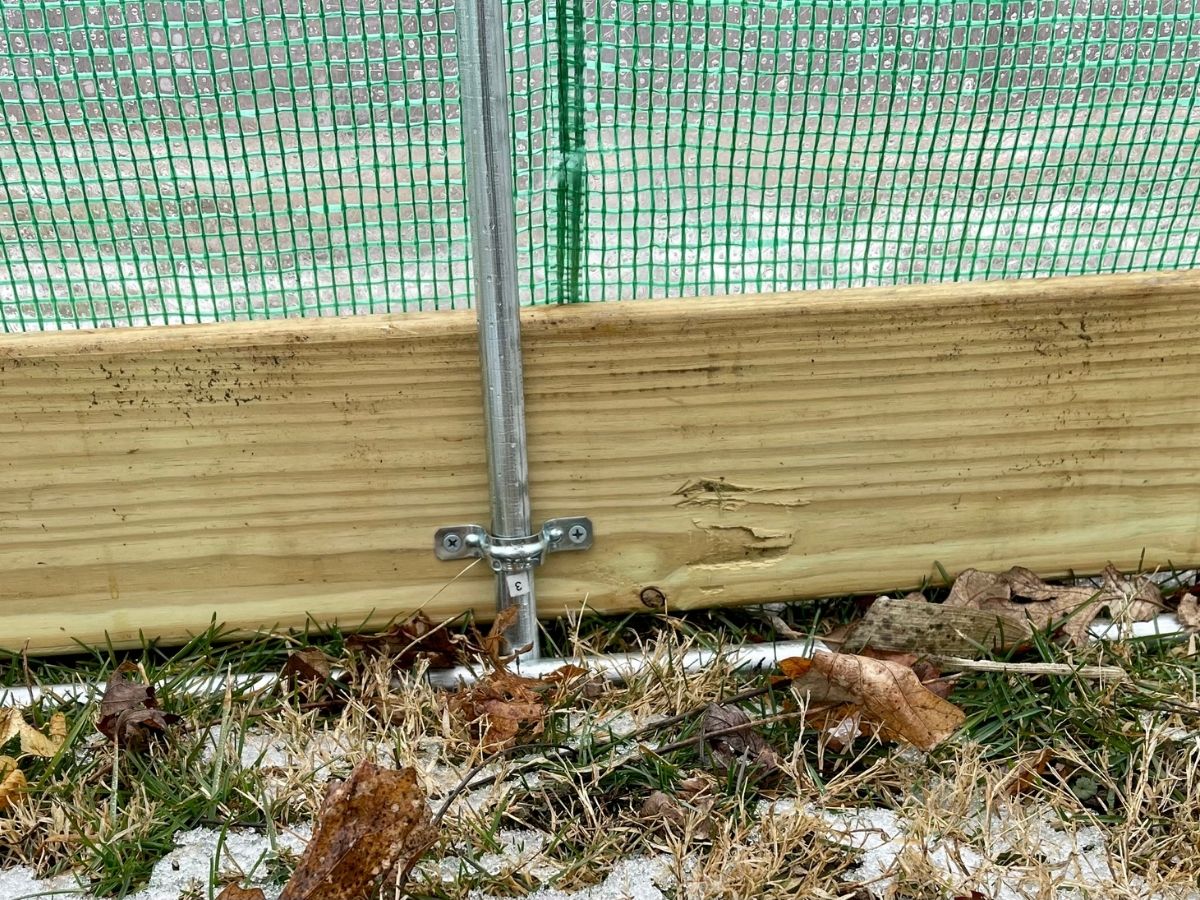
Once in place, begin securing with the 2 hole strap on straps. You will need the drill, 2 hole straps, and a box of 1 ¼" screws.
Secure the greenhouse side support poles to the base support using the screws directly into the wood base. Repeat this process on both sides of your greenhouse. The greenhouse shown has 7 hoops, so there were 14 total 2-hole straps needed to complete. You will need one 2-hole strap per side of each hoop. So, multiple the number of hoops by 2 to get the number you need to purchase.
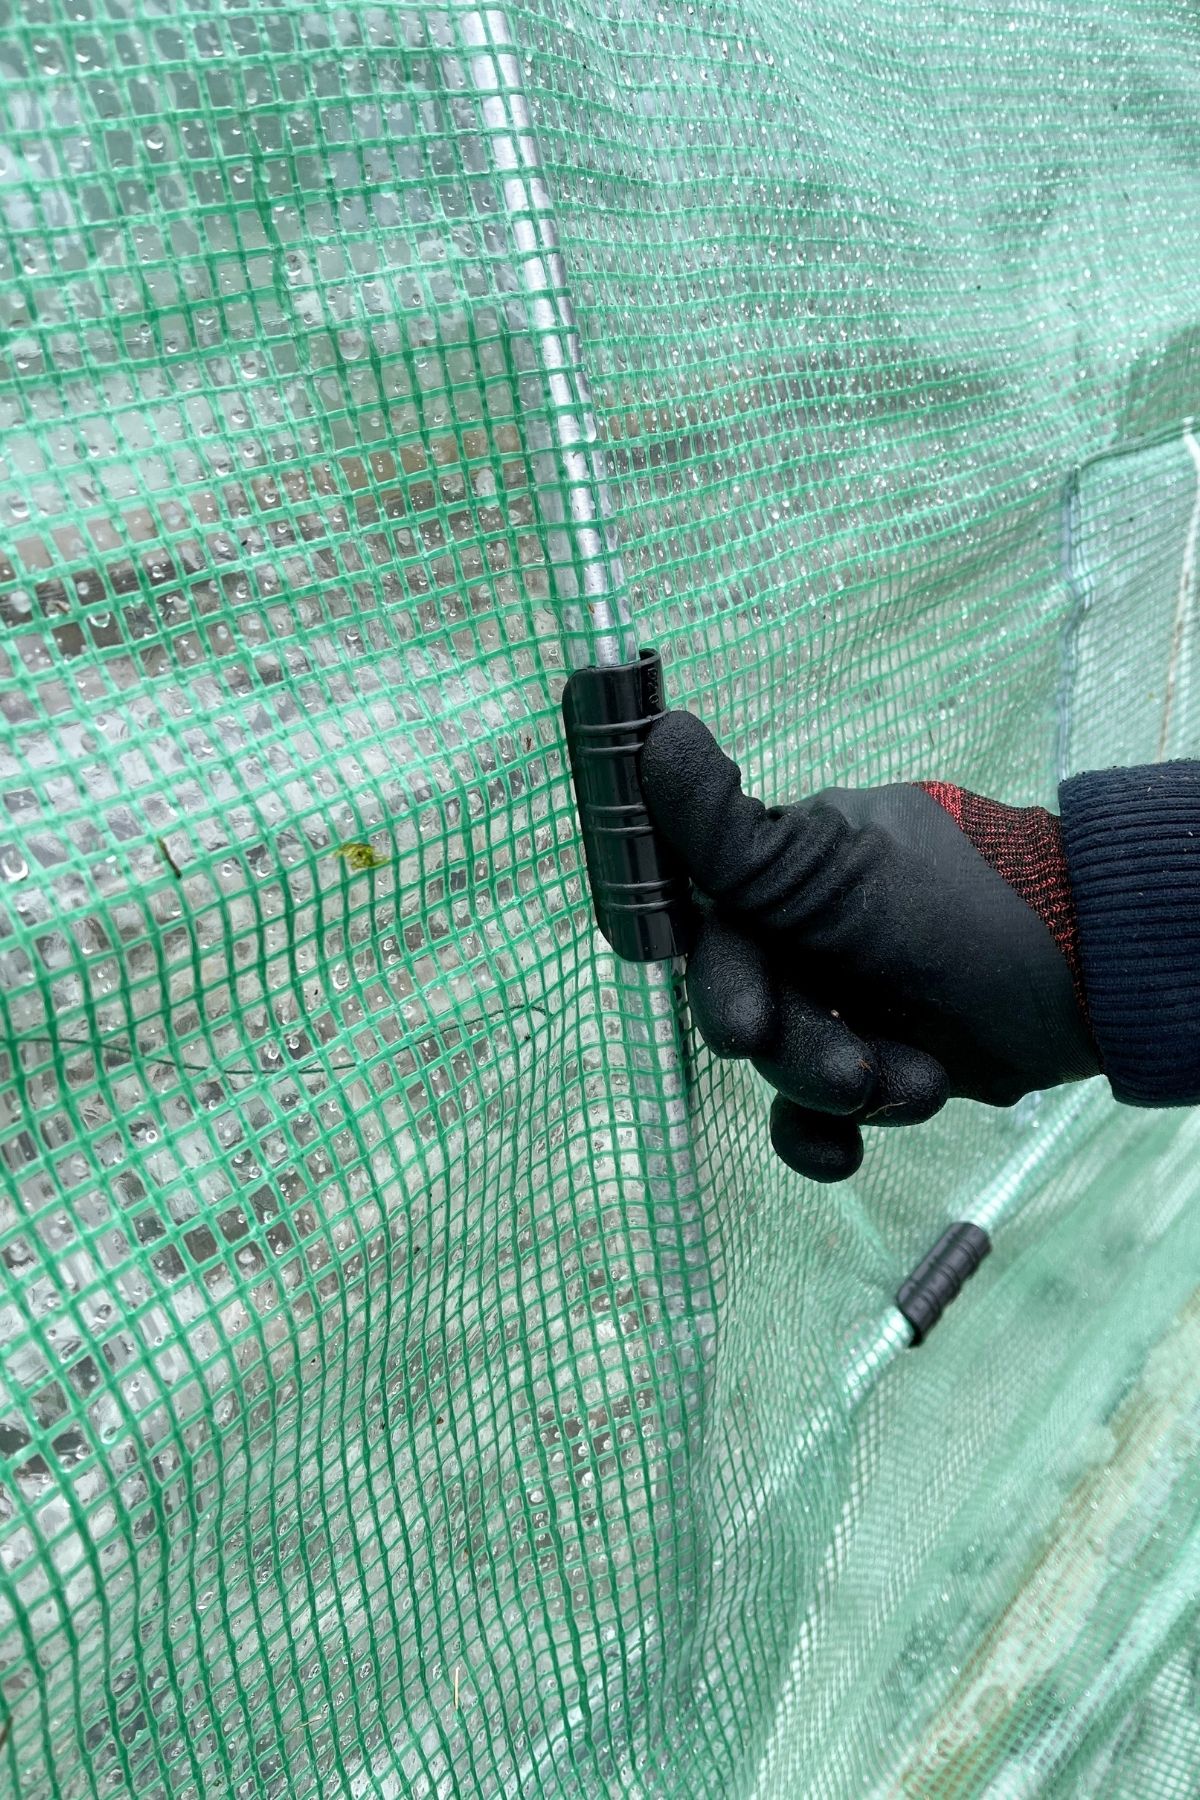
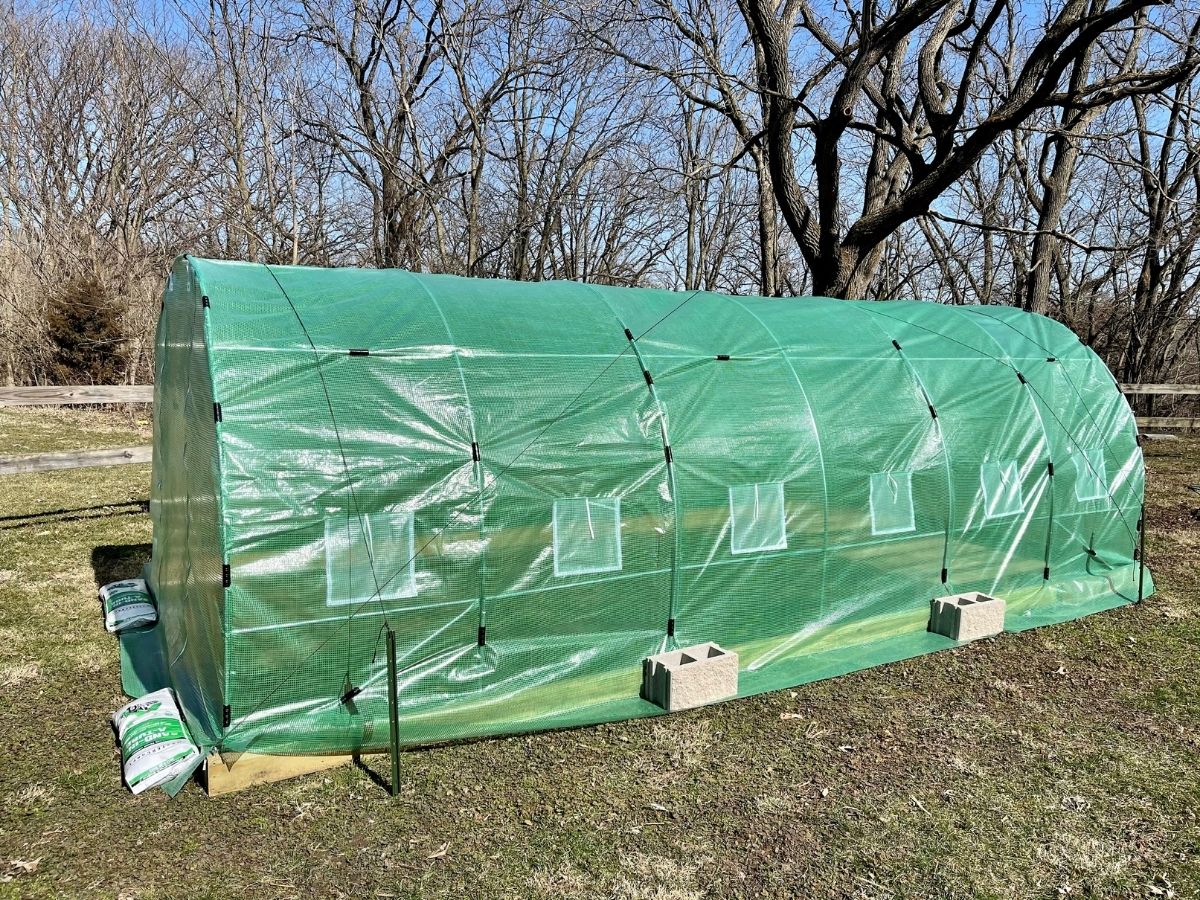
Use your garden building tube clips to secure the tarp as needed. This works best when secured from the outside of the tarp to the steel frame. We used clips on every hoop as well as across the front and the back. Do the front and back only after you complete the sides. Check the seams before securing with a clip to make sure they are in place properly.
Secure the Greenhouse
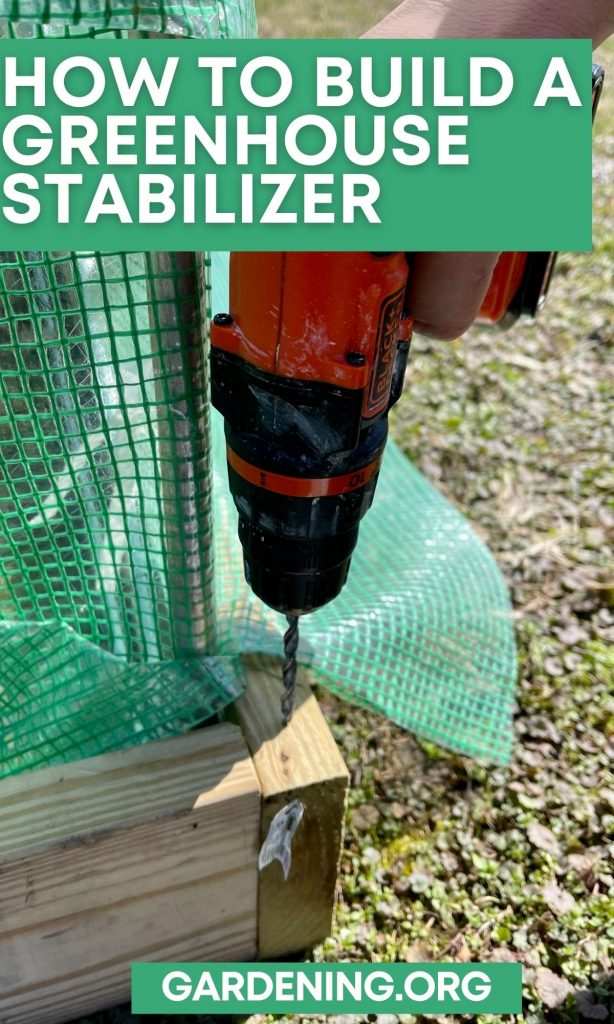
Gather your screw eyes, drill, ¼" drill bit, and paracord rope.
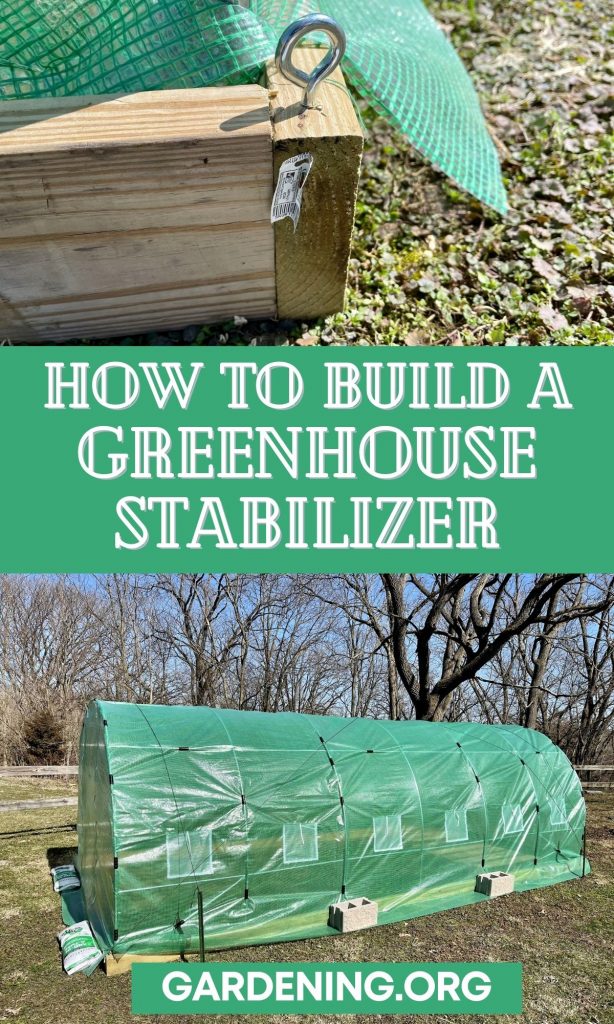
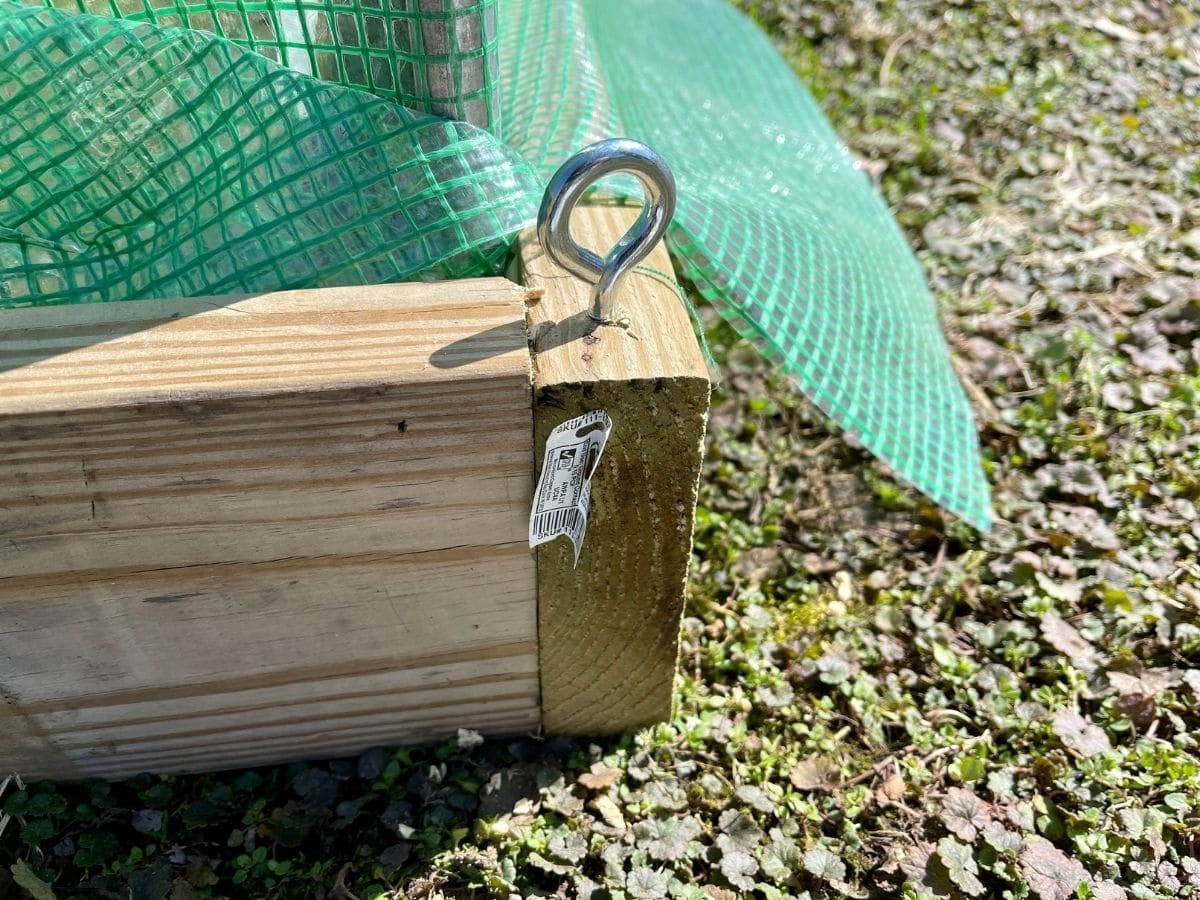
In each corner of the wood base, drill a hole directly down into the wood base. Screw in the screw eyes so there are 4 in each corner.
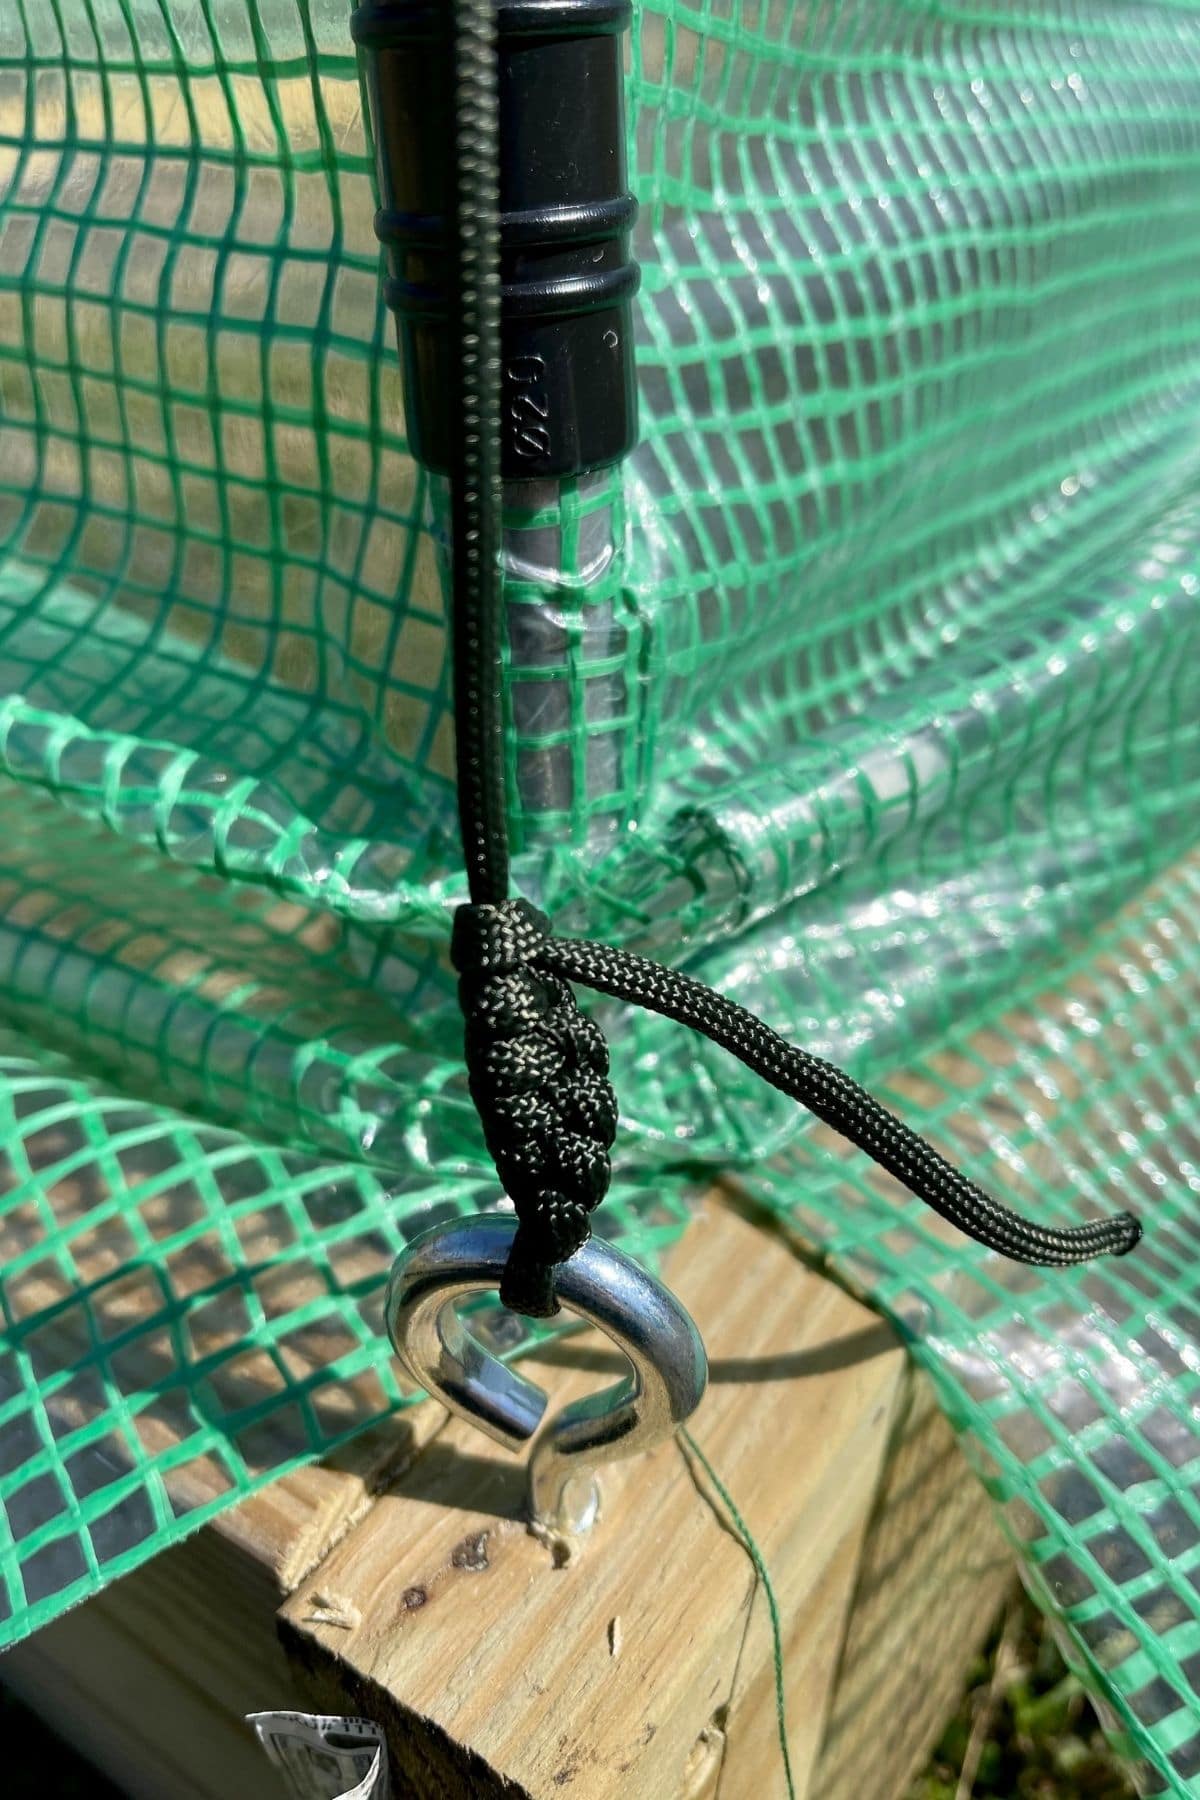
Tie one end of the paracord rope to the screw eye in the front corner. We placed 6 tight knots to create a braided knot. Adding additional knots can add security.
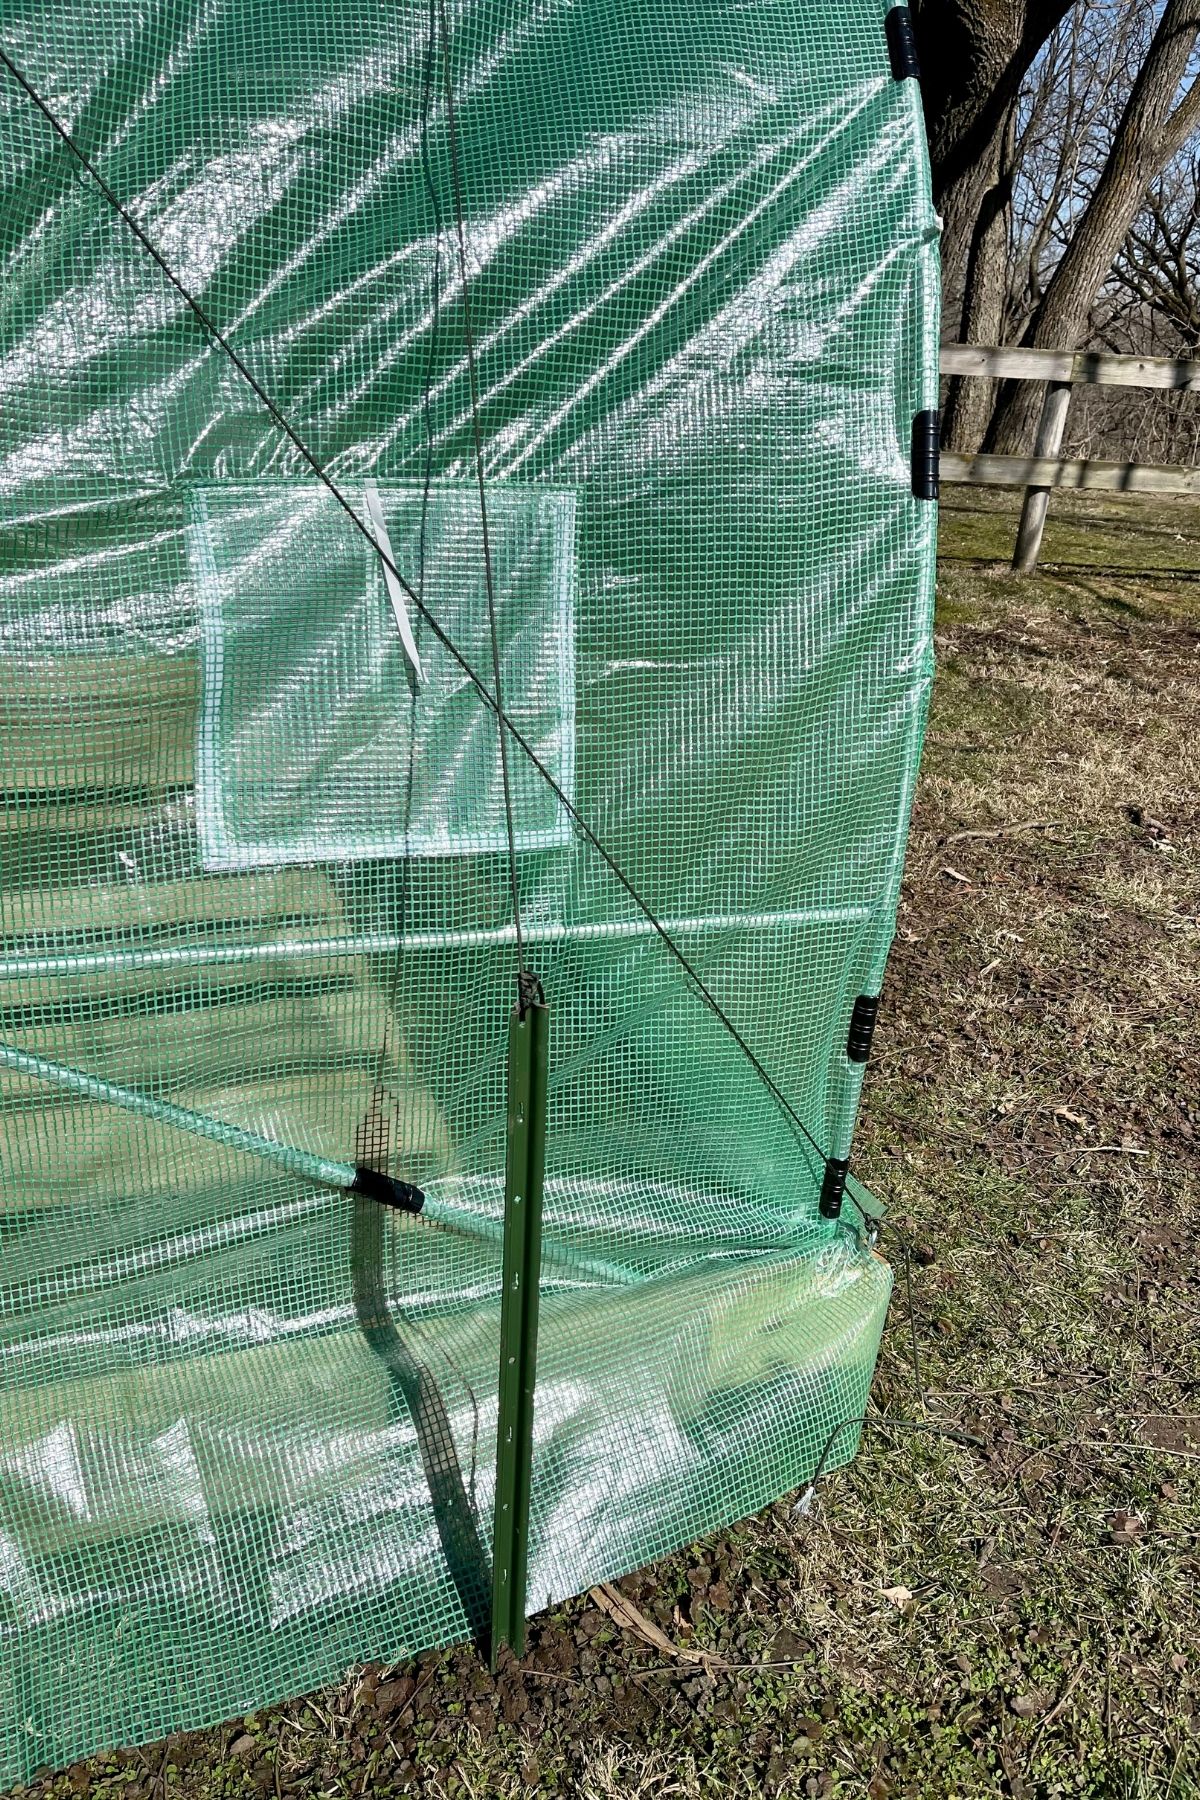
Bring the paracord rope from the front corner to the back opposite corner over the top of the greenhouse. This will require help and may require a ladder. Once across, cut the rope and secure to the screw eye at the back corner using multiple knots as before. Make sure to pull the rope taut before cutting.
Repeat this process on the opposite side. The result will be paracord over your greenhouse in a giant "x" that is secured on all corners to keep the tarp in place.
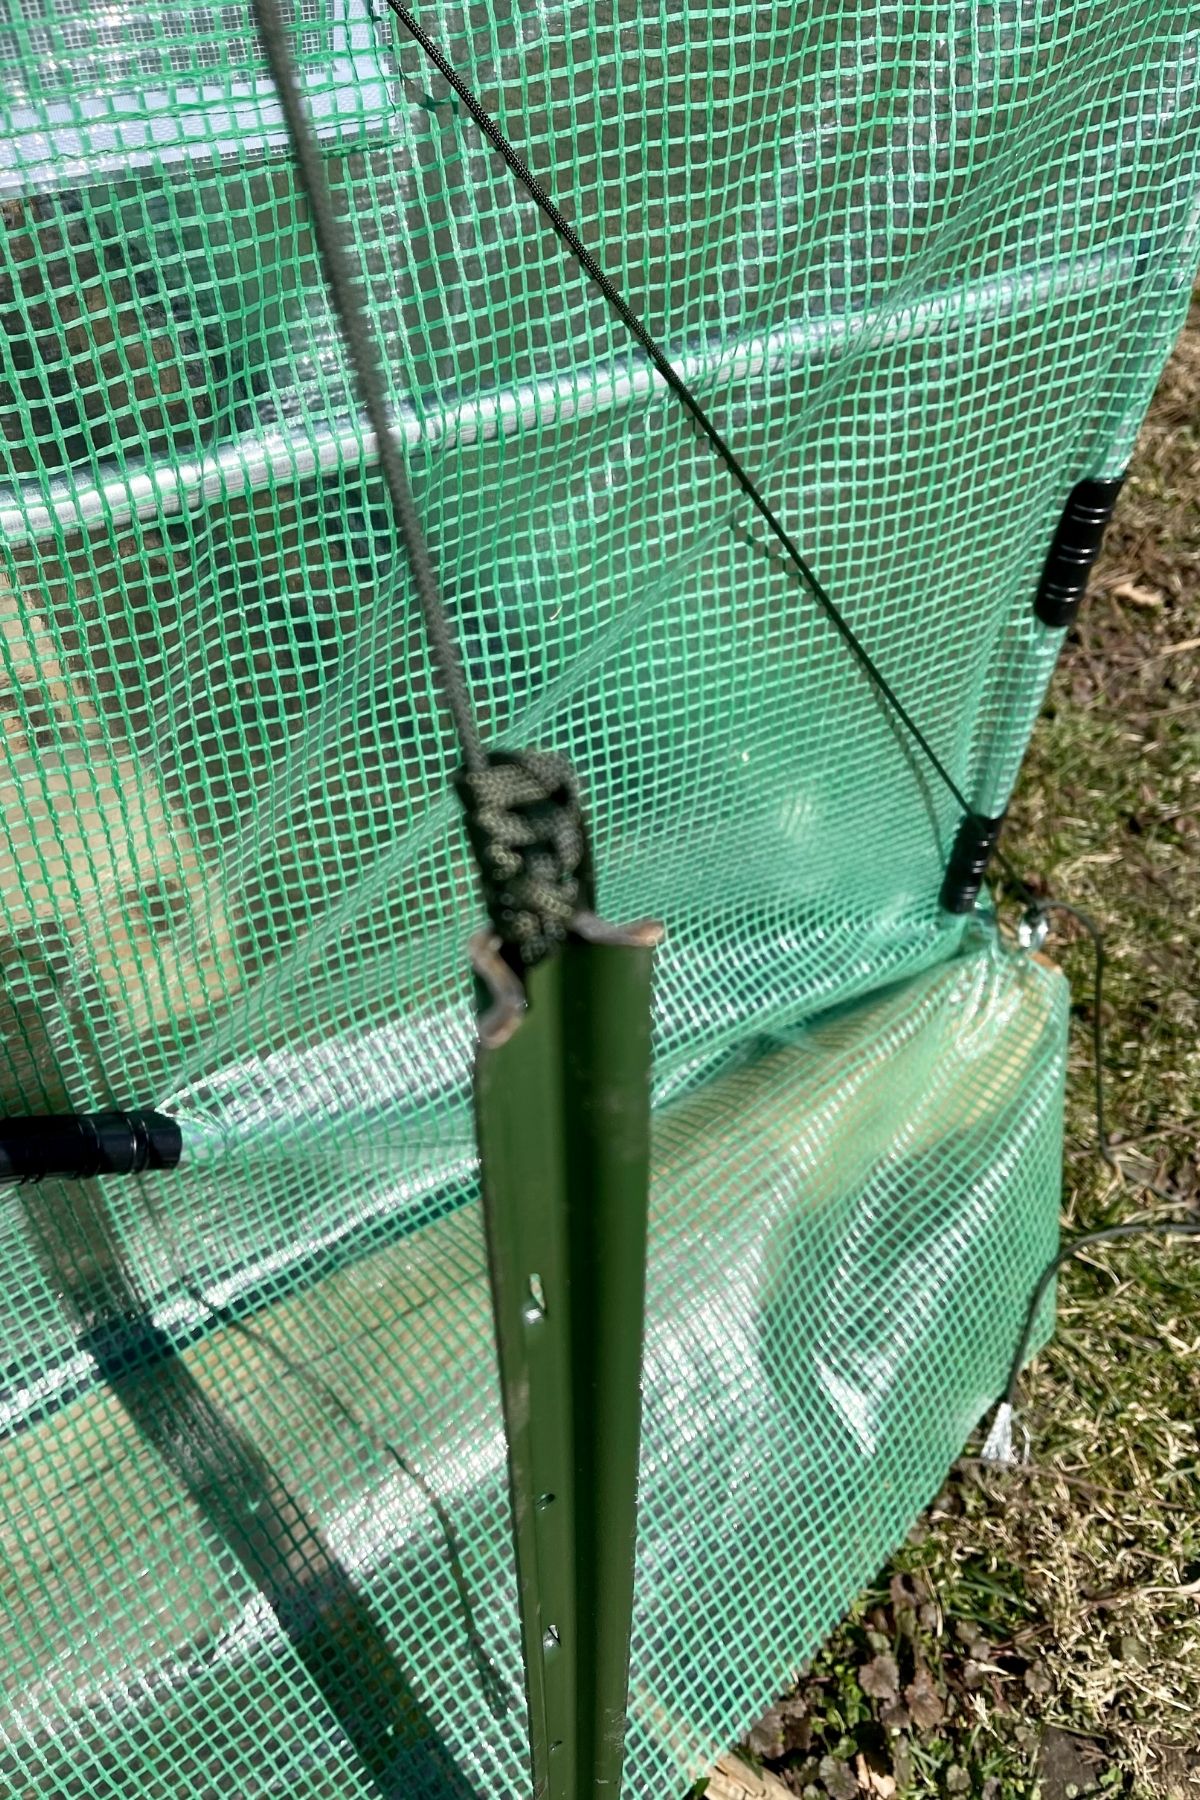
Once in place, you will then move to add stakes around the greenhouse. Gather a hammer, 4 stakes, and an additional paracord.
Hammer the stakes into the ground, using one at each corner, approximately 1 foot away from the greenhouse.
Secure the paracord from the front left over the top of the greenhouse to the front right and then attach to the stakes on both sides with multiple knots for added security. Repeat this process on the back of the greenhouse.
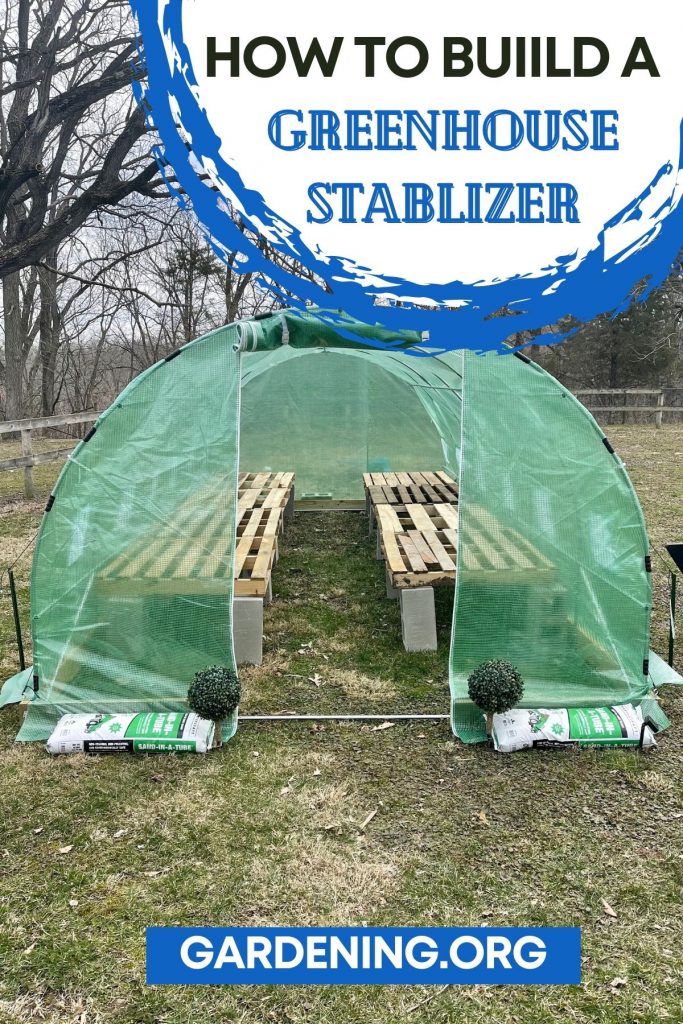
A final step to secure the edges is to place sandbags over the tarp in the front of the greenhouse so they won't flap open and cause tearing.
You can also add cinder blocks on each side of the greenhouse and on the back of the house for added safety keeping the tarp against the ground.
Stabilize your greenhouse with an easy step-by-step tutorial using easy-to-find parts and supplies you may already have on hand! When cutting lumber, always measure twice so no wasted lumber if a cut is incorrect. How to Build a Greenhouse Stabilizer Step by Step Tutorial
Materials
Instructions
How to Build a Greenhouse Stabilizer
Setup the Assembled Greenhouse
Secure the Greenhouse
Notes



Leave a Reply