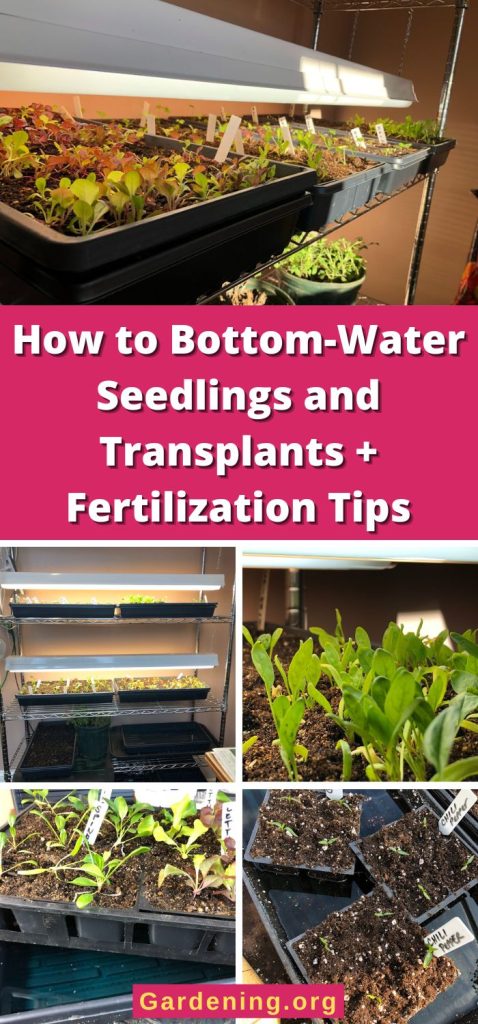
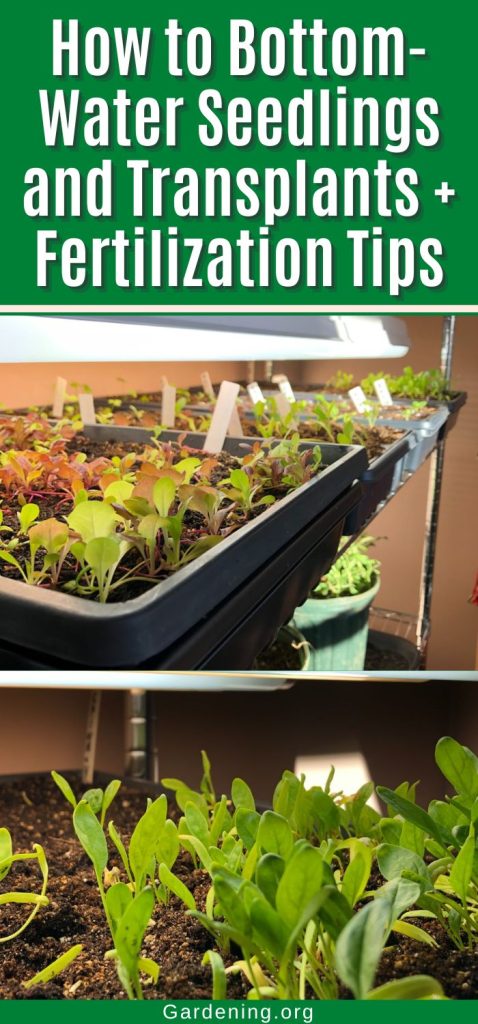
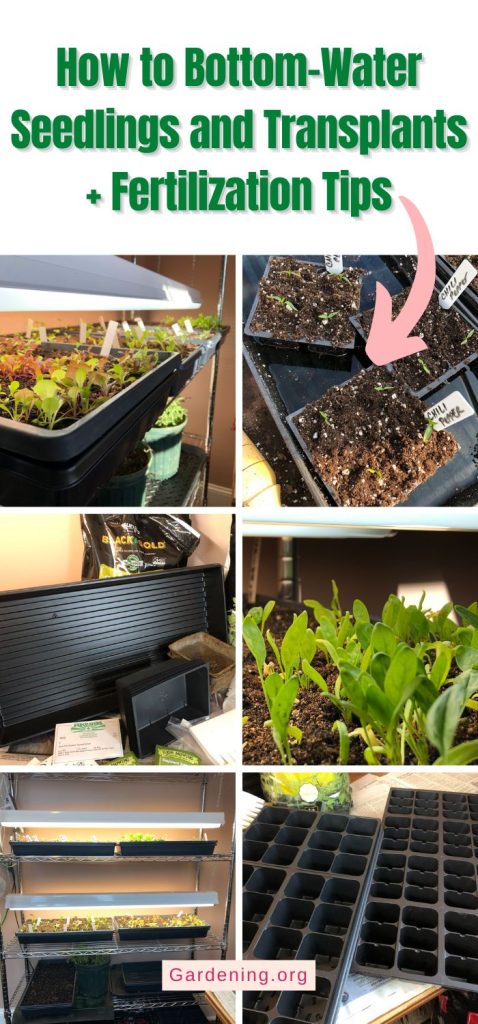
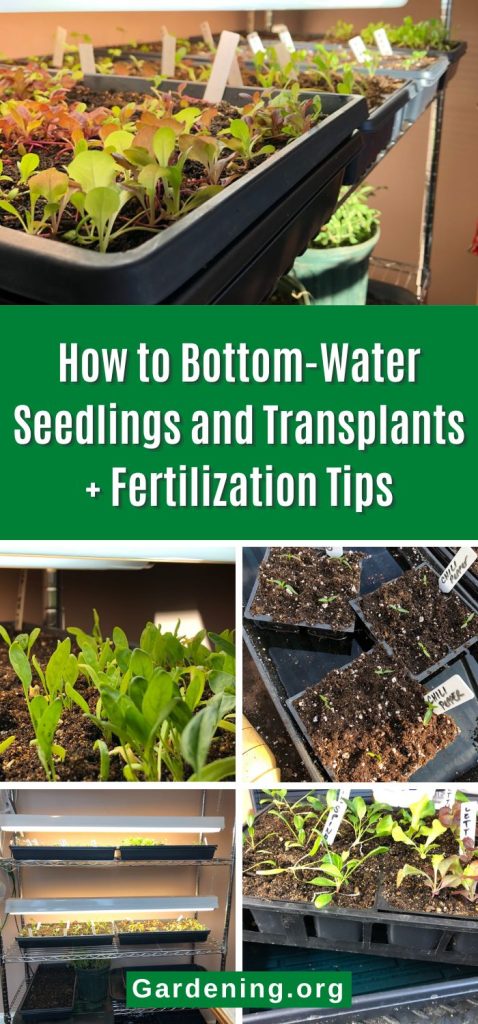
We hear it (or read it) a lot -- “bottom water your seedlings” and transplants.
Indeed, bottom-watering is best for young seedlings and garden transplants. In fact, a different version of bottom watering is best in the garden when the plants are growing in the ground (but that’s a talk for a different day).
But what is bottom watering, exactly? Why should you bottom water? How do you do it? And how do you know when you’ve watered enough?
Jump to:
- What is bottom watering?
- Why is bottom watering best for seedlings and garden transplants?
- How do you bottom water seedlings and transplants?
- How do you know your plants have gotten enough water when bottom watering?
- How often should you bottom water seedlings and transplants?
- Tips to Make Bottom Watering Faster and Easier
- Tips for Fertilizing Seedlings and Transplants When Bottom-Watering
What is bottom watering?
Bottom watering means that instead of pouring or sprinkling water over the top of your seedlings into their pots, you place the pots in a bath of water and let the soil absorb and soak up water.
Bottom watering is really very simple. And it’s easy to do, once you know how to do it—and how not to do it.
Why is bottom watering best for seedlings and garden transplants?
Bottom watering is the best way to make sure your plants are evenly watered all the way through the pot. It is also the best way to promote good growth and, very importantly, to prevent disease to prevent one of the most common killers of seedlings.
What does proper bottom watering do for seedlings?
- Keeps water off plant stems and leaves
- Prevents damping off disease, probably the biggest disease killer of young seedlings
- Denies pathogens and fungus the conditions they need to infect plants
- Promotes deep, strong root growth
- Makes sure pots are always watered more than just surface-deep (a key to growing deep roots and strong plants)
- Draws water from the bottom to the top
- Ensures the soil is adequately moist all the way through
- Keeps small plants and tiny seedlings from being drowned or broken from overhead streams of water, especially when stems are young and thin
- Keeps seeds and seedlings from being washed out of the soil during watering
- Reduces soil compaction and lets air get to seedling roots, essential for healthy growth and disease prevention
- Prevents rot in plants and roots
Bottom watering is better for seedlings and transplants than overhead watering, watering with shower-style or spray nozzles, or watering with spray bottles. All of these methods wet the plants’ stems and leaves, which is a sure way to invite disease (especially because young seedlings often need to be watered every one to three days.
These methods are also less likely to evenly moisten the soil. It’s easy to overwater seedlings with overhead methods, and easy to underwater, too, because the top of the soil can look thoroughly wetted when it isn’t and because plants sometimes block the flow of water to the soil.
How do you bottom water seedlings and transplants?
Here’s the right way to bottom water seedlings:
- Make sure your cell packs or pots have drainage holes.
Drainage holes are always a must for all seedlings, anyway, but your pots cannot soak up water if they are not in contact with the water. The drainage holes are how your soil and plants will access the water.
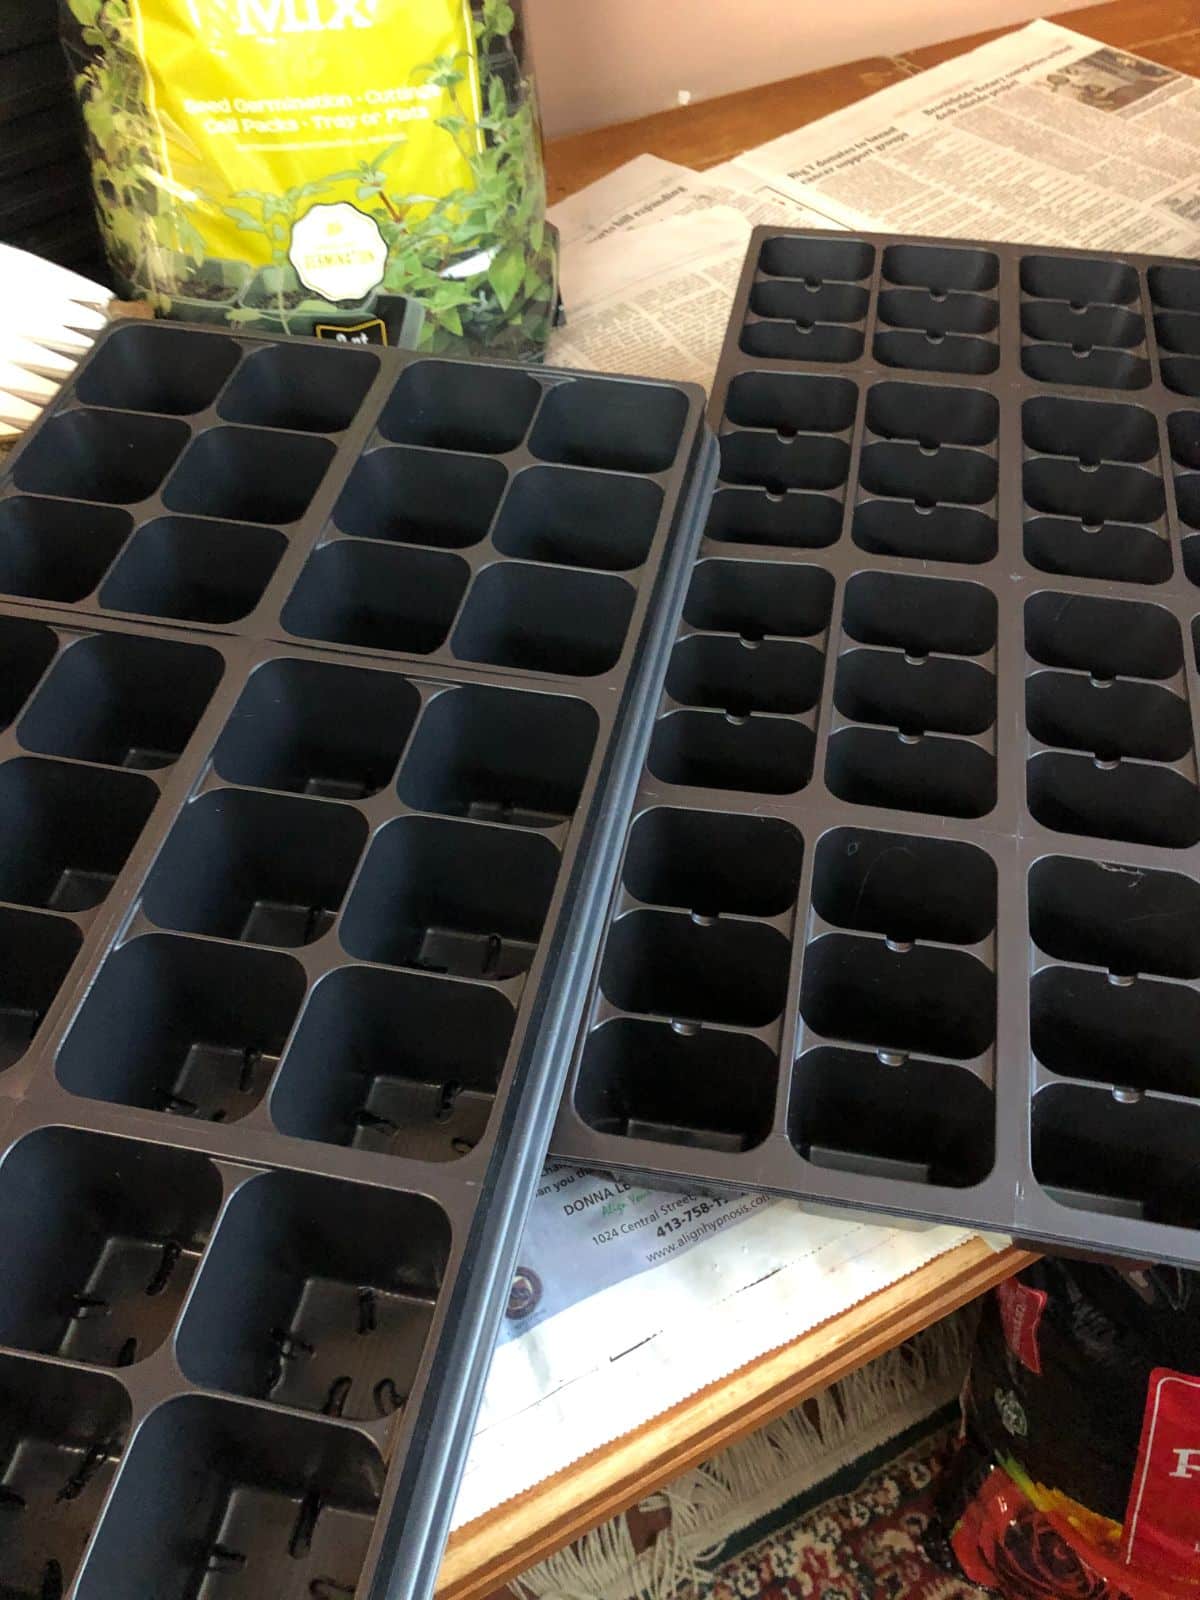
What is a cell pack?
A cell pack is what growers and grower supply companies call the connected, divided trays of pots that are used for growing seedlings until they are transplanted out into the garden. There are different sizes of cell packs. They are usually sold in a sheet, attached but easy to break away, and one sheet of packs will fit in the standard 10 x 20 growing tray or 10 x 20 web tray.
Each pack will have either four or six cells per pack (these are the most common and most popular sizes, but there are others for more specialized plantings). Each sheet will have between six and eight packs per sheet. Thus, a sheet will house between 36 and 48 individual plants, depending on the size you choose to grow in.
In grower terminology, these are called 804, 606, or 608 inserts. (The first number tells you how many cell packs fit in a 10 x 20 tray, and the last number tells you how many cells there are in each pack. So, 804 sheet means there are 4 planting chambers in each pack, and 8 packs fit in a planting tray...or 8 packs that have 4 plants/cells in each pack.)
- Prepare a separate watering tray of lukewarm or room-temperature water.
Fill the tray about three-quarters full of water. This can be a solid plant tray, like a 1020 growing tray, or if you like to upcycle, you can use something like an old baking pan or Tupperware-type container. The tray or container should be shallow, about the same height (or a little shorter) than your cell packs or pots. You don’t want a container that is deep enough for your packs to sink and submerge when they get saturated.
- If fertilizing, add fertilizer to the water.
Use water-soluble fertilizers when needed and add the fertilizer to the water before watering so that the plants can take up the fertilizer with the water. (See below for more tips on fertilizing and a link to a full guide for fertilizing seedlings.)
- Set the pots or cell packs into the tray of water.
Set the packs or pots into the water and leave them there as they absorb enough water. Do not overwater. Your goal is moist soil, not soggy and wet. See the below “Tips” section for ways to make this process faster and easier.
- Remove cell packs or pots from the water.
It is often thought that bottom-watering means you leave the pot in a constant supply of water. This is not the case!
Seedlings in soil need air and oxygen for healthy roots. Saturated soil has no room for air. Roots need to sip water, not bathe in it. Saturated roots develop root rot and will die, killing your plants.
When the soil is moist, remove the packs/pots from the water tray and return them to their growing tray. Do not pour water into the bottom of growing trays to water them, because there is no way to control the amount of water the packs take up this way.
How do you know your plants have gotten enough water when bottom watering?
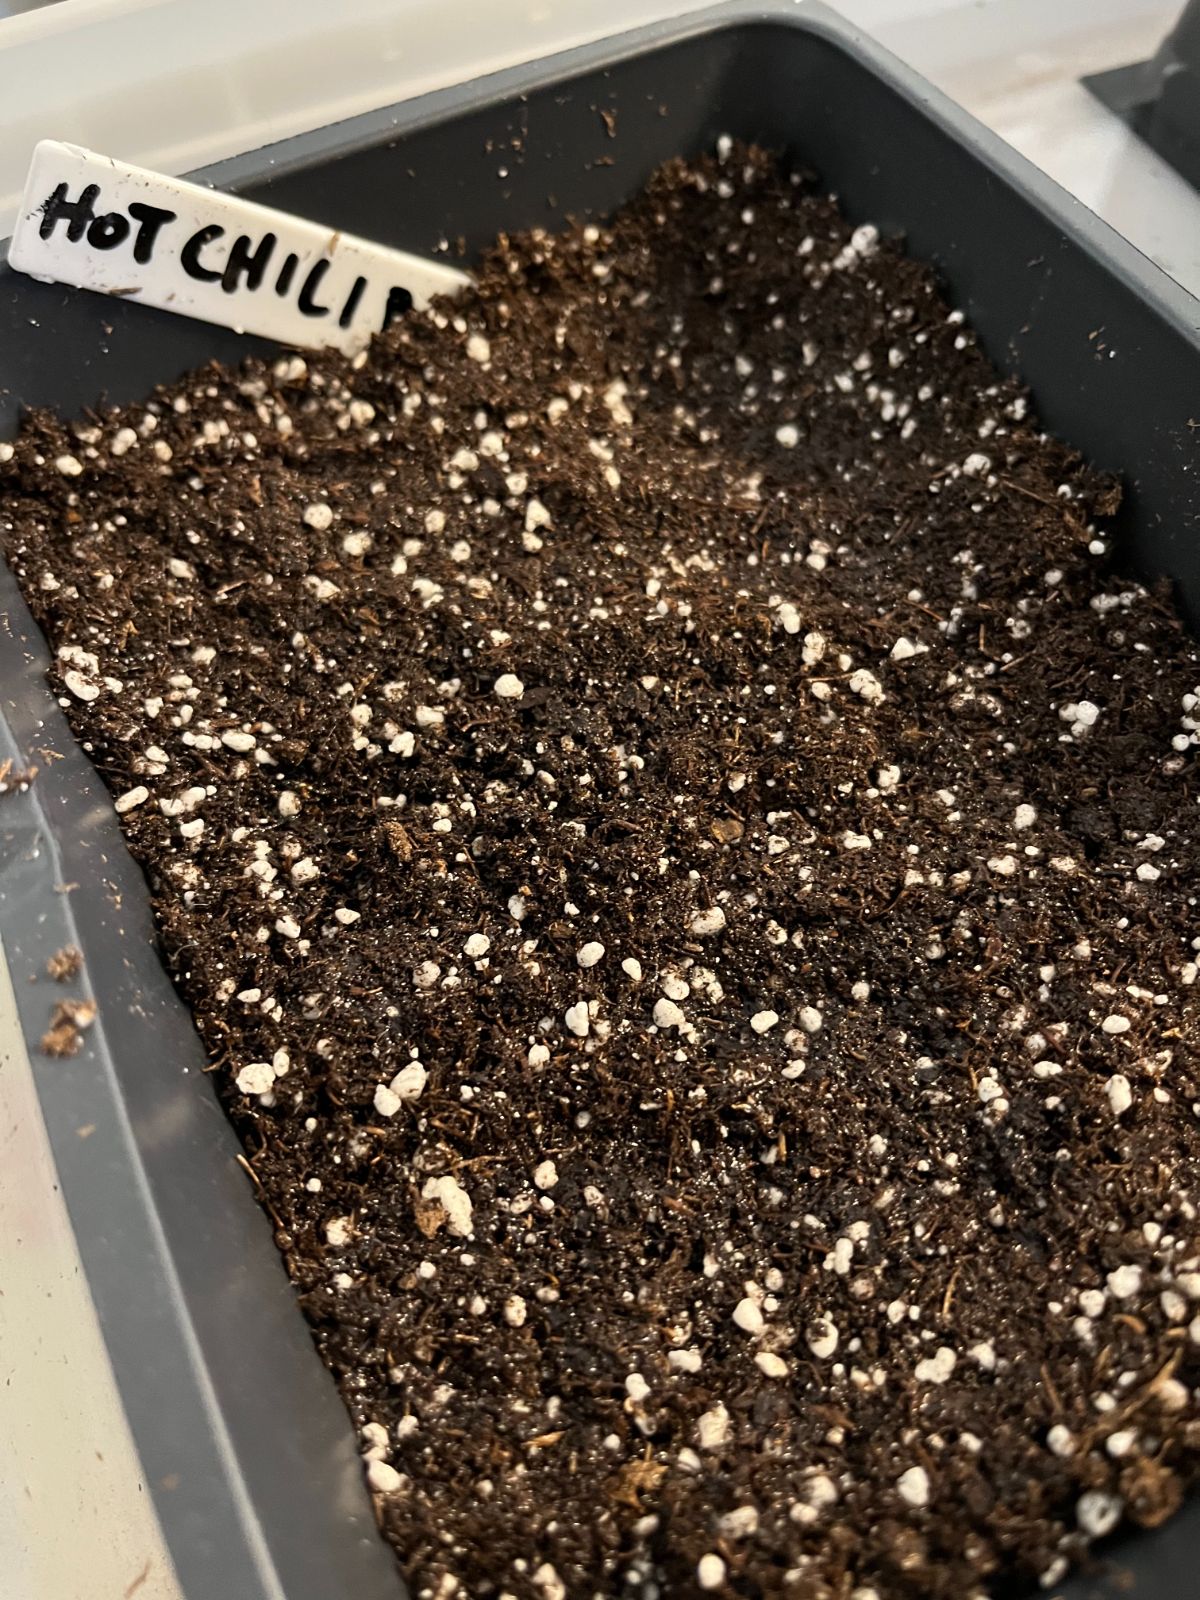
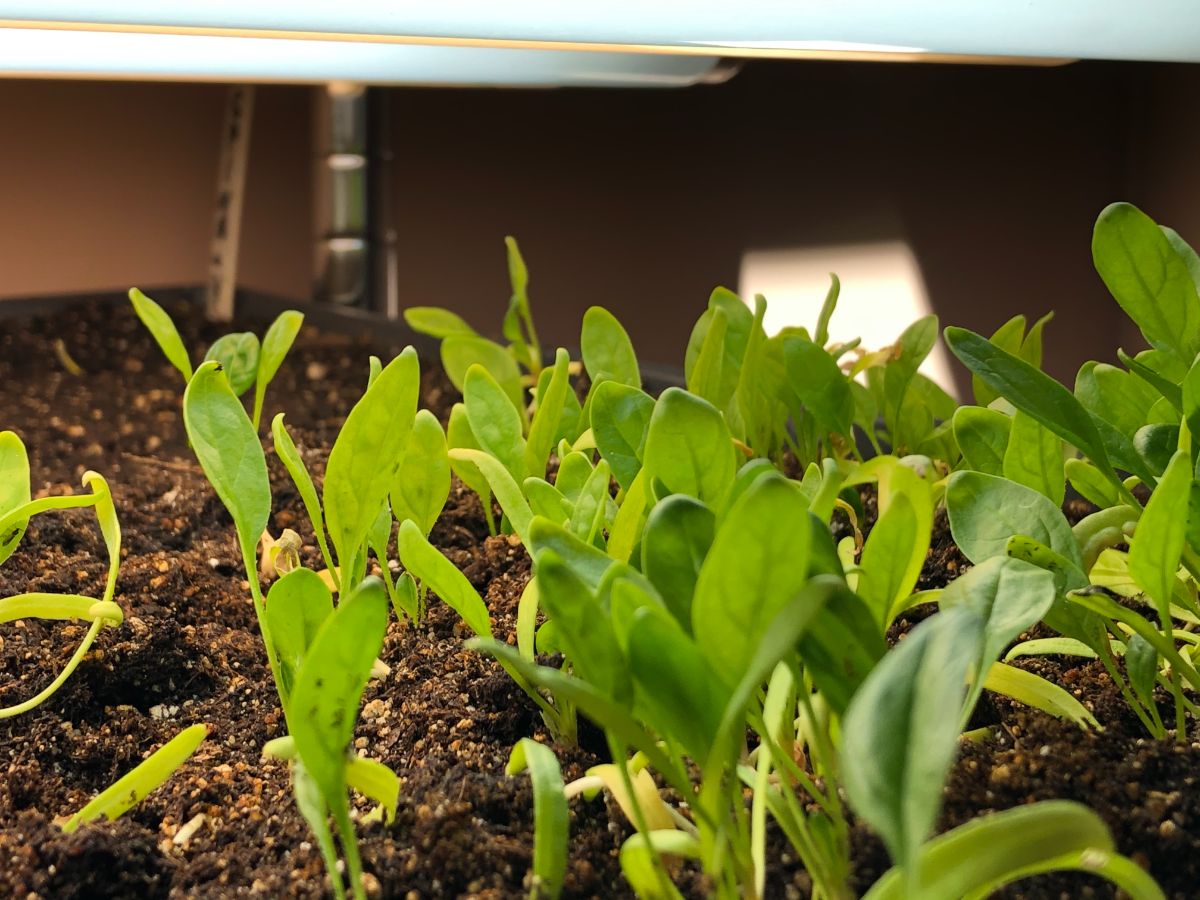
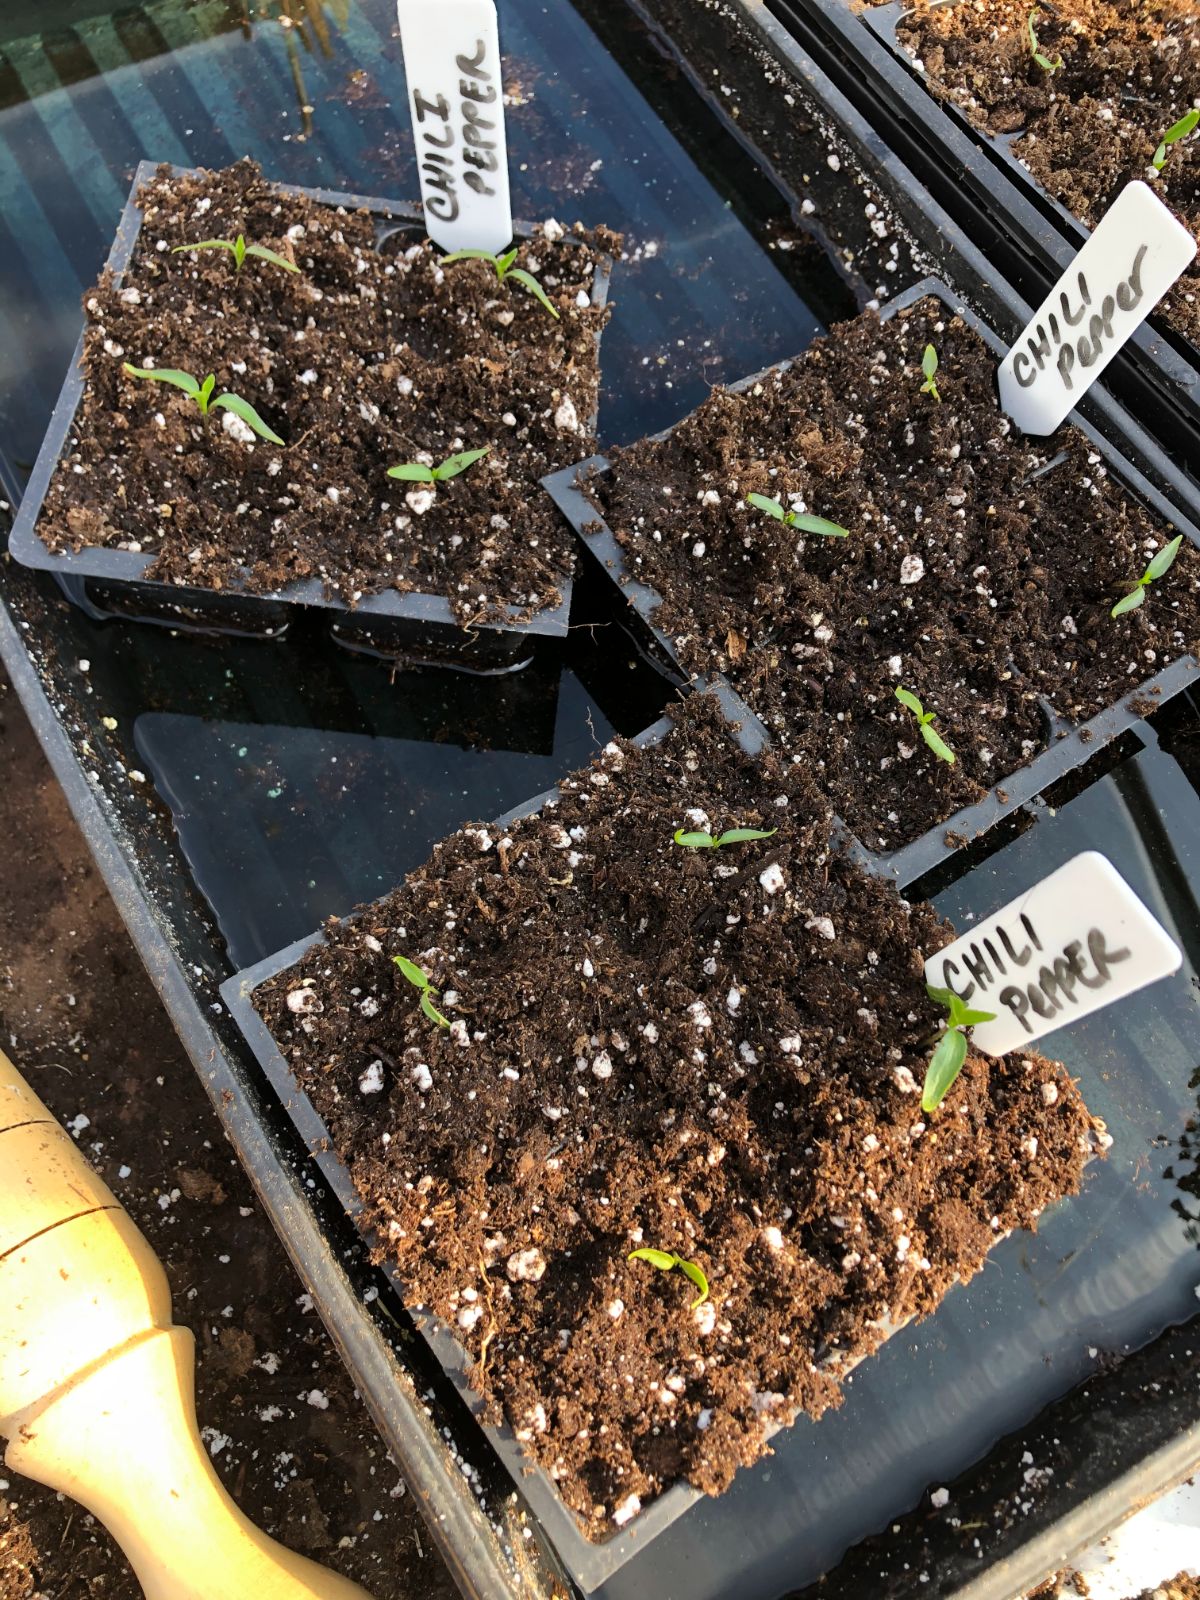
There is an easy way to tell when your seedlings have taken up enough water, and that is to watch the soil as they soak up water from the watering tray. The top of the soil will turn a darker color (dark brown to almost black) when the pot has taken up enough water. As you watch, you will see this first as spotty darkness. Then the whole top surface of the soil will turn dark.
When you see that the top of the soil is evenly colored and dark, you know the pack or pot has had enough water. Even, dark color without a wet sheen means the pot has soaked up water all the way through from the bottom to the top, and the soil is evenly moist. There will not be dry spots in your soil if you water this way.
Take the pot out of the water now. Don’t leave the pot in the watering tray long enough for water to visibly pool on the top of the soil.
Again, the goal is moist, not wet. Visible water means the pot is overwatered. If you make this mistake once or twice, your plants will probably be fine, and the excess will drain into your planting tray when you return the pot to its home, but don’t make it a habit.
How often should you bottom water seedlings and transplants?
As with any watering advice, water when your seedlings need it. This is when the top layer of soil is dry and light in color, but before the whole pot has dried out. Seedling plants should never be allowed to dry completely, and they should never be dusty.
For plants in large pots, this may be when the top one-half to one-inch of soil is dry, but seedlings, for the most part, should be grown in smaller cell packs or pots, and so for them, they should not be allowed to dry out more than the top one-half inch of soil, and even less when seedlings are just sprouted and have few roots (more like the top one-quarter inch of soil).
On average, seedlings usually need to be watered every two to three days in the beginning, and as the plants get larger and closer to transplanting outside, they will probably need to be watered every other day and then every day.
As always, the humidity, temperature, and air circulation in your home or growing area may mean that your watering schedule is different than the “norm”, so try to learn what your pots, soil, and plants look like when it is time to water and let them be your guide, not a calendar or rigid schedule.
Tips to Make Bottom Watering Faster and Easier
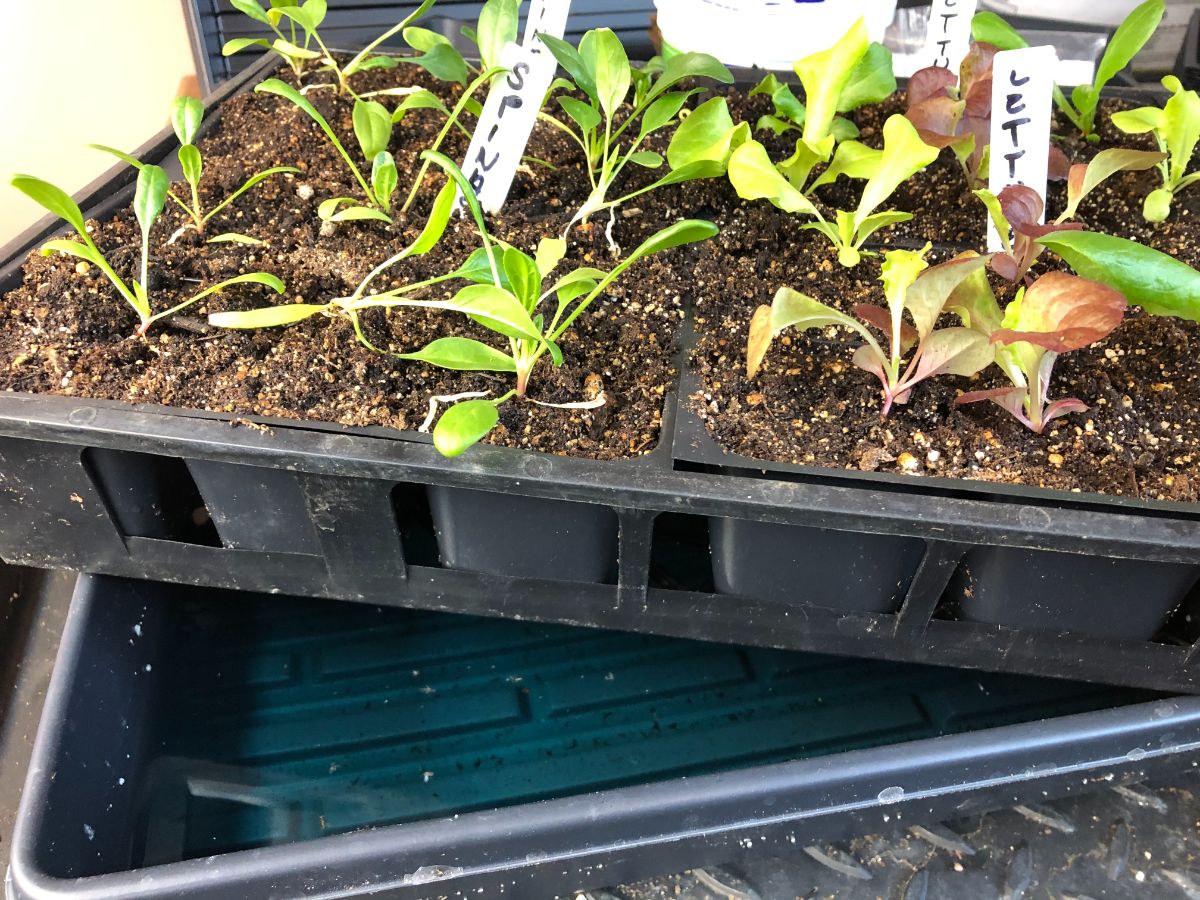
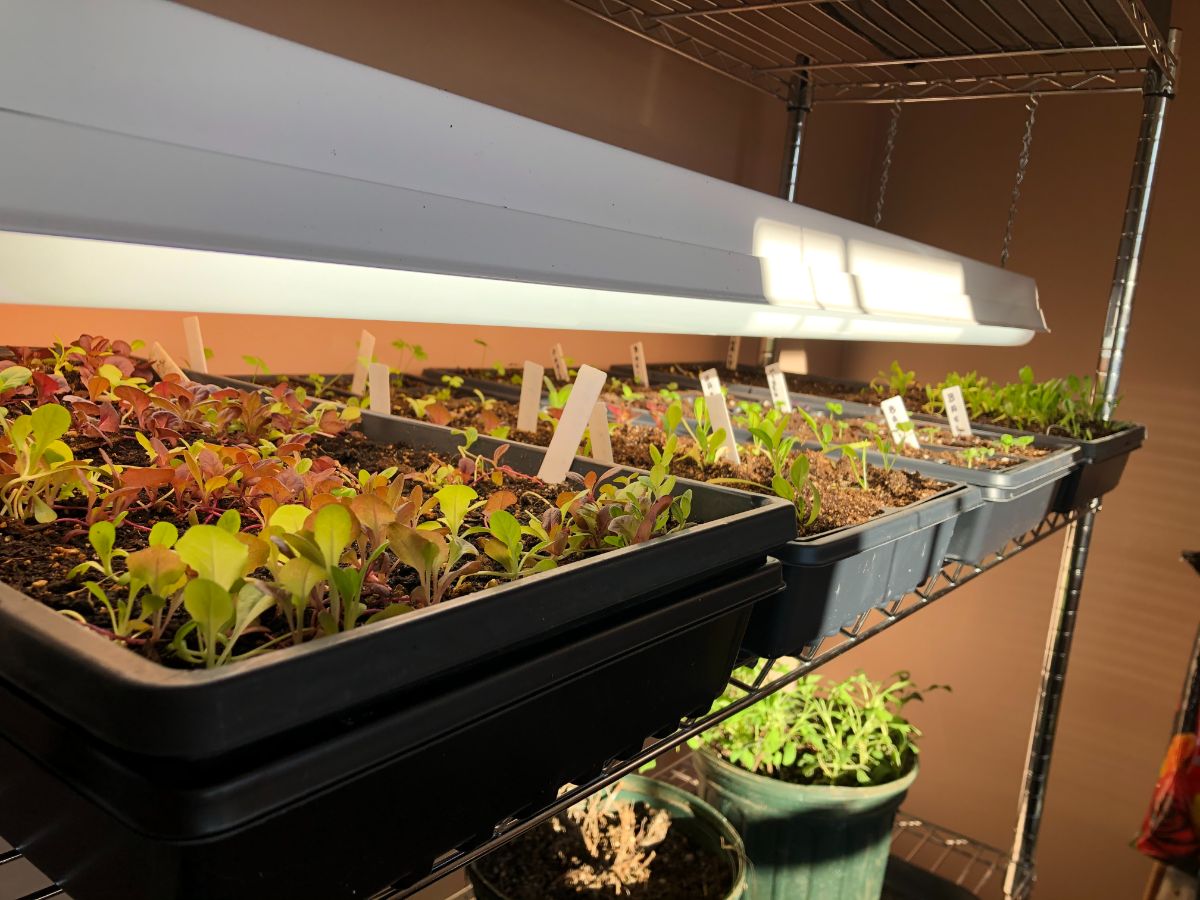
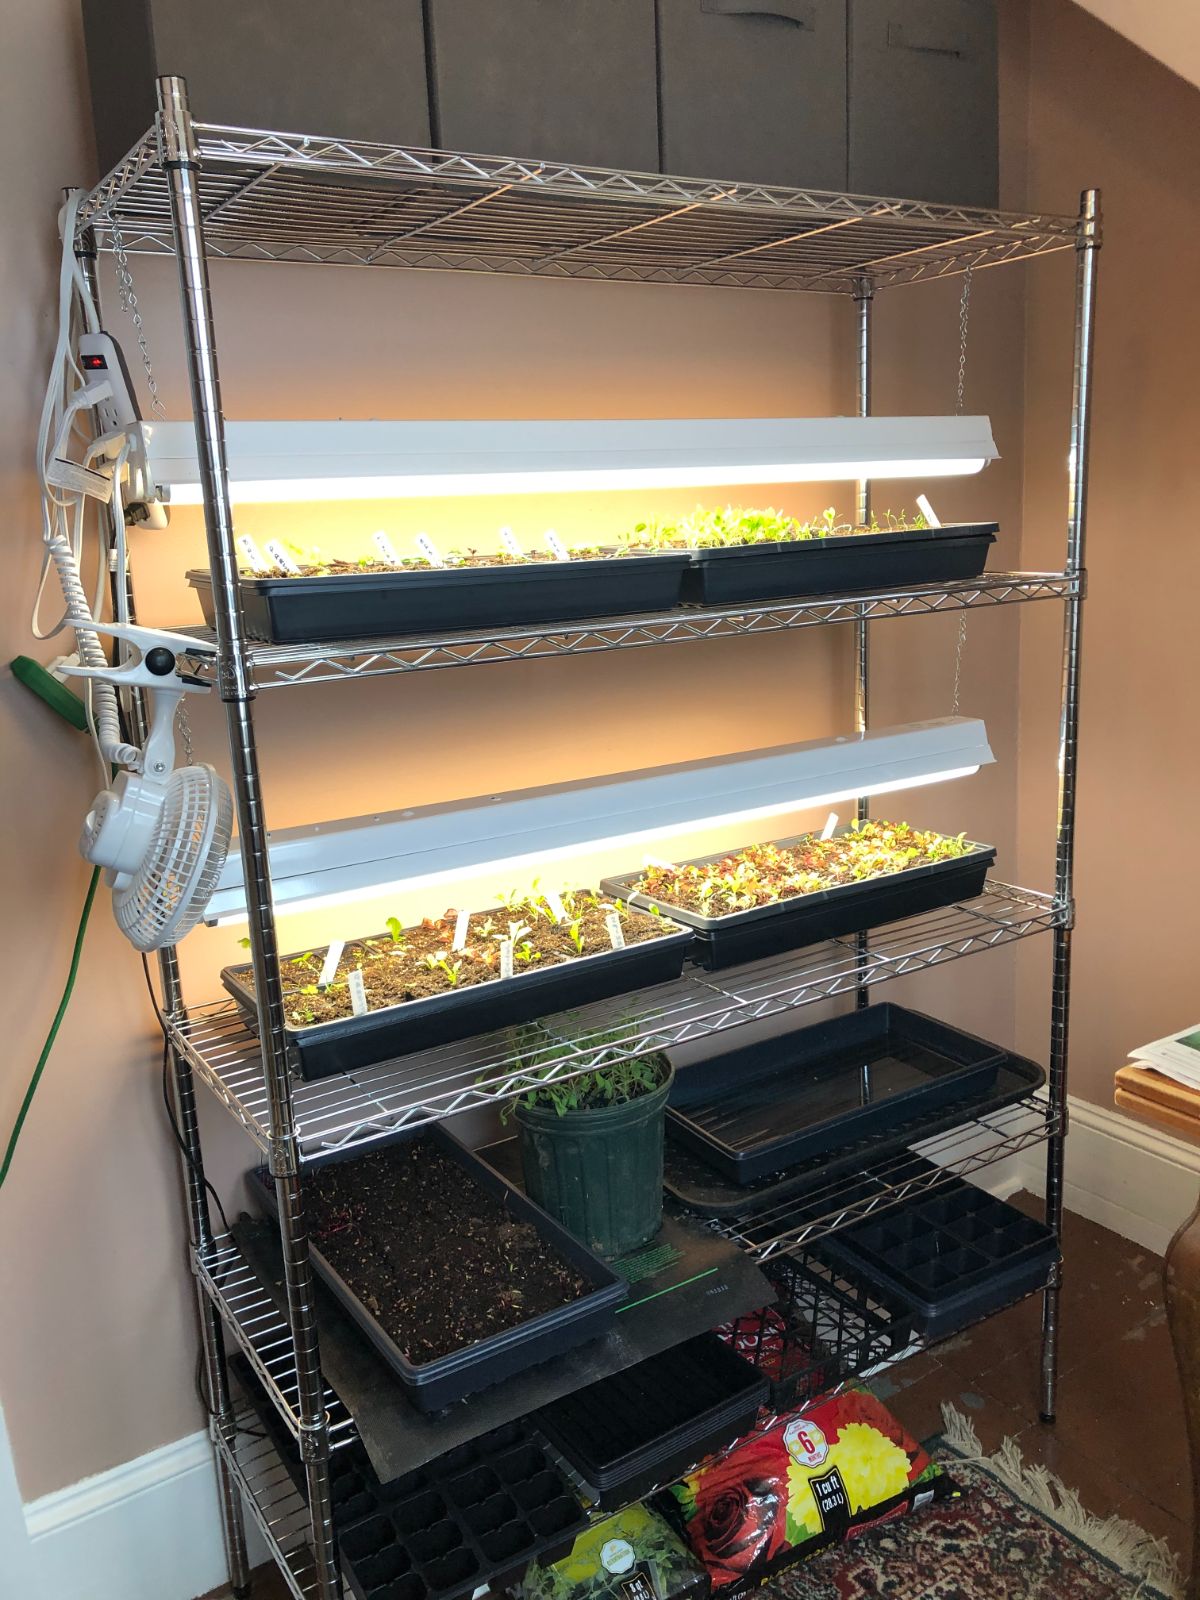
The easiest way to make bottom watering go faster and more smoothly is to invest a little in planting systems that work well together. Use cell packs and tray systems that fit together. This way, you can keep many different plants, of many different types, in a single tray and water the whole tray at once, instead of having to move individual pots or cups of plants.
For example, if you use a sheet of standard inserts, like a sheet of 608 6-cell packs, and you keep those packs in one standard 1020 (10 x 20 inch) webbed planting tray, that entire tray will fit into a solid 1020 tray of water. When the cells are darkened with water, simply lift the entire tray with the cell packs in it out of the watering tray and return it to its growing area under your grow lights.
Each cell pack can contain a different type or variety of plant, so you can water eight different kinds of seedlings all at once—48 plants at a time!
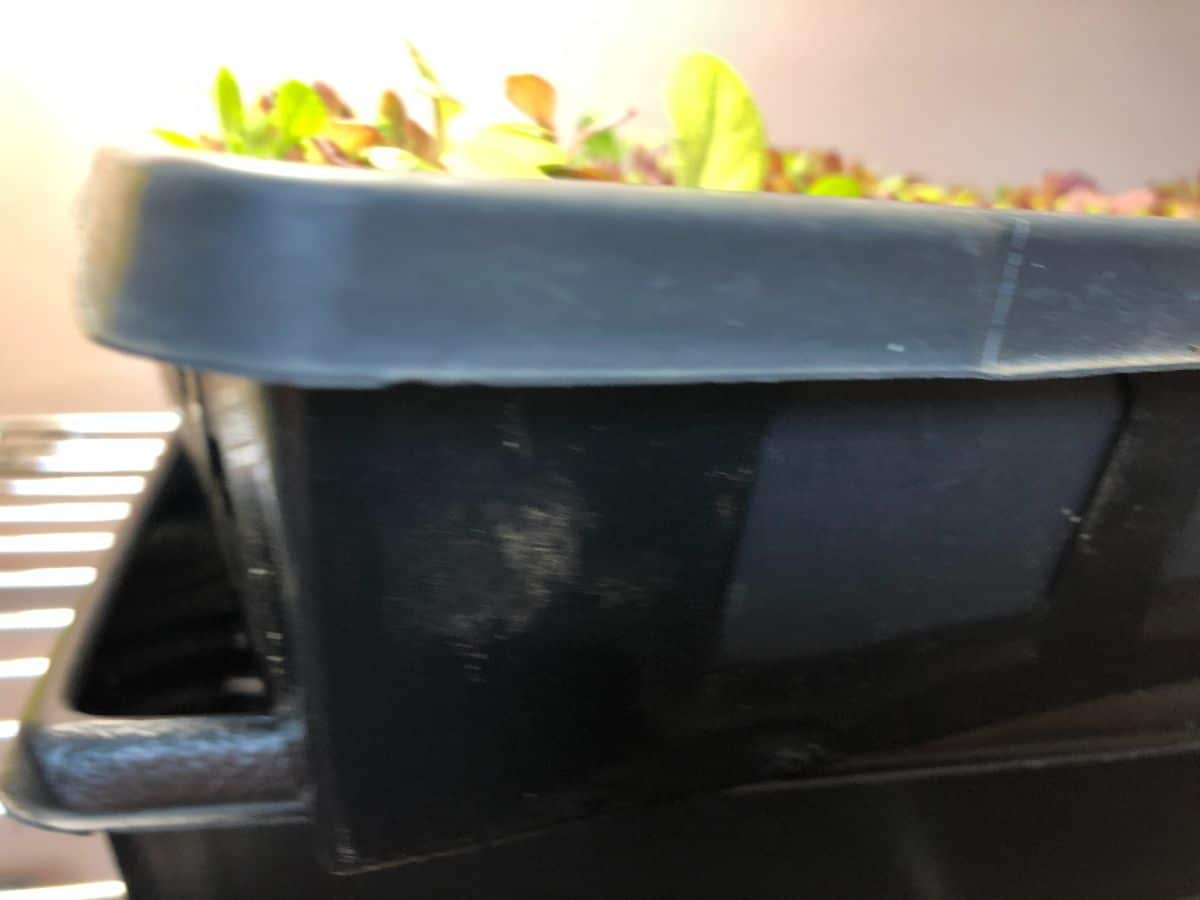
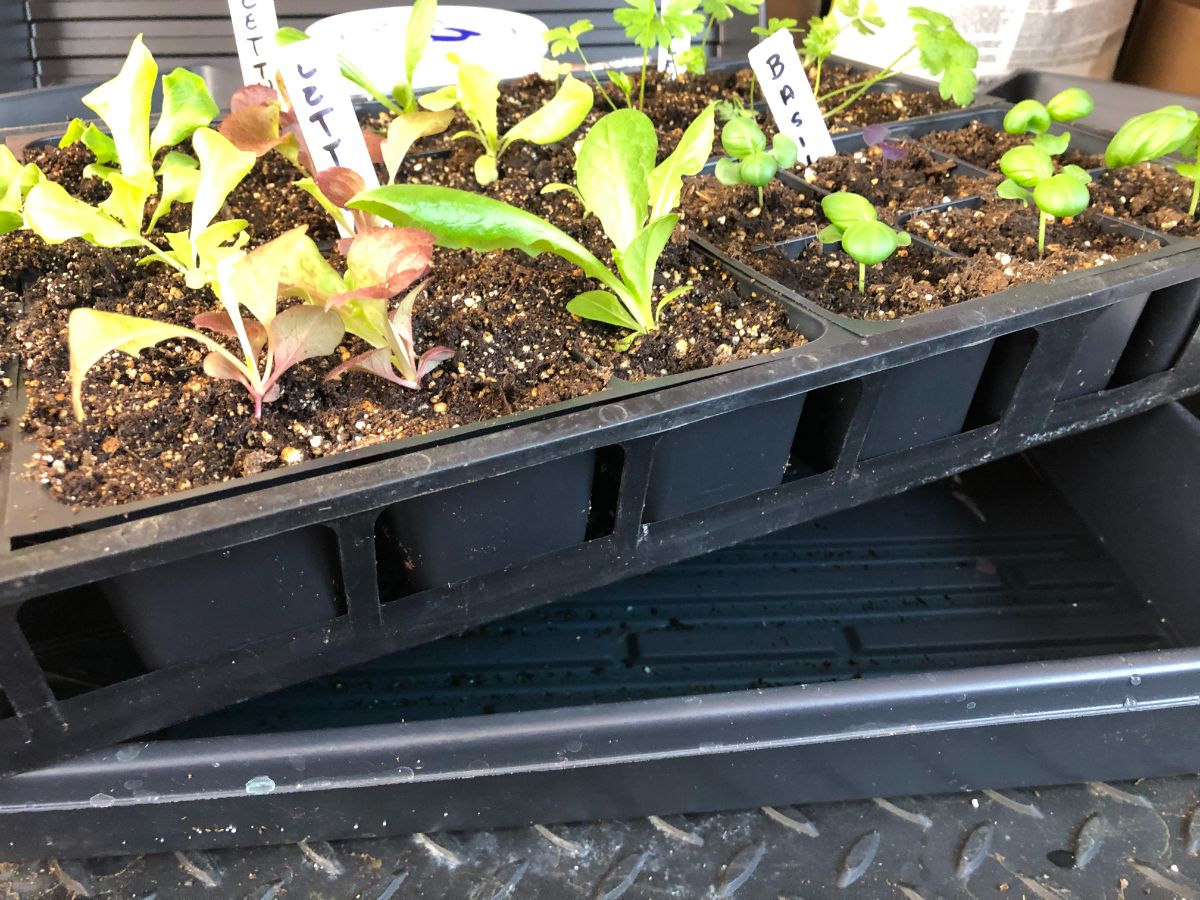
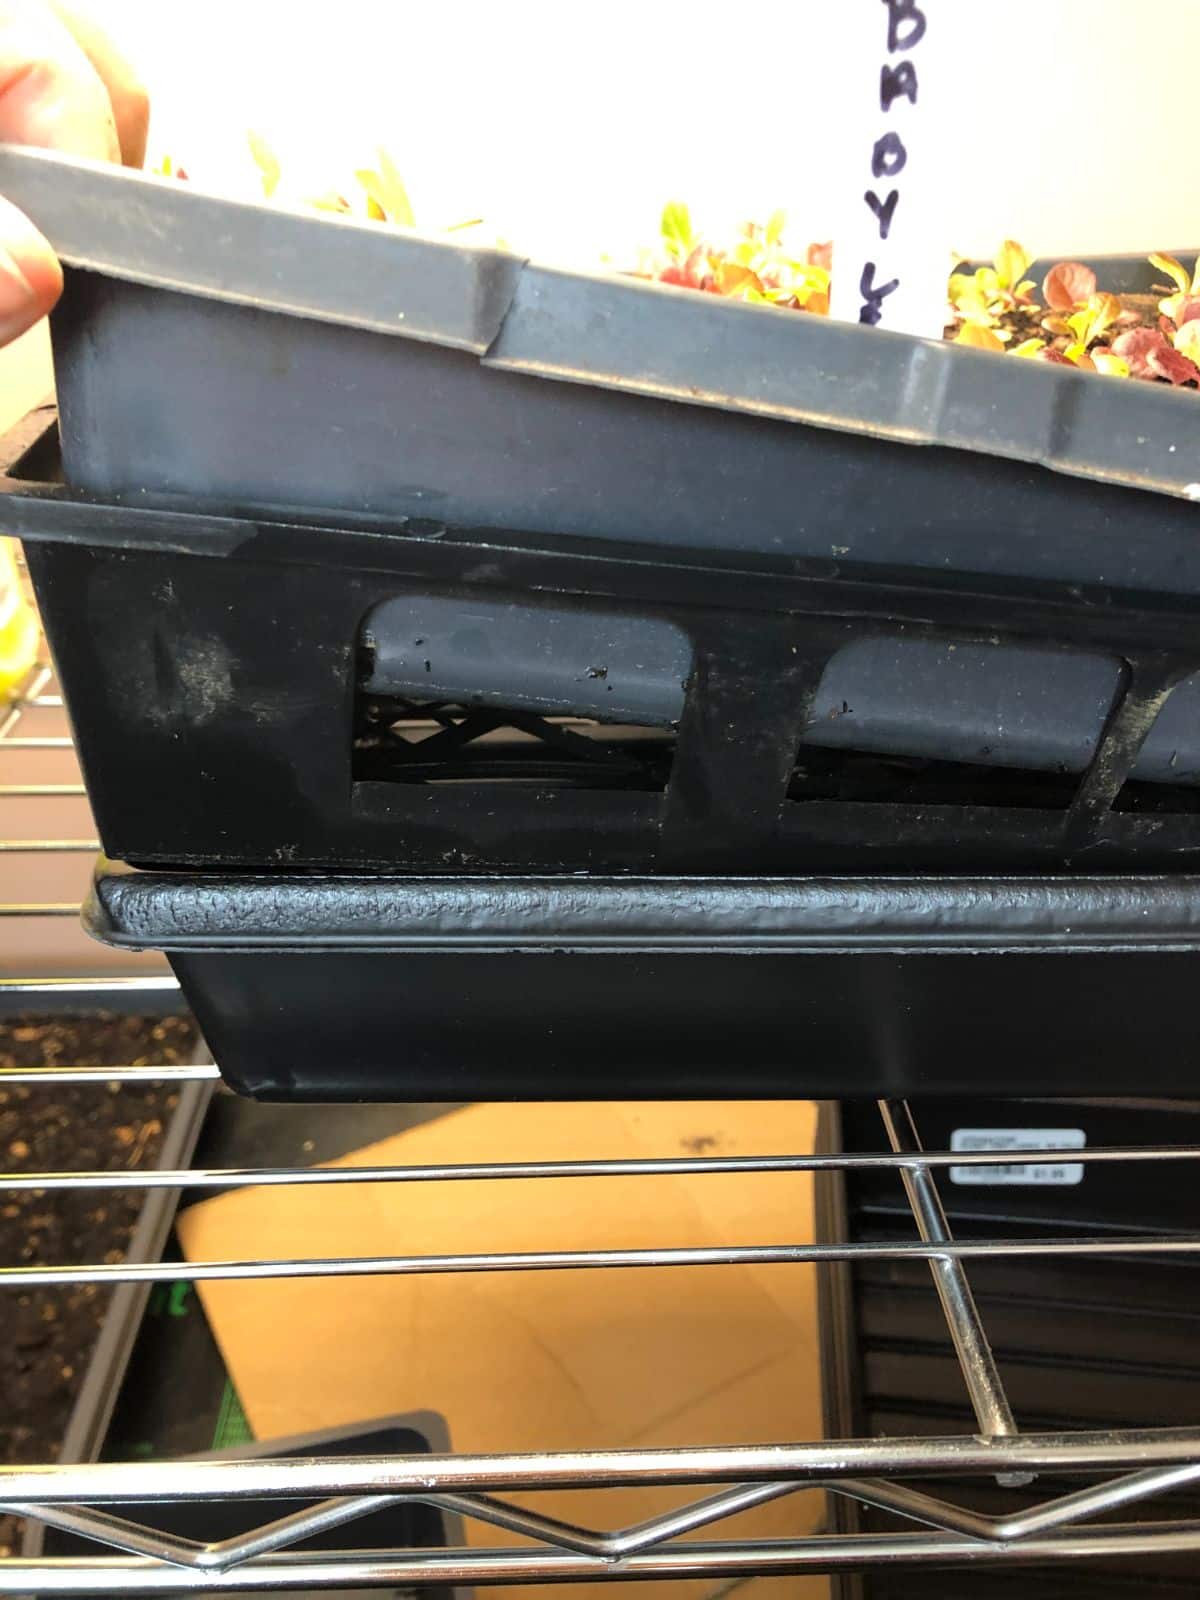
It is also worth having one solid tray for each set of cell packs and webbed tray. After you water, set the webbed tray full of cell packs back into a solid tray. This way, the tray can collect any drainage or dripping from the cell packs and protect the surface that you are growing your seedlings on. The webbed tray will give enough lift to the pot; the drained water won’t be a problem, and the packs won’t be sitting in standing water.
For each setup, you should have:
- A full sheet of cell packs
- One basket-style open webbed planting tray, 1020 size (about 10 x 20 inches)
- One solid planting tray, no drainage holes (1020 size)
In addition, you will need:
- One or two solid planting trays to use as watering trays (1020 size)
The key to making this work is that the web or net tray that holds the pots or packs has to be able to sit into the watering tray. Growing trays, cell packs, and sheets have all been designed to fit and work together, so, as nice as upcycling is, using these systems will make your life easier. If you take care with your cell packs and planting trays, you’ll be able to use the same materials for several years.
Tips for Fertilizing Seedlings and Transplants When Bottom-Watering
Some sources will tell you that you do not need to fertilize seedlings if they are planted in potting soil that includes fertilizer. While this is true for the first couple of weeks, you’ll find that your seedlings do much better if you do give them some fertilizer.
Seedlings need frequent watering, which can wash fertilizer out of their soil. Those growing seedlings are also using up that fertilizer as they grow. For the best and strongest transplants, you’ll need to replenish the nutrients and fertilizer until you transplant your seedlings outside.
The best way to do this is to use a quality, water-soluble, all-purpose fertilizer. Adding the fertilizer to the water will give a more even distribution and makes sure the soil and the plant uptake the fertilizer.
Dry fertilizers (like those sprinkled on the top of the soil) won’t break down as evenly or as well, especially if you are bottom watering, since the water is drawing up from the bottom of the soil, not drenching down from the top.
Dilute or dissolve the fertilizer in the water in the watering tray before you place the packs into the tray for watering. This should be started about one week after you pot up your transplants or when the seedlings are about 2 inches tall.
Start with a diluted strength and then increase to full strength, according to the label’s instructions. Fertilize weekly.
For more specific information about how and when to fertilize seedlings (as well as some quality fertilizer recommendations that work with bottom watering), see our full seedlings fertilizing guide and week-by-week schedule here: How and When to Fertilize Seedlings.

Ruth
Can’t wait to get started with bottom watering my plants 🌱 I am new at hobby farming and can’t wait to learn the tricks of the trade ! Thank You for Your service , advice and tips !
Here I grow !!!!