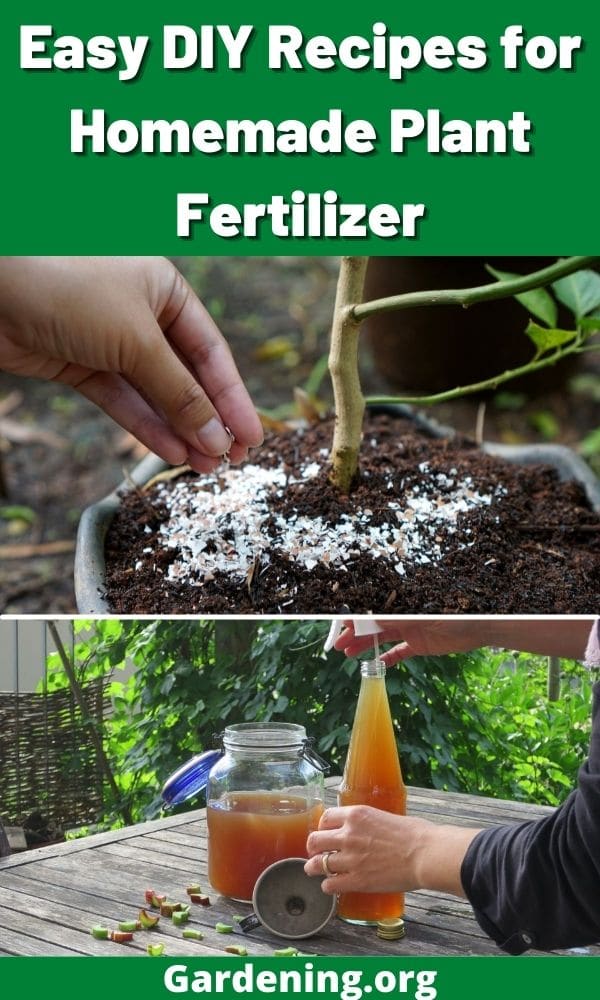
One of the joys of gardening or caring for houseplants is watching that plant grow, thrive, and maybe even flower or yield fruit.
Sometimes, our plants, whether in the garden or a container in our home, are not getting everything they need from the soil and need a little boost to their diet of sunshine, water, and carbon dioxide.
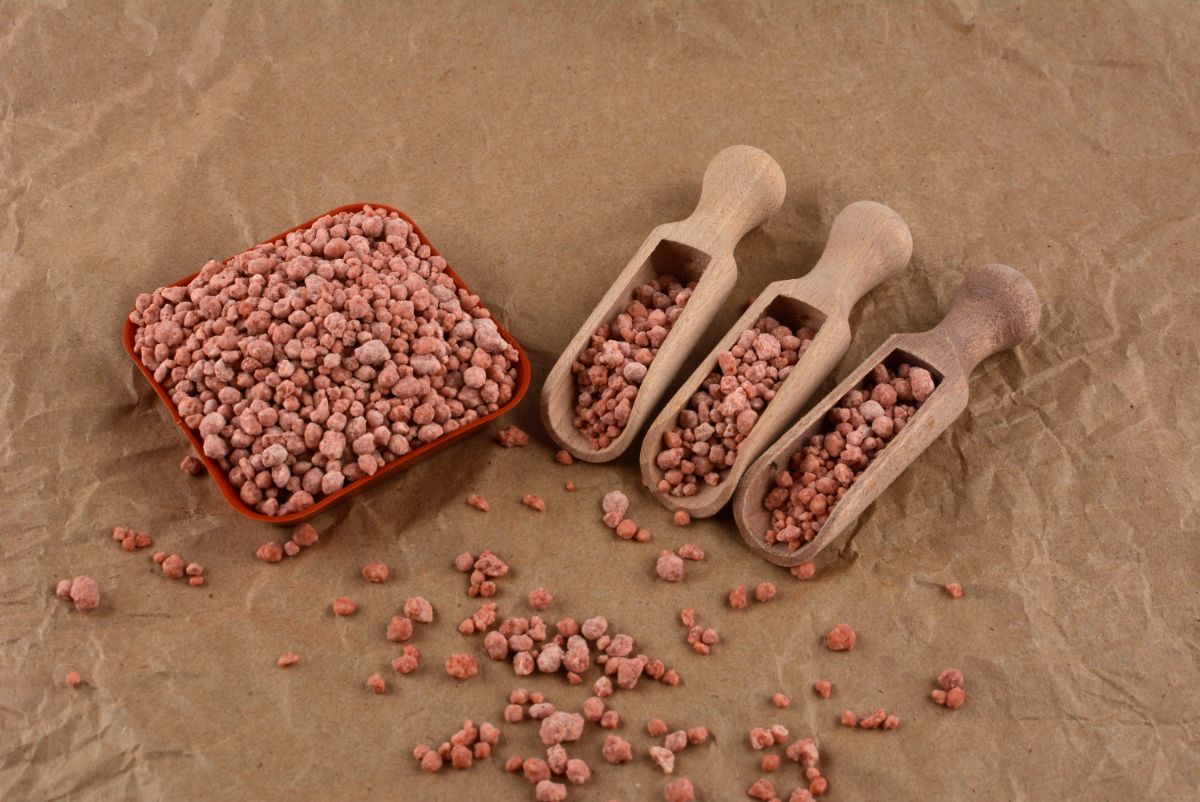
The three primary plant nutrients, nitrogen, phosphorus, and potassium, are the main nutrients in commercially prepared fertilizers. Any fertilizer sold will have the ratio of these nutrients printed on the bag.
When you buy fertilizer at the store, you are likely looking at these ratios to select the product that will provide the results you want, be it vegetative growth, flowering and fruiting, or a general-purpose mix.
Although we may not know the exact N-P-K ratio of homemade fertilizers, we can still categorize them by their main benefit: nitrogen, phosphorus, potassium, or another nutrient.
Jump to:
DIY Nitrogen fertilizer for plants
Probably the most commonly applied nutrient, nitrogen, aids plants with green, leafy growth and is essential for photosynthesis. Think large, vibrantly green, robust plants.
Most gardeners understand that too much nitrogen can inhibit plants from setting flowers. I have made the mistake of overfeeding my tomatoes with nitrogen. The result is colossal tomato plants, but no tomatoes, or only a few set late in the season. The same issue will happen to roses overfed with nitrogen–lots of vegetative growth, but few flowers.
Nitrogen in the soil is water-soluble and readily leaches downward through the soil profile and out of reach of the plants, meaning it may need to be replenished more often than other nutrients. The same thing can happen to a houseplant in a pot.
Grass Clippings
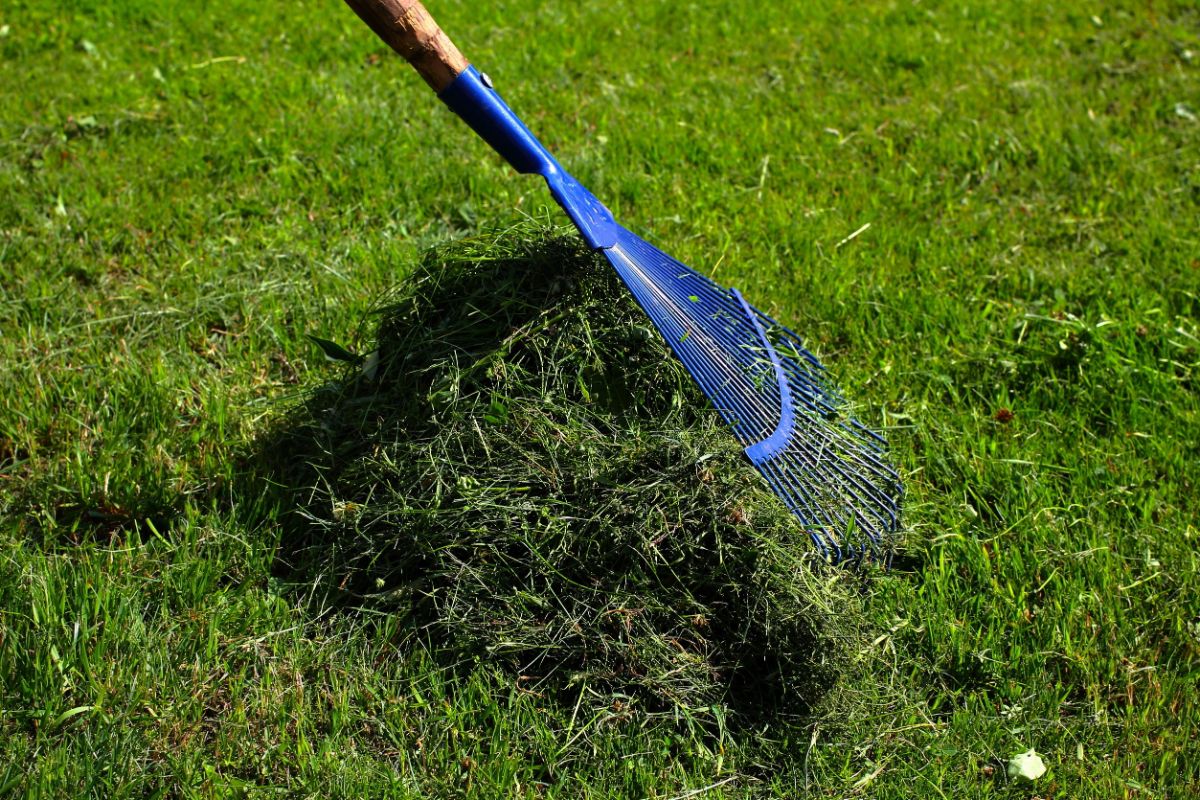
If you have a yard to mow (or your neighbor does), and it is chemical-free, you have the makings of excellent nitrogen fertilizer.
Green grass clippings are very high in nitrogen–you may have heard caution about using too much of them in your compost pile–and can be used to make an excellent nitrogen tea for your plants quickly and easily.
To make grass-clipping tea:
- Fill a clean five-gallon bucket, one-third full of fresh grass clippings, and the rest of the way with clean water.
- Let it steep for about two weeks, stirring it occasionally.
- Dilute it about one part tea to five parts water when watering your plants. The right mix is about the same color as a weak cup of tea. Try to apply it around the base of the plants and not on the leaves.
Another way, and one of my personal favorites, is to use the green grass clippings to simply mulch directly under the plants and use it as a slowly decomposing mulch.
Don’t put it on too thick, though. One to two inches deep is sufficient. Any thicker and the grass clippings may flatten out into a thick wet layer that impedes oxygen flow to the soil and can cause mold.
Manure tea
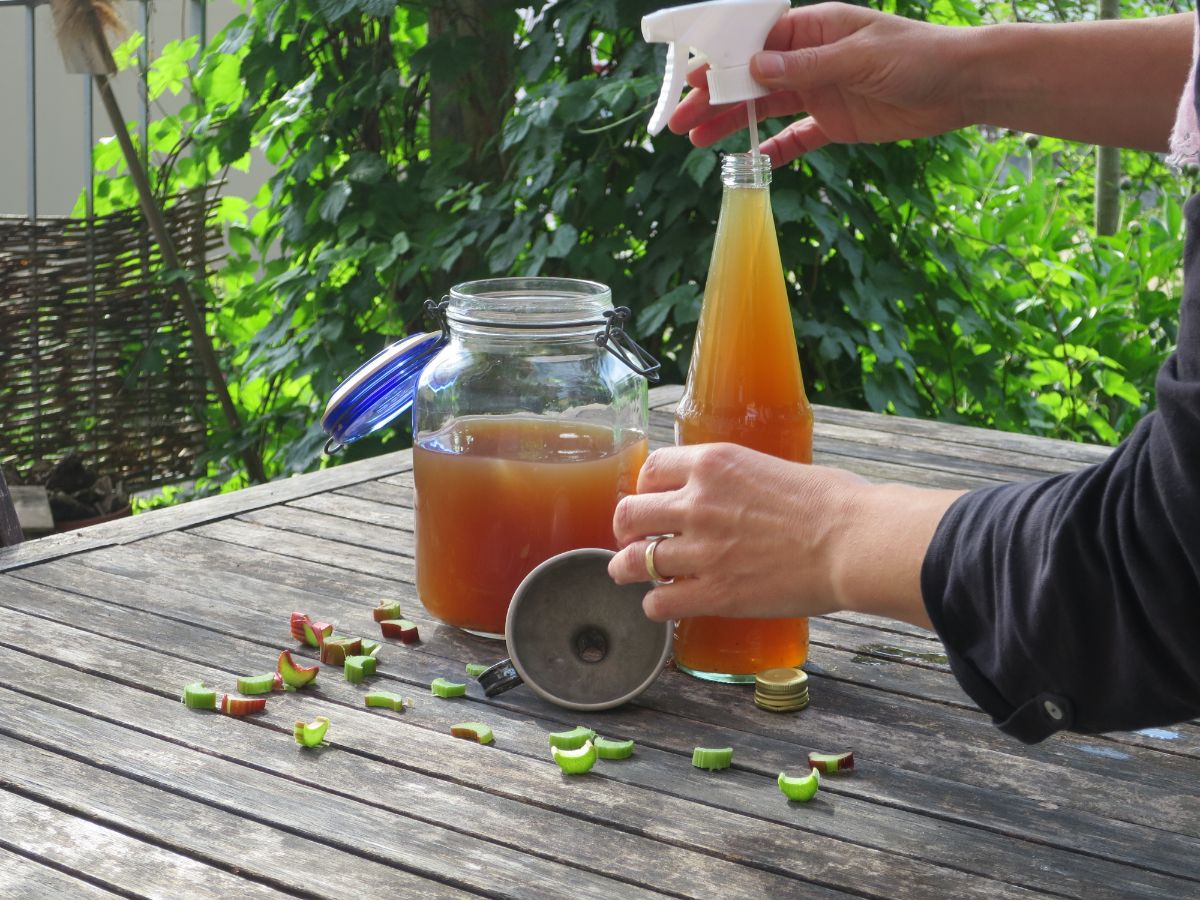
Homesteaders and gardeners have been reaping the benefits of this fast, easily absorbed DIY plant food for years.
Typically, manure needs to be composted for a year or two to be safe to put directly into the garden; fresh manure can burn plants.
To make this recipe, you will need livestock manure–not manure from your household pets.
If you don’t happen to have a pile of composted manure, a bag of manure from the garden center will also work well.
I have always used the bucket method, but I will try my hand at building a manure teapot this spring. It just looks–and sounds–cool.
To make a delicious, to your plants, manure tea:
- Fill a pail or container with one-third manure and two-thirds water.
- Allow to steep for three days, stirring occasionally.
- Strain out the solids, toss them on your compost heap, and use the remaining water or just pour the tea off the top.
- Dilute the dark manure tea with water until it has the appearance of a weak tea in color, a pale yellow-brown that you can easily see through.
Apply to the base of plants needing a nitrogen boost, and avoid getting on the foliage of plants like lettuce, spinach, or on the heads of your broccoli or cauliflower.
Ammonia
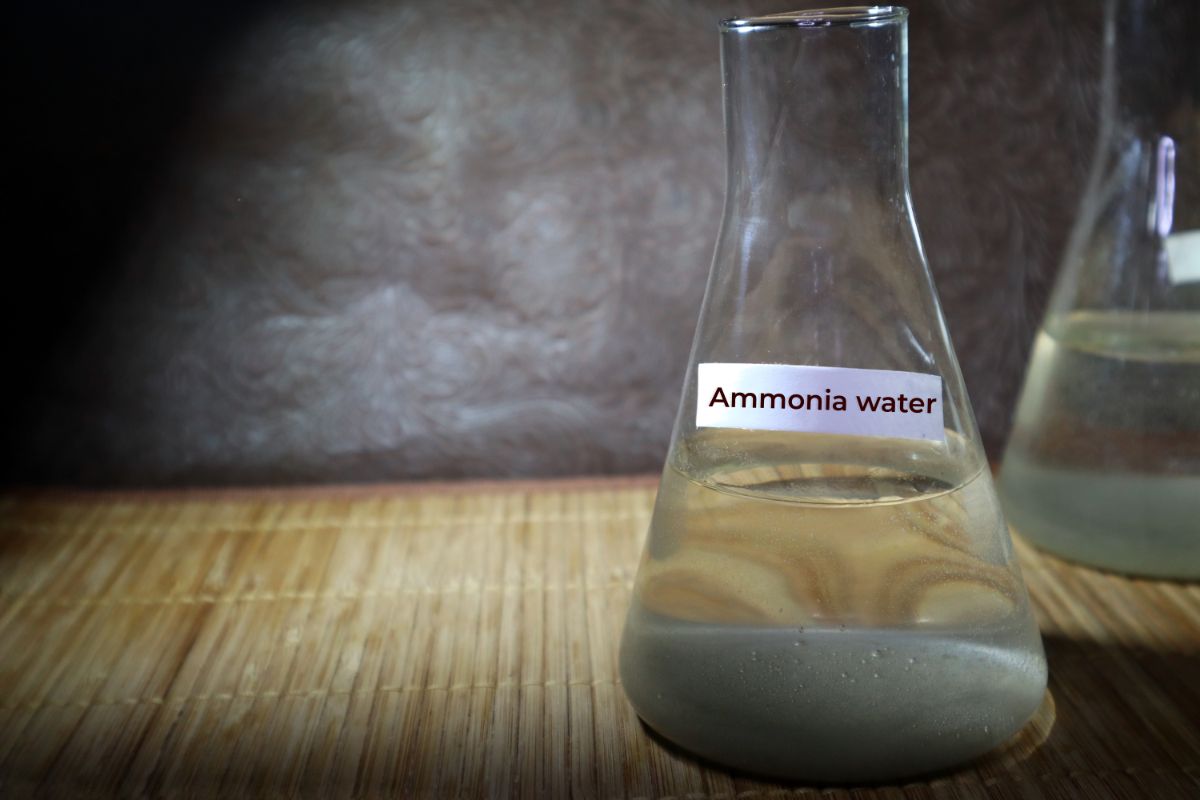
If you already have a bottle of ammonia around the house for kitchen or bathroom cleaning or laundry, you can also use it for quick plant fertilizer.
Ammonia is very high in nitrogen. It is the key ingredient in most agricultural fertilizers applied to fields.
To use ammonia as a homemade fertilizer:
- Dissolve one tablespoon of household ammonia in a gallon of water.
- Store it in an old milk jug or another container with a lid or cap, and use it for a quick and easy boost for your houseplants when you water them.
DIY Potassium fertilizer for plants
Shown on your fertilizer bag by its elemental symbol, “K,” potassium is found in the garden in the soil minerals. It is absorbed by plants in large amounts, more than any other element except nitrogen.
Plants use potassium for photosynthesis, as well as building proteins. Many natural soils are well-stocked in potassium, but a soil test can reveal any needs. If your plants need potassium, try these natural methods.
Dandelions
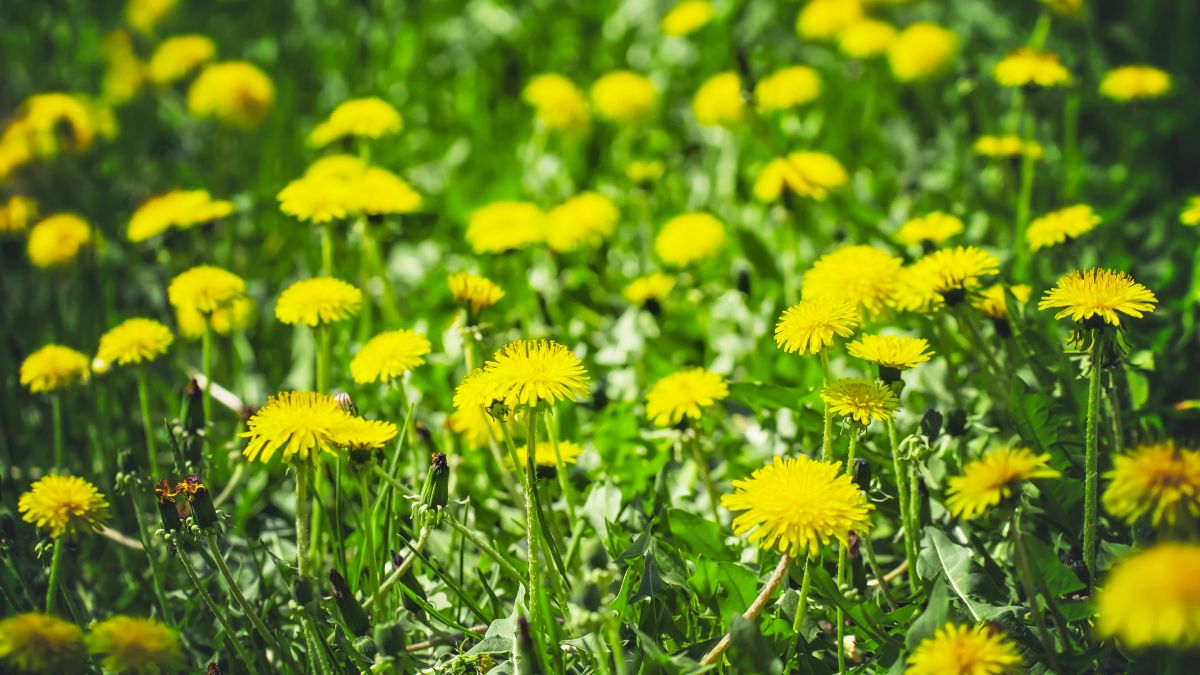
My yard has plenty of dandelions. I find them somewhat cheerful, but many people spend a lot of effort digging them up.
The good news is that those dandelion flowers, stems, leaves, and even roots can all be used to make a great homemade fertilizer tea that is high in potassium.
To make dandelion tea:
- Harvest the dandelions, the whole plant, or just the tops. Don’t use dandelions that were treated with herbicide.
- Place the dandelions in a clean five-gallon pail. Get a good bunch of them in there.
- Fill with water, cover, and wait 3-4 weeks, stirring occasionally. There may be some odor as the dandelions ferment and break down. It should start to look black.
- Discard the remaining solids and toss them on the compost heap.
- Dilute the dandelion tea until it is light in color, and apply it to the base of plants to encourage flowering and fruiting.
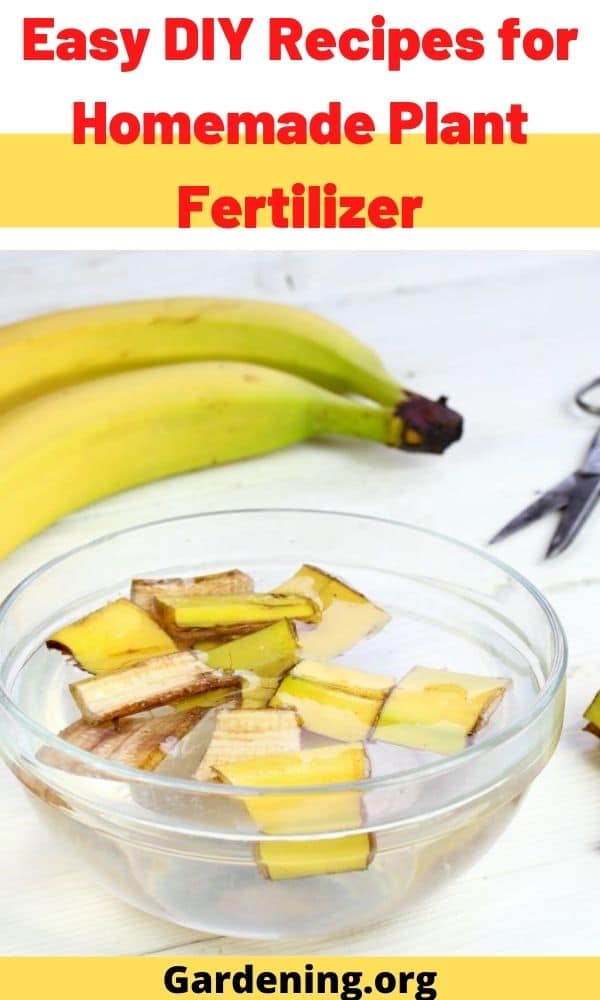
Banana peels

Just like people, especially runners, eat bananas for potassium, bananas can provide a needed potassium boost to your plants as well.
Working banana peels into the top layer of soil in a newly dug rose bed can help your roses to flower.
Trench composting banana peels in a flower bed is a great way to provide a slow release of nutrients–assuming you eat a lot of bananas.
Banana peel tea is also a great way to add potassium as a homemade fertilizer, and it sounds cool too. “What is that?” Banana peel tea.
I only eat one banana a day, so the easy way to collect enough peels to make tea without them laying around and rotting on the counter is to keep a bag from the supermarket in the freezer and toss the peel in each day.
To make banana peel tea:
- Collect enough banana peels to fill your “teapot.”
- Thaw the peels in your container and cover them with water.
- Let the peels steep for a week or even two.
- When the tea is ready, toss the peels on the compost heap and use the tea, diluting with five parts water to one part tea or until the color is light.
DIY Phosphorous fertilizer for plants
Phosphorus is the “P” in your N-P-K ratio on the bag and is necessary for photosynthesis and the transfer of carbohydrates–plant energy–from leaves to other parts of the plant.
Lack of phosphorus inhibits flowering and storage of energy in roots and tubers.
Phosphorus in the garden occurs in soil minerals and decomposing organic matter. The most common way to apply phosphorus is via the application of general fertilizer or bone meal.
Making bone meal fertilizer can be a long process for the DIY-er. If you are looking for a challenge…
To make a homemade bone meal:
- Save bones from cooking, or get them from a butcher.
- Clean them up by trimming and peeling off as much meat residue as possible.
- Break or cut them to fit in a stockpot.
- Boil the bones until they are clean and white.
- Remove the clean bones and bake at high temperature in the oven for several hours until they are dry. The larger the bones, the longer this will take.
- Once the bones are dry and brittle, smash, bash, and grind them into powder.
However, bone meal is readily available for us at most garden centers. It can be added to any of your homemade fertilizer teas at the rate of one tablespoon per gallon to provide a phosphorous shot in the arm to your fruiting and flowering plants.
Other fun DIY plant fertilizers
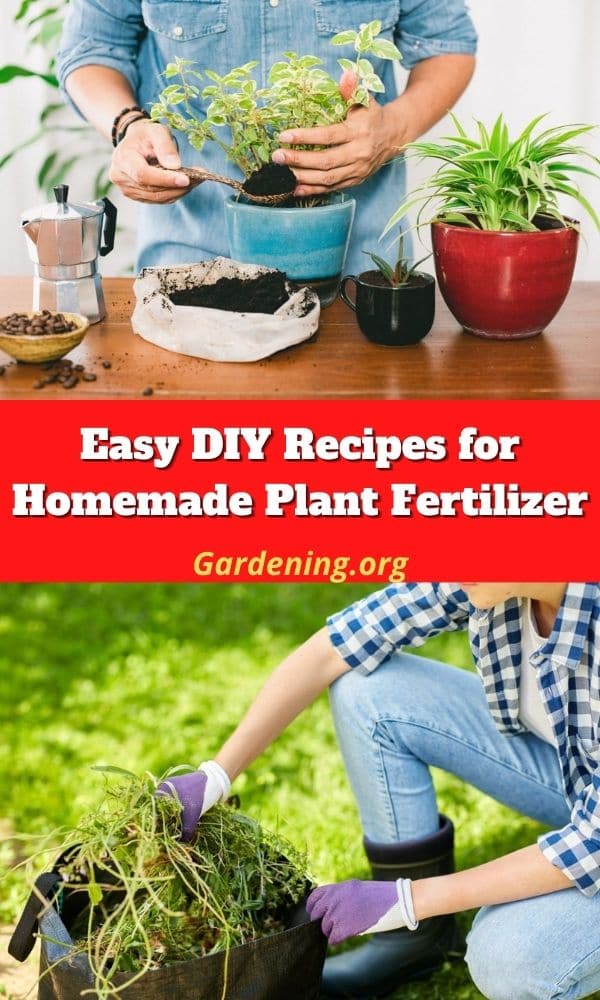
Weeds from the garden
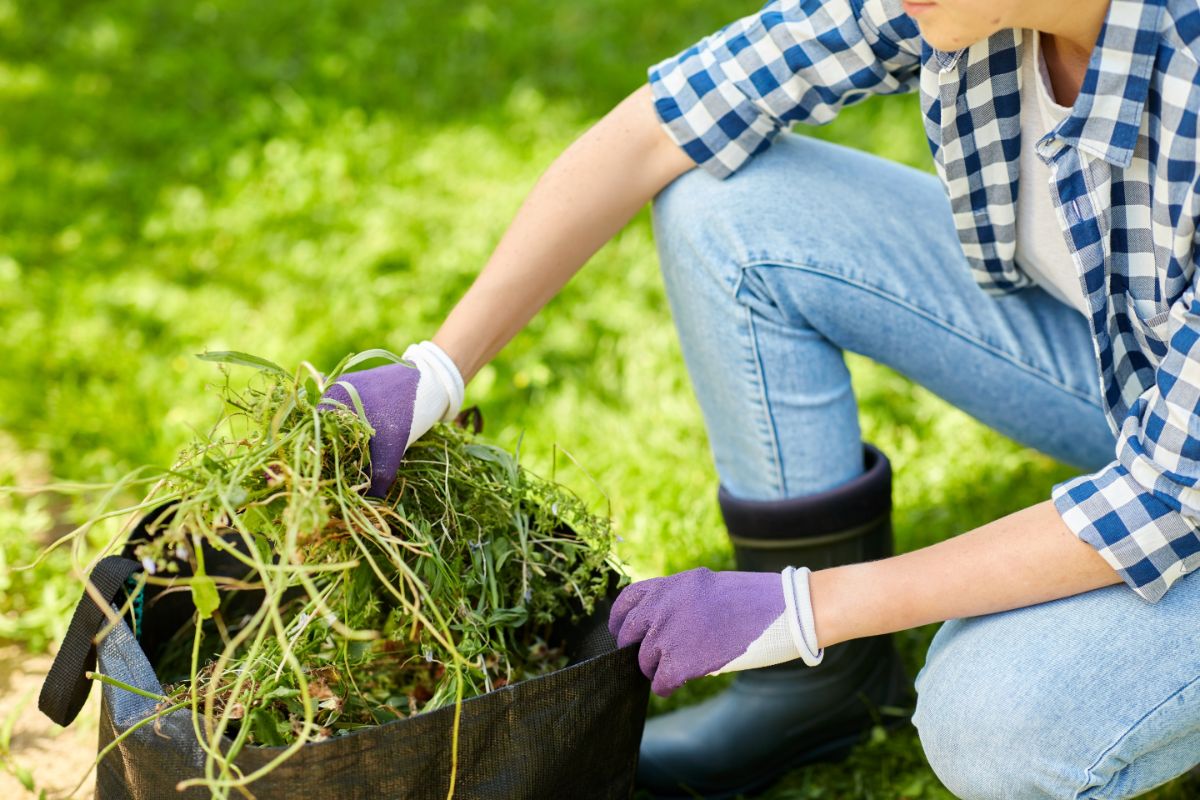
Just like the grass clippings, the weeds you pull out of the garden can be used to make a homemade fertilizer tea.
Instead of tossing those weeds, put them to work for you. Many weeds have extensive roots and pull nutrients from deeper levels of the soil profile as part of their pioneering life strategy.
Take advantage of those nutrient-rich stems and foliage.
To make homemade garden-weed tea:
- First, ensure that the weeds have not been treated with any herbicides. I also highly recommend using weeds that have not yet produced a seed head.
- Pile the weeds in the bucket and cover with water, as with the grass clipping recipe, and make weed tea. Let steep for one to two weeks.
- Strain out the remains and toss them on the compost heap.
- Dilute and apply as you would for other fertilizer tea recipes.
Beer?

Okay, full disclosure here, I am not sure I could bring myself to pour out a delicious beer into a bucket. You can use stale beer if some is lying around the morning after a party.
Gardeners report success by making a mixture of beer, which provides microbes, ammonia for nitrogen, and non-bacterial baby shampoo to act as a surfactant (helps it penetrate).
To make Leftover Beer Fertilizer Cocktail, you will need:
- 12 oz of beer
- 1 cup household ammonia (beware the fumes when handling this much)
- 1 cup baby shampoo (not the anti-bacterial kind)
Mix all ingredients together with one gallon of water and apply with a hose sprayer attachment.
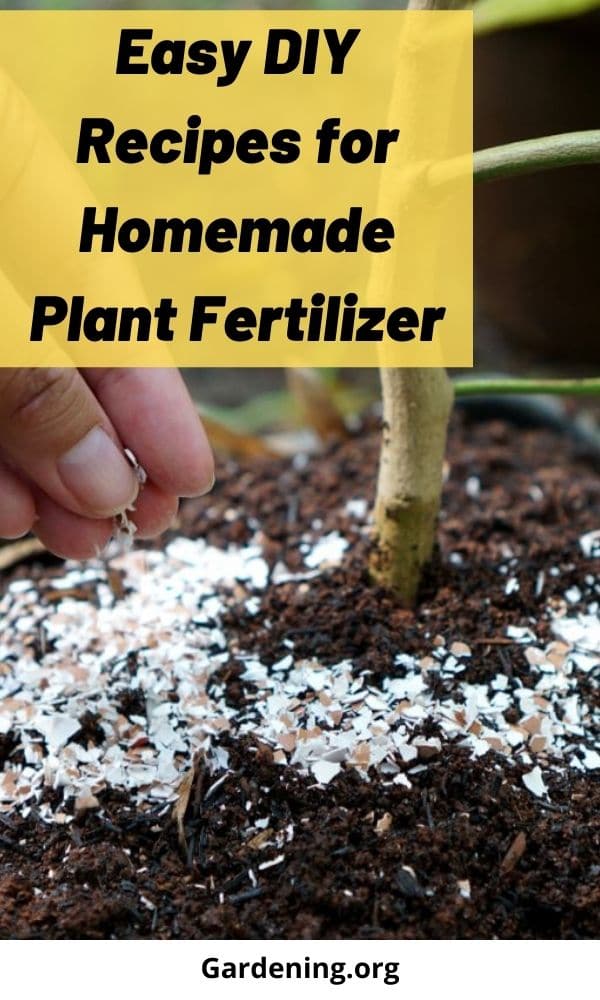
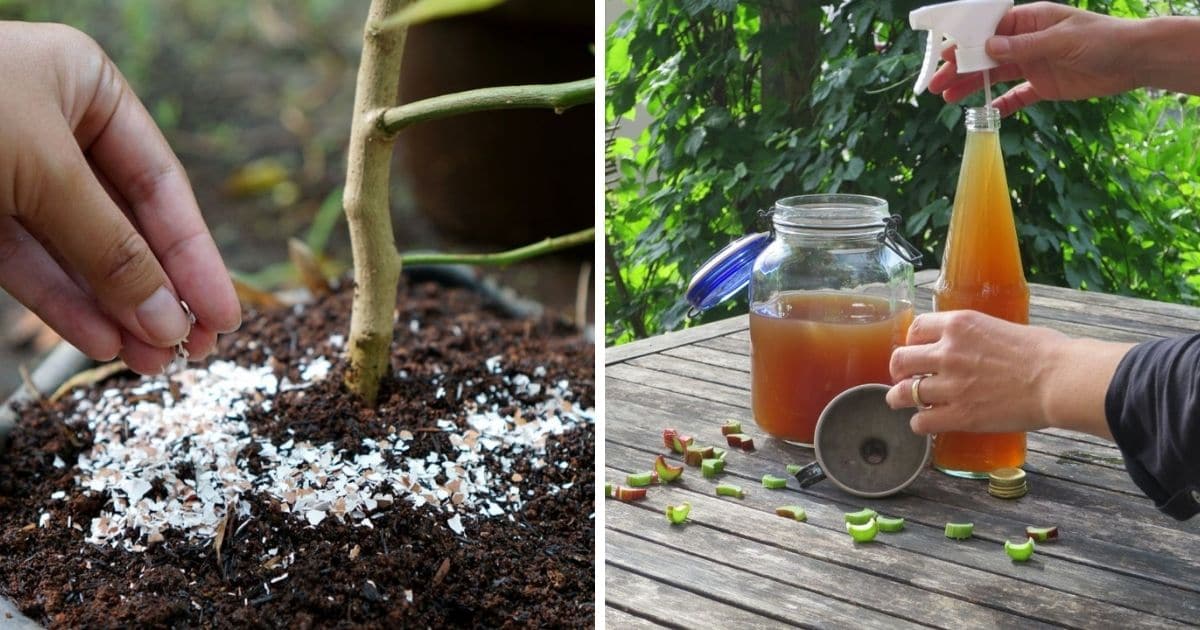
Eggshells
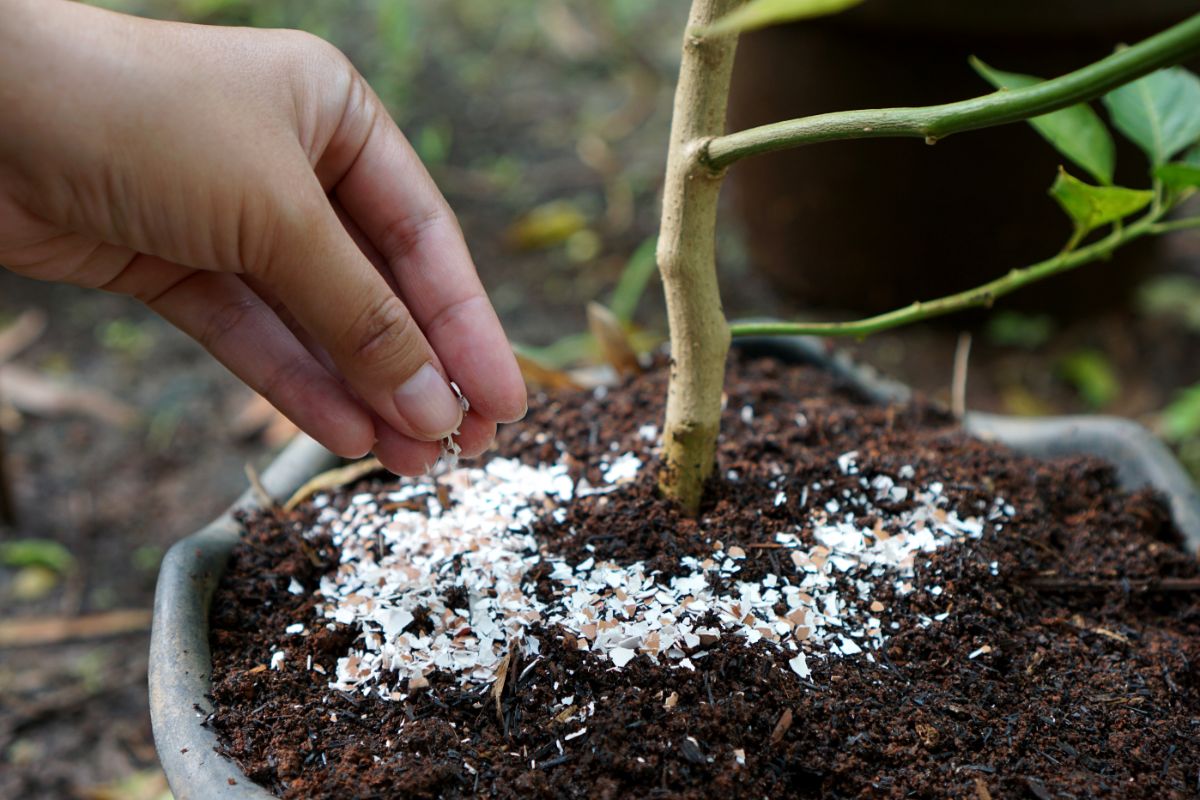
This one was all the rage a few years ago. If you tried it, as I did, you likely still have bits of eggshell littering your flower beds or compost pile.
Eggshells are a great source of calcium and can sweeten the soil–raise the pH. They will take years to break down if tossed into your garden or compost heap, and if they are not broken down, the calcium is not available to the soil and your plants.
The answer to this problem is to grind them down to powder consistency.
To use eggshells in your garden:
- Dry the shells in your oven for a few minutes on a baking pan. The oven heat also has the benefit of killing any Salmonella bacteria. They should feel brittle.
- Once dried, grind them up in an old electric coffee grinder. I keep one for just this purpose. The dried eggshells turn to powder in about thirty seconds.
Apply them as a light soil top dressing, work into the top few inches of the soil, or dissolve in one of the tea mixtures.
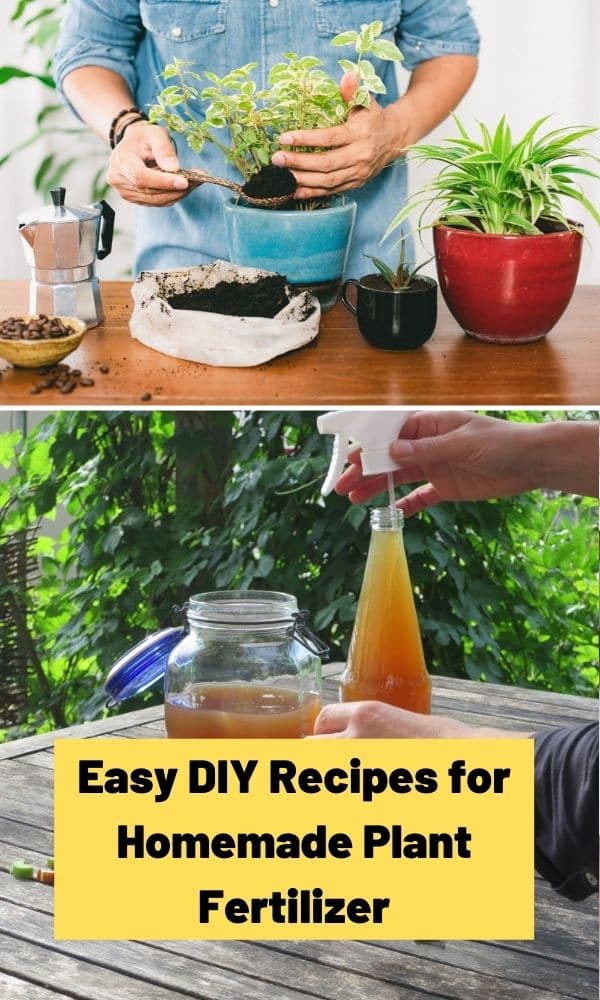
Coffee grounds
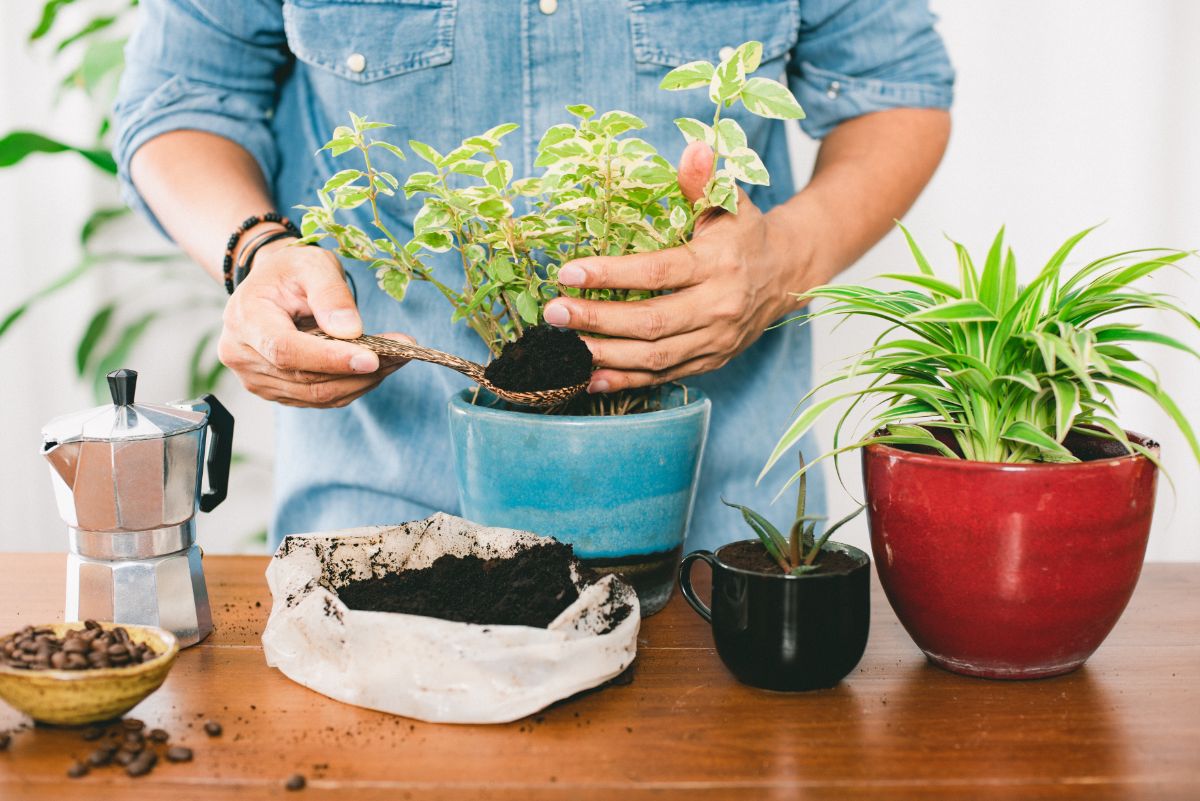
I love my morning coffee, so I generate some of this homemade fertilizer every day, and since I am going to drink the coffee anyway, the used grounds are free and are a good source of nitrogen.
Dried coffee grounds can be sprinkled sparingly in your garden under the plants or added to one of the “tea” recipes. Don’t just dump them in a clump.
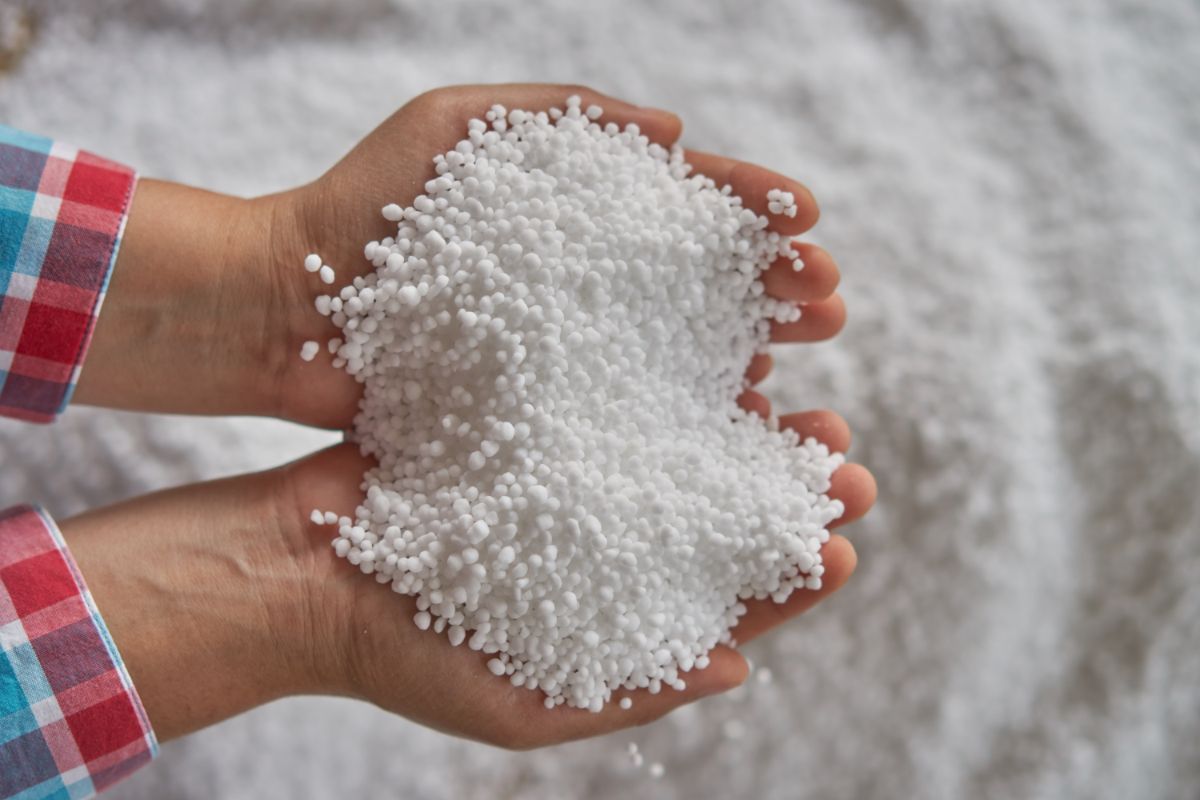
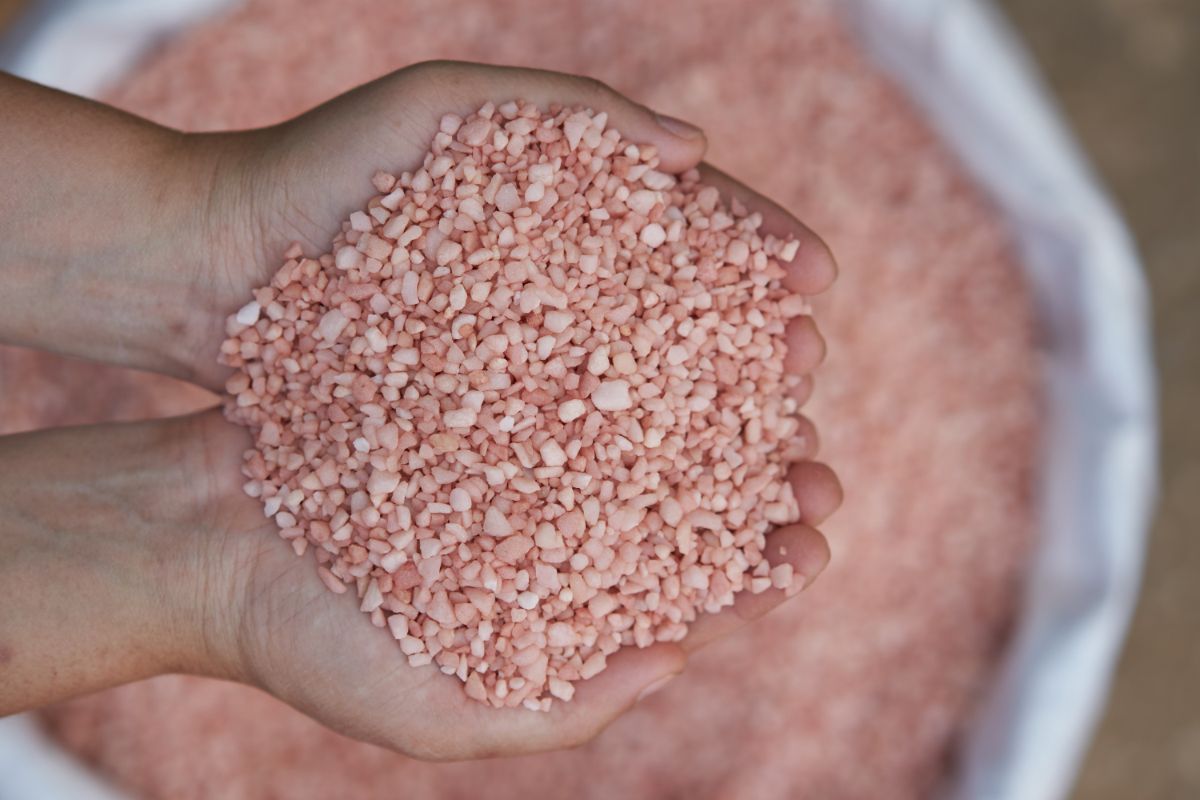
Epsom salts
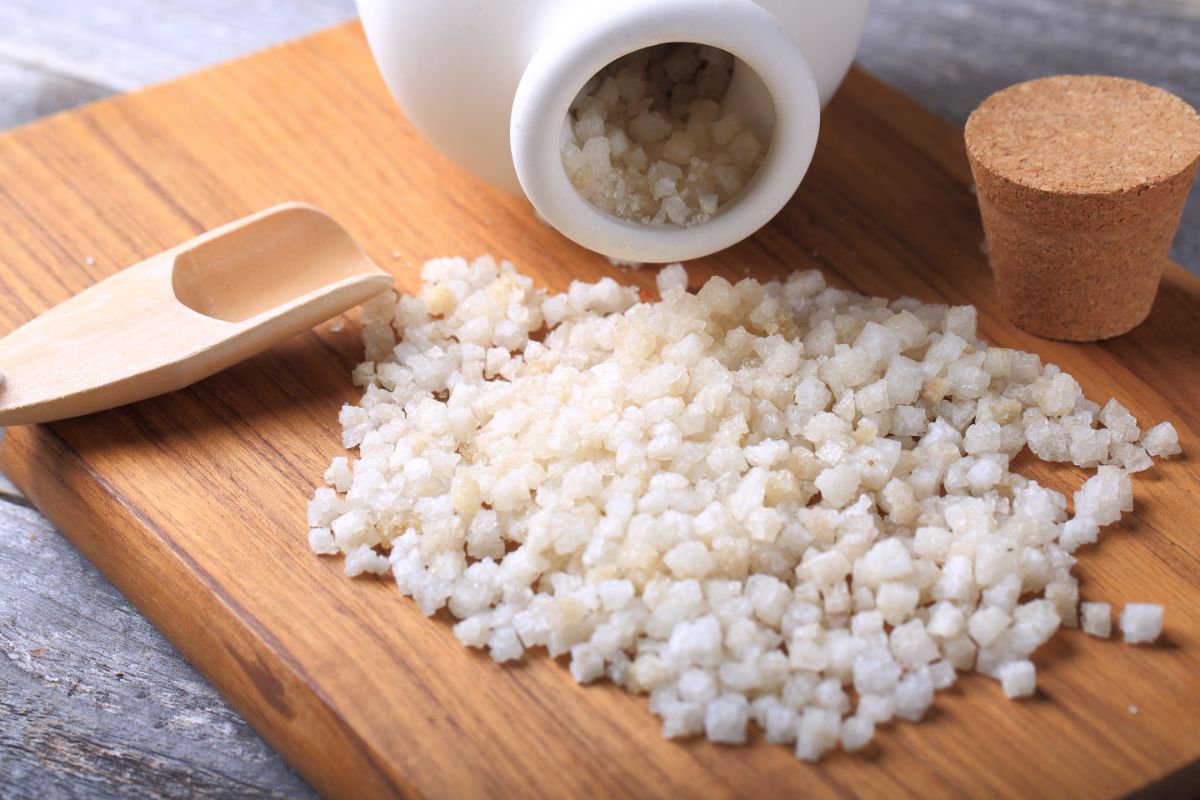
If you have a box of Epsom salts hiding under your sink, it is an excellent source of magnesium and sulfur, two essential secondary plant nutrients.
Dissolve a tablespoon of Epsom salts in a gallon of water and apply, or add them to another fertilizer tea mixture.
Mix and match
Just as most commercial fertilizers provide more than one nutrient, you can make a custom mix of these recipes for your home use as well.
Add some banana peel tea and a tablespoon of Epsom salts to your grass-clipping tea preparation.
Make a batch of weed tea and add some beer and a dose of powdered eggshells. Mix your grass clipping and dandelion tea.
Get creative with what you have and have fun. Keep note of your results and your recipes in your garden journal so you can perfect your recipe for your garden’s unique needs.
Drop us a comment below with your favorite homemade fertilizer recipe. We’d love to try it!
M.hampshire
If you have a fish tank you can use it old water on your plants. People can pay for Fish emulsion Fertilizer but I don't have to 🙂
Dr. Eshetu Wondimagegne
At the Norfolk African community Association organic allotments we choose to you use nettles and Camphory stems & leaves.
Peter Banda
Thanks for the home made fertilizer. I being a farmer , I find this article intresting .
Peter
Could you possibly provide a simple table of resource (e.g. egg shells etc) - with at least 3 columns showing when the resource is needed (e.g. plant growth, budding, fruiting)? Thanks!
Sandra Baker-Hinton
I have a small outside fish pond. It has a water pump filter. When I clean the filters I hold the filters over my flower gardens as I clean the filters with the water hose.
Mary Ward
Great tip. Smart! Thanks for sharing!
Charlotta
I would find this very helpful as well.
Mary Coakley
I found your email.so informative I have not tried these myself as I did not know how thank you so much
Zeena
I use all my fruit skins, kitchen waste like vegetables skins etc, potatoes peel, they ended up growing in my compost. I added it all in some soil, also expired or flat Coca Cola, been using coffee grounds, eggshell, tea bags. Also coffee grounds are good to keep some ants away. I like your informative info also, there are some I didn't think off, but I will surely use in the future. Thanks.
Paul
Real good stuff here. Howard Garrett, the dirt doctor, would be proud.
Oliver
One of the best fertilizers I use especially for tomatoes is made from nettles. All you keed to do is to collect fresh nettle and add them into a large barrel. Leave for a month in water and use this solution 1 to 10 with fresh water for your plants.
John
I put compost and earthworm castings in a drawstring bag, about a cup or so of each. Then hang them in a 5 gallon pail and get a large bubbler going to aerate the water, then add some molasses to feed the microbes and really get them going. Aerate for a day to two days and pour on your soil. Plants will flourish!
Joseph njoroge
What is the procedure of making foliar fertilizer.
Mary Ward
An easy and popular method is to make a fertilizing tea such as a compost or manure tea. You simply mix compost or manure into water and let it steep for at least 1 to 3 days. Then strain through something like burlap or an old pillowcase. Put in a spray bottle, label, and use. A ratio of 1 part compost/manure to 5 parts water is good.
ToTemat
I also make my own fertilizers, although I use kitchen scraps. Only vegetable and fruit waste. All this has a lot of nutritional value in it. Make sure to use them thoroughly before throwing them away. I do it as described in the article https://totemat.pl/jak-zrobic-nawoz-do-kwiatow-w-domu-najlepszy-nawoz/, i.e. heated in water, and then water the plants with this water (after cooling down, of course). Many people also dice these peelings, skins and mix them with the ground.
Loveness Hantambo
Thank you very much for the most important information,i will try with beer
Rock
Thank you for sharing the informative article.
Jonas
Thank you for sharing the informative article.
Simon Ferrer
Could you please be a bit more specific regarding the amount of banana skins you put in your "teapot" and how many litres/gallons can the teapot hold before you dilute it? Many thanks. Simon F
Mary Ward
Hi Simon, We recommend 2 cups of water for each banana peel.