What Are Miniature Orchids?
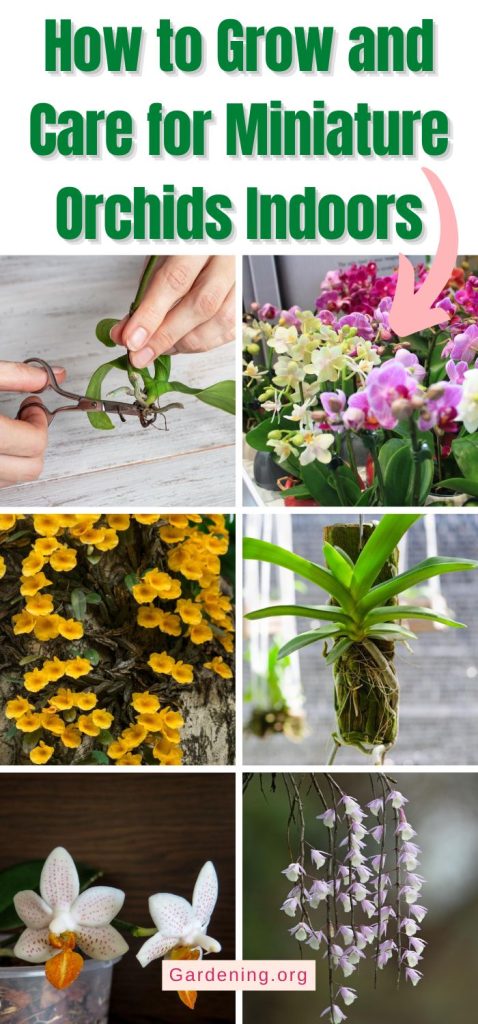
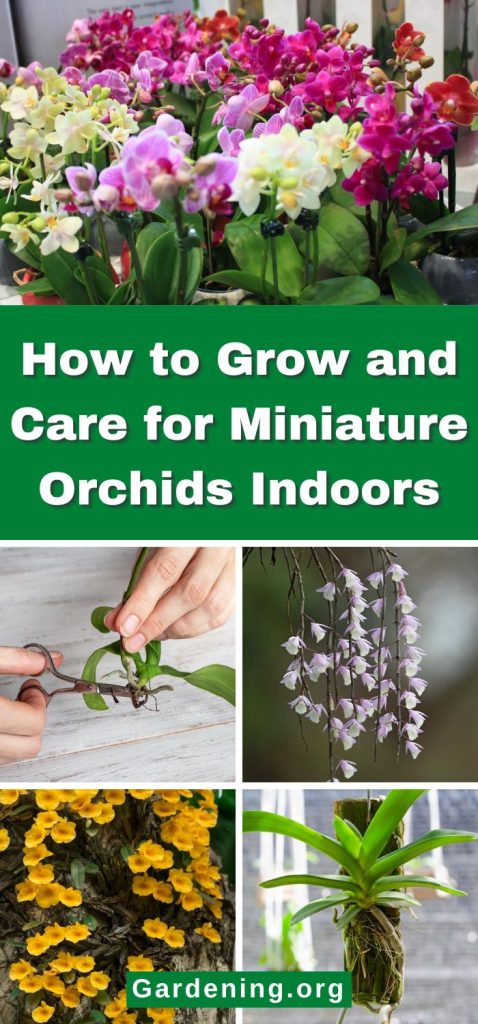
Mini orchids have foliage that grows no more than 3 to 6 inches. They are small enough to grow in a teacup, and the flowers range in size from the size of a half-dollar to smaller than your pinky fingernail.
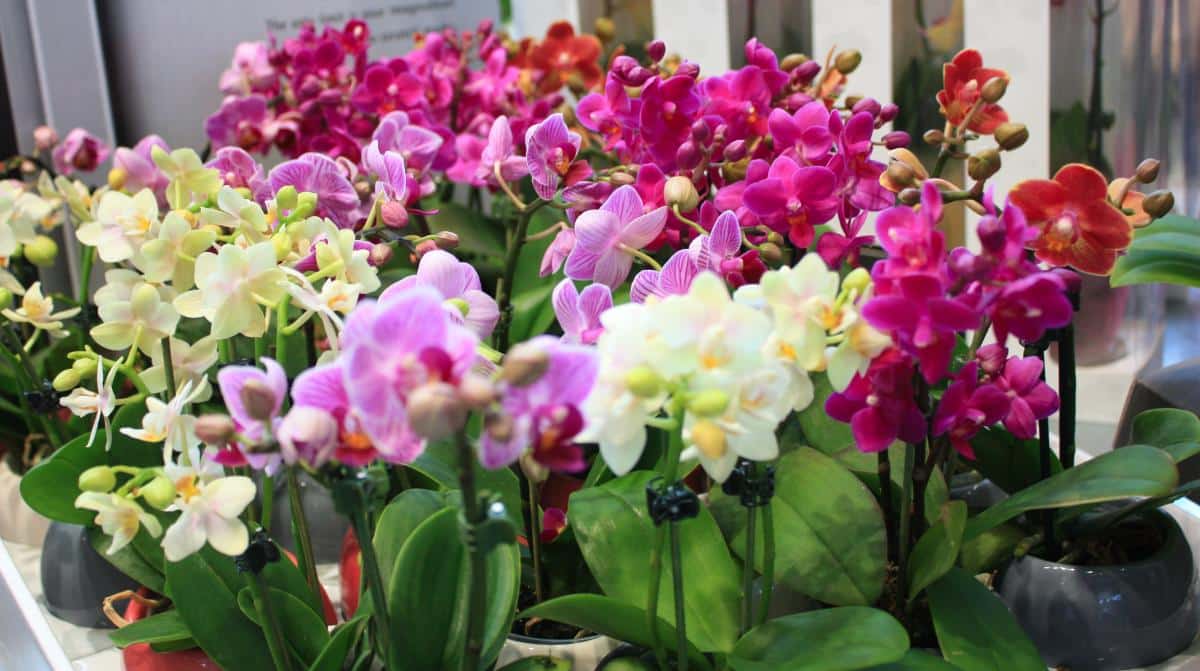
Most often, the mini orchids available at the store or nursery are mini phalaenopsis – also called mini phals or mini butterfly orchids. These are easy to grow because it’s easy to give them what they need.
They’re interesting and wickedly adorable flowers.
Jump to:
- Miniature Orchids are Neat to Grow
- Please Don’t Water Orchids with Ice!
- About Orchids and Soil
- Mini Orchids in Terrariums or Florariums
- Orchids That Love Terrarium Life
- Mini Orchid Care and Maintenance
- Watering a Miniature Orchid – the Right Way!
- Don’t Let Water Collect in the Crown
- Humidity is Awesome
- Light for Mini Orchids
- Keep the Air Moving
- About Flower Stalks on Mini Orchids
- Repotting a Miniature Orchid
- Mounting Mini Orchids
Miniature Orchids are Neat to Grow
Mini orchids, teacup orchids, miniature orchids – these are beyond cute. There are tons of miniature phalaenopsis orchids available for sale, mini butterfly orchids that are shrunk to an adorable size. But there is a world of even smaller orchids out there, some small enough to make an impressive display in a doll’s house.
The rarer miniature orchids can look as if they were drawn by Dr. Seuss and are a little more challenging to grow, so they’re generally available only through nurseries that specialize in orchids.
Some miniature orchids are grown in little pots. Some are mounted on small pieces of cork or wood with a bit of sphagnum moss packed around the roots. Many do well in terrariums.
Please Don’t Water Orchids with Ice!
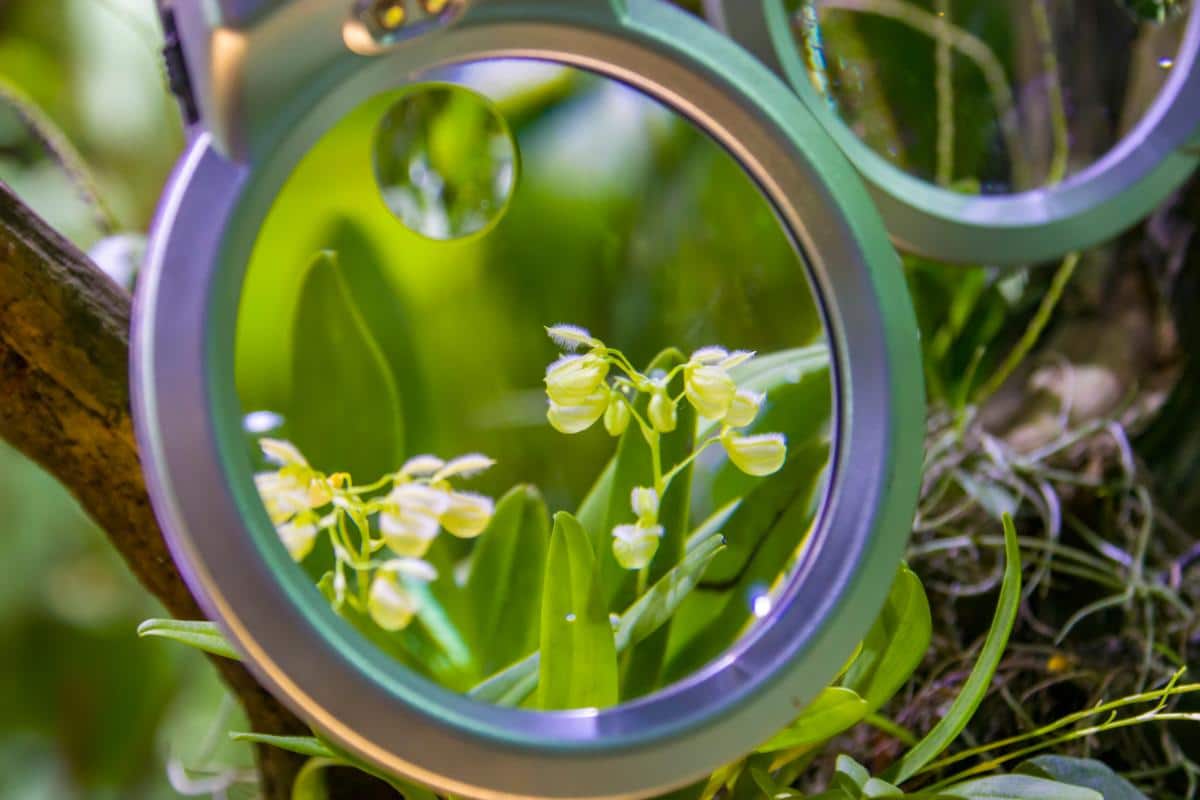
Let’s just put a stop to this notion before we go any further.
The idea that mini orchids – or any orchids – can be watered weekly with ice cubes is evil and needs to end. Can you imagine taking the ice bucket challenge every week?
And these plant tags say that three chunks of ice every week will keep an orchid alive. Bunk! Hogwash!
Here’s a quick experiment. Put three pieces of ice in a bowl and let them melt. How much water is left? Is that enough to keep any orchid, even a tiny one, alive? Heck no!
Using ice to water orchids is a marketing ploy meant to make orchid care seem easy when, in reality, it kills them off. Then the customer blames themselves for having a brown thumb … and they buy more orchids.
Is that devious, or what?
Keep reading to learn how to grow miniature orchids the right way to keep them happy and blooming for a long time.
Read more: Butterfly Orchids – The Ultimate Growing Guide
About Orchids and Soil
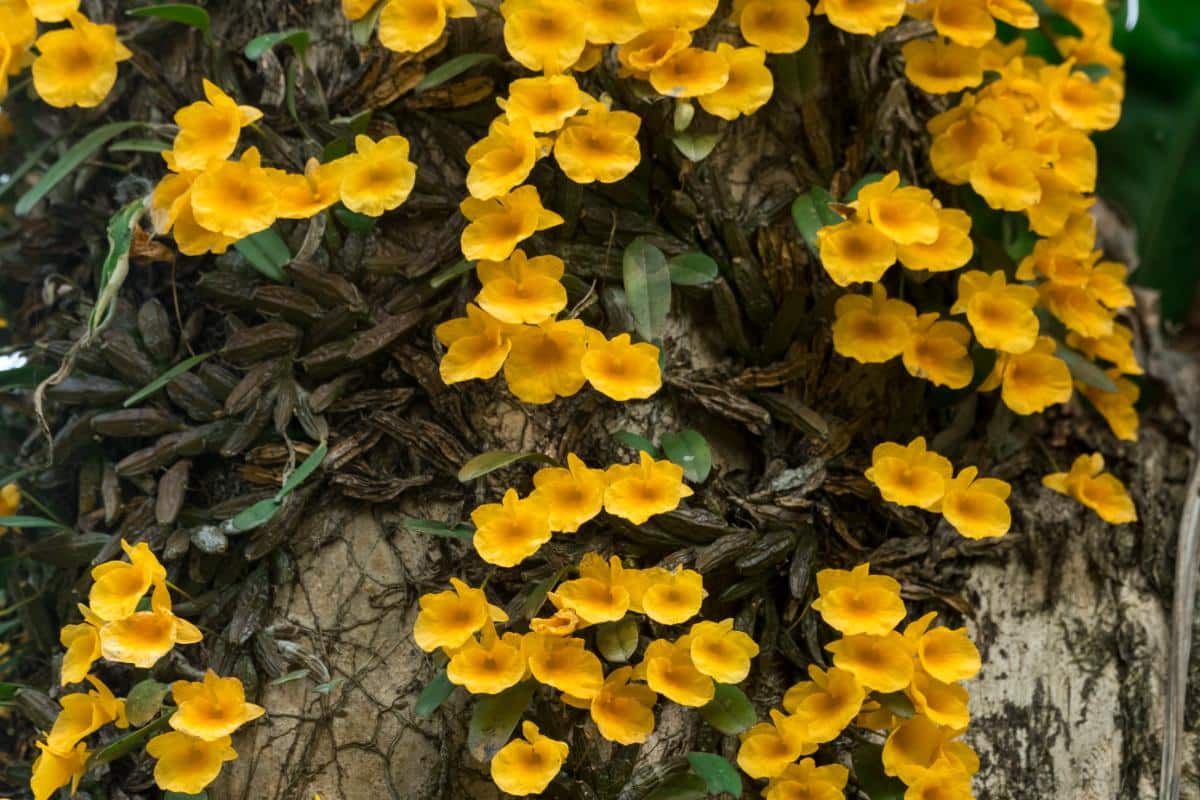
In general, there are two types of orchids.
Terrestrial orchids grow with their roots in the ground (and some in the leaf litter on the ground). Many soil-based mini orchids rely on mycorrhiza and other soil fungi to survive, so they can be difficult to grow in a pot, and as a result, they are not seen as often in commerce.
Epiphytic orchids grow on trees or shrubs up in the air. They anchor their roots into the bark and leave the rest of their roots exposed to the elements, watered by lots of warm rain and humidity. These orchids are not parasites – they don’t harm the host plant they’re growing on. They just like to be up high enough to get sun, air circulation, and rain. All their water and nutrients come from the air and the decaying bits of leaf litter, bark, etc., on the branch or trunk they’re clinging to.
Most importantly, though, these orchids need air to reach their roots, just as their forebearers did in the treetops. That’s why potted plants need to have excellent drainage, and they need to dry out some between waterings.
As houseplants, epiphytic mini orchids are generally planted in fast-draining moss or orchid bark mixes. They don’t need much in the way of fertilizer because they’ve evolved to not need as much as a terrestrial orchid might.
Mini butterfly orchids (Phalaenopsis orchids) are epiphytes as well, so they will be grown in an orchid potting mix that uses bark chips and other light, loose materials.
We’ll talk more about potting and mounting mini orchids later in the article.
Mini Orchids in Terrariums or Florariums
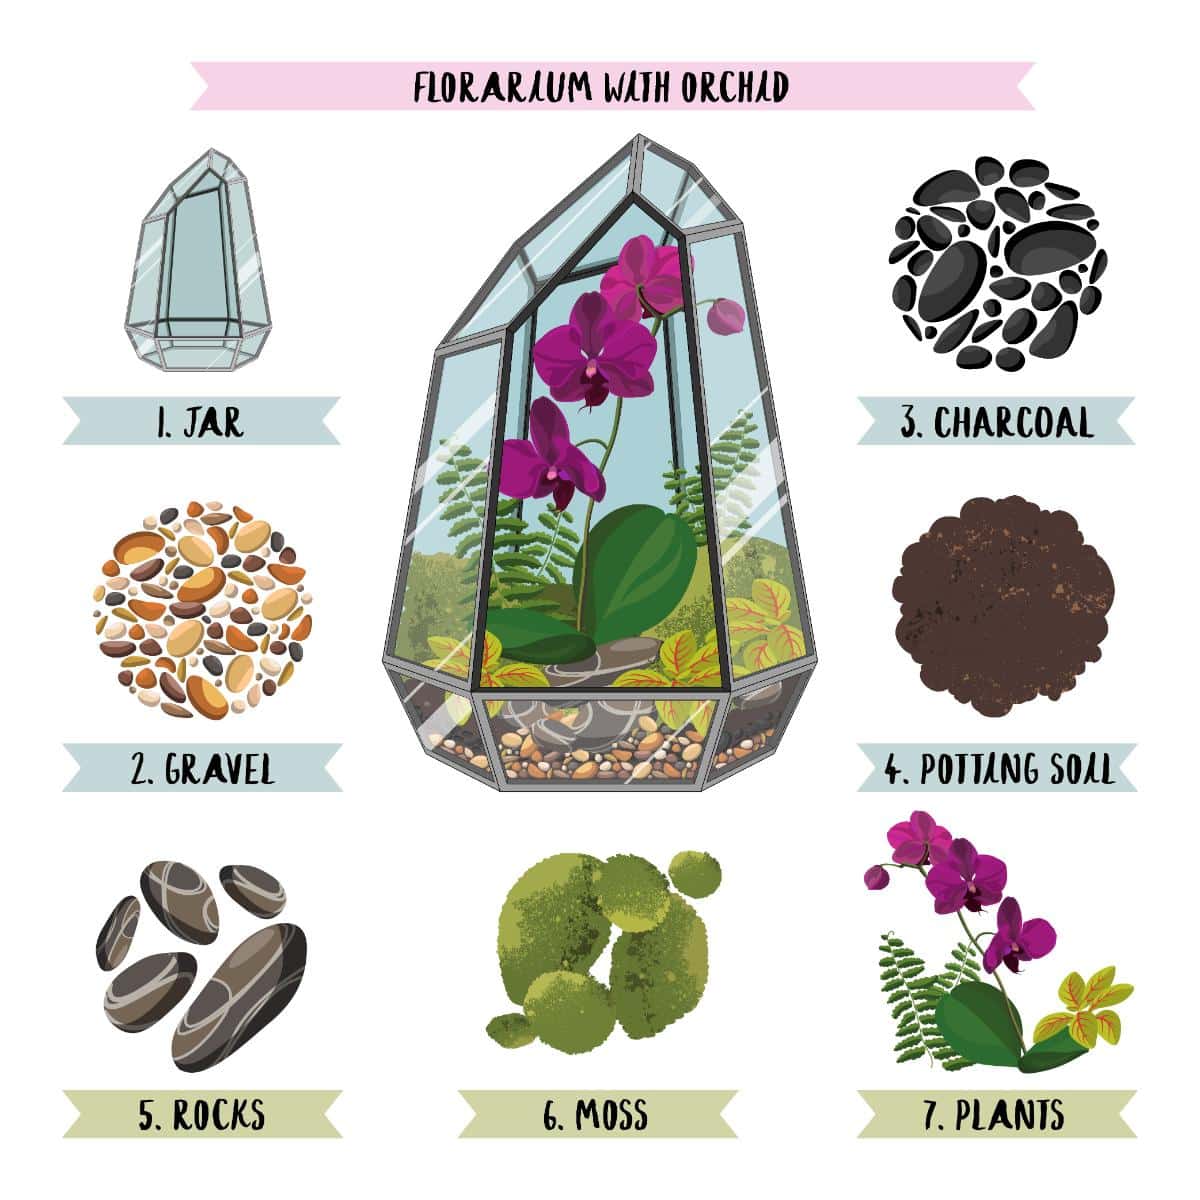
Miniature orchids do well in a terrarium; as they hold in the humidity, they need to thrive. Orchid enthusiasts will build rugged landscapes in terrariums with plenty of moss-covered rocks and driftwood limbs to nestle mini orchids into.
You don’t need to go far to find a good terrarium. The reptile section in your local pet store has reptile tanks and terrarium habitats. Choose a vertical one that opens from the front. These make it easy to display your orchids. As an extra bonus, some of these reptile tanks include a full-spectrum light.
The reptile section also offers coco coir, which is like peat and sold as a reptile substrate. They offer habitat backgrounds, such as large pieces of cork bark, with lots of places to put mini orchids. They sell twisty pieces of wood that are just the right size for terrariums, making the perfect perch for mini orchids and mosses.
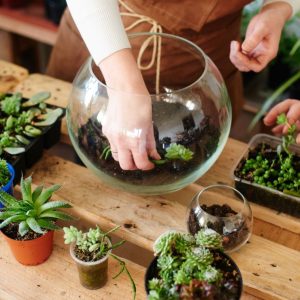
To set up an orchid terrarium, start with drainage. Use some egg crate aquarium bottoms along with a layer of leca balls to cover the bottom. Then, lay a mesh filter over these to keep the substrate from sinking into the drainage part.
Above that, put in the orchid planting medium. This usually consists of medium-grade orchid bark, coco peat, roughly chopped sphagnum, perlite, leca balls, worm castings, horticultural charcoal, and other ingredients. Add the habitat background and your twisty piece of wood or anything that you want to set your orchids on.
Then, add your orchids. Plant terrestrial orchids in the ground, such as jewel orchids. Or take the pot they’re in and bury that in the substrate, camouflaging the pot edges with bark, moss, or whatever looks natural. Mount mini orchids in sphagnum moss on the twisty piece of wood – there will be more about mounting mini orchids later in this article.
The terrarium needs grow lights and a hygrometer to keep track of humidity levels and temperature. The tank should stay between 65°F to 79°F / 18°C to 26°C, and the humidity should be 65% to 85%. Mist the terrarium daily or water the soil.
Once the terrarium is set up, feel free to get a small reptile or two to hang out with your orchids if you are so inclined.
Fun fact: Sometimes, you can find terrarium plants at the pet store as well – including mini orchids. Look around the reptile and fish section.
Orchids That Love Terrarium Life
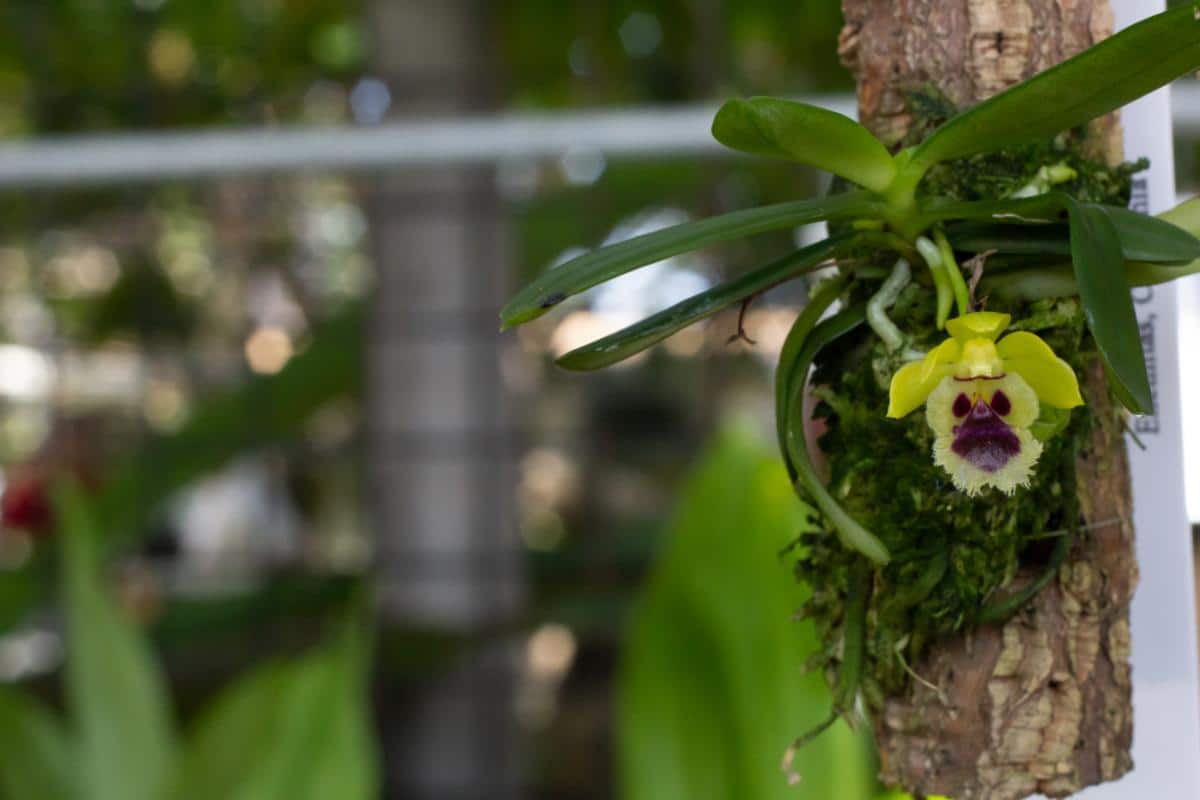
Some of the mini orchids do well in a terrarium, such as
- Bulbophyllum mastersianum – The flowers look surprisingly like colorful daisies that are missing their centers.
- Cattleya luteola – This mini orchid bears little corsage flowers that are 2 inches wide.
- Cattleya (Laelia) praestans – A compact species with gorgeous mini corsage blossoms.
- Haraella retrocalla – This cute mini makes a fan of tiny green leaves and lots of teeny yellow and purple flowers.
- Miniature Phalaenopsis orchids – Everybody’s favorite.
- Lepanthes tentaculate – These are a popular choice for the foliage.
- Jewel orchids (Ludisia discolor or Macodes petola) – These are grown for their glittery-veined leaves. Jewel orchids grow a lot faster in the terrarium than in the open air.
- Stelis pachyglossa – Their native habitat is in rainforests on lower mountain elevations. Bears a scattering of two-pronged purple or yellow flowers.
Read more: Jewel Orchids Grow and Care Guide
Add other humidity-loving plants among the orchids as well.
- Air plants (Tillandsias)
- Small ferns
- Club moss
Mini Orchid Care and Maintenance
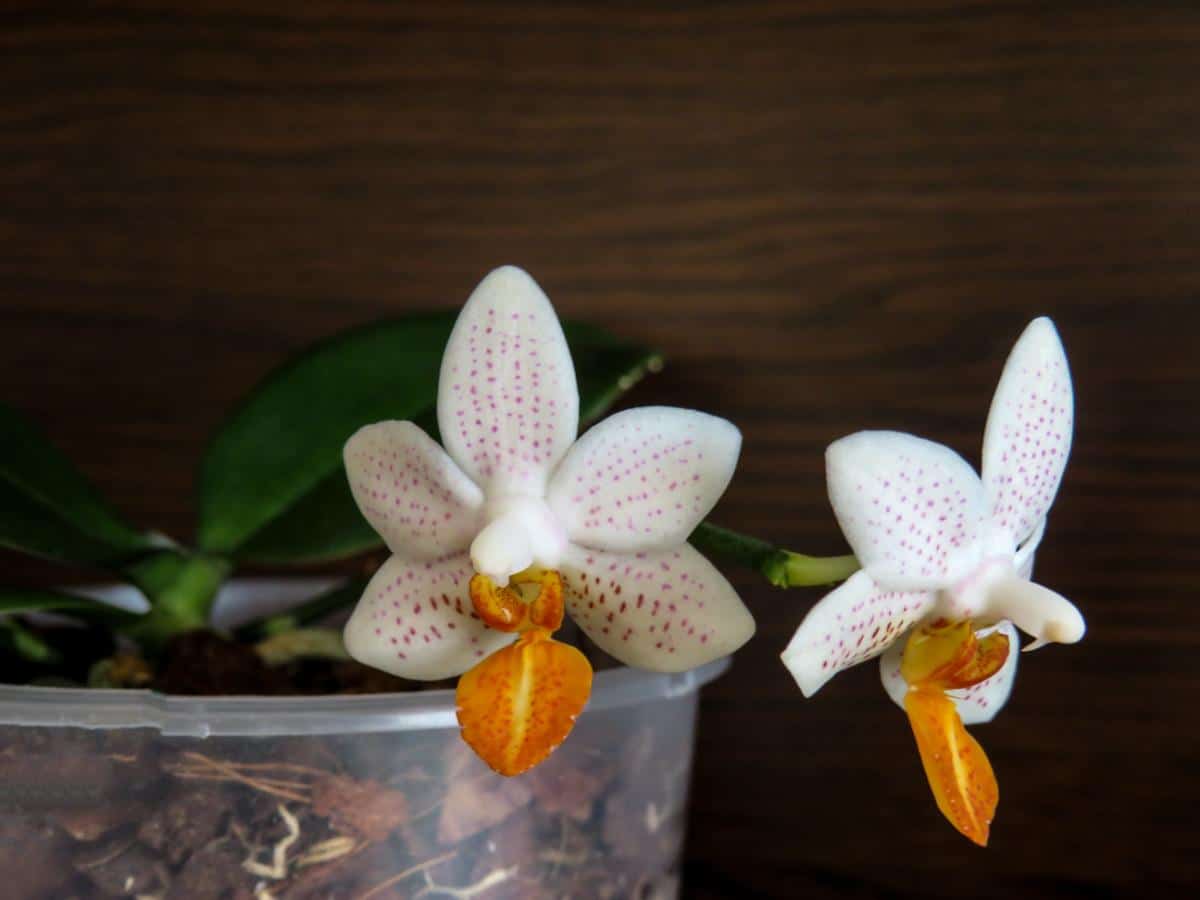
In their native conditions, mini orchids are often watered heavily through a big fall of warm rain, and water drains away quickly. The roots are surrounded by humidity. These are the conditions to replicate when you water your mini orchid.
Leaves, stems, and pseudobulbs store water. If any of these look shriveled, they’re dehydrated.
Read more: 5 Best Humidifiers for Houseplants + DIY Ways to Humidify
Watering a Miniature Orchid – the Right Way!
You can water and mini orchid too often but you cannot water them too much.
Wait until the bottom of the potting medium is dry. If it’s grown in sphagnum moss, wait until the moss dries out. This is usually about a week or so.
Miniature orchids prefer distilled water because some tap water, especially hard water, contains several elements and chemicals that affect orchids and their growth.
Some mini phals are sold with two pots – the clear interior pot with drainage holes and the decorative exterior pot with no holes.
Once a week, fill the orchid pot with distilled or filtered water that has a low amount of fertilizer added to it. If you have time, let the roots soak for about a half-hour or even overnight. Even soaking for a minute or two is fine if you’re short on time.
After it’s soaked, lift out the clear pot and let it drain. Pour the used water out of the decorative pot. Then, put the clear pot back into the decorative pot. Boom, you’re done.
You can also put your orchid in the sink and run water through the clear pot for 10 to 15 seconds, let it drain, and put it back in the decorative pot. I did this with my orchids at work for years, and they looked fine.
Don’t Let Water Collect in the Crown
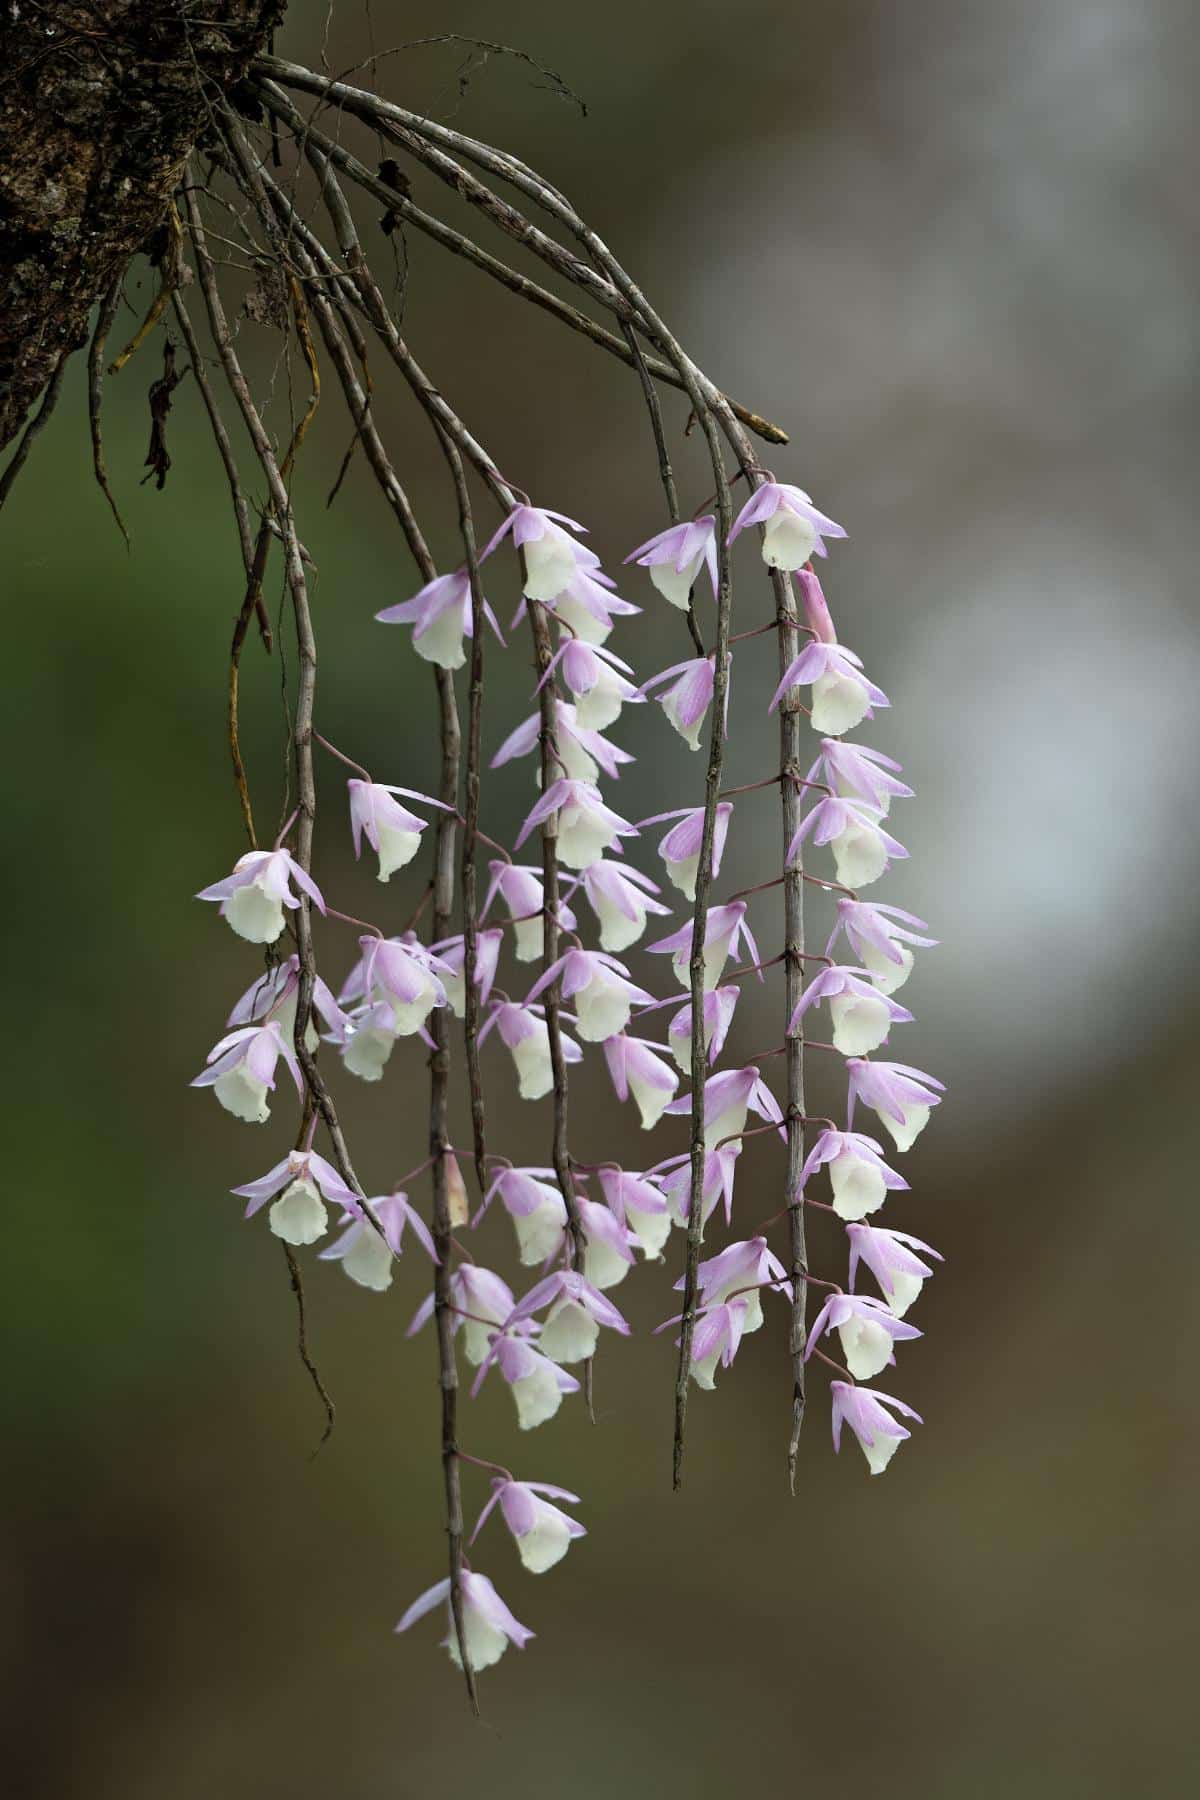
After watering, make sure to tip the orchid over to pour out any water that has pooled in the crown or between the leaves. This can lead to crown rot.
Humidity is Awesome
Misting mini orchids is good, but a humidifier or an ultrasonic vaporizer is even better, especially if the heating is on.
I grow my orchids in an uncovered aquarium. They stay in pots, but I put a lot of coco coir substrate at the bottom. There’s a humidity gauge in with the orchids, and when the humidity starts dipping below 60%, I’ll add water to the substrate.
Light for Mini Orchids
In general, miniature orchids prefer bright but dappled light. Since you probably don’t have a miniature tree to plant your miniature orchid under, they’ll also enjoy bright, indirect light from the window. A full-spectrum grow light is also a good choice, especially for miniature phalaenopsis orchids that need bright light in order to bloom.
Keep the Air Moving
Whether you grow your mini orchids in a terrarium, a windowsill, or a shower, airflow is important to let water dry off from the leaves and to keep fungal diseases from forming.
Read more: 18 Easy to Care for Orchids for Beginners
About Flower Stalks on Mini Orchids
Here’s something I didn’t know until I wrote this article: Once the flowers die, don’t cut off the stem. The orchid will reclaim the nutrients from the finished stem. If you cut off the stem, it takes longer for the orchid to reflower.
You can, however, trim the stem above a node. Nodes are the places on a flower stem where a flower or a stem could potentially grow out. They look like buds or bumps.
If your mini orchid has healthy, green spikes, find the node under the lowest blossom and snip 1 inch above it.
This is because budding and flowering is a high-energy task for mini orchids (and any plant, to be honest.) When that part of the stem is gone, the orchid can divert its flower energy back to the root and leaves – though SOMETIMES a stem will put out a new group of buds and flower again!
Cut off unhealthy or brown spikes at the base of the plant. The orchid is done with these.
Repotting a Miniature Orchid
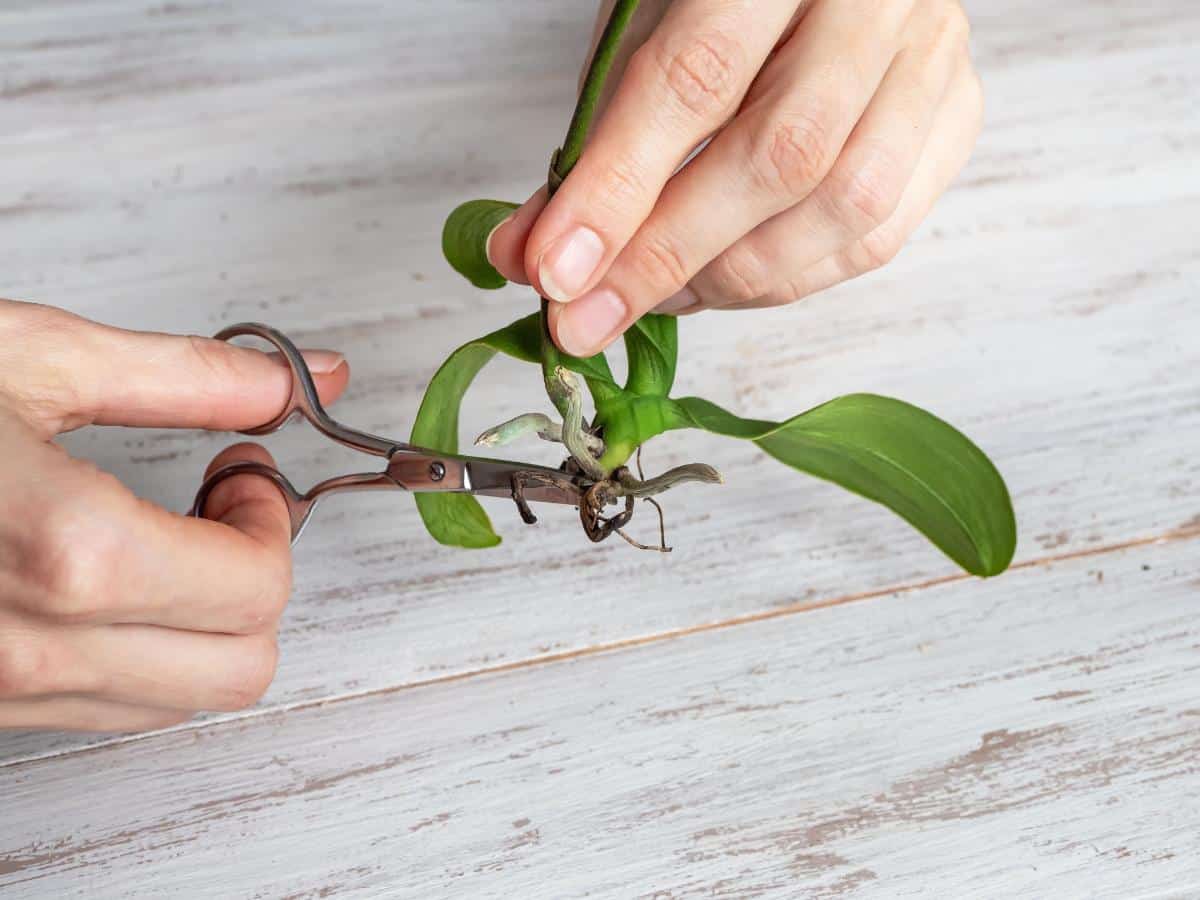
Some mini phals are grown in a small pot that’s only one or two inches wide with no drainage. Their roots will rot and decay if the water can’t drain, so they need to be transplanted into a slightly larger pot (with drainage) with a proper orchid mix.
Some mini orchids, like the mini phals, are okay with having their potting mix refreshed every year or two. Some orchids, such as miniature dendrobiums, hate being repotted.
- Remove the mini orchid from the pot and get rid of the potting medium.
- Rinse off the roots in lukewarm water.
- Dead roots are squishy, black, or dried up. Cut them off.
- Healthy roots are silver when dry and turn green when you dip them in water. Keep those.
- Repot in a pot with good drainage, using a proper orchid mix with bark, perlite, and charcoal. Avoid peat/coco coir.
- Set the pot in a decorative container if you like.
- If the potting medium dries out too quickly every week, add a little fresh sphagnum moss to hold a little water.
Mounting Mini Orchids
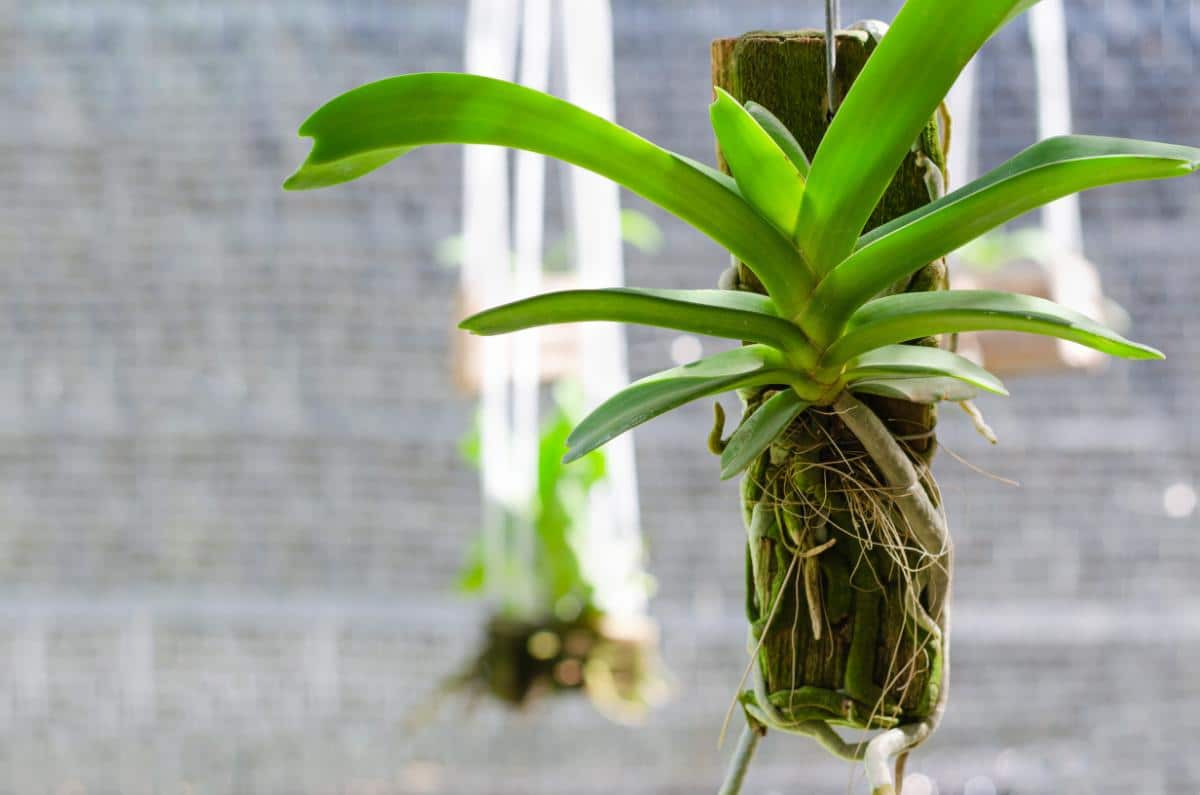
Epiphytic orchids weren’t really meant to grow in pots. Orchids are potted up because it makes them look good and it’s convenient.
That’s why many orchid growers take their orchids out of the pots and mount them on different materials. It looks more decorative, and the orchid likes not being stuck in a pot.
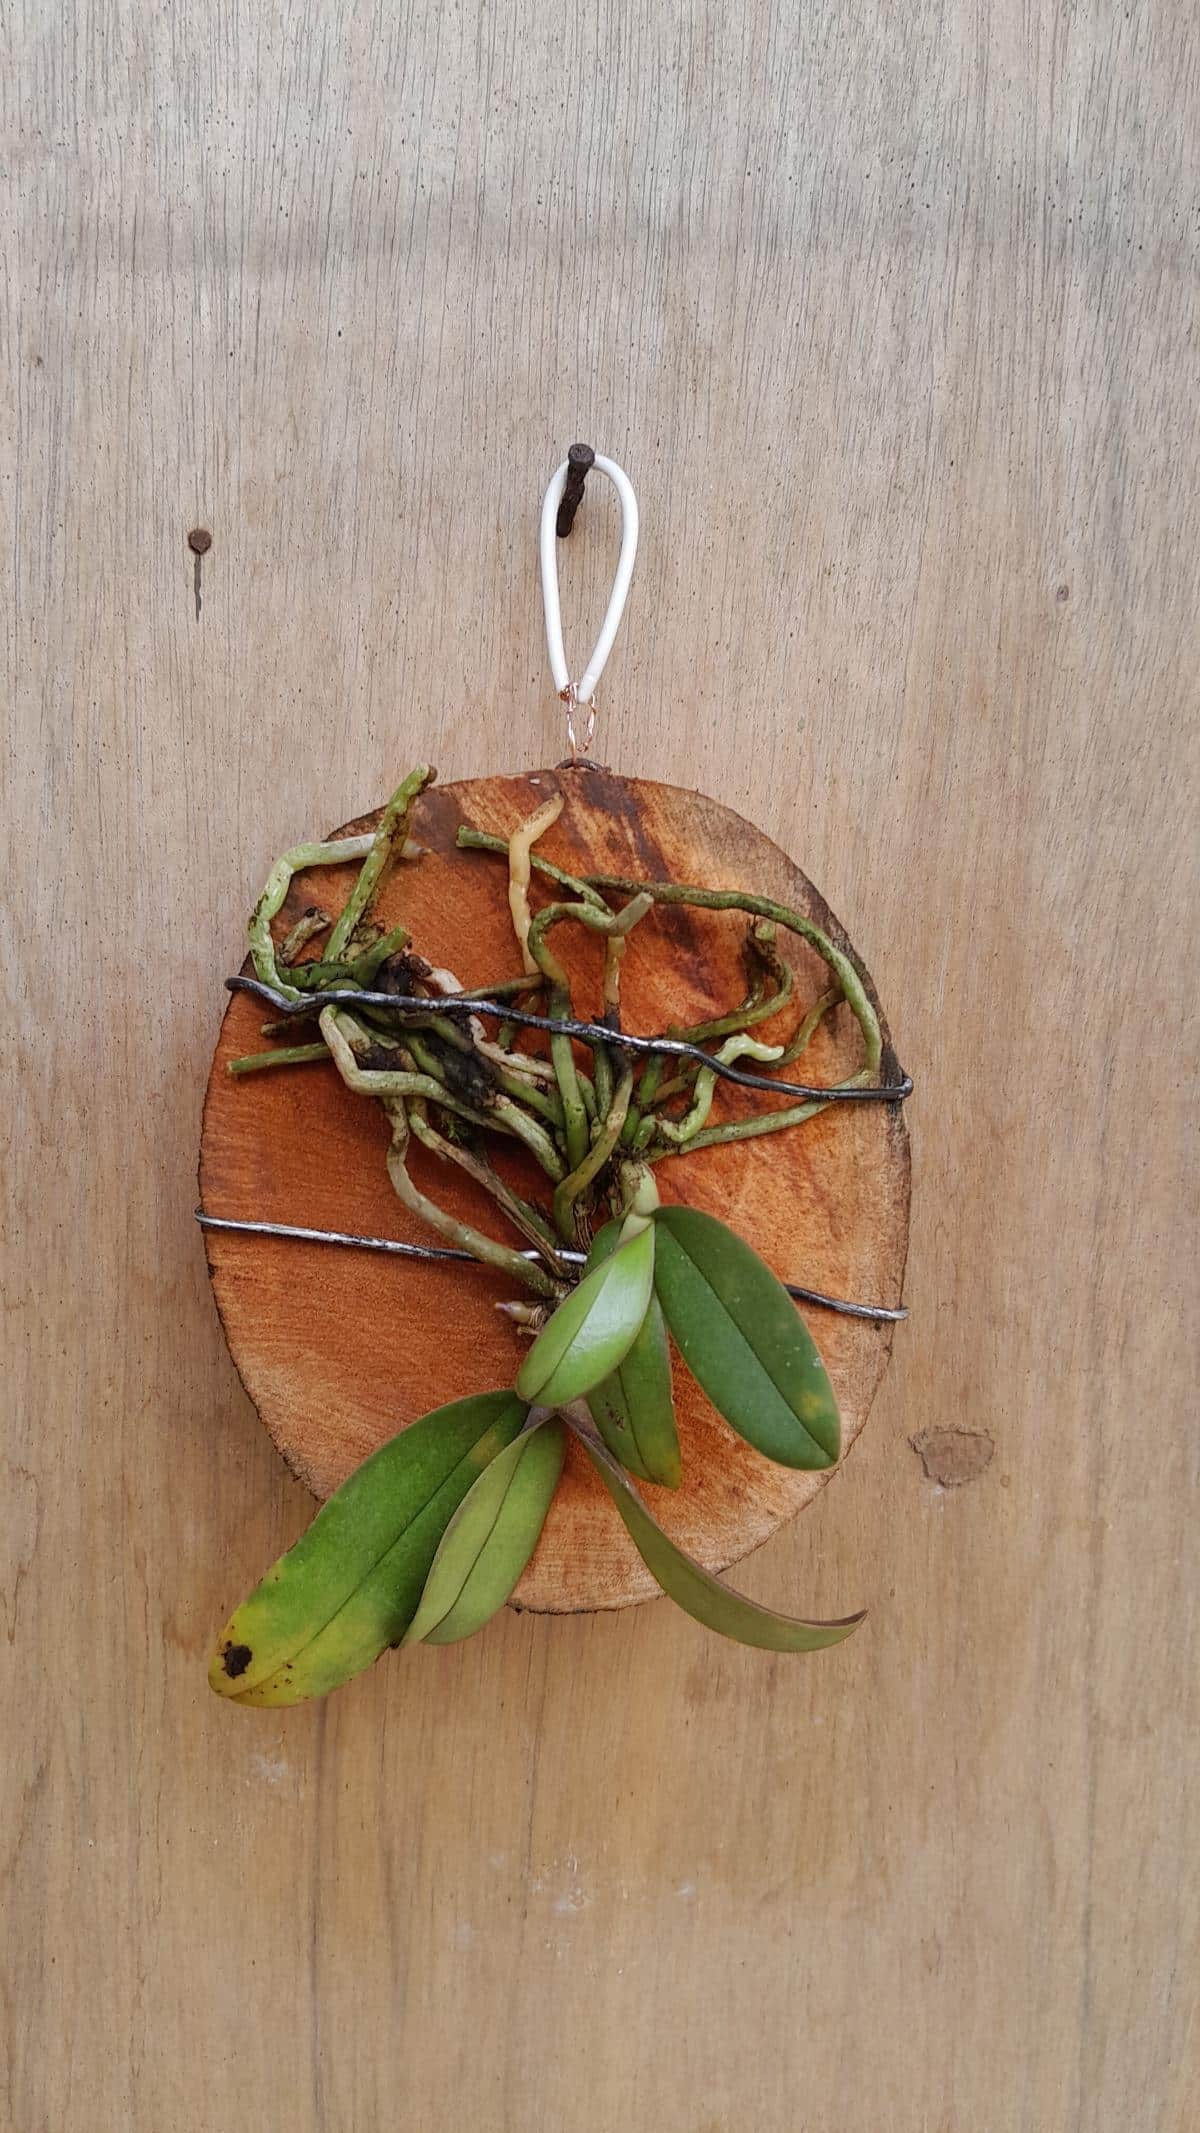
Find a mount for the mini orchid – cedar shingles, bark, tree fern mounts, lava rock, driftwood, and so forth. Cork is an especially good material for orchid mounts.
Put a hook in the mount so it can be hung up.
Take the mini orchid out of its pot, clean the potting medium off the roots, and cut off dead roots.
A layer of green moss or sphagnum moss is placed on its mount. The orchid roots are laid over the moss. Then, the roots are covered with another layer of moss to keep them moist.
All is tied securely onto the mount with a fishing line. Strips of cloth cut from old nylon stockings also work for tying and are gentler on the roots.
Keep mounted mini orchids in a high-humidity setting and water when the sphagnum dries out a little. Outside of a greenhouse, the mini orchid should be watered daily.
One orchid aficionado actually kept a mounted miniature orchid with a small grow light in his shower! Now, that is thinking outside the box (or flowerpot).
Read more: Growing Dendrobium Orchids: Everything You Need to Know

Leave a Reply