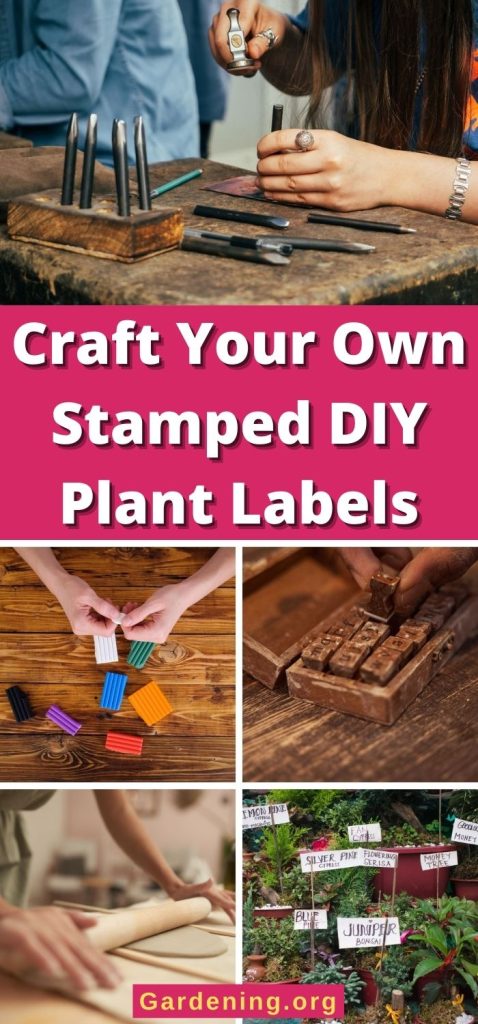
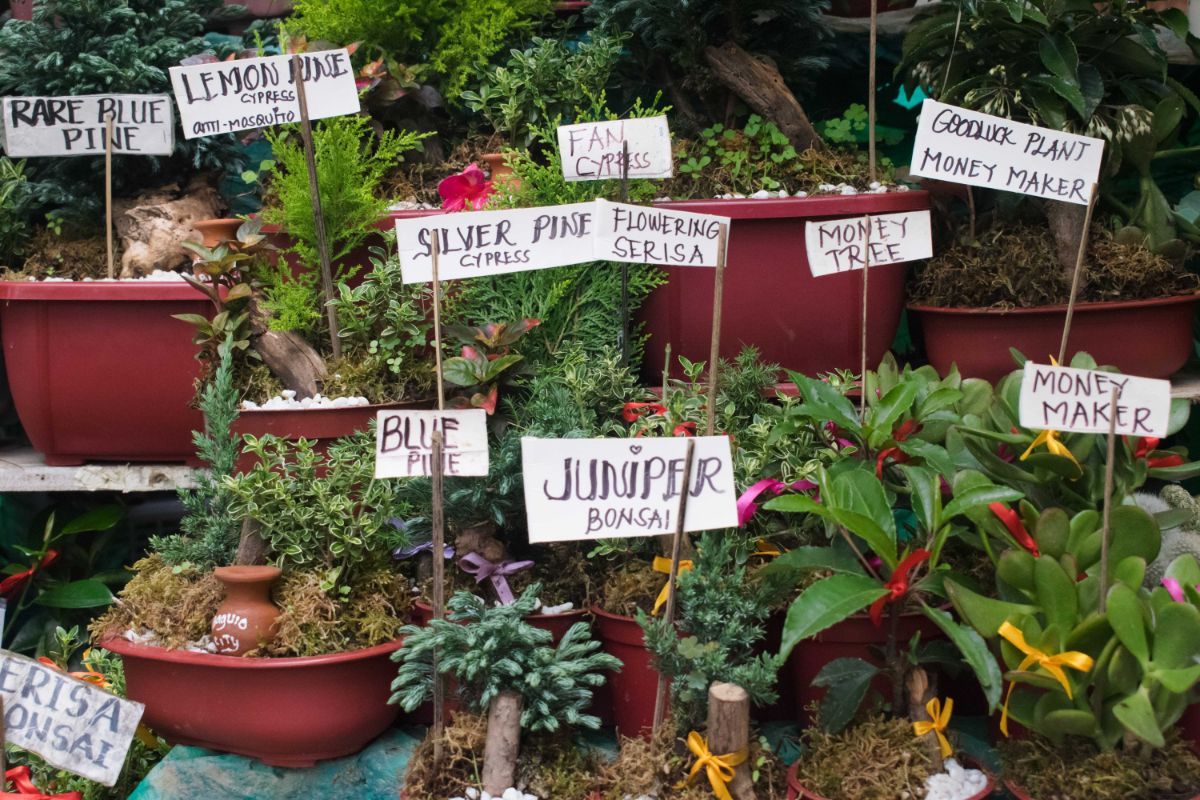
As much as we love planting seeds and keeping houseplants, every indoor gardener knows the struggle of forgetting what you planted or a particular plant’s name. Adding plant labels to houseplants and seedling trays is an easy way to keep track of everything you planted, but storebought plant labels can get expensive fast. Luckily, it’s super easy to create your own DIY plant labels and this quick tutorial will teach you just how to do it.
Jump to:
Materials you’ll need:
- Clay -- either air dry clay or polymer clay will do.
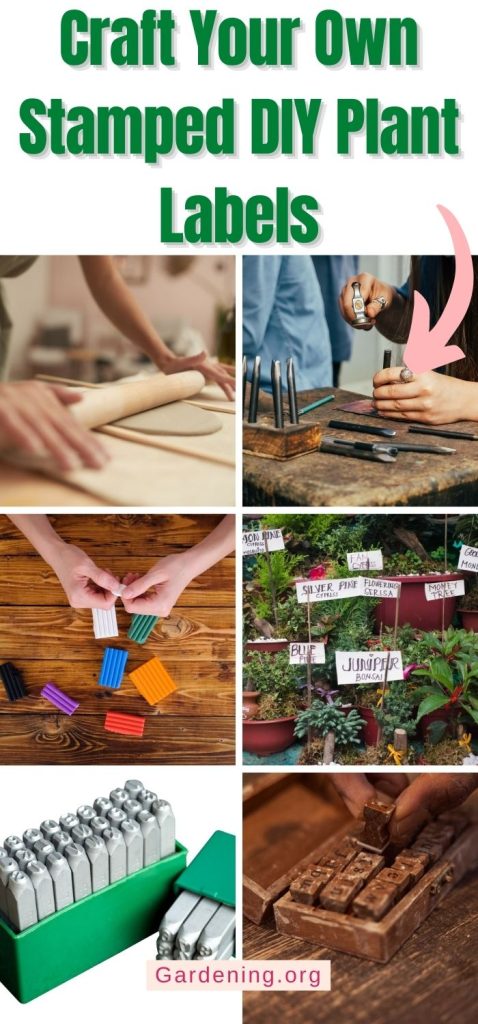
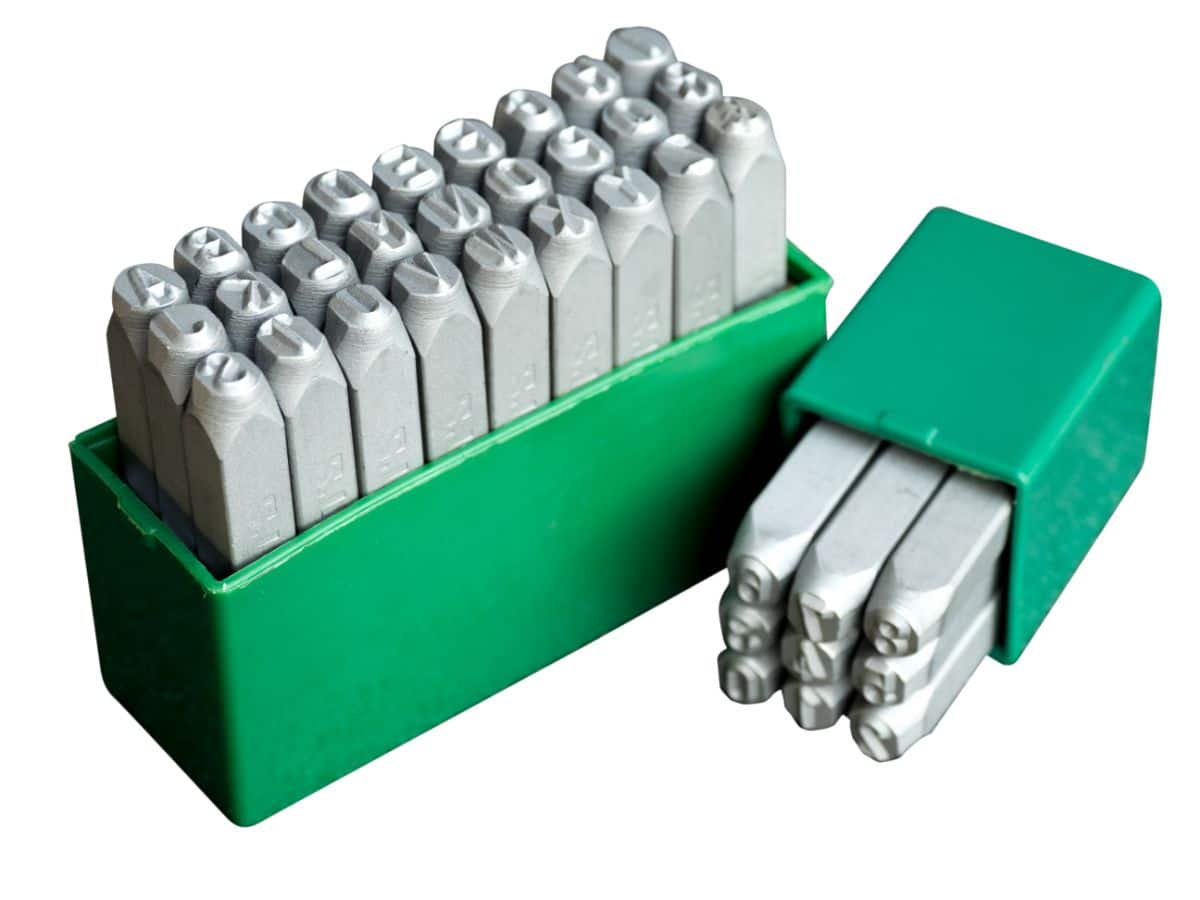
- Alphabet stamps
- Waterproof sealant
- A rolling pin
- A ruler
- A knife
How to create your own stamped plant labels
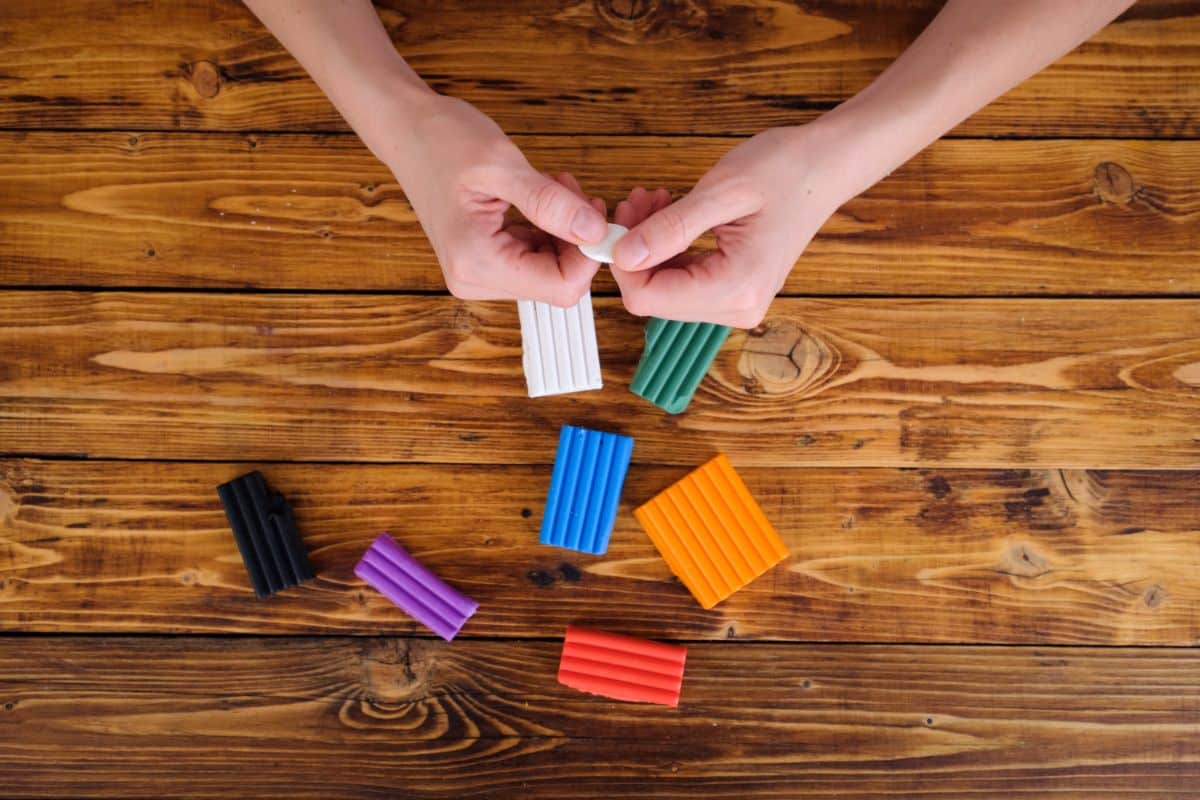
1. Prep your clay.
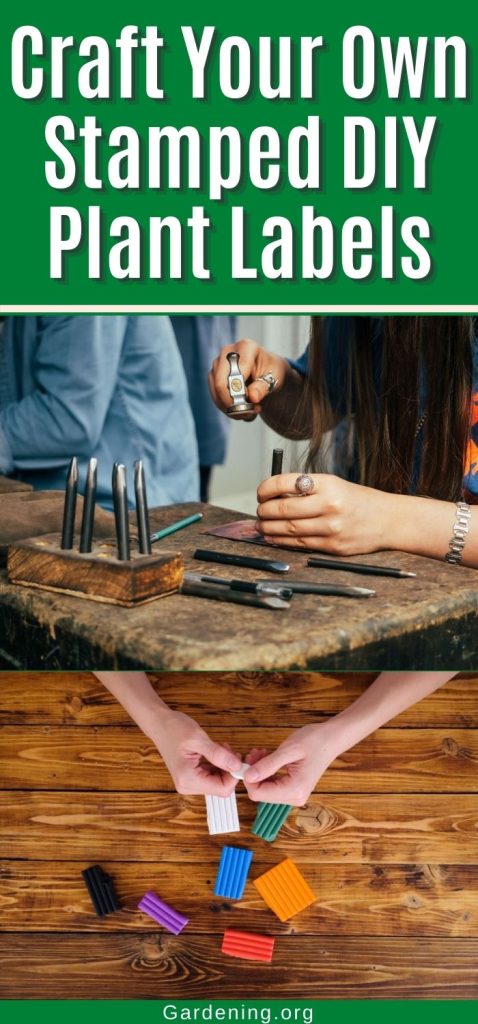
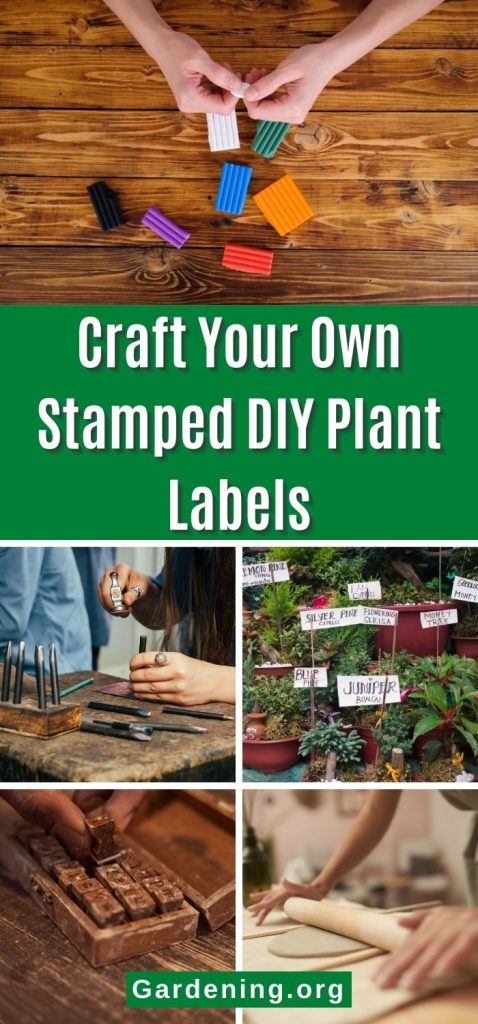
If you’re using air dry clay or plain white polymer clay, you can skip this step. However, if you like a bit more color, you can blend several colors of polymer clay together to create a fun starting point for your plant labels.
Different colored clays can be combined for a marbleized appearance, or you can add stripes or dots of contrasting clay colors to your base clay for a vibrant look. For a more classic appearance, solid white to off white clay works well too.
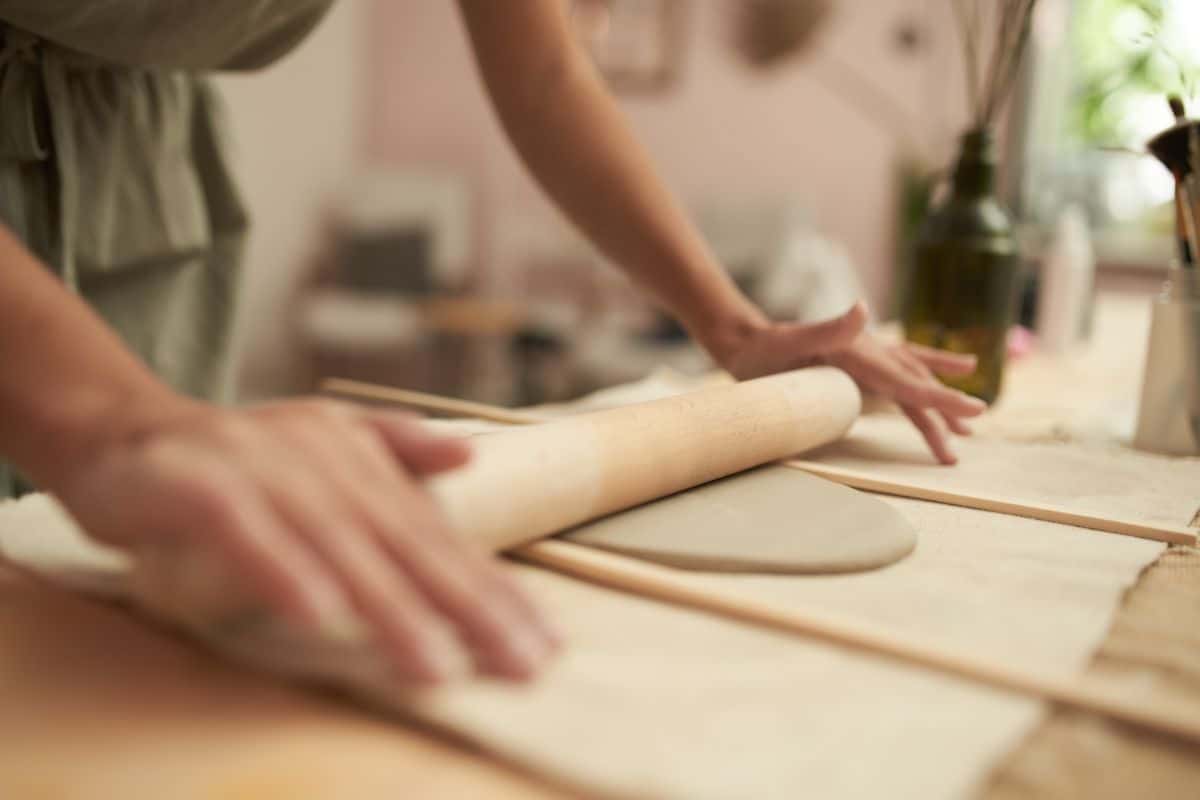
2. Roll out your clay.
Once you’ve decided what colors you’d like to use, simply roll out your clay with a rolling pin or the side of glass bottle. You can tape parchment paper to your rolling pin if you want to keep things from sticking.
As you roll out your clay, aim for an even thickness of approximately ⅛ to ¼” thick. Thinner clay is more prone to breaking, so pick a thickness that seems sturdy but not bulky.
3. Cut out your labels.
You can use a storebought plant label as a template or freehand your labels with your ruler instead. While you can make your labels as wide and long as you’d like, standard plant labels are usually about 4” long by ¾” wide. Use your ruler to create nice clean lines and then cut off one end of the label into a point so it’s easier to insert into plant soil.
4. Start stamping!
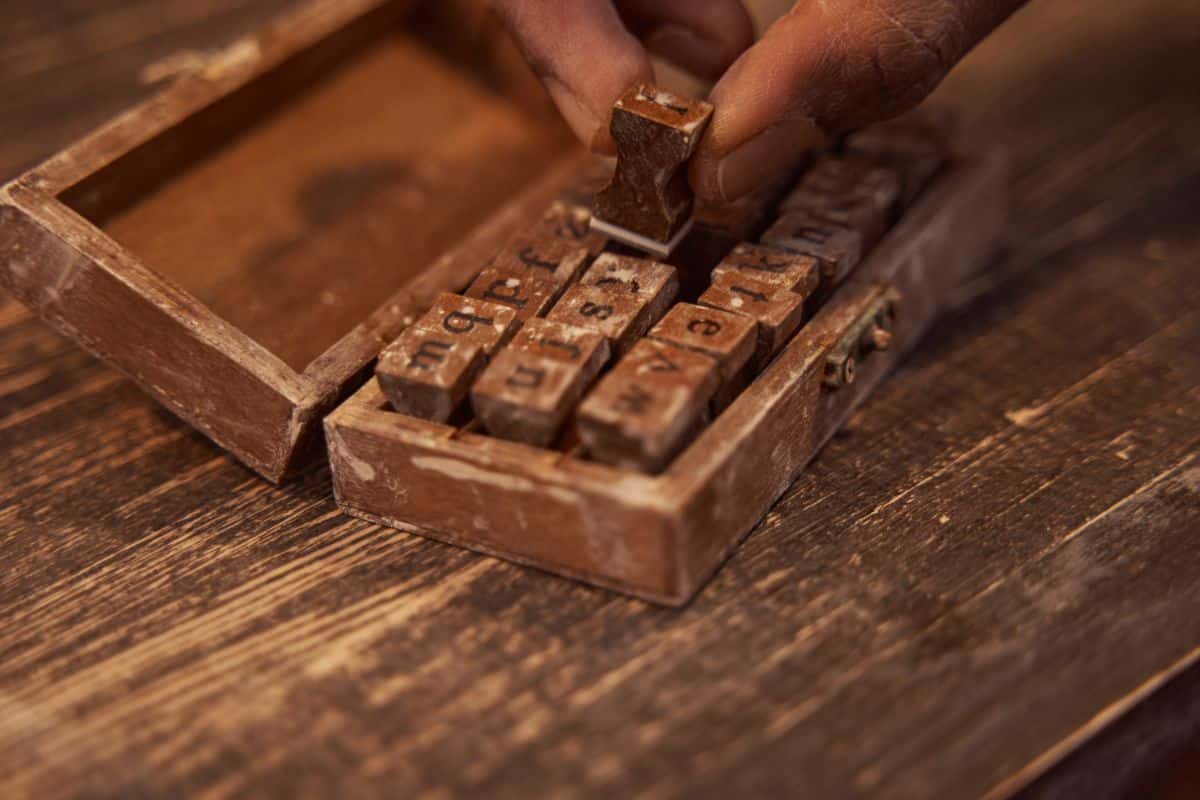
Now comes the fun part. Using your alphabet stamps, carefully stamp out your plant names on your homemade labels.
Because the clay is relatively thin, you won’t need to press hard as you don’t want to puncture all the way through the clay. Instead, use a light touch, and consider marking out guidelines on your clay to follow to keep your letters aligned. However, because these pieces are handmade, don’t worry if your labels aren’t quite straight – a little whimsy in the indoor garden is always appreciated!
Since you’ll be working with limited space, you may need to abbreviate your plant names a little. If you’re growing multiple varieties of the same plant, and you have the space for it, adding a plant’s scientific name below the common name (or on the back of your label) can help too.
5. Allow your labels to dry.
If you’re using polymer clay, carefully peel your labels off your work surface and place them on a baking sheet – a puddy knife or flat spatula can help with this. To dry your polymer clay, bake your labels at 275°F. It takes about 30 minutes to dry ¼” thick clay, so adjust your cooking times accordingly.
Air dry clay doesn’t need to be baked and will begin drying all on its own as soon as its exposed to air. For projects this size, expect your labels to take about 24 hours to dry, although drying times may vary based on temperature and humidity levels in your home.
Sometimes labels may curl a bit during the drying process, but this is very minor. If this bothers you, consider placing a sheet of parchment paper on top of your labels as they dry and then anchoring the edges of the parchment paper down with pie weights or something similar (just make sure anything you use is oven-safe if you’re baking your labels).
6. Seal your labels.
Whether you use your labels indoors or out, they will need to be waterproofed since you’ll be placing them in moist potting soil. While you can use different products to seal your labels, a quality acrylic sealing spray is one of the best options.
Follow the instructions on the sealer container and allow the appropriate drying time in between coats. For best results, apply 2 to 3 coats of sealing spray per side and allow the spray to dry fully before flipping your labels over to spray the opposite side.
Allow your labels to dry for at least 24 hours and then pop them in your houseplant pots or seedlings trays. With the help of these handy labels, you’ll never forget what seeds you planted or use the wrong herb in cooked dishes ever
An alternate approach to DIY stamped plant labels
Stamped clay labels are super adorable and offer just the right amount of hand-crafted whimsy to potted plant displays. However, if you like a more “scientific” or industrial look or you need handmade plant labels for outdoors, clay plant labels may not be the best choice.
Instead, you can go for labels in either silver or copper toned metal. Plant labels of this sort look like just the kind of label you’d find at a botanical garden or arboretum, and usually provide a little bit more working space for longer common and scientific plant names.
Materials you’ll need:
- Premade metal plant labels
- Alphabet stamps
- A ruler
- A nail
- A Hammer
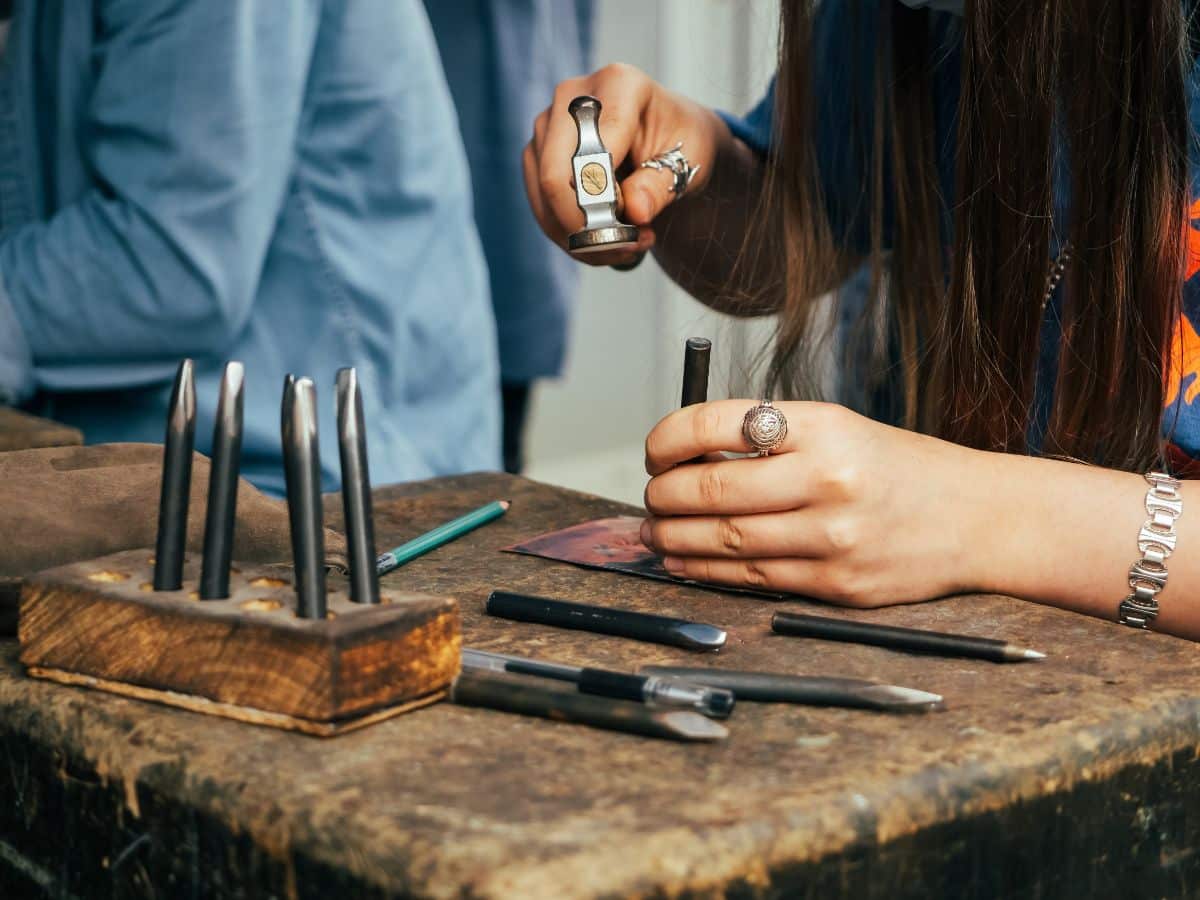
Create your own DIY stamped metal plant labels:
- Since you’re working with premade metal labels, this process is a little bit simpler than creating clay labels. To get started, just lay out your metal labels and scratch a fine guideline into the surface of each label with the tip of a nail. Alternatively, you can draw a guideline with a wax pencil too!
- After creating your guideline, simply line up your alphabet labels on your line and start stamping by lightly tapping the back of your stamp with your hammer. Avoid hitting the stamp too hard as this will damage the stamp and may even puncture the label itself.
For a professional look, write the common plant name on top and the scientific plant name beneath. You can add more color contrast by outlining the stamped letters with permanent marker and then wiping away the excess so that the marker only remains in the stamped letter surface.
Once done, you’ll have a series of picture perfect plant labels that are just right for houseplants, seedling trays and outdoor ornamental beds and containers.
Frequently asked questions
Metal plant labels don’t need to be waterproofed, although a sealing spray may help them hold up better outdoors. Clay labels should be sealed with an acrylic sealer or similar waterproofing spray prior to use.
Wooden popsicle sticks are a common choice for DIY plant labels; however, plant names should be written in pencil rather than marker as this will hold up better outdoors.
Other great choices for DIY plant labels include etching broken shards of terracotta pots, painting old corks from wine bottles or printing out labels with your computer and then laminating them to make them weatherproof.
Absolutely! Just rinse them off and store them in a dry location in between uses.
If your plants suffered from a disease or pest invasion, you’ll want to sterilize your labels in between use. The simplest solution is to wipe your labels down with rubbing alcohol or give them a quick soak in a 10% bleach solution.
Summary
Adding plant labels to your garden beds, potted plants or seedling trays is a perfect way to keep track of your plants and know exactly what you planted where. Homemade stamped plant labels are a simple solution for the DIY-minded and are a surefire way to create exactly the aesthetic you’re going for with your indoor plants or ornamental beds.
We hope you enjoyed this tutorial! If you’re looking for more DIY projects, check out our full list of ideas here.
References:
- White, Stephanie. “25 DIY Projects Anyone Can Do.” The Spruce Crafts. 27 August 2022. 6 May 2020.


Leave a Reply