Winter can be harsh on birds and other wildlife, especially when there’s snow on the ground and food is scarce. Keeping your bird feeders filled during the winter months is one great way to help out local wildlife. But if you’re a crafty person, there are other options too!
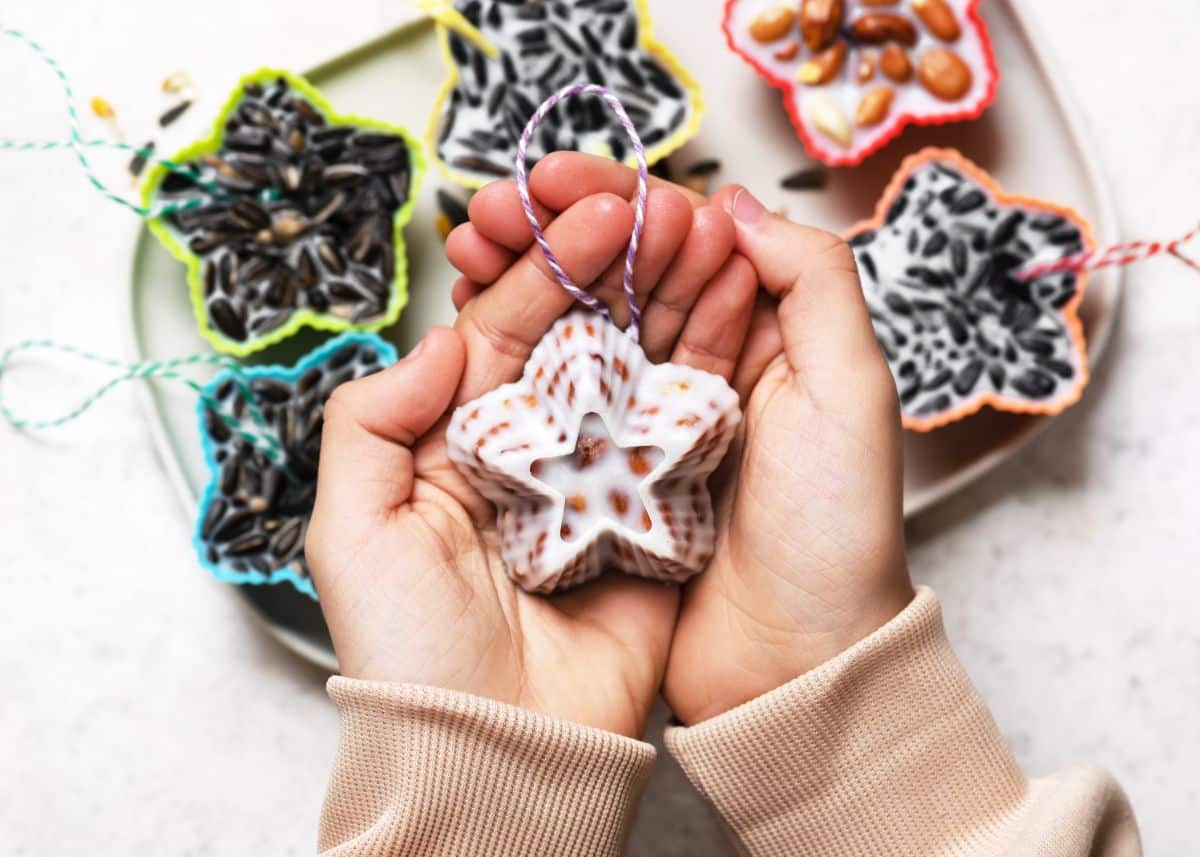
Whether you’re looking for an easy winter or holiday craft or you just want to decorate your winter garden for your personal enjoyment, there are some very cute DIY bird feeder ornaments that you can create for your backyard space. These feeders are sure to liven up your garden by attracting birds, and they look super cute too!
In this article, we’ll introduce you to some of our favorite DIY garden ornaments for feeding birds. These simple crafts will be fun for the whole family to create, and they’ll be much appreciated by wild birds as well!
Jump to:
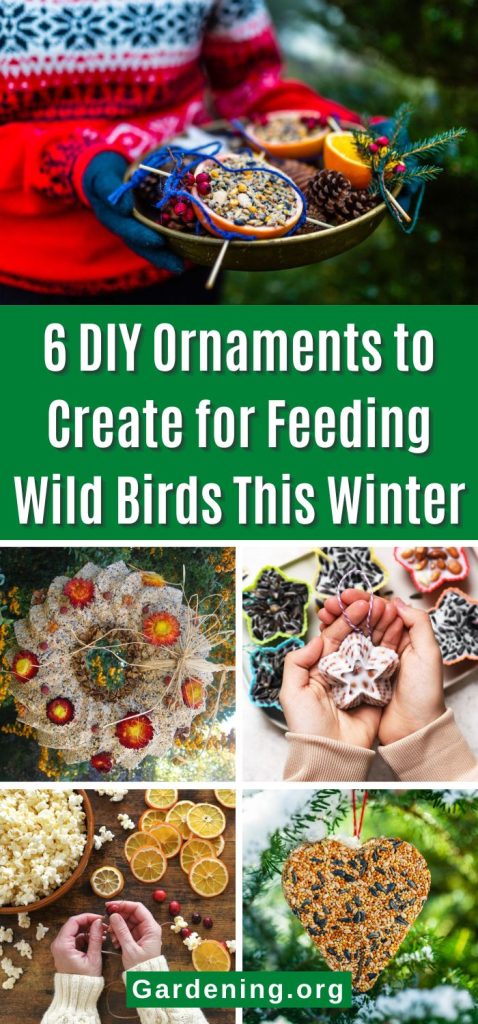
6 DIY ornaments to create for feeding wildlife this winter
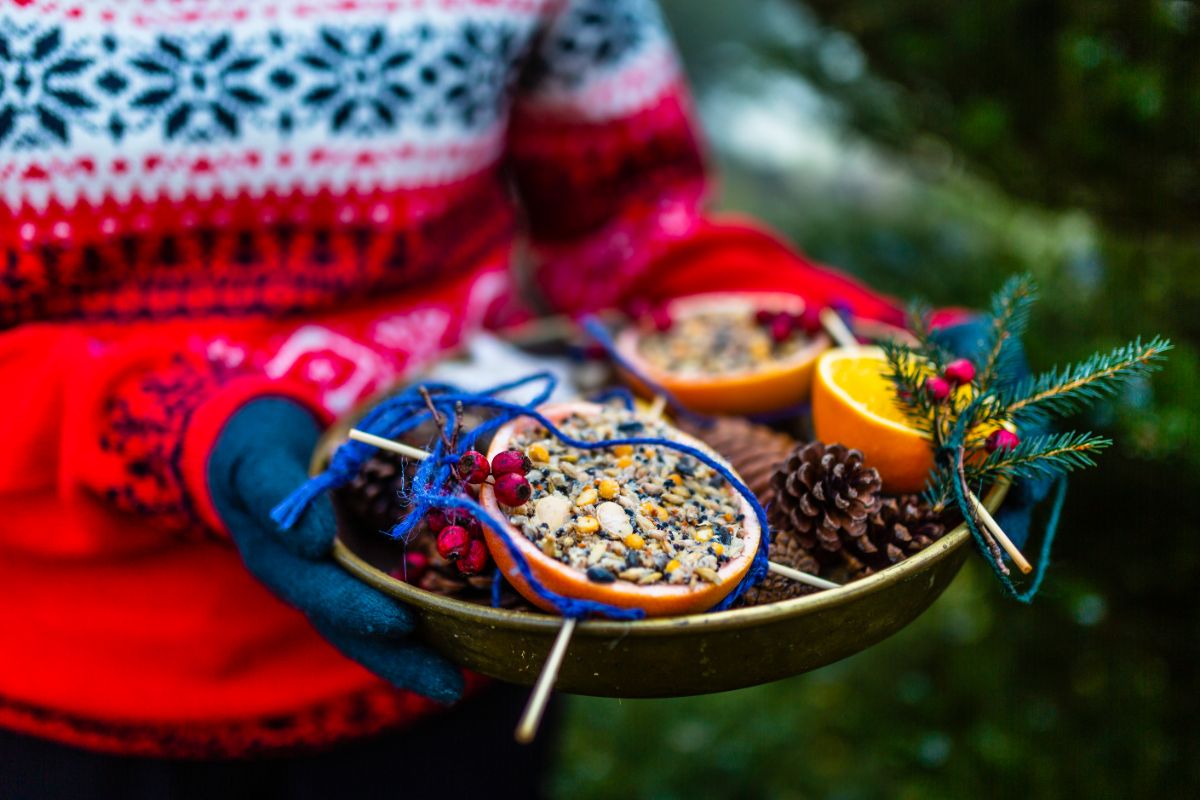
Below are some of our favorite, easy DIY ornaments for feeding wild birds and other critters. These craft ideas are all simple enough for adults and children, and they’re budget-friendly too. Best of all, they’re sure to attract lots of wildlife to your backyard space!
1. Peanut butter pinecone ornaments
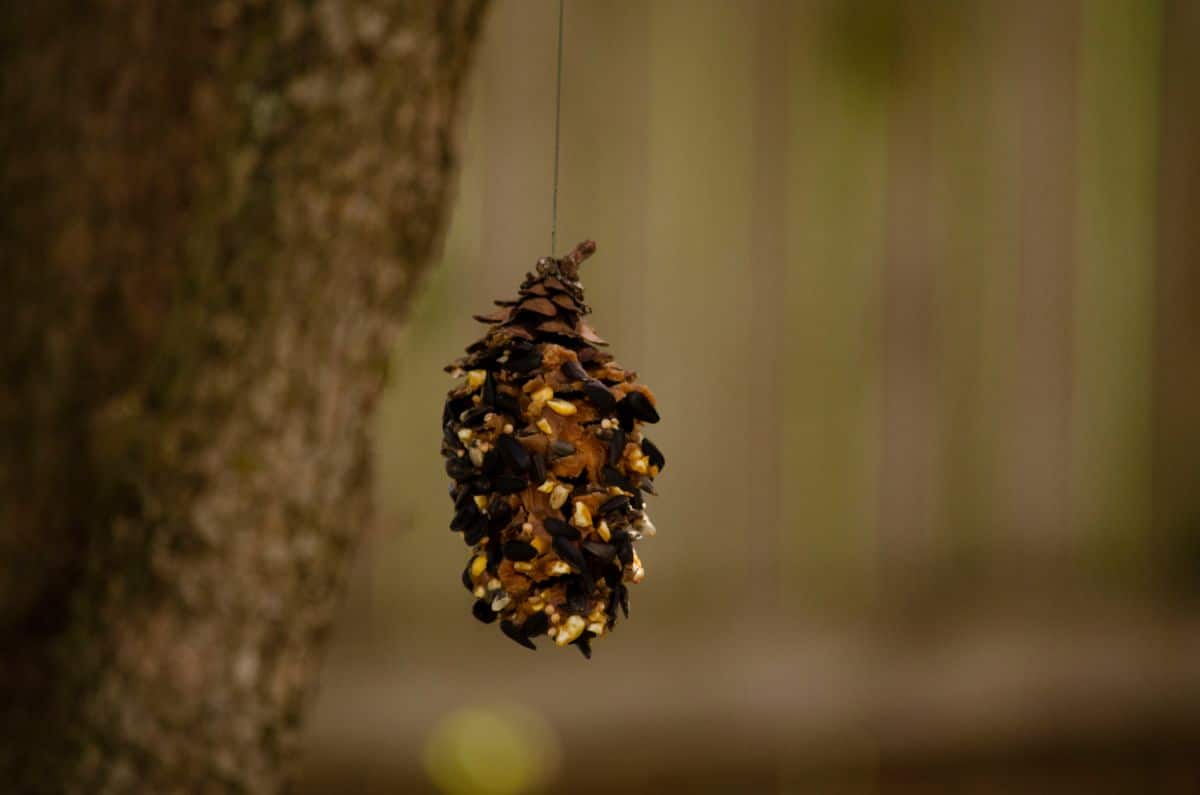
One of the most charming ornaments to make for wild birds is also the simplest: peanut butter pinecones. These easy, DIY feeders can be fun for the whole family to make and can even give you a good reason to plan out a day of outdoor exploration as you gather your supplies.
What you’ll need:
- Natural pinecones
- Twine or ribbon
- Peanut butter
- Wild bird seed
- Butter knife
- Plate
- Scissors
The process:
- Step 1: Gather your supplies.
While it may be tempting to purchase your pinecones at your local craft store, many of those cones may have been treated with preservatives, fragrances, or other products that are not safe for wild birds. Instead, gathering your own pinecones is a much better option; it saves you money, and it can encourage you and your family to get outside.
Walk around your backyard looking for cones, or plan out a hike for you and your family to gather some in the woods. This can be particularly fun for young children if you make a treasure hunt out of it!
- Step 2: Tie on your hanger.
Once you have your pinecones, just tie a bit of natural twine or ribbon into a loop and fasten it to the stem of your cone with a knot or some glue.
- Step 3: Add your peanut butter.
Don’t be afraid to get a bit messy with this step! Liberally slather your peanut butter onto your pinecone, pressing it into the scales of your cone with the back of a spoon or a butter knife. Be sure to really coat your cone because wild animals love peanut butter.
Tip: Any peanut butter that’s fit for human consumption can be used for this step. That said, if you’re purchasing peanut butter just for this project, look for natural and organic options and avoid low-fat peanut butter varieties, which are less nutritious for wild birds.
- Step 4: Dip your ornaments.
Now spread out your wild bird seed on a plate and roll your pinecones over the seed until they are thoroughly coated. Press the seeds into your peanut butter, too, so that the seeds are firmly attached.
Tip: Black oil sunflower seeds or a wild bird seed mix are usually the best choices for homemade ornaments of this sort. Bird seed mixes with dried fruit, or unsalted peanuts can also be a hit!
- Step 5: Hang up your work!
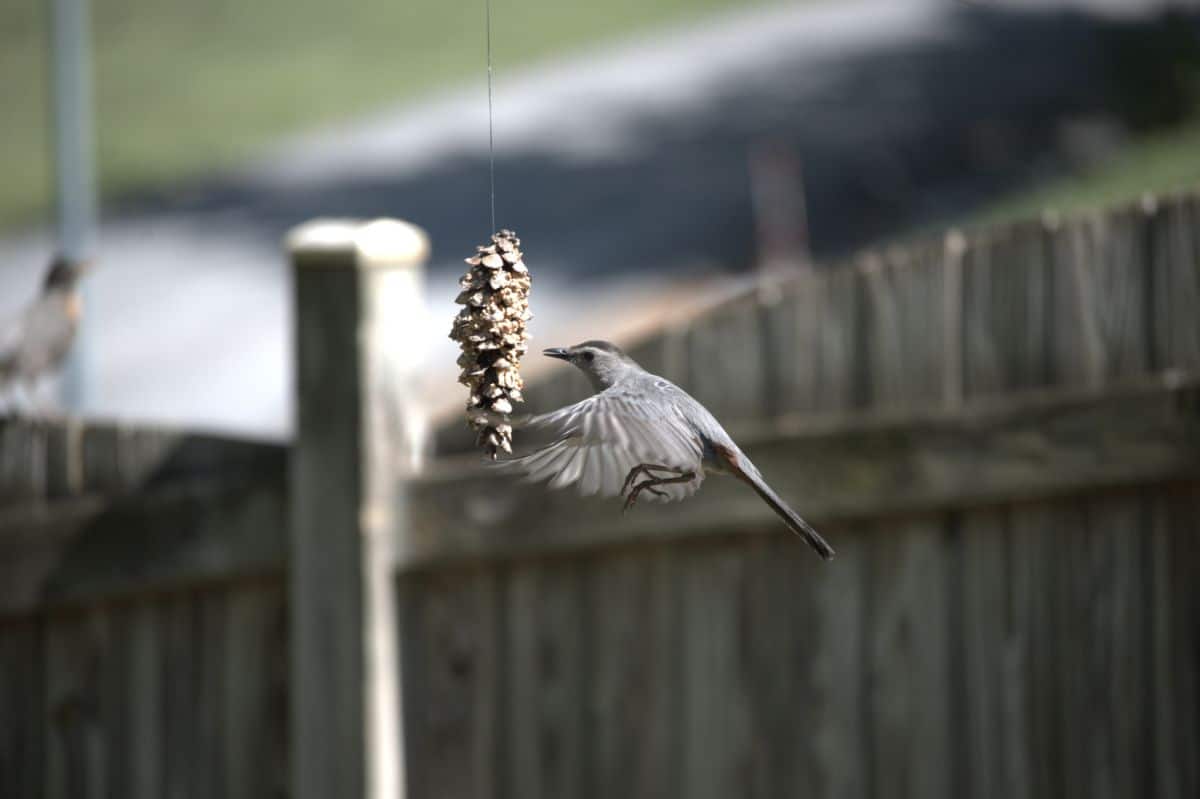
Once you’ve finished your ornaments, it’s time to hang them up outside. You can choose to hang your ornaments around an existing bird feeder, or you can decorate any bush or tree in your lawn -- just make sure you locate your ornaments in an easy-to-spot location. Birds and other wildlife will thank you for it!
2. Homemade suet
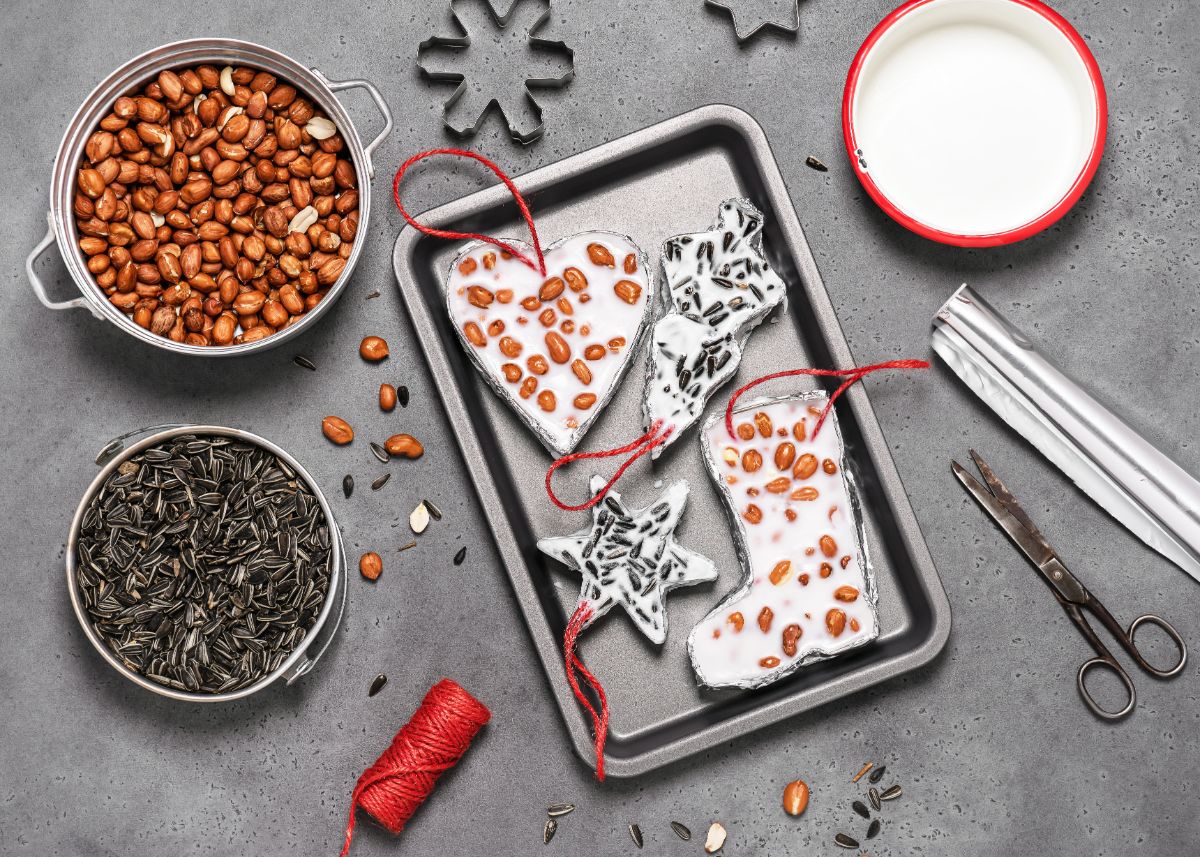
Suet is one of the favorite snacking foods of a number of different wild bird species, including nuthatches, woodpeckers, and cardinals. Made of animal fat, suet is a high-energy food and is especially useful for birds in winter.
While you can purchase suet cakes at garden centers or online, you can also make your own suet cakes easily at home. Making your own DIY suet can save you money and allow you more options about the shapes you’d like to make and the seeds and other ingredients you want to use in your suet.
What you’ll need:
- Animal fat. This can usually be found in the meat section of your local grocery store; however, if you don’t see any, your butcher can often locate some for you. Beef or pork fat are the best fat sources for this project – stay away from chicken or fish products.
- Wild bird seed, cornmeal, nuts, dried fruit, mealworms, peanut butter, or other tasty, bird-friendly ingredients!
- Cookie molds, old tea cups, or any other container of your choosing
- Natural stick (optional)
- Sharp knife
- Spoon
- Saucepan
- Strainer or cheesecloth
- Bowl
- Twine (optional)
- Scissors (optional)
The process:
- Step 1: Prepare and render your fat.
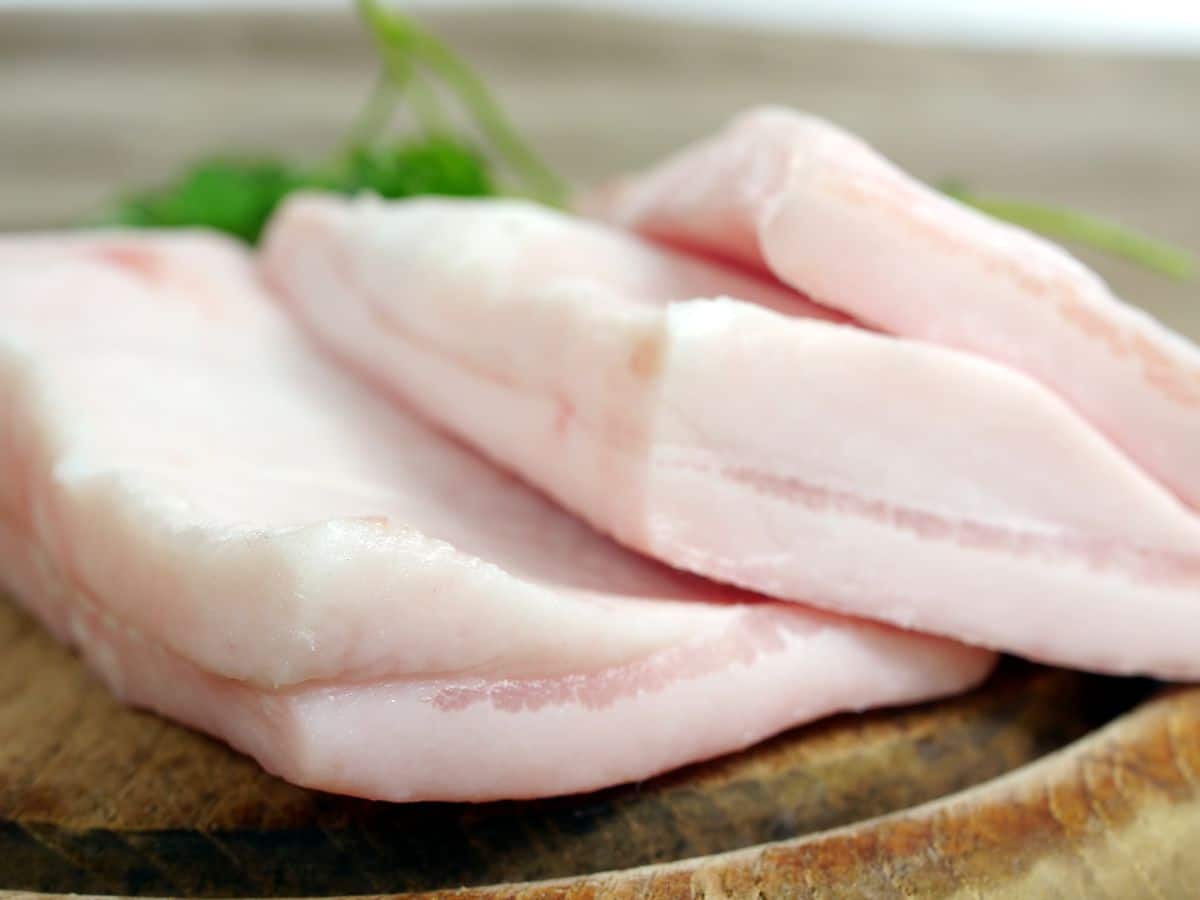
When you buy suet at the store, it has already been rendered. But if you’re working with natural animal fat, you’ll need to do a bit more prep work. The good news is that natural animal fat is much cheaper than premade suet, so you’ll be able to make many more suet cakes for your wild birds with this process!
To get started, you’ll need to prepare the fat. First, remove any remaining bone, meat, or other tissues from the fat and then chop it into smaller pieces. If you ask, your butcher may be willing to do this process for you.
Next, put your fat into a saucepan and heat it on low heat until the fat is completely liquified. Be sure to use low heat to prevent scorching and to avoid any risk of fire. Stir your fat as it cooks to speed up the process and prevent any fat from sticking to the bottom of your pan.
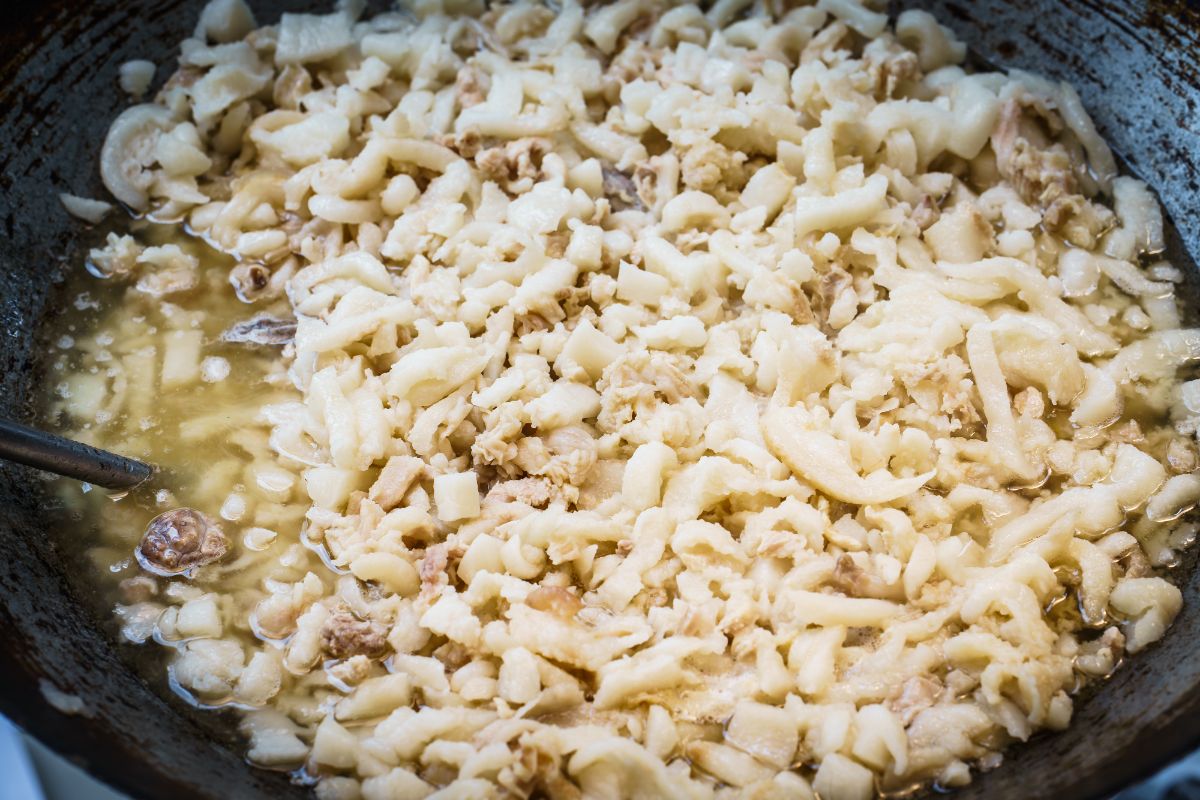
Now, strain your fat through a fine mesh strainer or a piece of cheesecloth to remove any remaining contaminants.
- Step 2: Mix in your other ingredients.
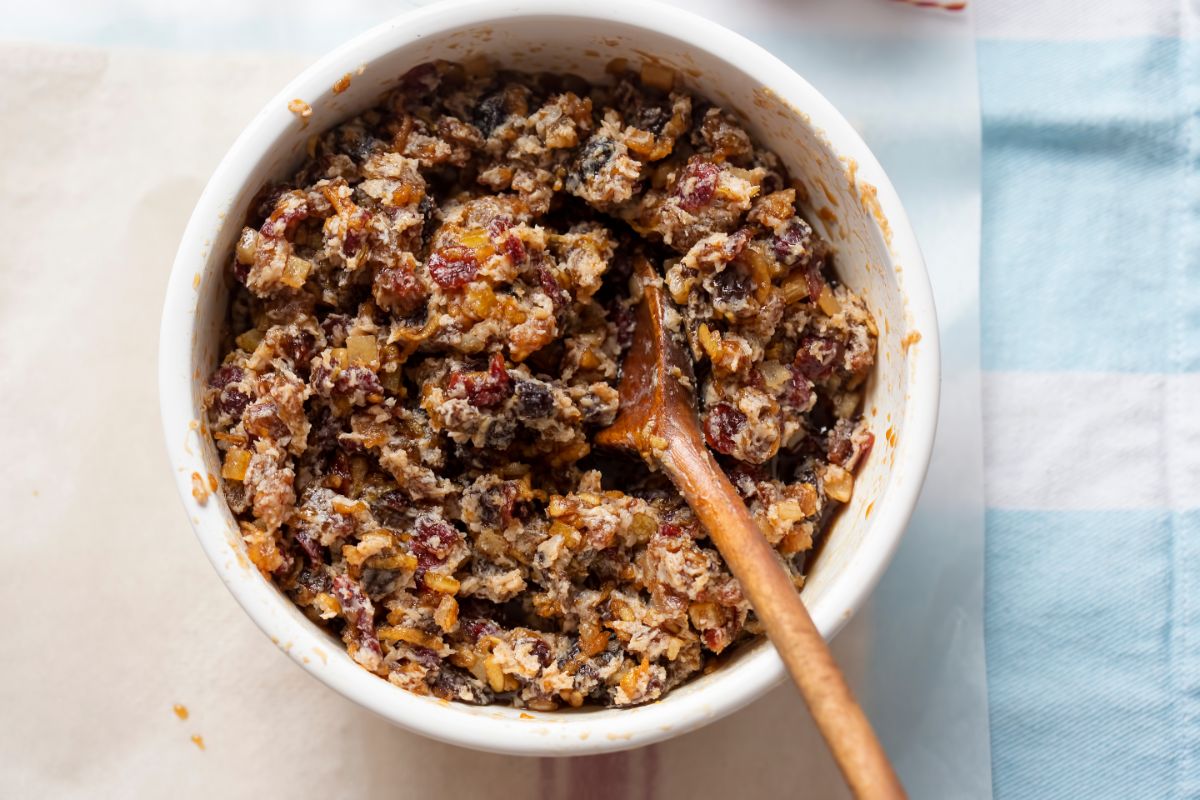
After you’ve rendered your fat, you can allow it to cool and use it as is or mix in more nutritious items birds love (recommended).
If you want to add more mix-ins, pour your suet into a mixing bowl and stir in your ingredients of choice. Some good options include wild bird seed, unsalted peanuts, dried fruit, mealworms, cornmeal, or peanut butter.
Tip: While you can get creative with your suet recipe, you can also try this blend if you need a bit of inspiration. Try blending 1 cup of rendered fat with 1 cup of peanut butter, 3 cups of cornmeal, and a cup or 2 of mealworms or bird seed.
Stir well to combine.
- Step 3: Pour your suet into your molds.
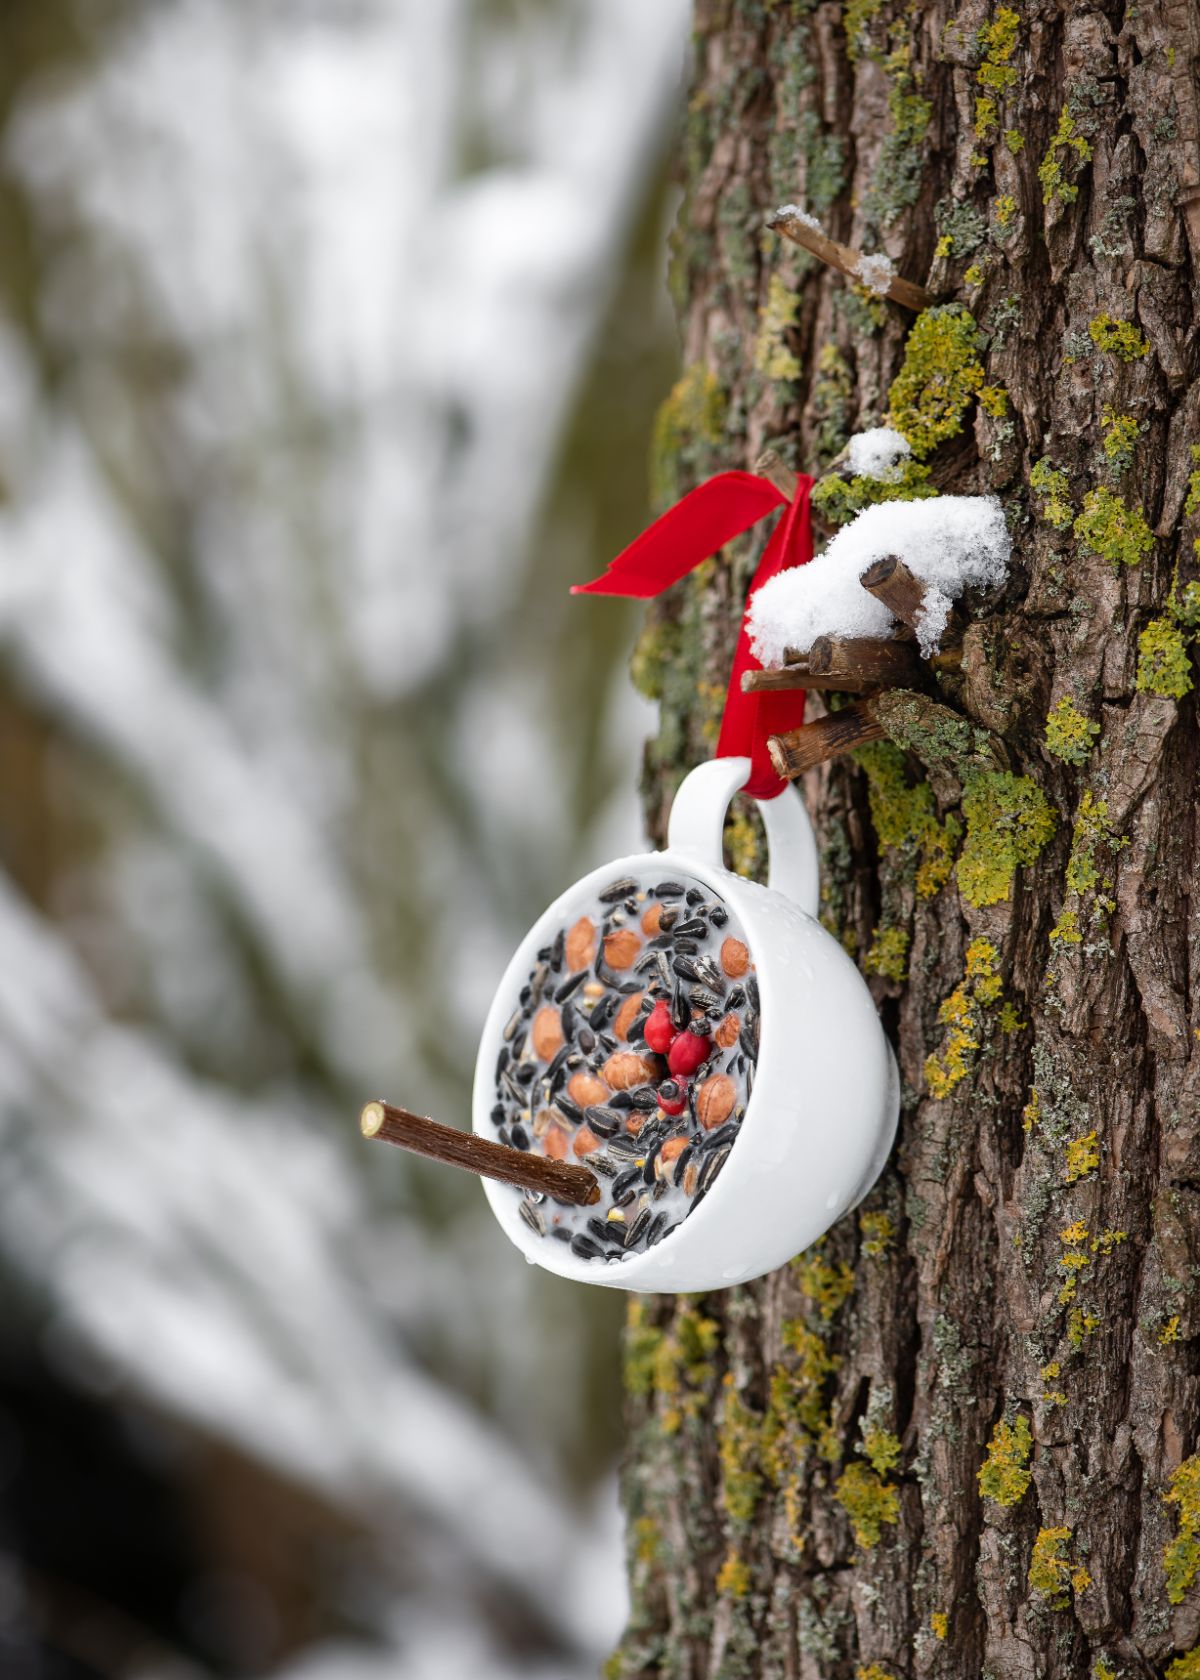
Allow your suet to cool slightly so that it thickens, and then pour it into your mold of choice. After that, allow the mixture to cool completely so that it forms solid blocks of suet.
What you choose as the mold for your suet is really up to you. Silicone cooking molds are one easy choice, as are old muffin tins. If you have an existing suet feeder, you can use the old plastic trays storebought suet is packaged in to make suet cakes that are perfectly sized for your feeder.
For a really cute option, you can pour your suet into an old tea cup and place a small stick into the suet as it sets to create a small perch for birds to land on as they snack!
Once set, store your suet in your refrigerator or freezer until you’re ready to use it. Homemade suet can last in your freezer for up to 6 months.
- Step 4: Put out your suet cakes.
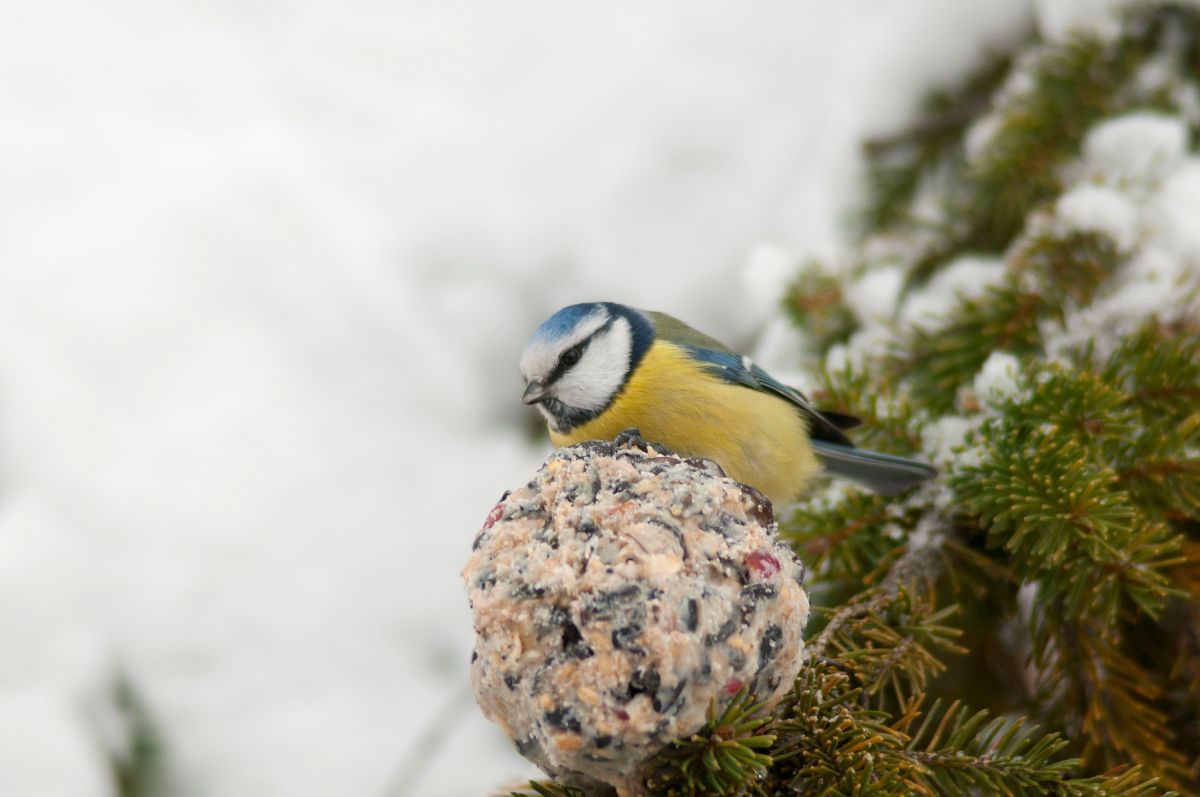
Homemade suet doesn’t hold up well in warm temperatures, so you’ll want to keep it cool until you’re ready to use it. When you want to use your suet, you can cut your suet cakes into smaller pieces, hang them as is (if they’re in a container, like an old teacup), or poke a hole through your suet cake with a wooden skewer and hang them up with a bit of twine.
3. No-bake birdseed ornaments
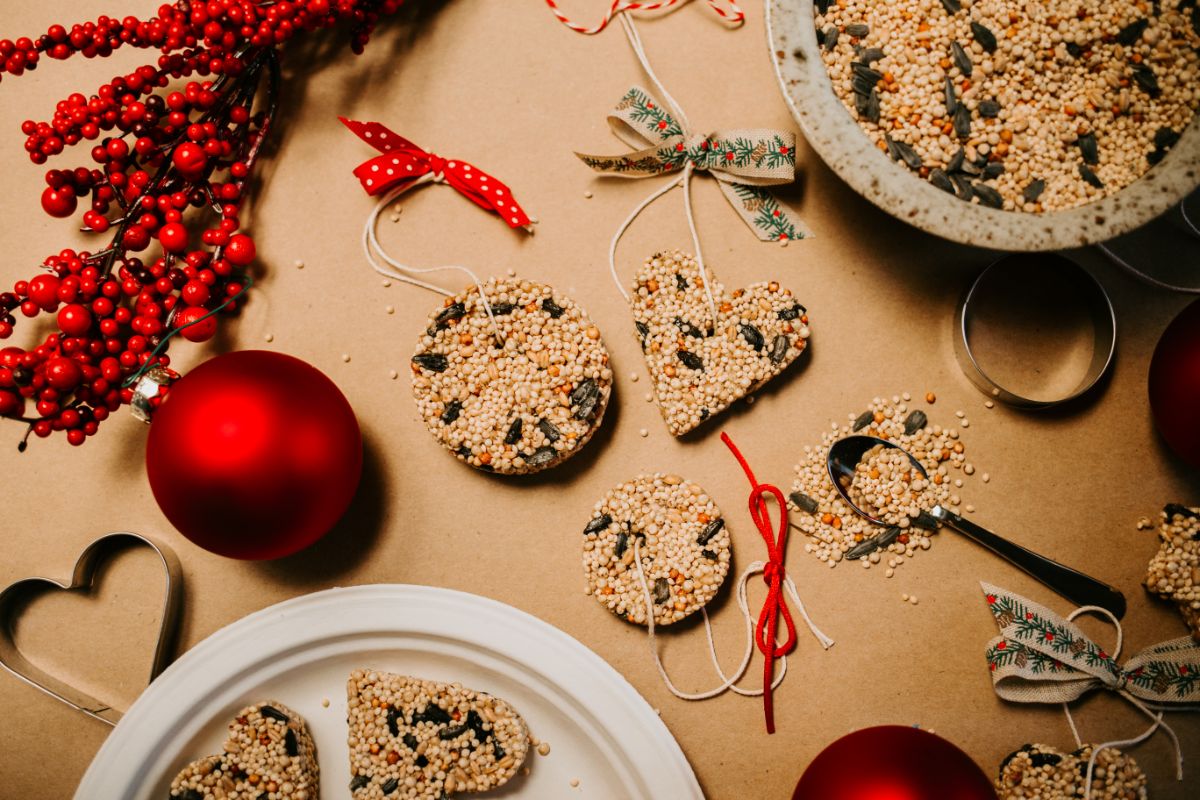
If you don’t have an oven or just don’t like baking, this super simple DIY birdseed ornament doesn’t require any heat. Instead, using a bit of gelatin and some cookie molds, you can create a wide variety of adorable outdoor ornaments that wild birds won’t be able to resist.
What’ll you need:
- Wild bird seed
- Unflavored gelatin
- Cookie cutters or other molds of your choosing
- Ribbon or twine
- Parchment paper
- Saucepan
- Water
- Scissors
The process:
- Step 1: Heat up your gelatin.
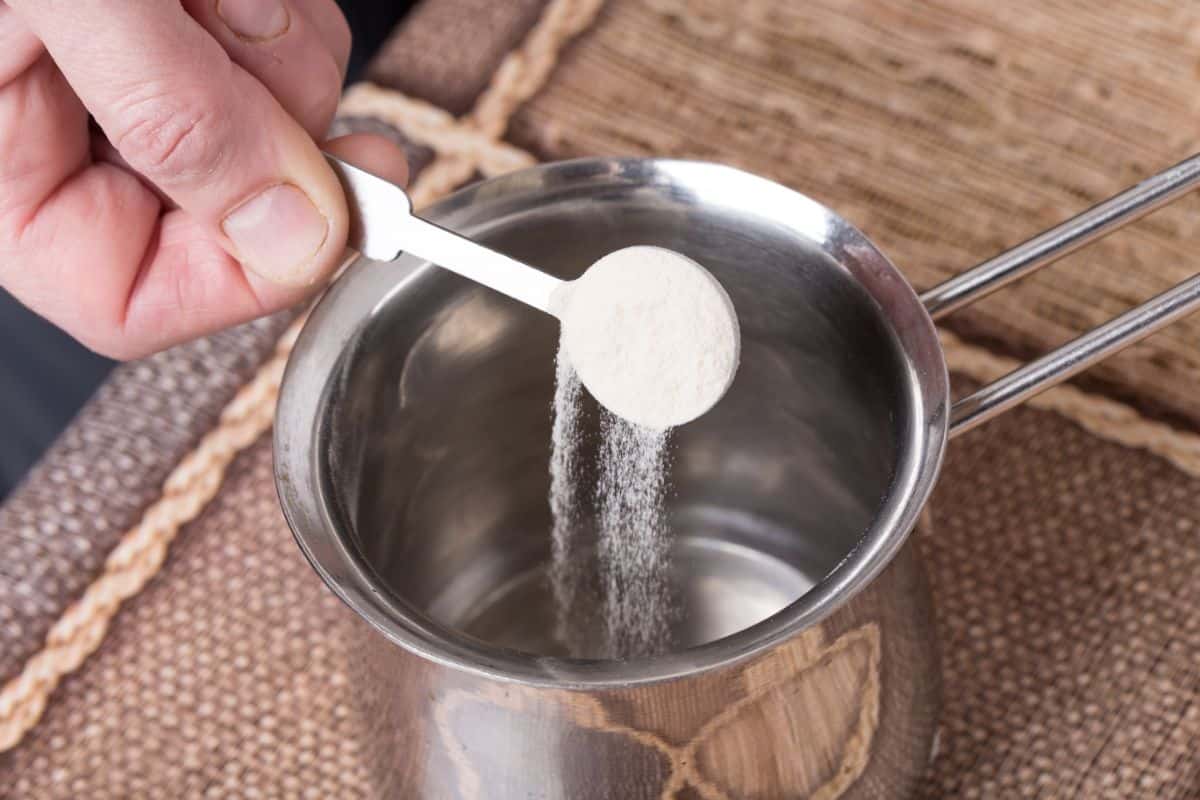
First, you’ll need to create your gelatin mixture. To do this, add 1 package of unflavored gelatin (7 grams) and ¼ cup of water to a saucepan and bring it to a simmer on your stovetop. Stir your mixture constantly until the gelatin is fully dissolved, and then remove your pot from your stove.
Allow the mixture to cool for 1 minute.
- Step 2: Mix in your birdseed.
Next, mix in ¾ to 1 cup of a birdseed mix of your choosing. You can also blend in dried fruit, unsalted peanuts, or mealworms. Add just enough birdseed so that all the moisture is absorbed, but don’t add too much, as the ornaments won’t stick together properly.
- Step 3: Shape your ornaments.
Place your cookie cutters or molds on a piece of parchment paper and then spoon in your birdseed mixture so that your molds are halfway full.
- Step 4: Add your hanger.
Place a length of twine or ribbon down the middle of your ornament and loop it around itself to create a hanger.
- Step 5: Add more birdseed.
Spoon more of the birdseed mixture into the top of your mold until the mold is full, and then press the birdseed down firmly to make sure everything is secure.
- Step 6: Allow your ornaments to dry.
Let your ornaments dry fully on your countertop. How long this will take will depend on several factors, but generally, your ornaments should be dry in about 12 to 24 hours.
- Step 7: Assemble your ornaments.
When your ornaments are fully dried, carefully wiggle them out of their molds. If you want to, you can tie a bit of decorative ribbon to them or leave them as is. Then just hang up your ornaments and watch as the birds in your yard find them!
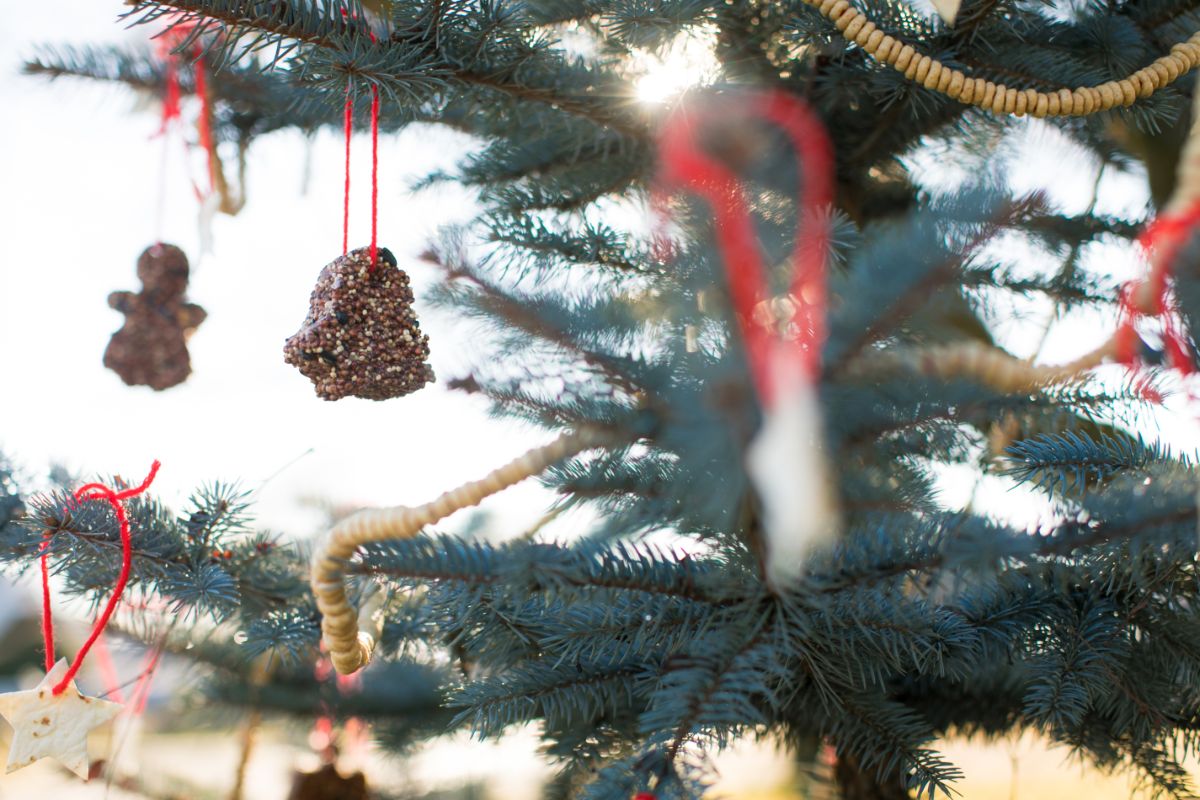
If you don’t want to use your ornaments right away, they can be kept in a cool, dry and airtight container for a few days. For longer storage, keep your ornaments in the freezer, as seeds may start to sprout if they’re stored in your refrigerator due to the higher moisture levels.
4. Fruit garlands

Dried fruit garlands make charming home decorations; however, garlands can also be made with fruit, popcorn, and other edible foods to the delight of backyard birds everywhere. This easy project is also a hit with young children!
What you’ll need:
- Food items, such as cranberries, pre-soaked raisins, unsalted popcorn, orange slices, and Cheerios
- String, yarn, or ribbon
- Sewing needle
- Scissors
The process:
- Step 1: Gather your ingredients.
Depending on what birds are in your area, you may want to use different ingredients for your homemade garland. While cranberries and orange slices look pretty, they won’t do much good if there aren’t any fruit-eating birds in your area. So you’ll want to plan accordingly.
Common items to use in your DIY feeder garland are:
- Unsalted, unbuttered popcorn
- Fresh fruit, like cranberries and other berries, apple slices, orange slices, and grapes
- Pre-soaked raisins, apricots, and other dried fruit
- Whole cereals without added flavors or too much sugar, such as Cheerios
- Step 2: Cut your string.
Cut your yarn, ribbon, or twine to an appropriate length, depending on where you plan to hang your garland. While a single garland will look pretty, multiple garlands of varying lengths will look even more charming when hung together!
- Step 3: String your garland.
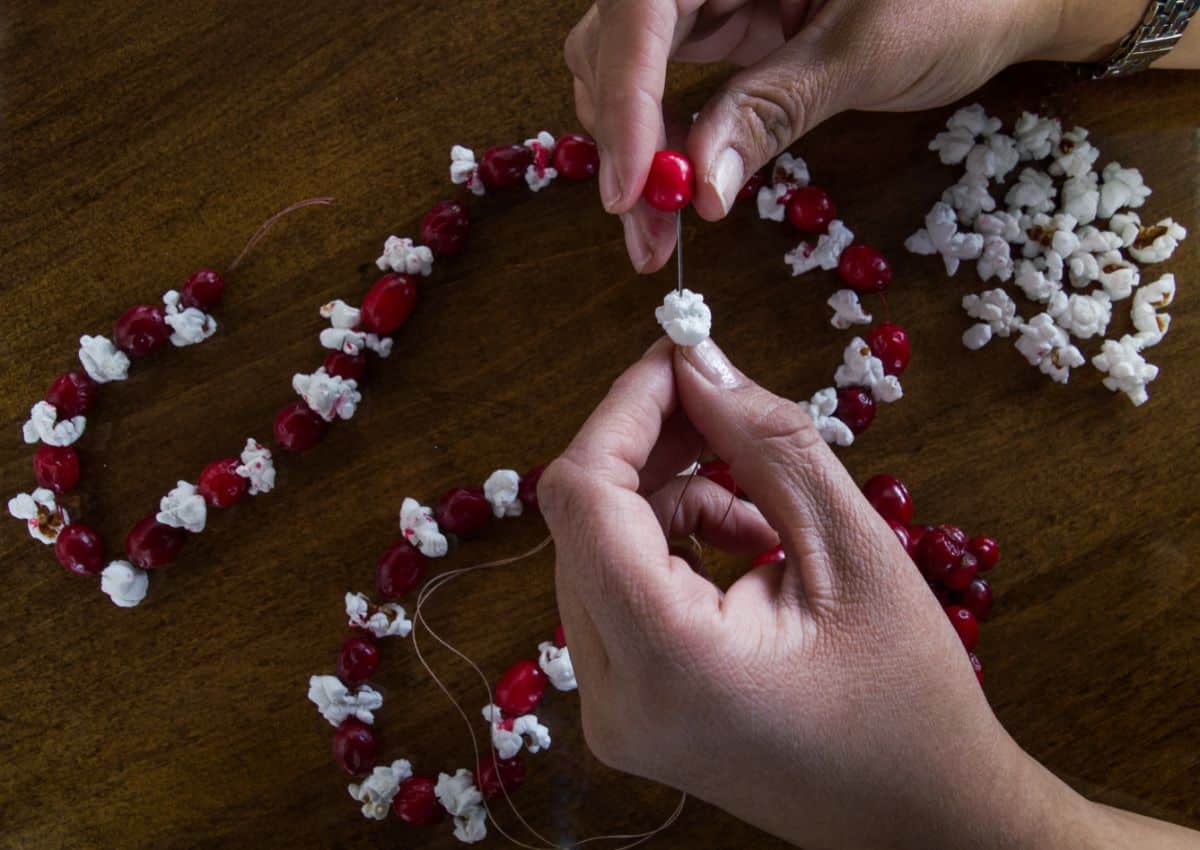
Thread your needle onto your cord and start stringing your fruit, popcorn, and other food items onto it. For a more aesthetic look, try out different festive patterns by alternating what food items you use.
Note: If you’re working with children, take care of sharp needles and allow children to sort the food items while you do the stringing!
- Step 4: Hang it up!
Once your garland is strung, it’s time to hang it out in your garden. Garlands can be hung across fence posts, draped on evergreen branches like tinsel… you name it!
5. Citrus feeders
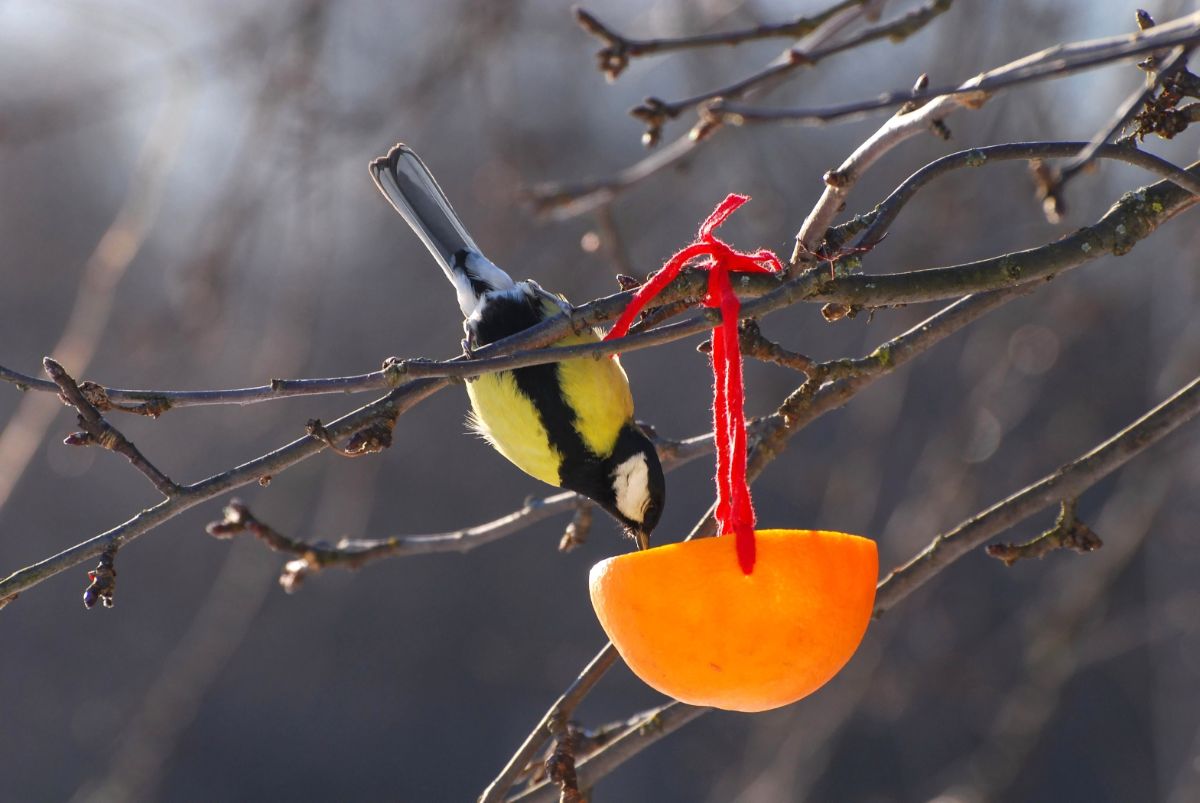
Another fun project to do with children, citrus feeders are very easy to make and inexpensive too. They are also biodegradable, so you don’t need to worry about creating any waste when you make them!
What you’ll need:
- Oranges
- Wooden skewers (optional)
- Garden twine or cotton cord
- Wild bird seed
- Spoon
- Knife
- Scissors
The process:
- Step 1: Hollow out your oranges.
Cut your oranges in half. Then, using your spoon, scoop out the insides of your oranges so that you’re left with two hollow halves.
- Step 2: Insert your skewers.
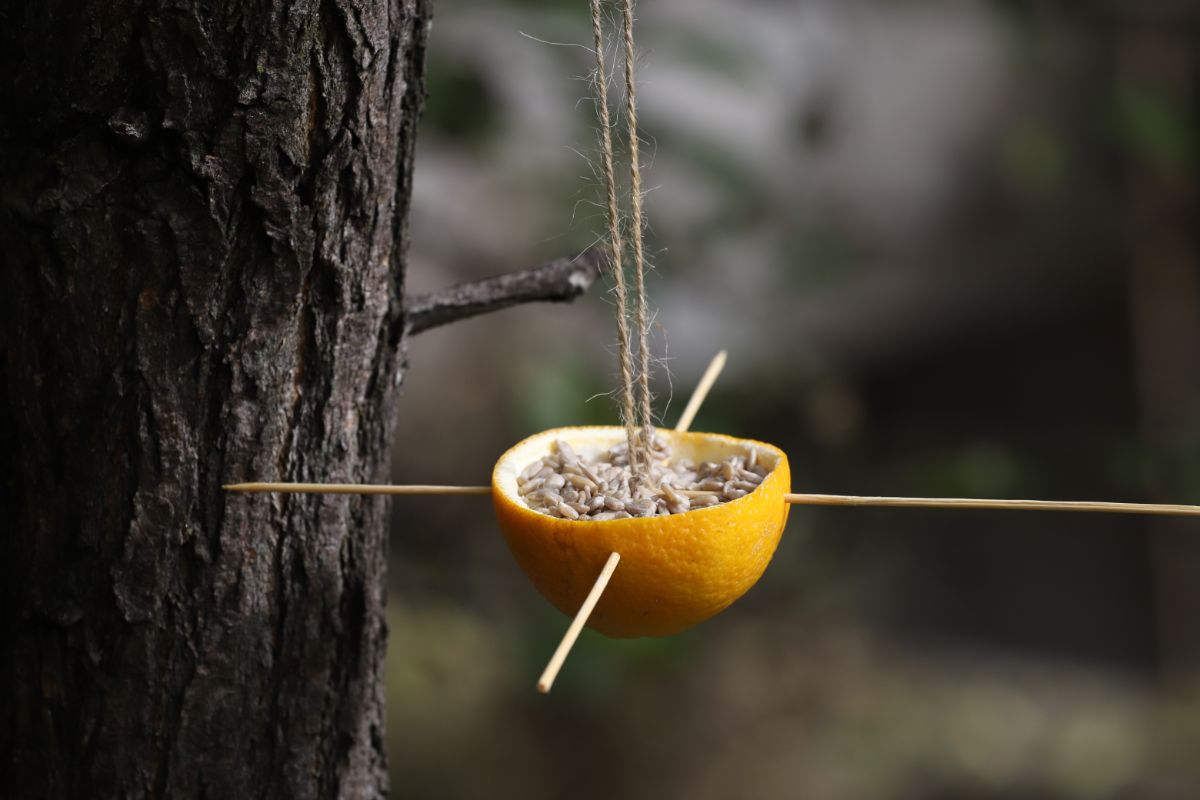
Next, poke four holes on the upper sides of your orange half – a hole on the top, bottom, left, and right – so that there are two pairs of holes directly across from each other.
You can choose to leave the holes empty or insert 2 skewers through the holes so that they overlap at the center. Doing this will create a makeshift perch for birds to sit on when feeding.
- Step 3: Tie on your strings.
Now, cut two lengths of twine and tie one end to the holes or skewers on opposite ends of each orange half. Using two pieces of twine will help the feeder to balance so it doesn’t tip when birds land on it.
- Step 4: Fill up your feeders and hang them!
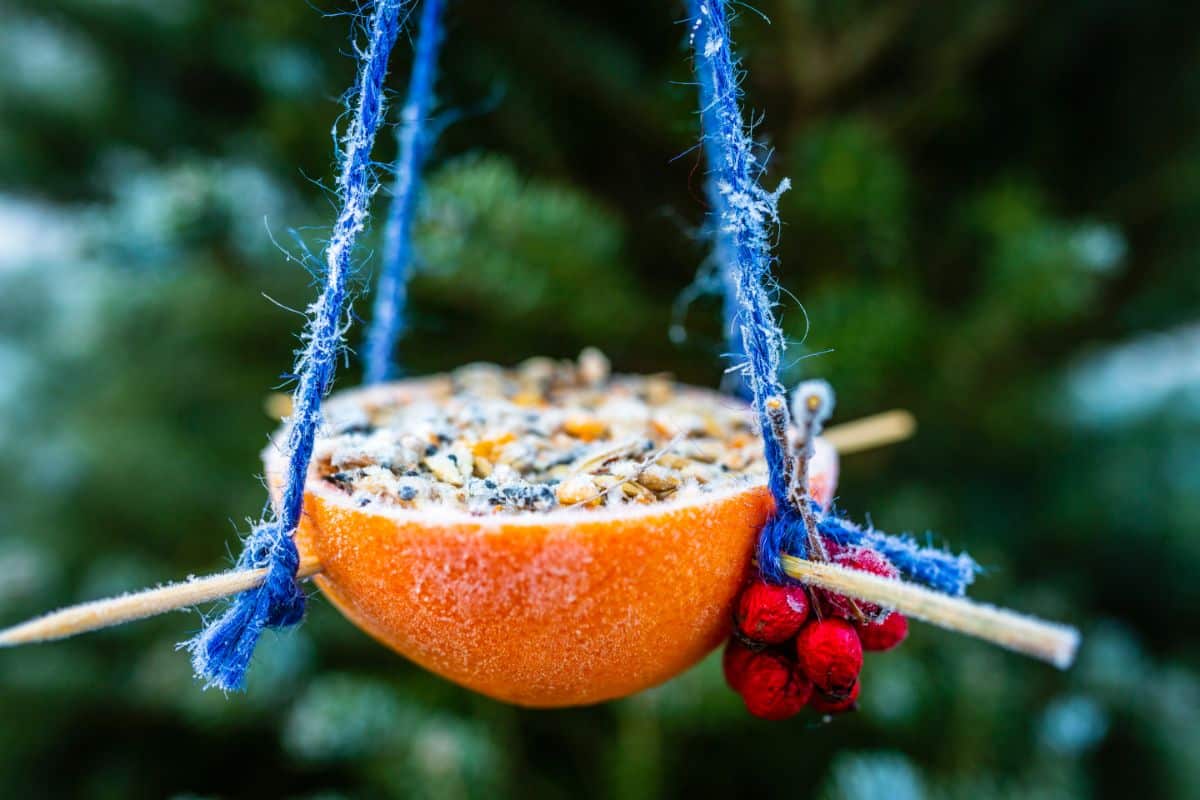
Finally, top off your homemade feeders with bird seed and then hang them outside for your local birds to enjoy.
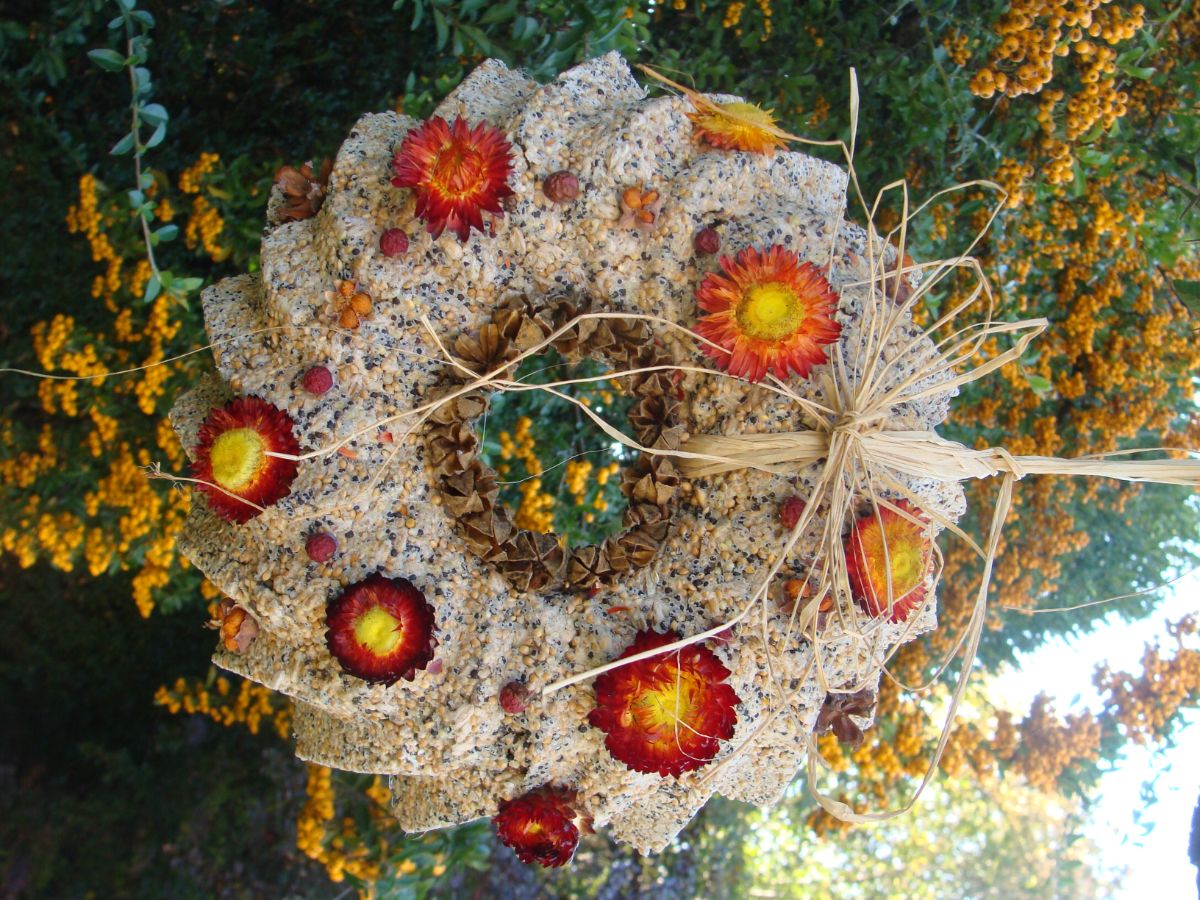
6. Ice wreath feeder
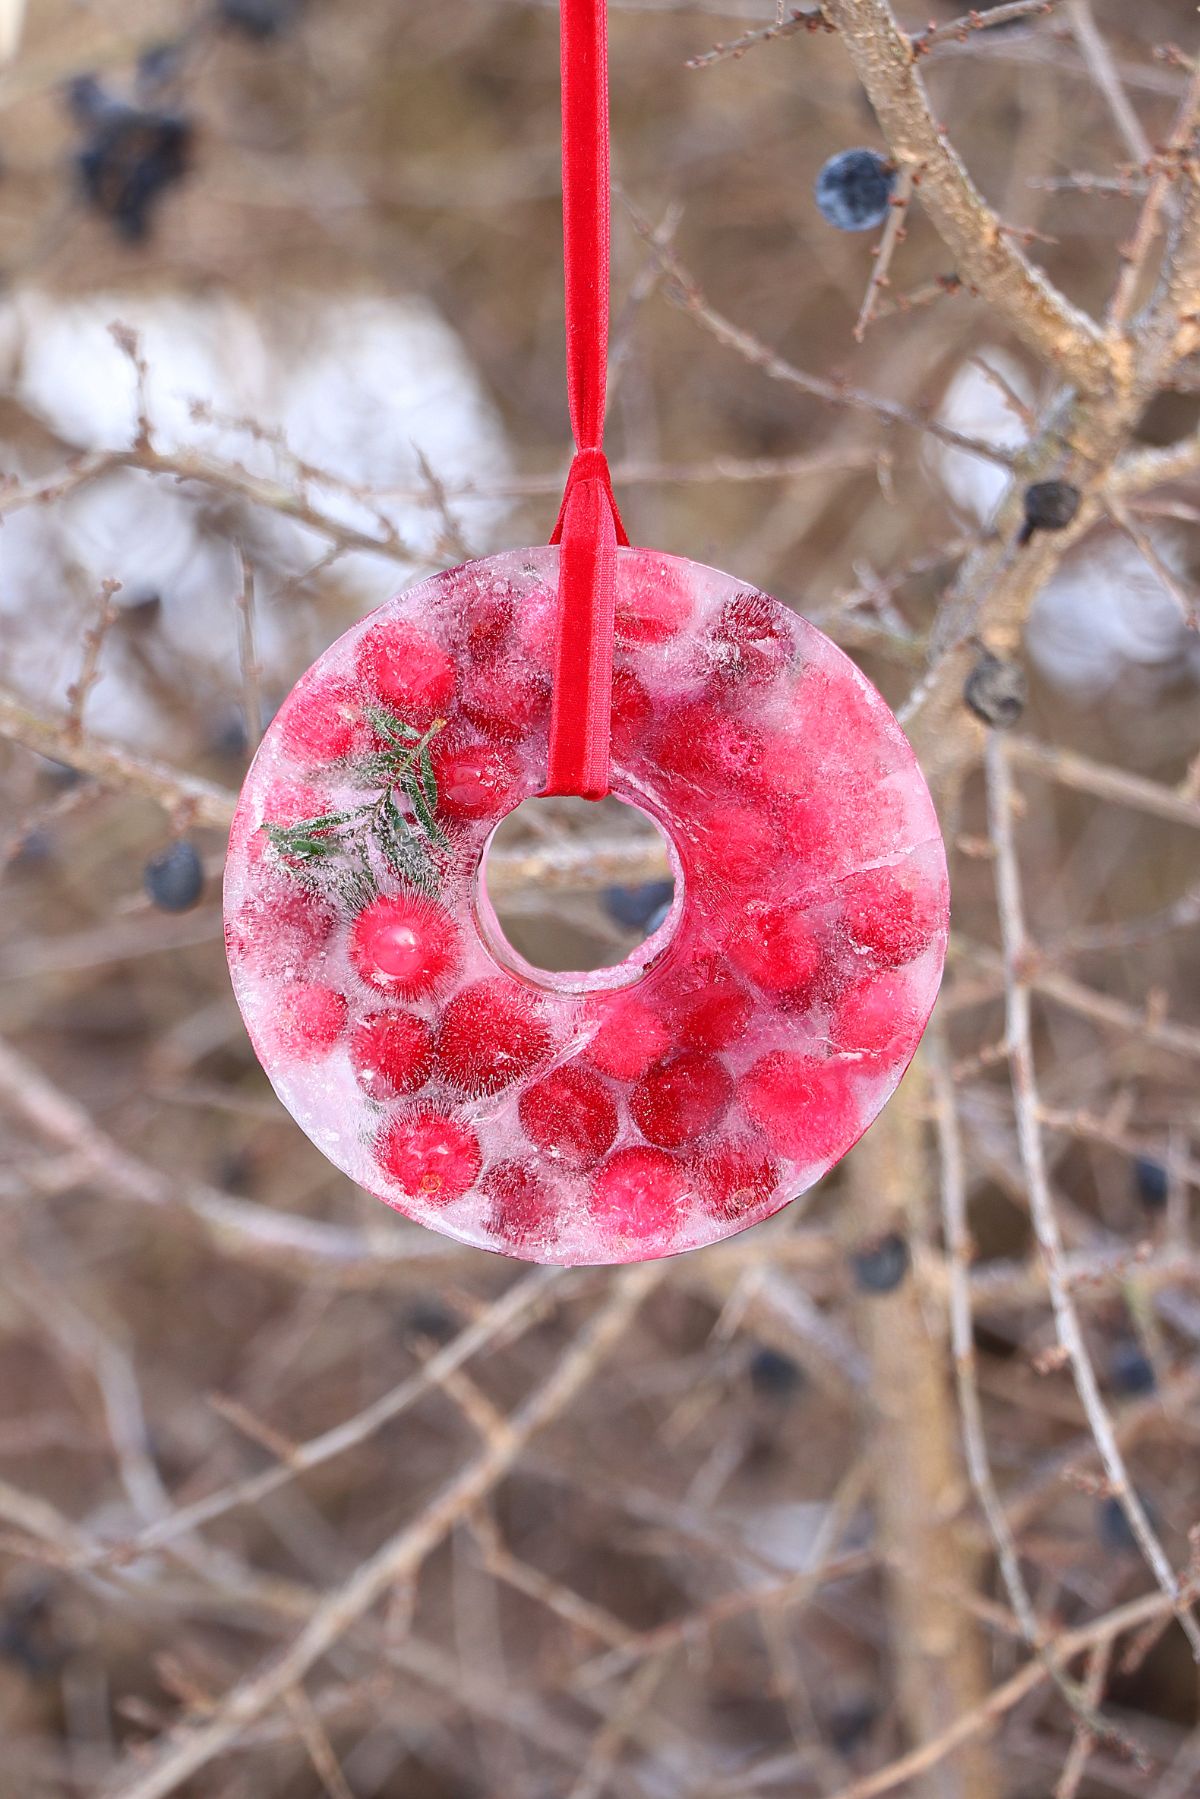
These feeders aren’t just a hit with birds – gardeners love them too because they’re just so pretty! Ice feeders can be made in tons of shapes and sizes, and they look even more spectacular when the sun shines through them and makes them sparkle.
What you’ll need:
- Silicone Bundt mold or other molds, cookie tins, or fun shapes of your choosing
- Water
- Cranberries or wild birdseed
- Twine or ribbon
- Scissors
- Clothespins (optional)
The process:
- Step 1: Add your birdseed.
First, take your mold and add birdseed, cranberries (whole or dried), or other dried or fresh fruit to it. How much food you want to add really depends on the size of your mold, but you’ll want to fill your mold at least ¼ full of feed.
Tip: If you don’t want to invest in a Bundt mold, you can create your own DIY wreath mold by simply inserting a shot glass into the middle of a regular mixing bowl. The shot glass will form the center hole of the wreath once the ice wreath freezes.
- Step 2: Pour in your water.
Next, gently pour water into your mold until it is full.
Tip: If you’re using molds that are not ring-shaped, you’ll need to add your hanger at this point before freezing your wreath. To do this, create a loop with your twine and then submerge the cut ends of the loop into the mold. Hold the hanging loop of your twine above the water’s surface with clothespins or other supports until the ice freezes.
- Step 3: Freeze your mold.
After you’ve filled up your mold, just pop it in the freezer until the ice is frozen solid.
- Step 4: Tie on your hanger.
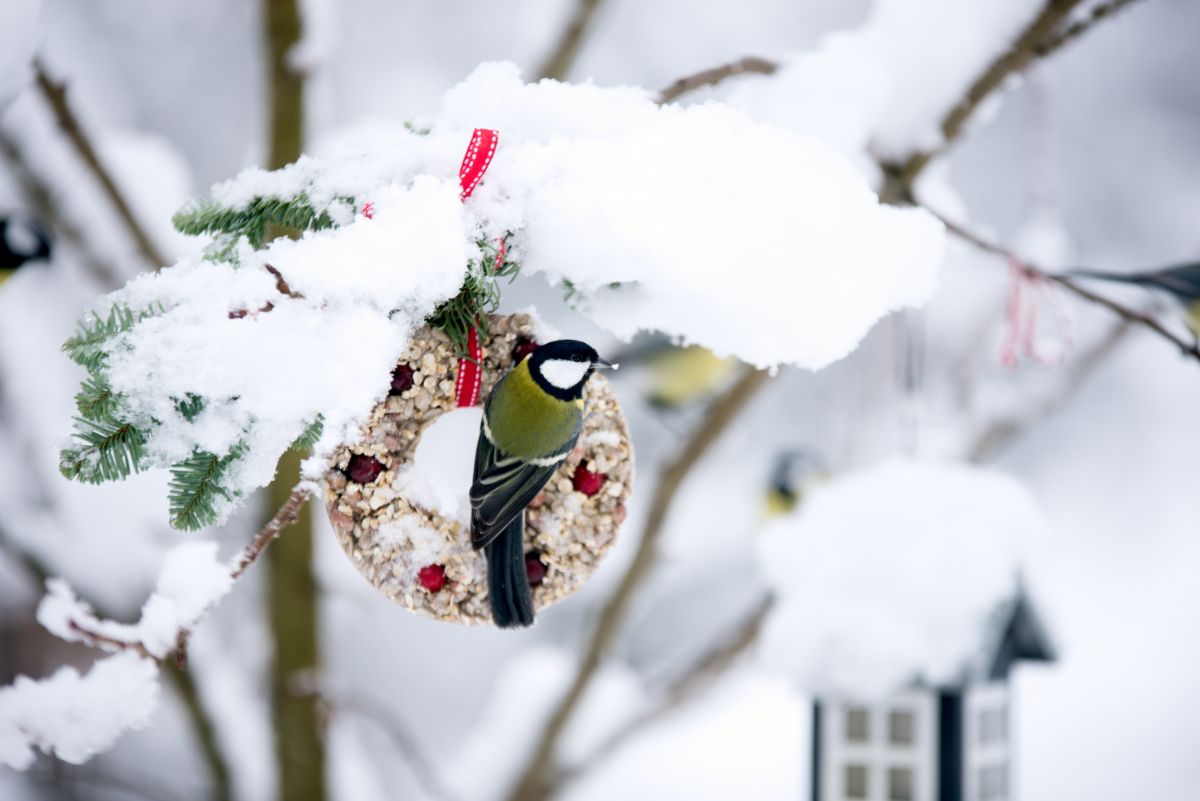
Finally, remove your ice wreath from its mold and tie a length of ribbon or string around the center of the wreath to create a hanging loop. Now your DIY ice wreath is ready to put out in your garden!
Frequently asked questions
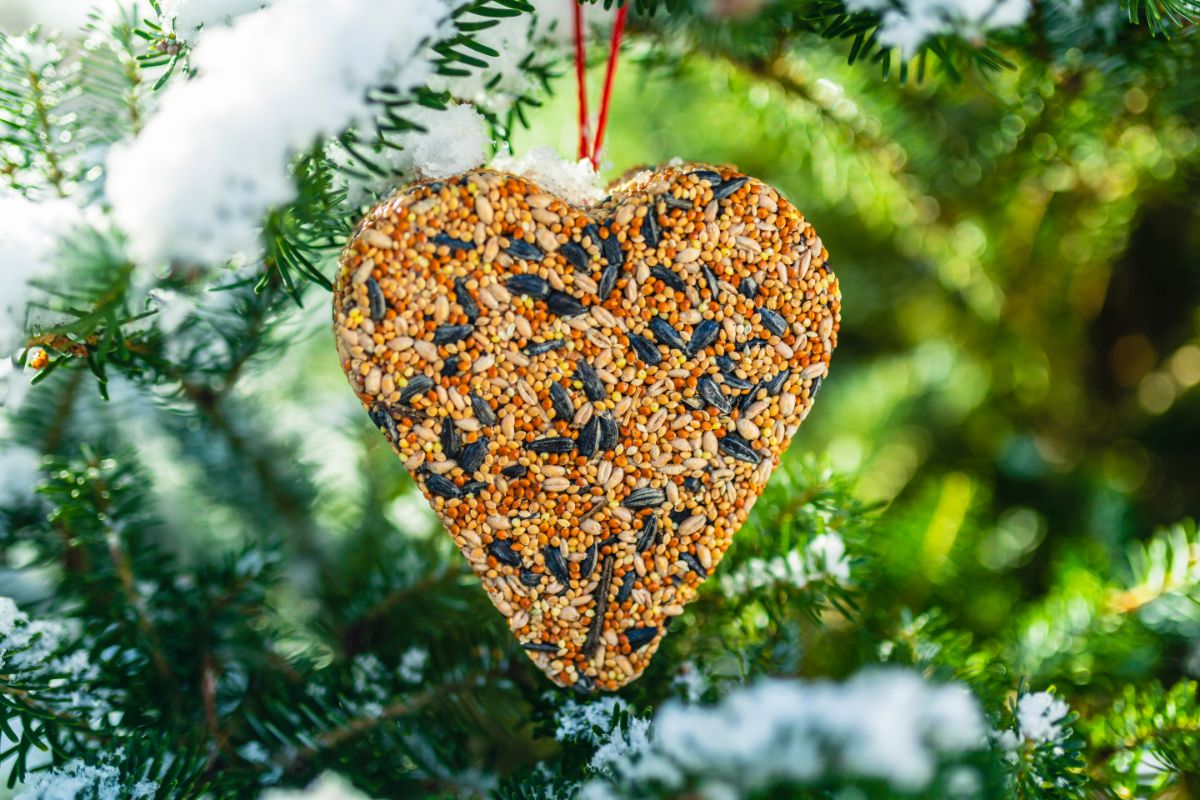
If you want to create outdoor ornaments for birds using bird seed, the trick is finding an appropriate and bird-safe way to stick seeds together. Freezing seeds in ice or creating ornaments with suet or gelatin will help naturally adhere seeds together, allowing you to create fun shapes with your bird feed ornaments.
Yes. Creating your own suet at home from rendered fat is cheaper than buying storebought suet. Some butchers are even happy to give away scraps of beef or pork fat for free!
No. Crisco and other hydrogenated oils are not healthy for birds and should not be used to create DIY suet.
Yes, beef drippings are perfectly safe for making homemade suet. However, ornaments made with beef drippings rather than rendered fat may not hold up as well in warm weather. For this reason, you’ll want to keep your homemade suet in your freezer until you’re ready to put it outside.
Yes, bacon grease can be used to make homemade suet. However, suet made from bacon grease will not be as sturdy as suet made from rendered fat, particularly in warm weather. So store your homemade suet in your freezer until you’re ready to use it.
Bread has no nutritional value for birds, and birds will quickly fill up on bread if you offer it, as they often prefer it to other nutrient-rich and calorie-dense foods. During winter, it is particularly important that wild birds get enough calories to keep warm, so feeding bread to birds can actually make it harder for birds to survive the winter’s chill.
Summary
Creating homemade crafts for birds during the holidays or simply to liven up your garden in winter can be a delightful way to pass the days when cold temperatures keep you indoors. Sitting back to string a homemade garland with a cup of hot cocoa and a raging fire is the hallmark of hygge and a must-do this season. And, what’s more, wild birds will reap the benefits of your homemade treats and visit your garden even more!
If you’d like to learn more about creating a winter habitat for wild birds, check out this guide for more tips.

Terry
I love the orange peel part .
Ani Gumuryan
I can’t wait to make these! Loved all of them . Great article!
AliceK
I have never fed birds before. If I put out food for them, will they become dependent on food from the feeders?
Mary Ward
If you feed them only during the winter when they need the boost, they should not. Also, if you grow a variety of plants and berries for them to choose form in your yard, they will use both. Or, for the most natural approach, focus on planting food for them instead of just feeding it in a feeder (berries, nuts, leave seeds standing, etc.).