Flavorful, nutritious, and easy to grow, culinary herbs are some of the most satisfying plants to keep in garden beds and growing containers. But storebought herbs can be pricey, especially if you live in a cold area and need to purchase new herb plants annually because they can’t overwinter outdoors. However, there is an alternative to buying new herb plants every spring: you can propagate your own herbs and never buy herb plants again!
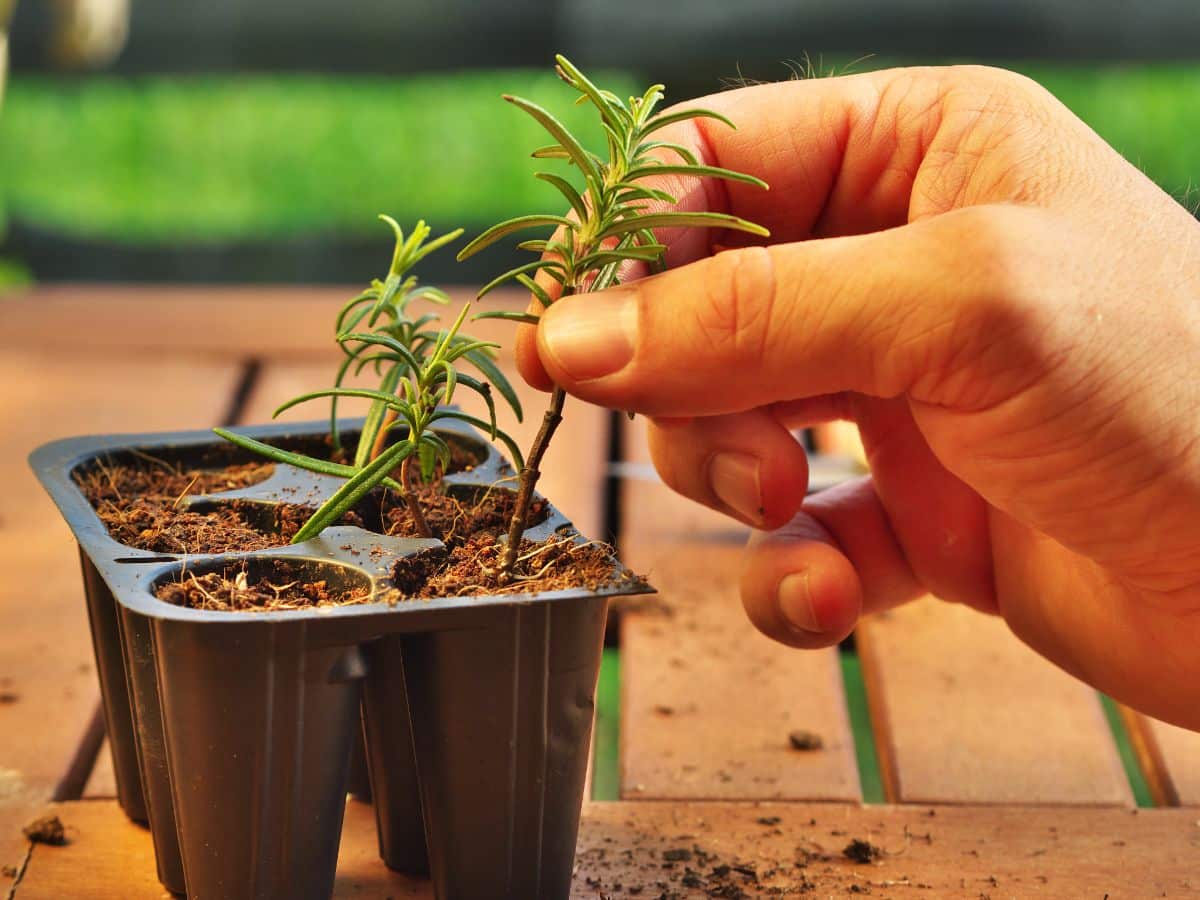
Most herbs can be easily propagated from stem cuttings, but some herbs root more easily in soil than water. In this guide, we’ll cover how to propagate herbs in soil, and we’ll also introduce you to the best edible herbs to propagate with this simple growing method.
Jump to:
Sourcing herb cuttings
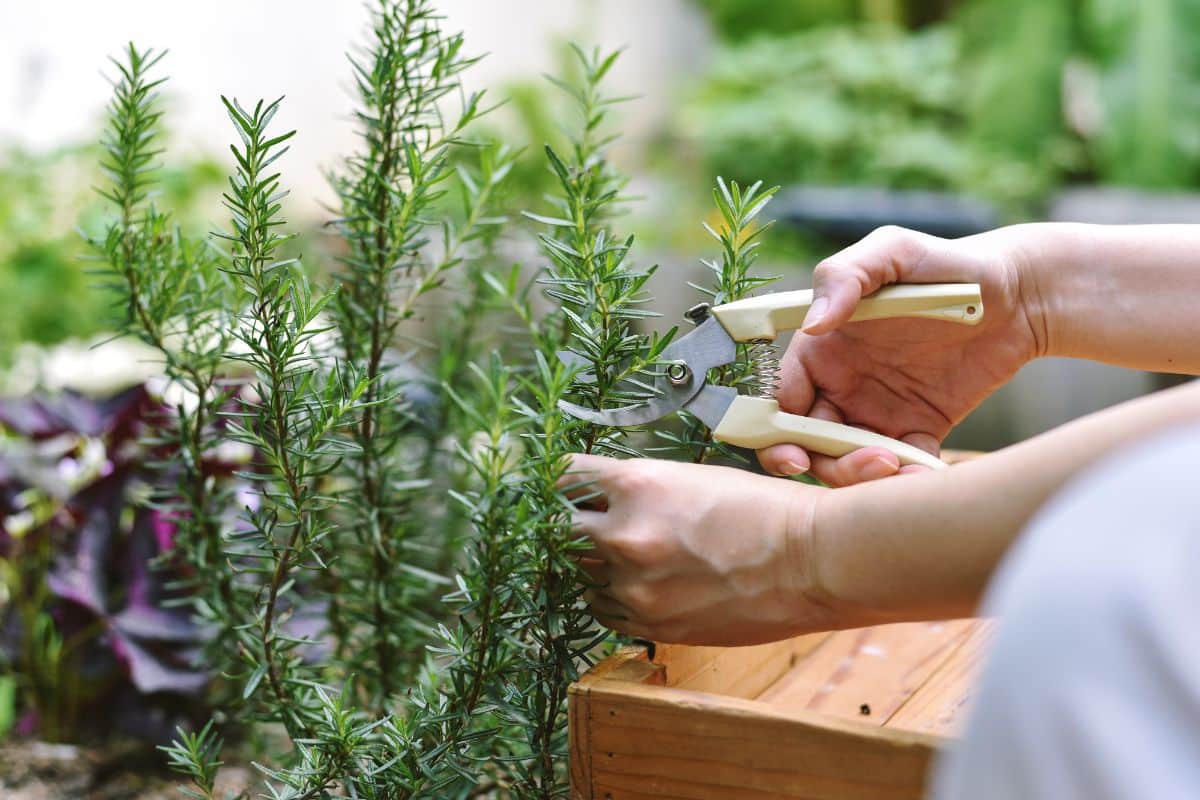
Most commonly, stem cuttings will be taken from herbs in your garden, but you may also be able to get cuttings from your friends or family or from local plant swaps. In general, cuttings can be taken throughout the growing season or whenever you need to prune or harvest your herbs. However, autumn is also a great time to take herb cuttings, especially if you intend to keep an indoor herb garden.
Heat-loving plants like rosemary only grow as perennials in USDA growing zones 8 and up. In cooler spots, these herbs are primarily kept as annuals or entire plants can be overwintered indoors. But rosemary and other annual herbs often don’t transition well to indoor living, which is why many gardeners take cuttings from their tender herbs in autumn.
If you decide to take stem cuttings from tender herbs for overwintering, you can be a bit more aggressive and take more stems from your plants than you would normally harvest. After all, once frost sets in, those herb plants may not survive anyway. Just be sure to watch your local forecast and take all the cuttings you want before a hard frost arrives!
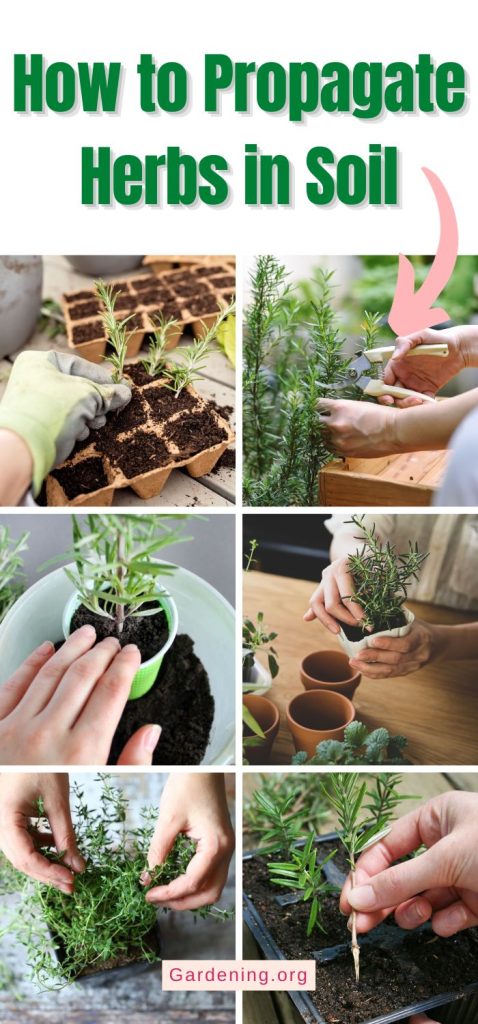
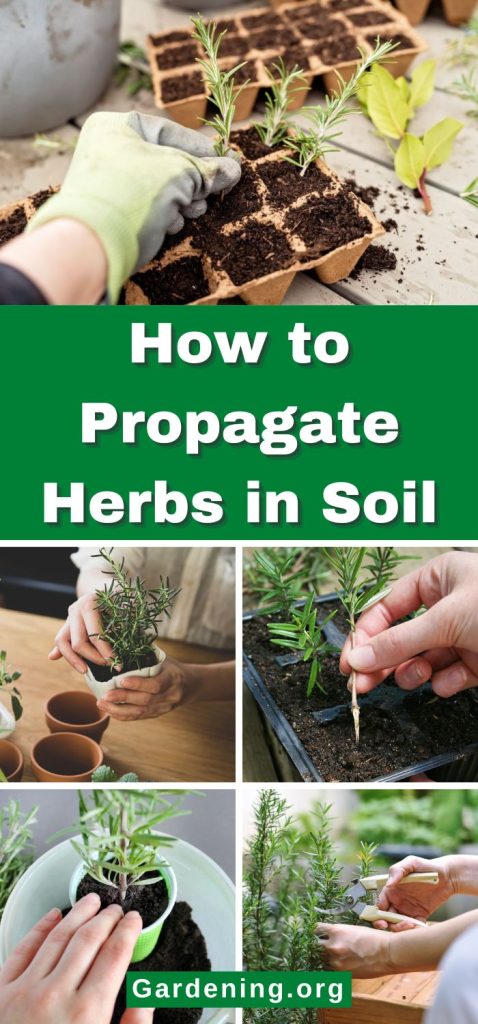
How to propagate herbs in soil
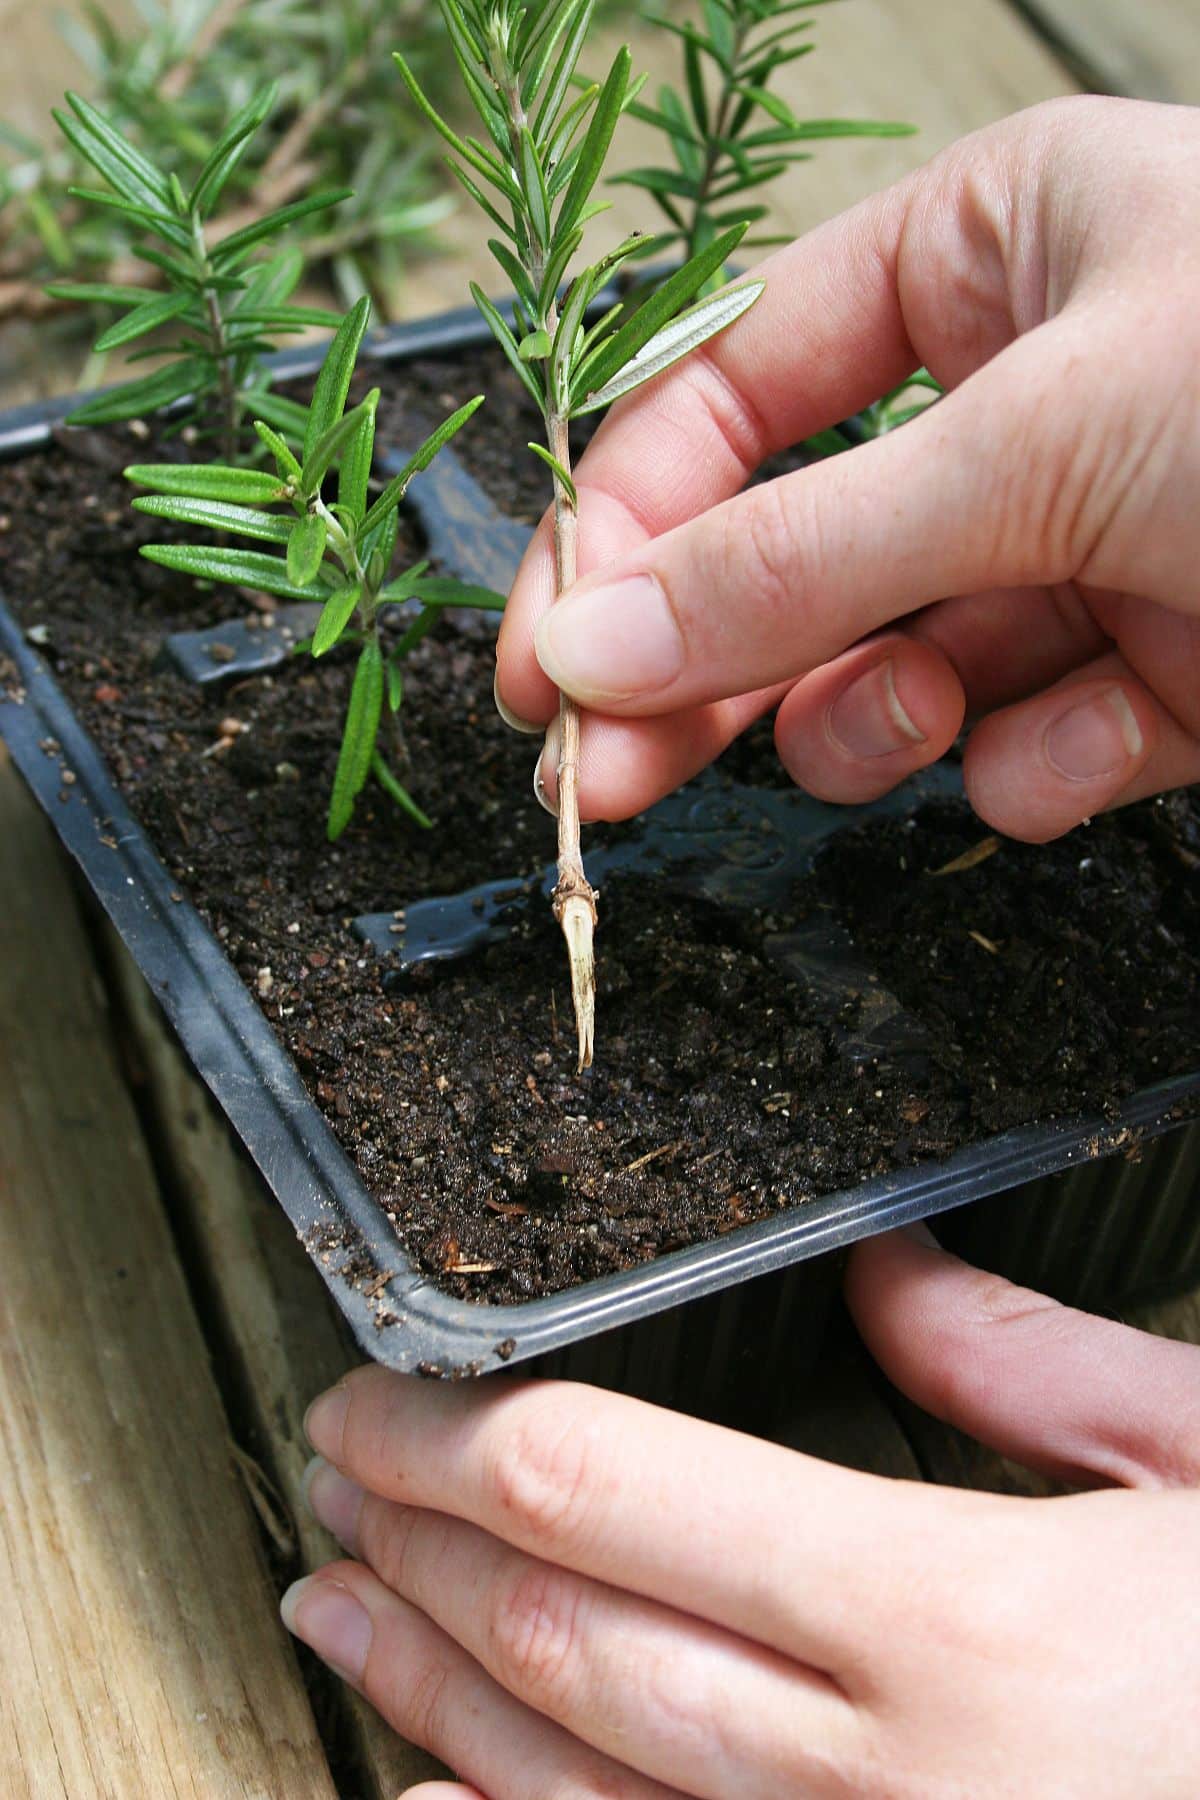
Propagating herbs in soil isn’t hard, but it can be a bit more challenging than water propagation. This is partly due to the fact that woody-stemmed herbs are mostly propagated in soil, and these herbs tend to be slower growers (and slower rooters) than tender-stemmed herb plants. Additionally, unlike in water propagation, cuttings rooted in soil won’t have exposed roots, so it will be a bit harder to assess how your herb roots are developing.
But while soil propagation has its quirks, it is generally the best way to propagate herbs with woody stems, like rosemary and lavender. And if you follow a few simple tips, even beginning gardeners should have success rooting herb cuttings in the soil!
What you’ll need:
- Culinary herbs
- Sharp kitchen shears or pruners
- Rubbing alcohol
- Seed starting mix
- Small pots or seed trays
- Humidity dome or clear plastic baggies
- Chopsticks
- Rooting hormone (optional)
- Cinnamon (optional)
The process
- Prepare your pots.
Cuttings should be placed in the soil as soon as possible, so it makes sense to prepare your plant pots before taking cutting from your herb plants. To get started, fill up your pots or seed starting trays with moist seed starting mix. Then, gently firm the soil and poke a small hole in the center of the soil in each pot or seed starting cell with your pinky finger or a chopstick. This hole is where you will be planting your cutting.
- Take your cuttings.
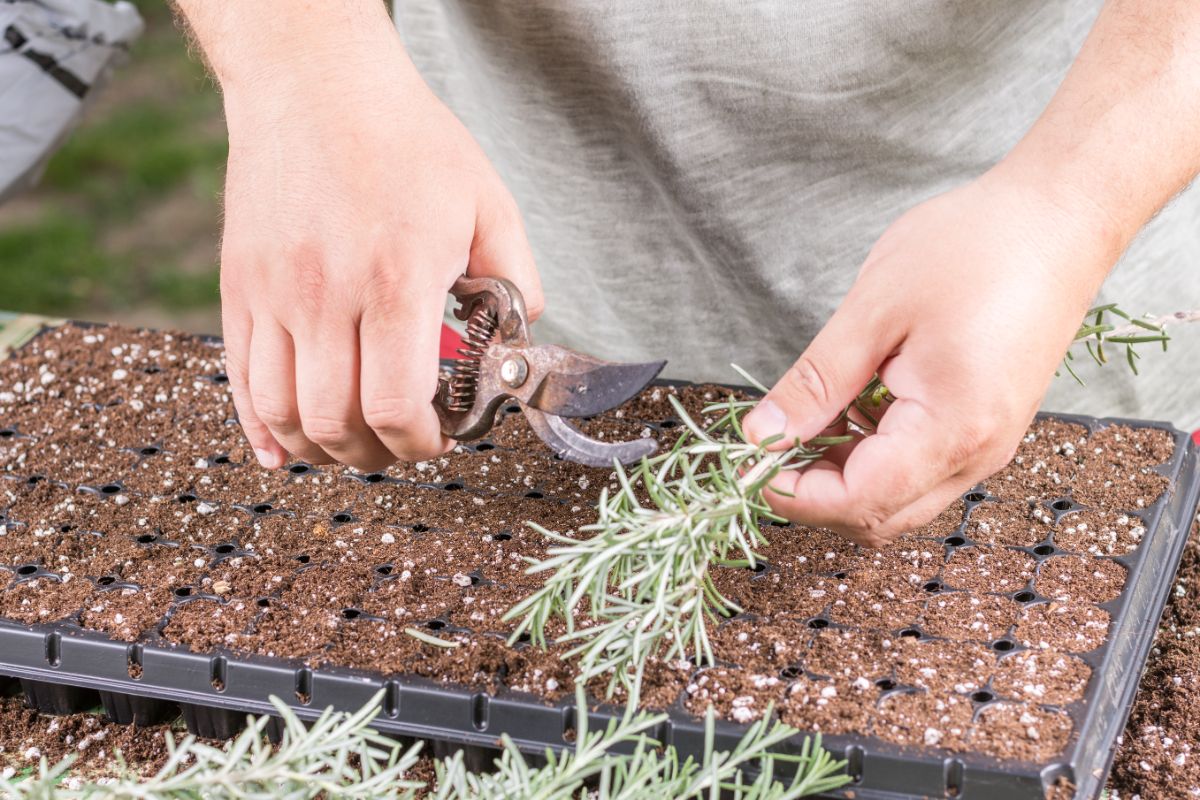
Next, using sharp pruners or kitchen shears, take a healthy stem cutting from your herb plants. For best results, sterilize your pruners or shears before you start by rubbing them down with rubbing alcohol or a 10% bleach solution. Each stem cutting should be at least 3 to 4” long, although if you want larger herb plants, you can take cuttings that are 6 to 10” long. Make your cuts at a 45-degree angle on the base of the stem, and make sure each of your cuts are directly below a leaf node. Typically, cuttings taken from new, softer stems will root faster than woody cuttings, but if you need to take woody cuttings, they can root too!
- Remove lower leaves.
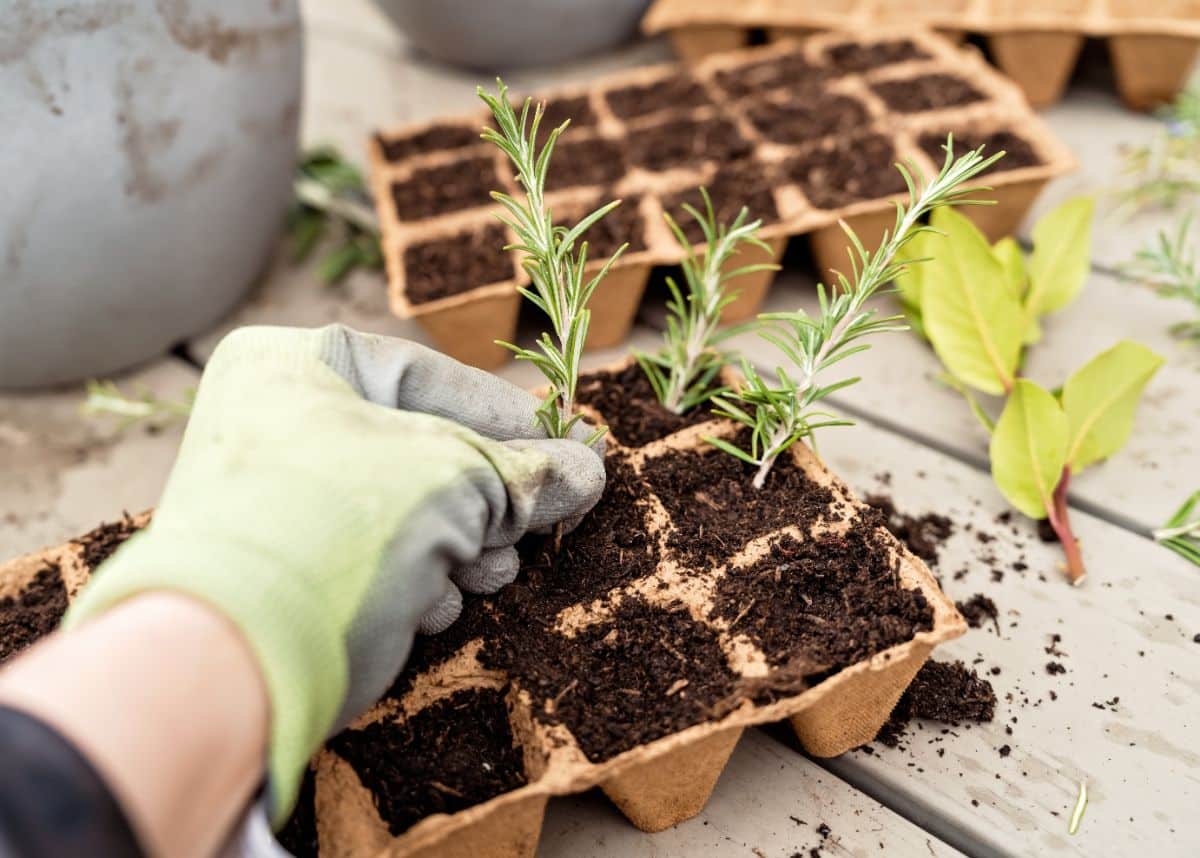
Once you have your cuttings, prune away some of the lower leaves on the bottom of your herb stems, but be sure to leave a few leaves at the top of each cutting. Removing the lower leaves will make the herb stem much easier to plant in soil, and it will reduce the chances of rot as well.
- Apply rooting hormone or cinnamon (if using.)
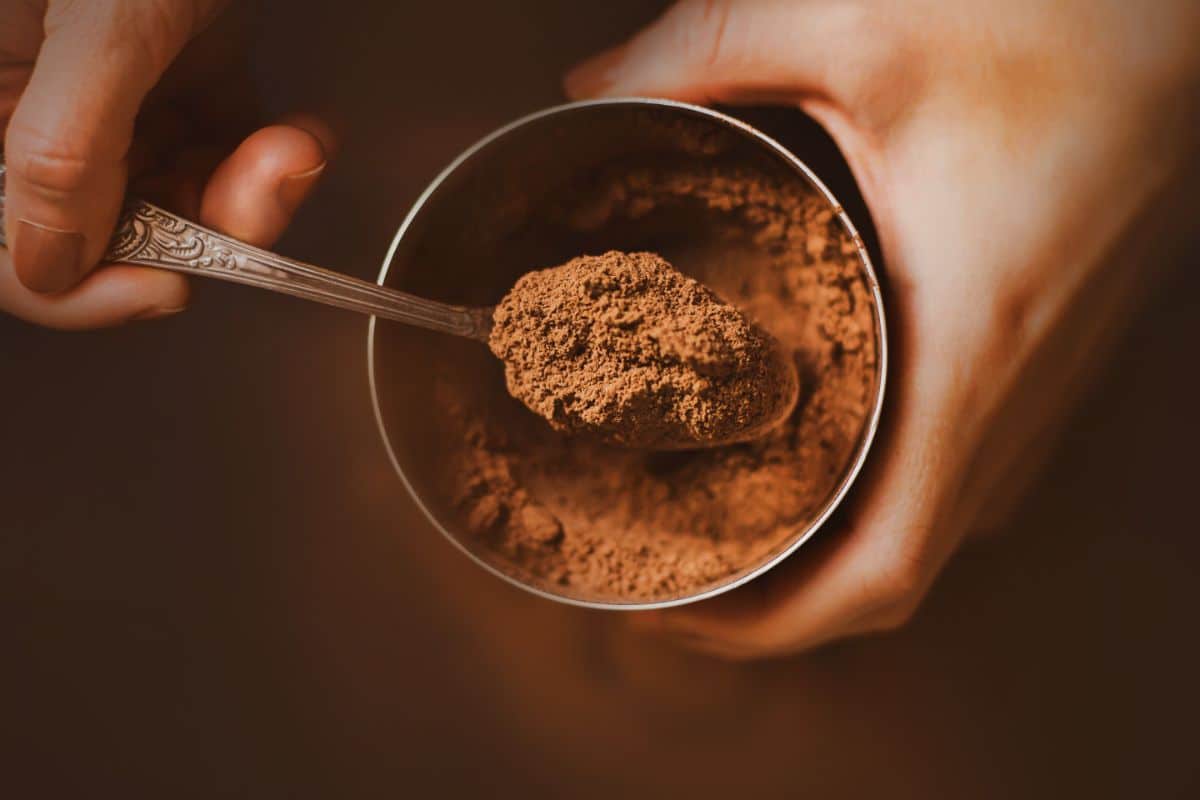
This step is optional, but it can give you better results -- especially when you’re working with woody-stemmed herbs.
If you want, dip the cut end of each of your cuttings in a bit of water and then dab them in rooting hormone or powdered cinnamon. Rooting hormone can encourage cuttings to root faster, while cinnamon has anti-fungal properties that will ward against fungi and help keep your plant stems healthy as they develop roots.
- Pot your plant cuttings.
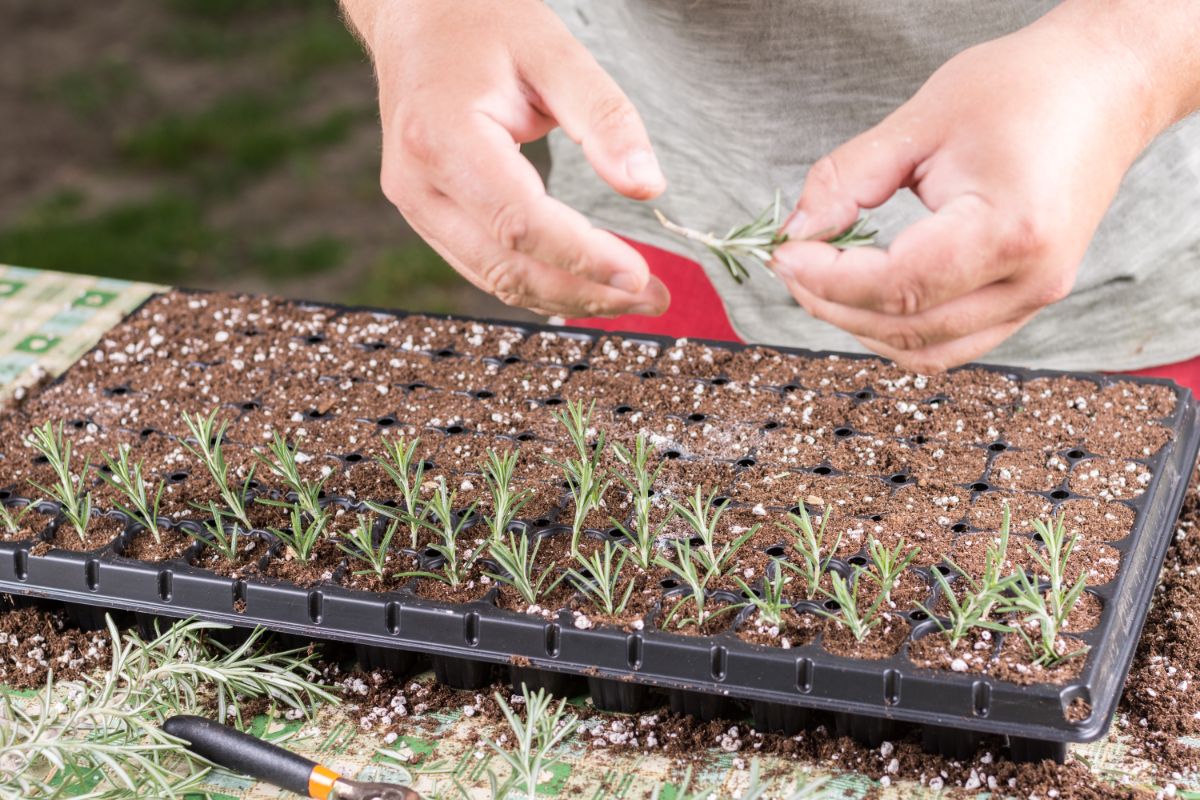
Now, carefully sink the cut end of each of your cuttings into the prepared hole in your seed starting mix and firm the soil up around the base of your cuttings. Depending on the size of your cuttings, you may need to bury your cuttings deeper or shallower to keep them upright. In general, you’ll want the soil line to be at least 1” below any leaves on your cuttings.
- Water well.
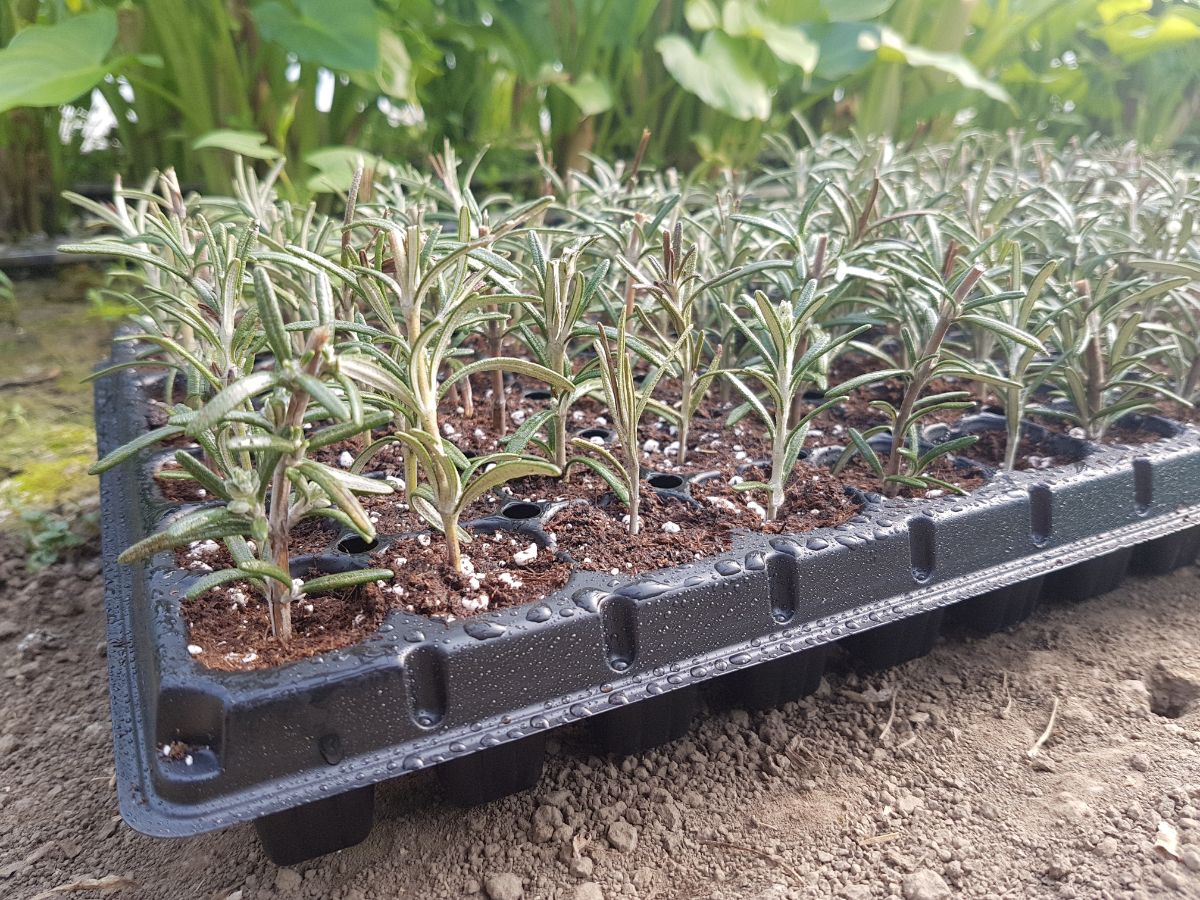
After planting your cuttings, water the soil well and allow any excess water to pour out of the drainage holes on the base of your planting pot or seed starting trays.
- Add humidity cover.
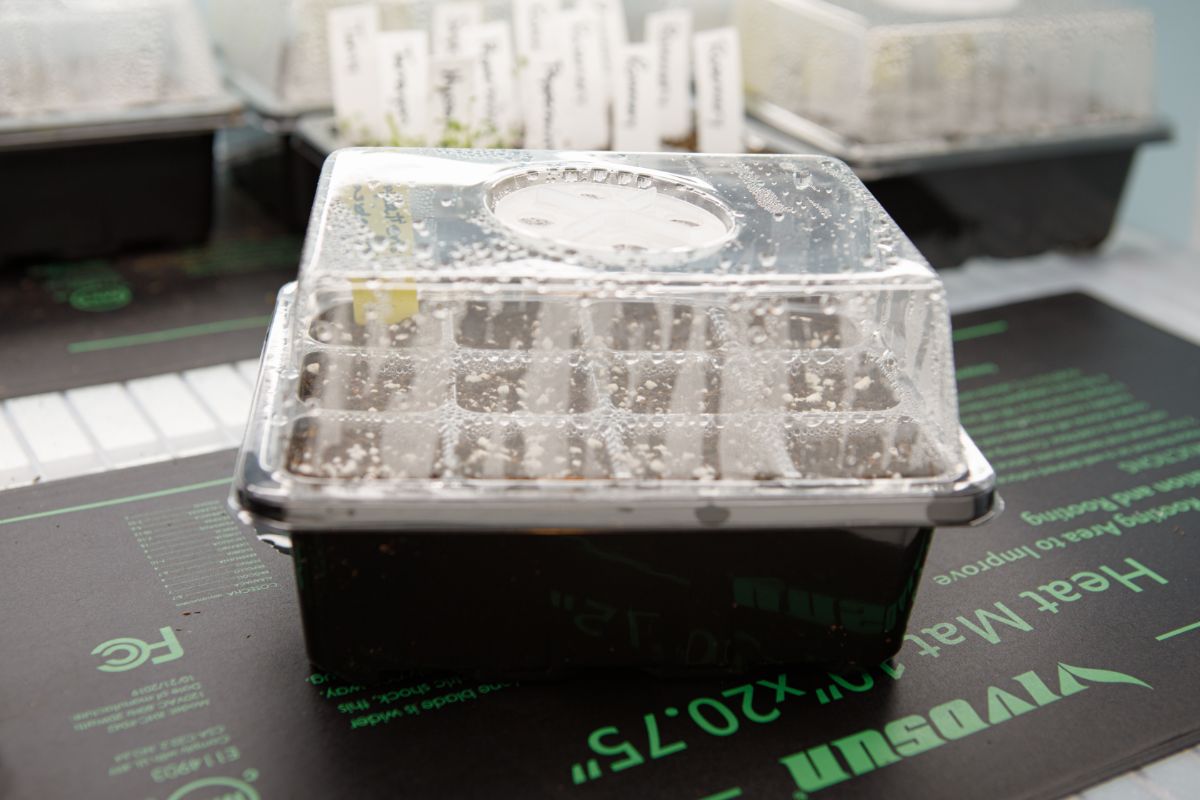
Next, cover up your pot or seed starting trays with a clear humidity dome. If you don’t have a humidity dome, clear Ziploc baggies or other clear plastic bags will work too. Humidity domes and baggies will help lock in soil moisture levels, reducing the amount of water your cuttings will need and preventing your tender cuttings from drying out quickly. If you’re using Ziploc baggies or plastic bags, you may want to insert a chopstick into your seed starting mix to help support the plastic cover so it doesn’t sit directly on your cuttings.
8. Add light.
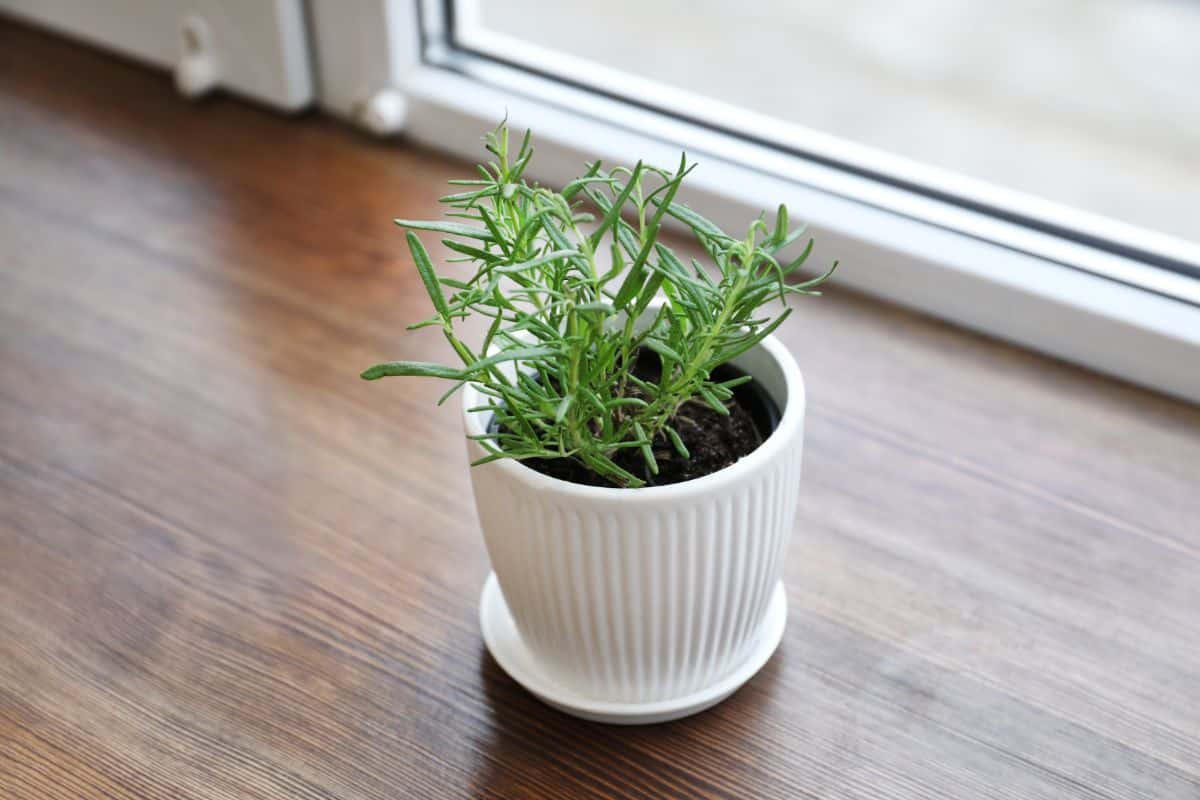
Once your herb cuttings are all potted up, place your plant pots on a windowsill that receives bright, indirect light, or dappled light throughout the day. In general, bright light can be too much for delicate plant cuttings, so you may not want to put your cuttings in a very bright spot. Poor light is also not recommended, as cuttings won’t receive the energy they need to root. If you don’t have any windows that receive a good amount of light throughout the day, you can also locate your herb cuttings under a grow light. For proper growth, grow lights should be kept on for 6 to 8 hours daily.
- Tend your cuttings.
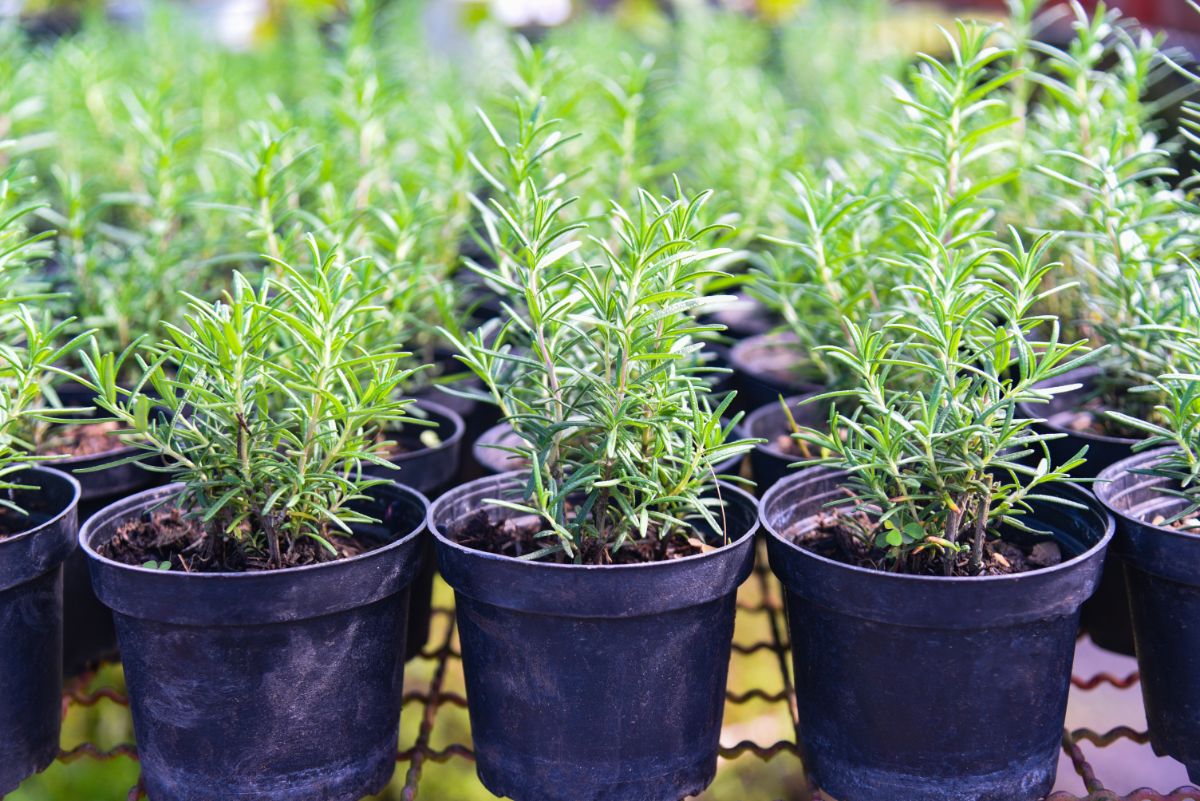
Different herbs root at different rates, so you’ll need to be patient while you’re waiting for your new cuttings to take root. During this time, make sure your cuttings receive 6 to 8 hours of light daily and water them often so that the seed starting mix stays consistently moist but never soggy. Some herbs can start to root in a week or two, but other slower-growing herbs can take between 1 to 2 months to develop roots. As long as your cuttings look healthy, green, and lush, they’re likely developing just fine, and there’s no need to assess their root systems. However, if you notice that your cuttings are starting to wither and brown while propagating, the cuttings haven’t taken, and you’ll need to start over with fresh cuttings.
- Repot your plants.
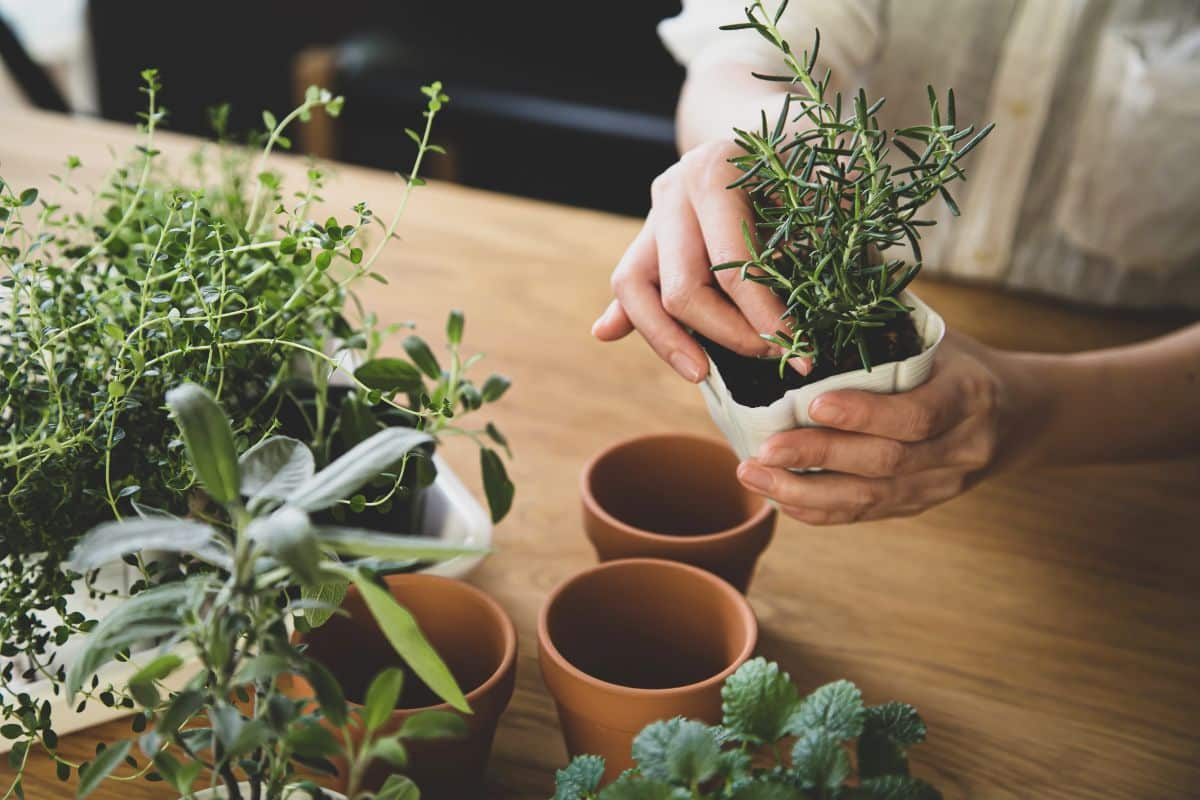
Once your cuttings have been growing for a while and they’ve started to sprout roots, you may need to repot them in larger pots to give them more room to grow. When repotting cuttings, choose a pot that is only one or two sizes larger than the pots the cuttings were growing in, and make sure the pot has plenty of drainage holes at the base. While seed starting mix works well when you’re just starting new cuttings, you’ll want to plant established herb plants in a rich potting mix, which is more suitable for maintaining the health of plants over time.
What herbs should you propagate in soil?
Tender-stemmed herbs, like basil and mint, can be propagated in soil; however, these herbs often root faster in water. But if you want to propagate woody-stemmed herbs, you’ll usually have the best luck with the soil propagation method. While you can experiment with propagating different herbs in soil, some of the most common herbs to propagate with this technique include:
1. Lavender
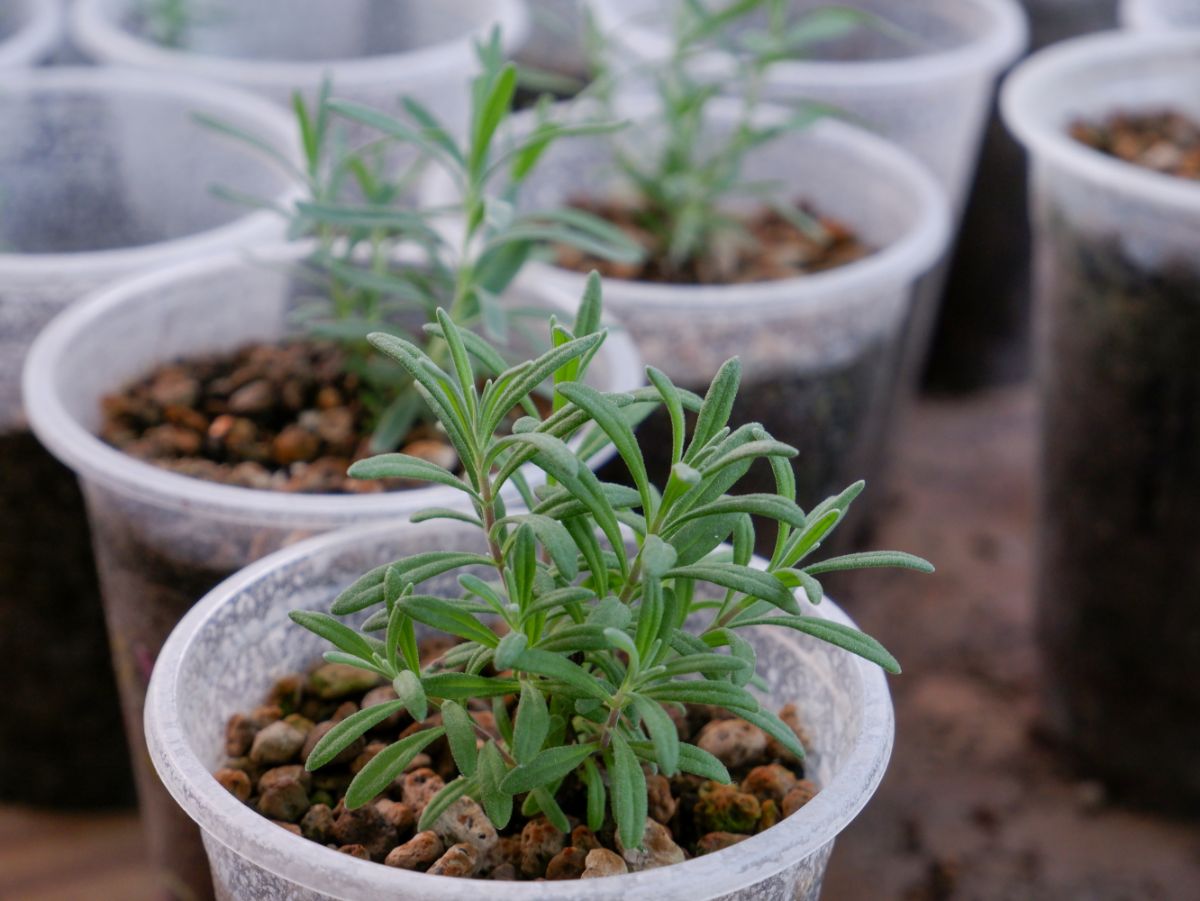
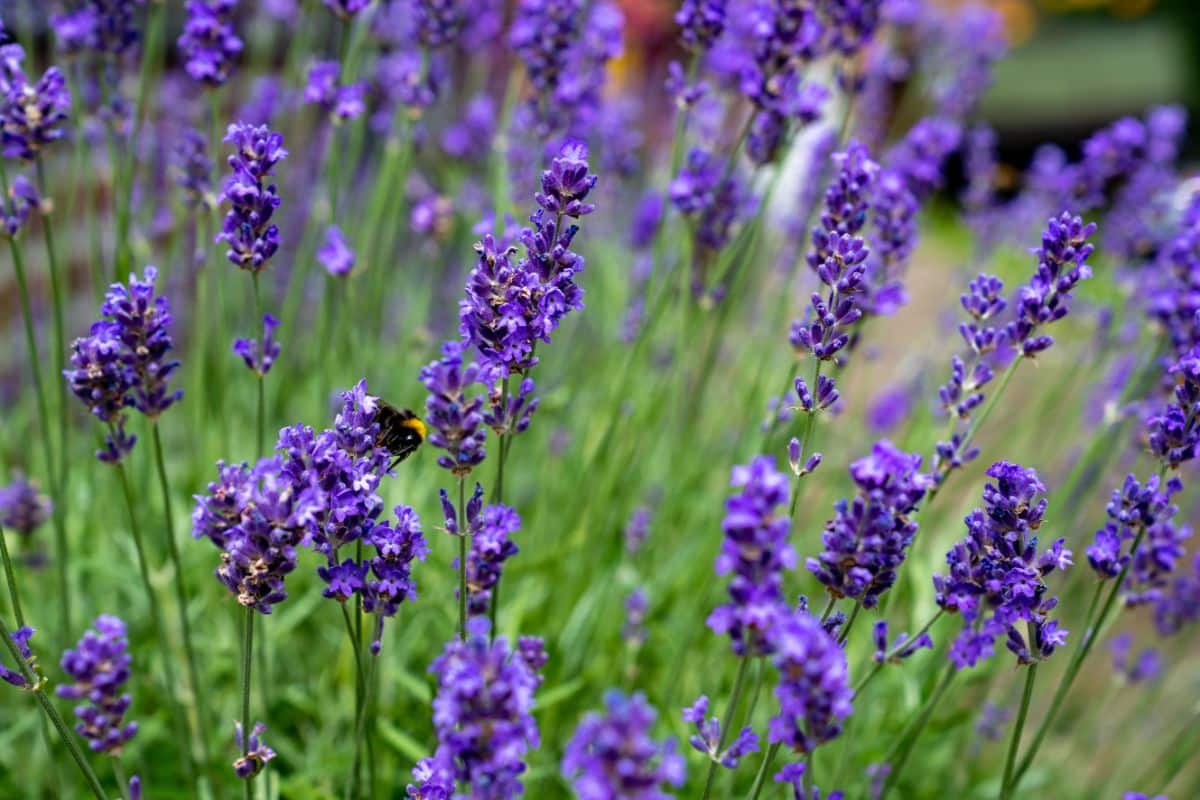
Fragrant lavender is a favorite in scent gardeners, and edible lavender varieties can be used to flavor jellies, herbal teas, candies, and other sweet treats. But lavender can be tricky to grow from seed, which is a problem if you want more lavender plants for your garden but you don’t want to spend much money. One good option is to propagate lavender from stem cuttings using soil propagation methods.
As with other herbs, lavender cuttings should be at least 3 to 4” long, and the lower leaves on the cutting stems should be clipped away to make planting easier. Patience is key when growing lavender from cuttings, as these slow-growing herbs can take between 2 and 6 weeks to root. However, you can generally speed things along by using the rooting hormone.
2. Rosemary
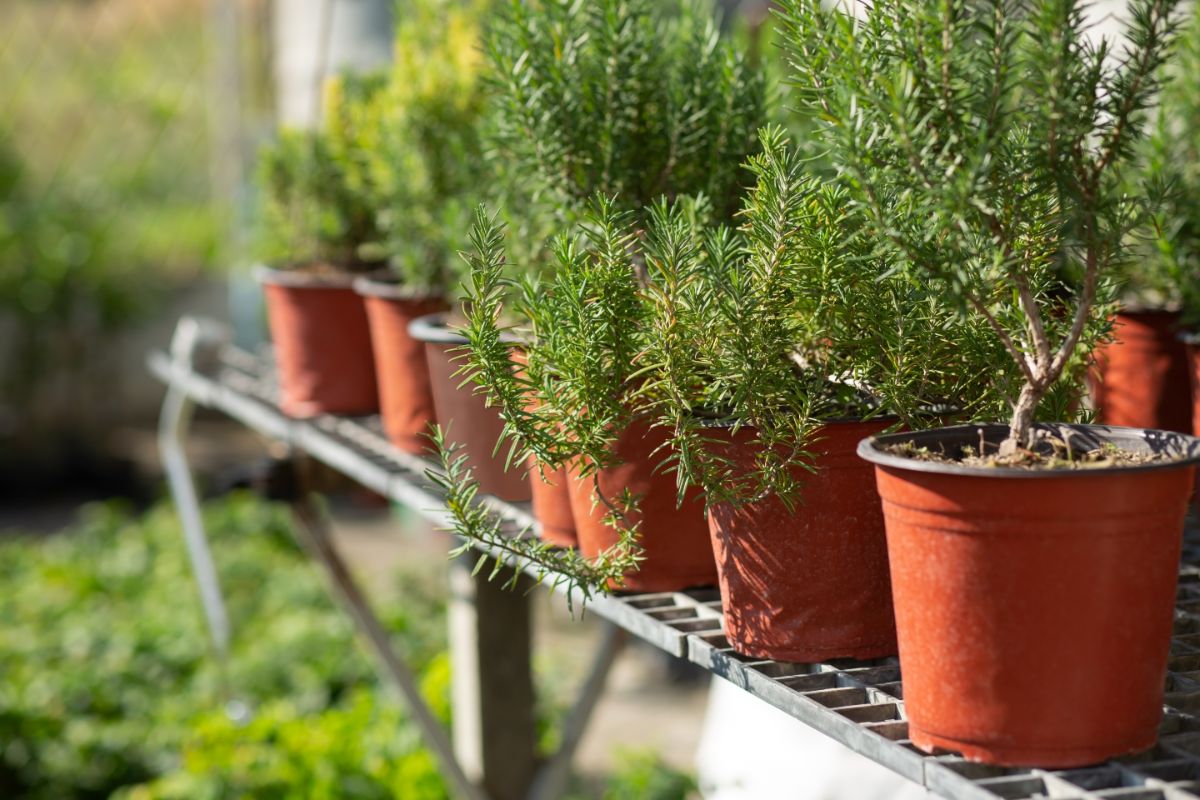
Rosemary is a tender herb that doesn’t overwinter well in cold areas. Many gardeners grow rosemary as an annual, or they attempt to bring potted rosemary indoors for the winter. But rosemary plants can be hard to transition to indoor living, and many plants will simply wither when they’re brought inside.
While you may have success overwintering whole rosemary plants indoors, if you’ve ever struggled to acclimate rosemary to your home, you may want to try growing rosemary cuttings instead. Rosemary cuttings can be taken from the plant throughout the season, or you can wait until fall and take cuttings before frost is expected. To keep your plants happy, make sure your rosemary cuttings have plenty of humidity, and place potted rosemary plants near a humidifier or on a pebble tray so they don’t develop crispy leaves.
3. Sage
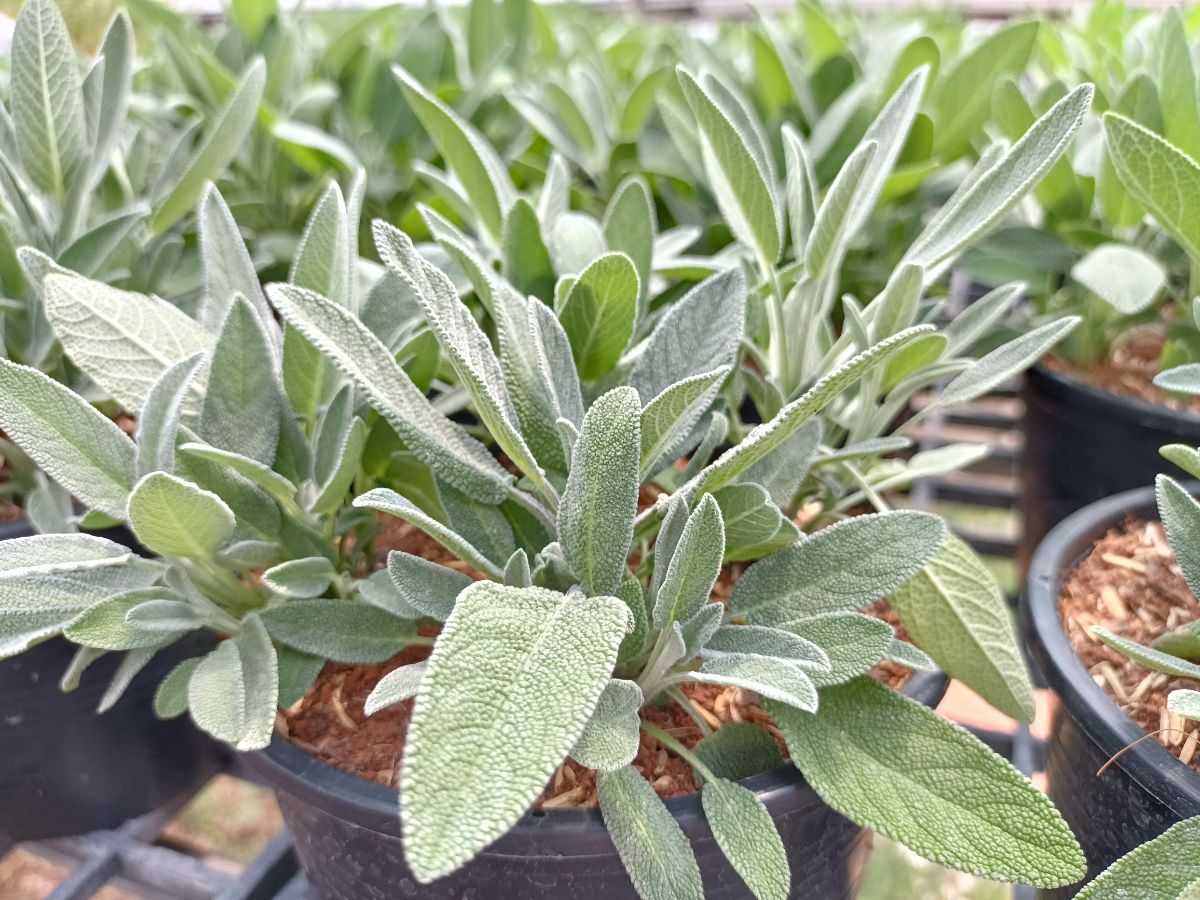
Sage roots easily in soil or water, but woody-stemmed sections of sage are easiest to root in soil. Since sage is a perennial herb in most areas, you may not need to propagate your sage plants at all. But if you want to add more sage plants to your landscape, or if you’d like to share sage with friends and family, you can easily make new plants with soil propagation.
When propagating sage, use new stems whenever possible and make sure your cuttings are at least 3 to 4” long. Compared to rosemary and lavender, sage plants develop roots relatively quickly, and you should start to see roots developing on your new sage plants in about 2 to 3 weeks.
4. Oregano
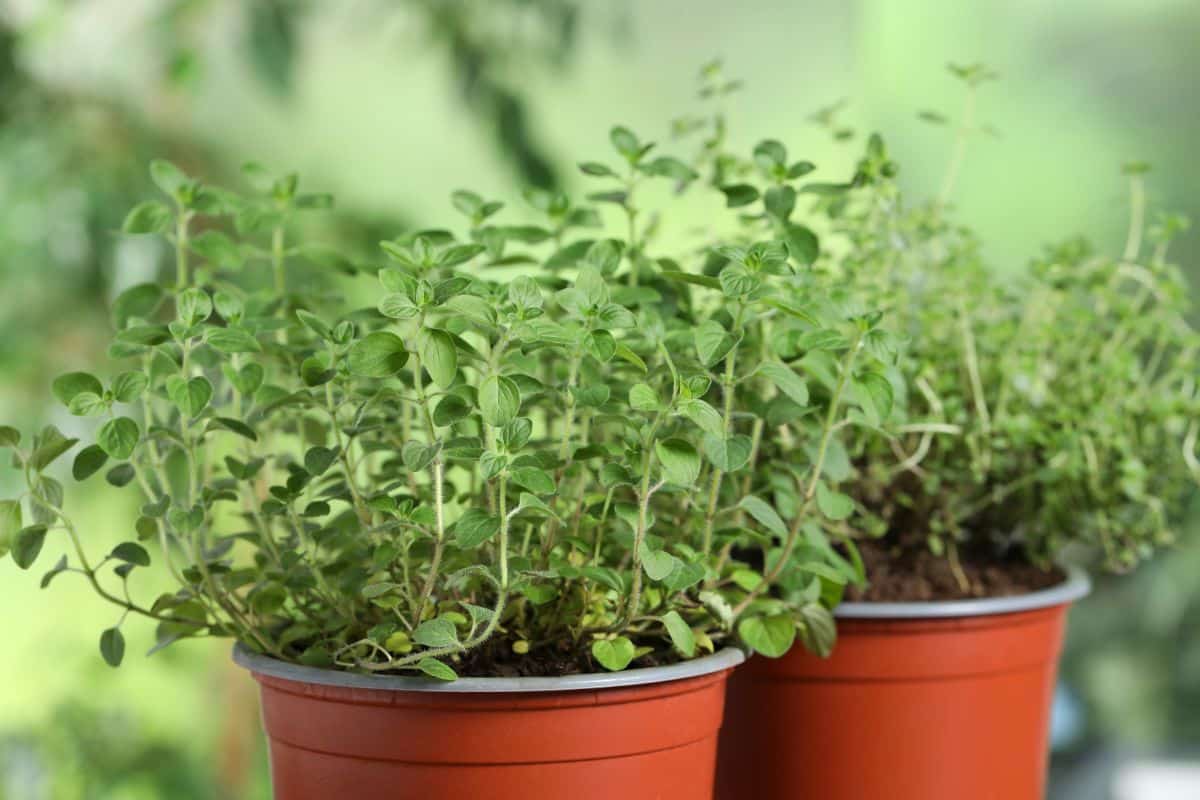
Oregano is another hardy herb that overwinters well in most areas, but you can still propagate this herb if you’d like to get more free oregano! Oregano can be propagated in either soil or water, and you’ll usually get roots faster if you select tender sections of the plant for propagation. With the soil propagation method, oregano plants usually take about 4 to 5 weeks to root.
5. Thyme
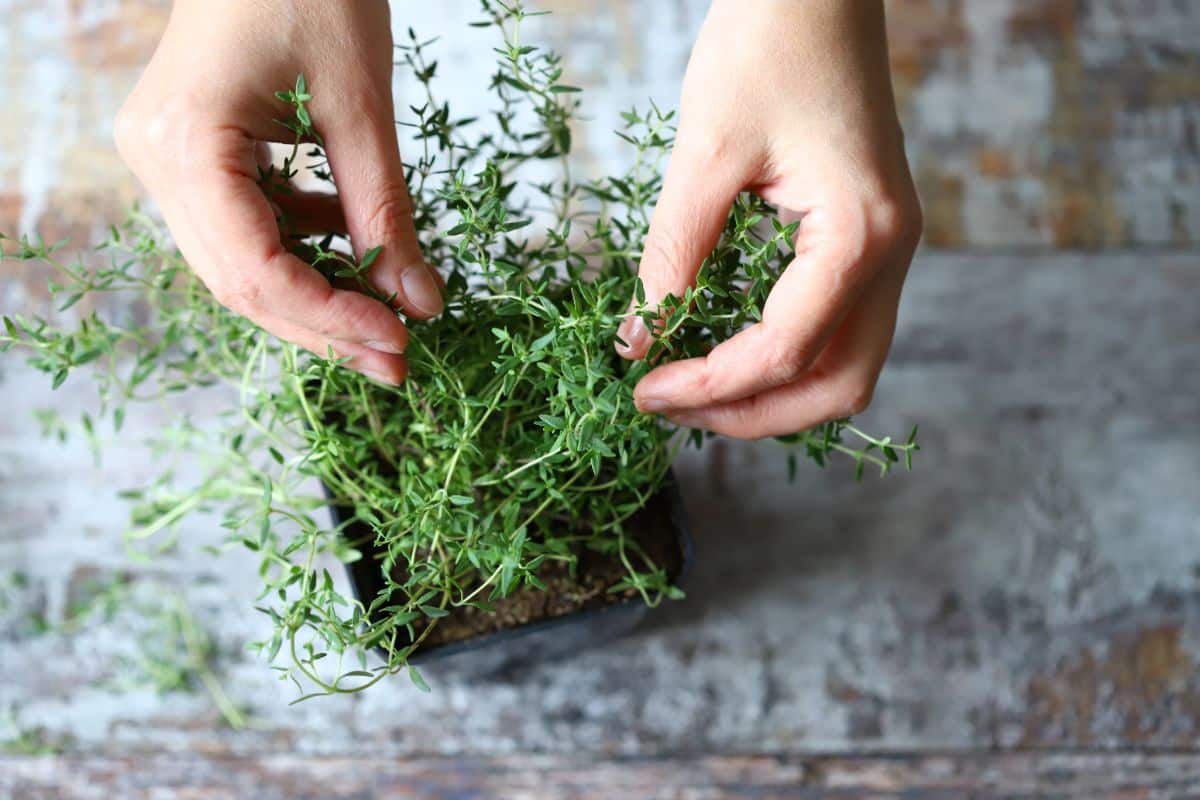
Thyme can also be propagated with soil propagation, but it also works well with water propagation. This slow-growing herb can take a long time to grow from seed, which is why many gardeners choose to grow thyme from cuttings if they want to make new thyme plants. When propagated in soil, thyme plants should take about 1 to 2 months to start rooting.
6. Marjoram
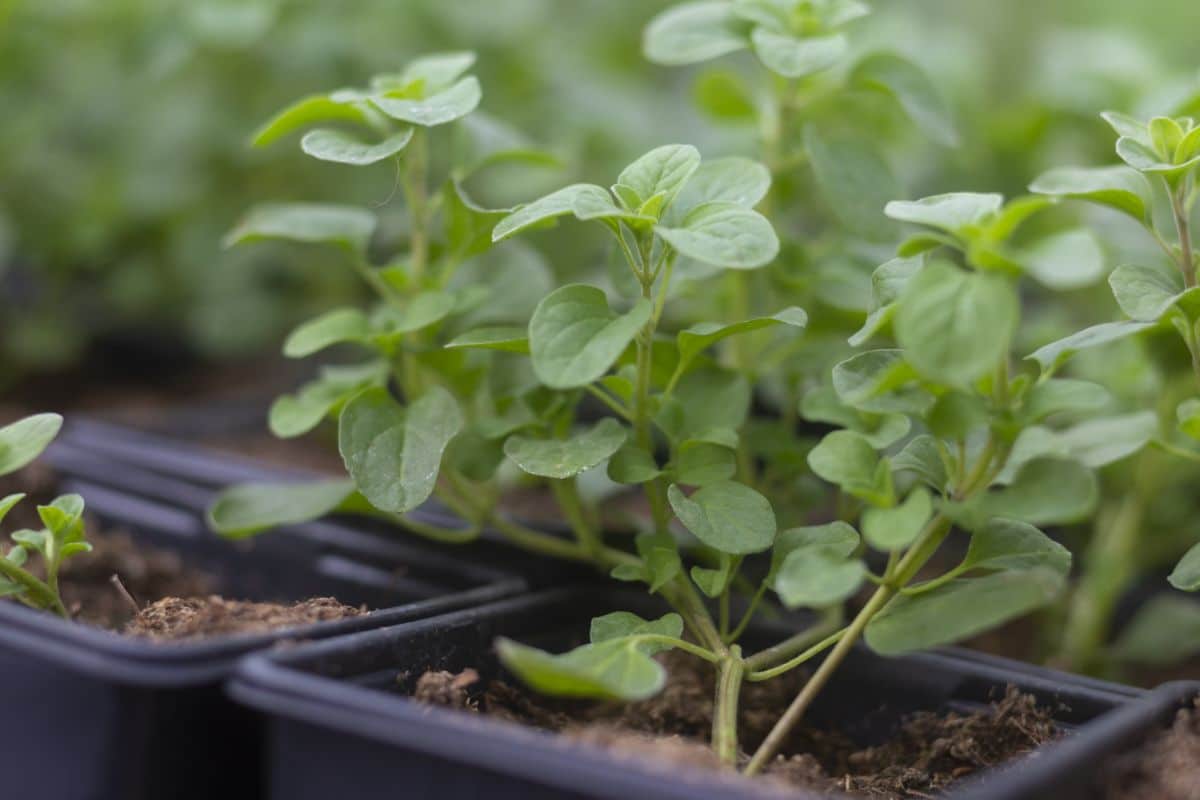
Like rosemary, marjoram is a heat-loving herb that doesn’t overwinter well in cold areas. But you can keep your marjoram plants going strong all winter long with propagation.
The easiest way to propagate marjoram plants is simply to divide the plant by separating out a smaller, rooted section of established marjoram and potting it up in the soil. But you can also root marjoram from cuttings, which can be particularly useful if you’d like to propagate marjoram stems you purchased at the grocery store! Like oregano, marjoram plants take about 1 month to produce roots with soil propagation.
Why propagate herbs?
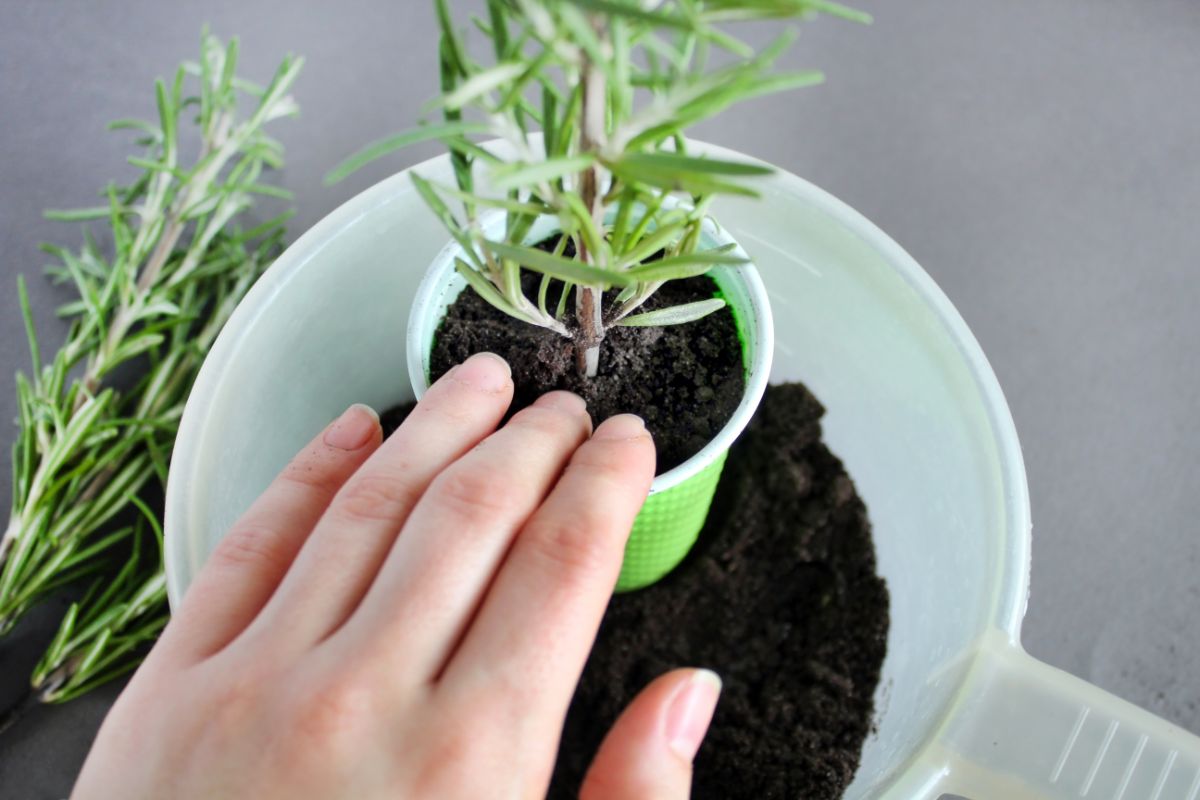
Growing your own herbs from cuttings is a great way to save money, and it can be an empowering experience too. After all, once you’ve mastered the art of propagating your own plants, there’s no need to buy plant starts or herb seeds again! However, if you’re still on the fence about whether or not you want to propagate herbs, some of the main perks of herb propagation include:
- Money savings.
The main reason why most gardeners propagate their own herbs is to save money. By growing herbs from cuttings, you can eliminate the need to buy new herb plants annually, and over time, that can add up to a lot of savings!
- Quality control.
If you keep an organic garden, tracking down organically grown herb plants can be tricky. But if you purchase organic herbs once, you can keep them going year after year with propagation. What’s more, by propagating your own plants, you’ll have complete control over how they’re grown, and you can take cuttings from certain plants that exhibit variegation or other unique characteristics that you’d like to preserve.
- Self sufficiency.
There’s something immensely satisfying about knowing that you can make your own plants whenever you want to. If you happen to enjoy self-sufficiency and prepping, propagating edible plants is a skill that’s important to master!
- Easier overwintering.
If you live in an area with cold winters, heat-loving herbs like rosemary won’t overwinter well outdoors. As a result, many gardeners attempt to overwinter these herbs inside, but mature plants can sometimes be finicky about being transplanted. However, herb cuttings are easier to bring indoors, and they typically adapt more readily to indoor life than mature plants!
- Sentiment.
Perhaps your grandmother had a patch of lavender, and you’d like to take cuttings from her plants and bring them to your own home. Or perhaps you have a lovely herb garden, but you’re moving, and you want to take some of your plants with you. In both of these instances, propagating herbs from stem cuttings can help you keep important plants (and the memories associated with them) growing for years and years!
- It’s fun!
Of course, plant propagation is also fun, and it’s an excellent learning opportunity for young growers. If you have children who express interest in gardening, why not allow them to propagate a few of their own herbs to keep in their own mini herb garden? Growing their own plants from scratch can make young green thumbs feel more confident in their gardening skills, and it’s a great way to learn more about plants.
Frequently asked questions
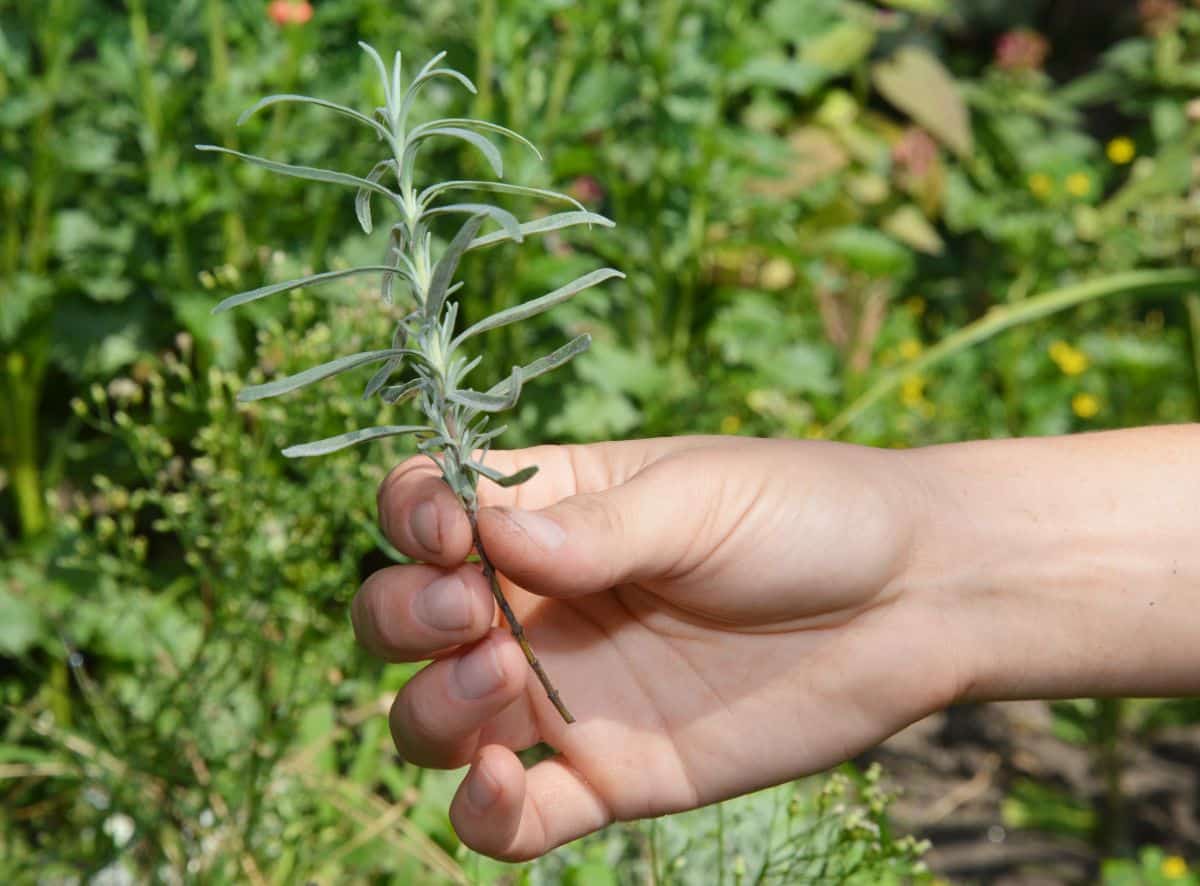
Some herbs propagate more readily in water than others. Tender-stemmed herbs, like basil and mint, are generally easiest to propagate in water, while woody-stemmed herbs propagate well in soil. Some of the best herbs to propagate in soil include rosemary, lavender, and thyme.
Herb cuttings can be taken throughout the growing season, but you’ll usually get the best results if you take cuttings in spring or summer when herbs are actively growing. Cuttings can also be taken from herbs in late summer to early fall if you want to propagate annual herbs that won’t survive the winter. However, it’s best to avoid propagating herbs that are actively flowering, as these plants have less energy to direct towards root development.
No. While some plants, specifically cacti and succulents, often need to “callous over” before propagating, this is not true with herbs. Herb cuttings should be placed in water or potted up in soil as soon as possible to keep them from drying out.
Yes. Technically, you can put cuttings straight into the soil right after they’re snipped from their parent plant. That said, you will often get better results with soil propagation if you dip the cuttings in rooting hormone before planting them in the soil.
There are several reasons why herb cuttings may rot instead of rooting. If cuttings are taken with dirty scissors, bacteria can be transferred into the cut plant tissue, and this may encourage rot. Cuttings may also rot if they’re watered too much and kept in waterlogged soil.
Yes! One of the best things about propagating herb cuttings is that you can propagate grocery store herbs and never need to purchase fresh herbs again. Rosemary, thyme, oregano, and other woody-stemmed herbs are readily available at most grocery stores, and they can be easily rooted in soil with a bit of rooting hormone.
Summary
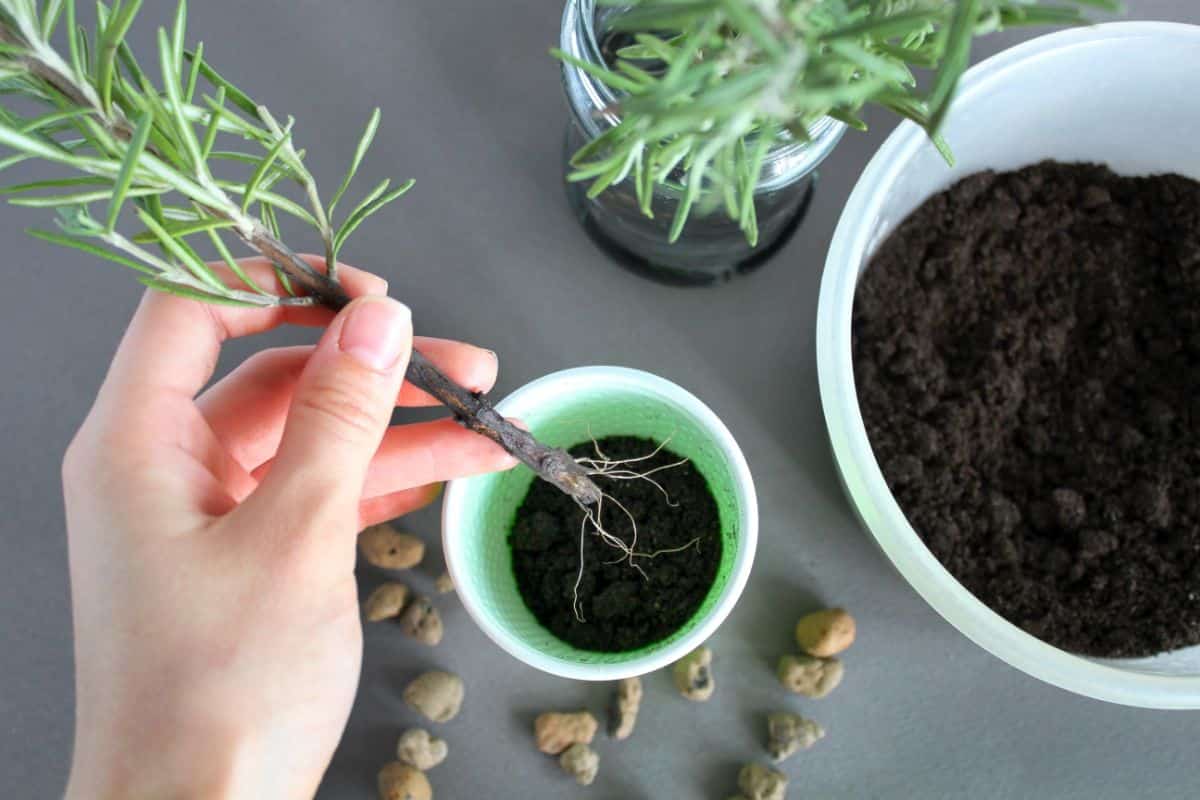
If you grow tender, annual herbs in your garden, propagating your own herb cuttings may already be a part of your autumn-fall garden checklist. But even if you don’t want to overwinter herbs indoors, there are many reasons why you may want to propagate herbs for future use. From gift-giving to money savings, propagating your own herbs is a worthwhile process, and it can be easily accomplished with just a bit of soil, a few pots, and a couple of fresh herb cuttings!
After you’ve successfully propagated your own herbs, they can be planted in your garden or in pots. However, if the temperatures are too cool, you may need to keep your herbs indoors until spring. If this is the case, check out our guide on growing herbs indoors for more herb care tips!




Leave a Reply