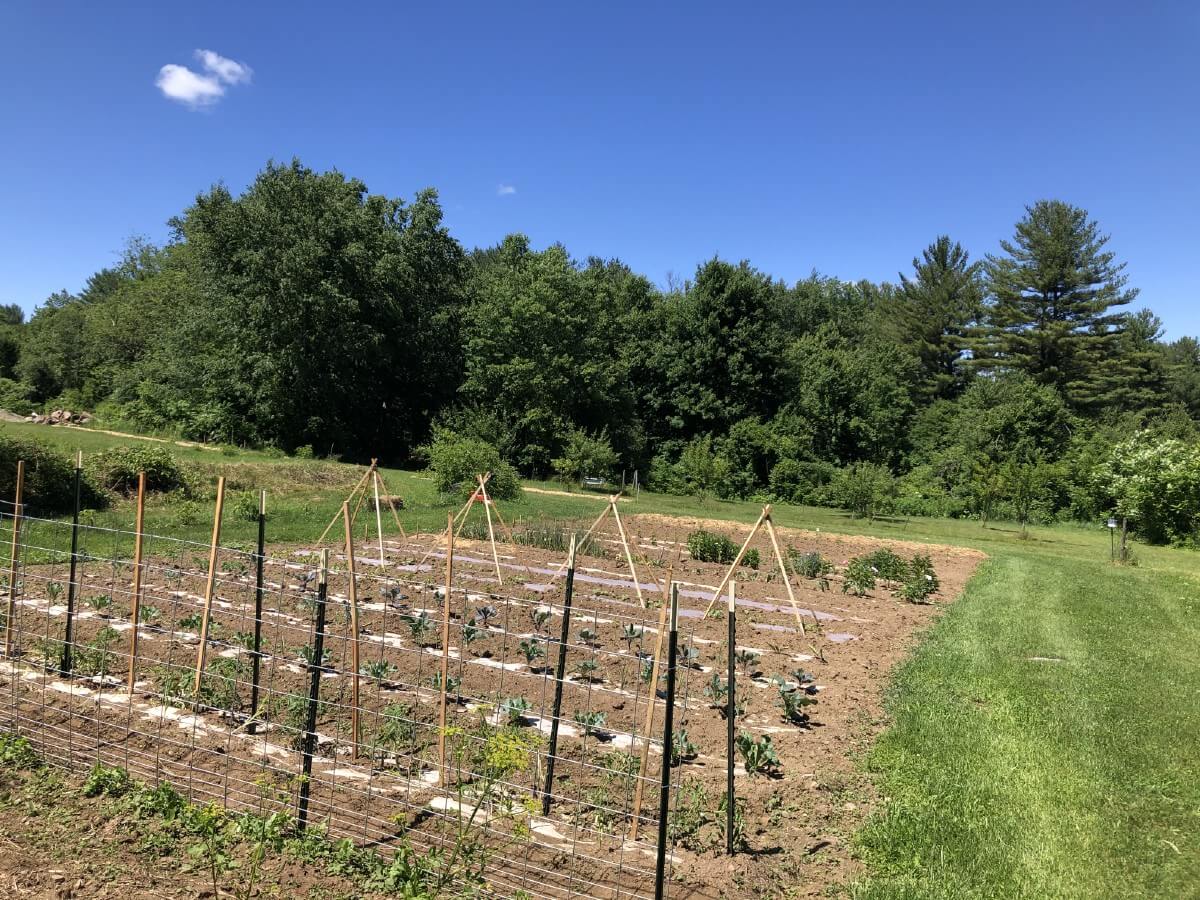
Gardens need trellises and climbing fences. At least, they do if you are growing climbing plants or plants that need support. From vining vegetables and flowers to sprawling produce, there are many places where trellises are necessary—or just helpful—in the garden.
Jump to:
- What Types of Plants Need Support?
- Plants That Really Need Support Systems
- Plants That Can Benefit from Supports
- How to Install Tomato Cages:
- How to Install Cattle Panel Fences:
- Plants to Use Cattle Panel Fencing On:
- How to Install Twine and Step-In Post Fence:
- Plants to Use Twine/Step-In Post Fence With:
- How to Install Teepee-Style Plant Supports:
- Plants to Use Teepee-Style Plant Supports With:
- How to Install Florida Weave or Basket Weave Plant Supports:
- Plants to Use Florida Weave or Basket Weave Plant Supports With:
What Types of Plants Need Support?
There are a number of common garden vegetables that just will not perform well if they do not have a support system or a trellis or fence to climb on; and then, there are a number of plants that can benefit greatly from a trellis system, even if they don’t strictly “need” it.
What’s more, trellising can be a way for you to save space by growing “up”.
Plants That Really Need Support Systems
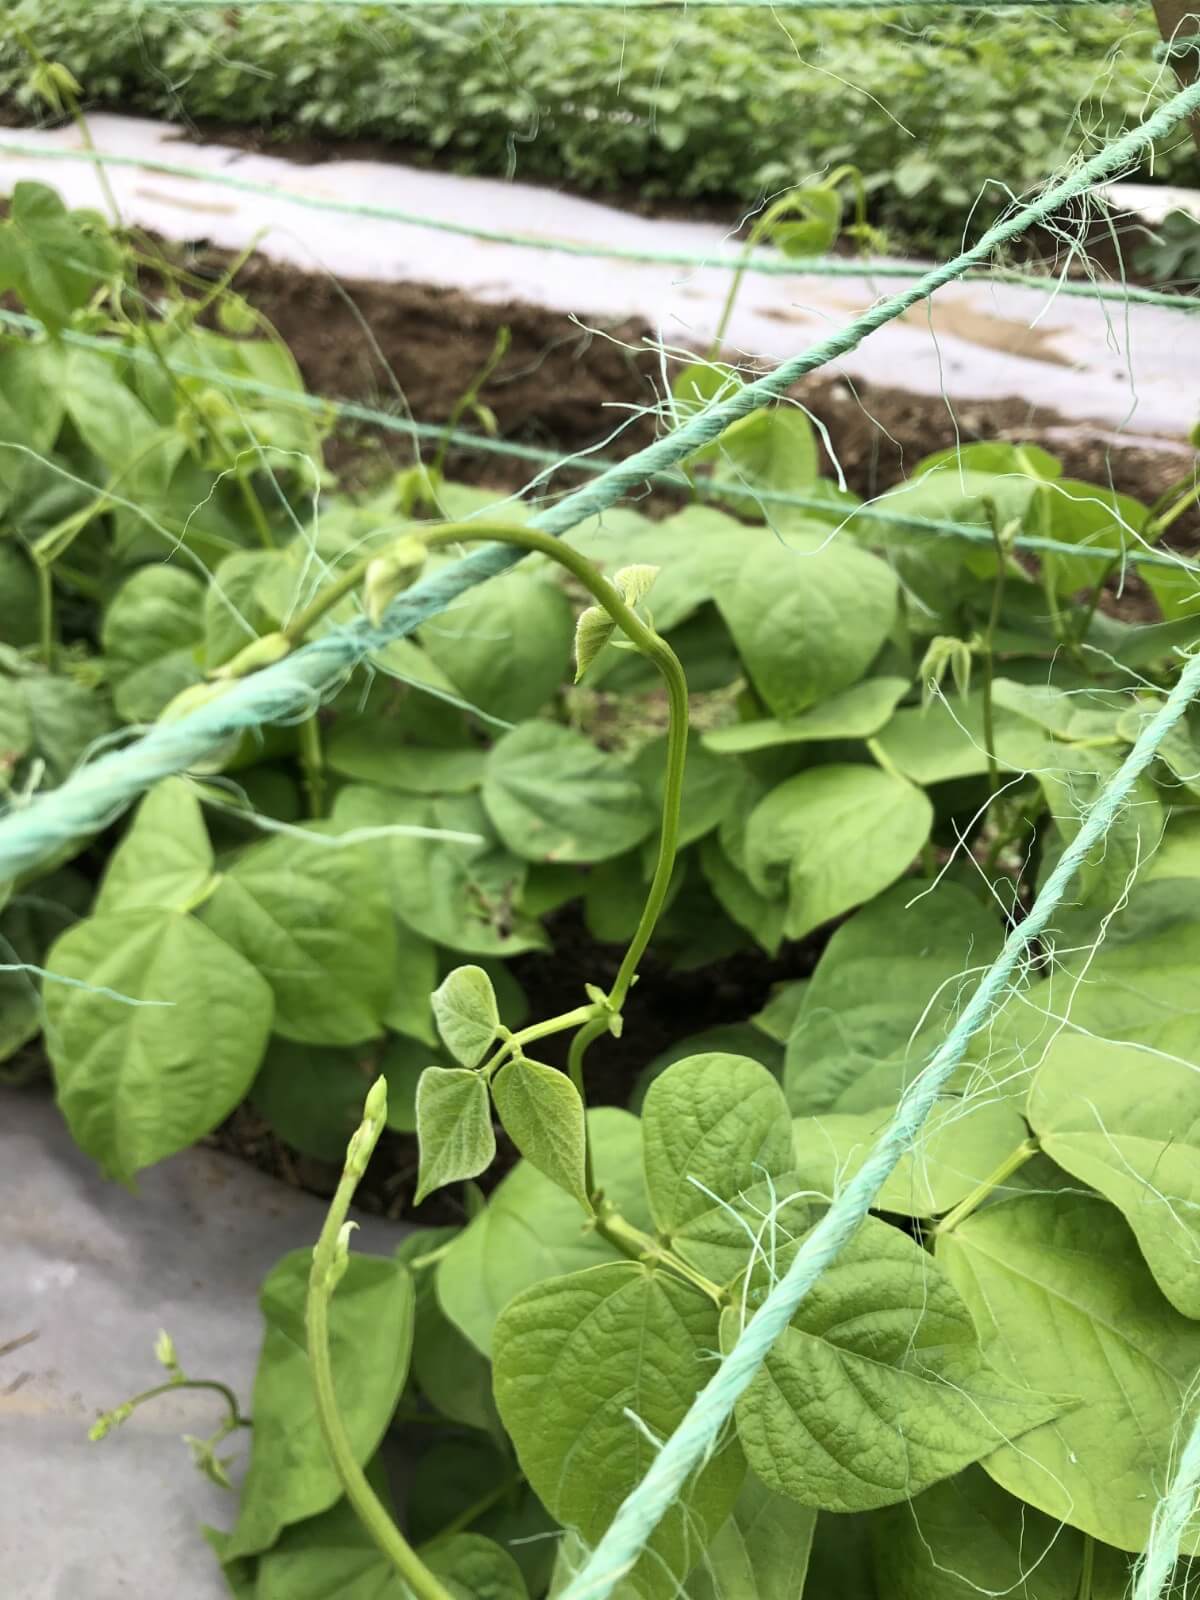
Common vegetables and flowers that really do need to be trellised, fenced, or supported include:
- Peas
- Pole beans
- Tomatoes
- Climbing and vining plants including grapes and morning glories, moonflowers, and sweet peas (flowers)
Plants That Can Benefit from Supports
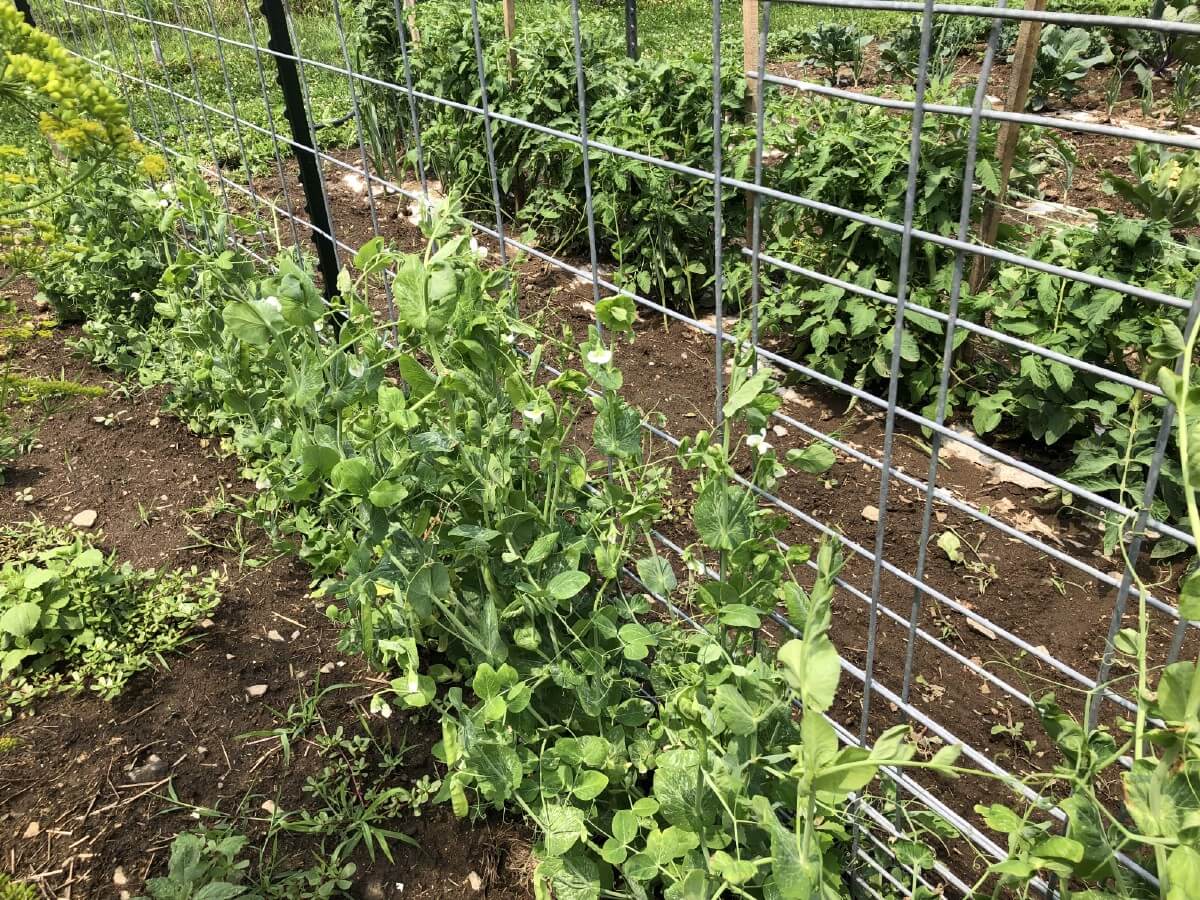
There are other types of plants that can be grown by letting them trail on the ground, but which can also benefit from additional support. These also include the plants that you might choose to grow upwards on a trellising or fencing system of some kid so that you can save space and grow more in the area you have.
In addition to space-saving, many vegetables and berries benefit from additional support because it helps keep the plants—and more importantly, their produce—off the ground. This means cleaner fruit and vegetables that are less likely to rot (especially in a wet year when the ground stays wetter longer), less likely to grow misshapen, and are less likely to succumb to soil-borne or fungal diseases.
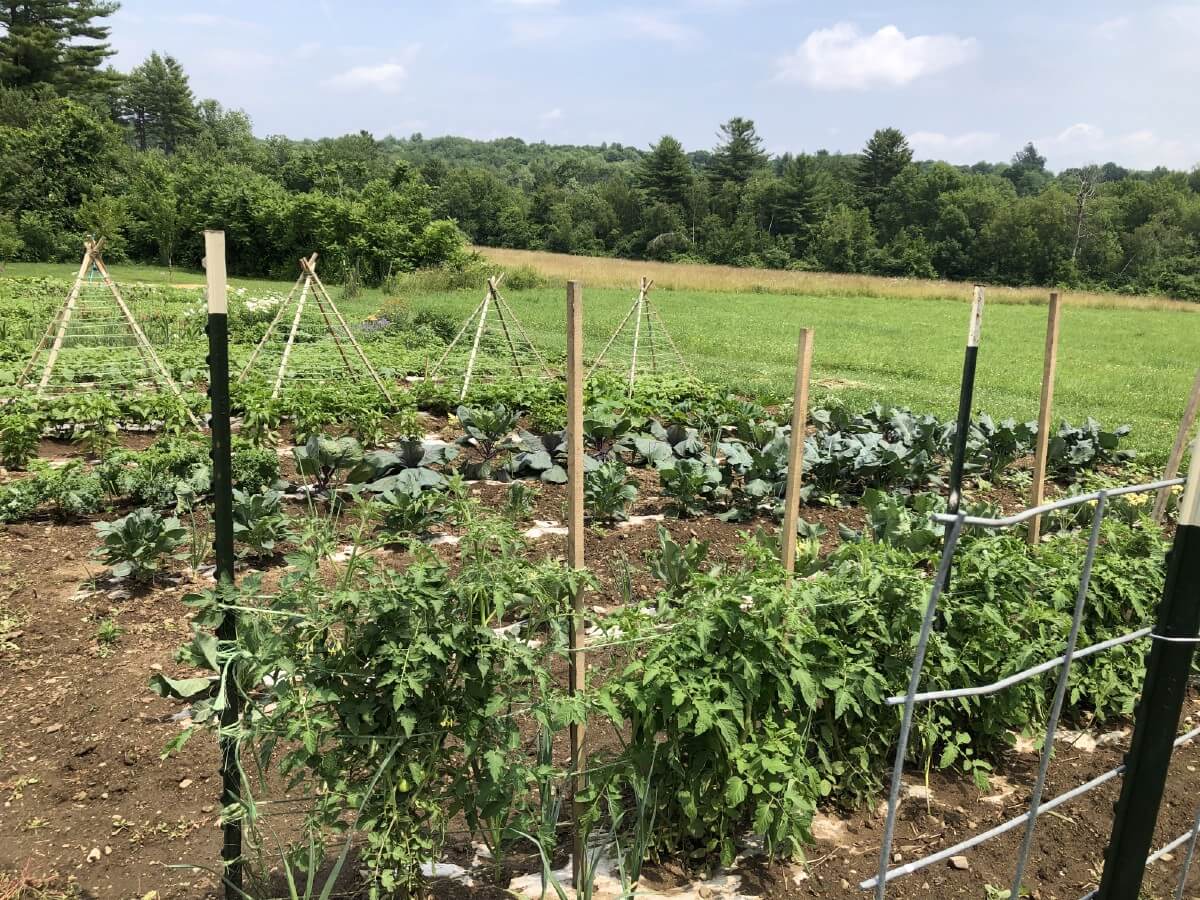
Some plants that you might decide to trellis for reasons such as these include:
- Dwarf and “bush”-type peas
- Cucumbers
- Vining, trailing squashes (such as winter squash, butternut, etc.)
- Pumpkins (better suited to small to medium-sizes)
- Melons
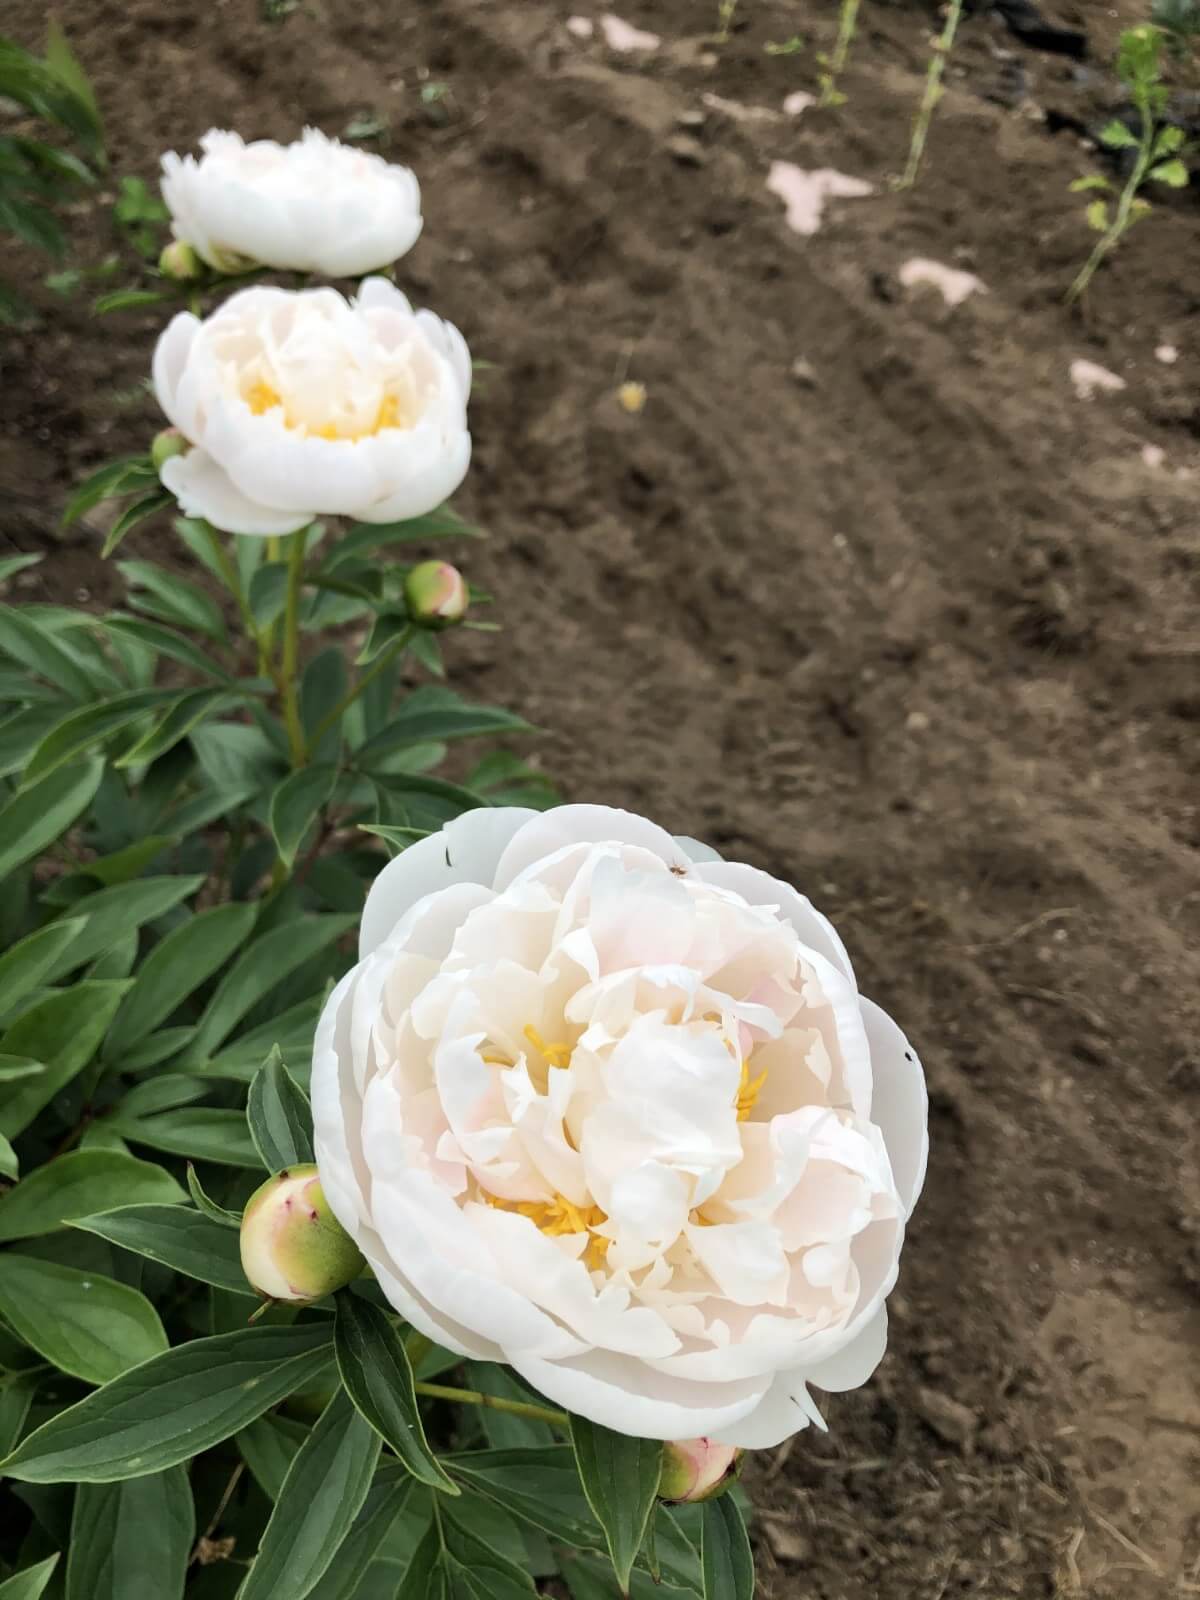
- Tall flowers or flowers with large blooms and thin stems like peonies, some roses, cosmos, gladiolas…any other flowers that tend to be weighted by their blooms and suffer breakage under their own weight.
- Berries such as raspberries or blackberries
There are several options for supporting and trellising garden vegetables, berries, and flowers. Each have their own benefits. Some offer lower support, but are cheaper and easier to construct. Others may cost a bit more initially, but the materials are stronger and can last for years to come.
Ultimately, the garden fencing or support system that’s right for you will depend on what varieties you are growing, how much and how strong a support they need, and what materials are affordable and accessible to you. Here are five fairly economical and easy-to-install options.
Many can be installed by just a single person, but none of these really require more than two people for construction purposes.
Pre-Fab Tomato Cages (Not Just for Tomatoes)
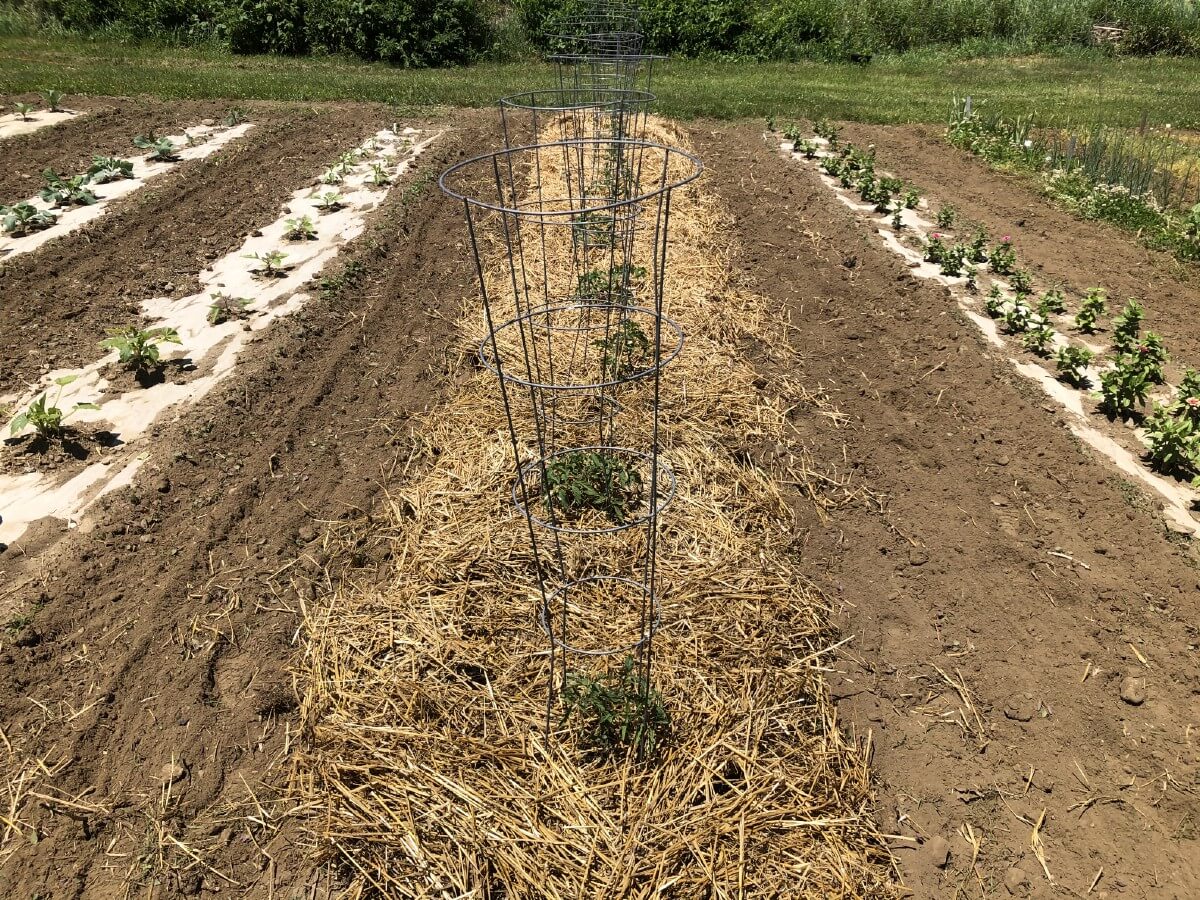
Many of us are familiar with prefabricated tomato cages. These usually have three or four “legs” and a series of graduated rings. The idea with these cages is to apply them early on in the growing process so that the plant can grow up through it, or climb and vine in our around it.
The downside to tomato cages is that they often are not big enough and tomato plants can outgrow them. Another disadvantage is that they are famous for falling over when plants get tall and when the ground is moist. For shorter-growing tomatoes, though, they are simple to install and lightweight.
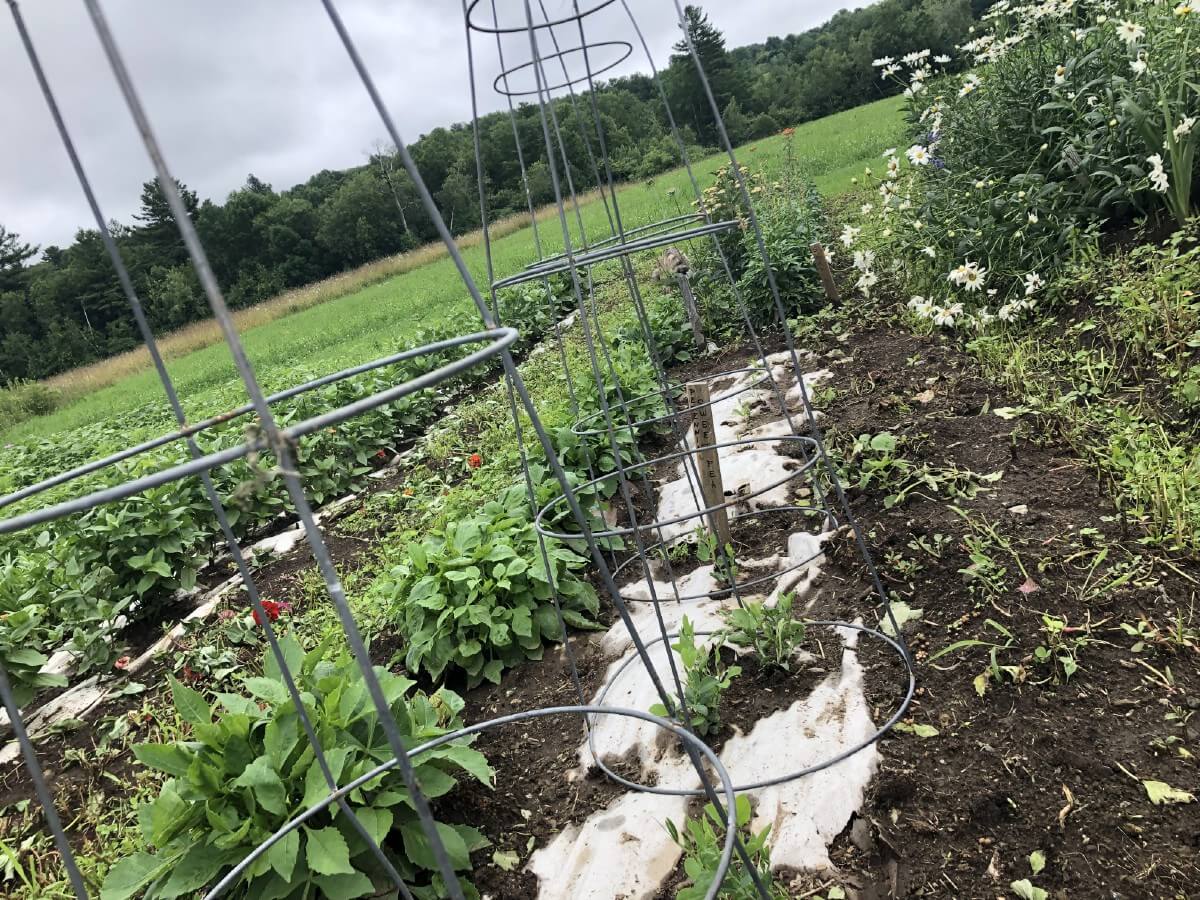
What many people do not think about is that tomato cages do not have to be used only for tomatoes. They can be used for a number of lighter, smaller plants and flowers.
Though the cages can be pricy (especially if you need a lot of them), they will, with good care and storage, last several seasons.
How to Install Tomato Cages:
Tomato cages are probably the easiest of all the options to install. After you plant your plants, center the cage over the plant, then firmly stick the legs into the ground. Try to get the legs at least 6 inches into the soil.
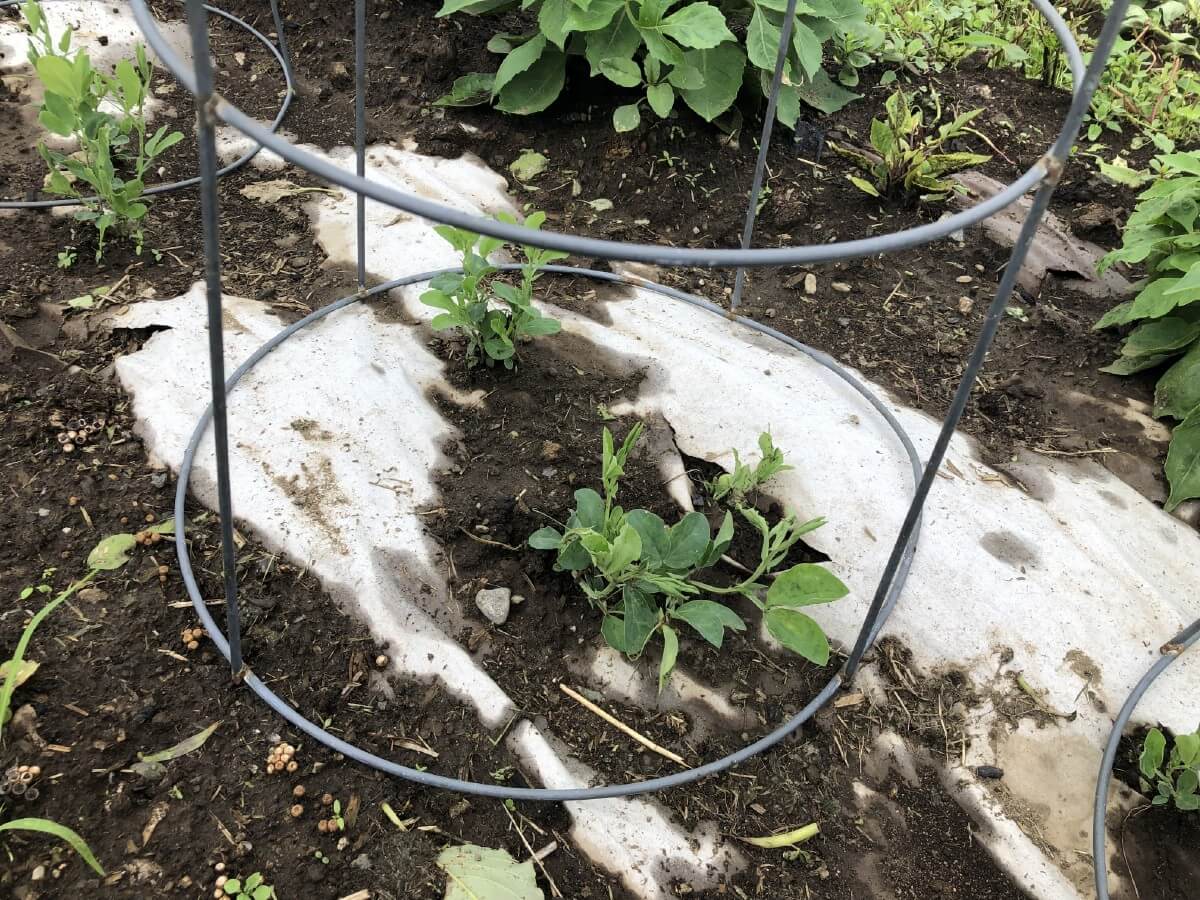
An alternative, depending on your use, is to use the tomato cage upside-down. In this case, simply center the cage over the plant and place the top ring on the ground. This is a good way to provide a fast and easy climbing surface for vining plants like sweet peas and other flowers.
Plants to Use Tomato Cages On:
- Tomatoes
- Peppers
- Cucumbers
- Sweet peas (a handy upside-down surface for these climbers!)
- Morning glories (though varieties may grow quite tall)
- Cardinal climbers
- Black eyed Susan vine
- Dwarf varieties of edible peas
Cattle Panel Climbing Fence
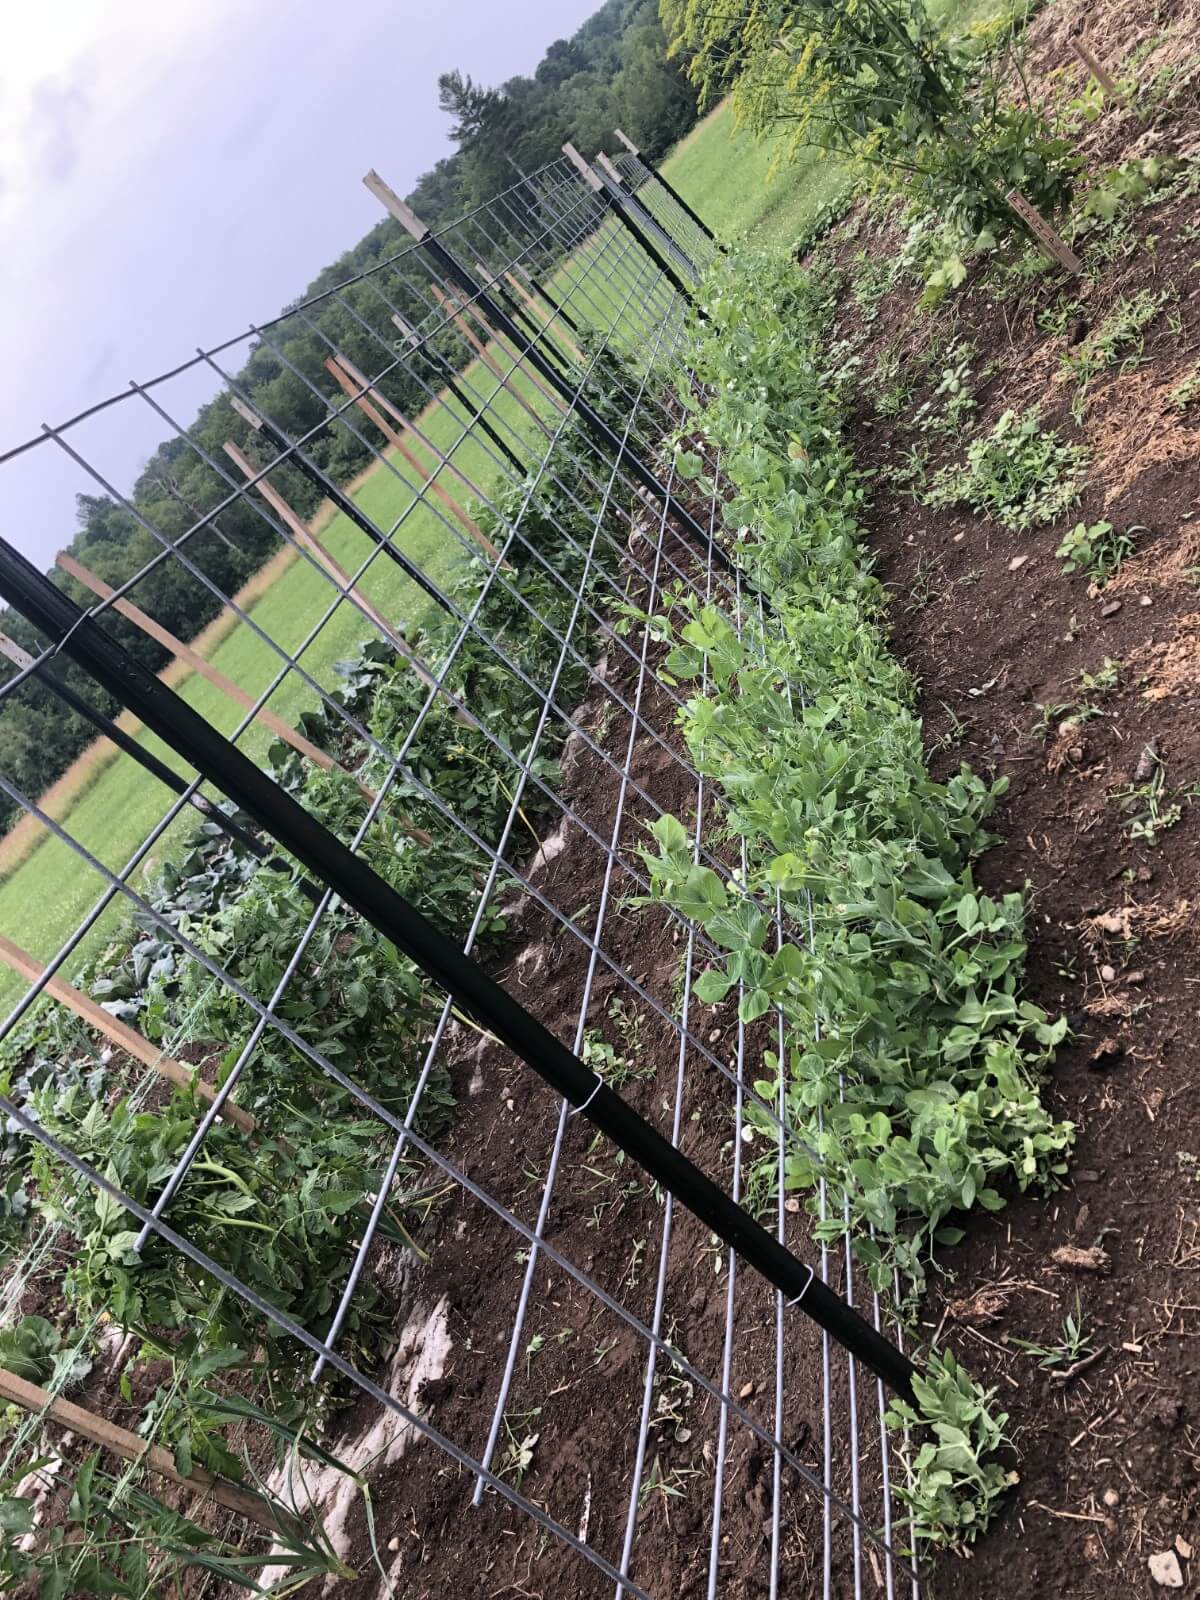
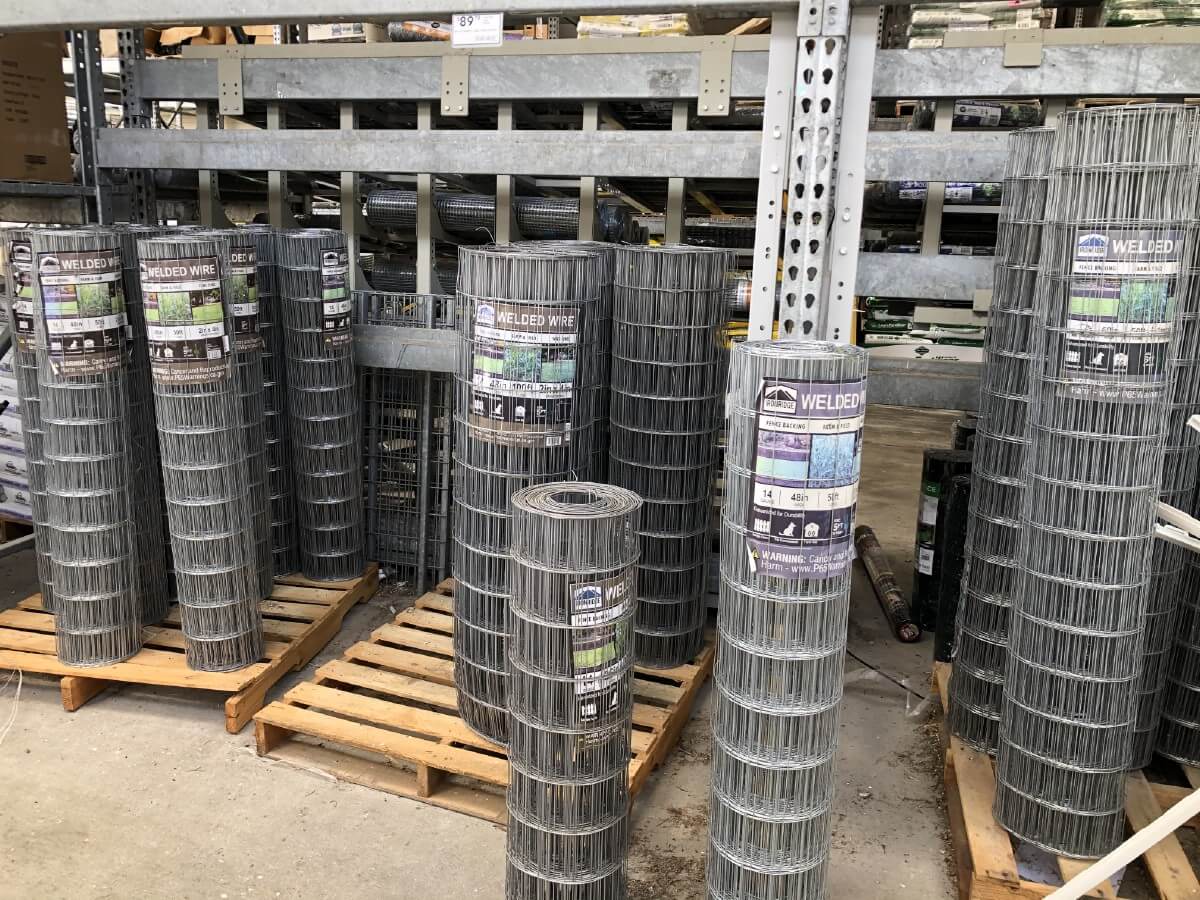
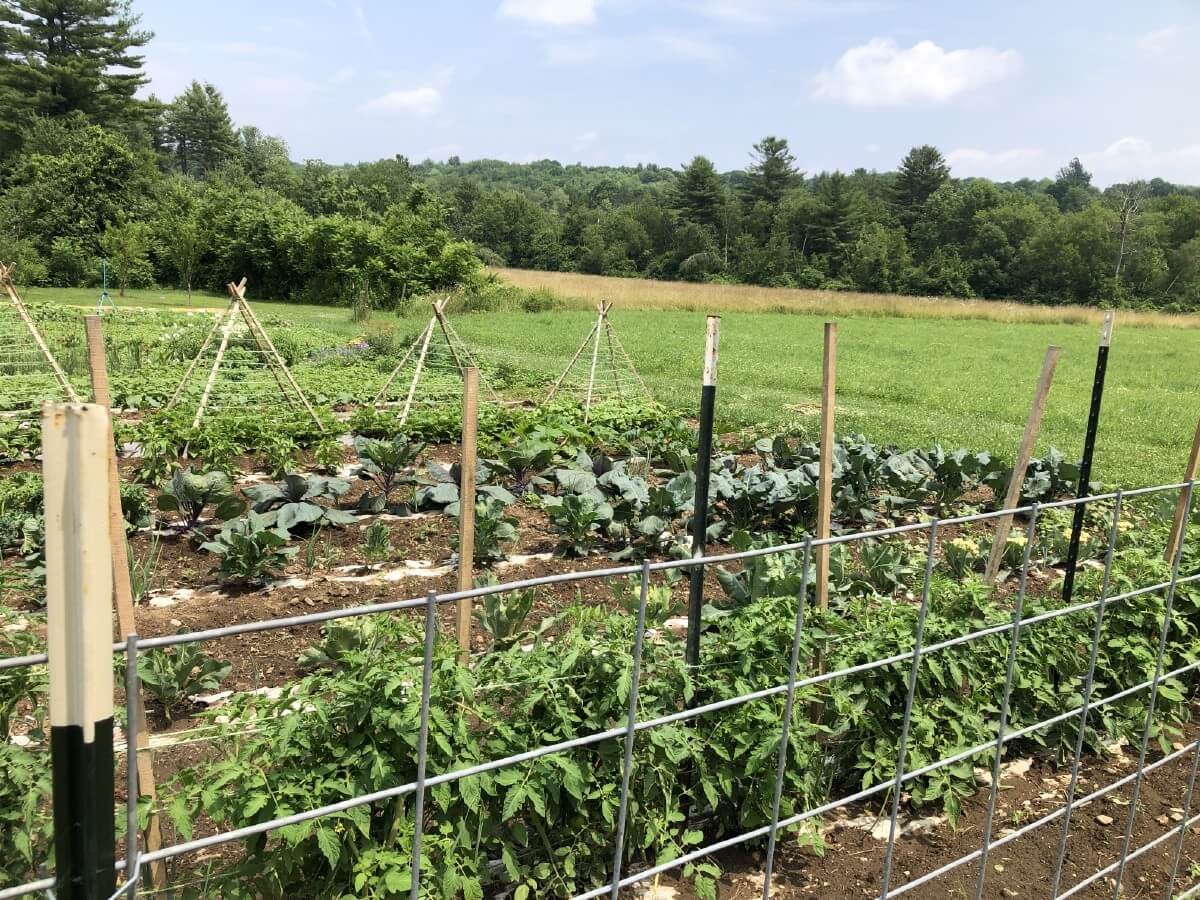
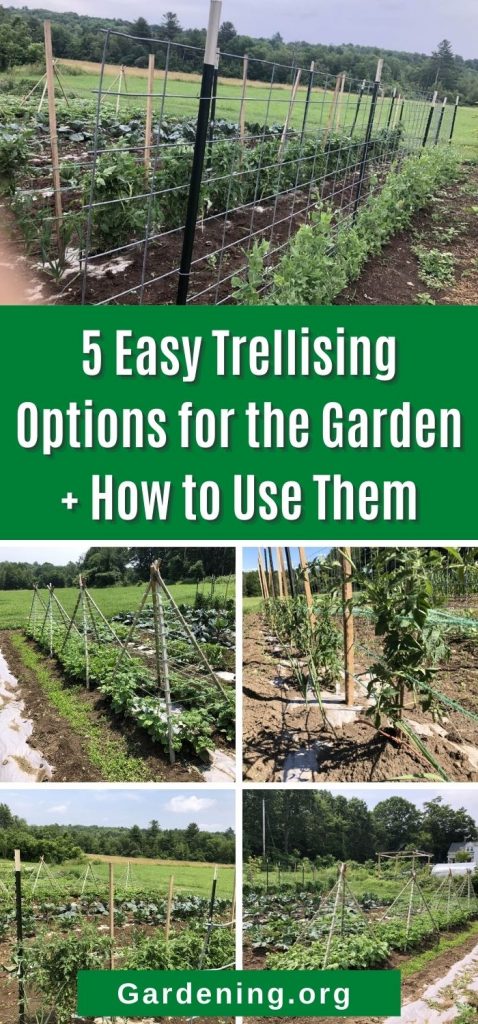
Cattle or livestock panels are becoming increasingly popular for use in the garden. The reason is that they are strong, moderately-priced but very long-lasting (so your investment will last for years, spreading costs and making them more affordable over time). They are firm enough to stand with reasonable supports (posts), but also have some flexibility—many people use these to make arches and arching trellises.
With livestock panels, you don’t need to worry about being able to stretch and pull the wire tightly enough to keep it standing upright because of the rigidity of the panels. They can withstand more weight from heavy vegetables and withstand wind and weather better, so are less likely to bend, fold, and fall over in high winds and rough weather (a problem often associated with lighter-weight chicken wire).
How to Install Cattle Panel Fences:
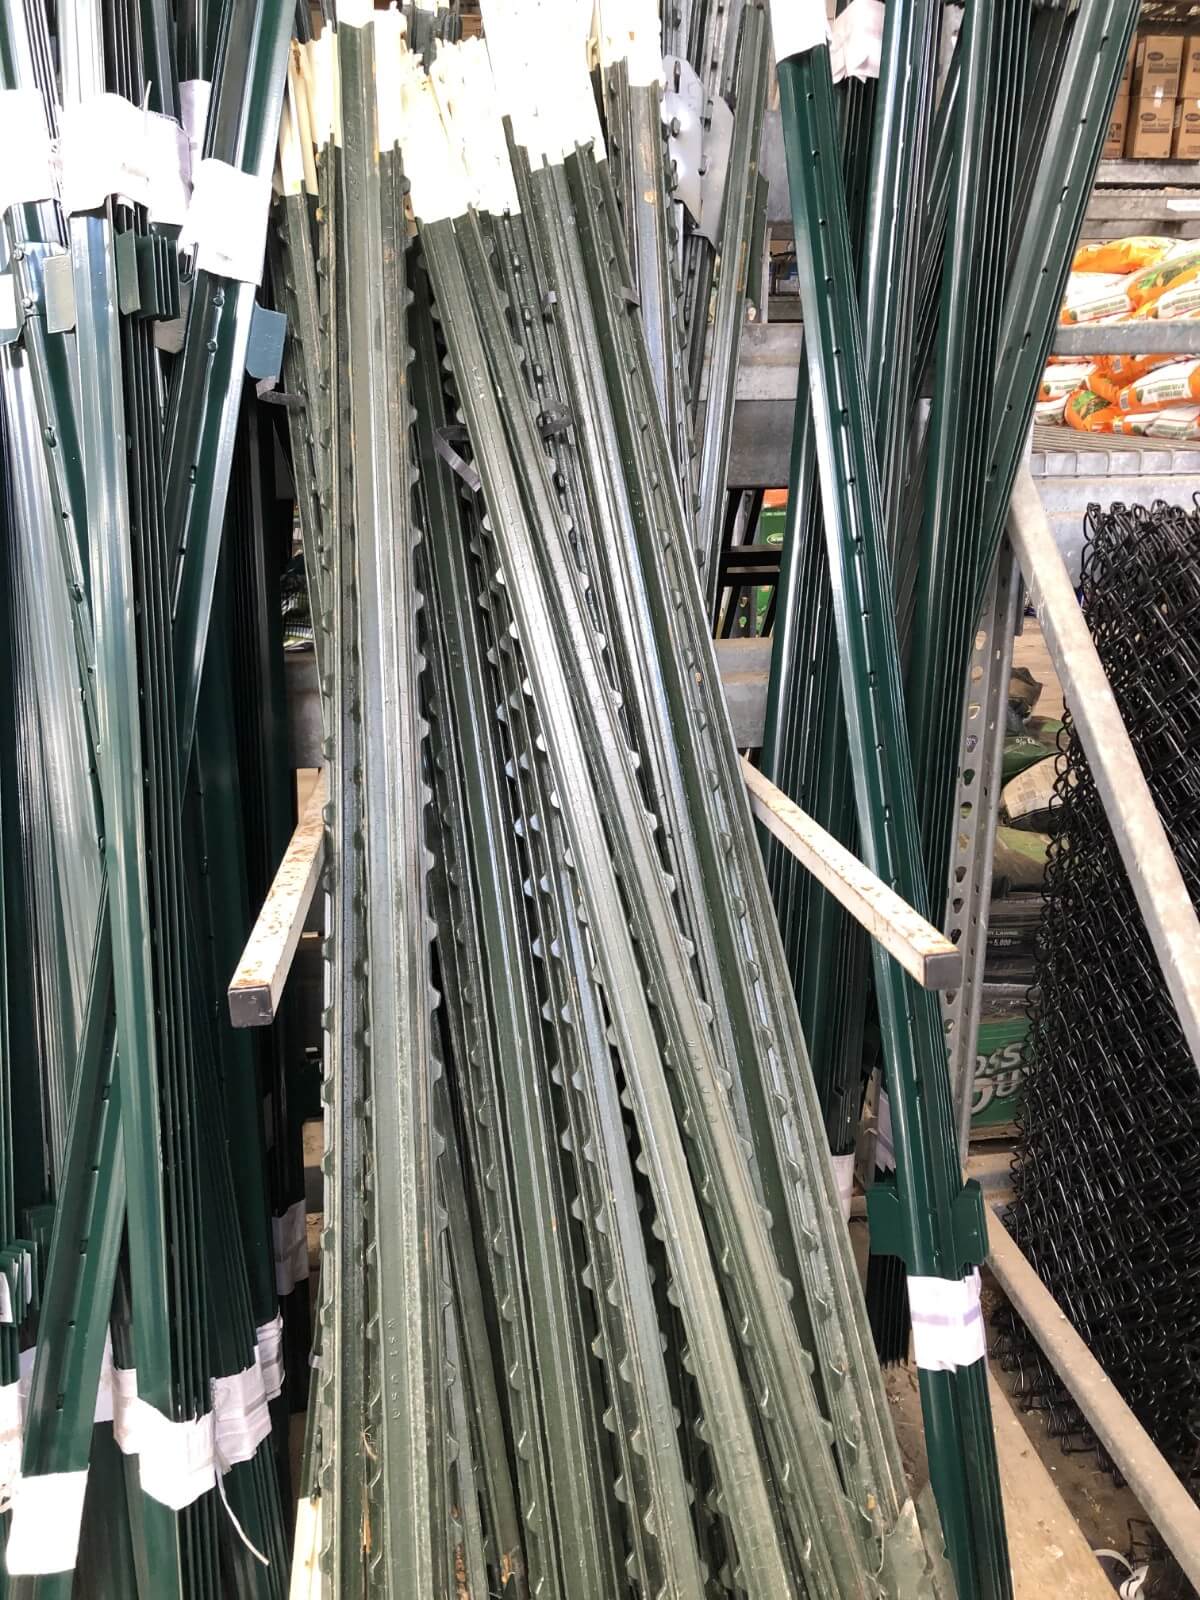
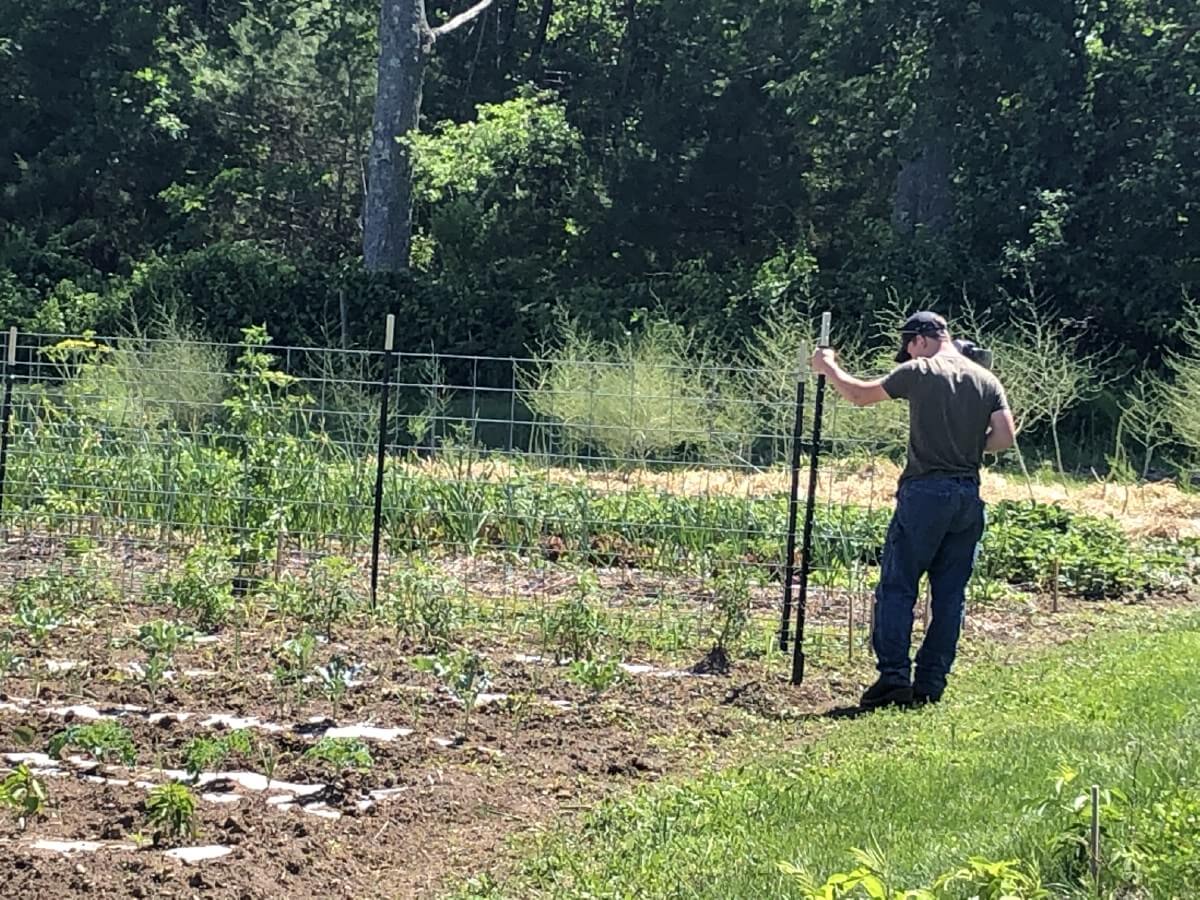
You will need some posts to hold and anchor your cattle panels, but as the panels themselves are quite strong and rigid, and are therefore partially self-supporting, you will not need as many posts as you would with more bendable wire like chicken wire. Do note that a similar-style fence can be build with rolled chicken or woven wire, but you will need to at least double the posts (and you might find that storing re-rolled wire makes it more difficult for extracting and reusing in future seasons).
You will need one post for each end of your panel and one post in the middle of the fence panel. Sixteen feet long is a common length for cattle and livestock panels. Drive one strong metal “T” post in at foot one, foot 8, and foot 16. Then line the panel up next to the posts and attach the panel firmly to the posts in at least two places. Three or four points of attachment will ensure a firmer fit.
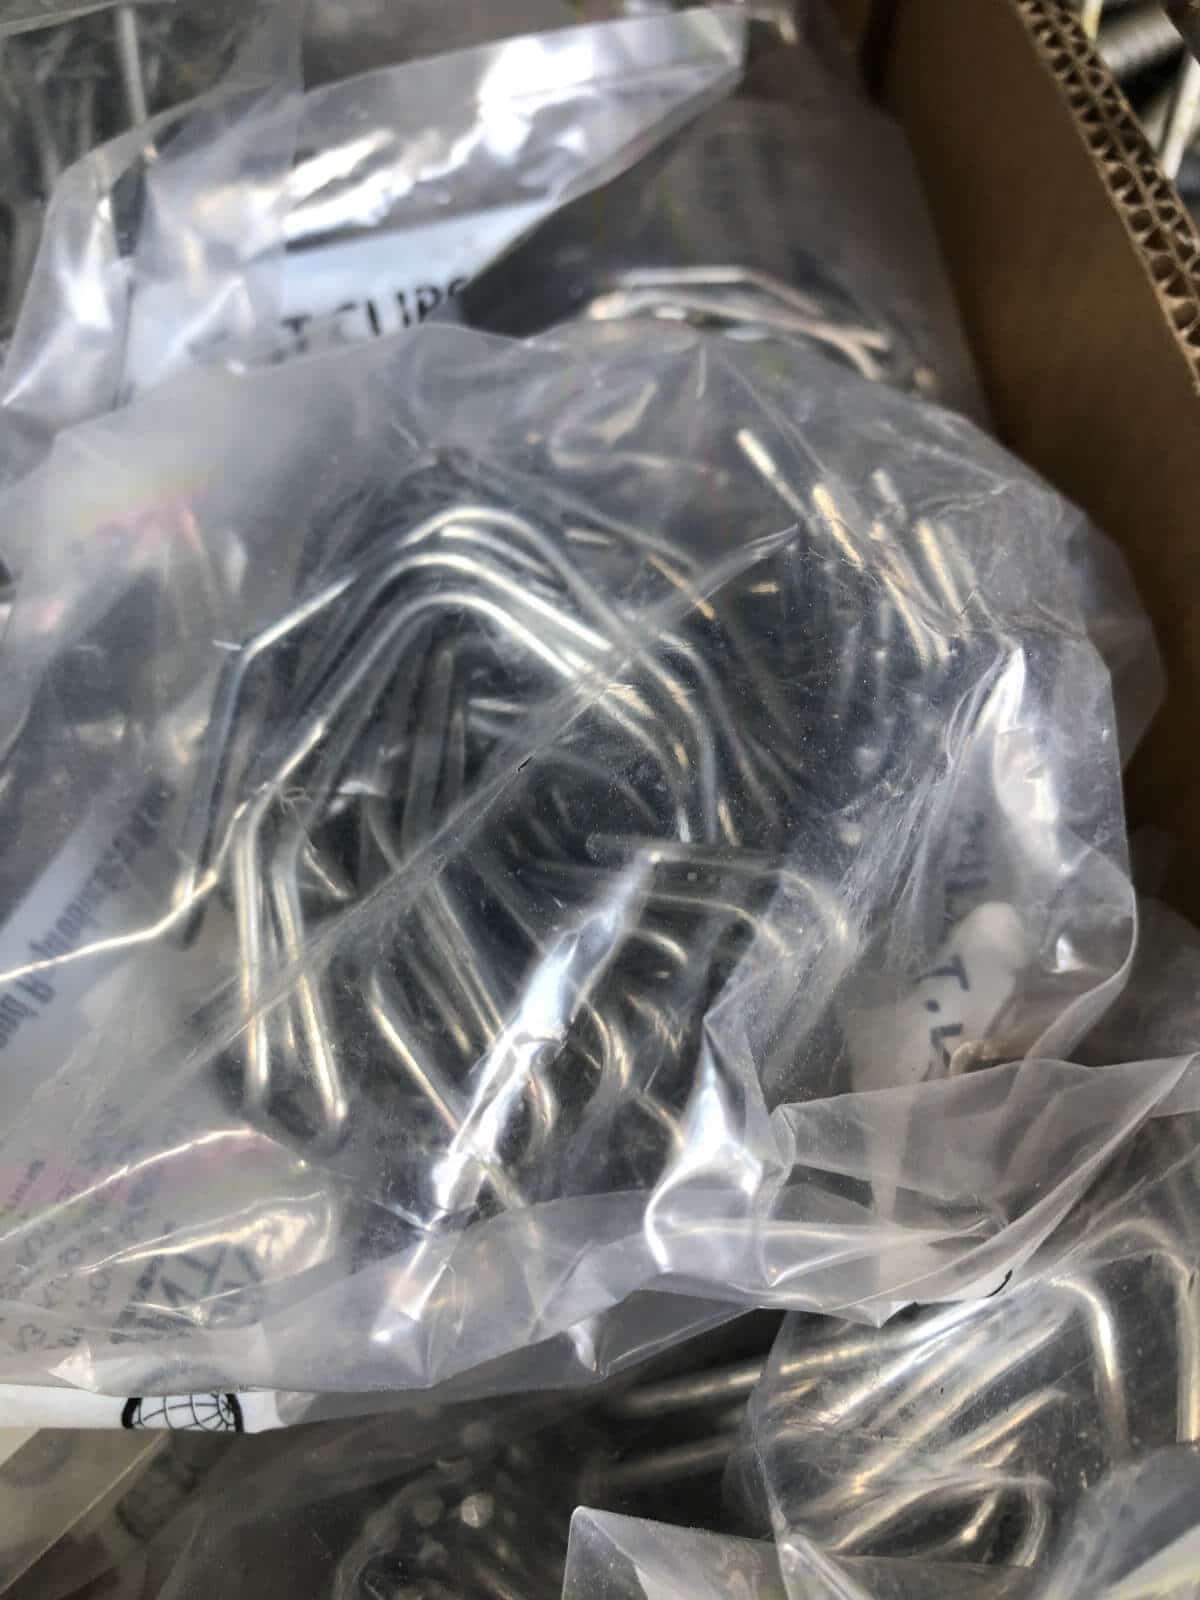
To attach the livestock panel to the post, you can use a short piece of wire, heavy-duty cable ties, or pre-fab clips designed for use with T-posts (these are cheap and easy to use, so for the money, are a very good choice).
If your rows are longer than 16 feet, use two or more panels. You can overlap the panels to achieve the right length. Wire or tie the panels together where the end overlaps and also at each fence post. Be sure that each length of panel has a post in the middle for strongest support.
Plants to Use Cattle Panel Fencing On:
- All types of peas
- Climbing or pole beans
- Cucumbers
- Small-to medium Melons
- Small to medium pumpkins
- Grapes
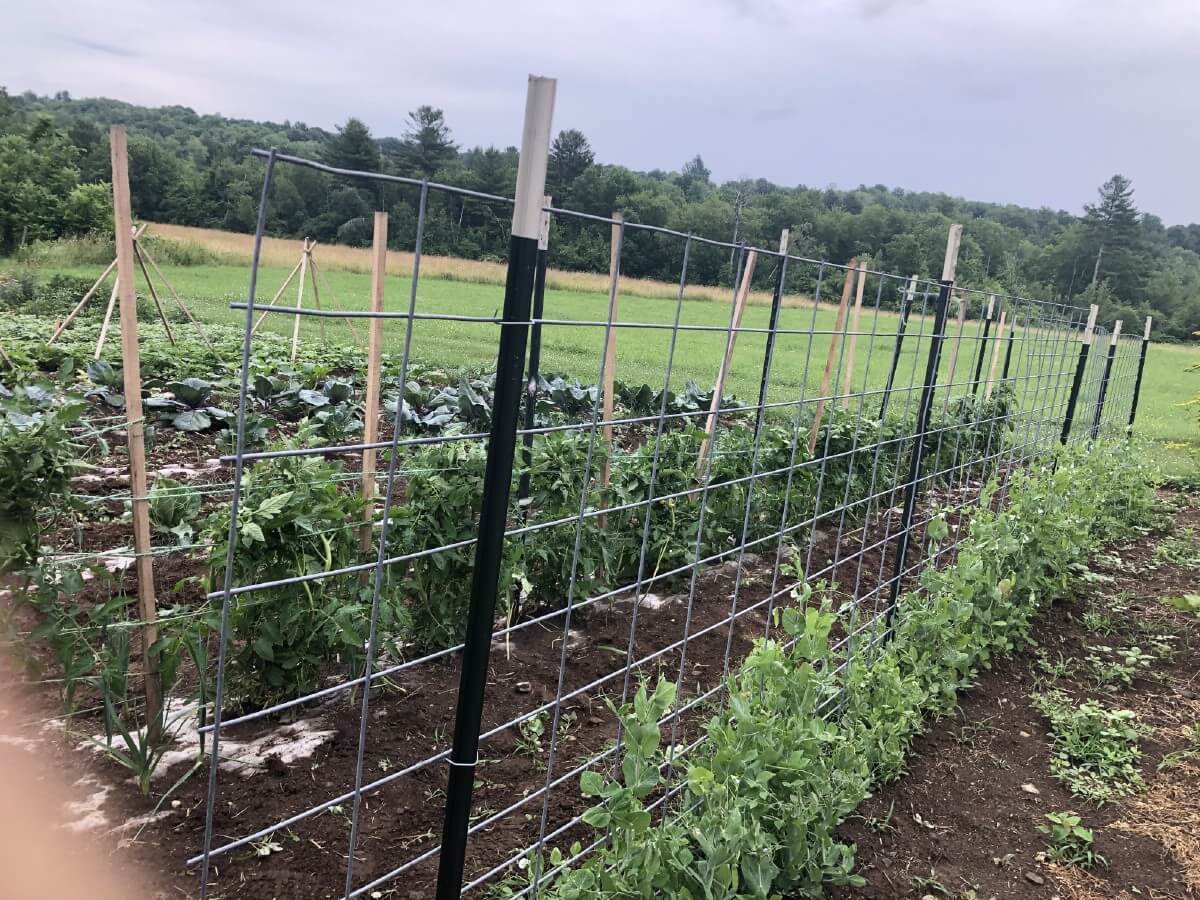
This is the strongest of the garden trellis/fencing options. Larger fruits and vegetables may require additional support such as a netted hammock or nylon sling (place under the produce and tie to the fence at growing height). This will help keep the produce from breaking off their stems as the large fruits and vegetables get heavier.
Twine and Step-In Post Climbing Fence
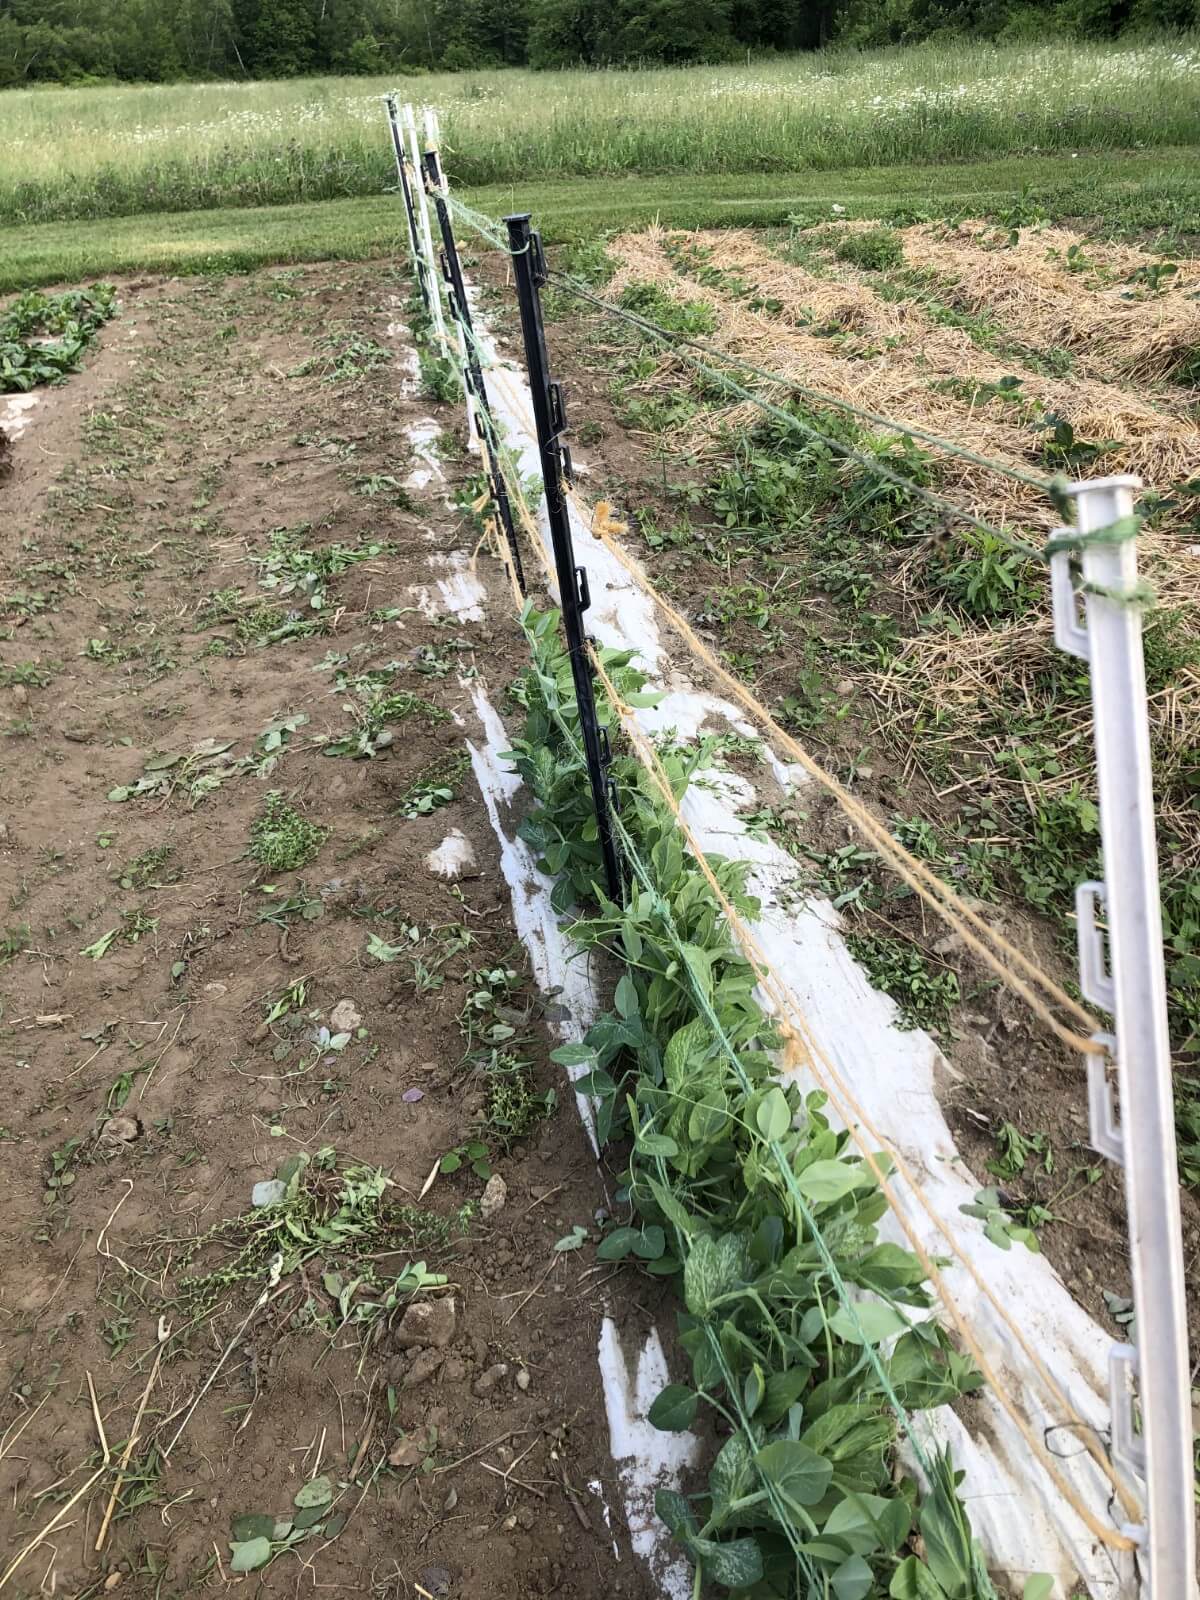
This is probably the easiest fence to install if you are on your own. Everything is extremely lightweight and can easily be managed alone. The posts are reusable and will last many years, and the price is on the low/moderate side (generally $3 to $5 per post—how many you need depends on your row length). Step-in posts have guides molded into them at regular intervals which makes stringing the twine easy. They also have foot steps that makes easy work of driving the posts into the ground, with no pounding, hammers, or muscle required.
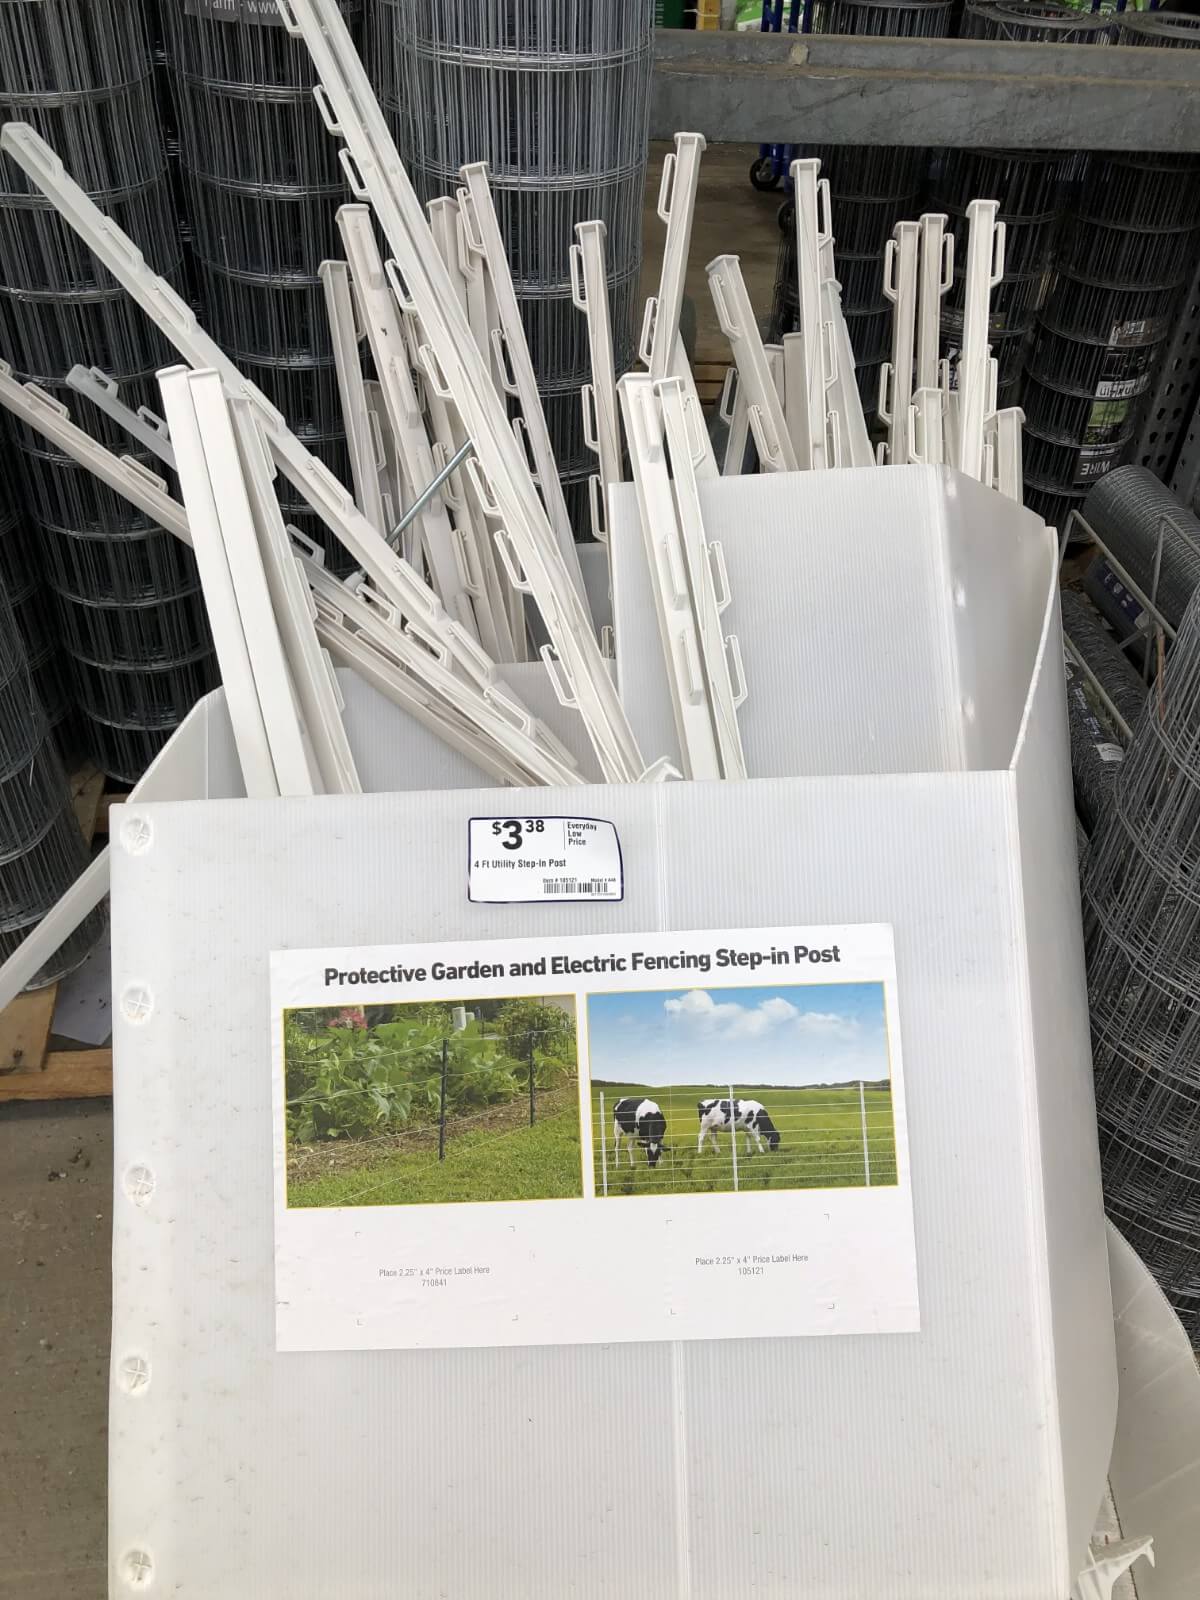
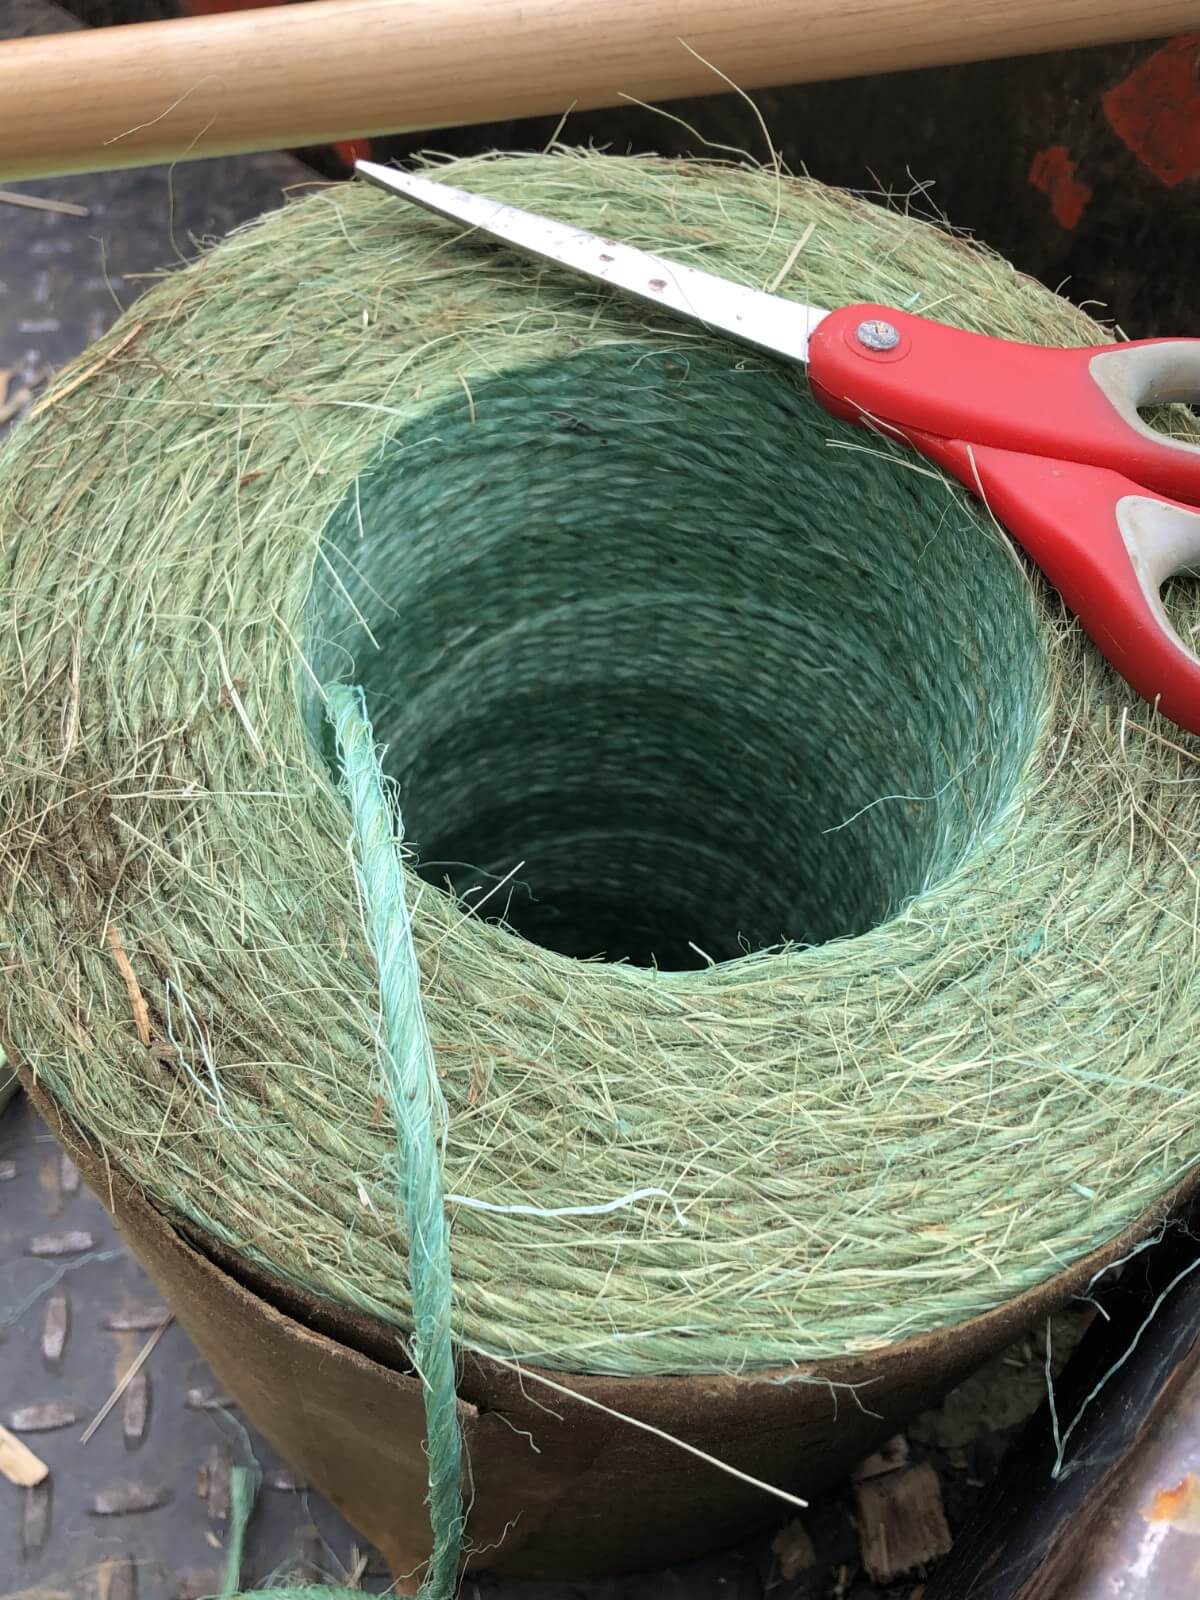
You will want a heavier, thicker twine to build this fence. Something like baler twine (used in making hay bales and available at farm supply stores) or clothes line will work well. Clothes line sometimes stretches (ideally you want a twine that does not stretch), but baling twine will not.
This is not a heavy fence, but is cheap and easy to construct, manageable for people with little help and/or strength or health issues. It will support light and lower-growing climbing plants but is not adequate for very tall (over three or four feet) or heavy/heavy-fruiting plants.
How to Install Twine and Step-In Post Fence:
Install one post every three to four feet.
Place the metal point of the post into the ground and step on the foot step to drive it into the ground. Sink the post into the ground to the top of the metal point (usually about 6 inches long). The plastic or fiberglass bottom of the post should just meet the soil.
Now string the twine. String twine post-to-post using the pre-molded guides. Tie off securely at the end of each string. String at every guide level to give climbing plants close enough supports to grab and gain purchase as they climb.
Plants to Use Twine/Step-In Post Fence With:
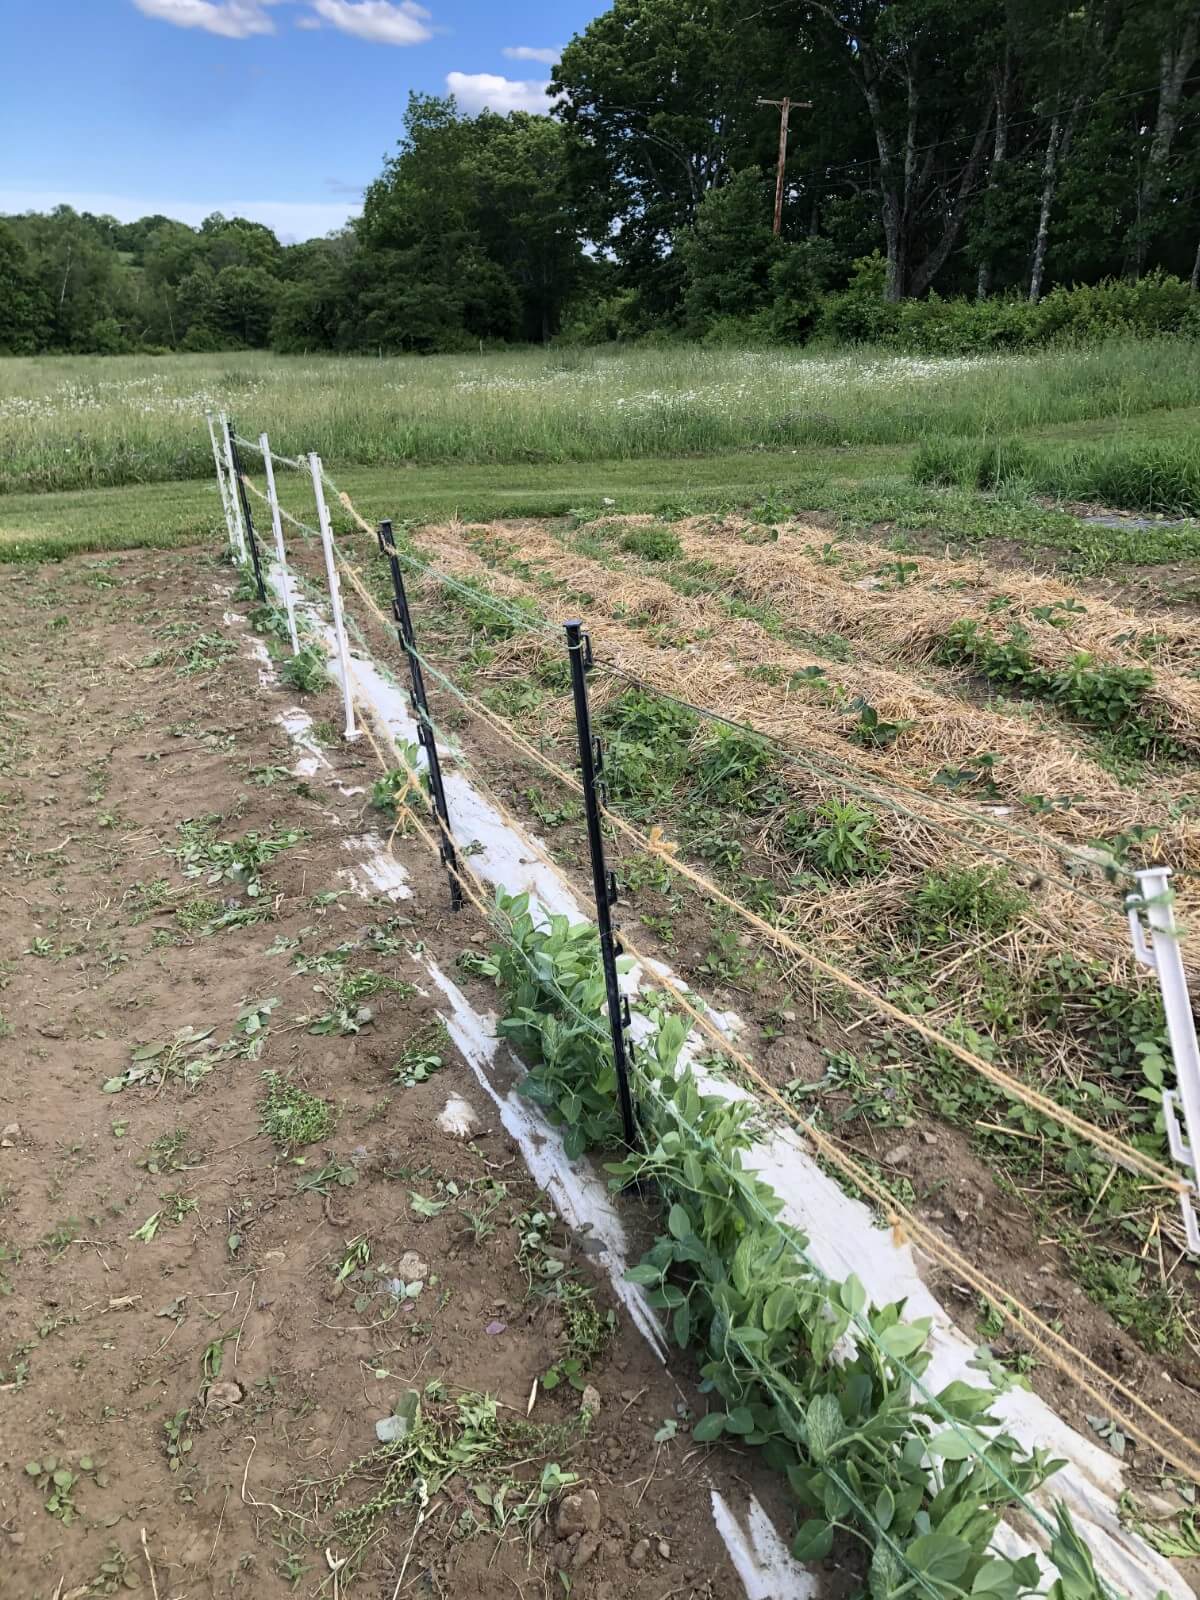
- Dwarf peas or pea varieties that grow lower than four feet tall (three feet or under is more suited to this type of fence)
- Low-growing plants that you feel may need some extra support.
- Ornamental Flowering peas (like sweet peas)
- Tall flowers in need of light support (peonies, cosmos, gladiolas, some dwarf-type sunflowers)
Teepee-Style Plant Support
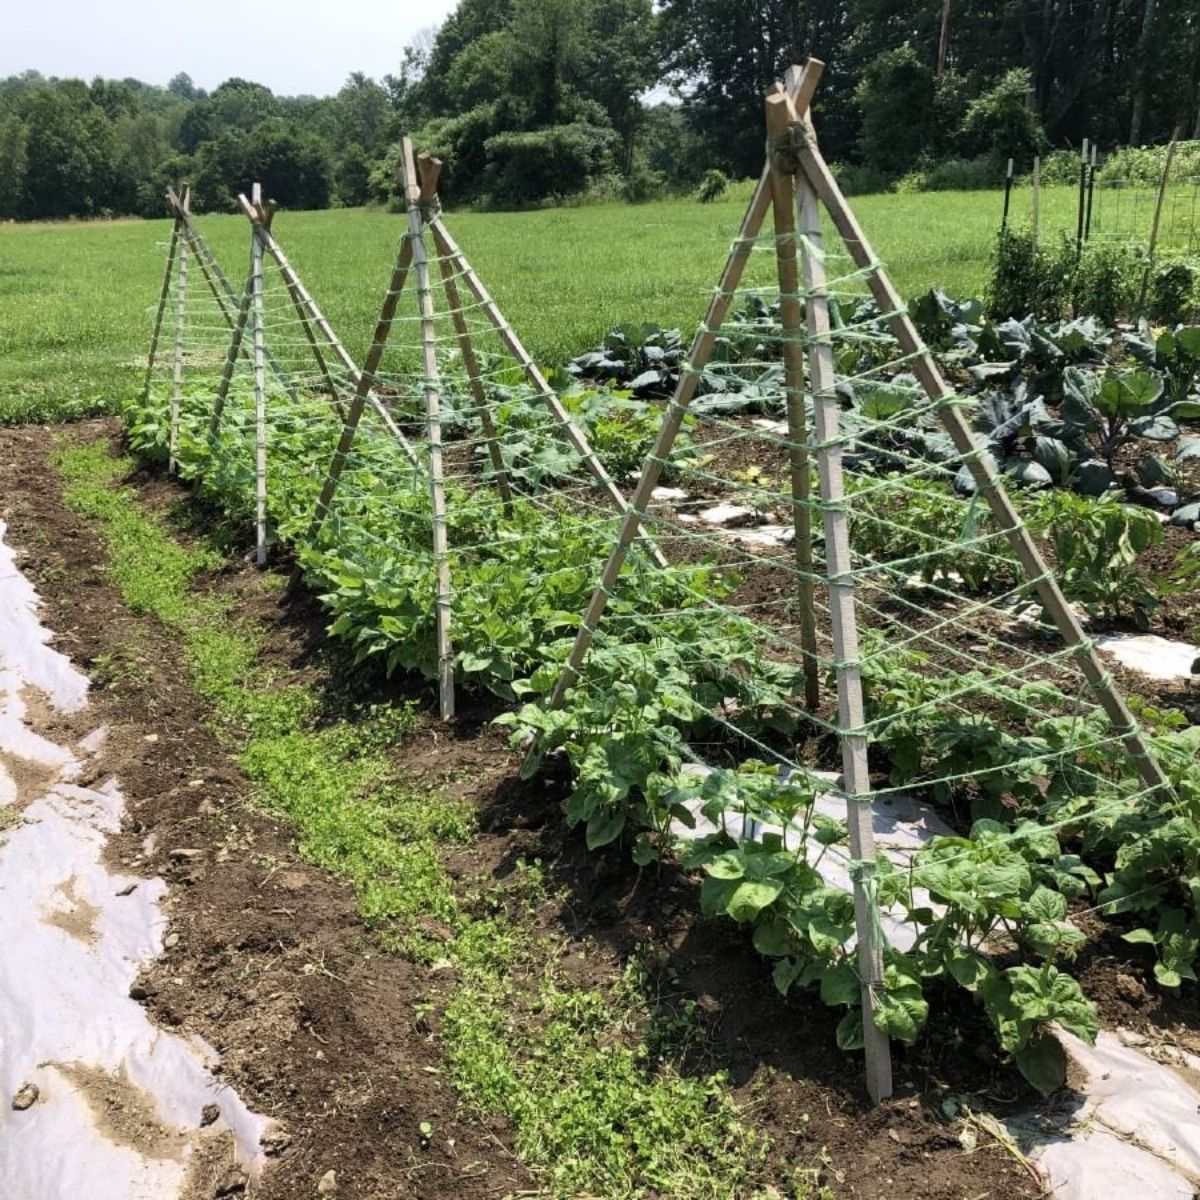
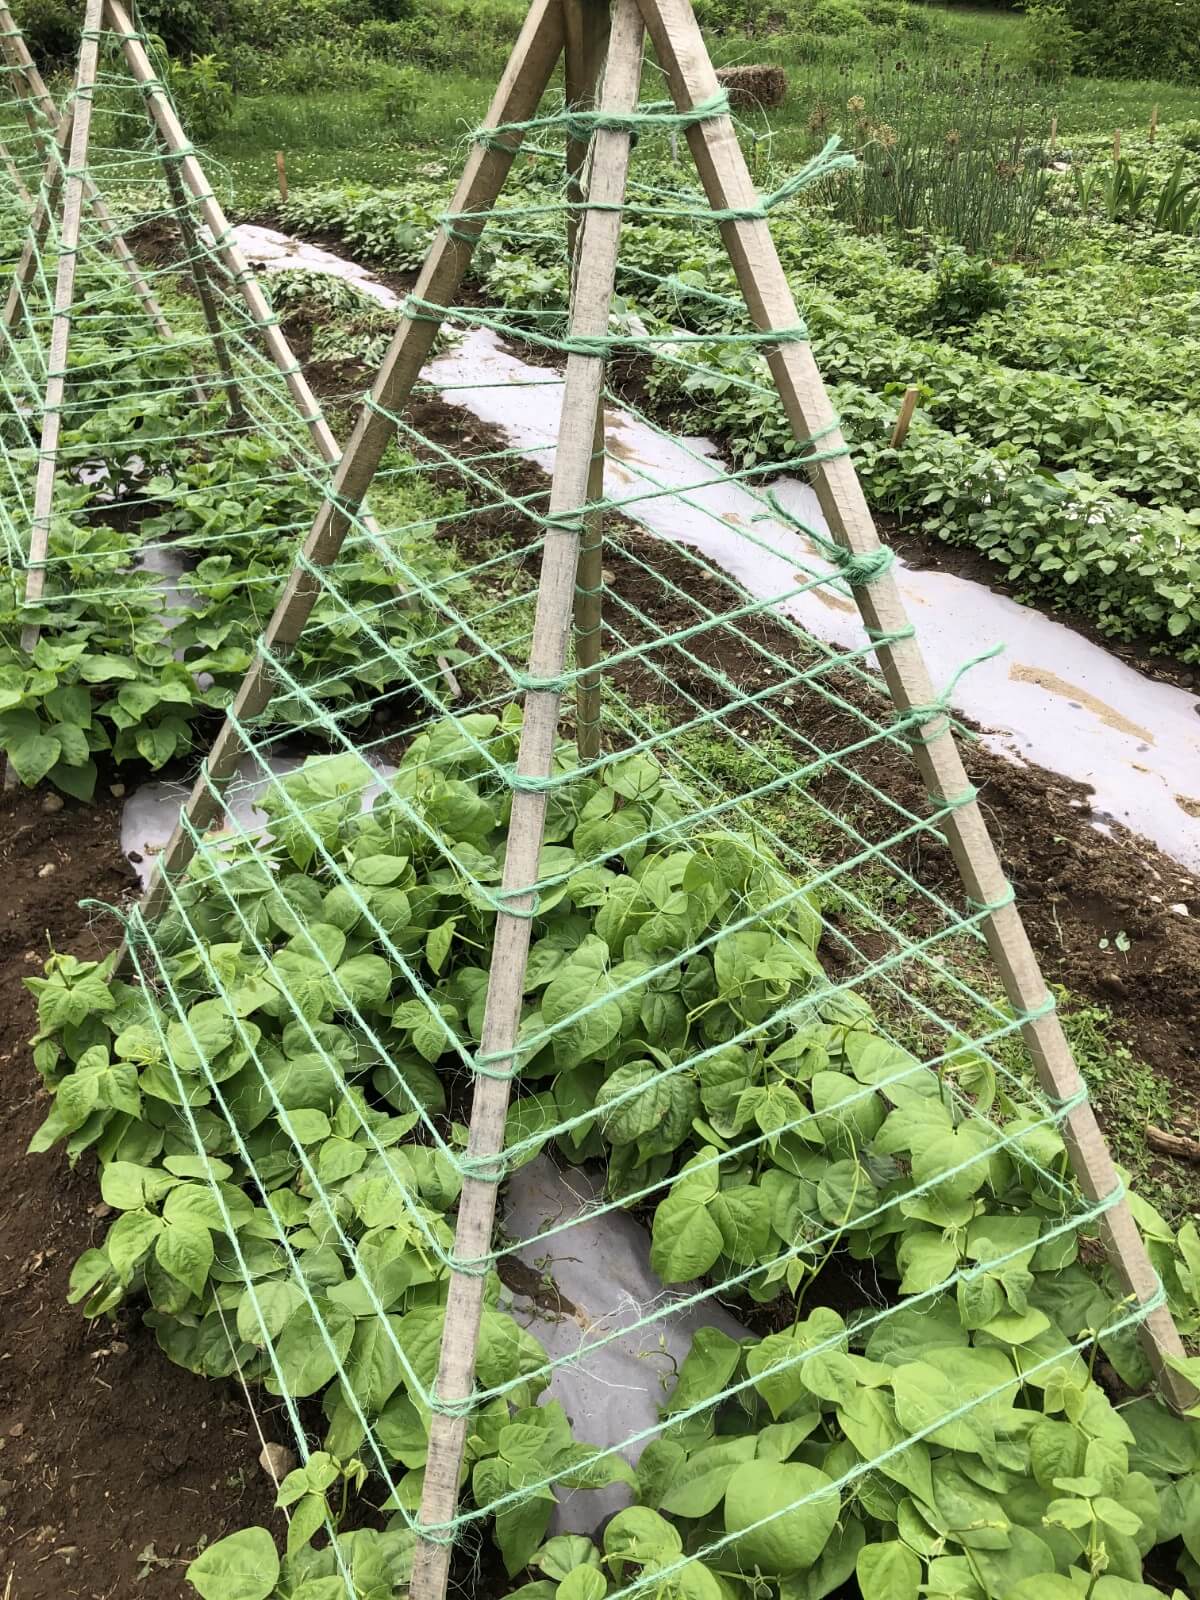
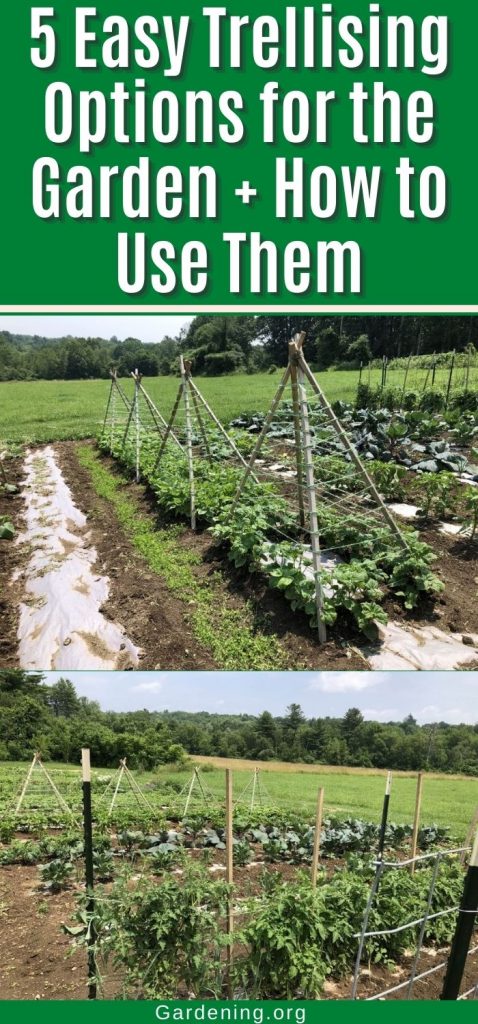
Teepee-style plant supports are great space-savers that allow you to grow more varieties in less row space. They are most well-known as supports for pole beans but work well for many types of tendril-producing climbing and vining plants. They also look great and easily add style
and interest to a vegetable garden or edible landscape.
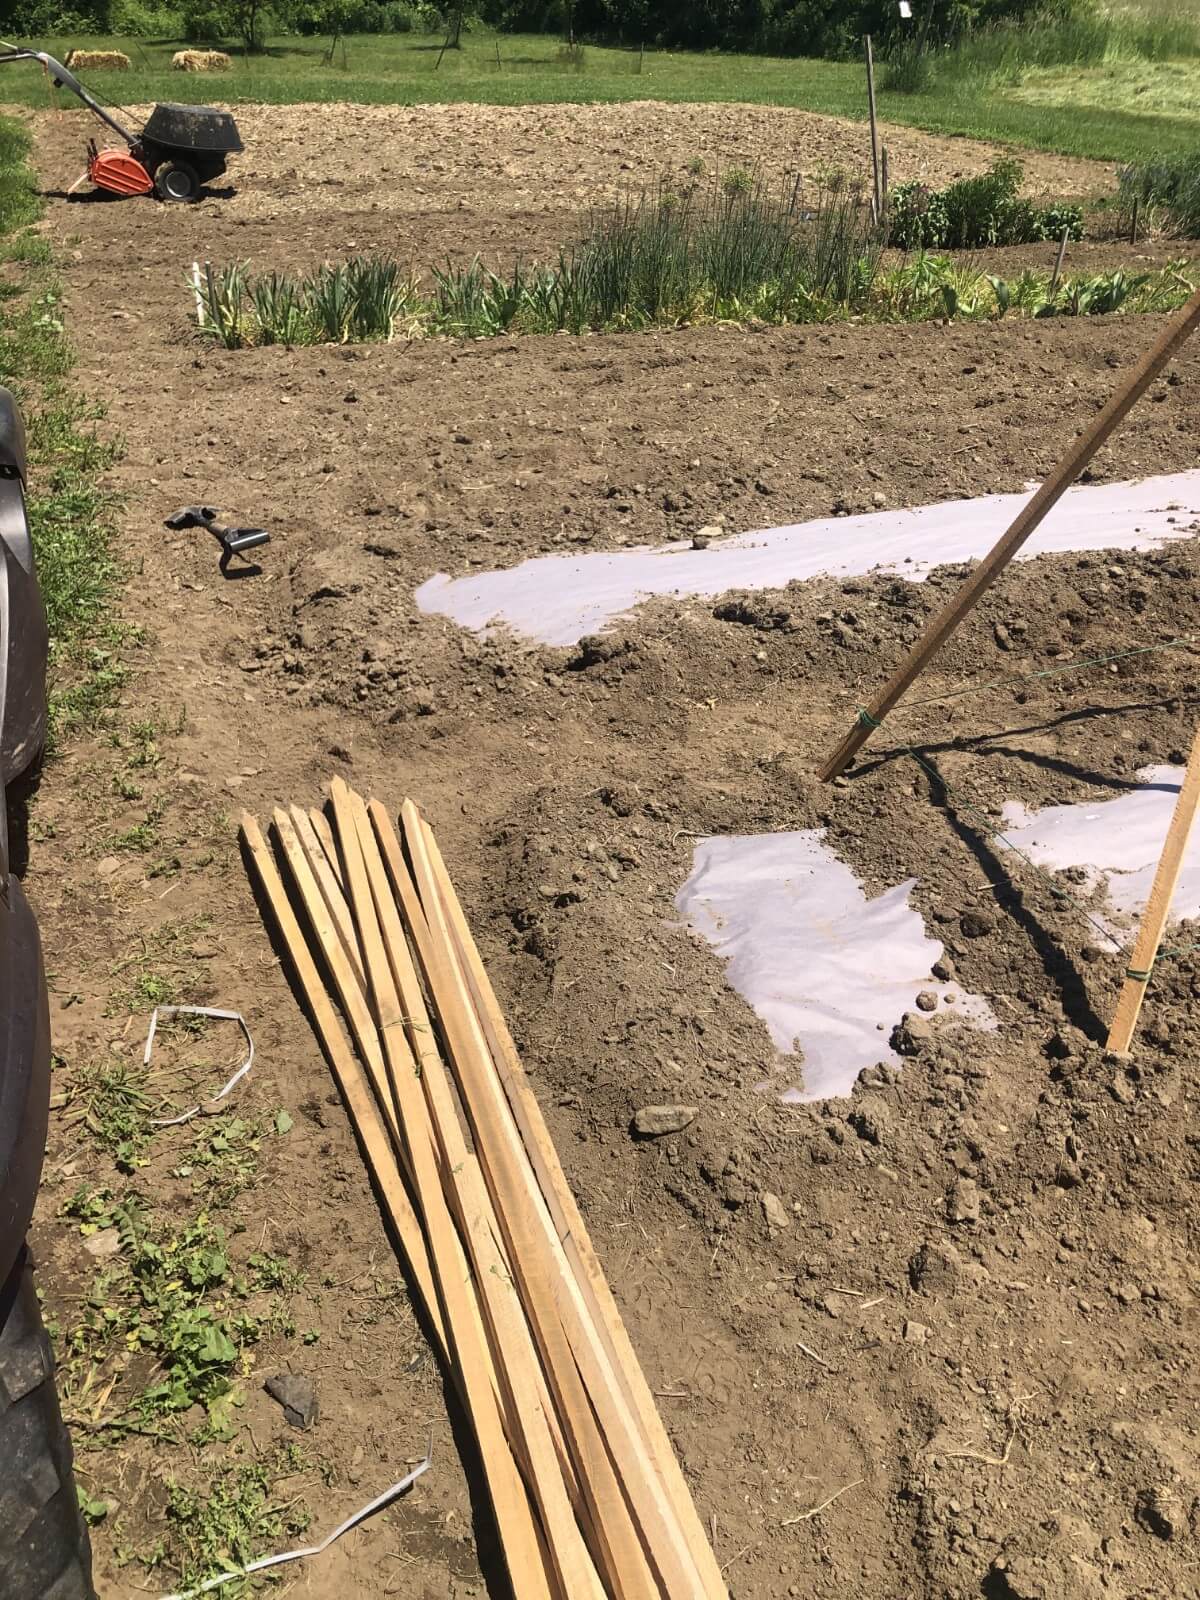
Teepee-style garden supports can be made from very cheap materials—even foraged and scrounged materials, depending on what’s available to you. Our example uses six-foot, one-inch tomato stakes, but the same design can be used for larger or smaller teepees. Poles made from saplings (one or more inches in diameter) also work very well for this design, making it perhaps the cheapest garden trellis you can build.
The right twine to use will depend on what you are planning to support with the trellis and how much weight and support it needs. A heavy, good-quality garden twine is adequate for most things and will hold the traditional pole beans. Baler twine is another good choice. It is a little heavier and does not stretch. Clothesline is another good option.
How to Install Teepee-Style Plant Supports:
Gather your poles. Use at least three or four poles per structure.
If you have an extra pair of hands available, you can wrap all the poles at once. If you are working alone, wrap the first two poles and then add the third (and fourth if using). Add any other poles after the base of three or four poles is secured.
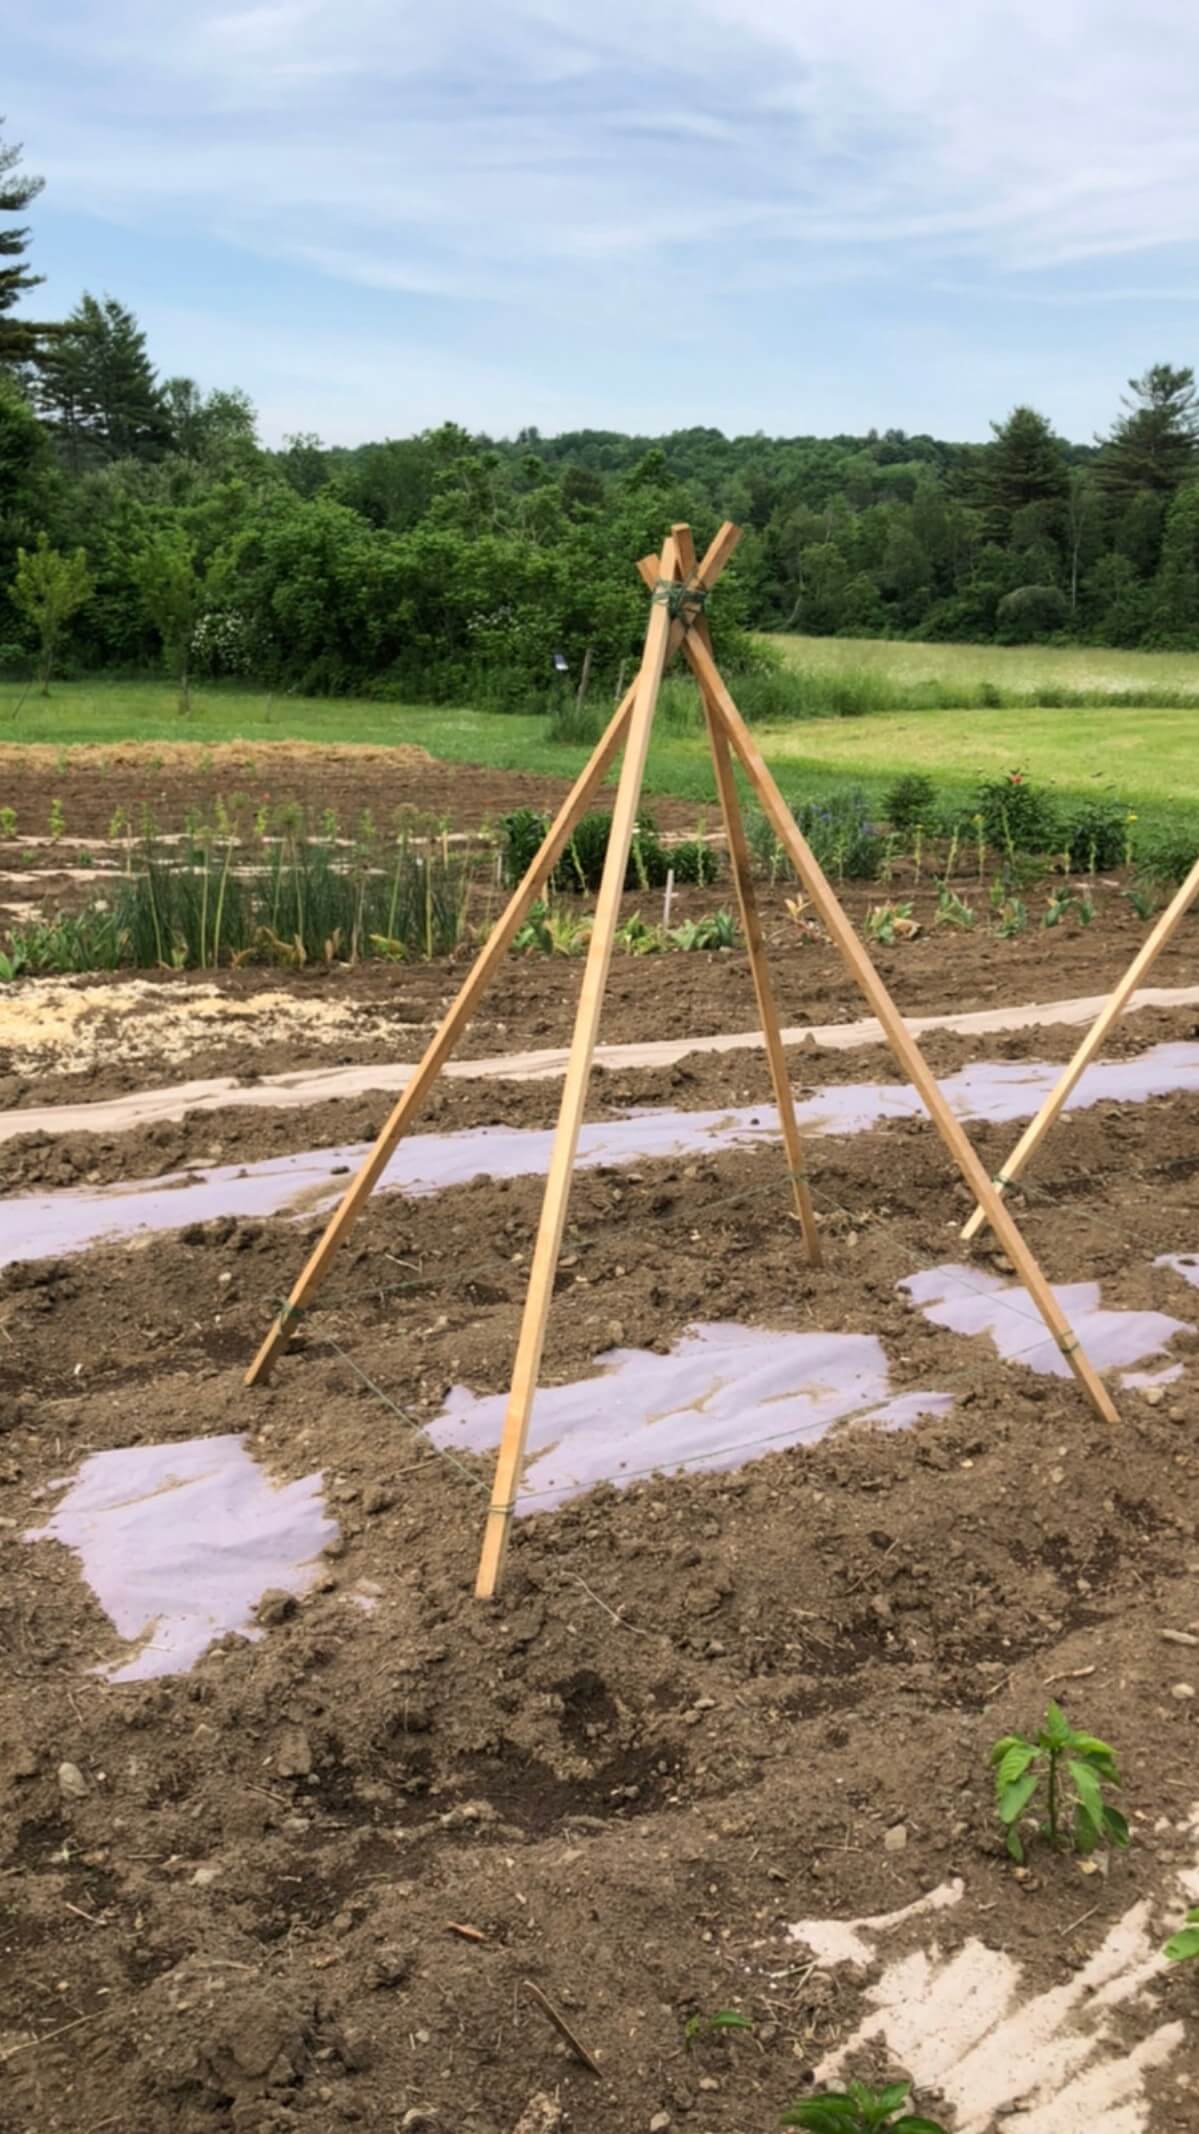
Spread the base of the poles to the desired width and lean the tips together about three or four inches below the tops. Lightly press the bases of the poles into the soil—just an inch or so. Make an “X” at the top of the posts.
In the cross pieces of the X where the poles meet, wrap a long length of twine several times around the poles. Weave in and out periodically for added security. Tie the twine off tightly when you feel the poles are wrapped well.
Add and wrap additional poles as desired.
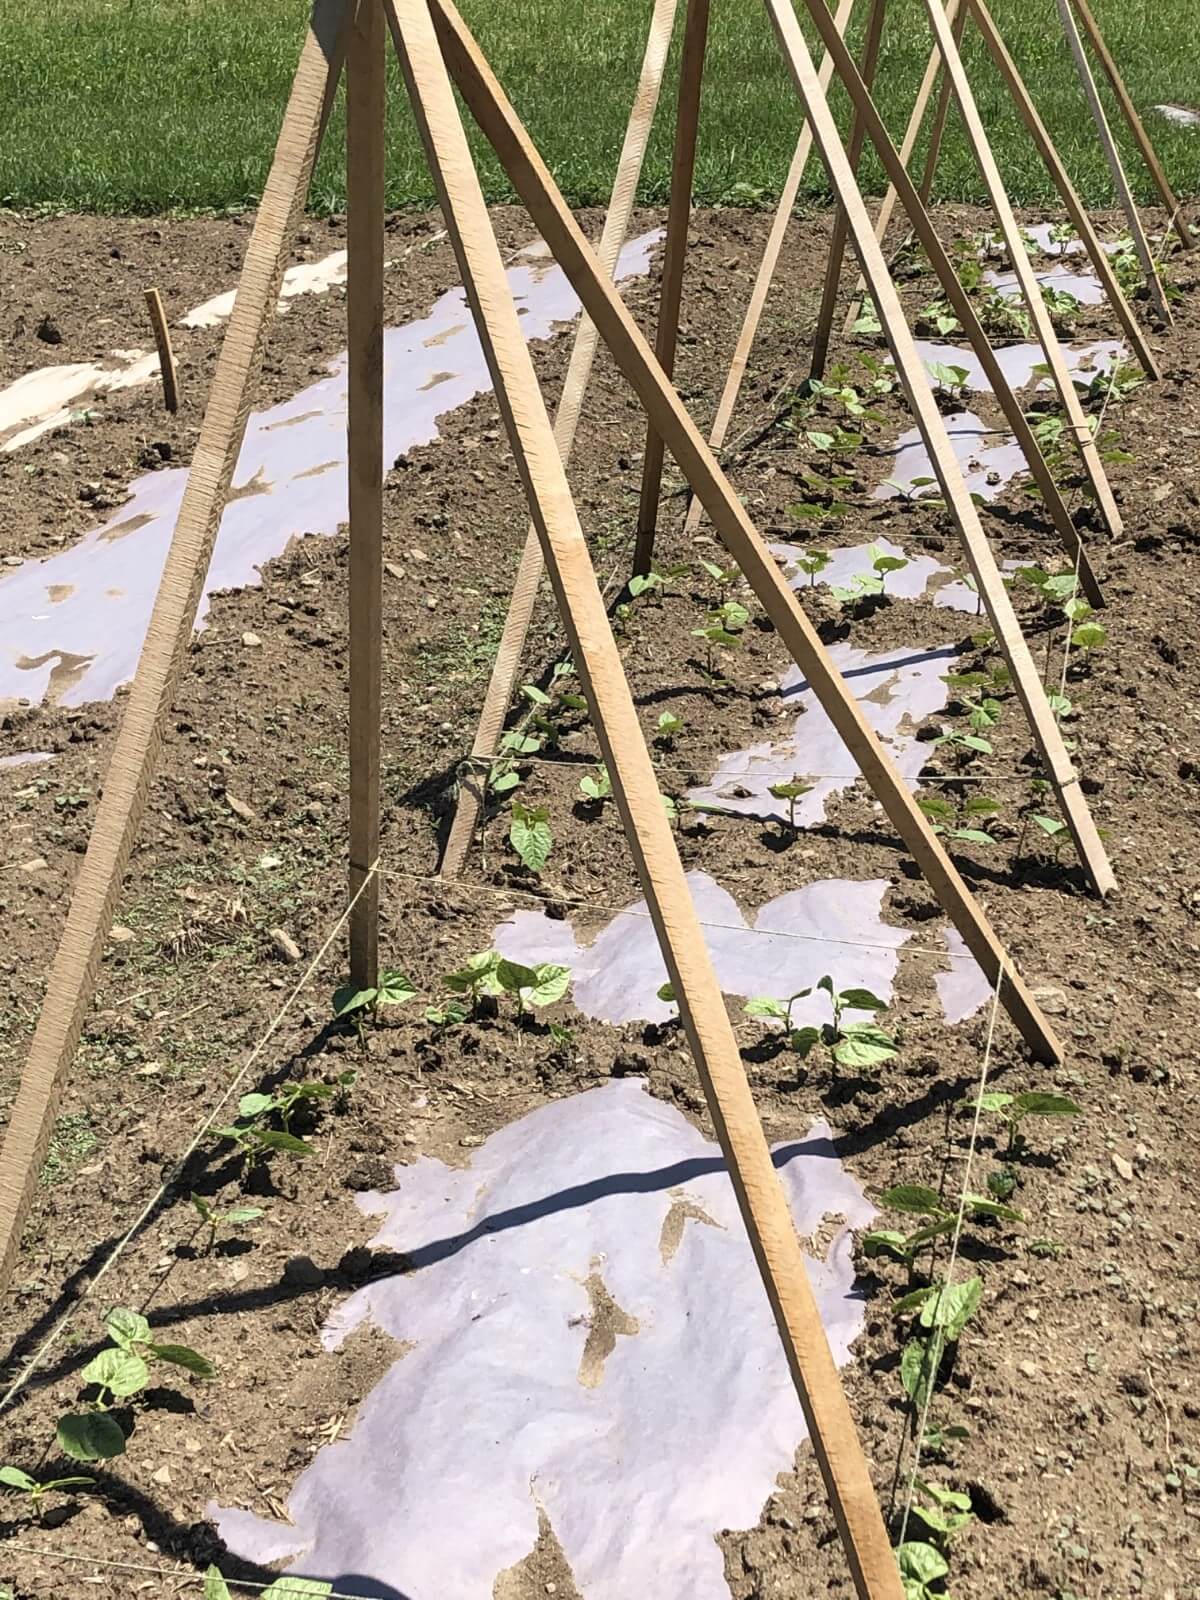
Your plants will need something to climb along between the poles. For this, add a line of twine horizontally around the entire diameter of the structure. Make one wrap loop around each post as you meet it to keep the twine taught. Do not pull too tightly as you do not want to draw the poles in unevenly.
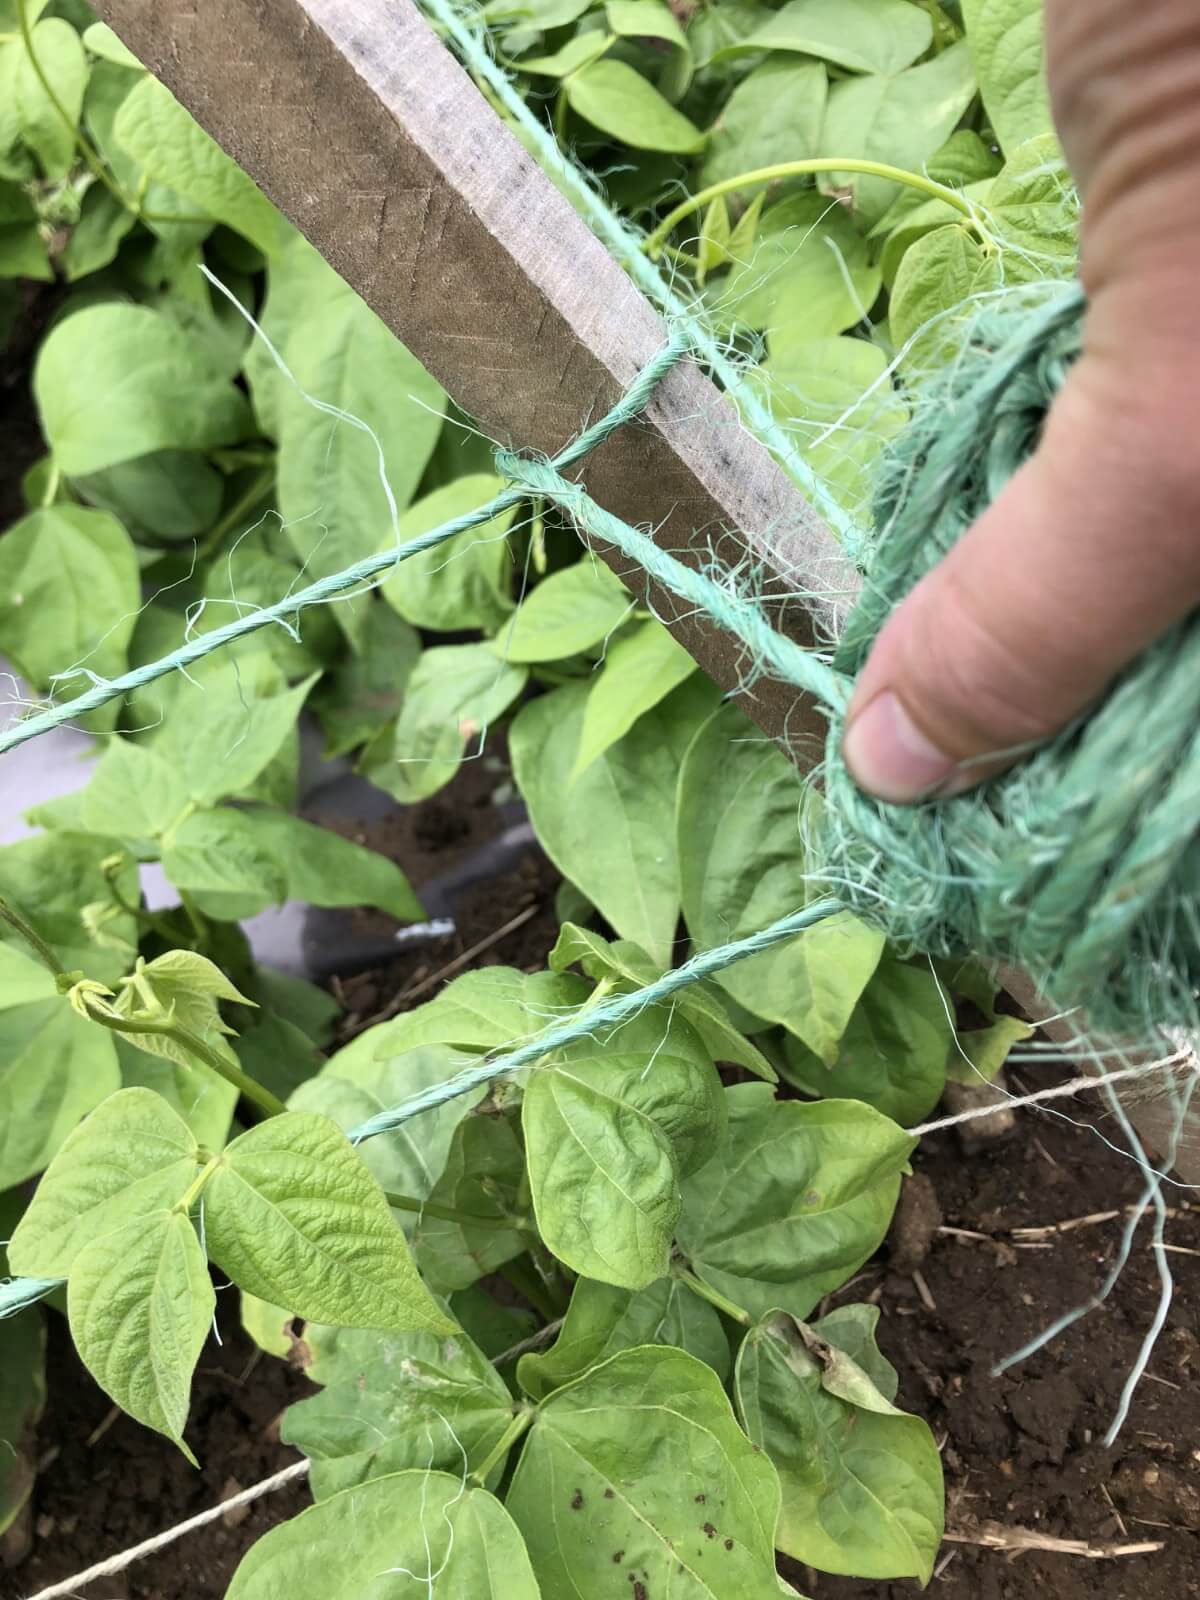
Continue horizontal strings every four to six inches up the posts. Do this all the way to the top of the structure, where the pole tips meet in an X.
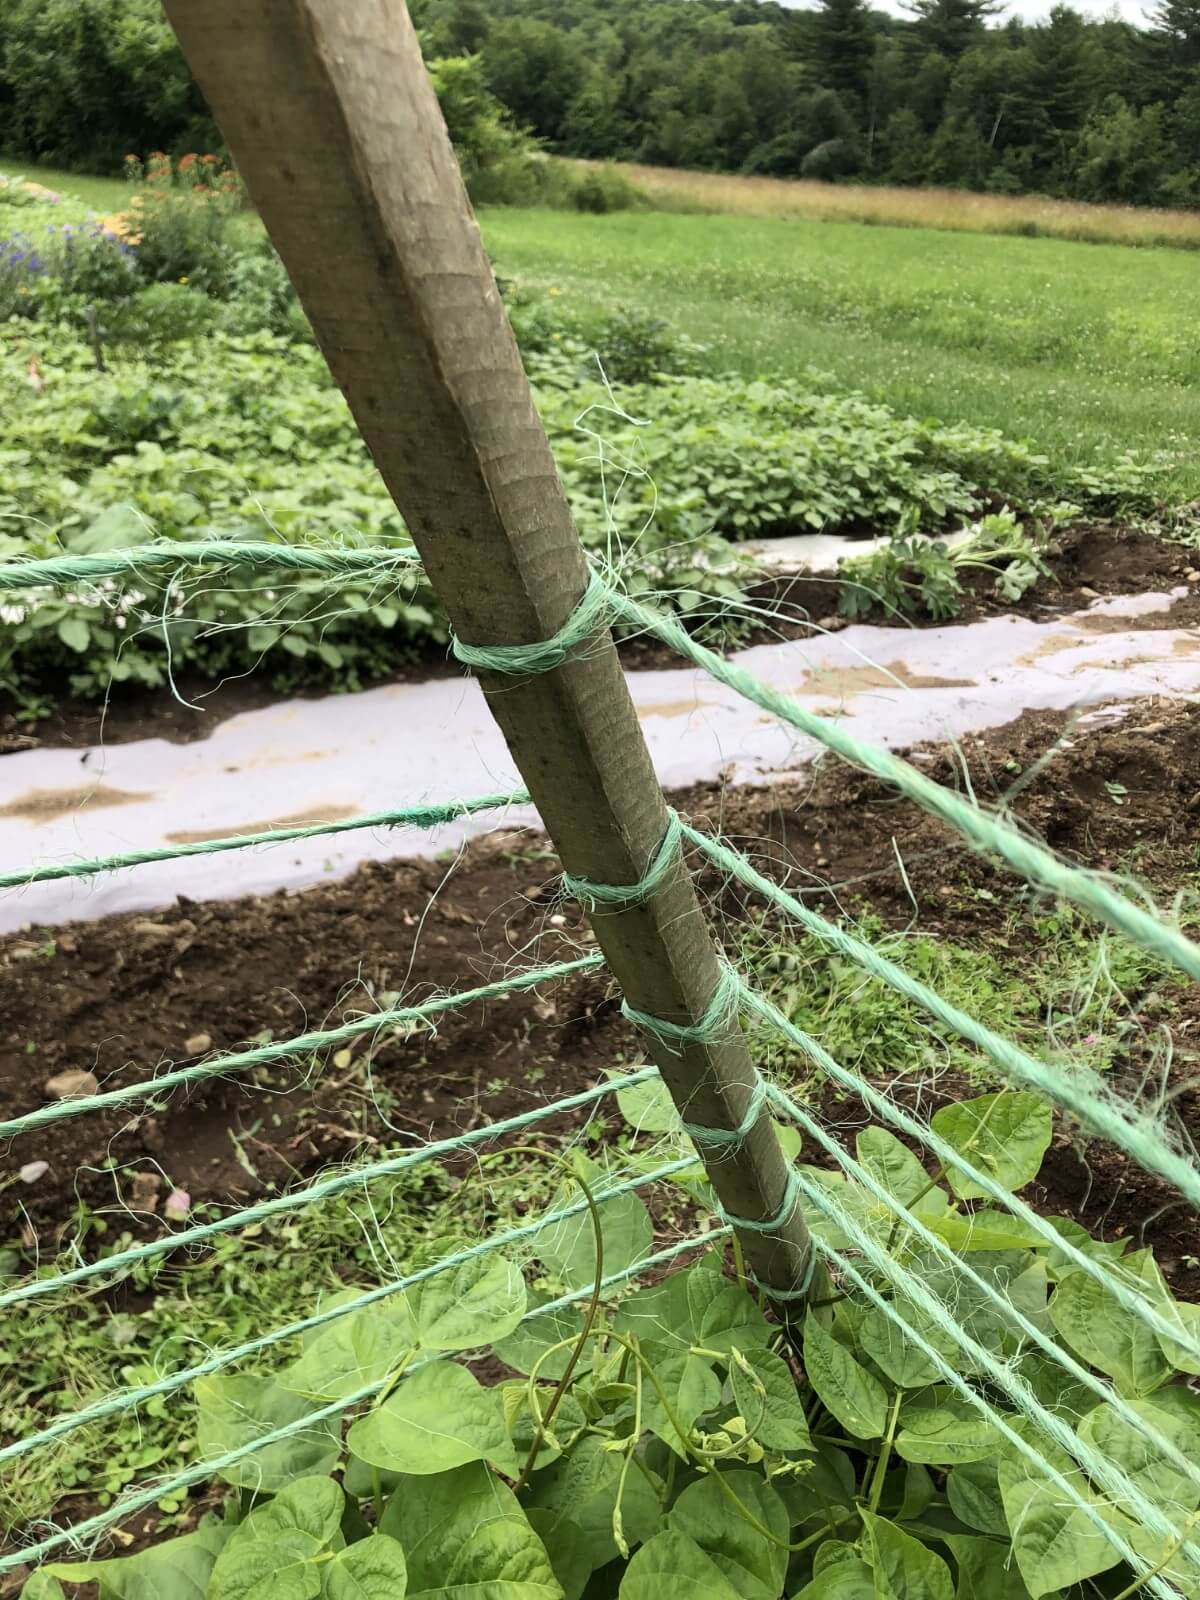
Plant evenly under and slightly to the outside of the strings. Plant all sides of the structure for maximum use. As the plants grow, they will grab and weave through the strings, keeping them growing upright and keeping their produce off the ground.
Plants to Use Teepee-Style Plant Supports With:
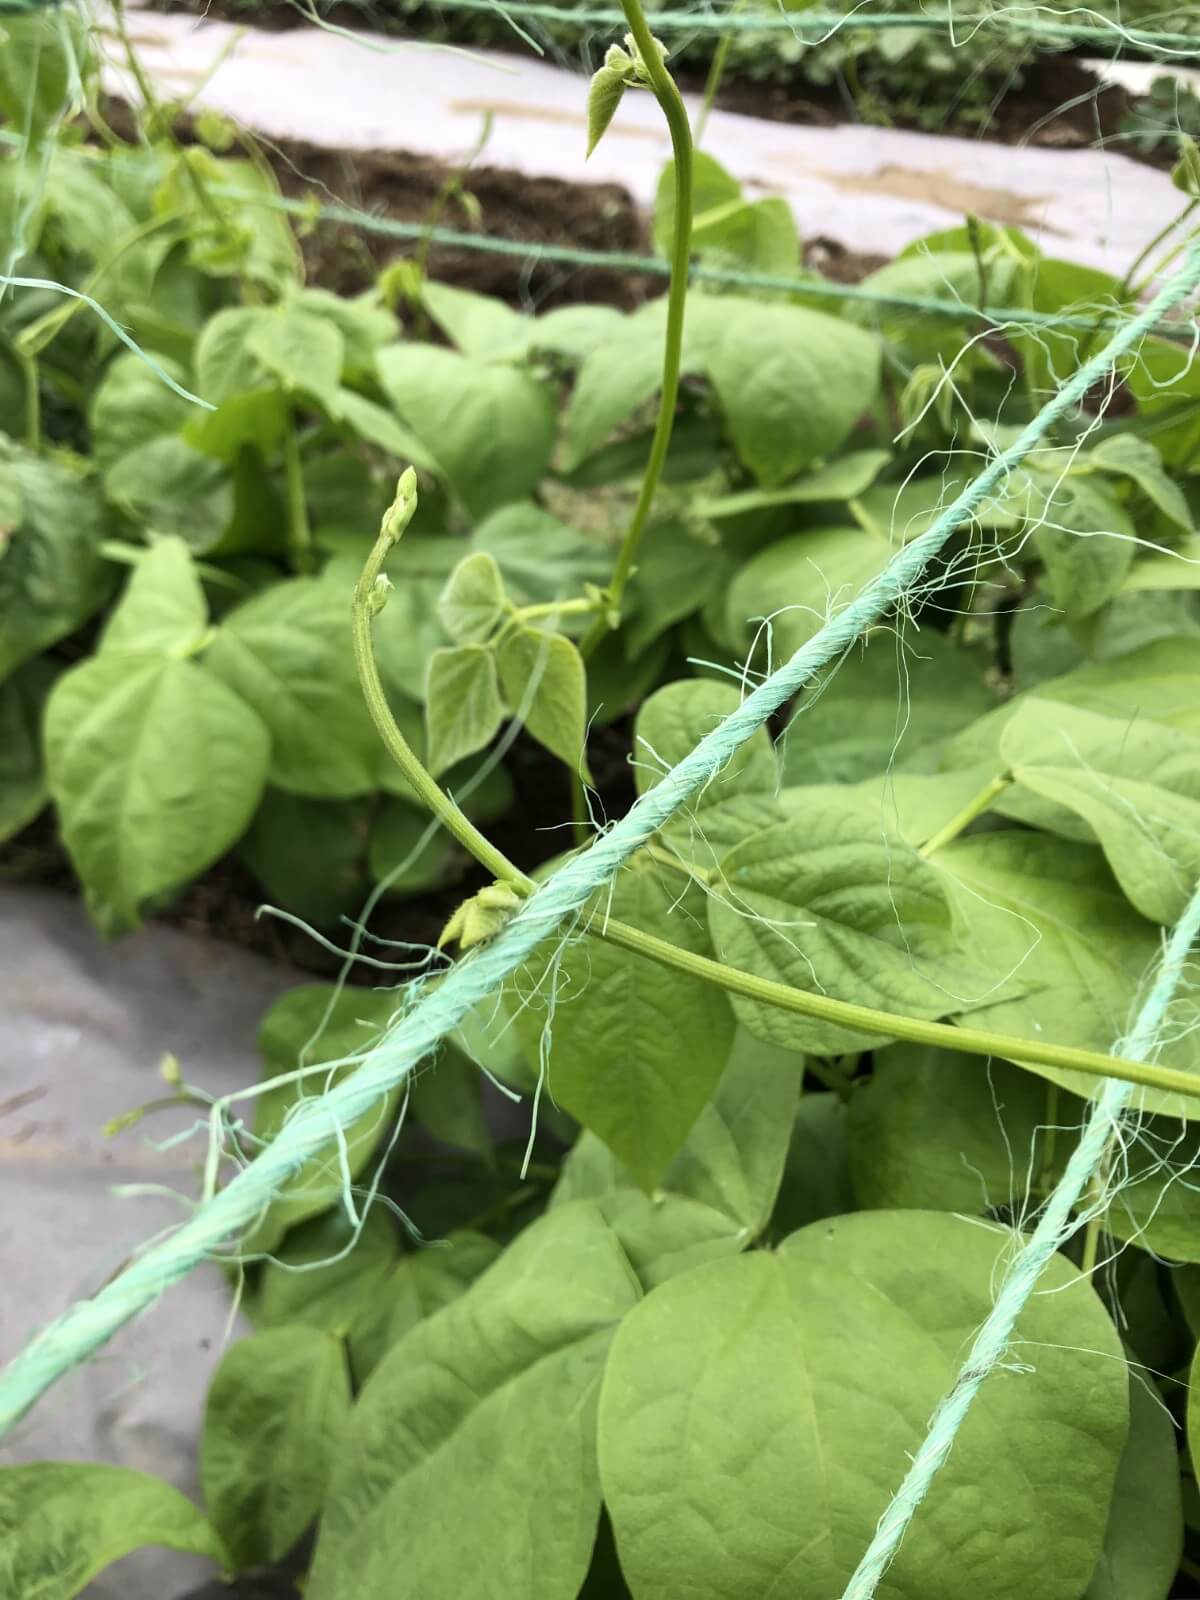
- Pole beans (most common use)
- Squash (more appropriate for lighter, smaller varieties)
- Cucumbers
- Peas
- Climbing flowers and ornamentals – morning glories, sweet peas, clematis, etc.
- Heavier plants like squash will require a thicker, stronger rope or twine. They may also need a sling or hammock to keep the fruits from breaking off the stems.
Basket Weave or Florida Weave Plant Support
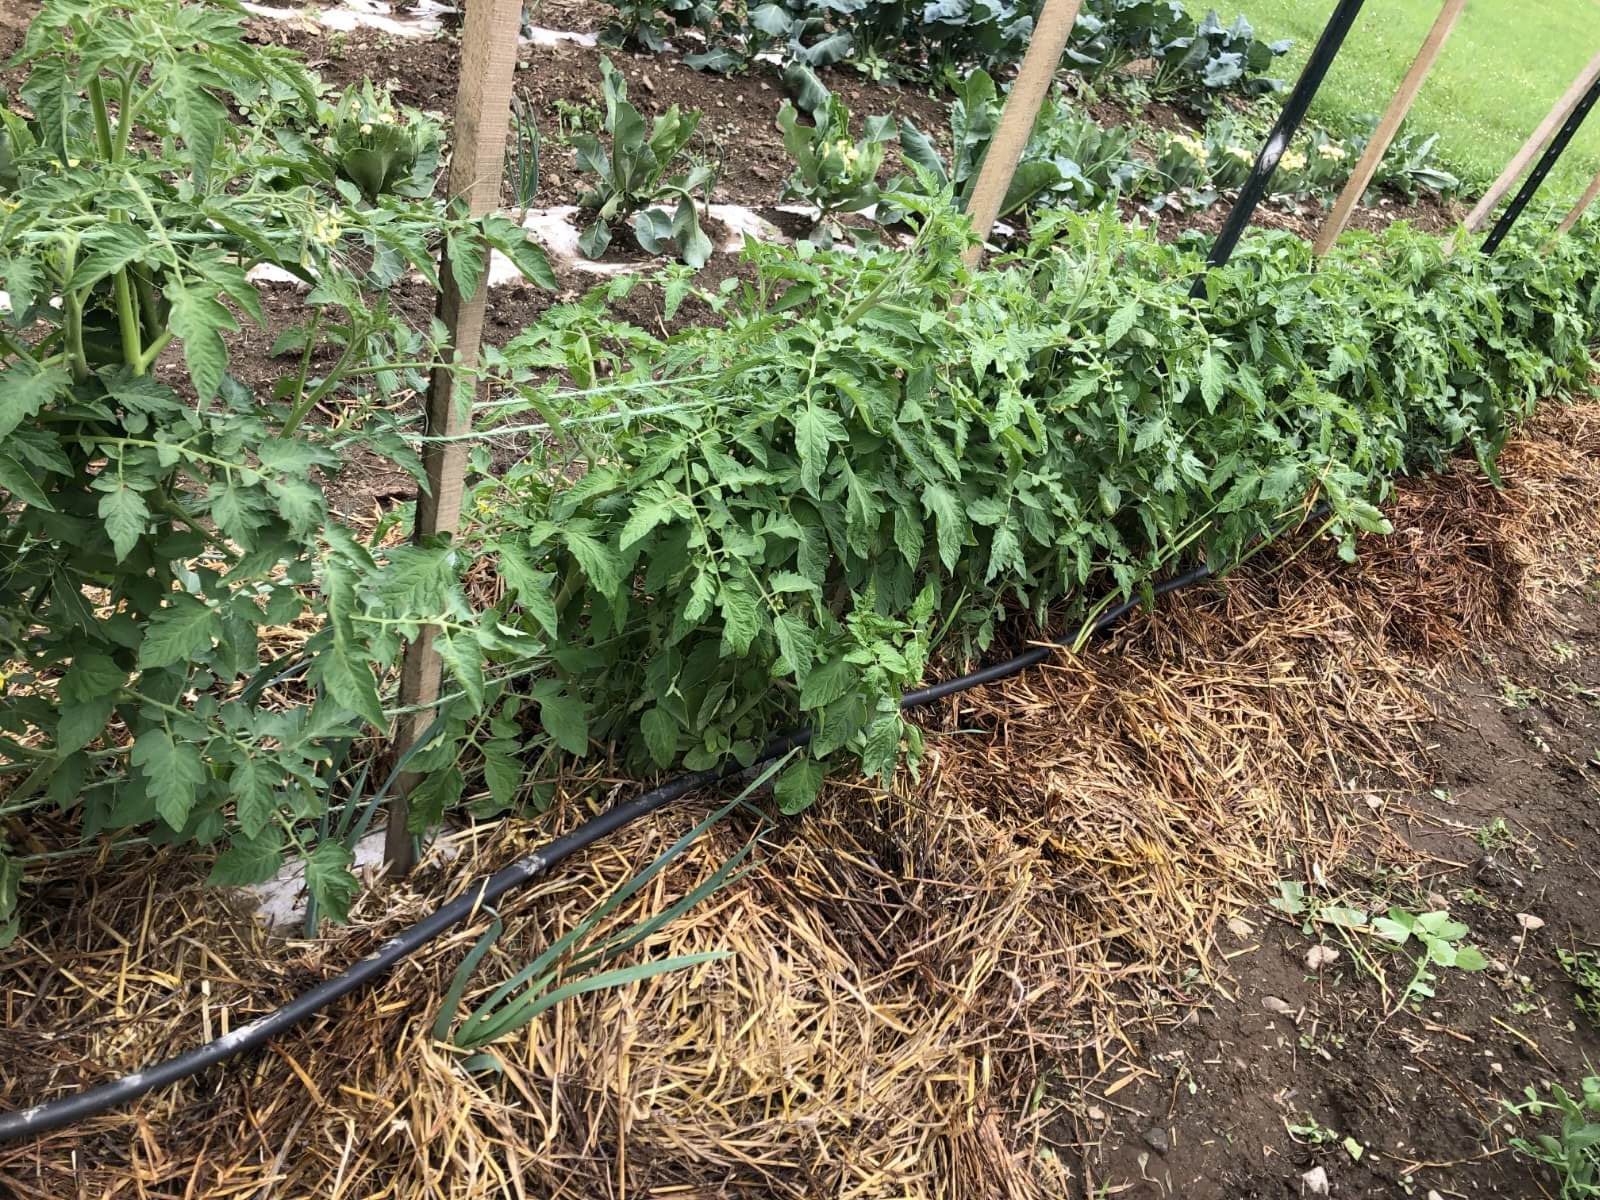
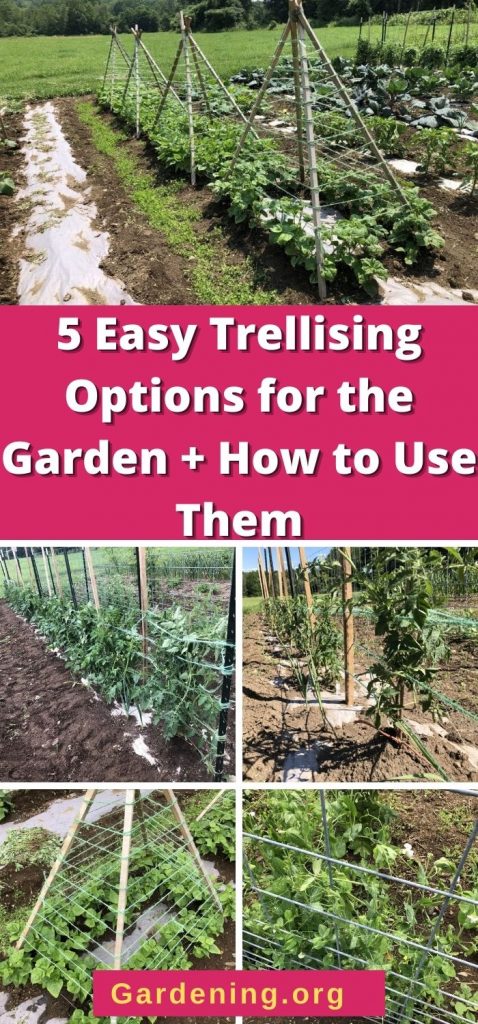
The Florida Weave, also known as the Basket Weave, is a field support system that has been adapted to home gardens. It is becoming increasingly popular for many reasons—it is cheap, quick to construct, quicker to maintain, and is probably the most efficient way to grow a number of tomatoes and also keep up with their supporting.
With the Florida Weave you do not need to fight cages that bend under the weight of growth and fruits are more accessible. You also do not need to tie individual plants—you just have to run a new length of twine down and up the row about once a week. Posts and stakes are reusable for several seasons, needing only a seasonal purchase of fresh twine.
As long as you have the strength to drive the posts, this can easily be a one-person installation, though it is handier to have help installing the posts and stakes in the beginning. After posts are in place, the weaving itself is certainly a one-person job and requires no exceptional muscle.
How to Install Florida Weave or Basket Weave Plant Supports:
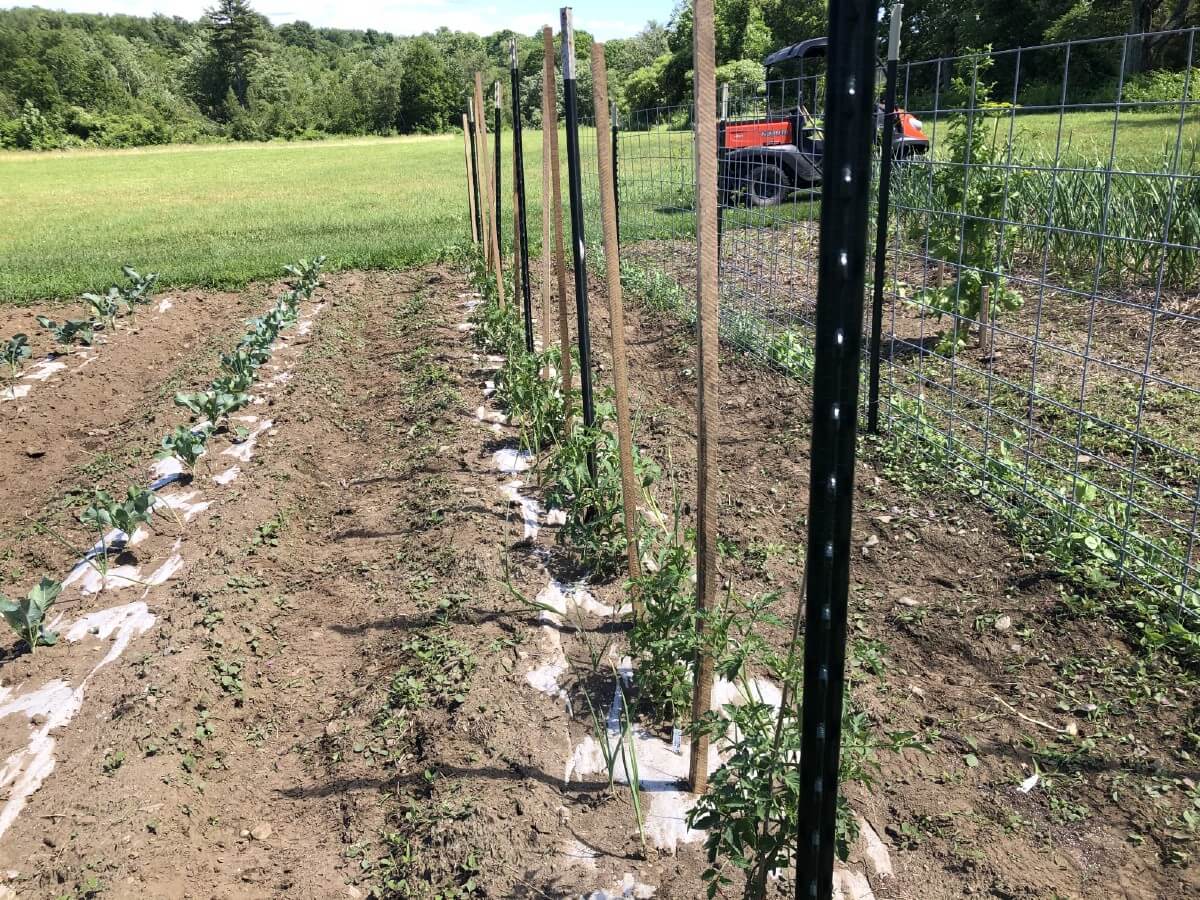
Supplies for the Basket Weave Plant Support:
To build a Florida Weave, you will need good twine (such as the aforementioned garden twine, clothesline, or baling twine), strong metal posts for the ends of the rows, and either metal posts or wooden garden stakes for the length in between.
T-posts are recommended for the metal posts. Although not strictly required, it is a good idea to use two additional metal posts in place of a wooden stake one-quarter and three-quarters of the way down the row, just to help strengthen the support and keep things a little tighter.
Six- or seven-foot posts are best, especially for indeterminate varieties of tomato (which grow larger). Four- to five-foot posts may be adequate for shorter plants and lower-growing/determinate tomato varieties.
Slight Variations All With the Same Goal
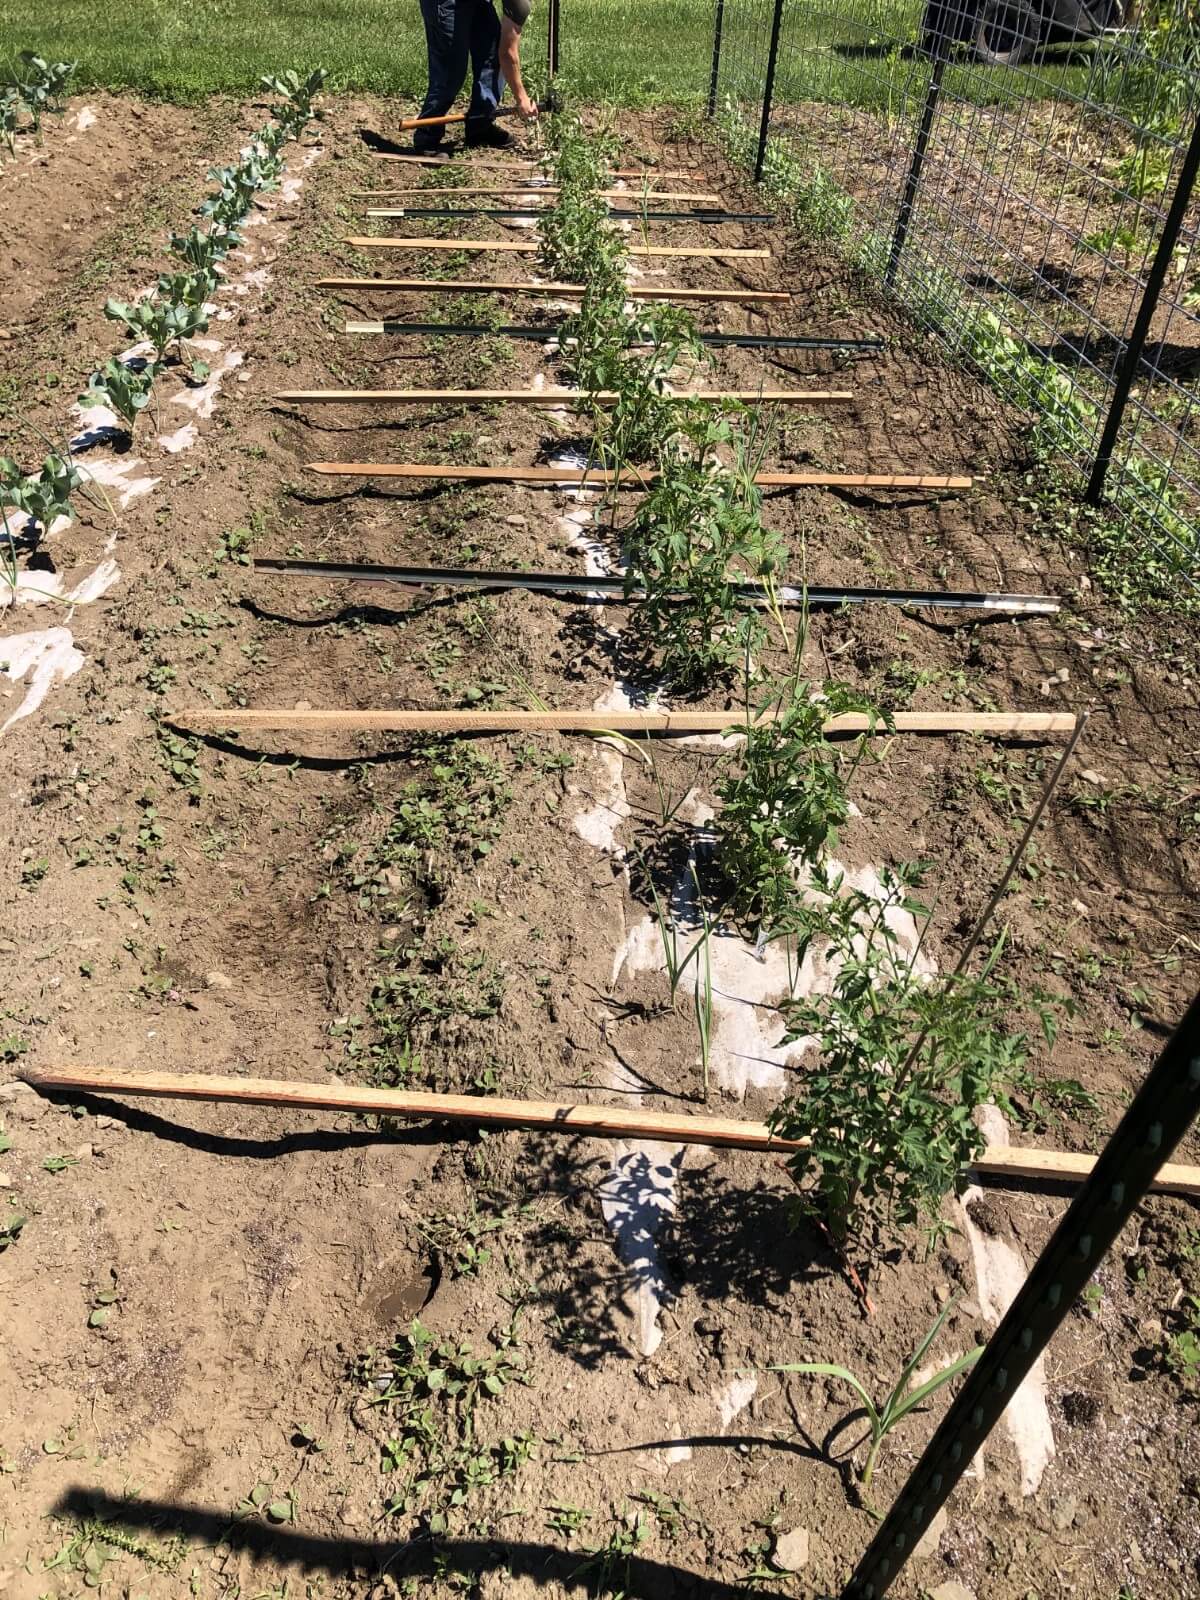
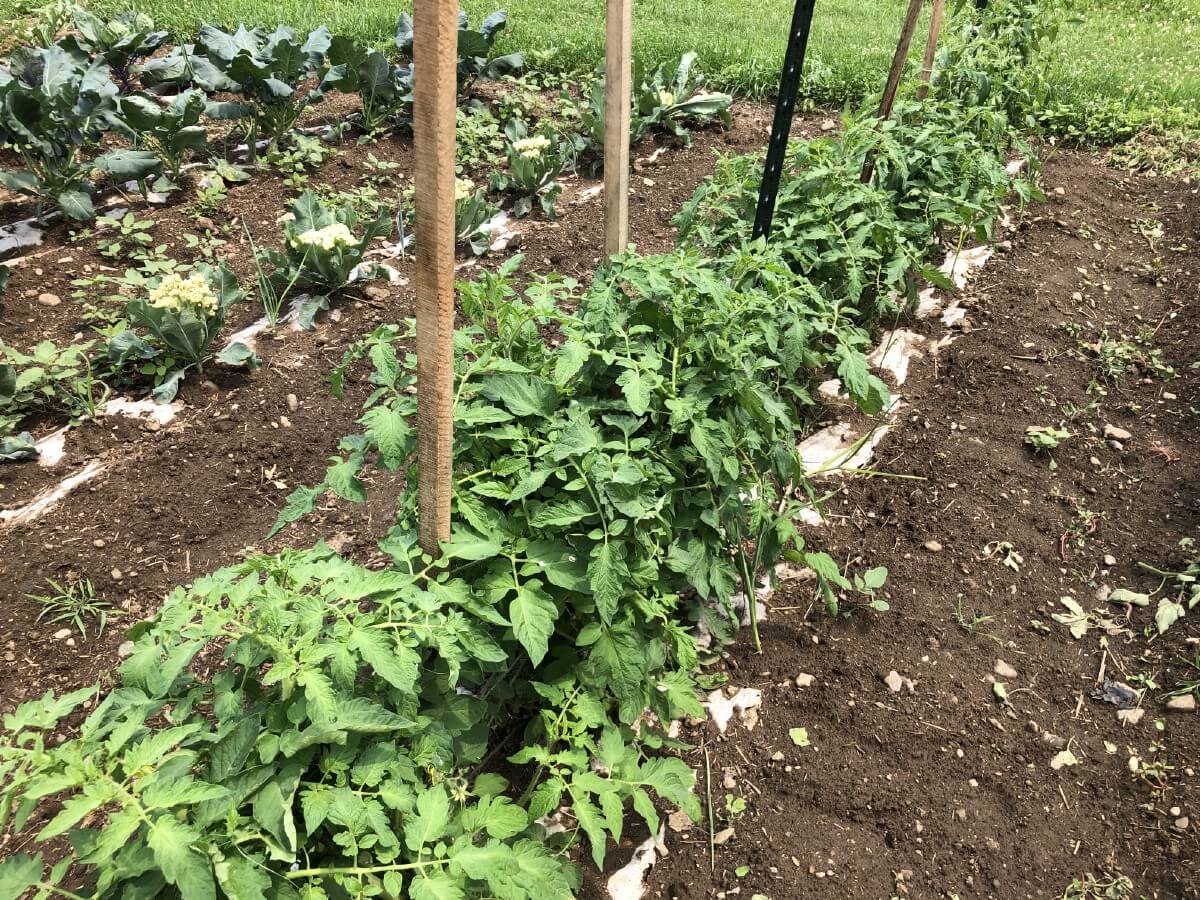
There are a few variations of this support, all with the same idea. The goal is to drive several posts between the tomato plants and then weave twine every eight inches as the plants grow, sandwiching the plants to keep them upright. You can choose to place one post or stake in between each plant, or one every two plants—either placement will work well but one stake between every plant lends a bit of additional support and tightness.
Building the Weave System:
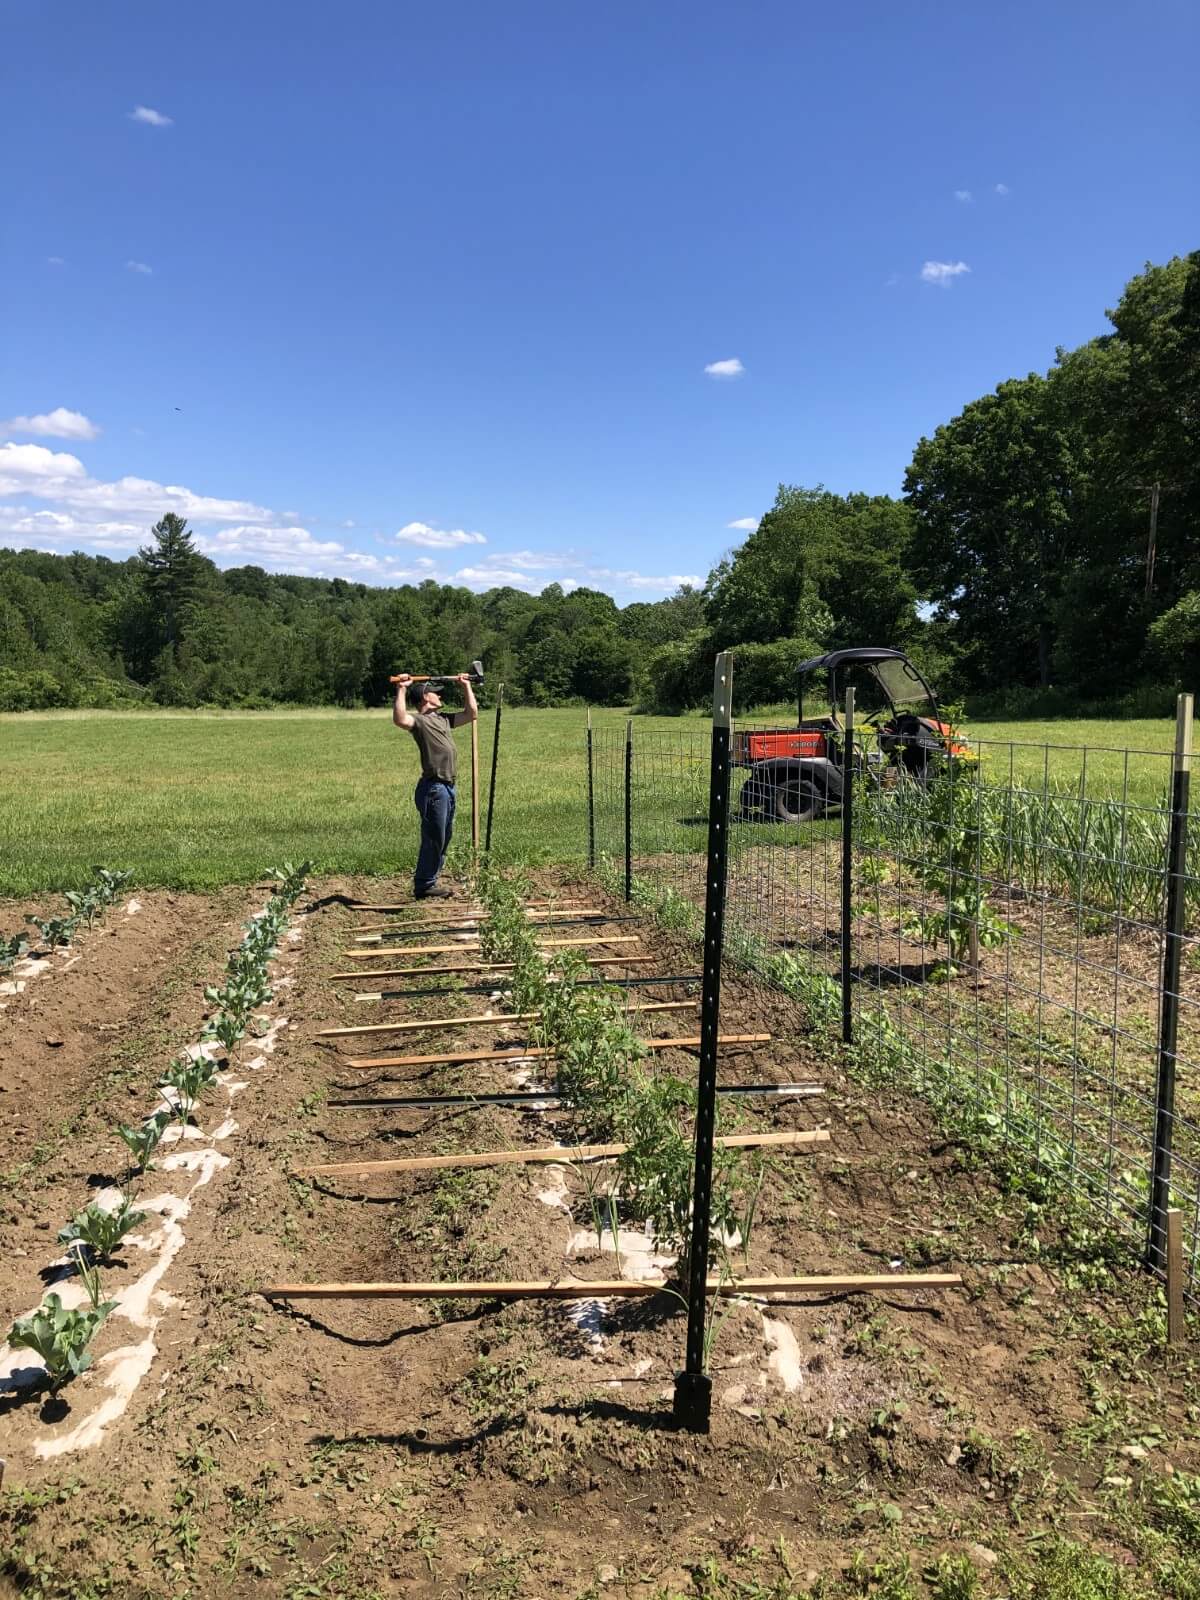
Drive one metal post at each end of your row. Now lay out stakes in between the plants, and then drive them into the ground. Drive posts and stakes at least six inches into the ground; twelve inches is more secure. To the best of your ability, drive the posts and stakes all at the same height.
Stakes between plants should be centered between the plants. This is not a system where the post should be tight up next to the plant.
Once all the stakes are driven, start the weave with the twine when the plants are about eight inches tall.
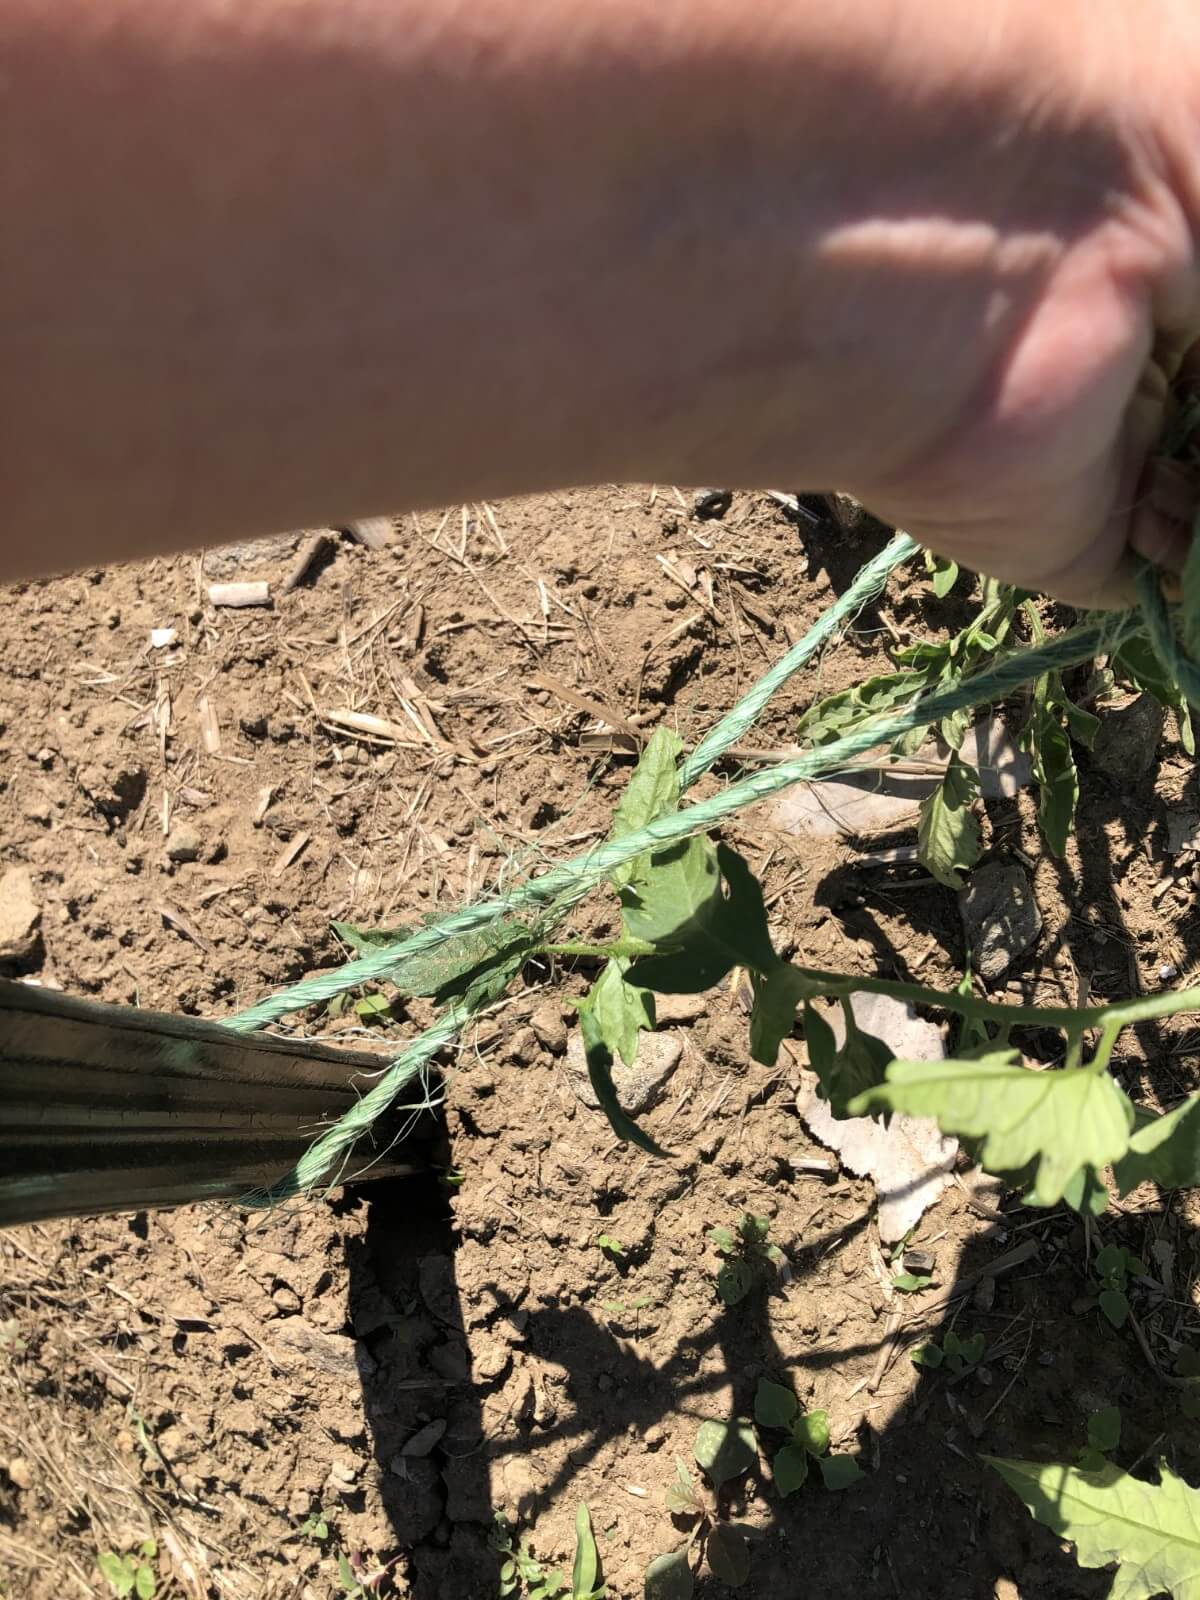
Tie the twine to the first post. Now run the twine next to the plant and weave it around the next post. Some people chose to do one loop around the post now to keep the twine tight and level.
This is a good video of one variation of this process here.
Though you can choose to weave in and out of the individual plants, the real goal is to weave the posts. This will create a sandwiched weave support around the plants. Focus primarily on weaving the posts.
Continue the weave all the way down the row. When you reach the last outside posts, wrap the twine twice around the post, then work back down the row—all the way back to the first outside post.
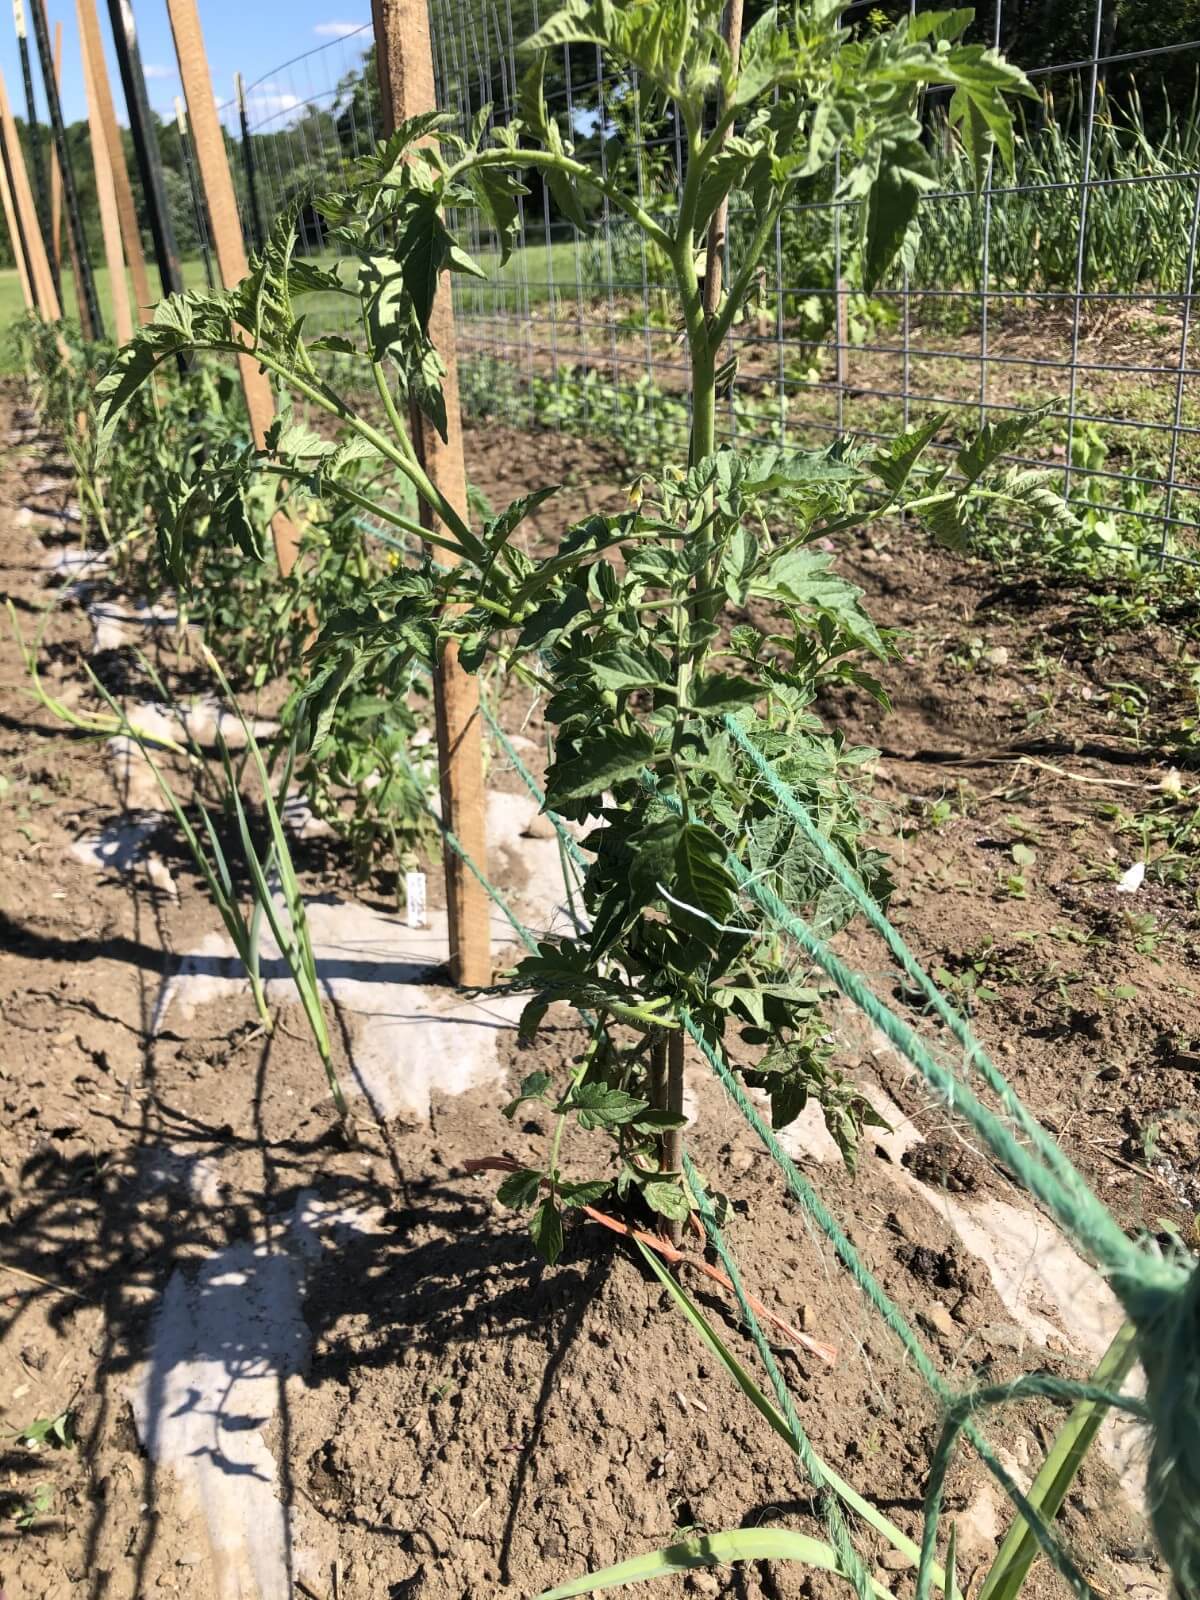
Continue weaving around the posts as you go. Make sure the twine creates a two-sided weave around your plants, with the support at the post, not using your plants to hold the string. The most important factor, even if you get a little confused, is to create that sandwich effect with string on each side of each plant when you are done.
Repeat the weave with every eight inches of new growth. In effect, this means you will add a layer of string about once a week until the plant has fully grown, or reached the top of your support poles.
Don’t Wait Too Long to Install Your Weave System
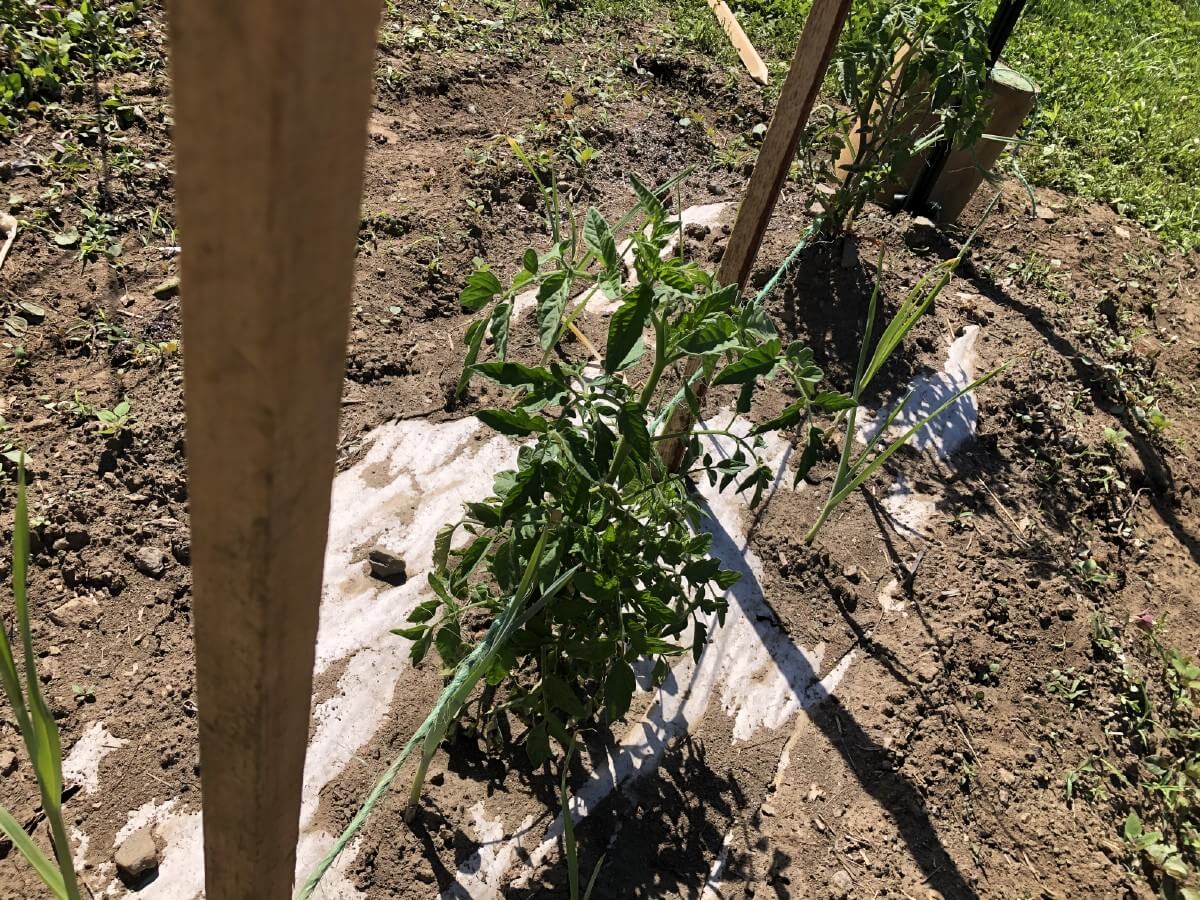
Install this system soon after planting your tomatoes (or other plants). This will ensure that it is in place when needed, but will also ensure that roots and plants are not damaged with a later installation. Planting the plants first will help you to properly place the stakes and posts.
Plants to Use Florida Weave or Basket Weave Plant Supports With:
- This support is thought of primarily as a system for supporting tomatoes but any plant that can be trellised as it grows can use the Florida weave. Use it for:
- Tomatoes—both indeterminate and determinate varieties
- Tall-growing flowers like gladiola, sweet peas, peonies, cosmos
- Peppers (these are often fine without a support system but some larger-growing varieties can benefit from some support).
The basket weave or Florida weave could be used for peas, beans, cucumbers, etc., but these are much easier to grow on a pre-existing fence that is put in place ahead of time so that they can grab and grow upright with their tendrils (they don’t do as well with supports that are applied after-the-fact). For these plants, if you like the idea of this easy-to-build structure, you might be better off weaving all of the levels of twine ahead of time (at the time of construction) and letting the plants cling and climb up them. In this way, this would be like a heavier version of the step-in/twine trellising fence.
Good Trellises Make Good, Healthy Gardens
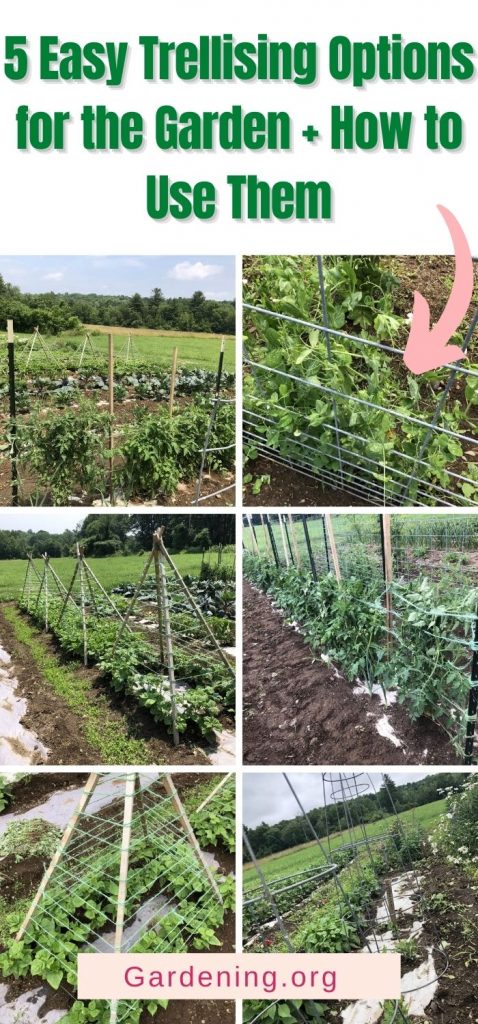
You now have five very good options for all your garden trellising needs. These options have been chosen based on experience and use, taking cost, affordability, manageability, strength, and success into account with the home and small- to medium-grower in mind.
A good trellising system will give you stronger, healthier, cleaner produce, help solve issues of space so you can grow more types and varieties of fruits and vegetables, and will help keep your garden looking great while doing it. Here’s to healthier, happier, prettier gardens!

Brian
Very informative. I have always wondered how I could manage my cucumbers.Now Ihave a way. Thanks.