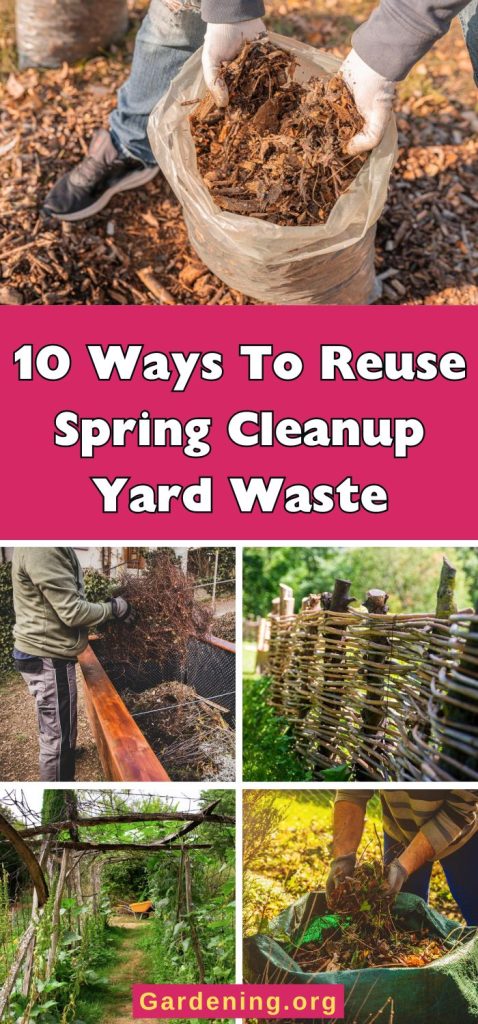
Ah, spring! It’s the time of year when we all start cleaning up the debris that winter left behind. There are dead stalks to be cut, trees and shrubs to prune, broken limbs to collect and blow about leaves, yard waste, and general natural clutter.
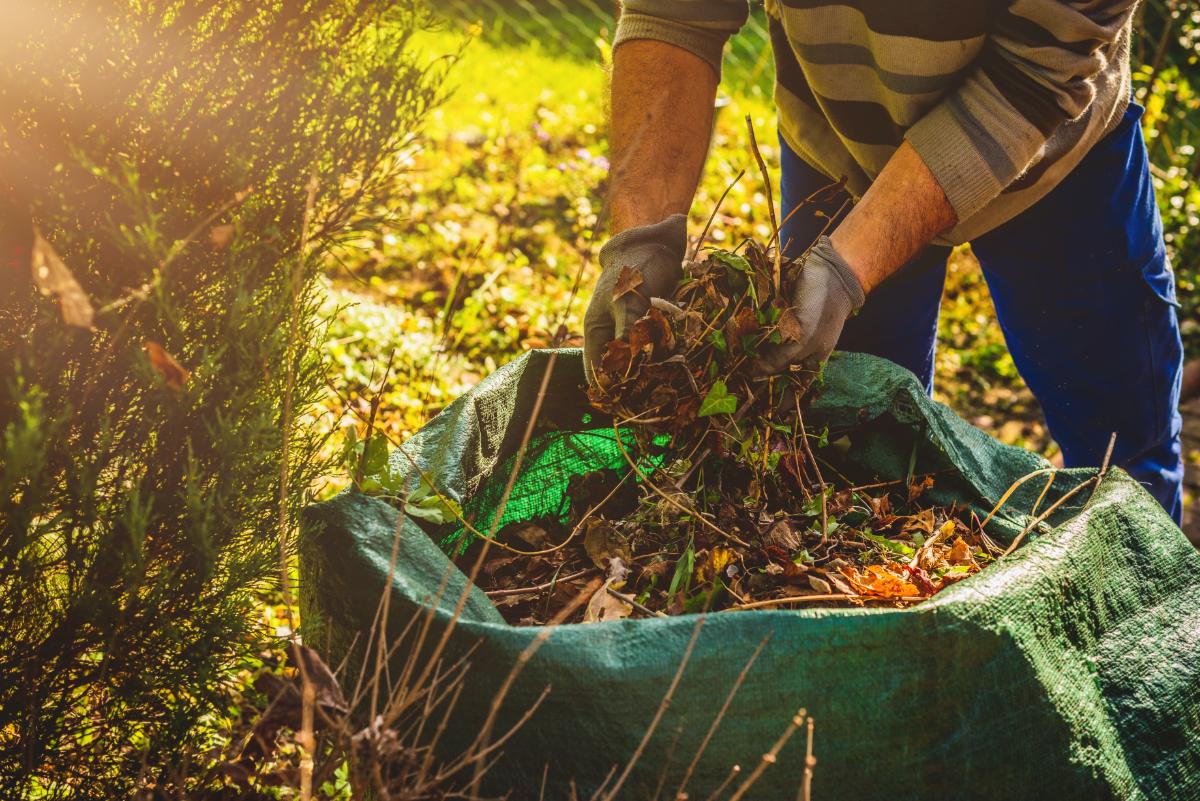
But what do you do with all that yard waste and debris?
Jump to:
- Better Solutions for Your Yard, Garden, and the Environment
- 10 Ways to Reuse and Upcycle Yard Waste in the Yard and Garden
- 1. Chop large plant stocks to use as mulch or organic matter
- 2. Make chopped leaf litter
- 3. Spread debris in a layer in the garden to work as organic material and soil amendment
- 4. Compost
- 5. Make it mulch
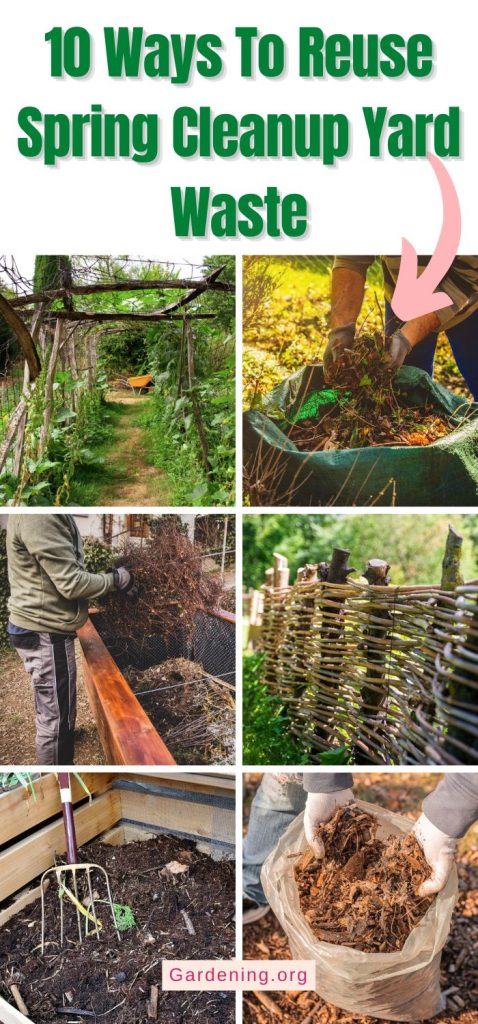
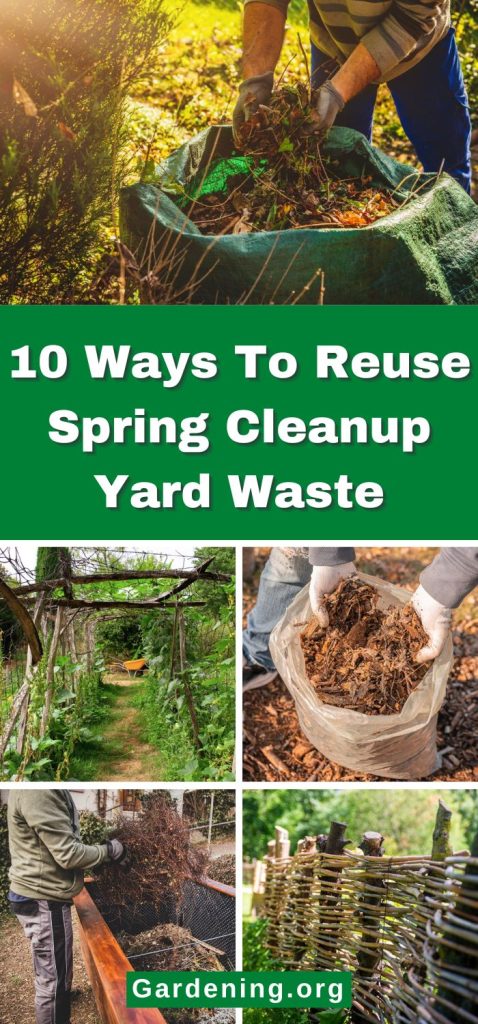
- 6. Fill up raised beds
- 7. Use as plant supports and trellises
- 8. Pea brush
- 9. Natural woven and brush fences
- 10. Ash for amendment
- Striking a Balance and Protecting Pollinators While You Clean Up
Better Solutions for Your Yard, Garden, and the Environment
Sending yard waste to the landfill is an all-around bad idea. In the anaerobic environment of the landfill, what would decompose naturally in your yard and return to the earth just becomes more material that takes up space and produces greenhouse gas.
Depending on where you live, you may have some sort of community compost or municipal collection for yard debris and brush, but that’s something that’s not available to everyone.
Besides that, yard waste can be put to some very beneficial uses for your yard and garden! Without having to truck it across town!
How?
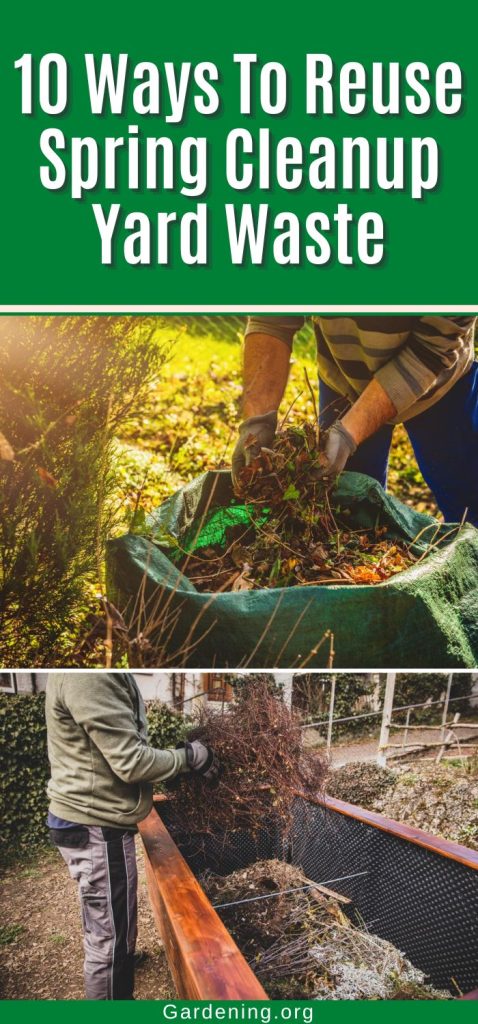
Here are ten of our favorite ways!
10 Ways to Reuse and Upcycle Yard Waste in the Yard and Garden
1. Chop large plant stocks to use as mulch or organic matter
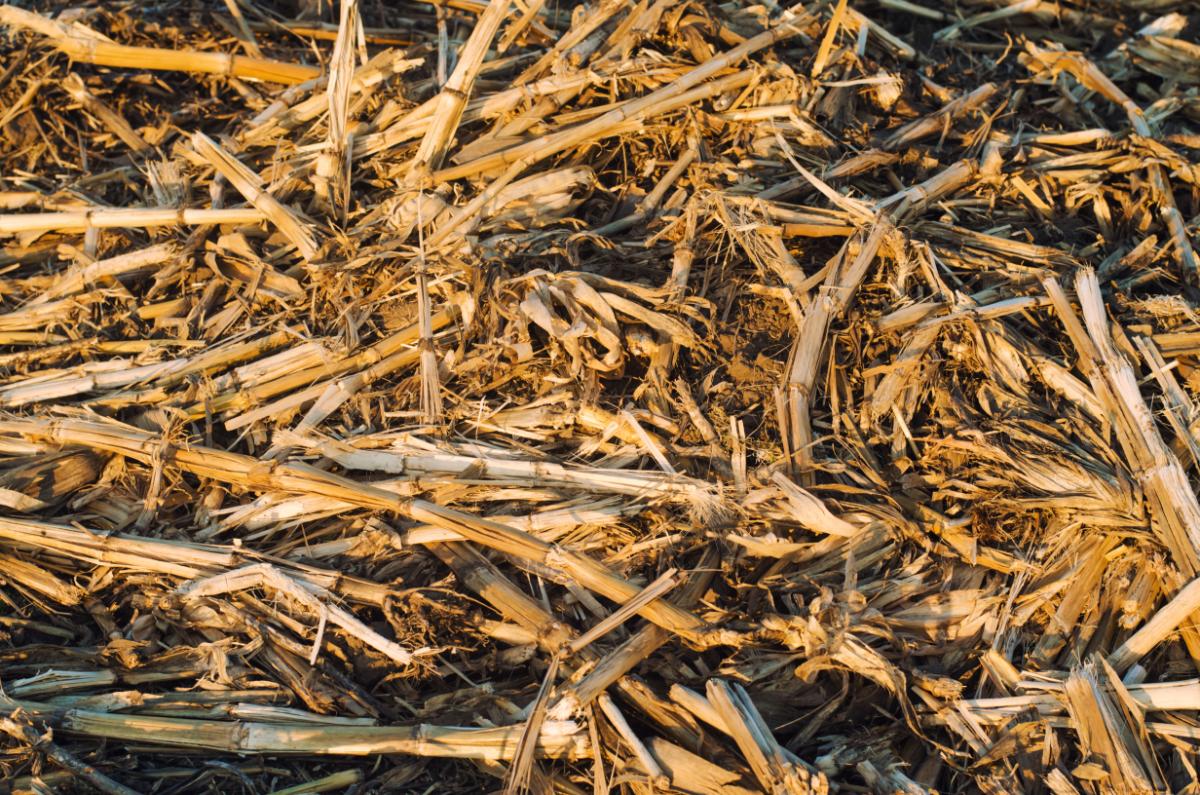
If you have a yard chipper, it will work to chop large, hard stalks like those leftover from last year’s sunflowers and corn.
If you don’t own a chipper (and many of us don’t since it’s a large piece of equipment and a large investment), you can use your lawnmower instead. Run over large stalks to chip them. It may take several passes to get it to the size you want.
Tip: Spread the stalks out in a single layer so you don’t clog your mower. You may need to set your mower at a higher height than you normally use for lawnmowing.
Once chipped, stalks will break down faster. They can be put into compost or left in the garden to continue to break down, where they become valuable organic material that replenishes nutrients and aids in soil tilth and moisture retention.
You can use large chipped pieces as a mulching material, too. Use it just like wood chips or straw!
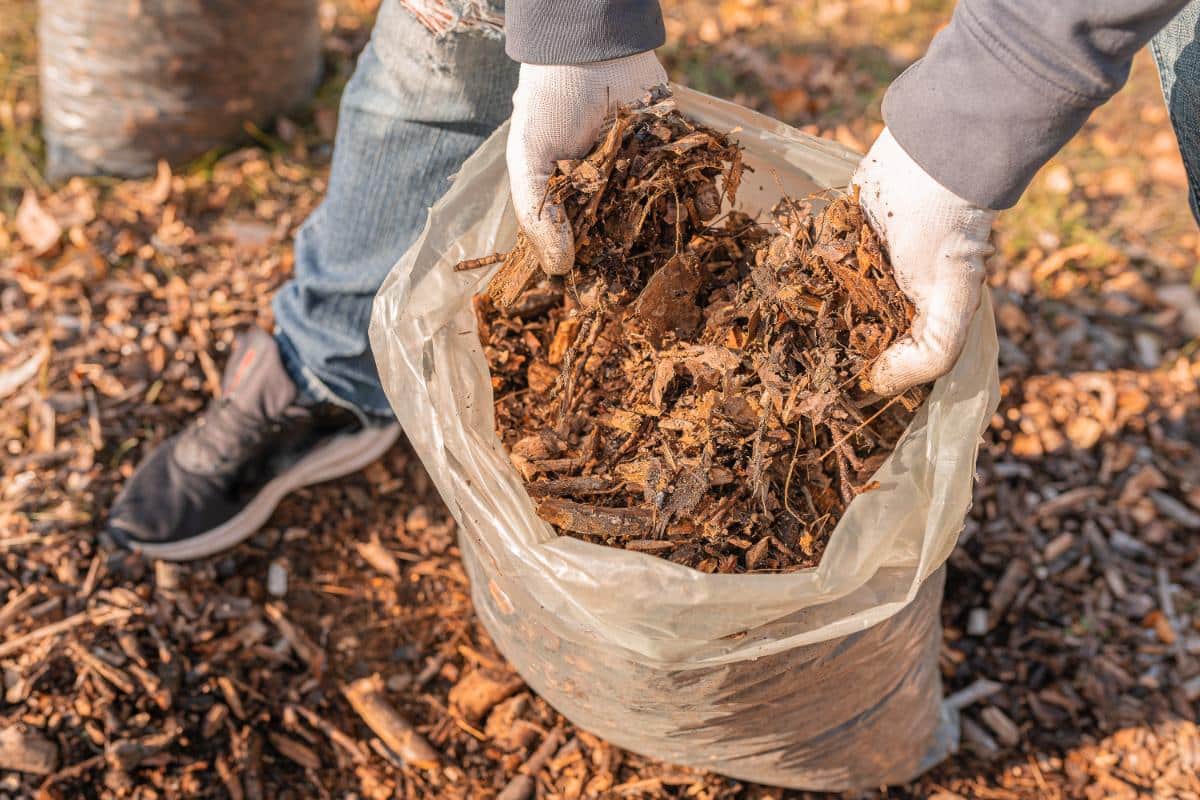
2. Make chopped leaf litter

Leaf litter is an excellent source of organic material for fertilizing and improving soil (tilth, structure, and moisture). Collect leaves into piles and chop them, then apply them to garden beds or compost.
A simple way to do this is just to run over the piles of leaves with your lawnmower to chop them up.
You can, of course, use leaves whole, too, but they will take longer to decompose and may be too large to allow seeds and small seedlings to emerge. Whole leaves do make good mulch, though.
To make the job even easier, put the piles in the garden or area where you want the material to go and then chop them there. They’ll be easier to move as large leaves than small pieces. You can aim your mower to blow the material where you want it to be.
If it is your lawn you’re looking to feed, just leave the leaves in place and run over them until the pieces are small enough and spread thinly enough that they won’t kill your grass. They’ll compost in place and feed the soil.
3. Spread debris in a layer in the garden to work as organic material and soil amendment
Most any yard debris – whether it’s sticks, leaves, dead grass, trimmed and pruned perennials or old, dead grass – can be spread in the garden to build up and rebuild soil. You will want to chip or chop up large pieces, sticks, woody stems, and brush.
For this use, spread a thin layer over the top of your garden. It can act as a sort of mulch as it breaks down, too.
While it is true that decomposing plant material may (depending on the stage and the plant) tie up nitrogen as it decomposes, this is not the concern that most people think it is. Materials that are dead or well-aged often are not a problem, which is the case for a lot of dead plant material and yard debris by the end of winter.
But also consider that nitrogen doesn’t disappear during this time – it is just being borrowed and used. Once the process is complete, the nitrogen returns to the soil for plants to use.
Material that is composting on the surface of the garden doesn’t “borrow” as much from the soil, anyway. The issue is more of a matter of concern when the material is tilled into the soil. And the decomposing process only uses what it needs – if your soil is rich in nitrogen, there’s not much to worry about here.
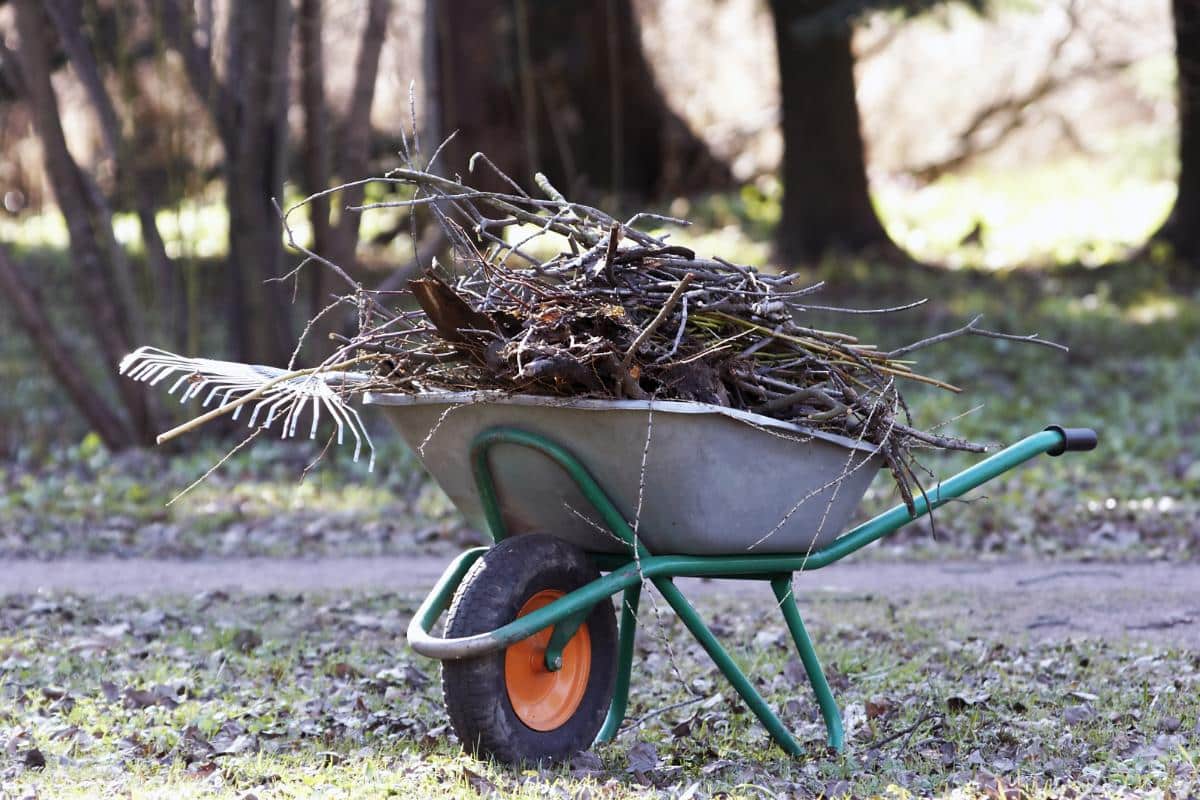
4. Compost
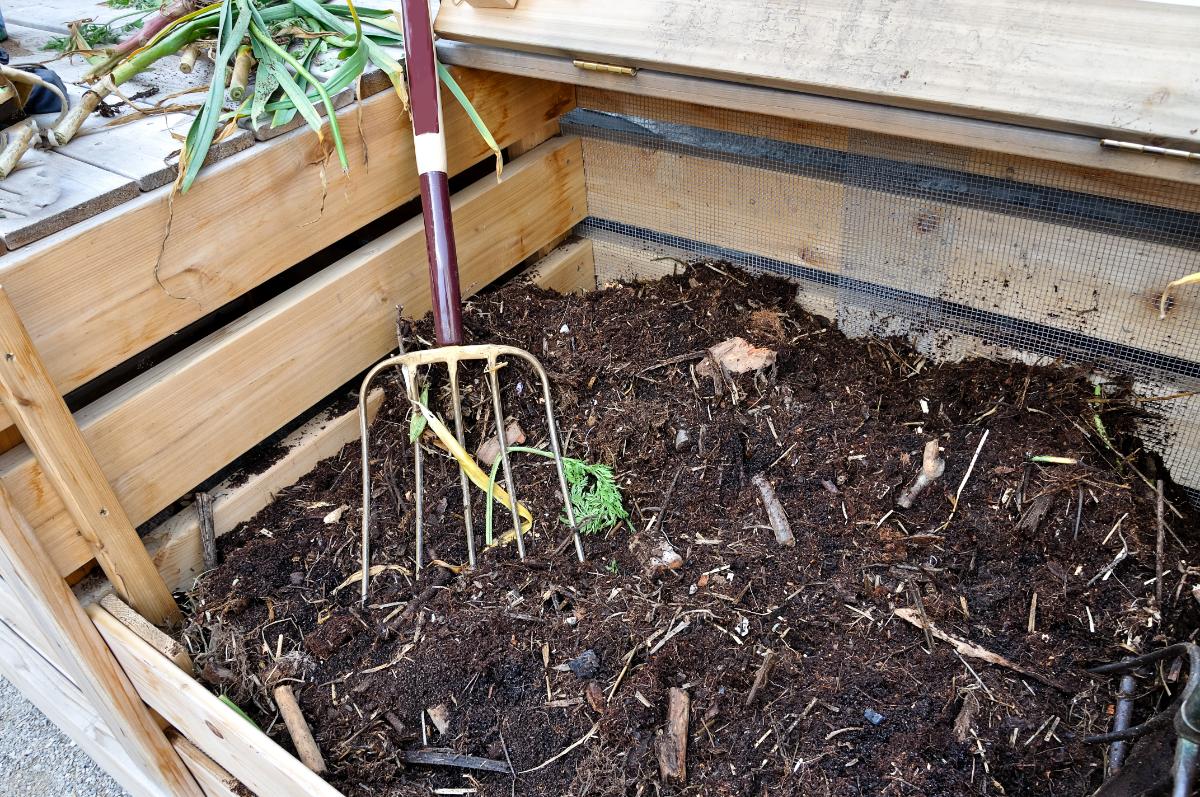
Compost may be the most obvious place where yard waste can be reused. But it may not be obvious that almost all yard waste can go there, including branches and pruned wood. It will, however, take longer for large pieces and wood to decompose unless it is chipped or chopped.
A dedicated compost pile, though, makes it easy to dispose of yard (and household) waste of all kinds and gives you an easy place and an easy solution for dealing with it. Just pile it on with your other yard clippings and household waste!
5. Make it mulch
As mentioned, a lot of what we look at as waste is excellent natural mulch. The best candidates are chipped wood and brush, leaves, and pine needles. If you have deciduous trees or pine or evergreens in your yard, you’re sure to have piles of leaves and needles in abundance.
A few inches spread to preserve moisture, reduce erosion, or block weed growth is all it takes.
If you want a more finished look, you can always use yard leaves, clippings, and debris for the bottom layer and just lay a thin layer of decorative mulch (such as wood mulch) over the top.
This is a good way to both use your yard waste and save money on pricy decorative mulches.
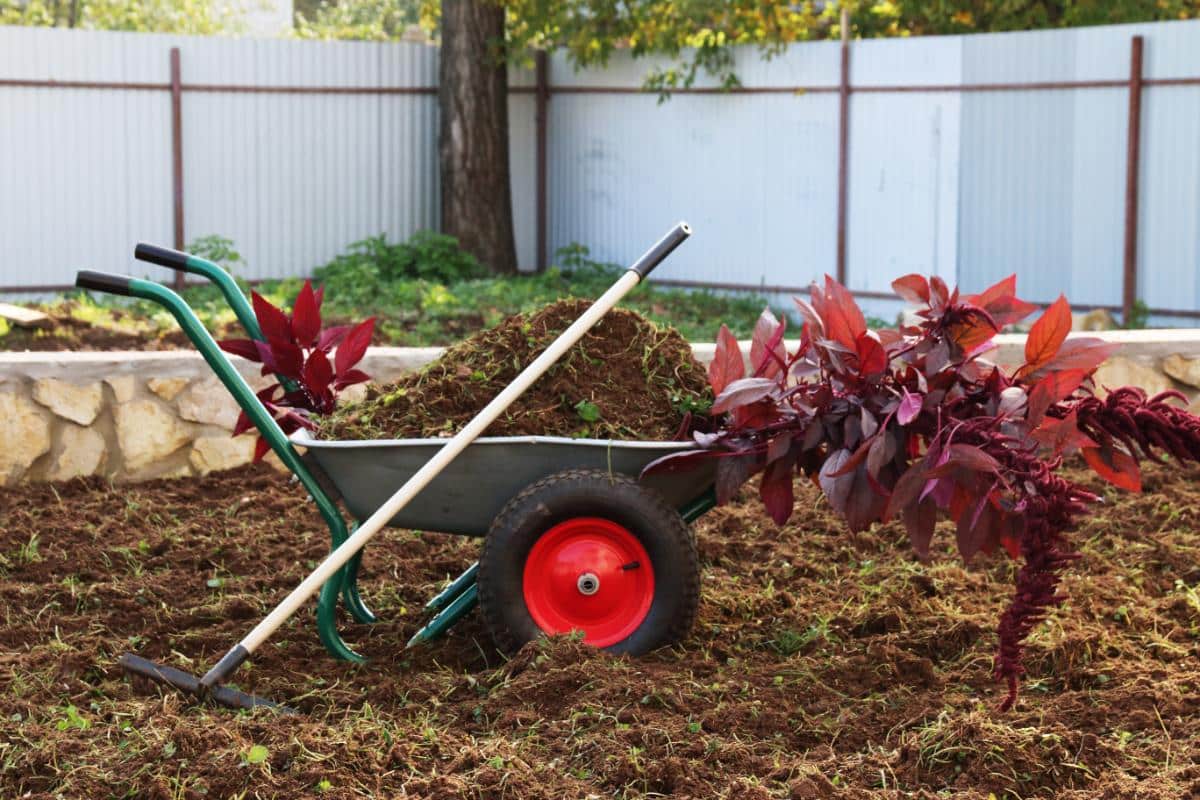
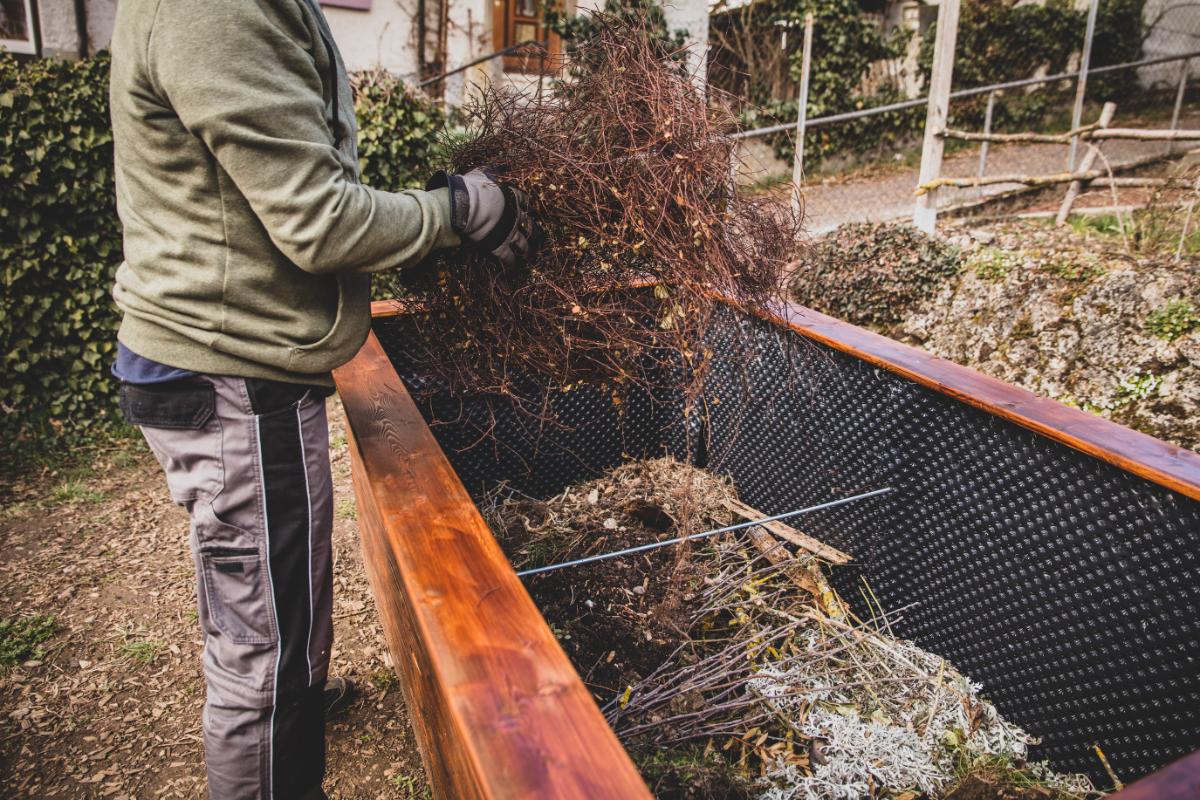
6. Fill up raised beds
Raised beds are ideal for people with poor soils or people who need a more compact or easier way to garden than gardening in the ground. But filling raised garden beds can be very expensive if you have to buy soil and/or compost.
Even if you have soil that you can amend for your beds, it’s difficult to strip enough topsoil from your yard without ruining your yard.
All sorts of yard debris make excellent bottom fillers for raised garden beds. What’s even better is that you don’t have to chip or break sticks and brush – just lay them in the bottom and let them decompose naturally over time.
Lay the biggest sticks and larger pieces in the bottom of the bed, then fill around them with smaller material like leaves and grass clippings, and use good quality soil for the top layer to plant and grow in.
Some good candidates for filling raised beds are
- Pieces of wood or branches broken from trees (in this way, it’s similar to a hügelkultur setup)
- Raked yard debris
- Old grass
- Sticks and stalks from cleaned perennial beds
- Brush
- Pruned tree and bush trimmings
- Old plant stalks and decaying plants from the previous year
- Corn stalks, sunflower stalks, etc.
- Leaves
- Spent winter mulch
7. Use as plant supports and trellises
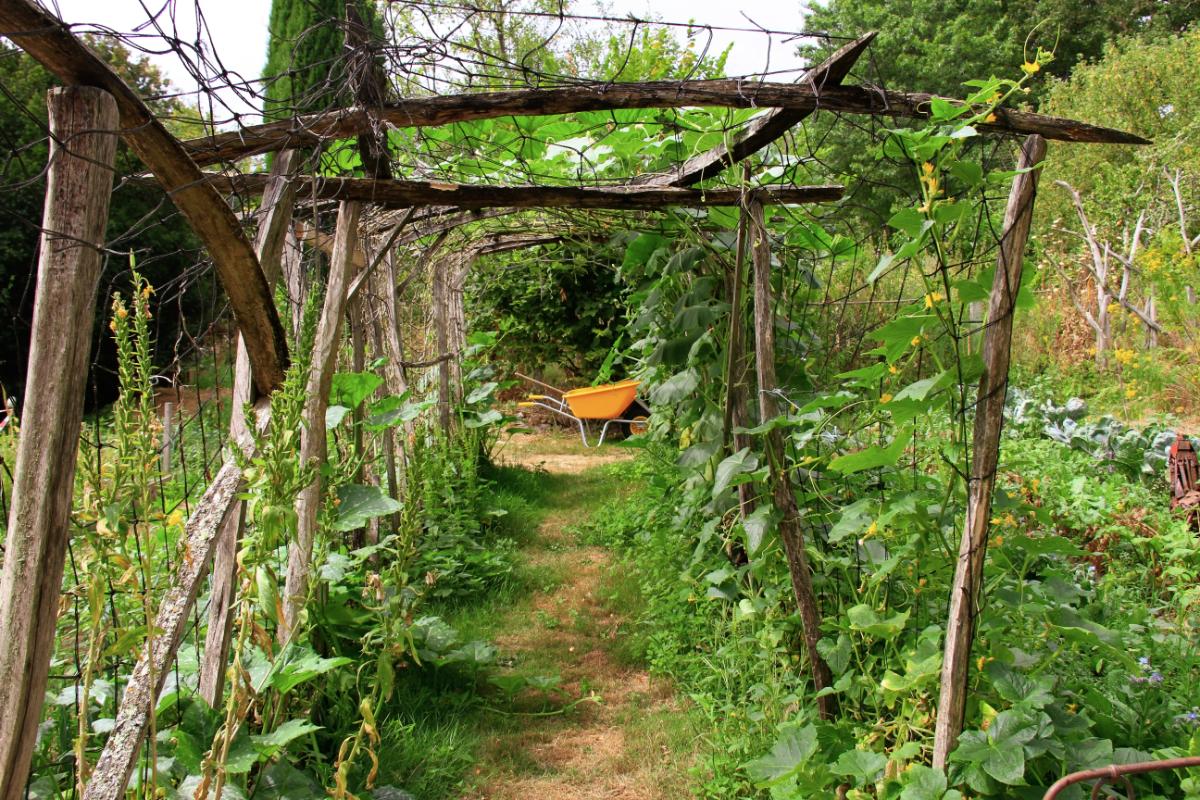
Larger brush, cut saplings, and branches can be used in many ways as plant supports.
- Tie them together to make ”tee-pee” style pyramids for climbing plants
- Use as supports for pole beans and other climbers
- Save space and grow “up” with vining vegetables like squash, pumpkins, melons, and cucumbers
- Use as stakes for tomatoes and peppers
- Use to make trellises
- Make tomato and plant cages
8. Pea brush
Instead of buying and installing fences for peas to climb on, you can use “pea brush” instead.
Pea brush is just branches and sticks stuck in the ground for pea plants to climb on. This is a trick that was frequently used by savvy gardeners in years gone by, when it wasn’t as easy to buy metal fencing. It’s one that deserves reviving!
Any stick can be used, but a brush with some branching at the top works best and provides more surface area.
The brush should be at least as tall as the plant variety that you’re growing. For taller pea varieties, use stronger brush and branches so they don’t bend under the weight.
Pea brush is easiest to use with shorter and dwarf pea varieties. For fully-sized pea varieties, you will need a tall, strong brush.
9. Natural woven and brush fences
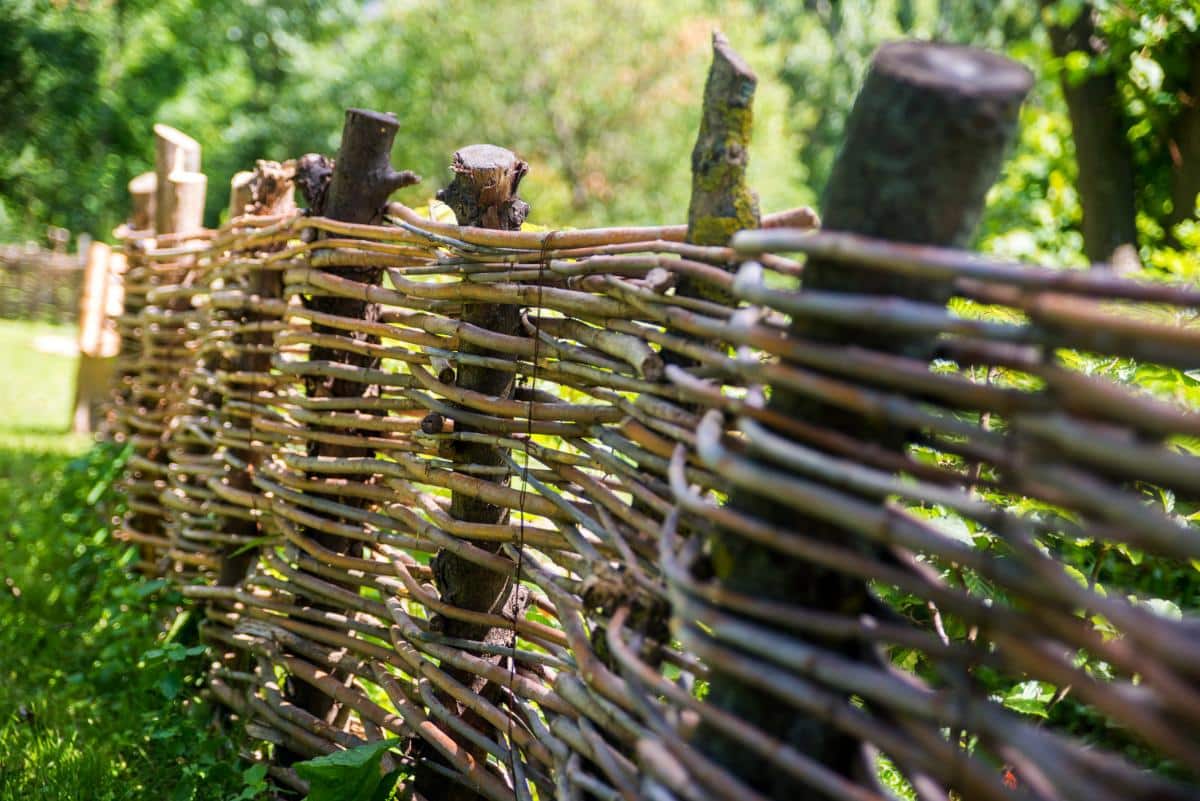
Saplings and brush can make some very attractive woven fences. You can use them for garden fences, decorative accents, low border accents, or sections for climbing plants.
Use straight, thick poles for the posts and thinner, more pliable branches and vines for the woven pieces.
There are many styles of fencing that you can make with brush, prunings, and trimmed saplings.
- Brushwood fences are fast and easy (and though some instructions use metal posts for the supports, you can use larger saplings and wood for poles instead).
- Wattle fences are a popular and attractive woven style.
10. Ash for amendment
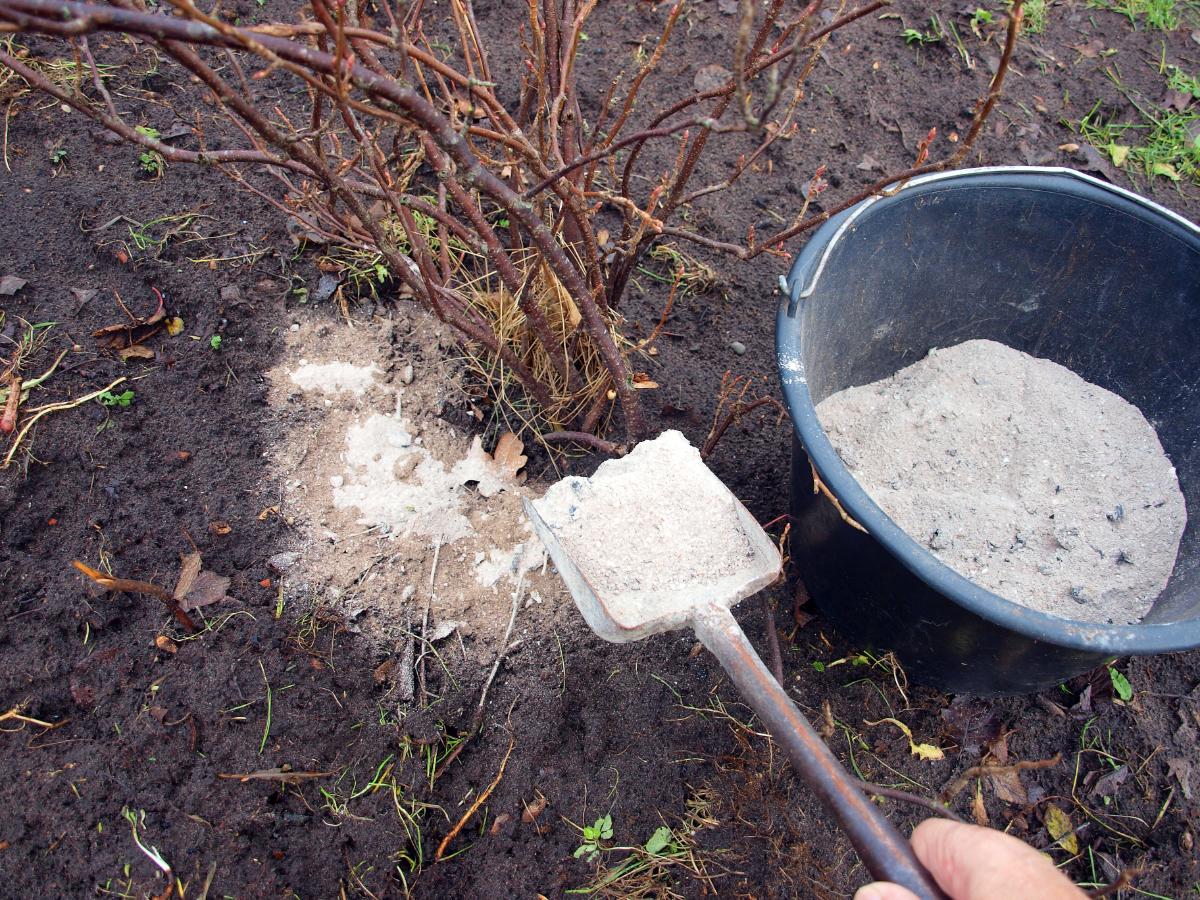
If you don’t want to keep bulky brush around, or you just don’t have the space for big piles of yard debris (which can, admittedly, take a long time to break down), you can still put your yard waste to good use by burning it and making ash for your lawn and gardens.
Ash is an excellent amendment for lawns, gardens, and landscapes. It acts fast to modify soil pH, too. Ash is a good way to quickly raise soil pH.
Ash contains high levels (about 20%) of calcium and potassium (also called potash), and about 2% concentrations of phosphorous, magnesium, and sulfur. It has trace amounts of several other minerals in lower concentrations.
Of course, you want to take care when burning brush and yard debris and follow local regulations, but turning yard debris into valuable ash soil amendment is a simple and highly useful way to put your yard waste to good work for you. There are many other ways to use ash in the yard and garden, too!
Striking a Balance and Protecting Pollinators While You Clean Up
Timing spring cleanup can be tricky, especially if you’re working on a more naturalized approach that protects hibernating bees, pollinators, and beneficial insects.
It’s a fine balance between cleaning early enough that your plants aren’t either blocked by piled-up winter waste or damaged from rakes and garden tools once they’ve started to regrow (this is an issue for perennials especially).
Here are some tips to help you manage both sides of the issue as you go about your spring cleaning:
- Pick and choose priorities. You may have some beds that can’t wait because they are early-growing perennials or early-growing and blooming bulbs. If you wait too long, you may miss the window that lets you rake and clean their beds without damaging leaves and growing plants.
- Start by cleaning just the most obvious areas
- Ideally, the best way to protect hibernators is to wait until temperatures warm up consistently and hibernating beneficial creatures are awake and moved out
- It’s safe to start cleaning once temperatures have been 50 Fahrenheit (10 Celsius) and above for several days (ideally, at night) or they are consistently staying in that range or above
- Waiting too long to remove thick winter mulch or piled-up leaves can keep the ground too cold; you may have no choice but to pull it back if you want your plants to grow
- Excess mulch and leaves can also mulch out and block new growth on perennials; this can stunt plants or kill them completely if they’re not able to move up through the thick debris
- Stack cut stems and stalks aside while you wait for temperatures to warm and insects to emerge, then put them to use in any of the ways suggested above
- If you suspect beneficial bees like mason bees might have already made them home, consider finding the stem pile a spot off to the side where it can be stacked and left instead—somewhere you don’t have to look at it, and it won’t need to be moved or disturbed
- Pile leaves and other detritus that you removed off to the side to give the insects a chance to emerge, then use them
- Leaf blowers are easier on growing plants, new stems, and new growth than metal rakes. Using one might help you delay cleanup until temperatures are in the 50’s
All of this said, university experts say that the oft-repeated advice to not clean your yard in the spring is mixed in its truth. There is also value in having exposed ground spaces because this is what some insects need to build their homes (like miner bees, bumble bees, and hummingbird moths, for example).
Further, habitats for beneficial insects can also become habitats for “bad” bugs and rodents.
So again, it’s all about balance. Consider the options and do what’s right for you and your yard.
There are other good ways to strike a balance in clean-up and habitat, too, such as leaving a naturalized section of yard or garden.
It can be difficult to manage garden cleanup and preserve pollinator and beneficial insect habitats, but there are ways we can do both and strike a balance.

Anju Dav
Amazing ideas I place leaves and sticks in compost bins.
All other tips and tricks are
also valuable. Thank you!
Sandra Knowles
A friend of my dug up some of her rose's I'm planning to plant it in my yard, any suggestions would be greatly appreciated