The leaves are changing in the trees, and there’s a hint of chill in the air. Fall is just around the corner, and with it comes apple picking, hay rides, and other autumn delights. And, of course, autumn means that Halloween is fast approaching, and it’s just about time to start carving pumpkins!
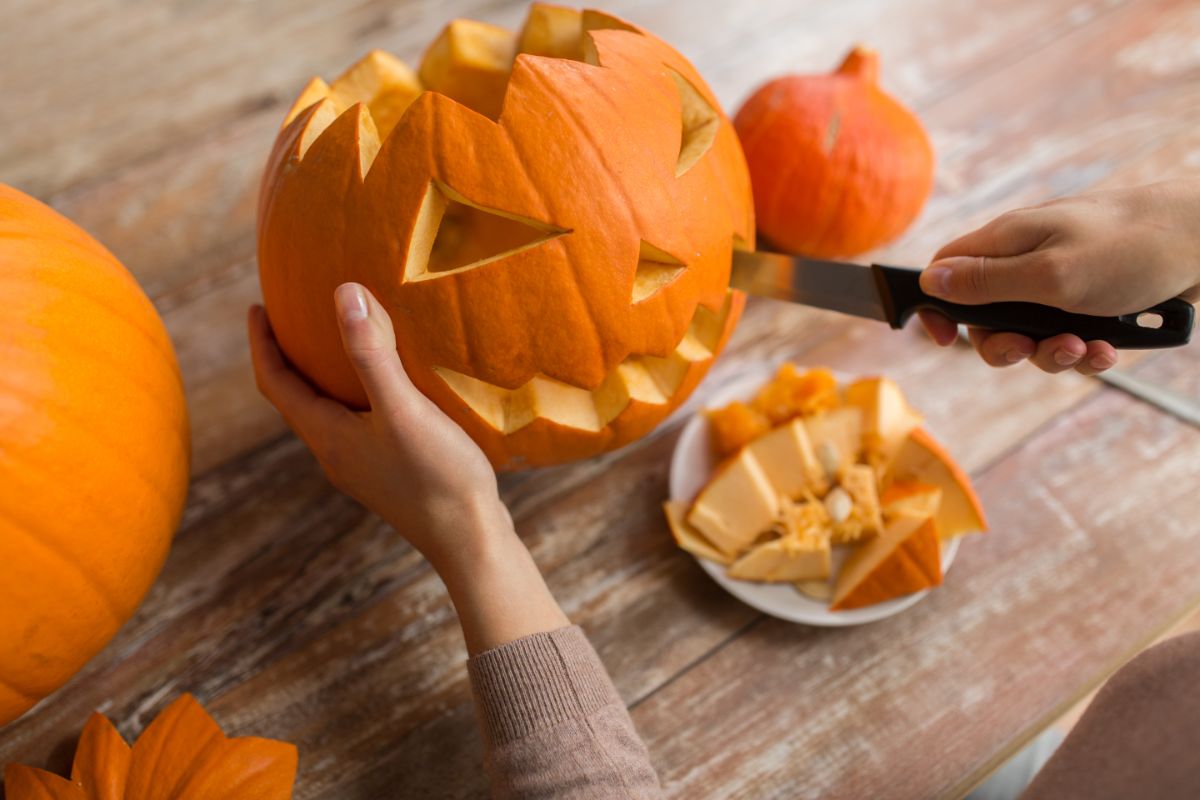
Pumpkin carving is a favorite autumn activity for children and adults alike, and it’s a great way to put your garden harvest to use, be creative, and make eco-friendly décor for Halloween. But after all of the effort of growing pumpkins for Halloween, how do you ensure your pumpkins will last through the holiday and look their best for trick-or-treaters?
Timing your pumpkin planting correctly is one way to get pumpkins just in time for Halloween, but there are other steps that you can take to keep both carved and uncarved pumpkins fresh for longer. Try out these simple pumpkin care tips this year and marvel at how long your jack ‘o’ lanterns last!
Jump to:
- 12 ways to make your Halloween pumpkins last longer
- 1. Plant pumpkins at the right time.
- 2. Protect your crop from frost.
- 3. Pick a healthy pumpkin!
- 4. Harvest your pumpkins correctly.
- 5. Handle with care.
- 6. Give your pumpkin a wash.
- 7. Cure your harvest.
- 8. Store pumpkins properly.
- 9. Wait to carve.
- 10. Keep your pumpkin dry.
- 11. Apply a coating.
- 12. Cool it down!
- What to do with pumpkins after Halloween?
- Frequently asked questions
- Summary
12 ways to make your Halloween pumpkins last longer
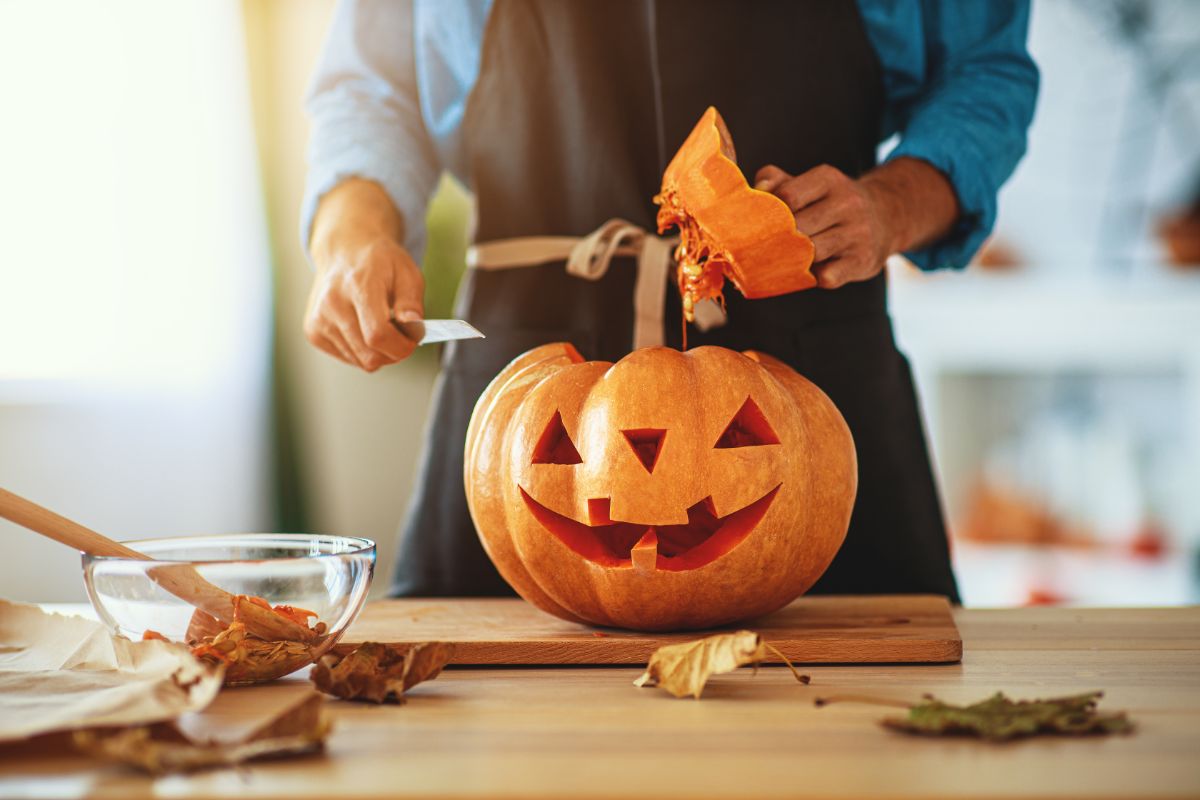
When harvested and stored correctly, uncarved pumpkins can last between 2 and 3 months, while carved pumpkins start to mold after about 3 to 5 days. That said, there are certain steps that you can take to keep your pumpkins fresh, allowing you to enjoy those Halloween vibes a little longer!
1. Plant pumpkins at the right time.
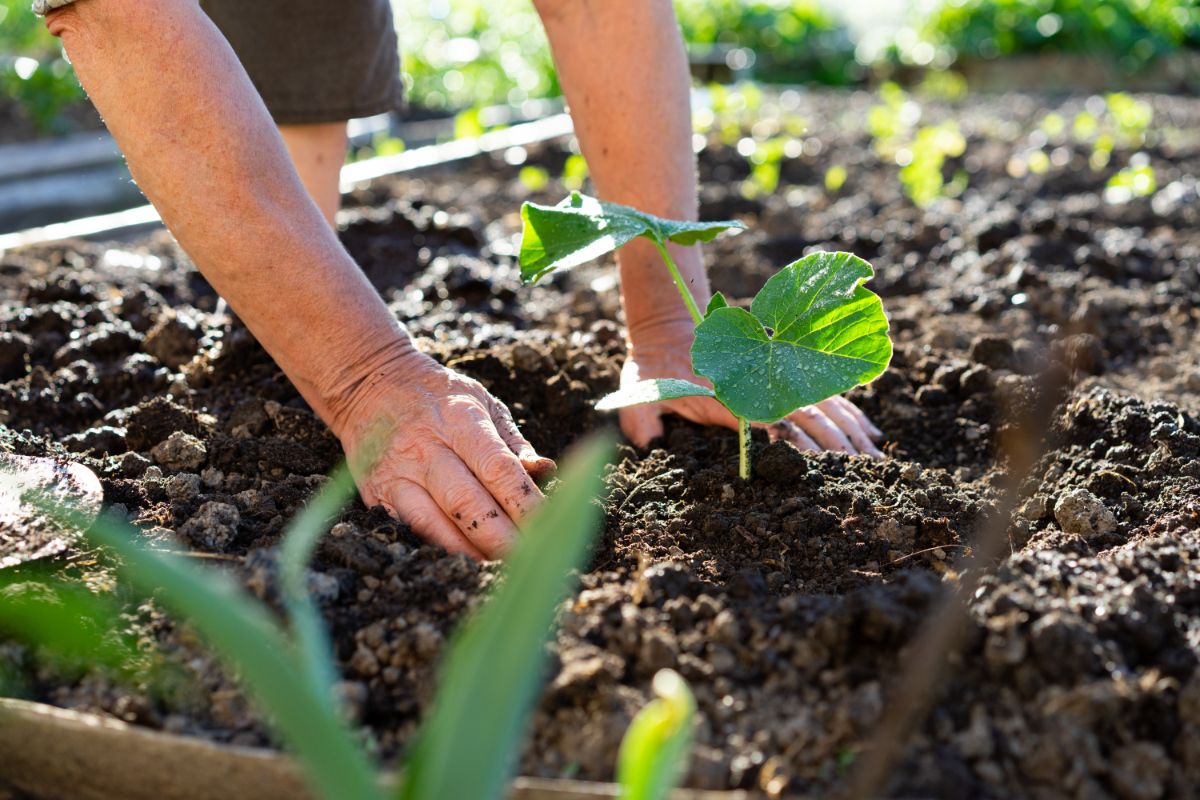
Timing your pumpkin planting correctly can be tricky, but it’s important to do if you want to have homegrown pumpkins just in time for Halloween. Different pumpkin varieties grow at different rates, but in general, carving pumpkins takes about 90 to 120 days to mature. Planting pumpkins too late will reduce the chances that your pumpkins will be ready in time for the holiday, while pumpkins planted too early may rot before Halloween even arrives!
In cool climates, pumpkins are usually planted towards the end of May. However, in warmer areas, you may still be able to plant pumpkin seeds into June and early July since the warm temperatures will help pumpkin plants mature a bit quicker. Also, don’t forget that pumpkin seedlings are not cold-tolerant, so you shouldn’t plant them outdoors until the danger of frost has passed!
2. Protect your crop from frost.
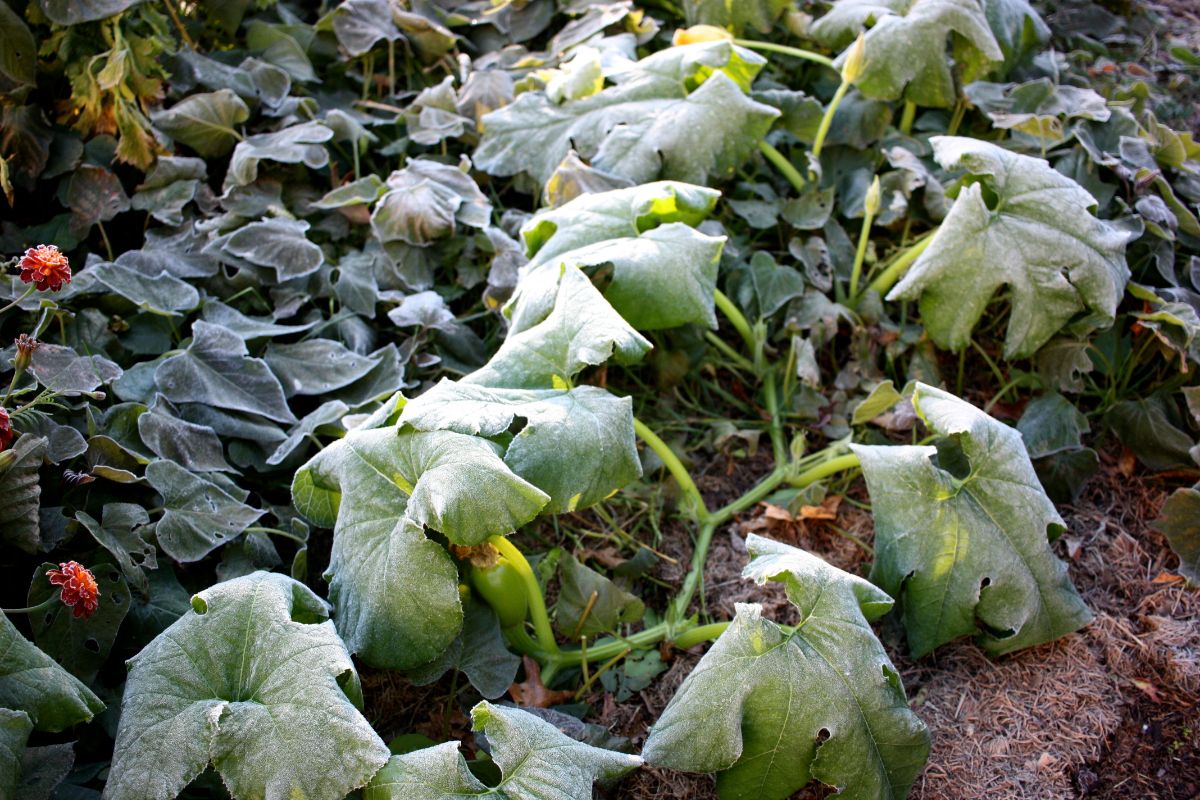
Mature pumpkin vines are relatively hardy, and they can withstand a light frost or two. But if a hard frost is on the forecast and your pumpkins are still growing in your garden, you may need to harvest your crop a bit early to protect it from frost damage.
While it’s always best to pick pumpkins when they’re fully ripe, pumpkins can be damaged by severe cold, and all pumpkins should be harvested before temperatures drop into the mid-20s. Pumpkins that have started to turn orange will continue to ripen off the plant’s vine, but fully green pumpkins may not mature properly off the plant.
If you need to pick pumpkins early and you’re worried they won’t ripen fully, place your pumpkin in a warm and sunny location indoors and turn the green side of the pumpkin towards the light. Then rotate the pumpkin every few days to help it ripen evenly. Alternatively, if you don’t want to bother with nursing underripe green pumpkins along, you can also cook them up just like zucchini!
3. Pick a healthy pumpkin!
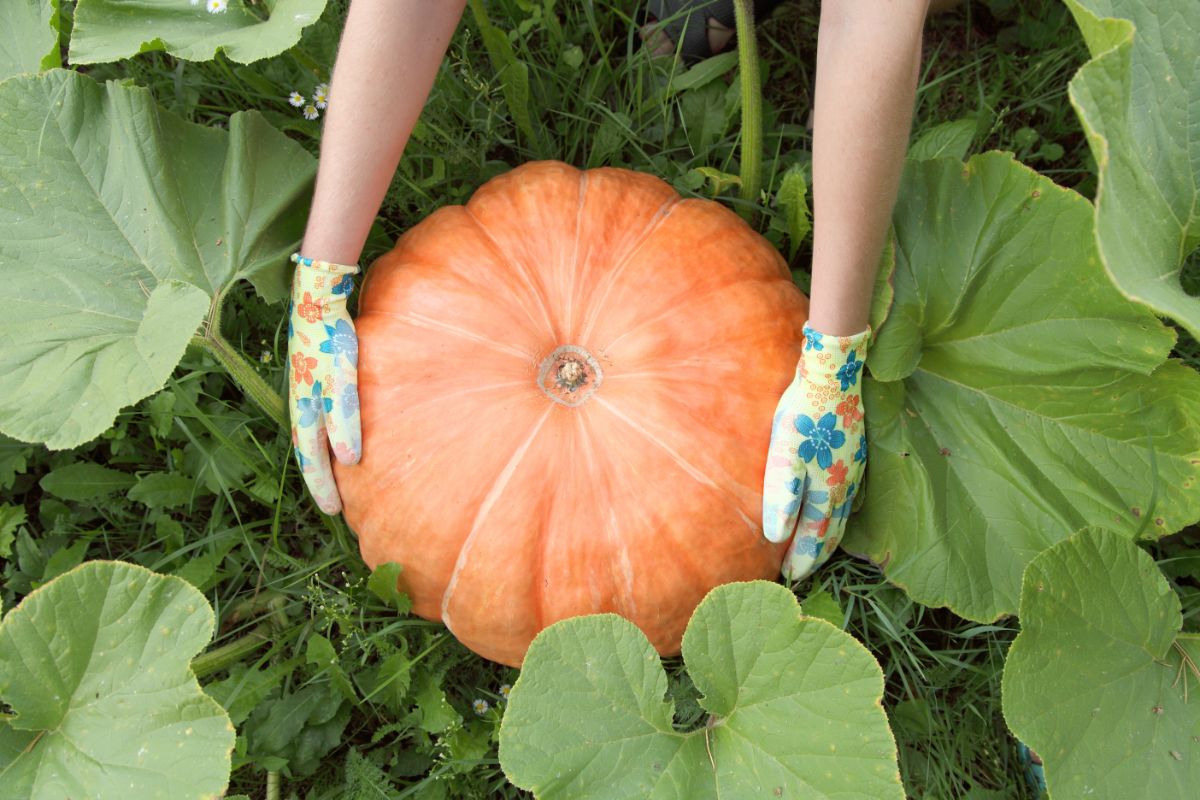
Pumpkin harvest time is always exciting, and it can be hard to wait until pumpkins are ready to pick. But when cold weather arrives, and autumn starts in earnest, pumpkins ripen on their vines, and their vivid orange skin serves as a beacon to let gardeners know it’s time to start harvesting!
Whether you’re growing your own pumpkins in your garden or you purchase pumpkins from a local farm or farmstand, you’ll want to pick healthy pumpkins to ensure they last through Halloween. Pumpkins with soft or mushy spots have already started to spoil, so they’re not good candidates for carving. And while pumpkins can have some natural color variation, if a pumpkin seems discolored due to rot or frost damage, skip it and find a different pumpkin for your Halloween décor!
4. Harvest your pumpkins correctly.
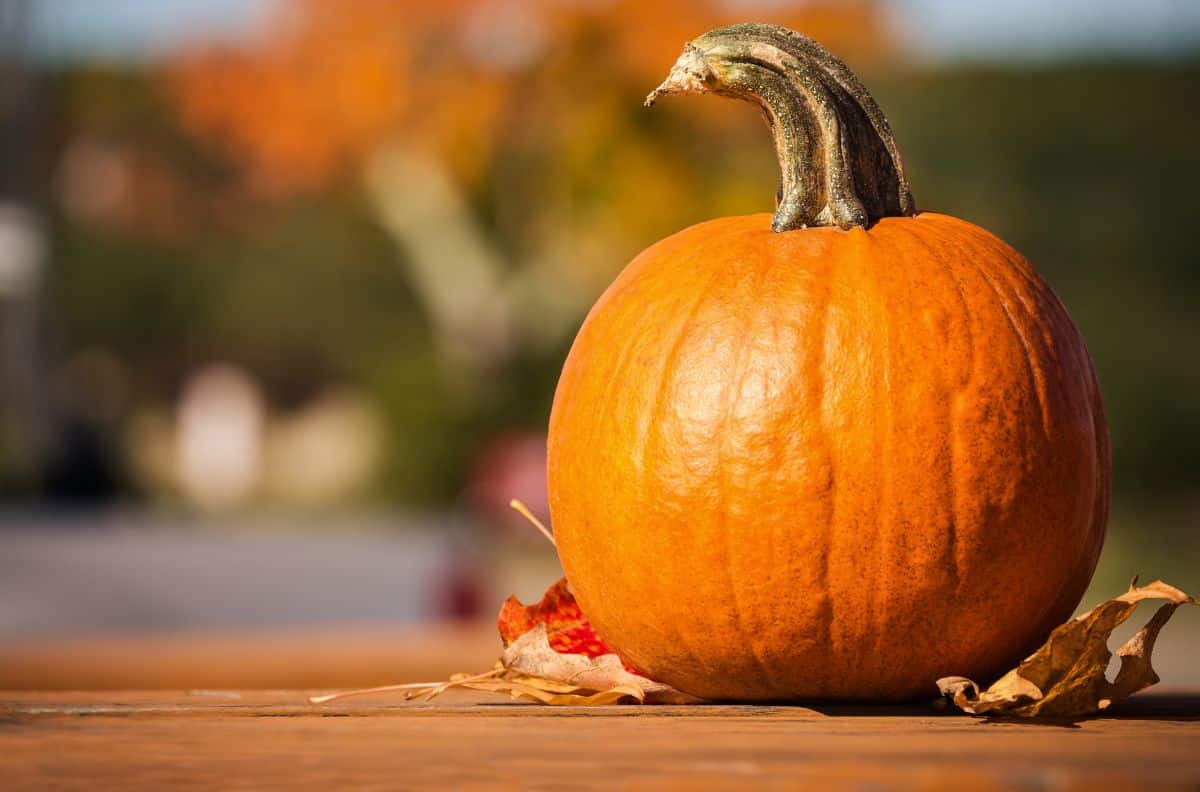
When the day finally arrives, and you’re ready to pick your pumpkins, make sure you cut your pumpkin from the plant’s vine using a sharp knife or pair of pruners. And always leave a 3 to 4” stem attached to your pumpkin too! Leaving a long stem on pumpkins helps the fruit to last longer, and it also shields pumpkins against fungi and bacteria.
If you’ve never harvested a pumpkin before and you aren’t quite sure how to tell if pumpkins are ready to pick or not, some key signs to look for include:
- The pumpkin vine is starting to shrivel and turn brown. As pumpkins ripen, pumpkin vines will usually start to die back, and the plant’s stems and leaves will shrivel and discolor. However, plant diseases and frost can also cause pumpkin vines to die, so you may want to look for other signs that your pumpkin is ready to pick.
- The pumpkin’s skin is dull. Immature pumpkins typically have slightly glossy flesh, which catches the light. As pumpkins ripen and reach a pickable size, you’ll notice that pumpkins will usually develop a dull or matte skin tone.
- The pumpkin has a rich and evenly developed color. Different pumpkin varieties develop different skin colors, and there are also mottled pumpkin varieties. Knowing what color your specific pumpkin varieties are supposed to be when mature will help you judge when they’re ready to pick!
- The pumpkin’s rind is tough and firm. Ripe pumpkins have tough skins, which help protect the fruit from diseases. When mature, the skins of most pumpkin varieties should be so firm that they’re not easily punctured with your fingernail.
5. Handle with care.
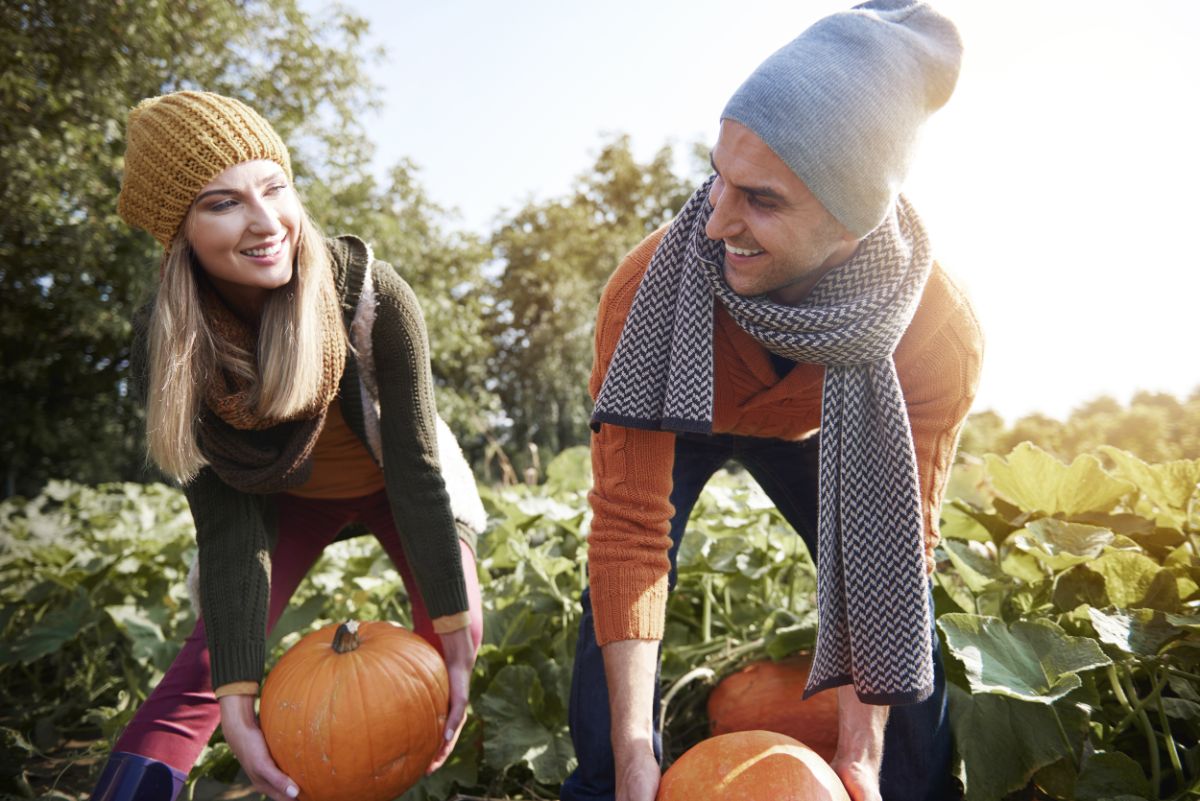
Rough handling and bruising can cause pumpkins to spoil faster, so you’ll want to be careful with your pumpkins after you pick them from your garden. While you don’t need to wrap your pumpkins in bubble wrap, do your best to keep them from bouncing around or getting damaged.
Because intact pumpkin stems are so important for pumpkin preservation, take extra precautions with your pumpkin’s stems after harvesting. Never carry your pumpkin by the stem during transport and, instead, carry your pumpkin with two hands supporting the fruit’s base.
6. Give your pumpkin a wash.
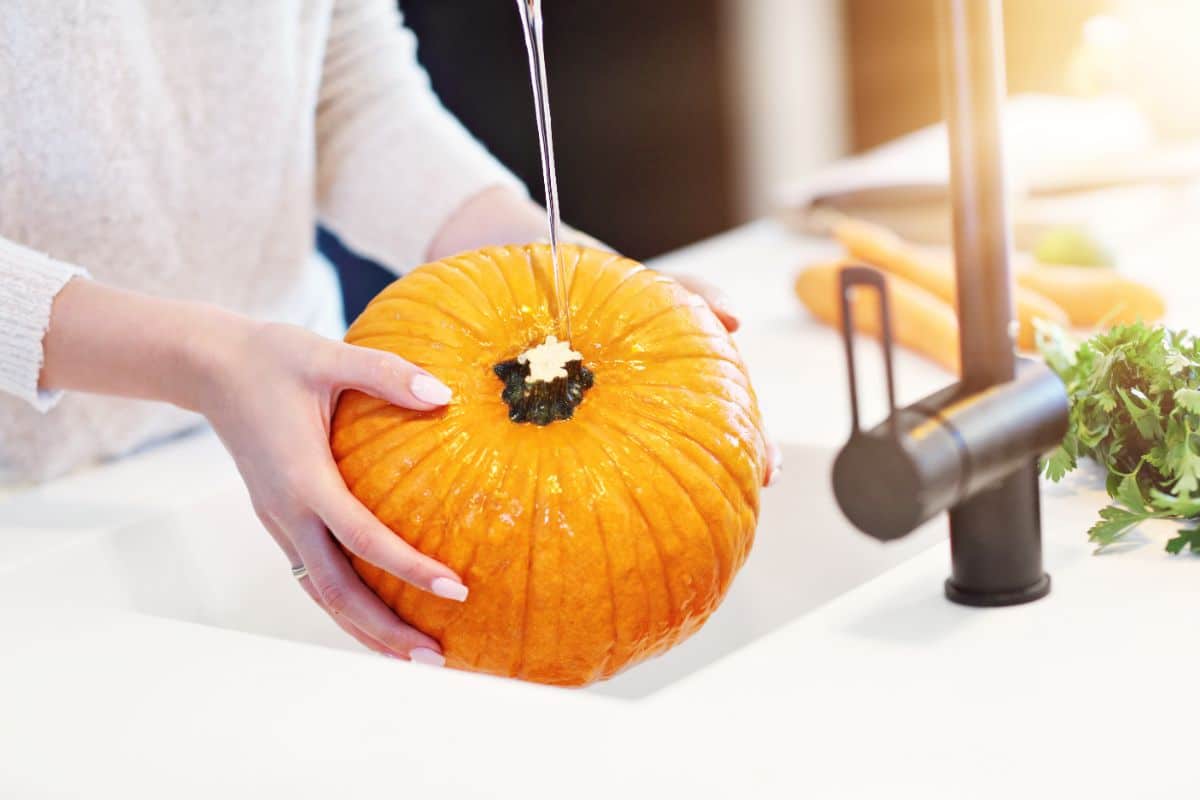
After harvesting, pumpkins can be quite dirty and covered in mud. While this may be unsightly, that extra dirt and grime can also be a breeding ground for bacteria and other pathogens that may cause your pumpkin to rot early. To avoid this, give your pumpkin a good washing before you store or carve it.
Rinsing your pumpkins off with warm water is one option, but you’ll get even better results if you wash pumpkins in a 10% bleach solution. Then, rinse your pumpkins with fresh water and towel them off until they’re sparkling clean and thoroughly dry!
7. Cure your harvest.
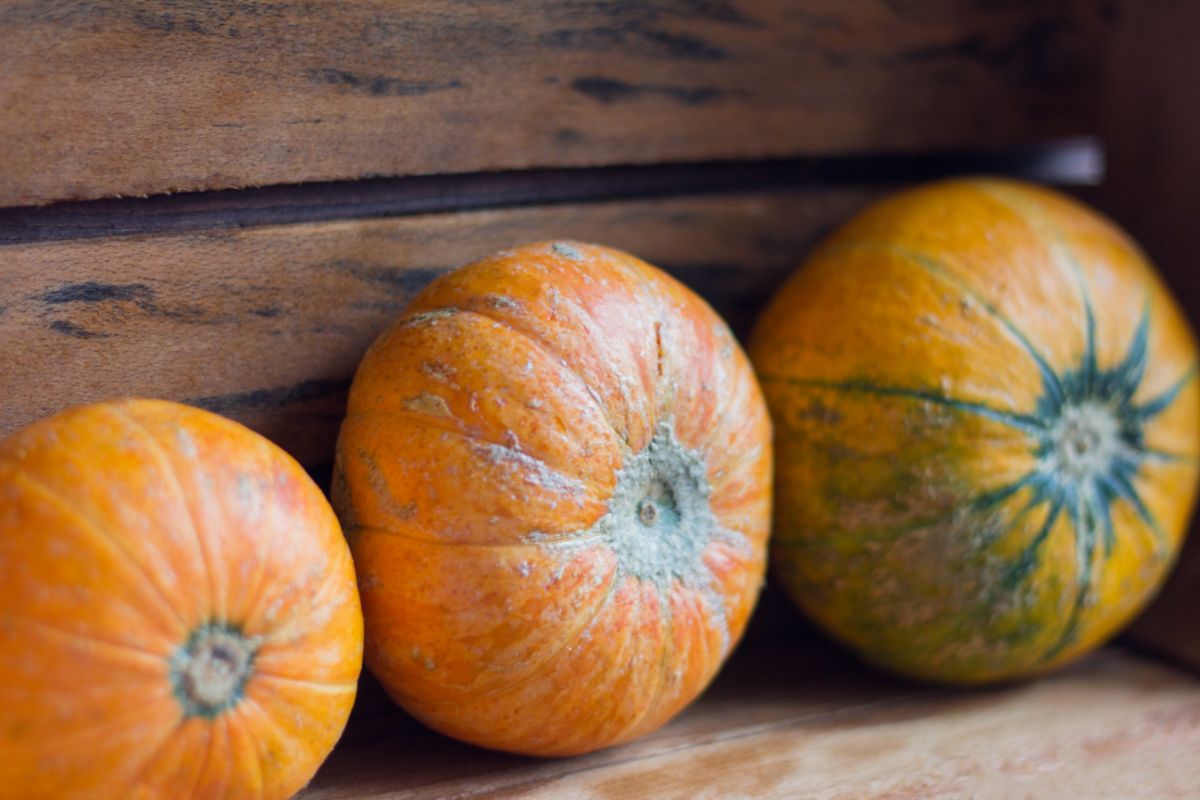
Like other gourds, pumpkins will last a lot longer if you cure them after harvesting. However, if it’s late in the season and you want to carve your pumpkins right after picking, this step isn’t strictly necessary. Just keep in mind that curing helps both carved and uncarved pumpkins stay fresh.
After washing your pumpkins and drying them thoroughly, place your pumpkin harvest in a dry and sunny area for a week or two. If rain isn’t in the forecast, you can allow your pumpkins to cure in a sunny section of your garden, or you can bring them indoors to cure in a sunny window, sunroom, or covered porch. As pumpkins cure, their skin naturally hardens, which helps lock out bacteria and wards against premature rot.
8. Store pumpkins properly.
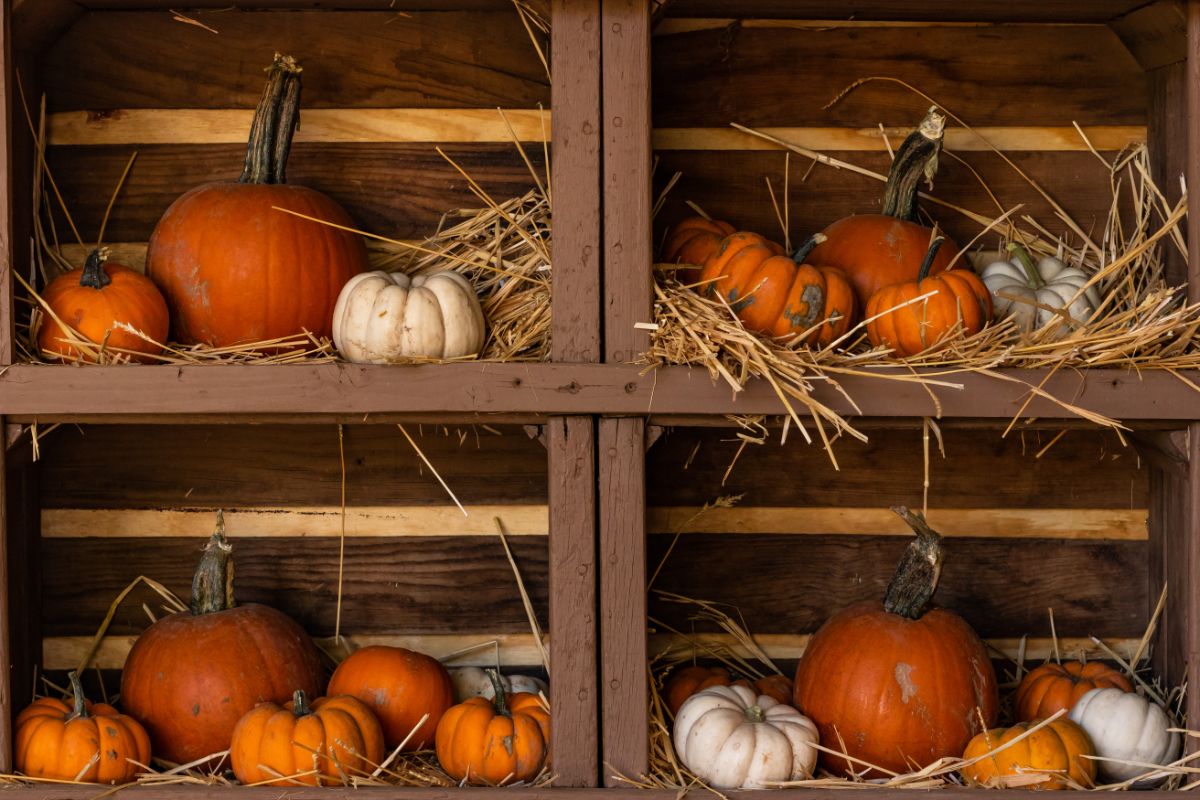
Once pumpkins have been cured, they can either be carved for Halloween or they can be placed in storage until the holiday arrives. For best results, store pumpkins in a cool (around 50F) and dry location and keep them out of direct sunlight. A cool garage or basement is usually just right for this.
When uncarved pumpkins are cured and stored in this manner, they can last for about 2 to 3 months. However, be sure to store your pumpkins at temperatures above 45F since cooler temperatures can damage the pumpkin’s flesh and speed up decay. During storage, pumpkins should be placed a bit apart from each other so that they aren’t touching and air can move around freely.
9. Wait to carve.
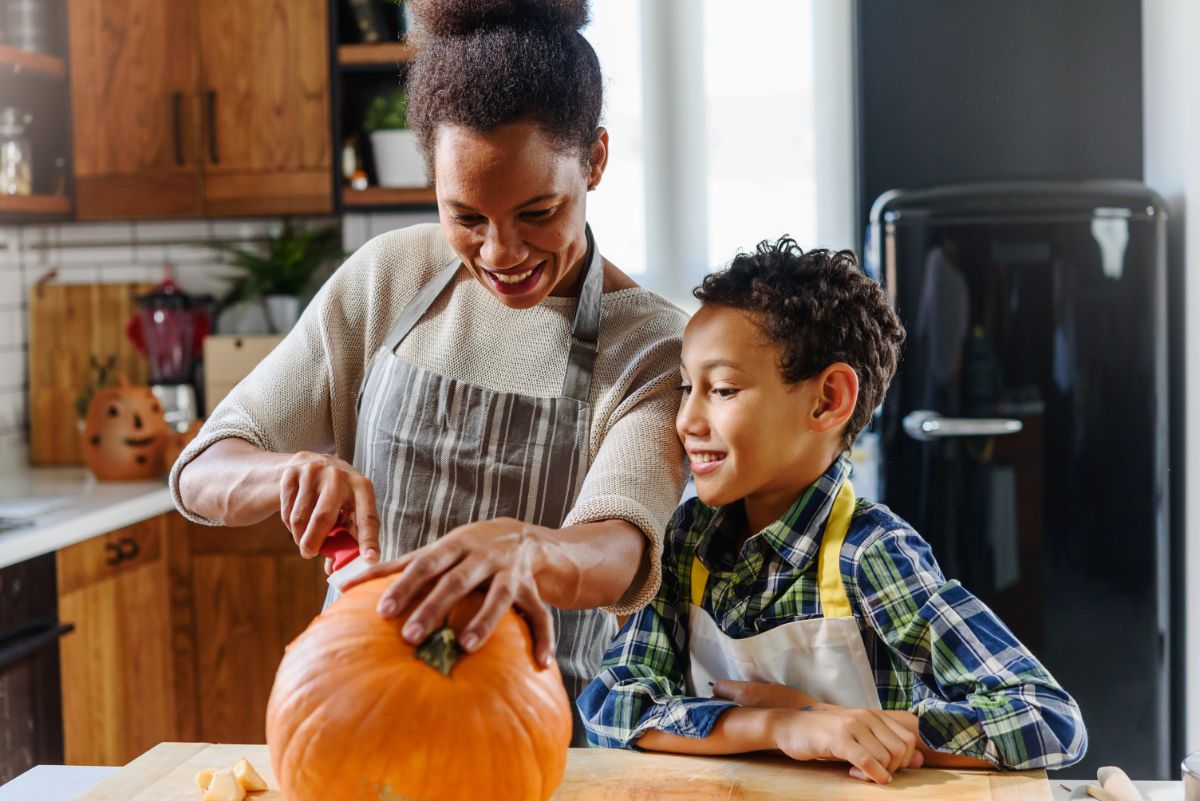
With all of the excitement of Halloween, it can be difficult to wait for pumpkin carving time – especially if you have a cool design planned out. But since pumpkins stay fresh much longer if they are whole, it’s best to wait to carve your jack ‘o’ lantern.
Once carved, pumpkins will only last a few days, so wait until right before Halloween (or trick-or-treat night) to bring out your pumpkin carving supplies. When you’re finally ready to carve your pumpkin, scoop out all the pulp you can and then air out your pumpkin to allow the interior of the pumpkin to dry. Any moisture left inside the pumpkin can promote rot, and no one wants that!
While carving is the traditional way to decorate pumpkins for Halloween, if you want your pumpkin to last longer (or you’re working with small children), there are other options. One popular alternative to pumpkin carving is to paint pumpkins with non-toxic acrylic paint, and it has the added perk of being child-safe since no sharp knives are needed. You can also glue decorative items, like googly eyes, to pumpkins, use stickers, or melt crayons over them to add color and a bit of whimsy.
10. Keep your pumpkin dry.
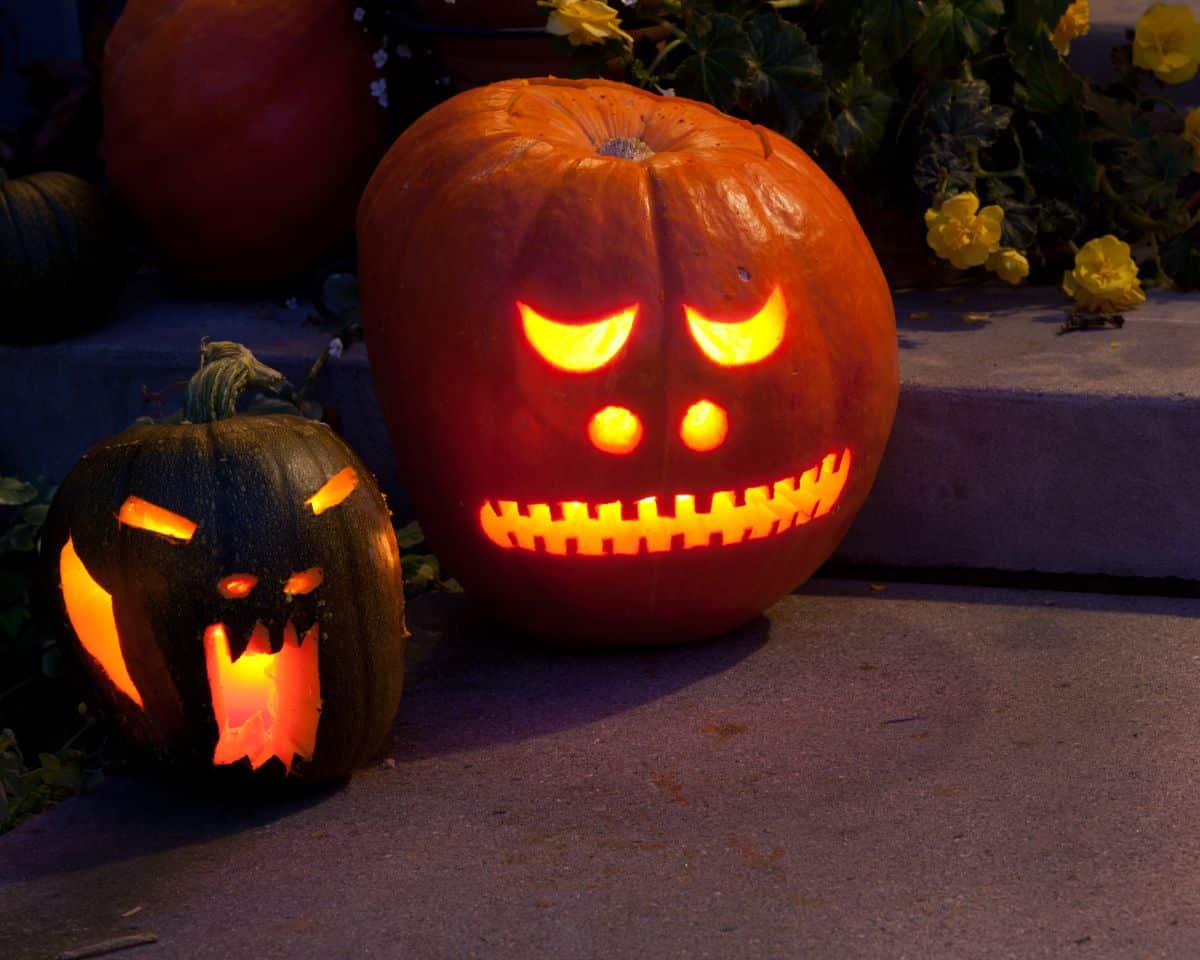
After pumpkins are carved, the countdown has begun.
However, you can keep your carved pumpkins fresh for longer by storing your jack ‘o’ lanterns out of direct light on a covered porch. Storing your pumpkins outdoors, rather than indoors, is also recommended as the cooler temperatures will slow down rot. Just be sure to protect your carved pumpkins from very chilly temperatures and bring them indoors if a cold snap is in the forecast.
Beyond temperature and light considerations, pests can also speed up pumpkin decay, and flies and fruit flies can be particularly problematic for outdoor jack ‘o’ lanterns. Placing a glass of apple cider vinegar near your pumpkins can lure some of these pests away from your pumpkins and help keep your Halloween décor looking pristine a bit longer.
11. Apply a coating.
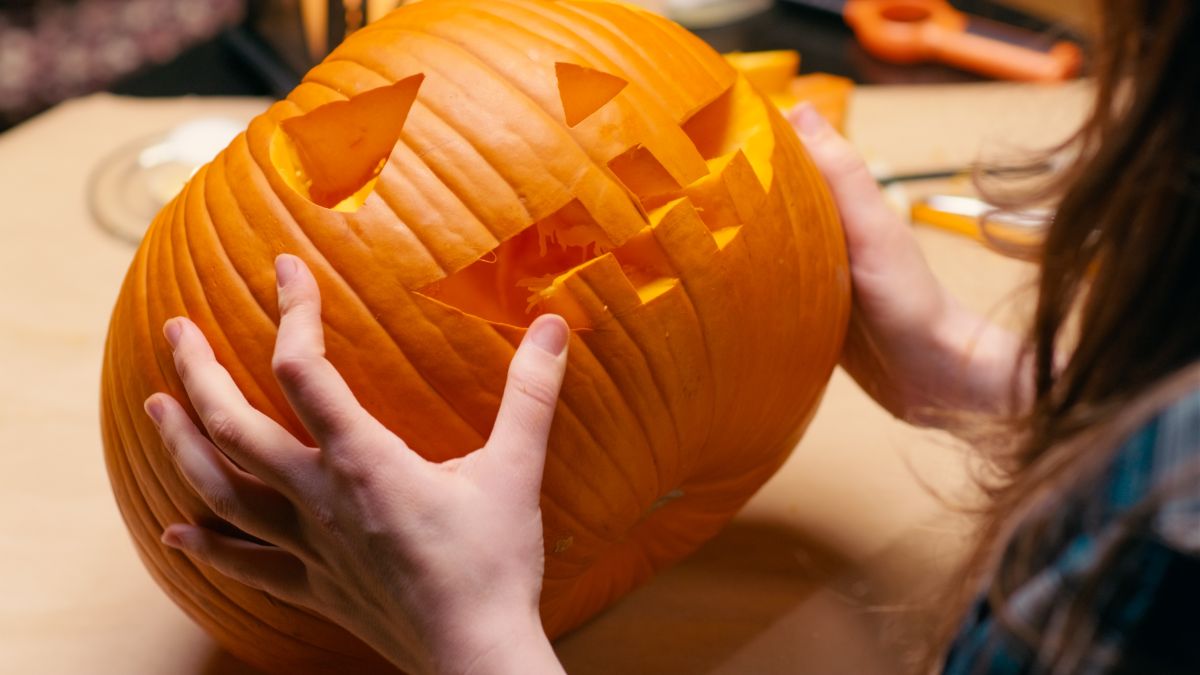
If you prefer a natural look, feel free to skip this step. But if you really want to keep your pumpkin around for a few more days, there are a few other tips to try.
One option is to rub pumpkins down with petroleum jelly immediately after you carve them. This will help lock in moisture and keep the pumpkin from oxidizing as quickly. If you don’t like working with petroleum jelly, you can swap it out for olive oil or coconut oil.
Another option is to spray or dunk your pumpkin in a 10% bleach solution immediately after carving. This treatment will also kill off bacteria and slow down rot.
A final choice is to make your own peppermint solution by adding a few drops of peppermint essential oil to a squeeze of peppermint-scented Castile soap. Using gloves, rub the mixture over the inside and outside of your carved pumpkin, and then place your pumpkin outside for the trick-or-treaters to admire. Peppermint oil has anti-bacterial properties that will ward against decay, but it also smells simply divine!
12. Cool it down!
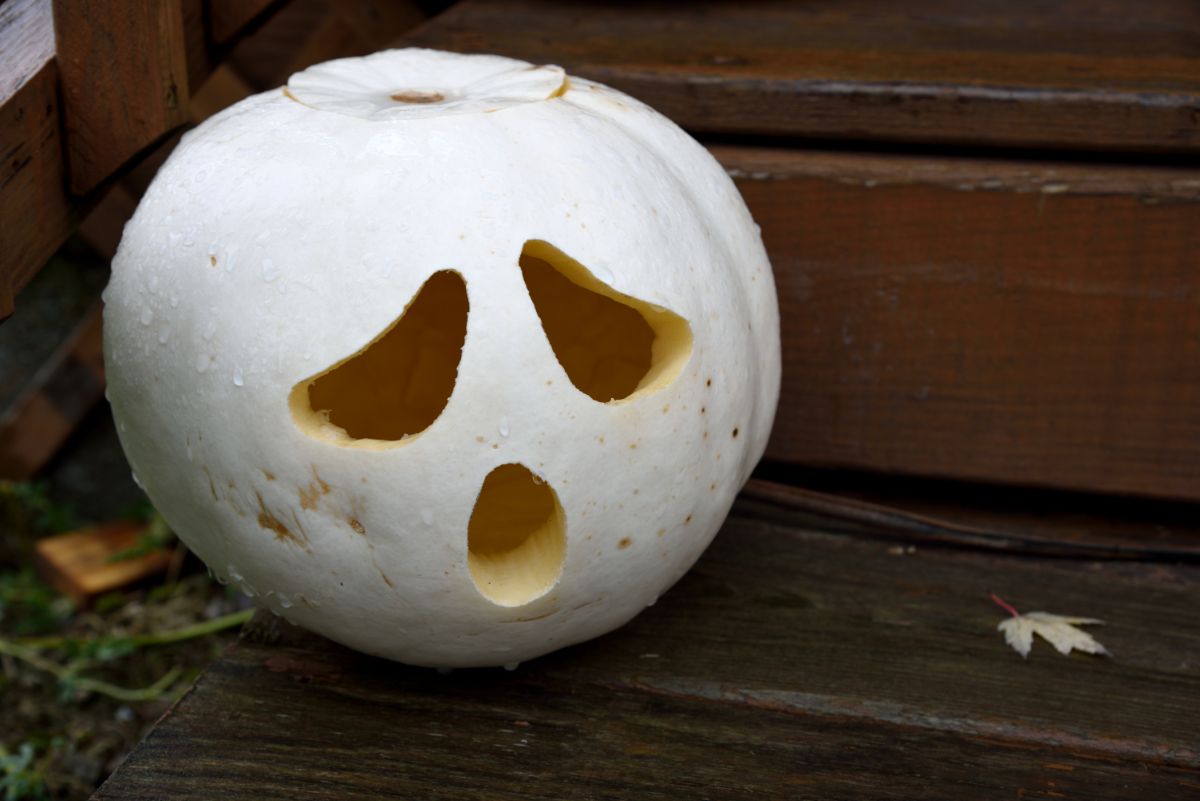
After doing all of the hard labor of pumpkin carving, you probably want to display your pumpkin proudly on your fireplace mantle or front porch. But if you’d like your pumpkins to last longer, switch things up and place your pumpkins in a cool place when you aren’t around to admire them. Storing pumpkins in a cool and dry garage or basement is one option, but you can also keep small pumpkins right in your fridge.
If you don’t want to bring your jack ‘o’ lanterns back indoors after carving, keep them outside in a cool location that’s protected from rain. While you won’t be able to keep your pumpkins fresh forever, you can keep them around for a little while longer with the proper steps and techniques!
What to do with pumpkins after Halloween?
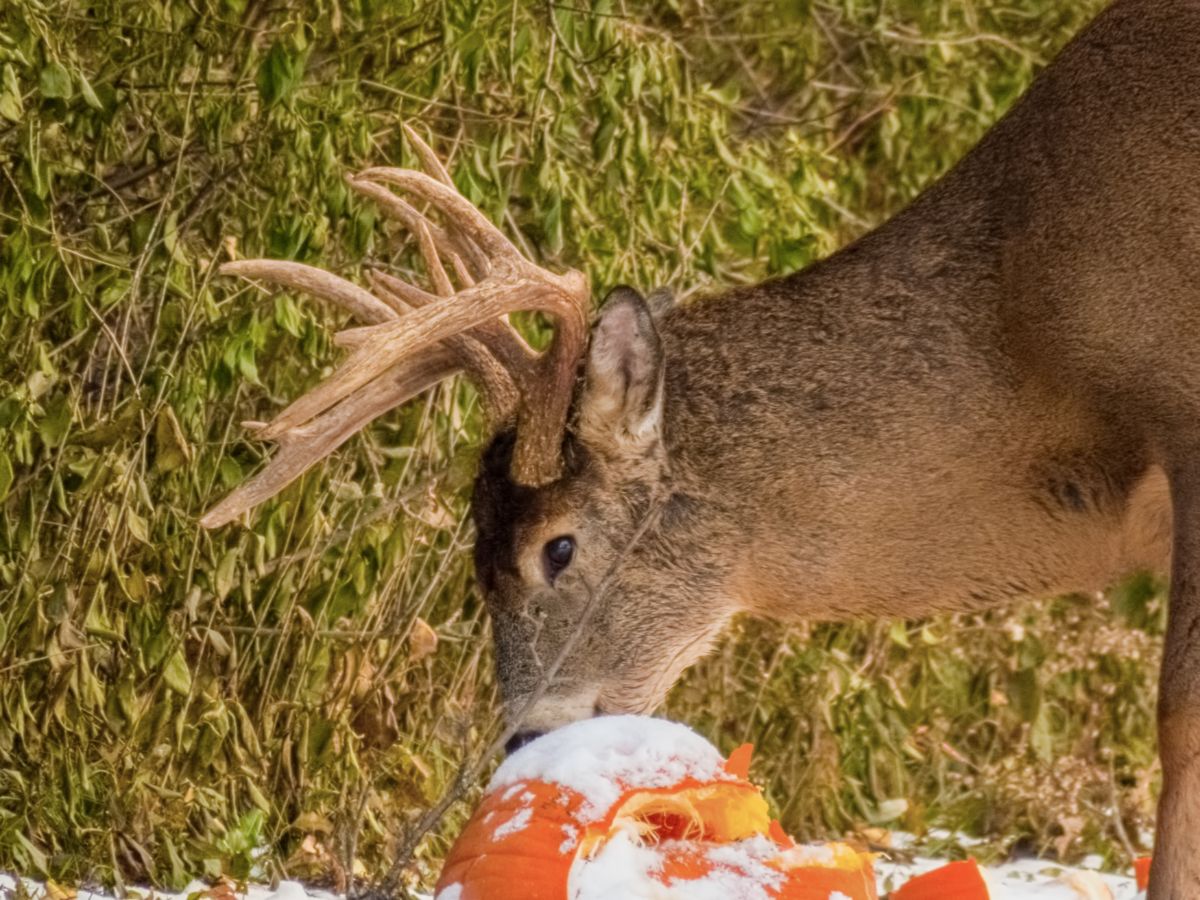
Once Halloween is over, it’s hard to throw out your pumpkins. But there are plenty of reasons why you may not want to chuck your pumpkin in the trash anyway!
Even after pumpkins are past their prime, they’re still very useful, and they can be fed to wildlife or used to enrich your garden. Finding ways to repurpose pumpkins limits food waste, but it’s also a smart way to return plant nutrients back into your garden! Some of the best ways to put old pumpkins to good use include:
- Feed them to wildlife. Deer, birds, and other critters love munching on old pumpkins. Just make sure you remove any candles before tossing your pumpkins outdoors, and don’t feed any pumpkins that have been treated with paint, glue, or other non-natural products to wildlife.
- Feed them to chickens. While wild animals love pumpkins, backyard chickens adore them too! If you happen to have a flock of egg-laying hens, they’ll be happy to gobble up pumpkins and pumpkin seeds for you – just make sure your pumpkins are contaminant-free!
- Take them to local farms. Even if you don’t have your own chickens (or other livestock), there’s a good chance that someone in your community does! Check to see if any local farms are accepting pumpkin donations before you chuck your pumpkins in the bin.
- Add them to your compost pile. Pumpkins are rich in nutrients, including nitrogen, which is a primary component of homemade compost. Adding old pumpkins to your outdoor composting bin is a smart way to get more use out of your pumpkins and enrich your garden beds at the same time!
- Bury them. Trench composting or composting in place occurs when pumpkins and other food and yard scraps are buried right in the garden. Over time, these natural items break down, enriching the soil and providing sustenance to any plants grown in that spot next year.
You can use old pumpkins with trench composting methods, or you can bury them in a hole with other food scraps to make your own “melon pits.” By spring, these pits will be so high in nutrients that they’ll support the growth of even the heaviest-feeding plants, like melons, squash, and of course, pumpkins!
Just remember to bury pumpkins and other food scraps at least 10 to 12” deep in melon pits or compost trenches in order to deter digging animals like coyotes.
Frequently asked questions
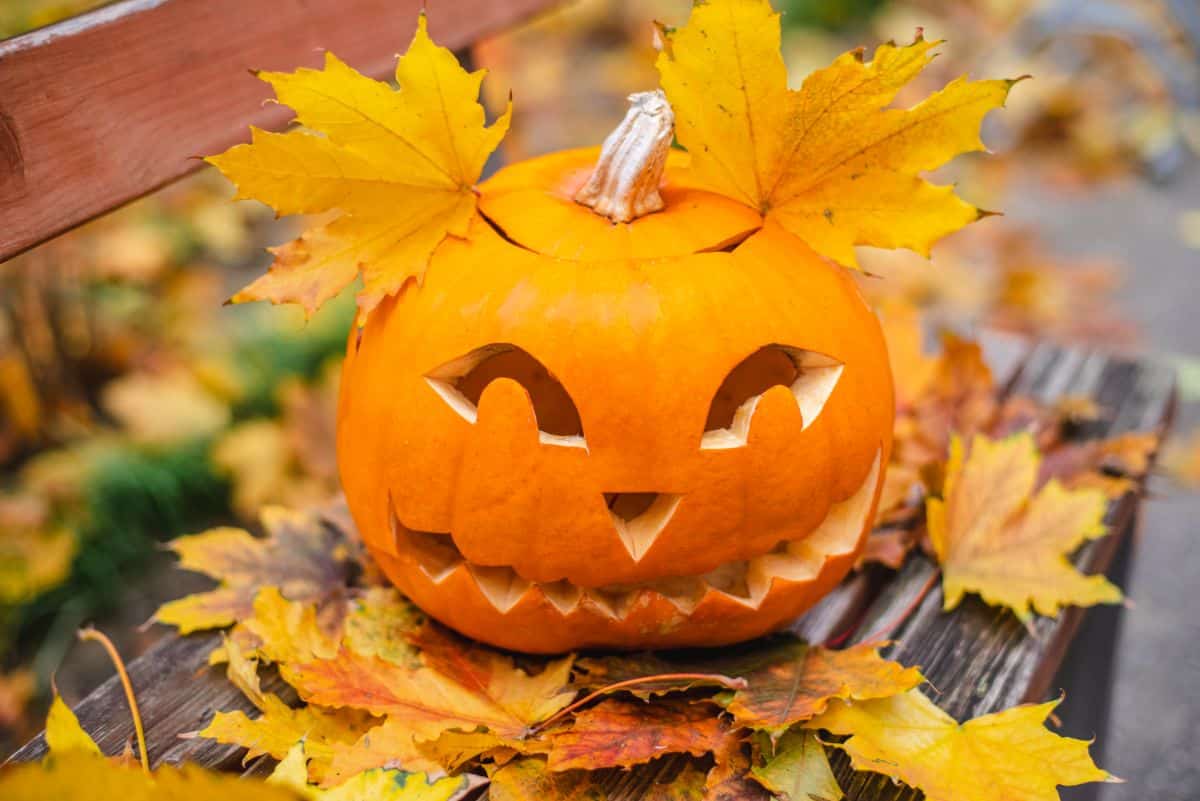
Pumpkins don’t last as well once they’ve been carved, so it’s best to wait to decorate your pumpkins until right before Halloween. After carving, pumpkins only last for about 3 to 5 days, but you can keep them fresh a bit longer by keeping them cool and out of direct sunlight.
The best way to store pumpkins is to place whole, uncarved pumpkins in a cool, dry place that’s out of direct sunlight – such as in a basement or garage. After carving, pumpkins can be stored outdoors to keep them cool, or they can be placed in your fridge when you’re not busy admiring them!
Yes, eventually, all pumpkins will rot, but uncarved pumpkins last a lot longer than carved jack ‘o’ lanterns. When properly stored, uncarved pumpkins should remain fresh for about 2 to 3 months.
Uncarved pumpkins will last better if you wait until the end of September to early October to display them outdoors or on your porch. Carved pumpkins don’t last very long, so pumpkins shouldn’t be carved and displayed until just before Halloween.
Yes! When thrown into the woods, pumpkins will help feed wildlife, and they’ll naturally decompose and feed the soil too. But if you don’t want to throw pumpkins into the woods, you can also add them to your compost pile.
Pumpkins are the most popular food to carve around Halloween, but if you’re feeling adventurous, you can also carve gourds and winter squash. For something really different (and a bit historical), try carving turnips, which was a common practice in the 19th and early 20th centuries.
Summary
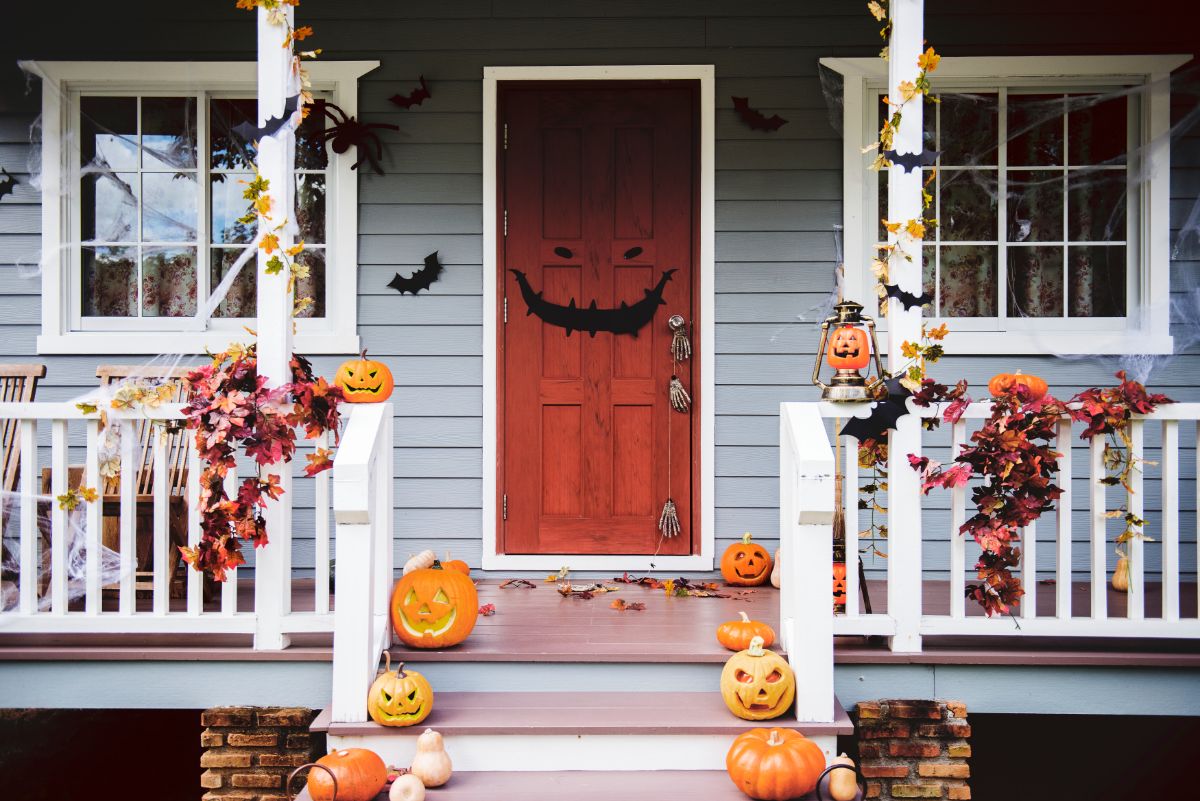
Homegrown pumpkins are one of the most festive foods to harvest from your garden at the end of the season. Not only are pumpkins tasty in pies and soups, but they also make some of the most traditional holiday décor. Carved or uncarved, pumpkins fit right in with scarecrows, cornucopia, and other decorative elements, and of course, they’re must-have porch decorations for anyone who celebrates Halloween!
Fun to grow and even more fun to carve; it’s always a treat having pumpkins at Halloween. But if you want to keep your pumpkins around for longer, the tips we’ve covered today should do the trick. However, if you’re looking for even more autumn decor ideas, try displaying your hand-carved jack ‘o’ lanterns with these fall-colored autumn container plants!

Leave a Reply