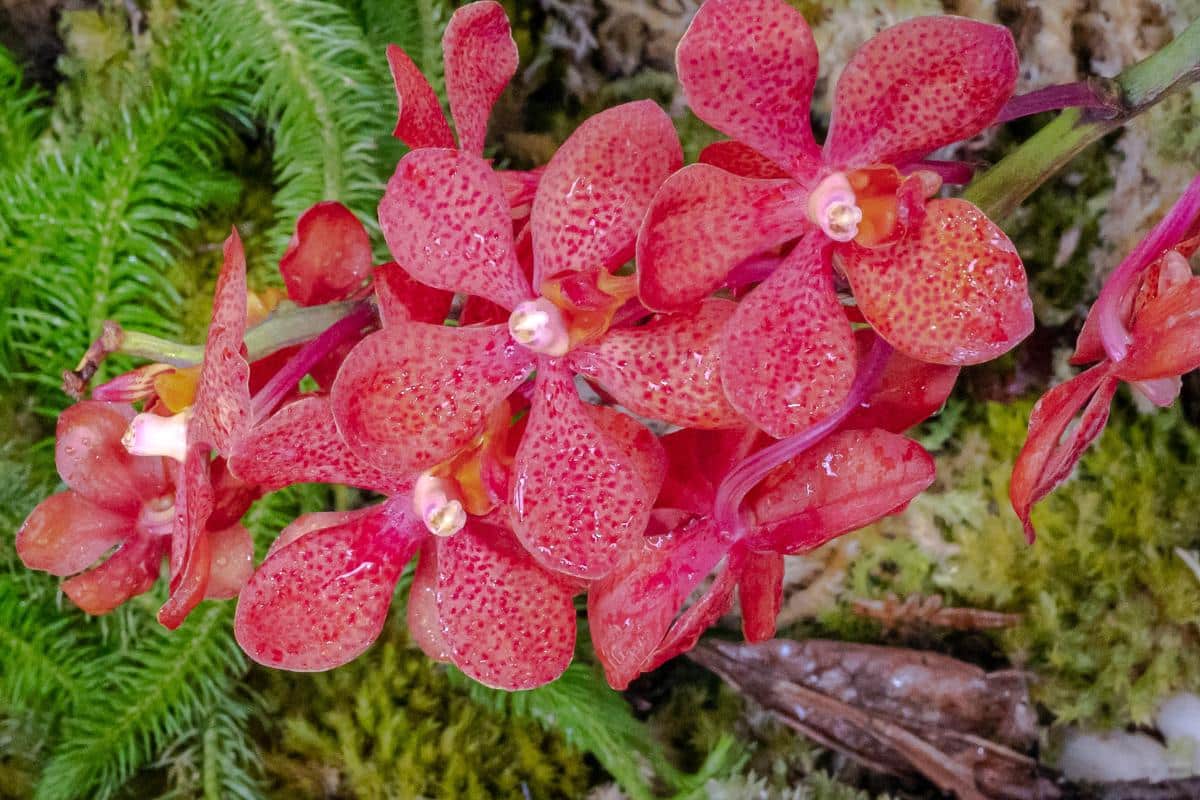
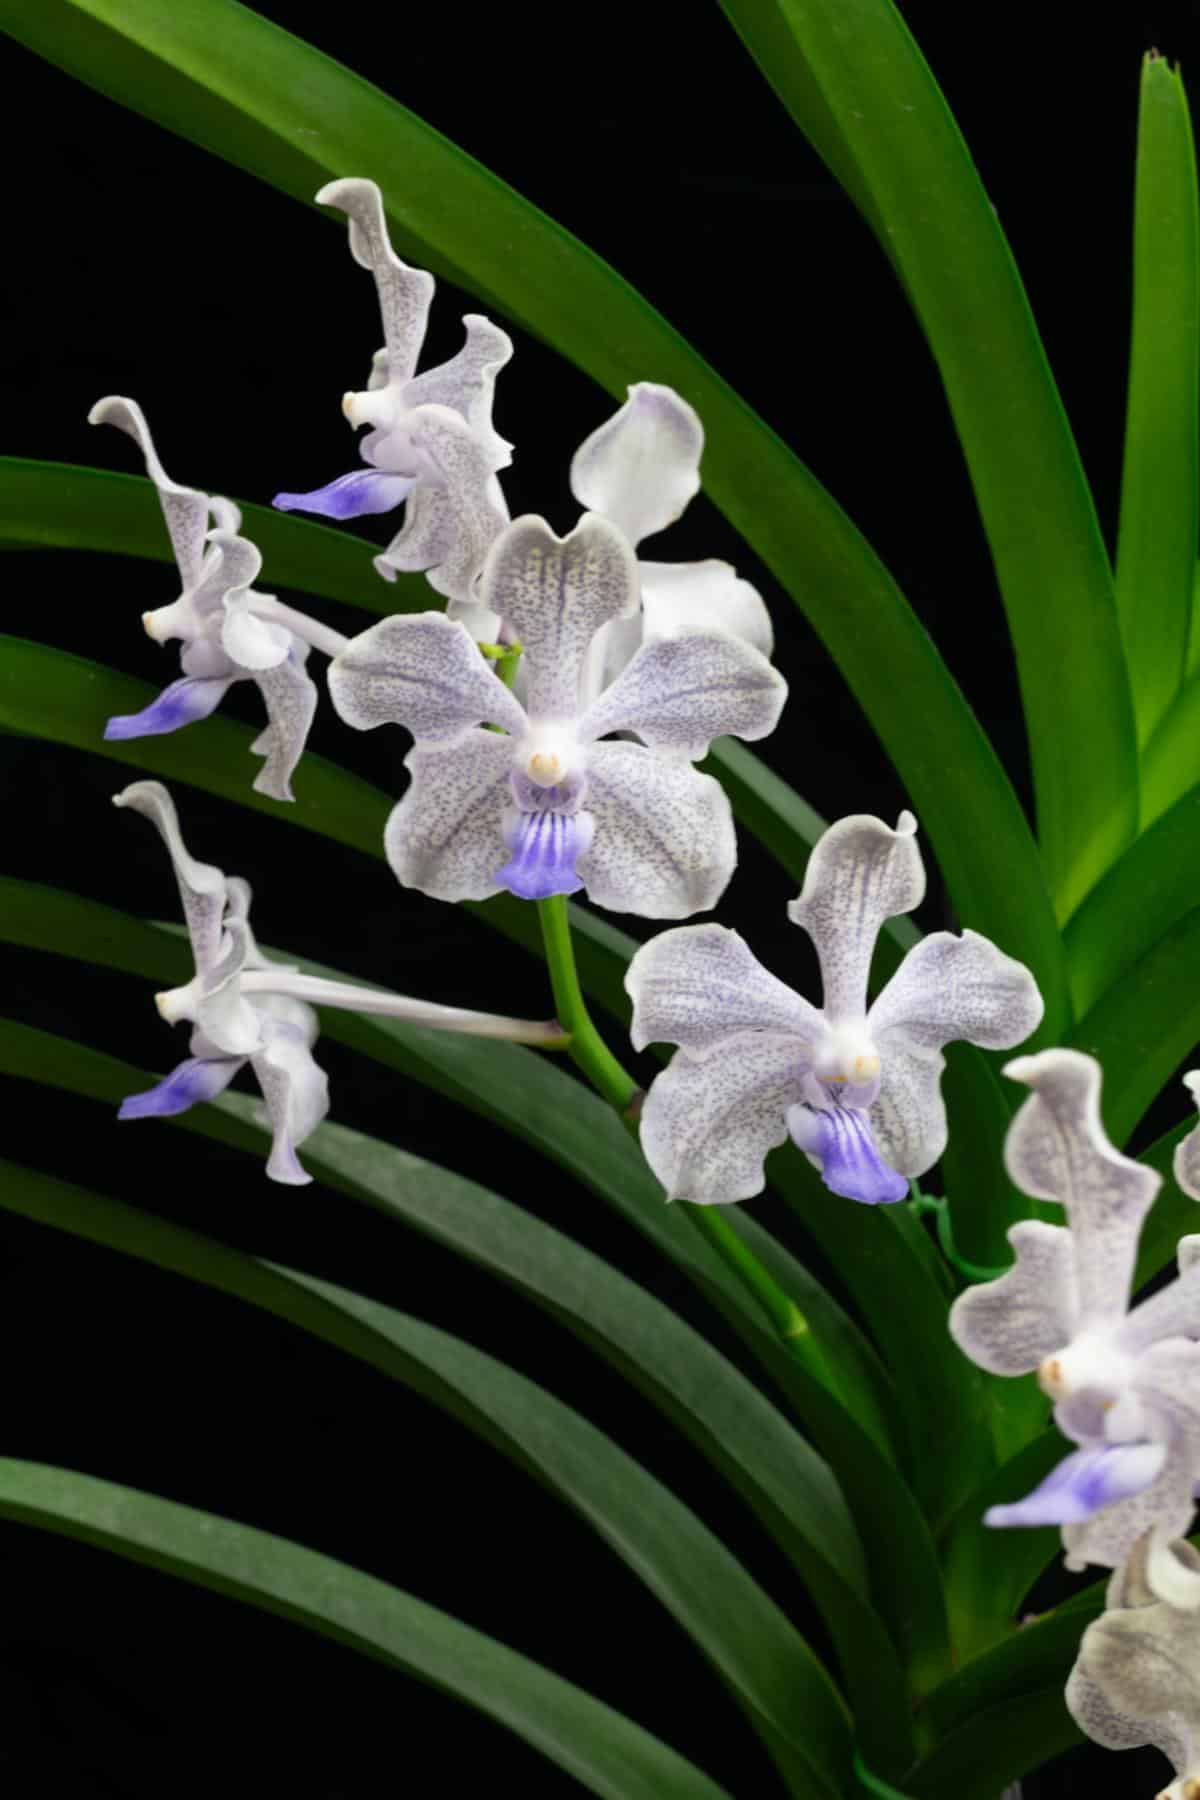
Vandas are beautiful orchids with large flowers in rich shades of purple, magenta, and other colors. They enjoy warm conditions with full sun. In Southeast Asia, the home of many vanda species, these orchids thrive in bright light, humidity, and heavy rains.

Many other places can’t offer these conditions; many orchid growers struggle to give their vanda orchids the water and light they require. But even in optimal conditions, the plants often don’t want to flower!
This article will show you the tricks of the trade that advanced orchid growers use to help their vanda orchids thrive … and bloom.
Jump to:
- About Vanda Alliance Orchids
- “Vandas Are Like Mermaids.”
- It All Starts with the Roots
- Caring for Vanda Alliance Orchids
- Teak Baskets, Net Pots, and Mounted Orchids
- Potting Medium Choices
- Growing Vanda Orchids in Jars
- How Can I Get My Vanda Orchid to Bloom?
- Troubleshooting Vanda Orchids
- I bought a strap-leafed vanda orchid a few days ago. Now, the flowers are wilting, and the roots are drying like spaghetti. How do I fix it?
- I rescued a vanda orchid and put it in a pot with chunks of coconut husk and water it daily. It seems to be shriveling. What’s wrong with this orchid?
- Can I grow vanda orchids outdoors on my trees?
- How do I repot a vanda?
About Vanda Alliance Orchids
Vanda orchids are epiphytic, which means their roots grow outside of the soil and above the ground. In their native environment, vandas grow in tree canopies where their long roots reach into the air to gather moisture and what few nutrients they can get.
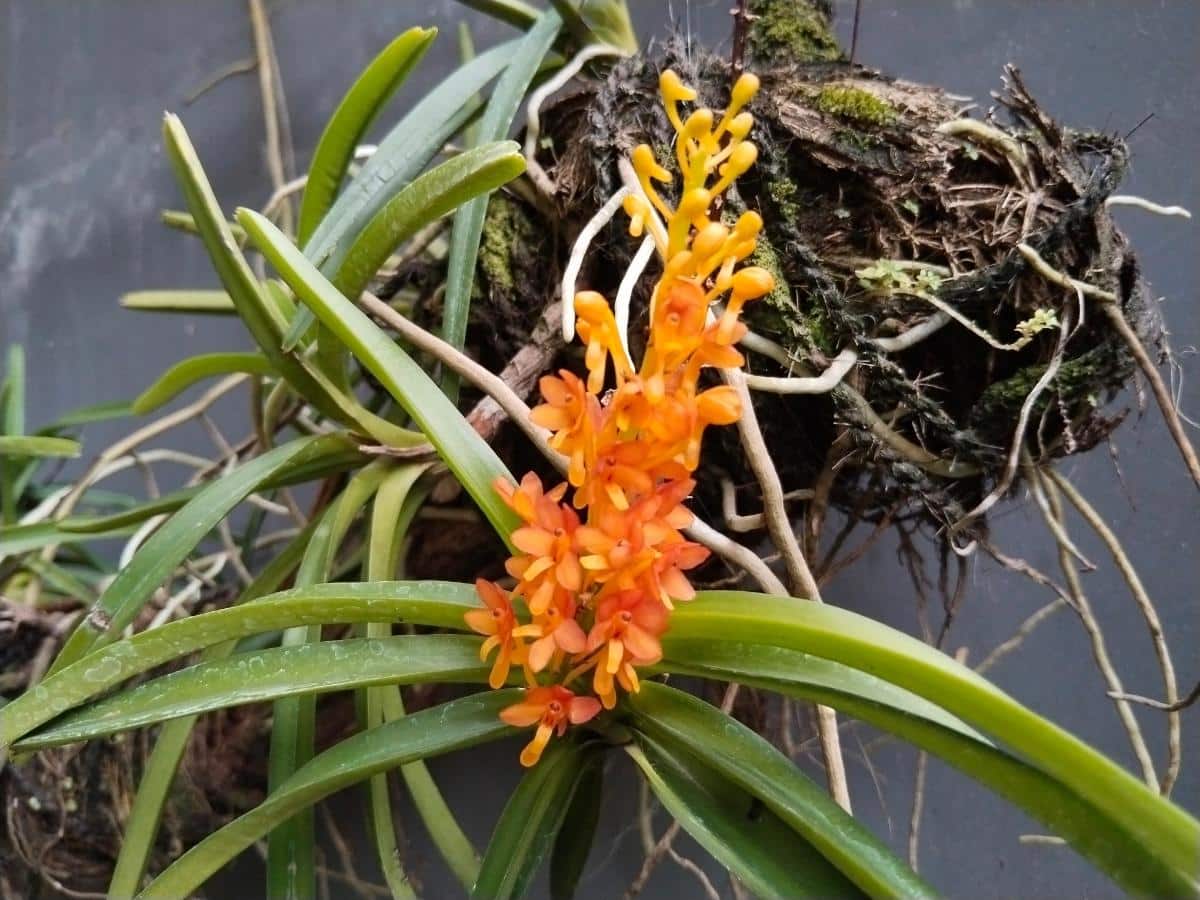
Like the Oncidium orchids, vandas are not so much an orchid genus as they are an alliance – a motley group of orchids that seem to be related, such as Vanda, Ascocenda, Mokara, Renanthera, and Aranthera. These are also called vandaceous plants. Orchid taxonomy is a hot mess, with more hot messes coming to light all the time as scientists slowly move through the DNA to determine how plants are related to each other.
| Common name: | Vanda orchid |
| Botanical name: | Vanda, Ascocenda, Mokara, Renanthera, Aranthera, Holtummarra |
| Family: | Orchidaceae |
| Mature size: | About 1-3 feet tall, though miniature orchids are much smaller. Some grow to over 8 feet! |
| Sun: | Full to bright |
| Soil type: | No soil, or very chunky bark medium, or leca clay balls |
| Native to: | Southeast Asia |
“Vandas Are Like Mermaids.”
Sam Promarug of Siam Orchids (no longer in business, alas) said that vanda orchids were like mermaids. “They like the sun on their face, the wind in their hair, and cooling waves lapping their fins.”
That perfectly encapsulates the basic requirements of vanda orchid care. Imagine a mermaid sitting on a rock soaking up the bright sun, occasionally dipping her tail in the water so it doesn’t dry out, who loves the wind rippling through her hair.
It All Starts with the Roots
Much of the successful care Vanda Alliance orchids is centered around the roots and giving them what they need: Bright light, lots of air movement, and lots of water.
Orchid growers water their plants daily, or even several times a day in hot climates, to keep those roots plump and green. Try your best to keep the hanging roots damp enough that they remain green rather than dry out.
At the same time, allowing air to meet your roots is also important. It’s something of a paradox – keep the roots wet but also keep them dry! They love staying humid even while a breeze is blowing around them, and there are many ways to achieve this goal. We’ll talk about how to pot up the plants later in this article.
One thing to remember: Old roots, leaves, and pseudobulbs store energy and carbohydrates for the orchids. Once a stem is finished blooming, cut off only the finished flowers but leave the stem. The same goes for roots. Don't clip the roots unless you are certain they are dead. Sometimes, what looks like a dead root is still viable.
Caring for Vanda Alliance Orchids
Not every vanda will need the exact same kind of care. All the same, these rules of thumb are generally the best way to deal with many vandas.
Light
Vanda orchids need more light than other orchids to grow and flower – which is why vandas grown indoors may never produce a bloom spike. These orchids need bright light, and some tolerate almost full sunlight. When the weather stays above 55 degrees consistently, place the plant outdoors in an orchid basket in dappled light.
When growing potted vandas in sunlight, turn the pot every week so the orchid will grow up straight and not lean toward the light.
When moving an orchid from a darker place into the sun, give it time to get acclimated to the sunlight. An orchid that isn’t used to bright sunlight will get leafburn.
Temperature
Most vandas prefer warmth. Ideally, night temperatures should stay between 60° to 70°F, while day temperatures should stay below 95° for best result. Warmer temperatures bring on faster growth, but this growth will need high humidity, good air movement, and more water and fertilizer so the plant doesn’t exhaust itself. When in doubt, warm up your orchid and dial up the humidity.
Water
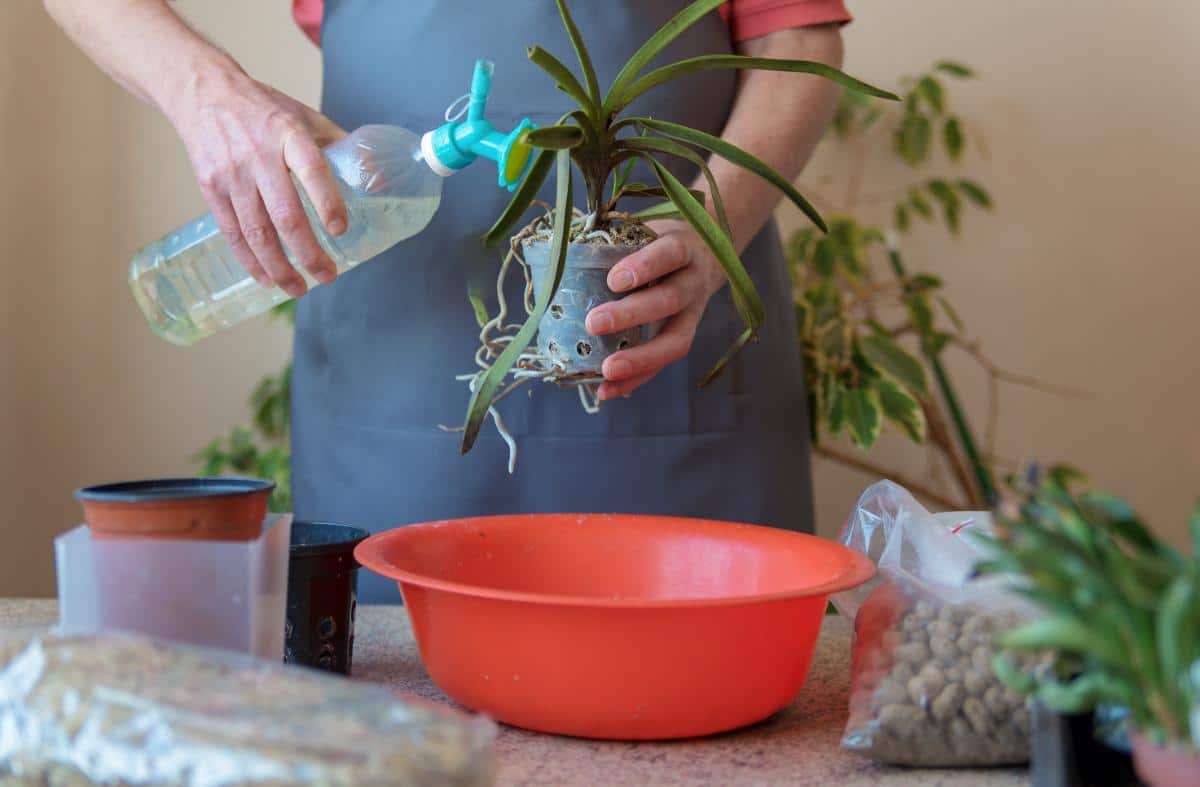
Another tricky aspect of vanda growing. Vanda orchids need lots of water, but their roots need to dry slightly between waterings, and the roots need lots of air circulation. They’re often grown in baskets of slatted wood or extremely coarse potting medium that water runs straight through. On warm and sunny days, they need daily watering.
Outdoor vandas should be watered when the sunlight is not as harsh – in early morning or early evening. This allows the plant to absorb water when they’re actively making food, and allows the roots to dry out so they aren’t sitting in water overnight.
Water should be given to the roots only on indoor plants. Allowing water to collect in the crown and crevices of the plant for too long could lead to crown rot. It’s okay to wash off the orchids in the sink or with a garden hose as long as you can find a way to allow the leaves to dry off – soak up the water with paper towels or tip the plant over so the water can run out, or set it in front of a fan.
If you’re good at this kind of system, an automatic watering system is very helpful, especially if you have a lot of vandas to deal with. Place low-flow sprinklers where they will spray the roots, powered by a submersible pump in a 5-gallon bucket. Add a timer so the sprinklers run for a few minutes each morning. The bucket will need to be refilled every 2 to 3 days, but that’s better than running outdoors every morning to spray the orchids.
Humidity
This needs to match the humidity in tropical climates – 80% is ideal. If the humidity is high enough, the vandas don’t need to be watered as often. Some growers keep vandas and other humidity-loving plants in a clear plant cabinet that allows them to control humidity and light. An old aquarium with a cover and a full-spectrum light makes a good alternative. Place a layer of aquarium gravel or pebbles on the bottom and mix in some horticultural charcoal. Add water almost to the top of the pebbles, then set the plants on top. Put a small fan in the aquarium to keep the air circulating.
Fertilizer
Foliar feeding once a week is good for vandas, just as long as the orchid leaves are dry before nightfall. Feed the orchid consistently to encourage it to bloom.
If your fertilizer causes green algal growth on the roots, let the algae grow. They will help your vanda orchids. Be sure to keep the roots damp enough to keep the algae (and orchid) happy.
Teak Baskets, Net Pots, and Mounted Orchids
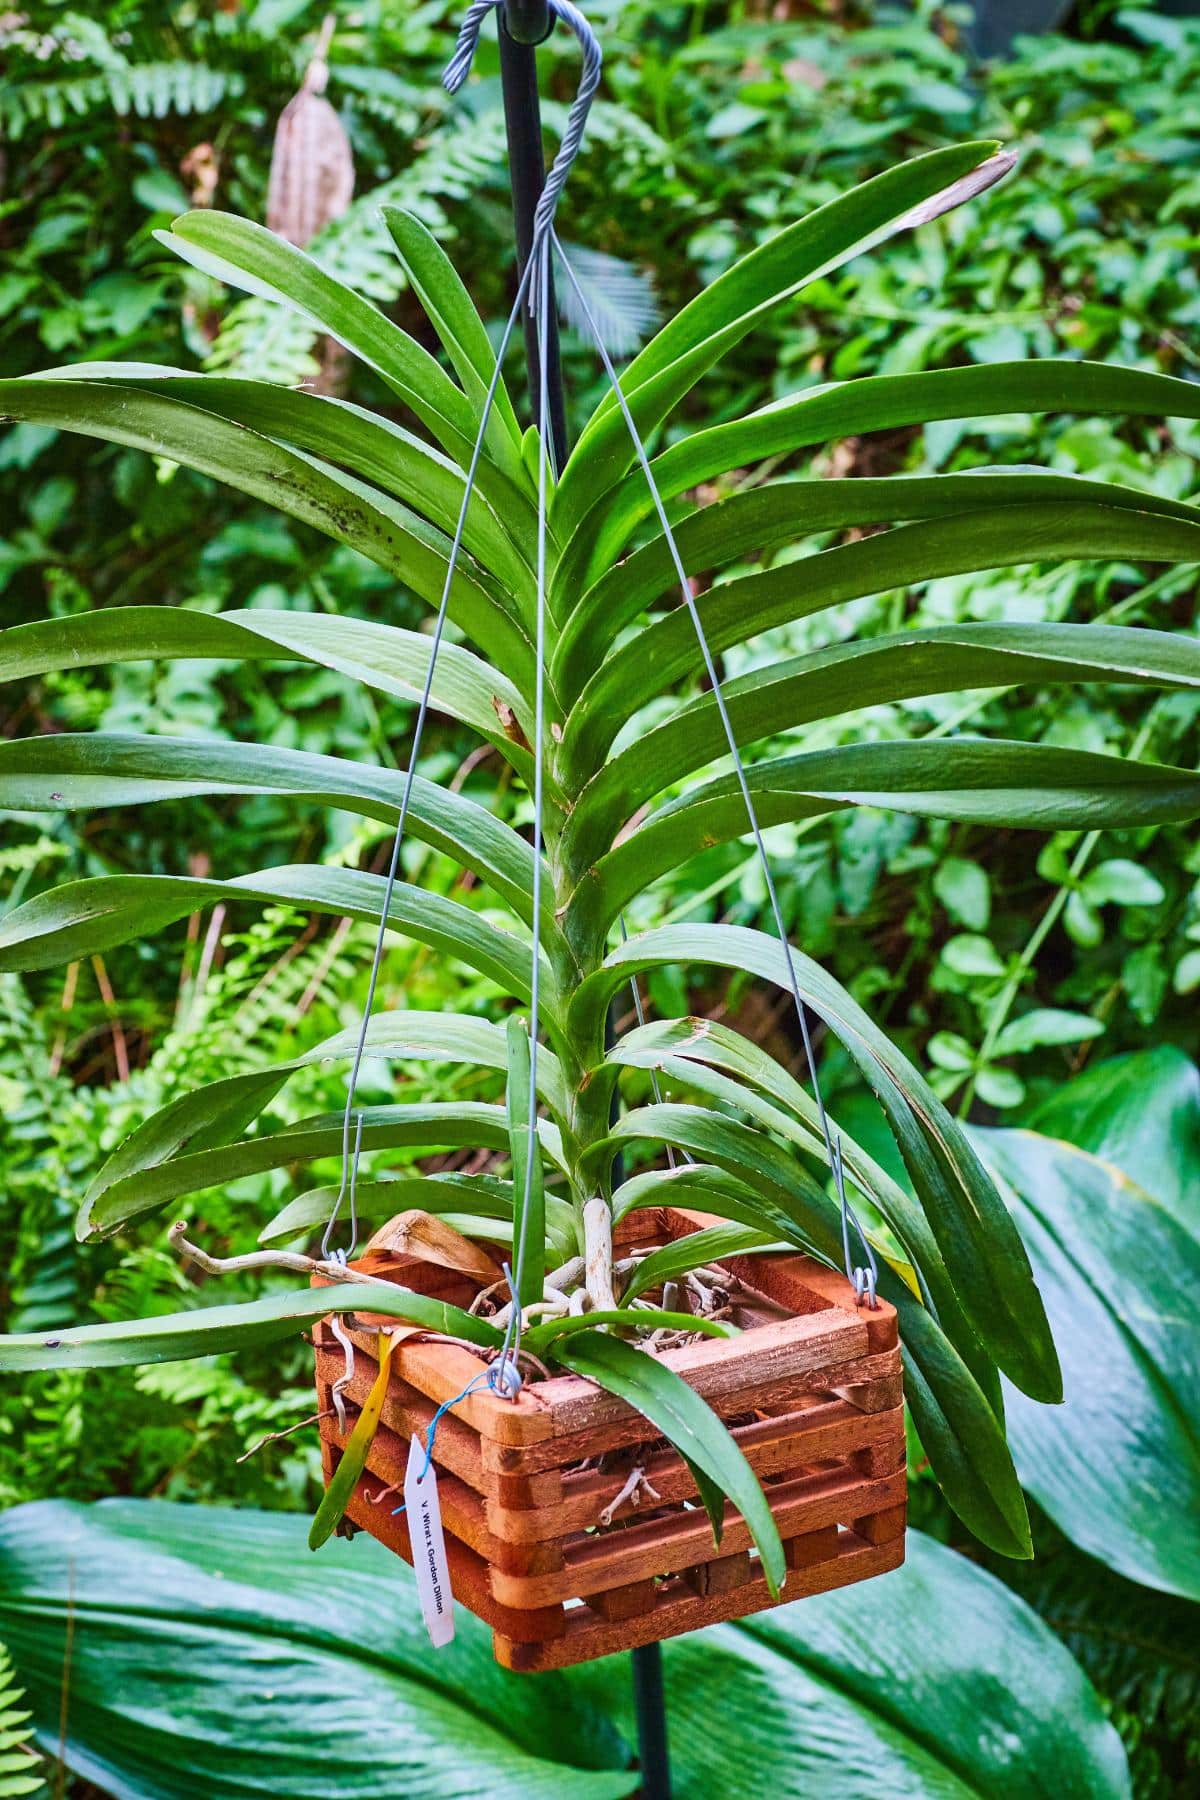
Most often, vandas are grown in wooden baskets that can be used as hanging baskets or set on a tabletop. The baskets allow the roots to grow out into the air and allow the airflow that the vandas need. And it’s easy to put a vanda into a basket, secure it, and add a few large chunks of coconut husk or horticultural charcoal or bark if you like. The roots of these vandas will need to be watered daily – even twice a day when the weather is hot and dry.
If you don’t want to deal with vanda roots reaching out and grabbing you, place the basket pot inside a larger plastic pot (with drainage) to contain the exuberant roots.
Potting Medium Choices
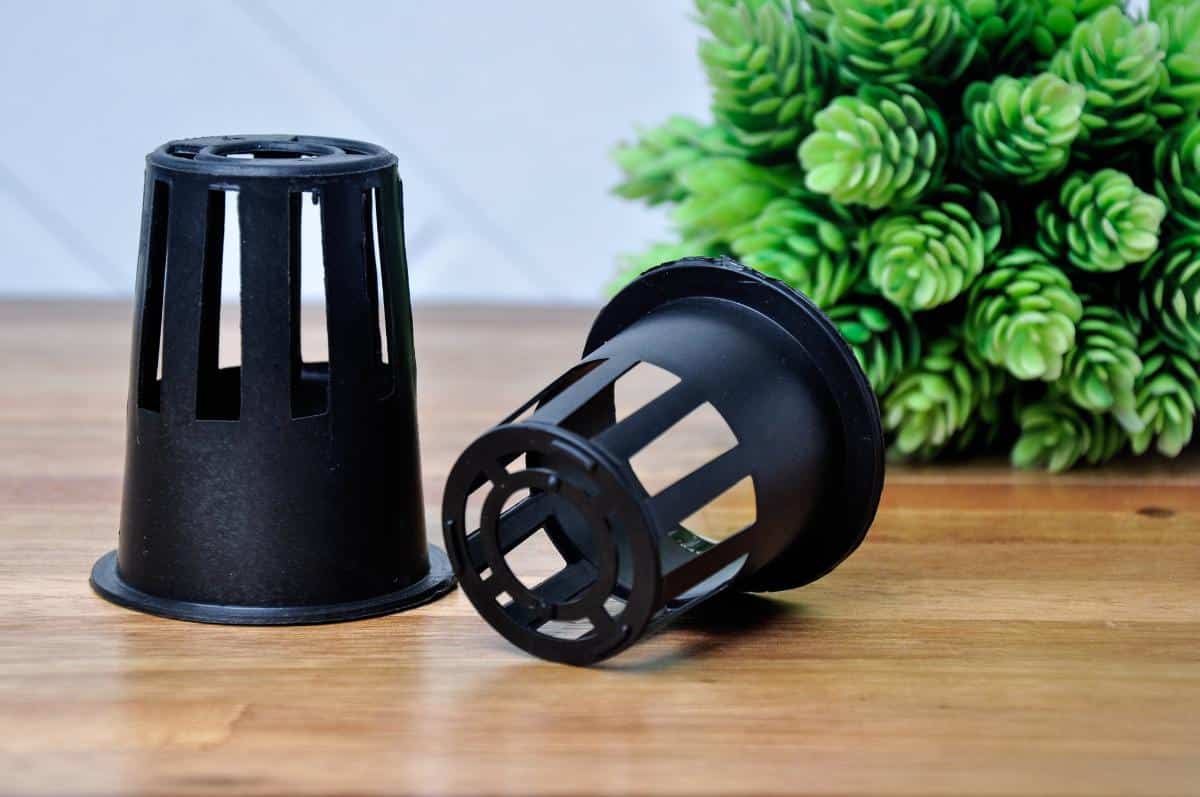
Some orchids are potted to make growing them more convenient. The vandas are definitely one of those orchids. They are not huge fans of being potted, and they’ll put out aerial roots. However, chunky materials that allow lots of air to circulate, such as horticultural charcoal or coconut husk, will meet in their favor. Pumice or lava rock is a good choice, with lots of surface area that holds moisture while still being airy enough to allow roots to get the oxygen they need.
Vanda orchids will also tolerate a potting medium that consists of what looks like round clay pebbles. This is called leca (which stands for lightweight expanded clay aggregate) – clay that has been heated to up to 2000 degrees and expanded into lightweight “pebbles.” Leca pebbles don’t decompose and suffocate the roots of epiphytic plants like vandas. They drain quickly, so you can’t really overwater, and they absorb enough water to keep the air around the roots humid.
Before using leca, soak them for 24 hours and drain them outdoors, and repeat this process two more times, especially if you’re using them for high-value plants like vandas.
Whatever medium you choose, it’s a good idea to put your orchid into clear pots so you can keep an eye on the roots. If roots are green, they’re still moist. If roots are silver, they’re dry.
Vandas actually do well in clay flowerpots, because the clay is porous and lets air and water in and out. They are also heavy enough to house a large vanda without toppling over.
Smaller, younger plants can start out in a standard potting mix, then moved to a chunky mix as they get older.
But there’s another way to raise young vandas.
Growing Vanda Orchids in Jars
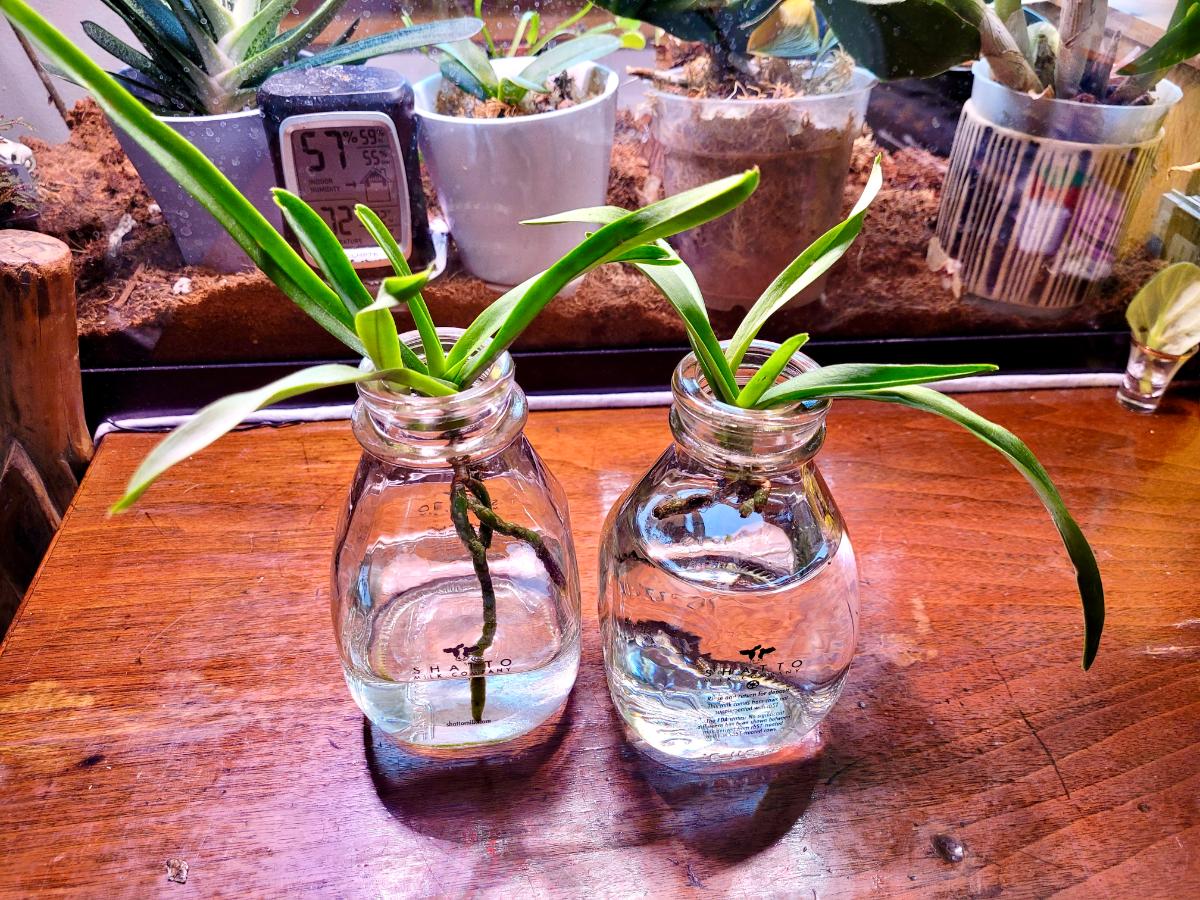
About a year ago, I bought a bundle of five random orchid seedlings on Etsy. My bundle included an oncidium, a dendrobium (which perished), a cattleya, and two vandas. I potted the vandas in a regular orchid mix but the roots kept dying back. At the time, I didn’t know that their roots needed air.
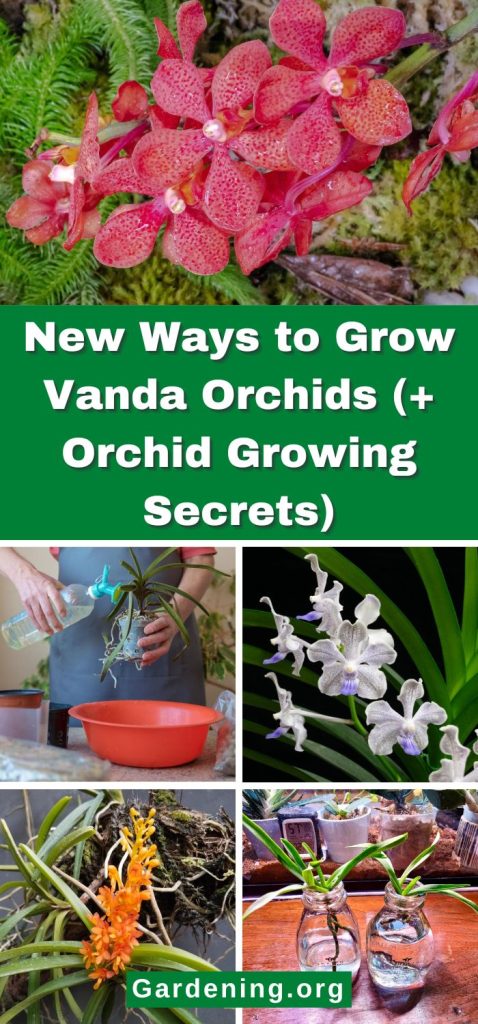
When perusing the Orchid Board for answers, I ran across a commenter that was successfully raising their vandas in jars with a little water. I happened to have a small, narrow-necked milk bottle from a local dairy, so I stuck both vandas in the neck of the bottle, then added just enough water to allow the roots to dangle over the water without touching it. To my everlasting delight, the vandas started growing roots! There’s air circulation in the jar and plenty of humidity. I can slosh the water around and get the roots wet daily. It’s just about the perfect low-maintenance setup!
So far the vandas are doing fine. One root started rotting when the water level got too high, but the other root actually grew into the water and started putting out new growth.
I did notice that base of one of the vanda’s leaves near the water had started to turn dark as if it had briefly caught a bacterial infection, so I need to keep the water off the leaves in the future. Otherwise, I’m very happy with how the vandas have responded.
If you’re having trouble with keeping your vandas watered and happy, try growing them in a large vase for a while.
How Can I Get My Vanda Orchid to Bloom?
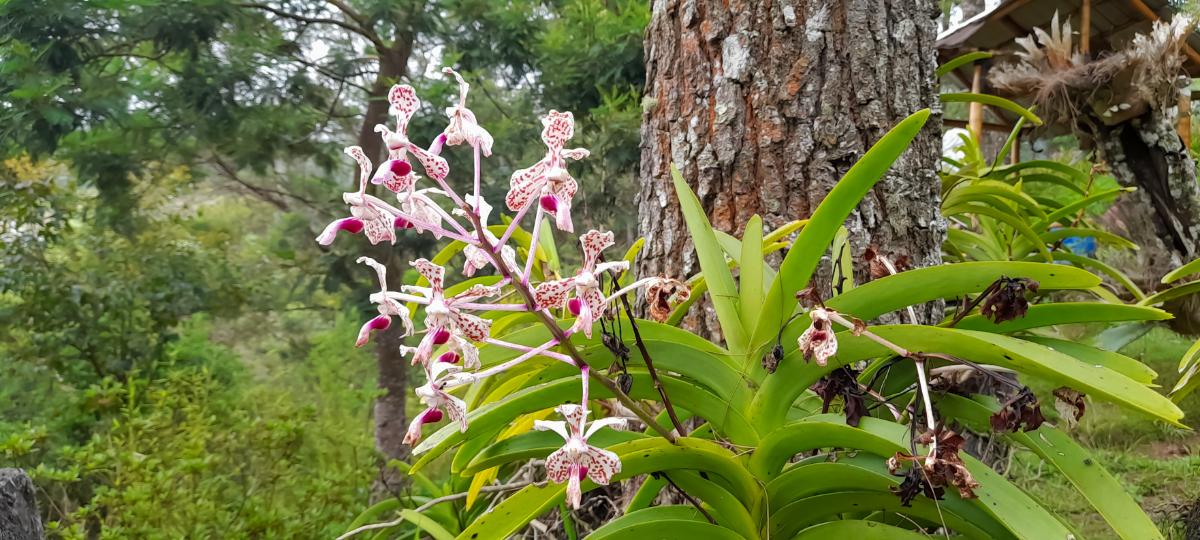
Vandas have some of the most spectacular blooms on the planet, but it seems like they simply refuse to flower, even when you think you’re doing everything right. You probably are, but there are a few things that need to be tweaked in order to make the plant bloom.
- Vandas bloom only once a year. Sometimes, it’s just a matter of waiting until the blooming season rolls around (generally in winter in the northern hemisphere).
- Leave the flower spike on the plant, but cut off the blossoms when they’re finished. It doesn’t look attractive, but the orchid has stored sugars and carbohydrates in the stem that it needs. Sometimes, the orchid will create buds on the old flower stem and bloom again.
- Increase the light. Not every vanda alliance variety acts the same, but gradually moving the plant to where it can get more light often triggers blooming. If the vanda’s leaves are a dark hunter-green, this means they’re not getting enough light!
- Check the pH of your tap water. Epiphytic orchids (including vandas, phalaenopsis, and oncidiums) prefer a pH at 5.5 to 6 – close to neutral. Orchids can adjust to different pH levels, but the different salts and minerals build up in the pot and makes the orchid miserable. Run lots of water through your orchid pots every month or every other month to flush out the salts. Let them drain. Water your orchids with rainwater or distilled water, something with a neutral pH.
- Try changing the temperature at night. Even tropical plants enjoy a period of rest in a cool place. Leaving them outside as the seasons change works well – be sure to bring them indoors if the temperature dips below 55 degrees. Let them go into semi-dormancy for a few months, then bring them back into a warmer place with lots of light. The change in temperatures also makes them more resilient.
- If the vanda has grown tall without blooming, there’s a way to persuade the plant to flower. I haven’t tried this method, so it might or might not work. Sterilize a sharp knife and make two incisions in the stem, each 0.5 cm deep, where you want the flower stalk to appear. (Be sure you choose a place where a flower stalk CAN appear – specifically, above a leaf node and near a place where the vanda has flowered before.) Then, allegedly, the vanda will produce flower spikes.
Troubleshooting Vanda Orchids
I bought a strap-leafed vanda orchid a few days ago. Now, the flowers are wilting, and the roots are drying like spaghetti. How do I fix it?
Dunk the roots into a basin or tub of water and let them soak for about a half hour, then take them out and let them drain. These exposed roots need lots of water. You might have to take them into the shower twice a day if the humidity is really low.
I rescued a vanda orchid and put it in a pot with chunks of coconut husk and water it daily. It seems to be shriveling. What’s wrong with this orchid?
It could be that the root system was damaged, or it’s just unhappy at being repotted. Put the pot into a slightly shaded area and keep watering it when the potting medium starts drying out, and give it time to grow new roots. This might take a few months. Once the new roots are established and the plant stops shriveling, bring it back out into the full sun.
Can I grow vanda orchids outdoors on my trees?
Yes! Tropical and semitropical areas can grow vandas outdoors for most or all of the year, just as long as the temperature doesn’t drop much below 50 degrees. In temperate areas, the orchids love to be outside over the summer but need to come back indoors when the temperatures start falling.
Often, vandas are grown on the sides of trees, where they can be watered daily (or more often on hot days). They can be tied onto the side of the tree, or they can “hang around” in a teak basket from a lower limb. Keep a sprayer with water and orchid fertilizer to spray the vandas.
How do I repot a vanda?
Very carefully! Like other orchids, vanda orchids don’t like having their roots disturbed. Some repotted vandas could take 6 to 8 months to get established in a new pot! Some growers simply put the smaller vanda basket into a larger basket, do their best to tuck in the roots, and call it good.
- Read more: Jewel Orchids Grow and Care Guide
- Read more: 18 Easy to Care Orchids for Beginners
- Read more: Butterfly Orchids – The Ultimate Growing Guide
- Read more: 20 Stunning Houseplants with Striped Leaves
- Read more: 12 Rare Variegated Houseplants You’ll Love
- Read more: 5 Types of Holiday Cactuses to Grow Indoors
- Read more: Growing Dendrobium Orchids: Everything You Need to Know



Joanne
Thank you so much! I have seedlings and have had a hard time finding any info on how to best take care of them. You covered that and I love the idea of the small bottles. The whole article is well written---very informative, straight to the points and inspiring pictures!
Rosefiend
Thank you! We are here to serve.