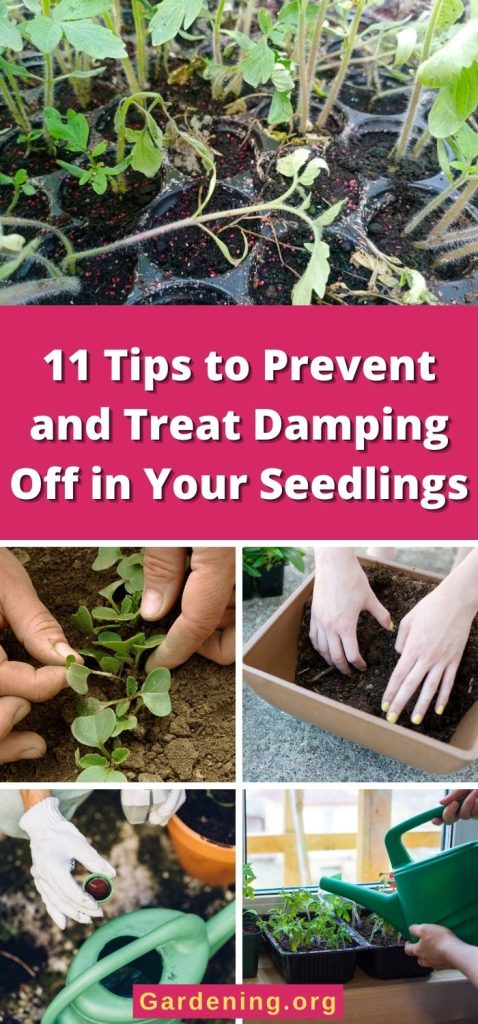
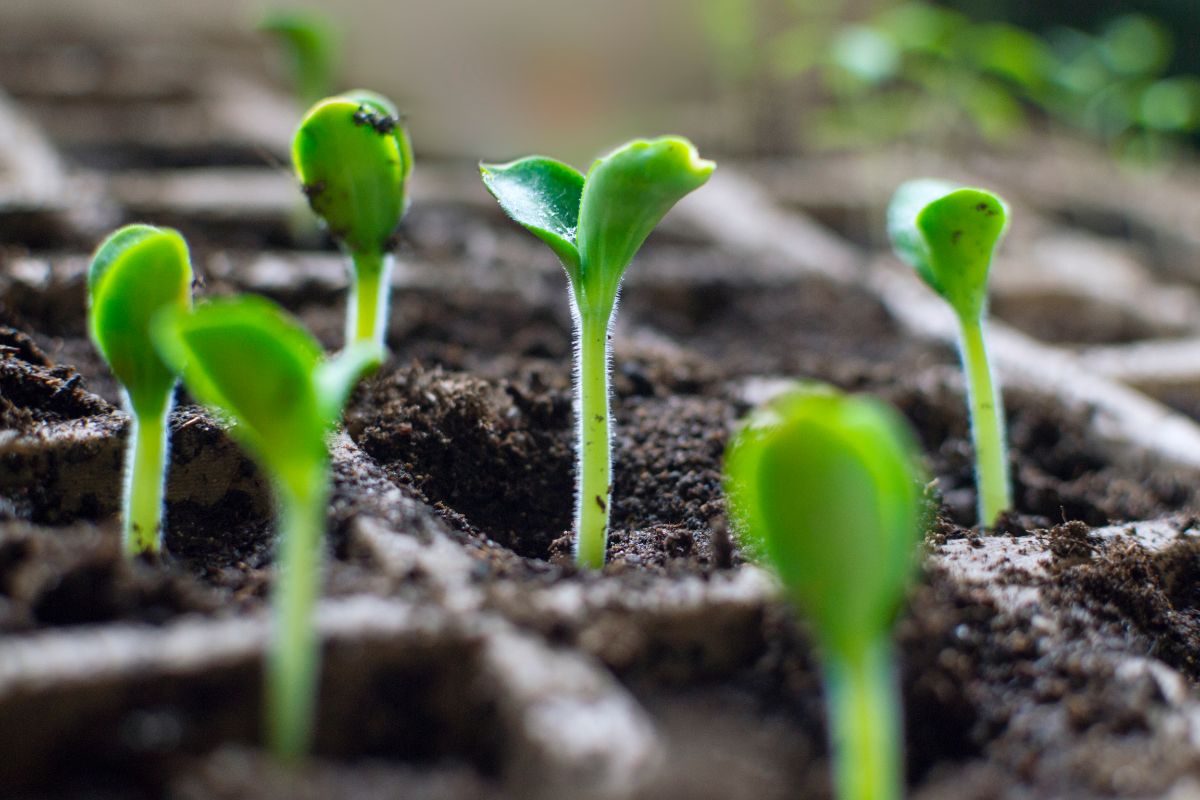
Damping off is a disease that is quite common when growing vegetables, herbs, and flowering plants from seed. Spread by fungus and molds that naturally occur in plant debris and soil, damping off can rapidly kill tender seedlings before they mature and can destroy entire flats of plants in just a few days.
Most common in new seedlings, damping off generally occurs in the first few days after planting. However, young plants remain vulnerable until they mature enough to develop several sets of true leaves and a vigorous root system. Under certain conditions, damping off can also target mature plants and cause root or crown rot if the environment is favorable to the fungi’s needs.
The majority of damping off is caused by the fungi pythium, although other fungi, like fusarium, sclerotinia, phytophthora, and Rhizoctonia solani can cause damping off too. These troublesome fungi can harm plants directly sown in outdoor garden spaces, but they can also be transported indoors, where their impact on seeds and seedlings can be devastating. Damping off can also cause issues in a wide variety of plants, so no matter what you sow, you may need to take special precautions to ward against damping off.
The good news is that, though damping off is common and destructive, there are certain steps that you can take to prevent it from ever becoming a problem with your indoor or outdoor seedlings. There are also some tips you can follow for dealing with damping off if it does manage to find its way into your grow room. In the guide below, we’ll walk you through everything you need to know about damping off to make certain it never becomes a problem in your garden.
Jump to:
- Signs of damping off
- How does damping off spread?
- Tips for preventing damping off
- 1. Always use fresh potting mix
- 2. Sterilize gardening equipment prior to use
- 3. Pay attention to your watering schedule
- 4. Thin out seedlings
- 5. Keep an eye on soil temperatures
- 6. Don’t overfertilize
- 7. Provide your plants with adequate lighting
- 8. Avoid high-humidity situations
- 9. Follow planting instructions
- 10. Make sure your pots drain well
- 11. Use warm water
- Tips for treating damping off
- Frequently asked questions
- Summary
Signs of damping off
Before getting into how to prevent and treat damping off, it’s a good idea to go over the signs and symptoms of this disease, so you know what to look for. Although treating damping off can be difficult, there are some steps you can take that may help you save your seedlings. But before you can act, it’s important to correctly identify damping off, as some of the symptoms can look like damage from other plant diseases.
Signs that you’re dealing with damping off include:
- Many seedlings that don’t germinate despite proper growing conditions.
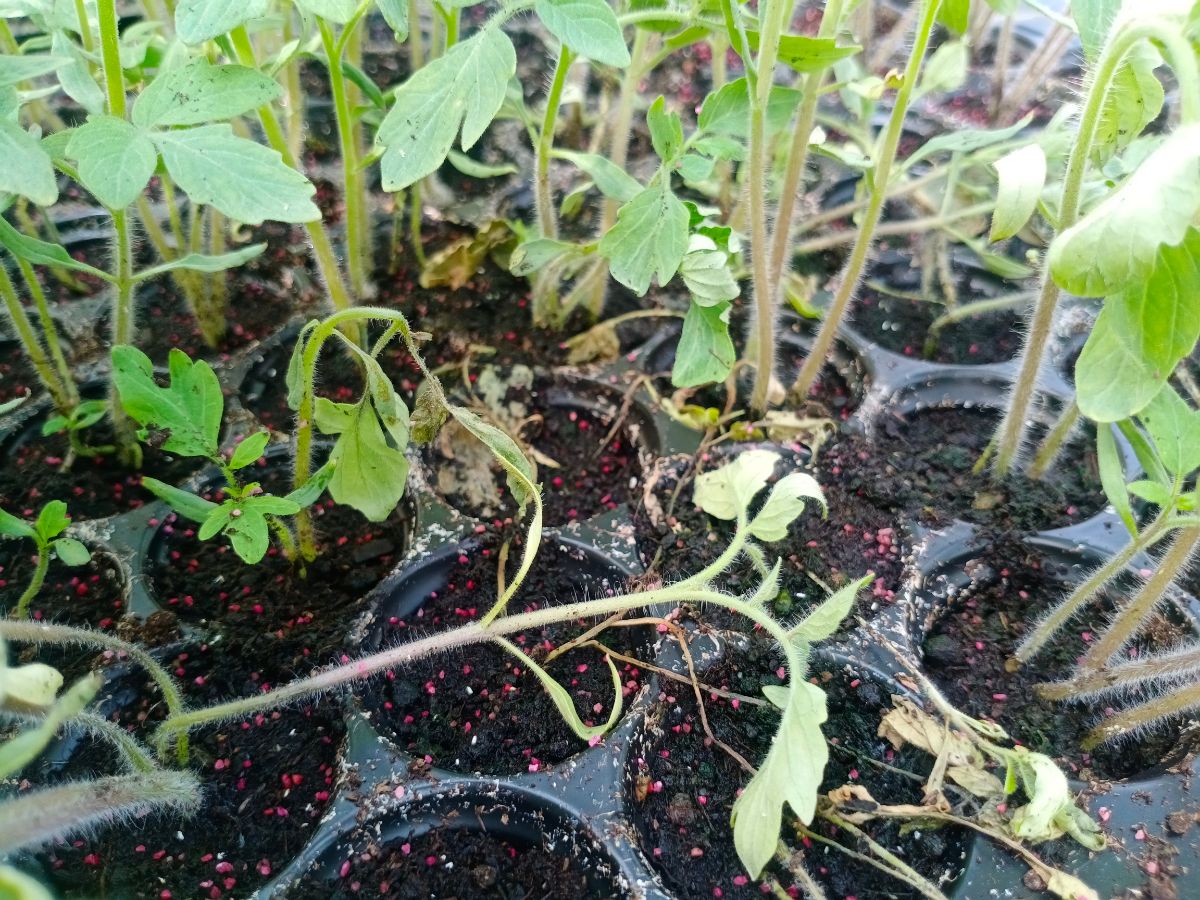
- Rapid seedling collapse and death. Because damping off can quickly spread between plants via soil and water, seedlings in an entire seedling tray, shelf, or outdoor garden row may be affected.
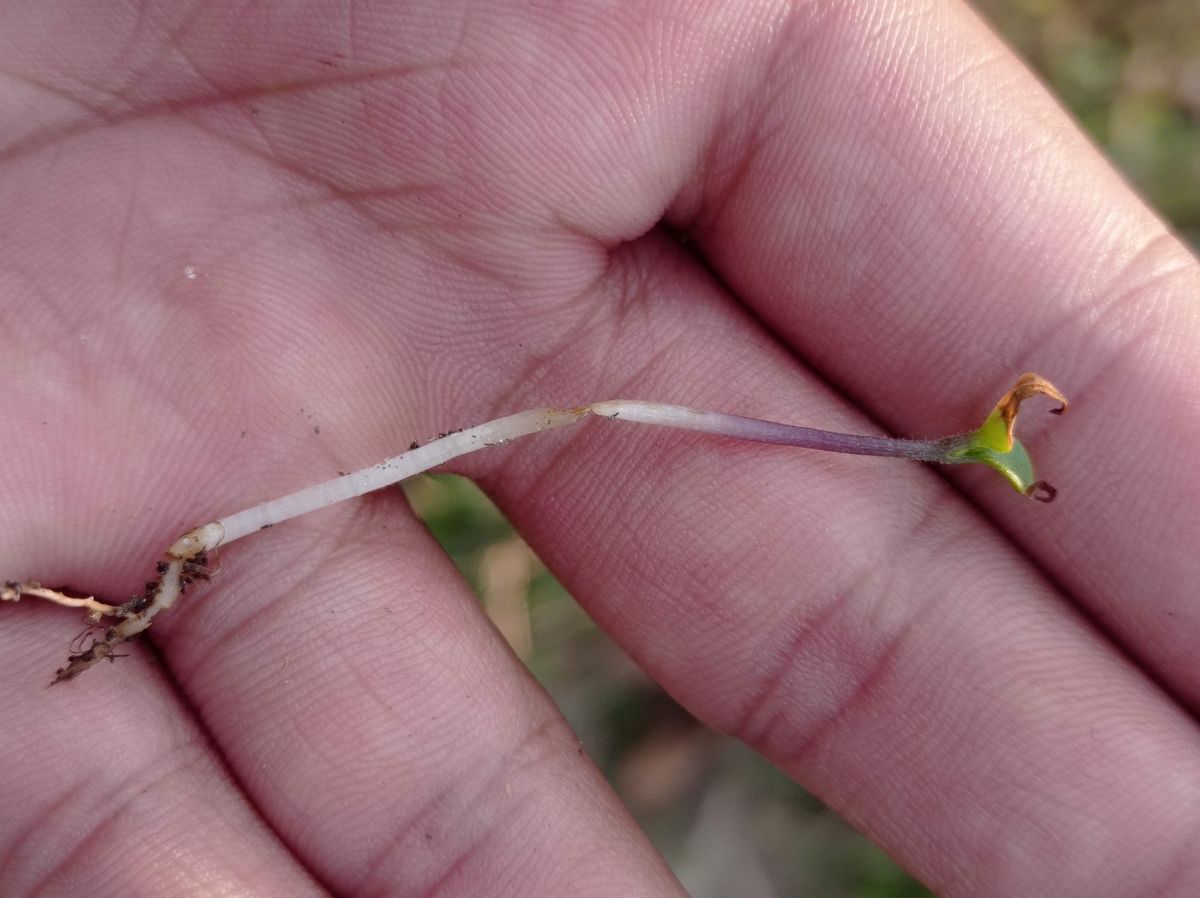
- Shriveled seedling stems. Stems may become so thin that they resemble threads, and they will no longer be able to support the plant’s weight.
- Seedling stems and leaves become soft and mushy. They may also wither and/or turn an unpleasant gray-green or brown color.
- Seedling roots are stunted and may also exhibit dark, sunken areas.
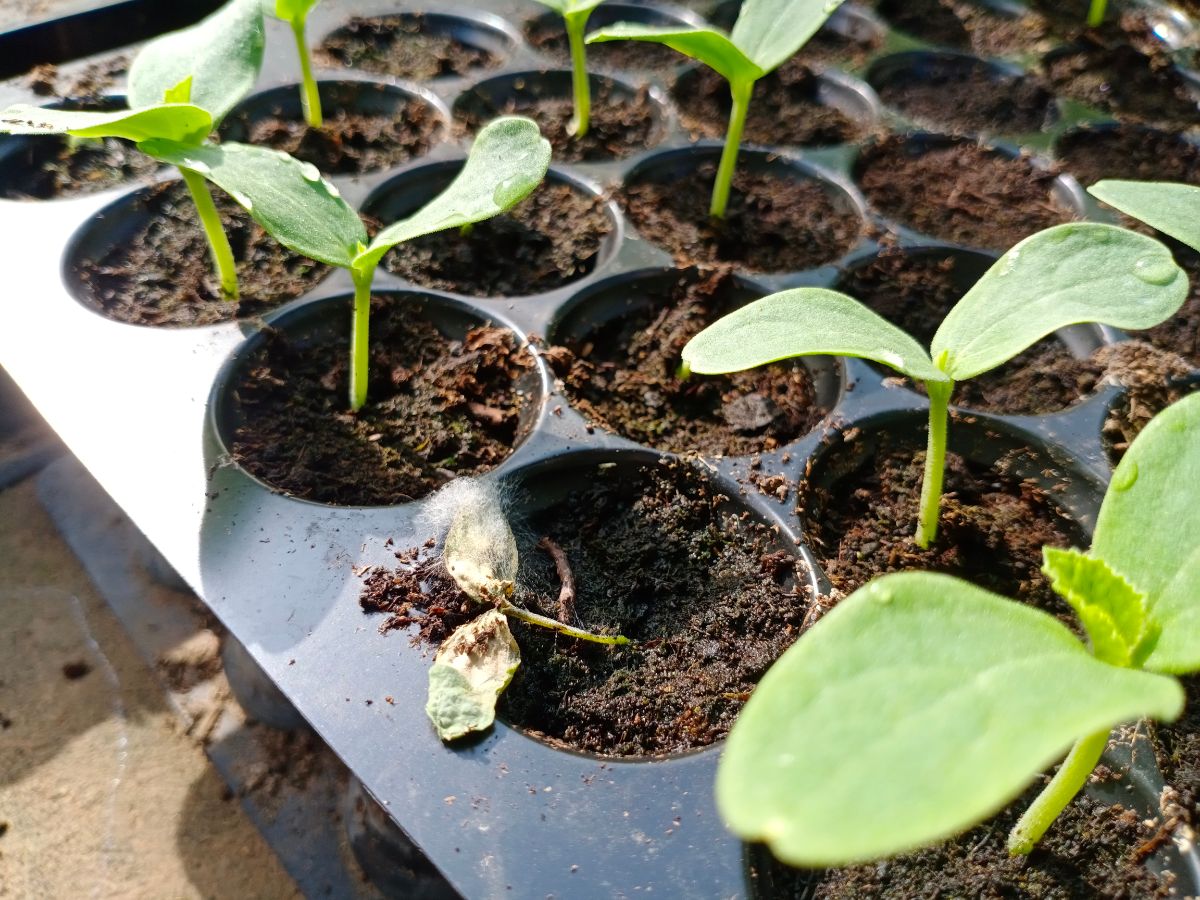
- Fluffy, white, cobweb-like mold appearing at the base of seedlings and across the top of the plant’s potting mix -- this is especially common in high-humidity areas. Take care to differentiate this mold from the naturally occurring root hairs, which can develop on healthy root systems. Root hairs are normal, but they may look like mold at first glance.
How does damping off spread?
The mold and fungi that cause damping off naturally occur in outdoor gardens and can spread via contaminated plant debris, soil, and water. In indoor grow rooms, damping off becomes a problem when fungal spores are spread by:
- Contaminated pots or gardening tools.
- Previously used garden soil, seed starting mix, or potting mix.
- Dirty hands that have come in contact with infected plant material or spores.
- Fungus gnats.
- Splashes of contaminated water.
Once damping off enters an environment or grow room, it can rapidly spread through contaminated soil and water. It also thrives in cool, wet conditions, which promote the growth of the fungi that cause damping off.
Tips for preventing damping off
Damping off can be a very destructive disease in grow rooms and outdoor gardens. The best way to avoid this issue is to follow the tips below to ensure damping off never crops up in your seedling trays. That said, if your plants are already exhibiting signs of damping off, skip ahead to the next section for suggestions on how to treat an existing infection.
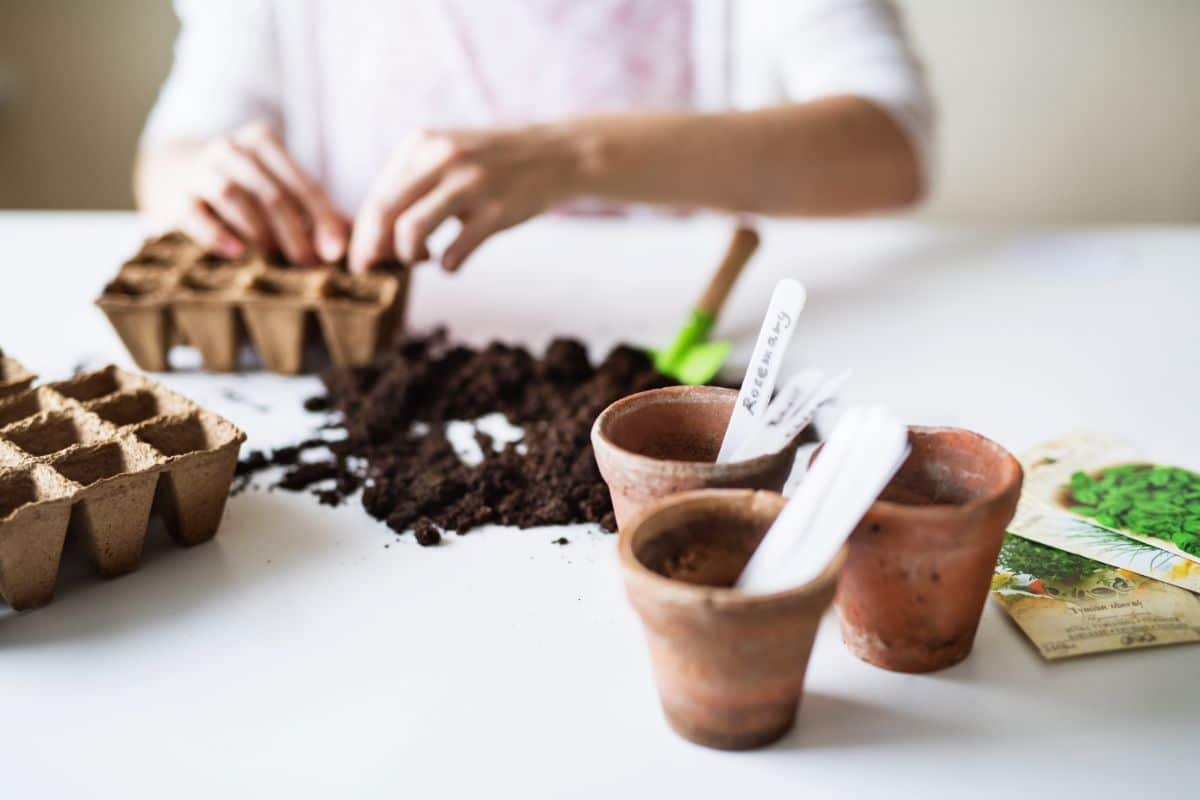
1. Always use fresh potting mix
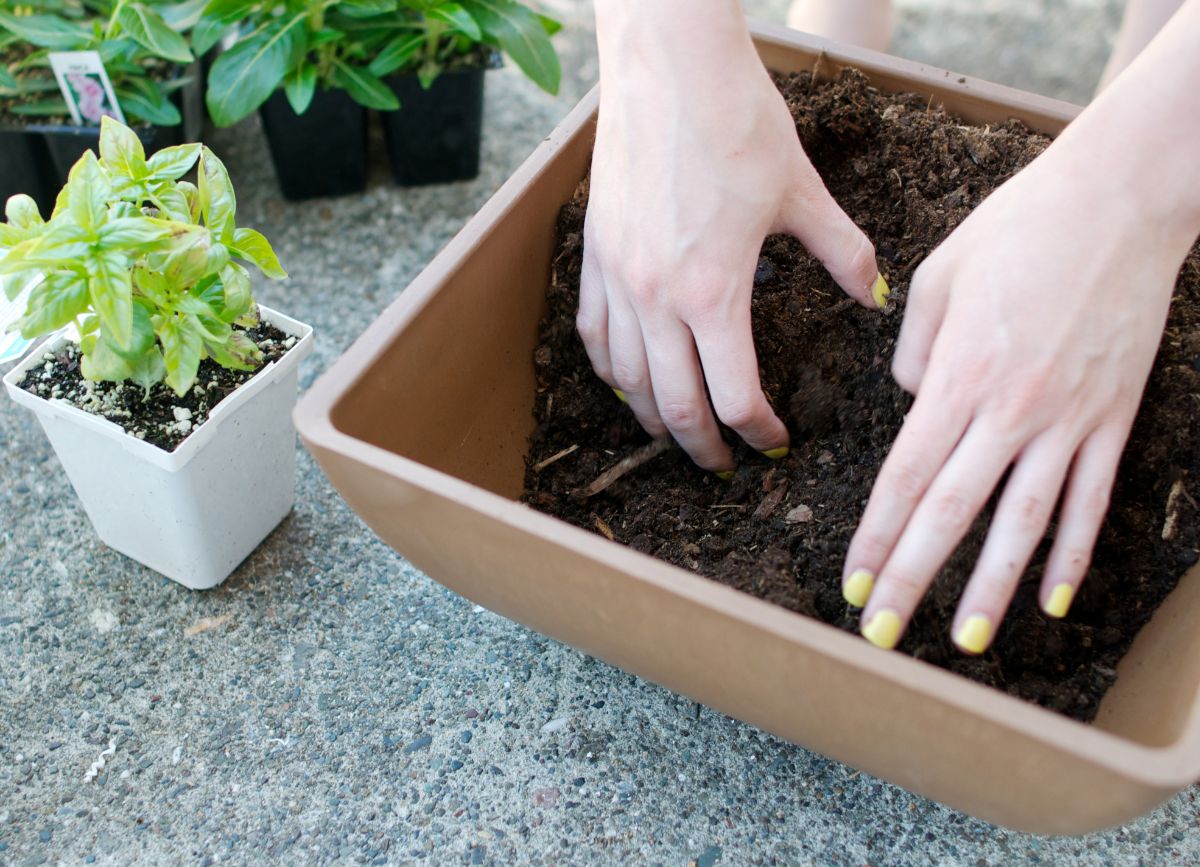
One of the single greatest causes of damping off is reusing contaminated soil. So, if you want to give your new seedlings an advantage, always start off your gardening season by planting your seeds in fresh soil.
When choosing the right soil for growing your seedlings, look for seed-starting mixtures rather than potting soil, as these mixtures have the best drainage abilities, nutrient content, and texture to support the growth of your plants. If you don’t want to purchase a premade mix, you can also create your own mix with a few simple ingredients.
While it may be tempting to grow your seeds in soil dug from your backyard, this is never recommended. Garden soil is usually too dense to grow seeds indoors. What’s more, garden soil may be contaminated with the fungal spores that cause damping off, making sterilized starting mixes the safest option for growing your seeds.
2. Sterilize gardening equipment prior to use
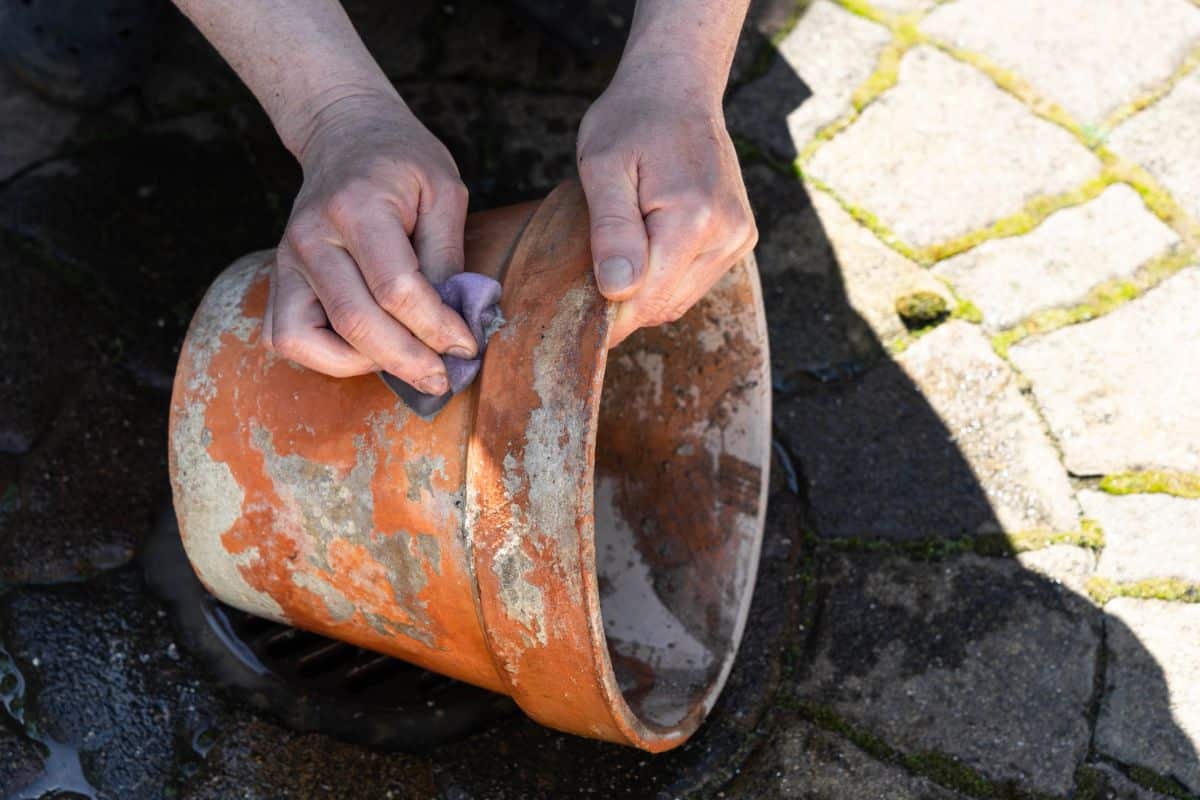
Next to contaminated soil, contaminated gardening equipment is the most common way damping off is spread. That means that you’ll always want to thoroughly sterilize any gardening equipment you’ve used previously before you start planting your seeds in spring.
Plastic pots, seedling trays, humidity domes, watering cans, plant labels, hand trowels, and more can also transfer fungal spores. To prevent this from happening, be sure to sterilize your tools by spraying them with a mixture of 1 part bleach to 9 parts water and allowing the mixture to dry. Alternatively, you can submerge your tools in this 10% bleach mixture for 30 minutes.
Damping off can also be spread by humans if you touch an infected plant and then handle a non-infected seedling or gardening tool. For this reason, be sure to wash your hands frequently, especially if you think you may have come in contact with plants infected with damping off.
If you’ve started off the gardening season with new planting pots and tools, there should be no reason to disinfect your items; however, old tools should always be cleaned prior to use. Using biodegradable peat pots, upcycled food containers, or soil blocking can also eliminate the need to sterilize containers prior to planting.
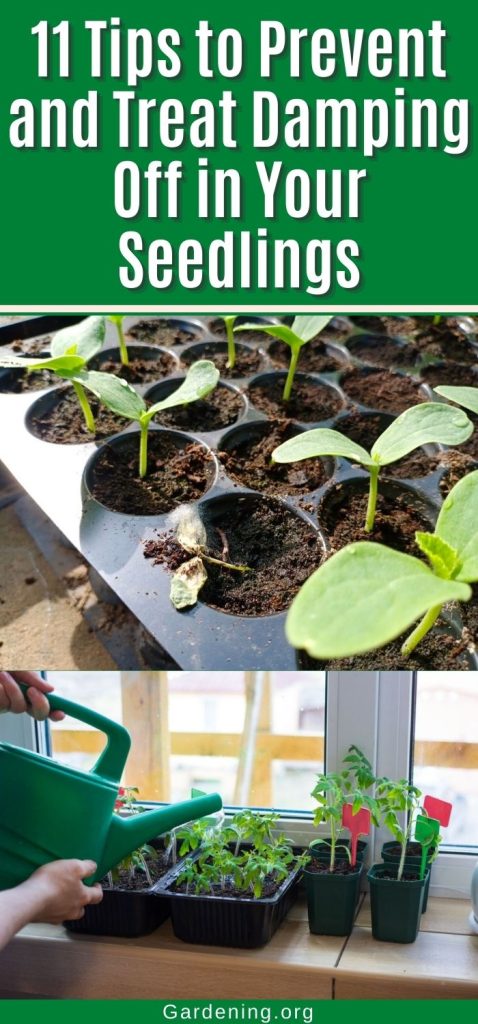
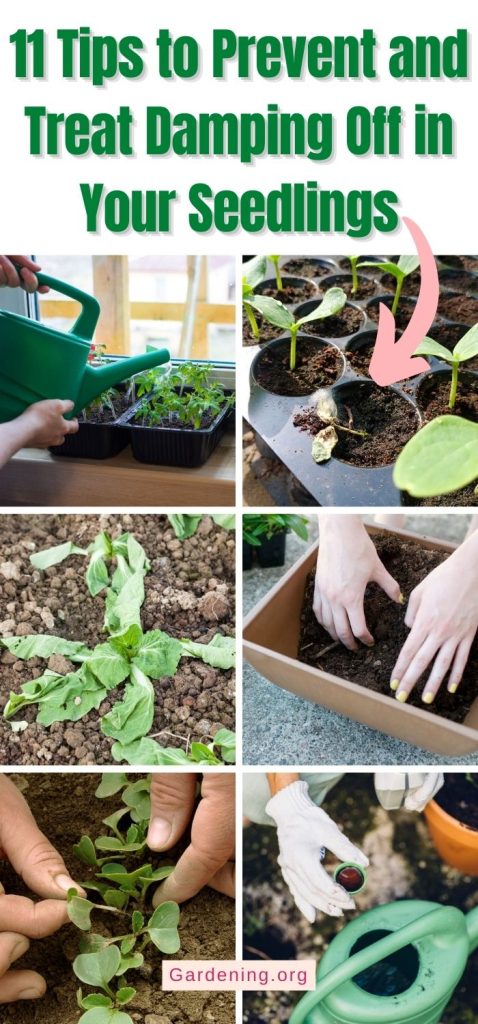
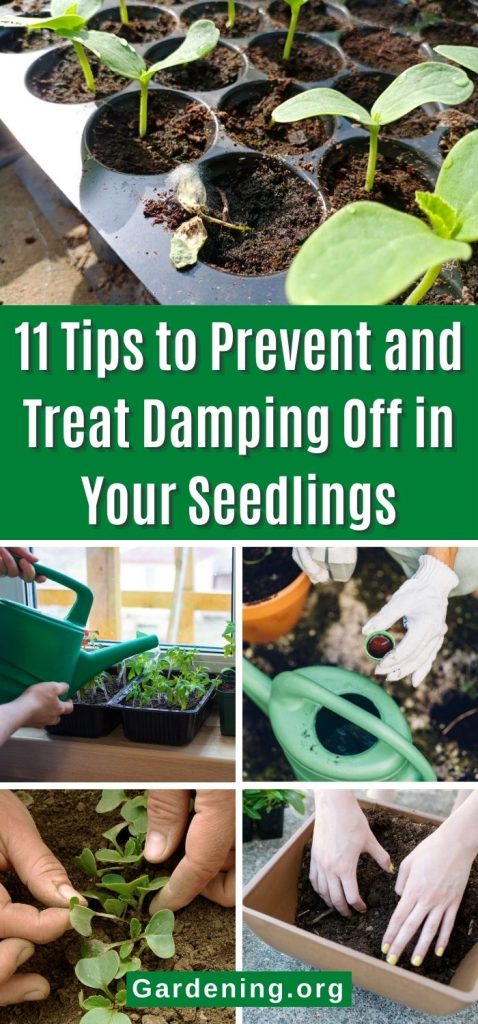
3. Pay attention to your watering schedule
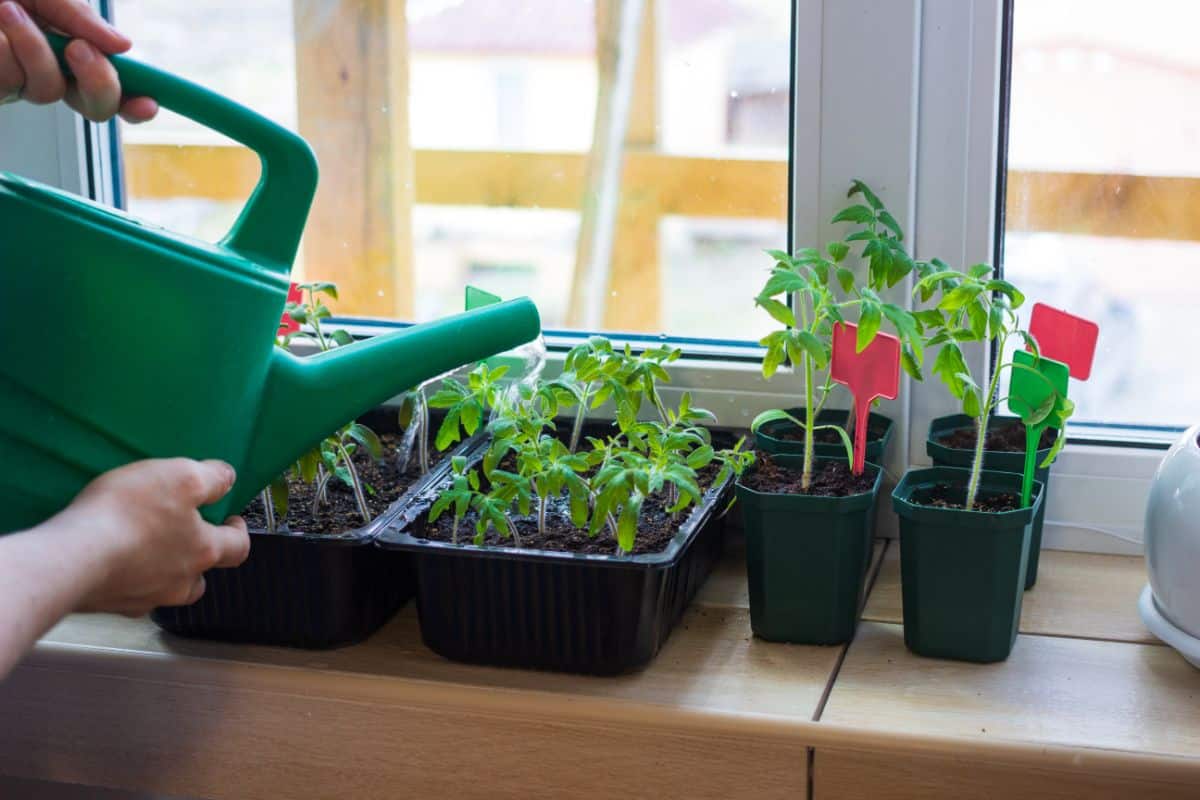
Because damping off is most common in cool, moist environments, it’s important to avoid overwatering your seedlings. Too much water can cause humidity levels to skyrocket while creating waterlogged soil conditions that can lead to root rot, damping off, and other troubles.
To avoid overwatering your seedlings, figure out a watering schedule and stick to it. In general, most seedlings should be watered about once a day, but they should never be watered if the soil is already moist or soggy. For best results, it’s often recommended to allow the top 1mm of soil to dry out slightly in between waterings, which can reduce the chances of damping off, algae growth, and more.
Seedlings are much more delicate than mature plants and can’t handle dry conditions as well. This means that you’ll also want to take care to ensure that your plants never get too dry. Finding that balance between moist and dry soil can take a bit of experimenting, but if you take your time and adjust your watering as needed, you’ll find that happy balance.
In addition to following a set watering schedule, it can also be helpful to bottom water your seedling trays as this discourages damping off. Using a garden sprayer or small watering can intended for houseplants can also keep you from overwatering your plants.
Finally, whether plants are young seedlings or established plants in your garden, most plants do best when watered in the morning. Morning watering gives your plants plenty of time to absorb the water they need before evening sets in and grow lights go out. So, if you can, plan on watering your seedlings in the morning only to make sure damping off never creeps into your grow setup.
Note: Damping off spores can also spread by contaminated water, so avoid allowing hose heads to rest directly on your garden soil.
4. Thin out seedlings
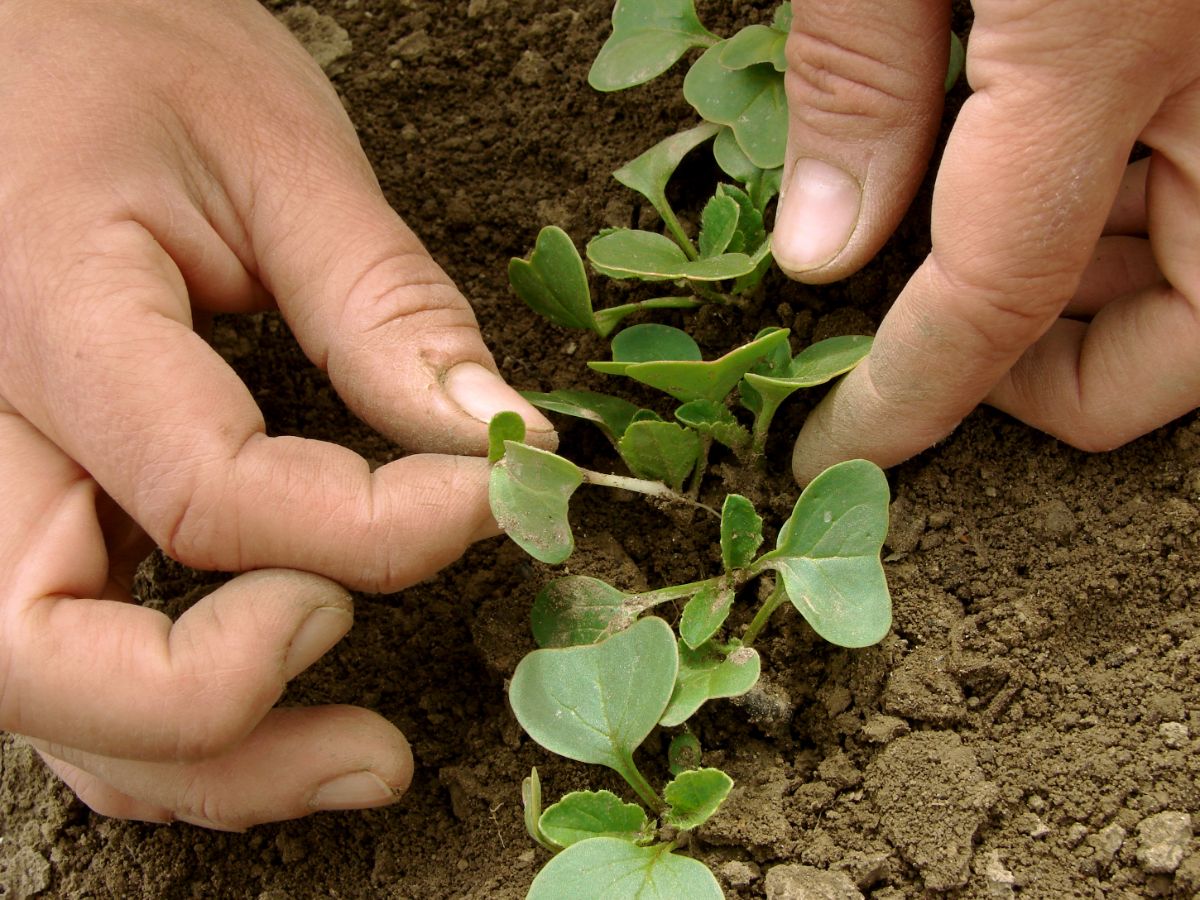
Poor airflow leads to high humidity, and that can contribute to damping off too. That means that anything you can do to increase air circulation around your seedlings will help prevent damping off. Thinning out your seedlings to give your plants a bit more room to grow is one such solution that can encourage healthier plant growth and better disease resistance.
Because seeds rarely have a 100% germination rate, it is generally recommended to plant 2 to 3 seedlings per planting hole or pot at the beginning of the growing season. However, as seedlings develop and begin to sprout true leaves, you’ll want to thin out your plants.
You’ll know it’s time to thin your seeds when your seedlings have about 2 sets of true leaves each. To thin your plants, your best option is to trim away smaller or spindly seedlings with a pair of kitchen shears to avoid damaging your seedlings’ tender roots. Keep the healthiest looking and most vigorously growing plants, and remove the rest.
If the thought of tossing out seedlings bothers you, edible seedlings (like radishes, kale, and cabbage) can be repurposed as garnishes or micro greens to serve on sandwiches, salads, and other dishes. Inedible seedlings (like tomatoes) can be composted to add a nitrogen boost to your compost pile.
5. Keep an eye on soil temperatures
Anything that slows down your seedlings’ germination and growth rates can promote the conditions where damping off can thrive. That means that you’ll want to pay attention to any element of your grow setup that can encourage faster seedling growth. Managing soil temperatures is one easy way to do just that.
Some seedlings can germinate at a range of soil temperatures, while other seedlings need warmer soil temperatures to sprout. If you’re in doubt about how warm soil should be for particular seedling types, check out this helpful chart to find the best soil temperatures for starting individual plant types.
Outdoors or indoors, low soil temperatures can slow or even halt germination rates, so you’ll want to make sure your soil is warm enough before you start planting. Adding a heating mat beneath indoor seedlings can speed up germination rates and help ward against damping off. Just keep in mind that heating mats should be removed after your plants have sprouted to avoid overly dry soil and other issues.
If you’re directly sowing seeds outdoors, be sure to wait until the appropriate sowing time to start planting your seeds. While it may be tempting to get your hands dirty as soon as temperatures start to warm in spring, planting seeds outdoors too soon can slow germination rates and lead to damping off.
Note: Make sure you purchase heating mats that are intended for gardening use. Heating pads designed for personal or health use are not as water resistant as seedling heating mats and may pose a fire hazard if used in grow rooms.
6. Don’t overfertilize
Feeding seedlings too much fertilizer when they’re just starting out can also inhibit growth, weaken seedlings and cause other issues that may lead to damping off. And you don’t want that!
While you may think you need to fertilize your seeds, you often don’t. Seeds contain a store of nutrients and energy within the seed capsule, which is enough to feed your new plants during germination. For this reason, you generally don’t need to fertilize your seedlings until they start to produce multiple sets of true leaves.
Once seedlings begin to sprout true leaves, you may want to feed your plants with an organic, liquid fertilizer or compost tea. Just be certain to dilute the fertilizer to ¼ strength before applying it to avoid overwhelming your seedlings. Organic and natural fertilizers tend to be better tolerated by young seedlings than synthetic fertilizers.
If you planted your seeds in a seed starting mix that contains fertilizer, don’t fertilize your seeds again until you transplant them outdoors.
7. Provide your plants with adequate lighting
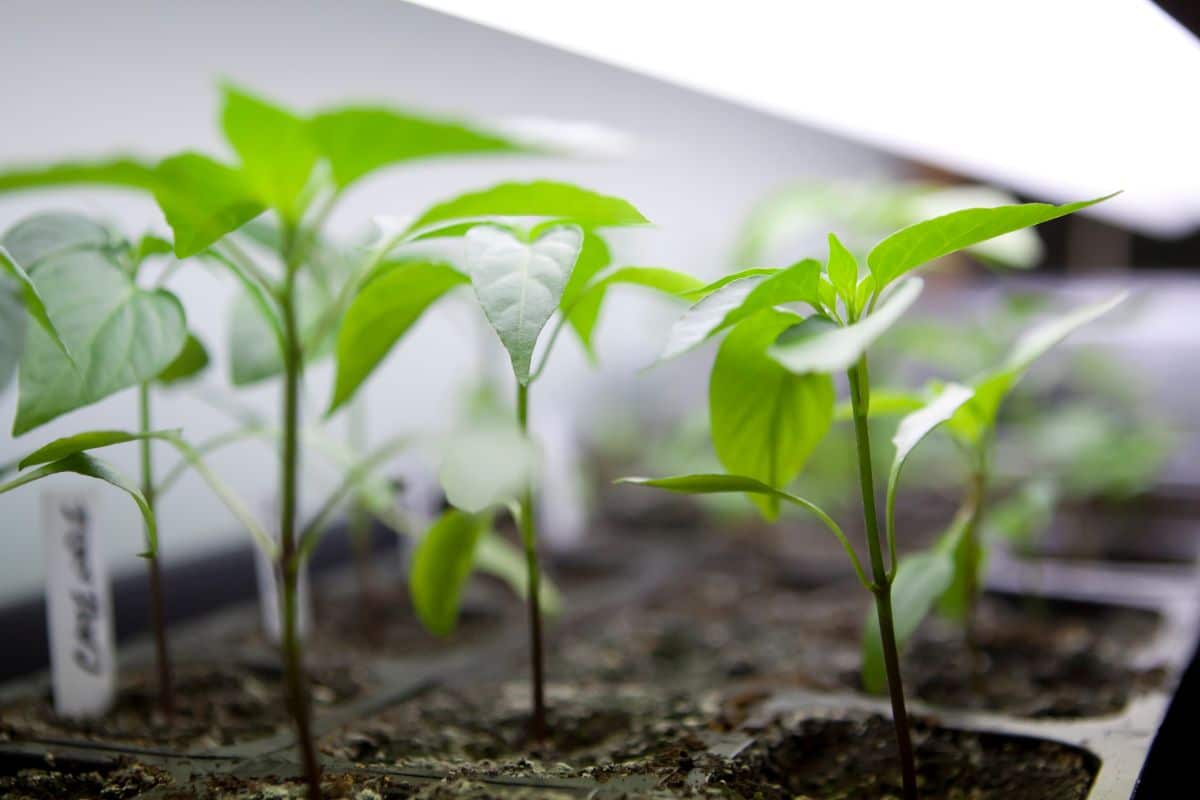
Poor lighting can also inhibit seedling growth, slow photosynthesis, and promote conditions where damping off can spread. To avoid this, provide your seedlings with 14 to 16 hours of bright light.
LED or fluorescent grow lights are recommended for this as they provide the proper range of light that seedlings need to thrive. Additionally, be sure to hang your grow lights at the appropriate height above your plants (usually between 2 and 4” above your plants) to guarantee that your plants get enough light.
While it may be tempting to grow your seeds on your windowsill, seedlings need bright light to grow properly. Most windows don’t receive enough direct light to support seedling growth, and choosing to grow your plants on windowsills will usually result in spindly and poorly formed plants.
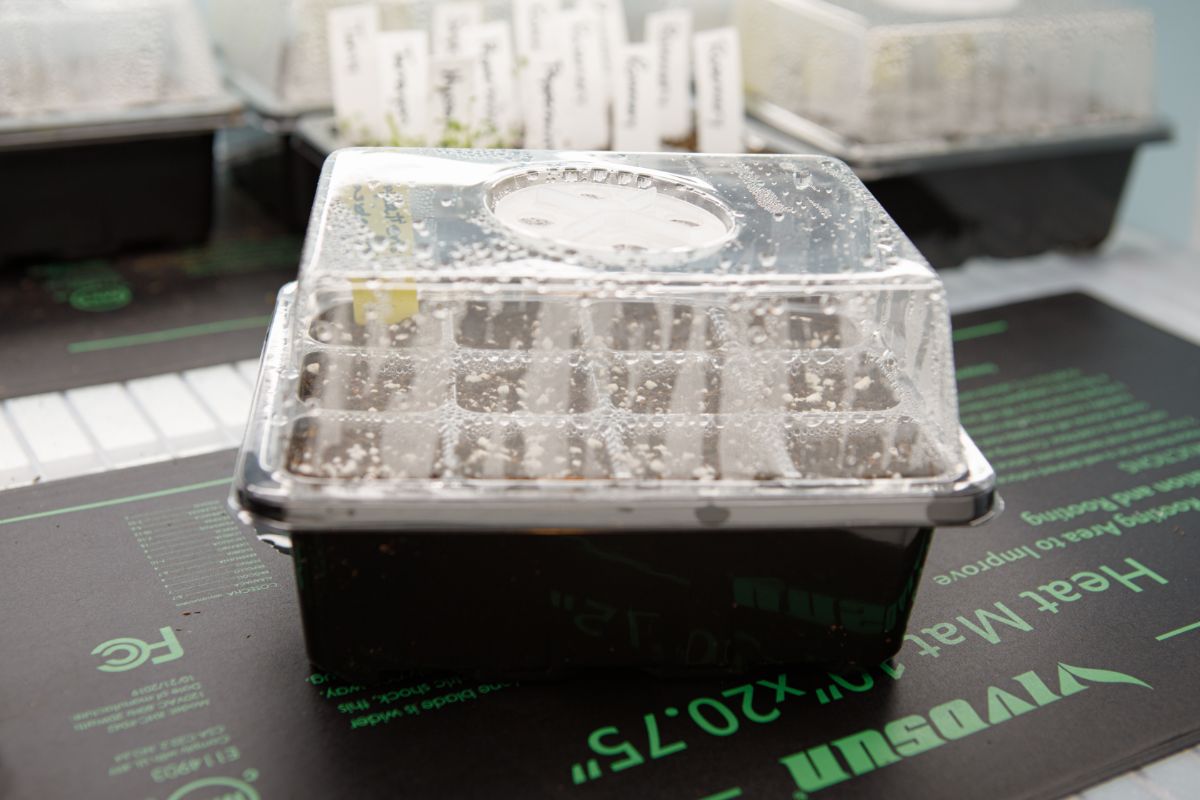
8. Avoid high-humidity situations
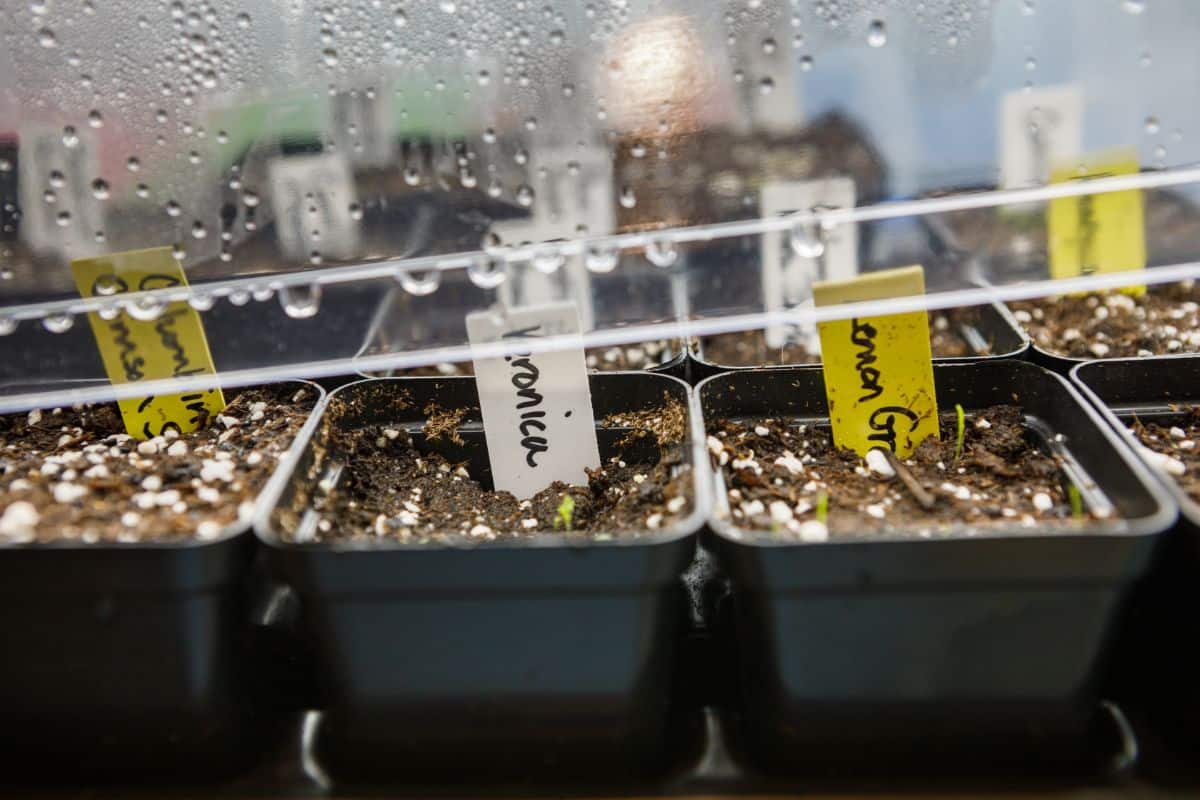
Damping off loves cool and humid conditions, and anything you can do to prevent stagnant air can help reduce the chances that this disease will occur. While young seedlings love humidity, too much humidity can contribute to damping off.
To avoid overly humid conditions, remember to remove any humidity domes or plastic wrap that you’ve covered your seedlings with as soon as your plants begin to sprout. After your seedlings have germinated, adding a small fan or two to your grow room setup can help air to circulate better, reduce high humidity levels and make your plants’ soil less hospitable to damping off spores.
9. Follow planting instructions
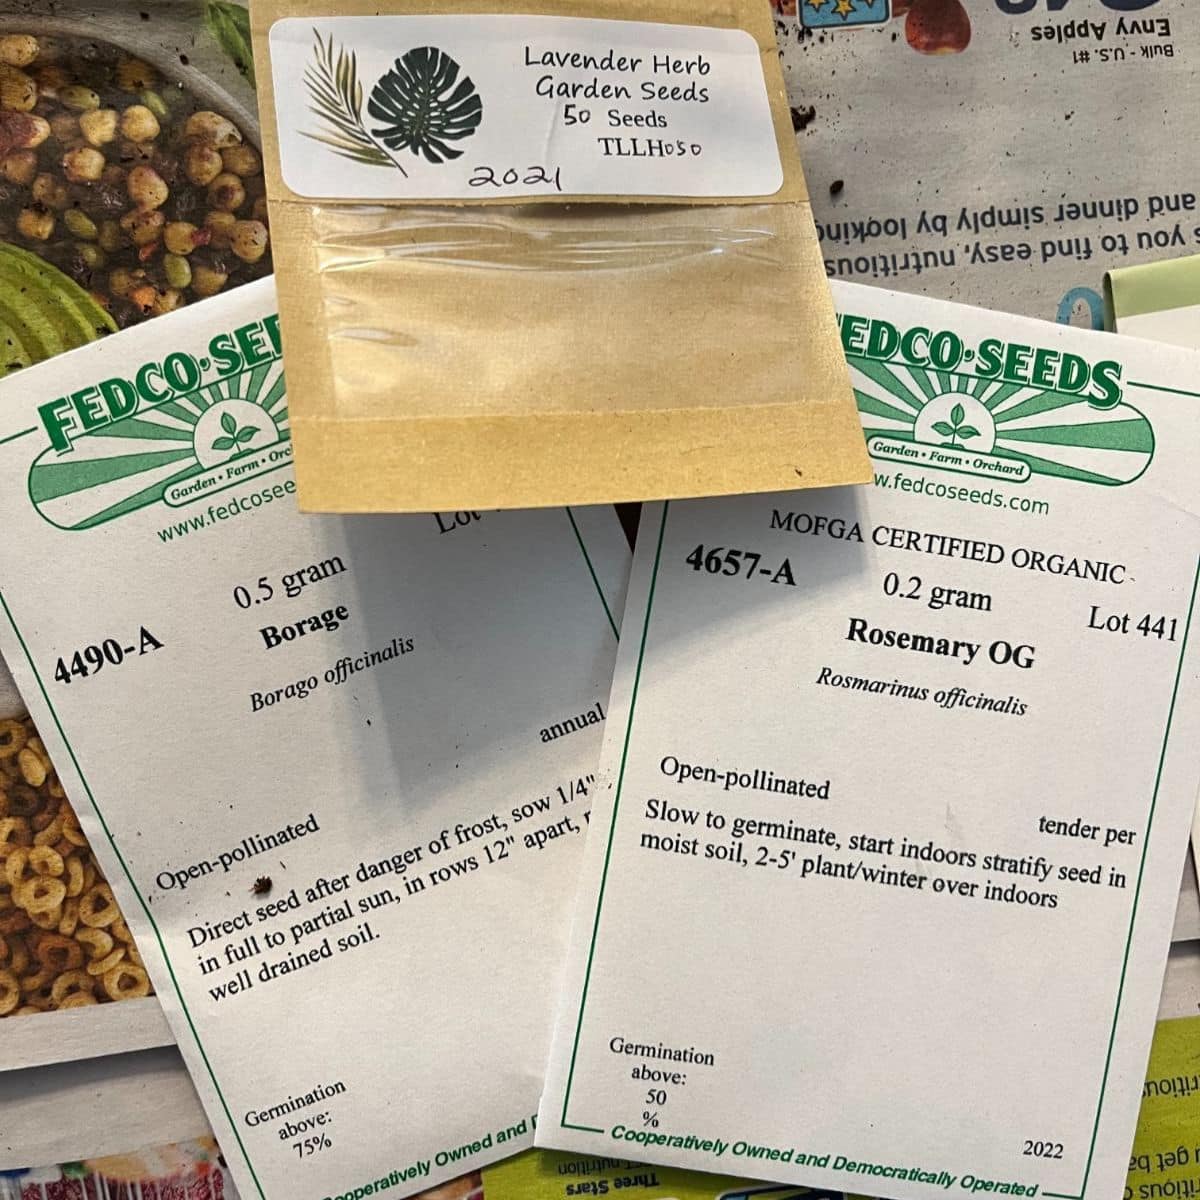
Seed packets usually contain valuable planting instructions that will help you grow healthier plants. One of the most important pieces of information included in these instructions is the recommended planting depth for particular seed varieties.
Planting seeds too deep in the soil can slow down germination and lead to damping off. To avoid this, pay careful attention to planting depth and never sow your seeds too deep. In general, most seeds should be planted at a depth that is about twice the width of the seed capsule, while some seeds shouldn’t be covered with soil at all as they require light to germinate.
10. Make sure your pots drain well
Poorly draining pots and seedling trays and overly dense starting mix can lead to soggy soil and damping off. That’s why it’s so important that you only plant seedlings in pots and trays that have drainage holes and only use seed starting mixes that are specially designed for optimal drainage.
If you’re upcycling yogurt containers and other plastic pots that don’t have drainage holes, take the time to add drainage holes before you start planting. Poking holes with a hammer and nail or drilling holes with a power drill can help increase the drainage capacity of any pot.
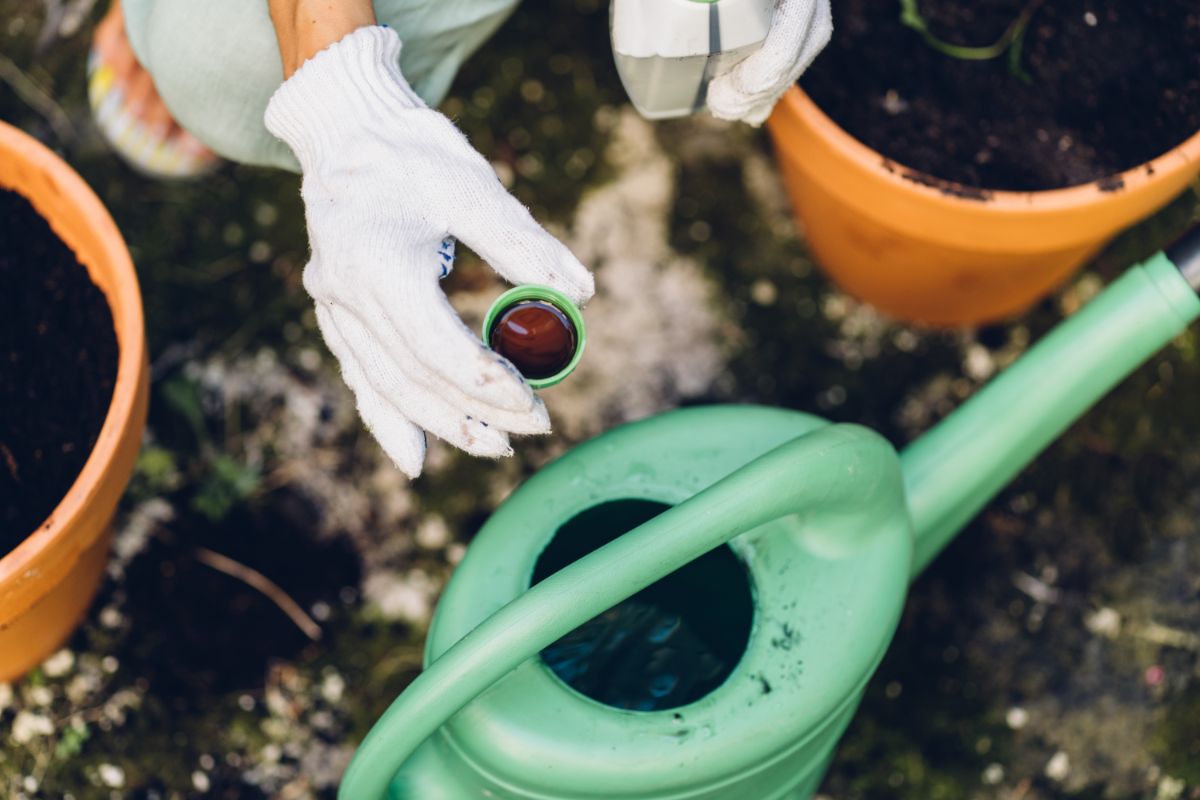
11. Use warm water
While this isn’t strictly necessary, watering your plants with clean, warm water can cause seeds to sprout more readily than watering with cool water. If you’d like to implement this trick in your watering regime, try filling up your watering can in the evening and allow it to come to room temperature overnight. Once the water is warmed in this manner, go ahead and water your plants the following morning!
Tips for treating damping off
Despite our best efforts, sometimes damping off can still sprout up in our indoor grow rooms and garden beds. If this occurs, infected seedlings are unsalvageable, and they should be disposed of. However, you may be able to save nearby seedlings by trying out some of the all-natural treatments below.
- Hydrogen peroxide
Hydrogen peroxide can be used to treat a whole host of plant diseases, including damping off. To use this method, fill a 32-ounce spray bottle with water and then mix in 1 tablespoon of 3% hydrogen peroxide. Spray your plants and the soil well.
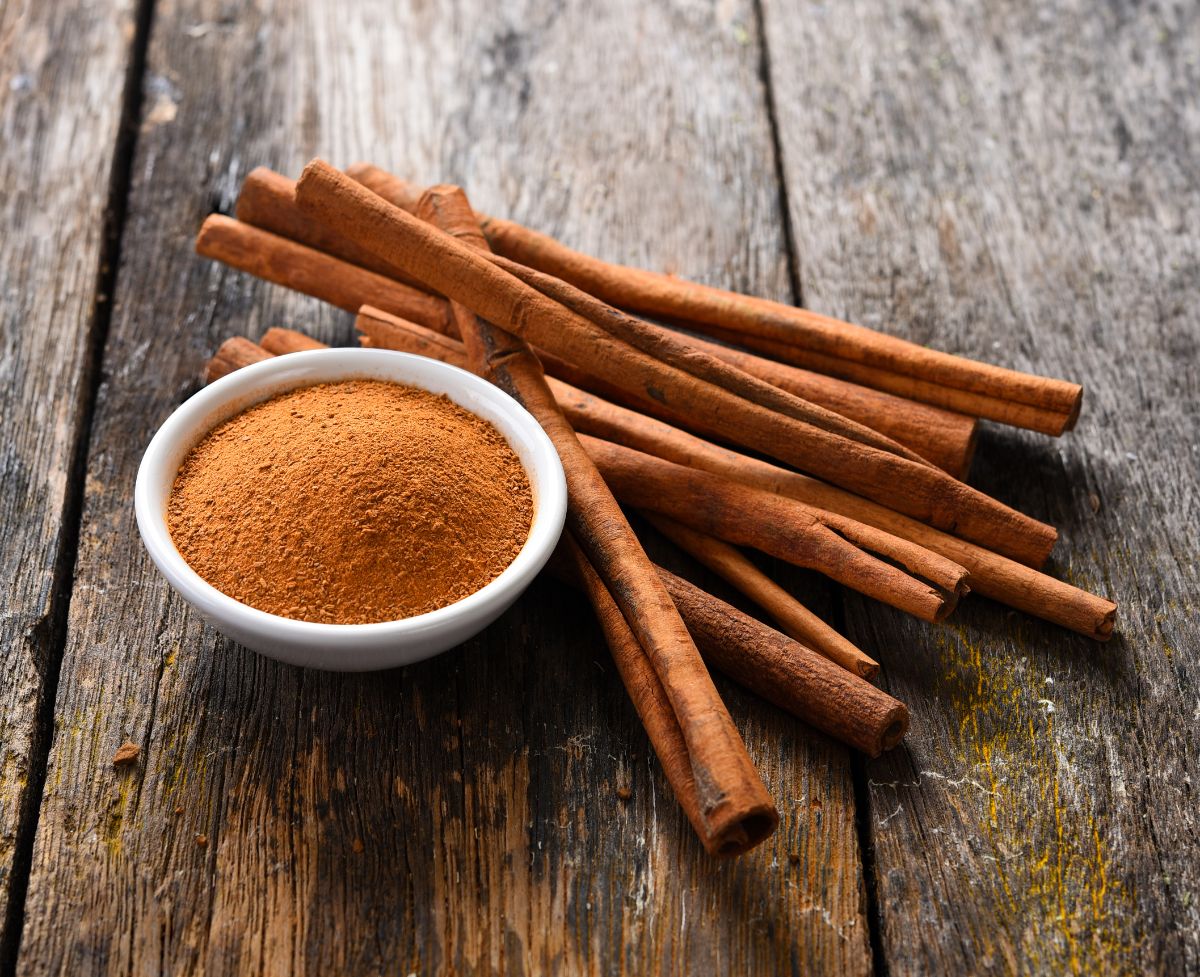
- Cinnamon
A common spice in your pantry, cinnamon is also a versatile ingredient in your garden toolbox too. Cinnamon can be used to treat fungus gnats that spread damping off, and it can also help your plants bounce back from damping off. To use, simply sprinkle ground cinnamon across your soil line and be generous about it!
- Chamomile
Chamomile works similarly to cinnamon and can help plants combat fungus gnats and damping off. To use, brew a strong cup of chamomile tea. Then mix 2 to 4 tablespoons of your tea into a 32-ounce spray bottle with water and treat your plants liberally with it.
- Activated charcoal
Powdered charcoal sprinkled across your plants’ soil can also inhibit fungal spores and reduce the overly damp conditions that lead to damping off. Be sure to use a fine charcoal powder that has not been treated with any chemical additives.
Note: Remember to properly dispose of any seedlings that have been infected with damping off to avoid the spread of this disease. Diseased plant matter should only be composted using hot composting methods, which create temperatures hot enough to kill off pathogens. Alternatively, diseased plant debris can be tossed in your garbage or burned.
Frequently asked questions
Damping off is caused by naturally occurring, soilborne fungi, such as pythium. These fungi thrive in cool, wet conditions with poor airflow. Damping off is commonly spread to indoor seedlings via contaminated pots, tools, and starting mix.
Increasing airflow around your plants by adding a small fan is one excellent way to prevent damping off and keep it from spreading. You can also stop damping off in its tracks by avoiding overly wet soil and ensuring that your seedlings are getting enough light. Trying out natural treatments like cinnamon powder, 3% hydrogen peroxide sprays, and chamomile tea can help too.
No. Once a plant has been infected with damping off, it will not be able to be saved; however, you can stop damping off from spreading to other plants. Spraying plants with hydrogen peroxide spray, sprinkling cinnamon powder on your soil, and adding a fan to your grow setup can help.
Natural fungicides like 3% hydrogen peroxide, cinnamon powder, and a strong brew of chamomile tea can help treat damping off.
Yes. Hydrogen peroxide can kill off fungi, yeast, and mold spores and has been shown to help combat damping off.
Seedlings that won’t recover may turn brown or black and will wither and collapse. Damping off can cause plant stems to become so thin they appear threadlike, which is another clear sign that seedlings won’t recover.
Summary
Damping off can be a very troublesome problem in grow rooms and outdoor gardens, but there is hope. By following recommended sanitation methods in your garden and by providing your plants with a proper growing environment, you can drastically decrease the chances that damping-off will ever develop in your seedlings.
Should damping off occur, there are solutions for that too. By acting quickly, increasing airflow around your plants, and trying out natural fungicides like cinnamon, hydrogen peroxide, and chamomile tea, you may be able to stop damping off from spreading and save the remainder of your plants. We hope that understanding this process and what to do will give you greater confidence as you start your garden seeds this spring!
If you’d like to learn more about indoor seed starting, check out our guide on growing microgreens here.

Rick Ross
Nicely done, also, pretty good links to related topics.