
Even though I’ve been gardening for over 20 years, and I grew up in a home with a huge garden that fed our family of ten year-round (thanks to canning and preserving), I’m still always making changes.
Some of the changes I’ve made in my garden are because I’ve learned new things and want to try them out. Some are changes because life is busy, and it gets in the way more and more. And some are changes in response to a body that has its own ideas.
Some are changes I’ve made for no other reason than I’m bored and have some new bright ideas.
The point is, no two garden years ever look the same. Sometimes when I try something, that idea lands in the compost pile. Other ideas are keepers. I find it’s always a good idea to reflect on what I’ve done and decide what worked, what didn’t, and what might work if I... well... change something.
This summer feels like one of those years that worked. I’m taking note of what worked out so I can do it again, and hopefully, you can find something that will work for you, too. Here’s what’s working in the garden this summer:
Jump to:
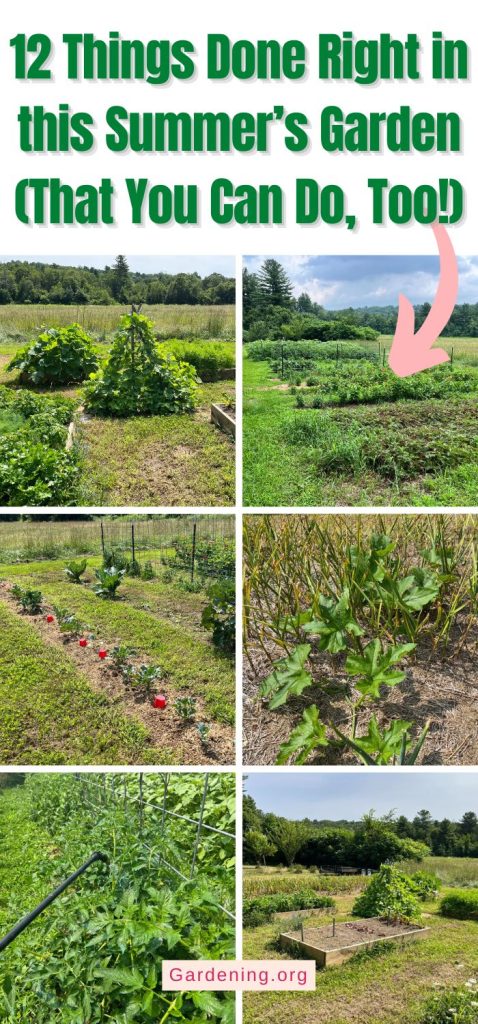
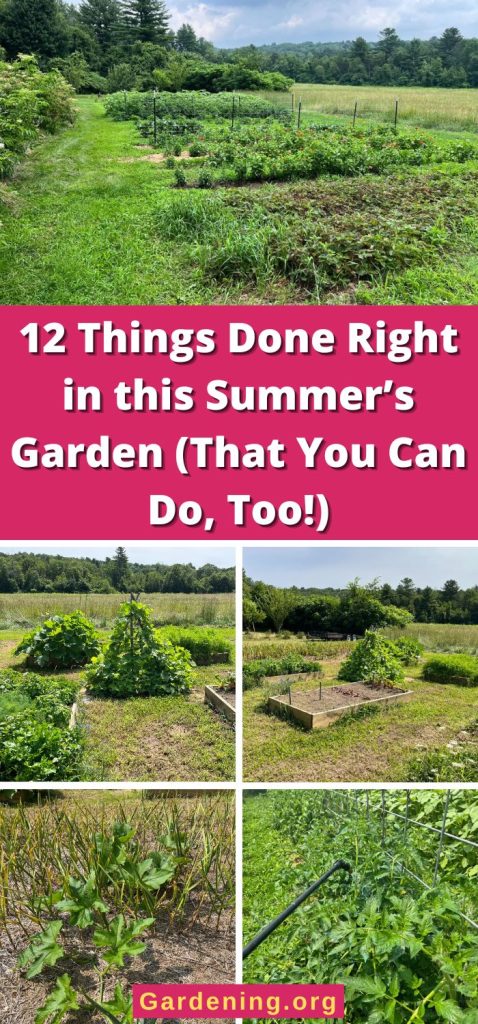
- 12 Garden Things that Work and are Worth Doing Again:
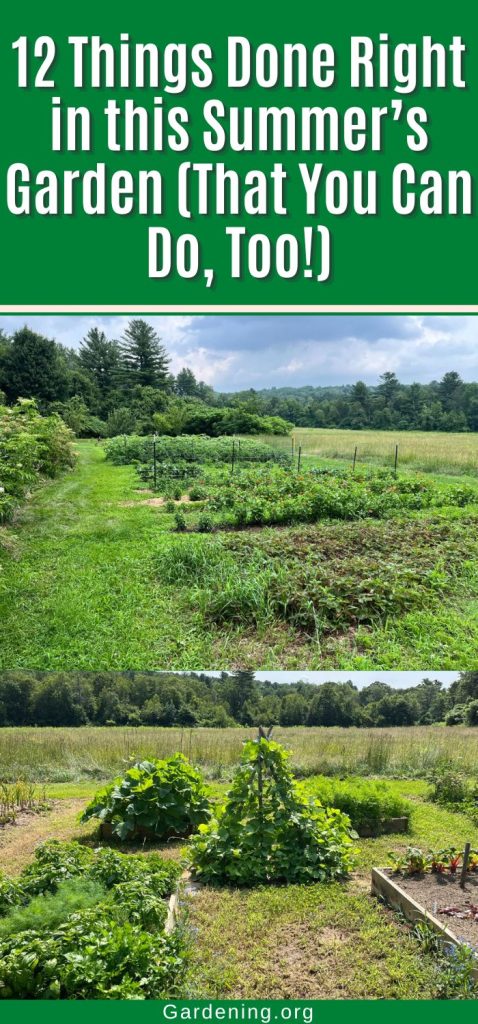
- 1. I downsized. Sort of.
- 2. I added some raised beds
- 3. I made mowable, maintainable clover aisles (weed-free!)
- 4. I treated for blight and mildew preventatively
- 5. I stuck with tried and true organic products and methods
- 6. I bought my products earlier than needed to build my garden first aid kit
- 7. I planted rows of zinnias and cut flowers
- 8. I ditched the beetle traps
- 9. I let care-free sunflowers grow in an unused space
- 10. I planted squash and pumpkins amidst my garlic and onions
- 11. I succession planted and planted for a fall garden
- 12. I let go a little, did some experimenting, and set some of my own garden rules
12 Garden Things that Work and are Worth Doing Again:
1. I downsized. Sort of.
This year, I adjusted to the needs of the household and the demands of my other facets of life, like job, farm, and family. I knew from the start I needed smarter ways to garden, and I needed to reduce the time my garden took to plant and maintain.
One way I did this was to cut down on what I was growing. I grew less of the specific types of vegetables I was growing, and I stopped growing the things that we don’t really eat—the things that just end up going to the compost or the chickens.
I stopped succumbing to the temptation of growing every interesting seed or vegetable—especially those that aren’t well suited to where I live and garden and that require a lot of protection, persuasion, and season extension.
I grew some things that are no and low maintenance in those spaces and widened out rows so I could plant them with something beneficial that can be mowed (more on that in a moment). The footprint of the garden isn’t much changed, but the spacing, arrangement, placement, and maintenance are.
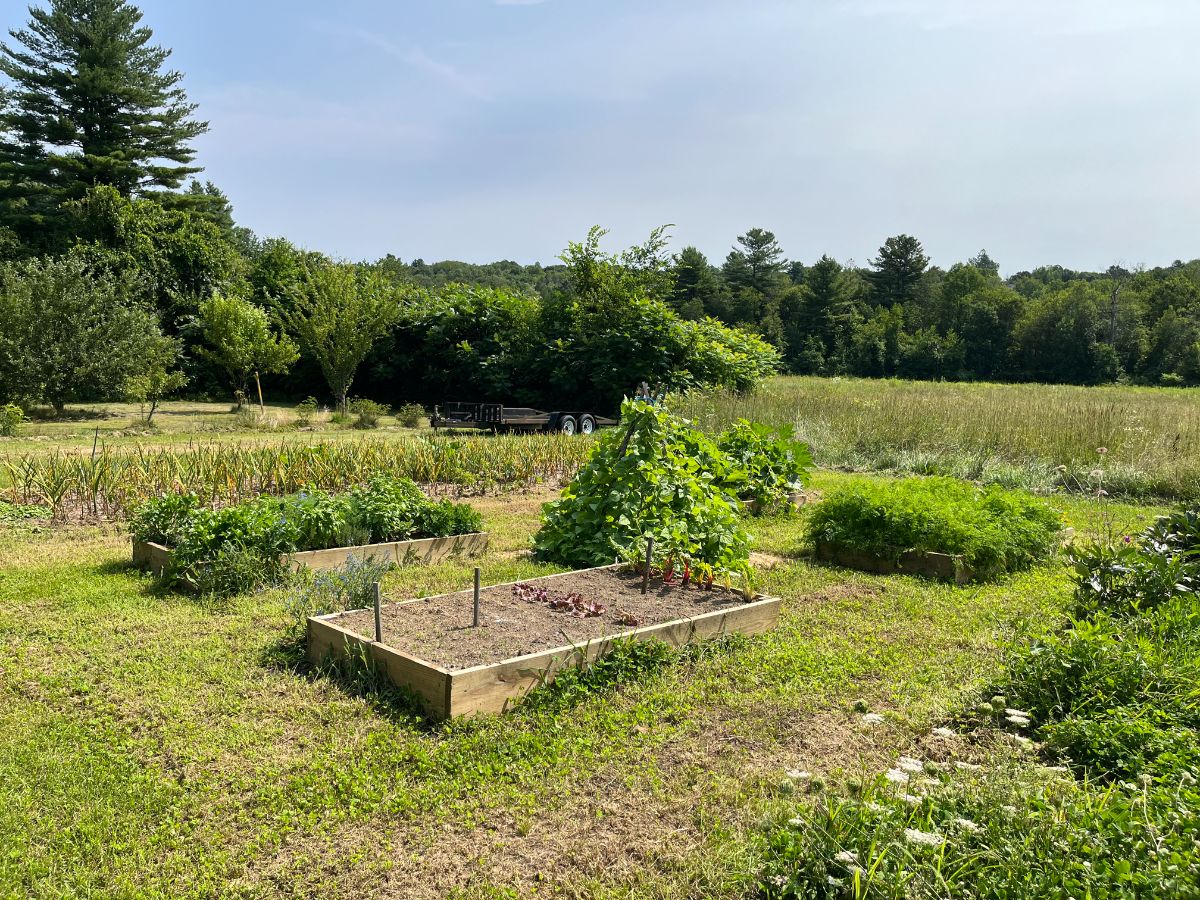
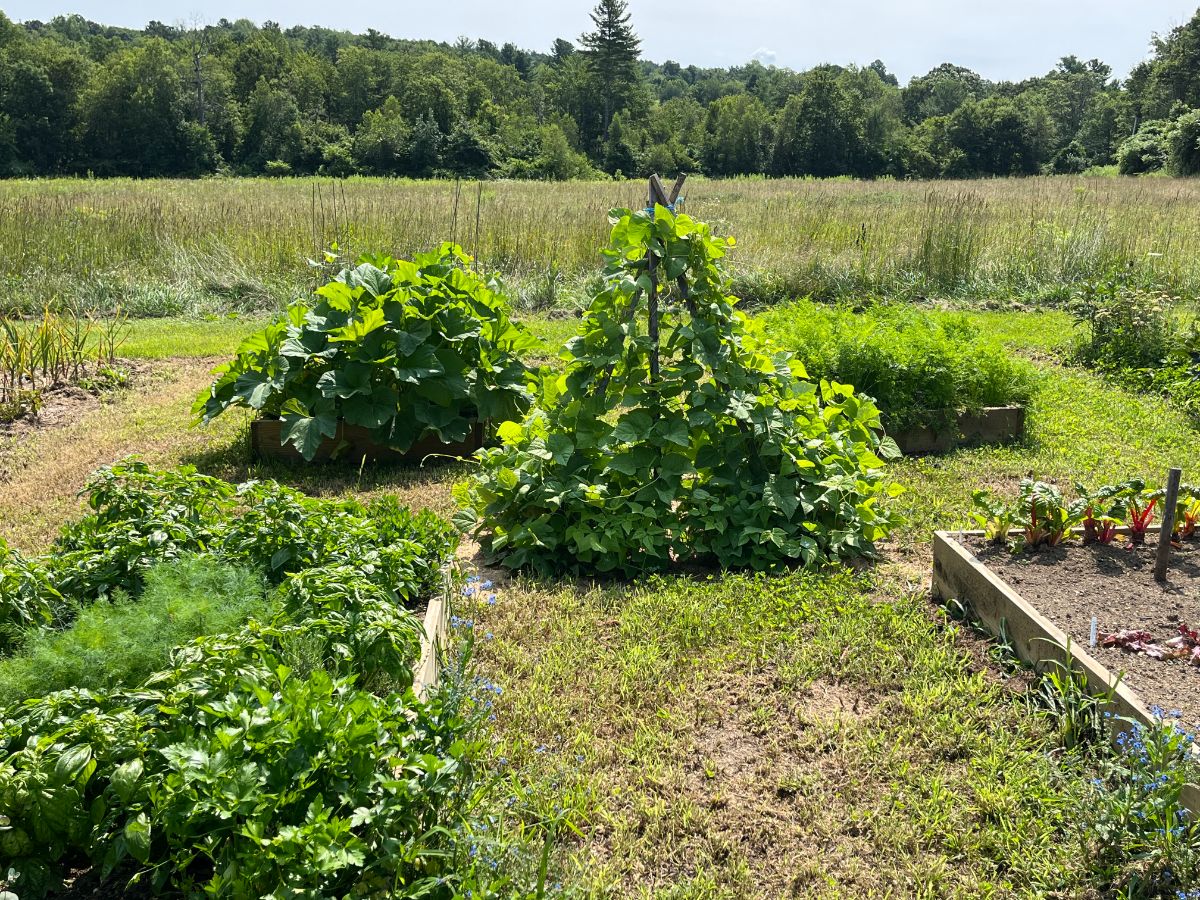
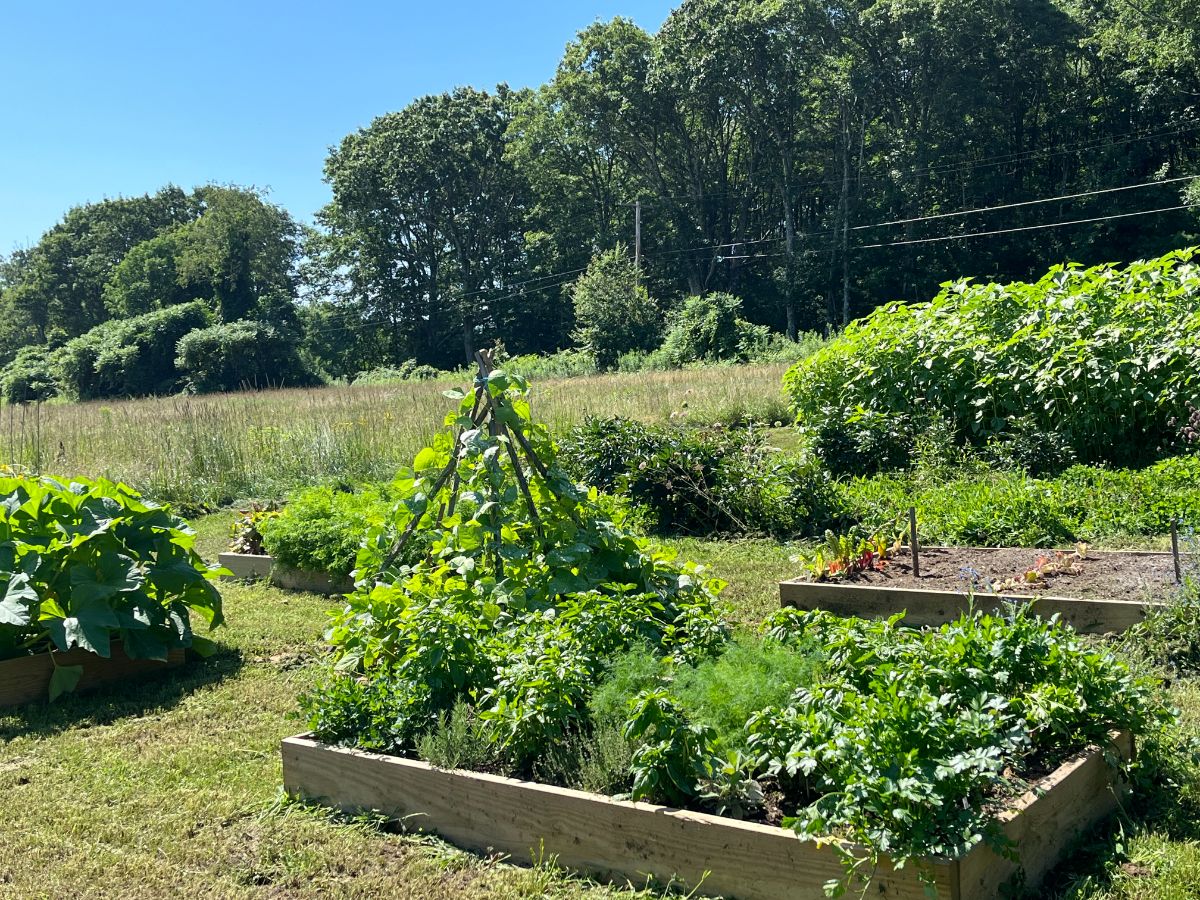
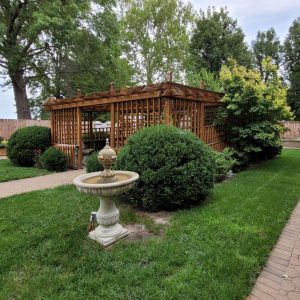
2. I added some raised beds
I’ve resisted growing in raised beds for many years, though the thought has intrigued me. The reason I’ve hesitated is because I have excellent ground and near-perfect soil. My garden is an old dairy barnyard pasture, rich in deep, dark soil. I have plenty of space and room to grow whatever I want—with the recommended spacing requirements! Raised beds just didn’t make much sense.
I’ve thought about adding raised beds for the past few years, and this year I decided it was time. For a couple of reasons:
First, my back does not appreciate bending mid-way. So, bending to plant, weed, or harvest isn’t as easy as it used to be, and I can’t do it for as great a length of time. Bringing the ground up has been a smart choice.
Secondly, I have been able to consolidate several crops into just four 4 by 8 boxes. As I said, I didn’t need to do this for matters of space, but it has made a tremendous difference in reducing the amount of ground that needs to be weeded and maintained. There are less weeds, the weeding area is less, and keeping the garden in good shape takes much less time.
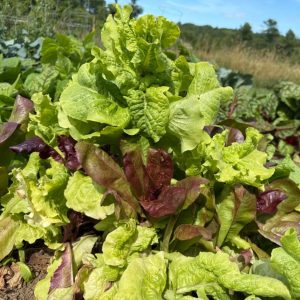
There are still a number of crops I grow directly in the ground and probably always will, including tomatoes, peppers, cauliflower, kalettes, and broccoli. I’ve found that keeping crops like beets, carrots, herbs, lettuce, spinach, summer squashes, and bush cucumbers grouped in raised beds has made them much more hands-off, which has really helped my time factor. And stress level!
3. I made mowable, maintainable clover aisles (weed-free!)
Aisles have always been a time suck for me. They grow more weeds and take up at least as much, if not more, of the area of my garden. And there’s something insulting about having to weed aisles that aren’t even giving me food to eat.
Last year, I started experimenting with clover in the garden, partly as a cover crop and partly as a weed suppressant. It worked well for some purposes and less well for others.
One place it did work well was in the aisles. You see, clover can be mowed. It’s low growing. It flowers and is a long-lasting, excellent source of pollen and nectar for honeybees and domestic bees.
The random weeds that grow up in it can’t handle being mowed like the clover can. Over time, weeds are choked out by the spreading clover and killed by regular mowing.
This has worked particularly well this year because the clover is established in the garden. When it came time to plant, I rototilled two- or three-foot-wide rows for the vegetables (depending on what was being planted there and how far back I wanted to keep the clover out of it), then I just planted in the tilled spaces.
This still did a lot for soil health and erosion control because I didn’t till up the whole 30 by 100-foot garden—just the areas where I wanted loose soil for planting. Some sawdust mulch and light hoeing, and hand weeding keep weeds down around the plants.
“Weeding” the aisles only take about 20 minutes with the mower (I have a lot of aisles). It’s good exercise, pleasant, and easy to do. Sometimes I leave the aisles for two or three weeks or alternate patches in bloom to give the bees and butterflies more to eat.
4. I treated for blight and mildew preventatively
This year started with a drought and then suddenly turned into almost non-stop rain. In between, as is not unusual for where I live, things were hot and humid. All that water, rain, and humidity were setting us up for a perfect storm of blight, fungal diseases, and powdery mildew.
I can’t control the weather, but I can control how I manage my garden. So, knowing that blight is almost inevitable and nearly guaranteed this year, I didn’t wait for it to come before I started treating for it. With many of these fungal diseases, by the time we see signs, it’s too late; or at the very least, there will be some impact and crop loss.
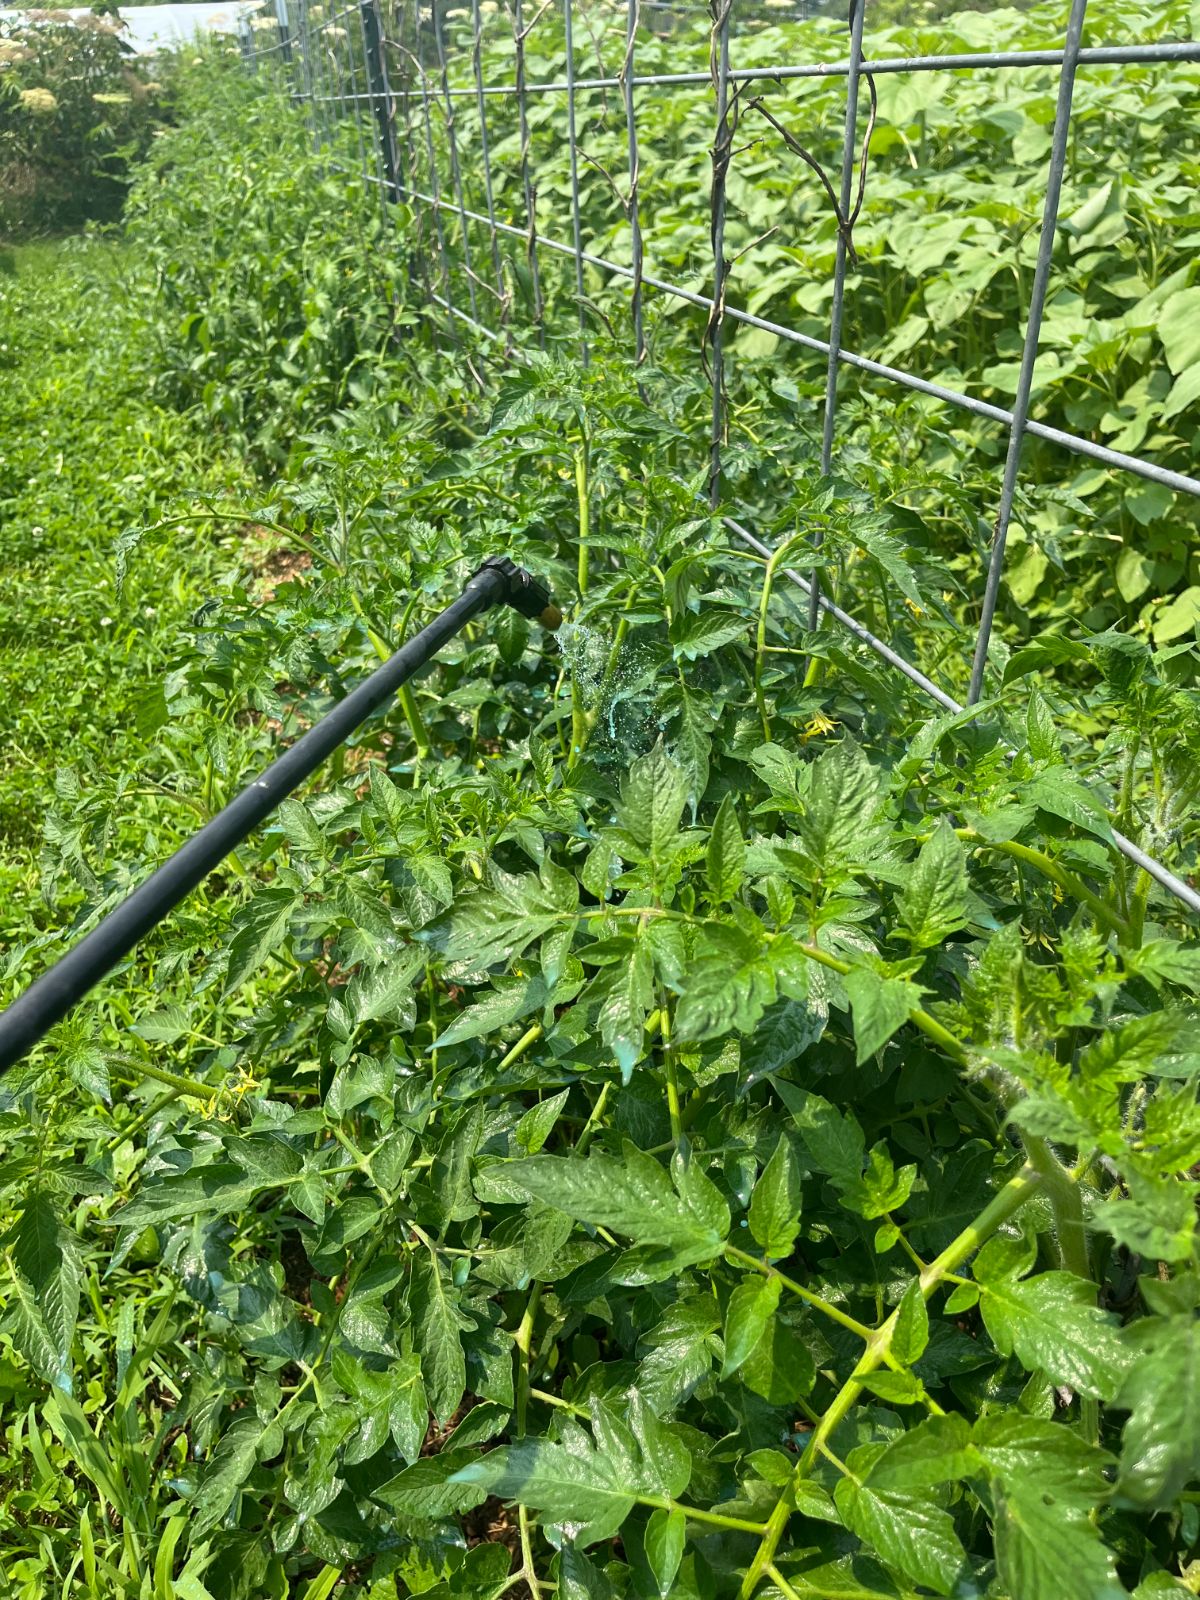
I started a course of spraying with organic neem oil and copper fungicide as soon as I realized this rainy pattern wasn’t going to quit. I keep up with it weekly as a preventative. I’ve watched the plants that are only sometimes impacted, but I’ve spared no time waiting to see with tomatoes. They get sprayed every week.
Things continue to look green and lush even though the rain isn’t stopping, and the rivers are overflowing weekly.
5. I stuck with tried and true organic products and methods
When you’re fighting tough pests and insects year after year, or the blight and mildews are so bad you’re ready to throw in the towel, it can be tempting to want to take the nuclear option. Because it works. And because you won’t have to worry about anything populating your garden.
But that’s a problem of its own. A thriving garden is a living garden. You need pollinators. You want good bugs and bees. You even want birds. After several years of taking steps to protect pollinators and draw in beneficial insects, I’ve found the birds have come back to my garden, too. And they’re doing a good job of working alongside the good guys to help keep things balanced and manageable.
Birds can be a problem for some crops, like strawberries and other types of berries, but I find that predator kites during ripening and harvest are good for spot protection while allowing the birds to feed on pests in the rest of the garden.
Mind you, I’m not saying I never have to deal with bad bugs. I get squash bugs and Japanese beetles and other chewing insects like the rest of you. But I honestly do not have as many as I’ve had before, including those years a decade ago when I resorted to harsh poisons (I had a lot more pests then, in fact.
Today we have some very good organic products. If you care about beneficial bugs, you’ll familiarize yourself with them and know the right time and way to use them. If you do, you can find the balance I’ve found. And you can rest easy knowing that you’re not infecting your home, yard, garden, or food with synthetic chemicals that just won’t go away.
This can be a tough thing to trust in, and you might question whether you can really bring your micro-ecosystem into balance and alignment if you stay committed to the process, but I’m here to tell you, you can. And in the long run, you can save yourself a lot of money, too. Quality organic produce is some of the most expensive food you can buy, but when you’ve done it right, you can grow a garden full cheaper and more healthfully.
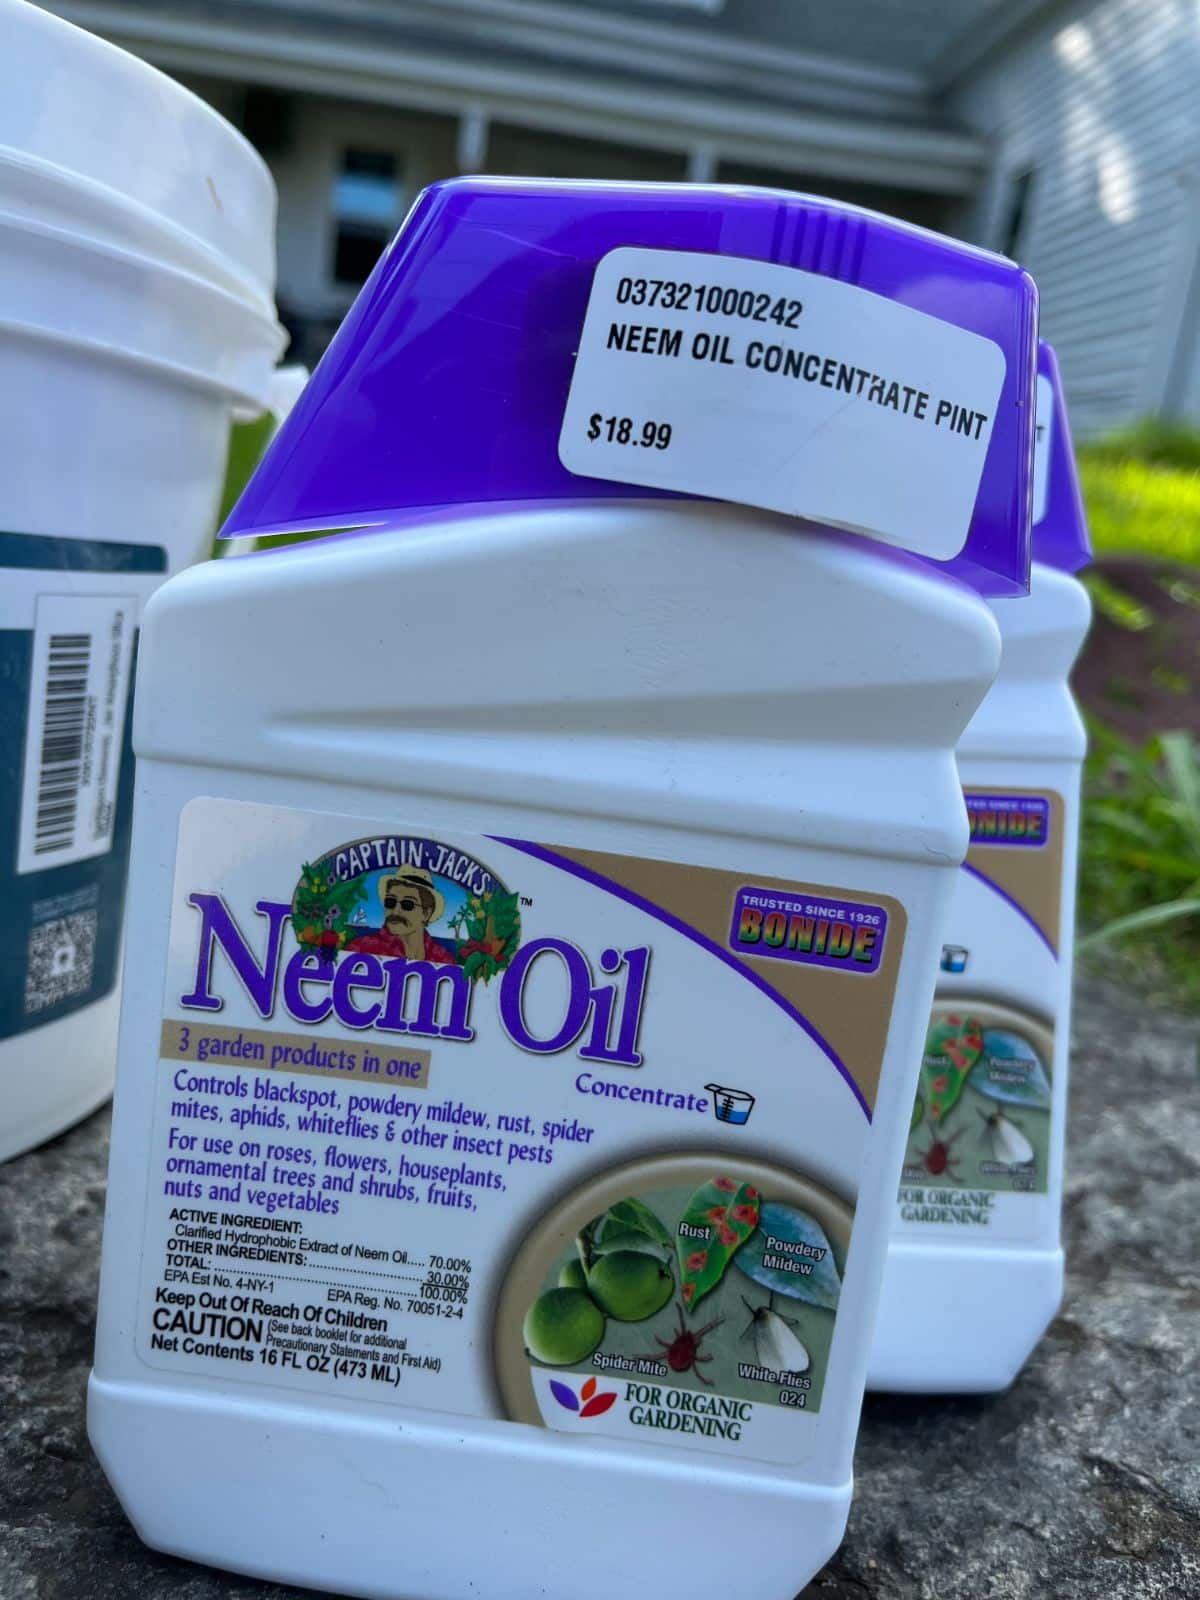
6. I bought my products earlier than needed to build my garden first aid kit
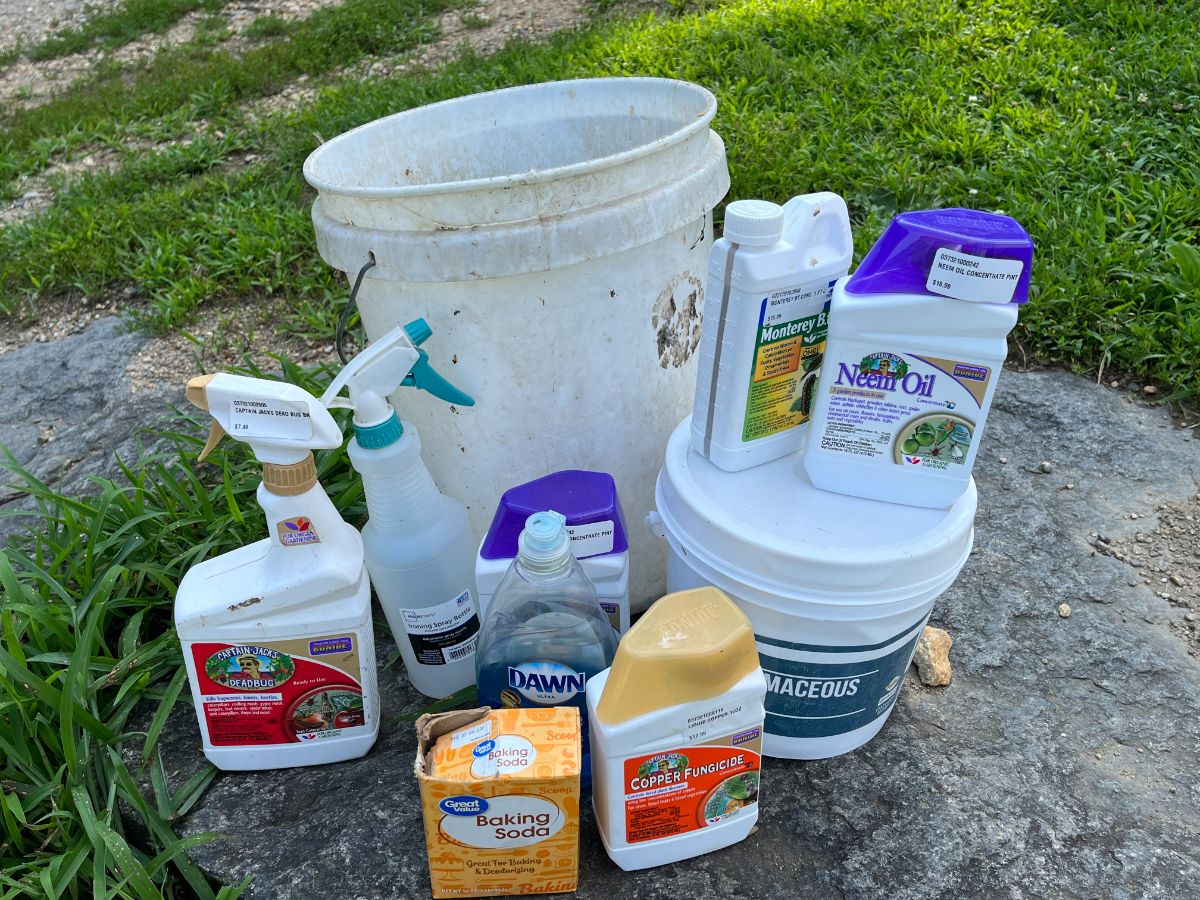
There are at least three (and more like five or six) things that I consider essential to my organic gardening first aid kit. These are products that I’ve come to rely on, that (with conscientious use) don’t harm bees and pollinators in my garden. I find myself using them every gardening year. They have broad uses and are used in my elderberry field as well as my vegetable garden and fruit orchard.
These are things that, when I need them, I need them quickly. They are also things that I’ve noticed seem to disappear from local garden centers quickly (because everyone in the area is fighting the same problem at the same time). If I don’t have them in short order when I need them, bugs and diseases get out of control, and gardening is made much more difficult and sometimes futile.
And so, this summer, I got wise. I put together my first aid kit early. I invested in a few key products early on, and I had them on hand so I could respond to the first sign of insect infestation and disease. I believe I saved money by buying these products early and getting a jump on damaging pests and diseases.
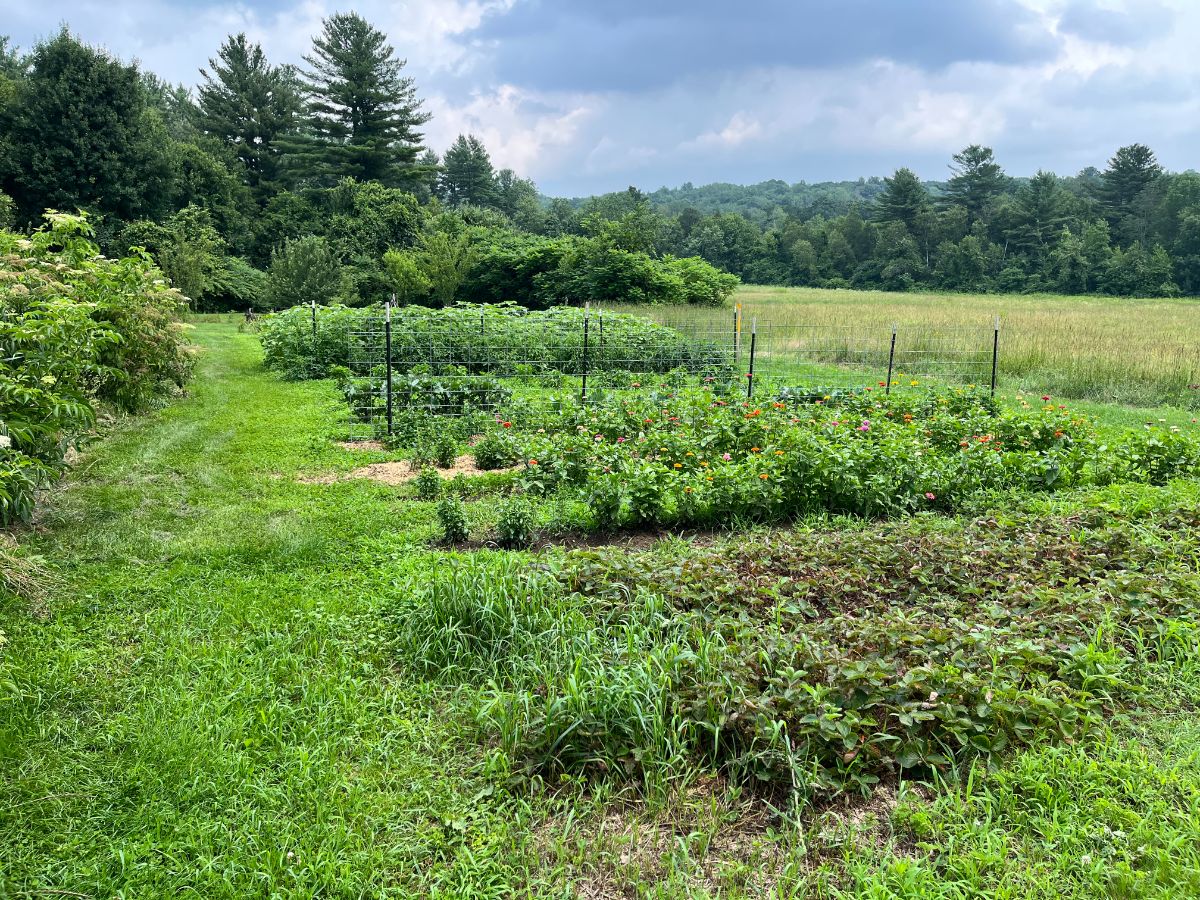
7. I planted rows of zinnias and cut flowers

This may seem like an inconsequential thing, and when I first started planting rows of cut flowers in my garden five years ago, I did it because I couldn’t maintain the big garden I’d done in the past. There were things personally that we were dealing with in the family, and frankly, I did it to make me happy. They made me so happy that year, I just kept doing it.
And now I’m really glad I did. Even as we struggle to maintain bee hives and support pollinator populations, and as I see farms and neighbors fighting with incomplete pollination, my little rows of bright zinnias and cut flowers are calling the bees and butterflies to me.
As a result, even in a year when I have no beehive and no sugar feeders on site, I’m blessed with plenty of honeybees, bumble bees, butterflies, and hummingbirds. It’s helped tremendously having them know that I am a go-to place for food. The rains have kept a lot of pollinators at home and unable to fly. When they do get a good day, I want them flying straight to me and my vegetable and fruit blossoms. And that seems to be what’s happening.
These little flowers are worth their weight in pollen gold. They bring me joy and give me loads of flowers with which I can decorate every corner of my house and outdoor spaces. They’re a premier destination for pollinators. They’re simply an all-around win.
8. I ditched the beetle traps
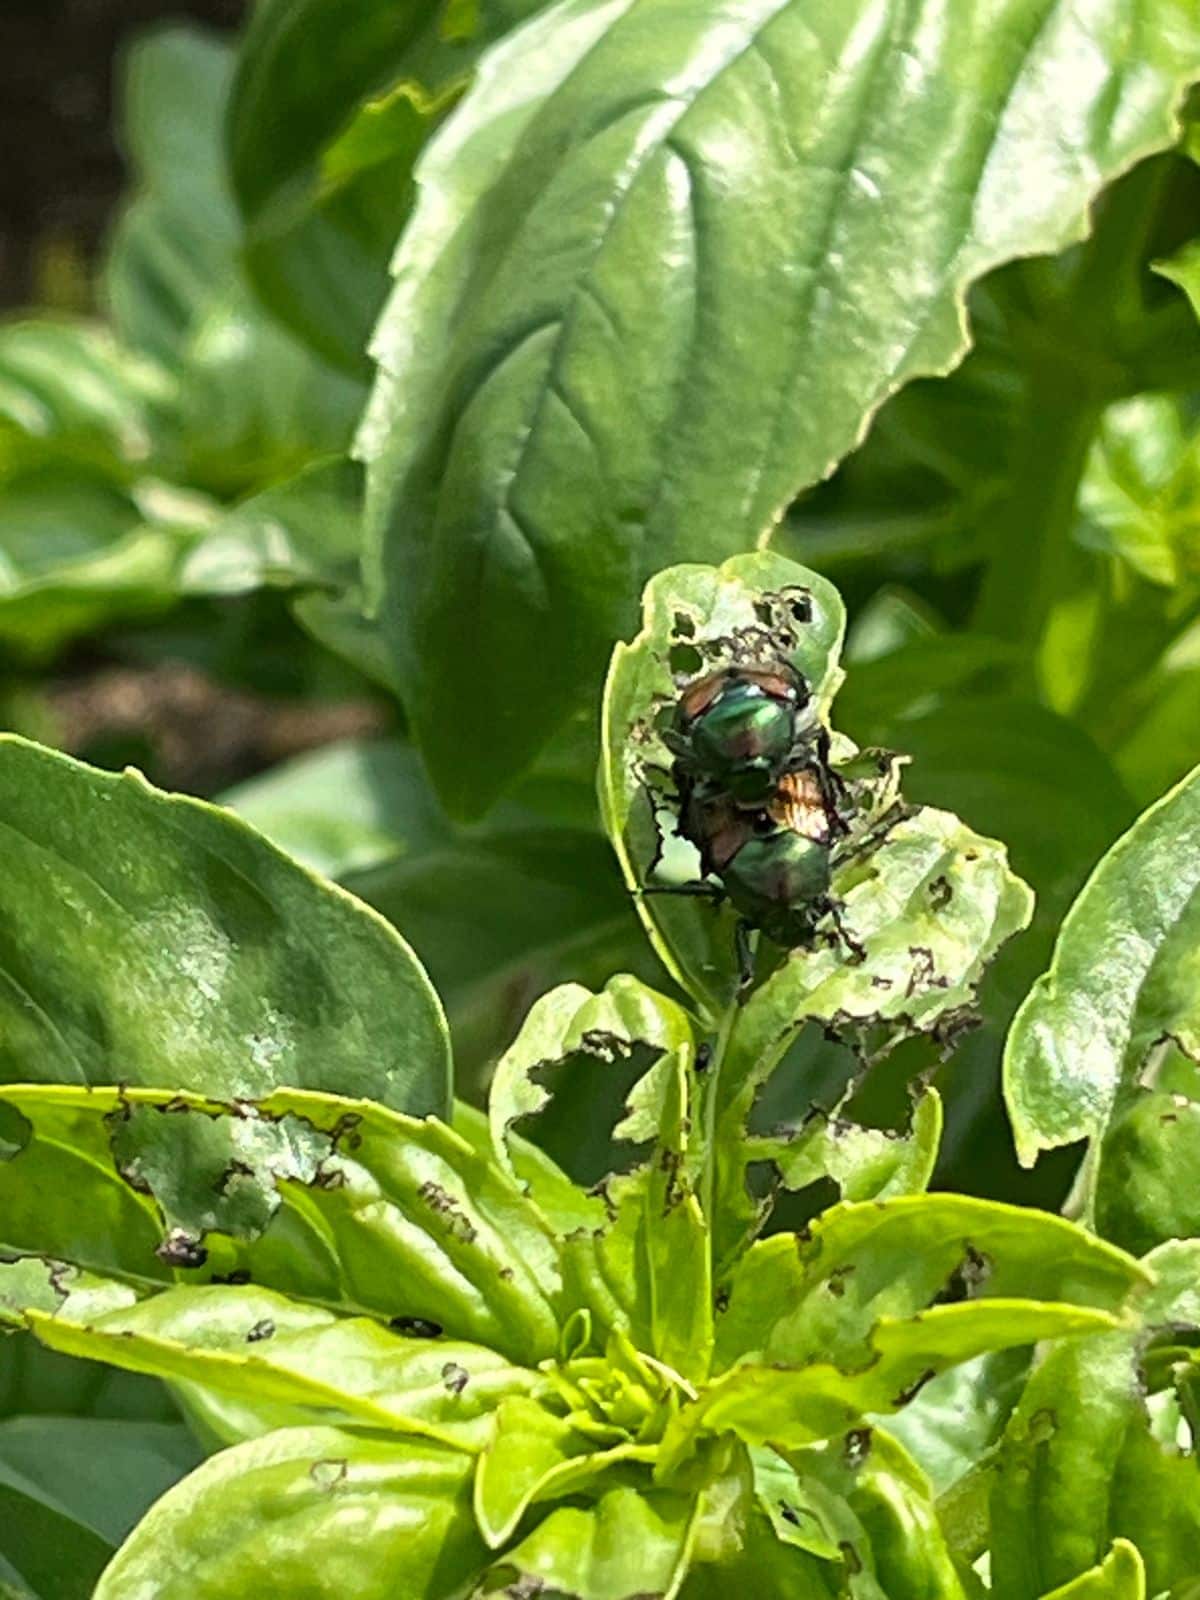
Beetle traps, like Japanese beetle traps, for example, are somewhat controversial.
Some people swear by them. They point to bags loaded with beetles as proof that they solve your beetle problems.
Others say they’re a bad idea because they lure beetles in from all over, and you wind up with more beetles in your yard and garden, many of which don’t go to the traps until after they’ve eaten their fill and laid their next generation.
I haven’t used beetle traps in a couple of years, and I can say I’m in the camp that believes they are more harm than good. I do have some beetles, but it’s a very low population. It’s much, much lower than in years past, despite the fact that I have more flowering plants at the ideal time of year to draw them. Perhaps I have neighbors using traps that are drawing mine away—who knows!?
I didn’t stop treating for Japanese beetles entirely. I use a pronged attack that includes diatomaceous earth, neem oil, and insect vacuuming on plants where pollinators might be harmed by organic pesticides. They're here, but they’re manageable, and it feels like the right idea to do what I’m doing and let others hang the traps.
9. I let care-free sunflowers grow in an unused space
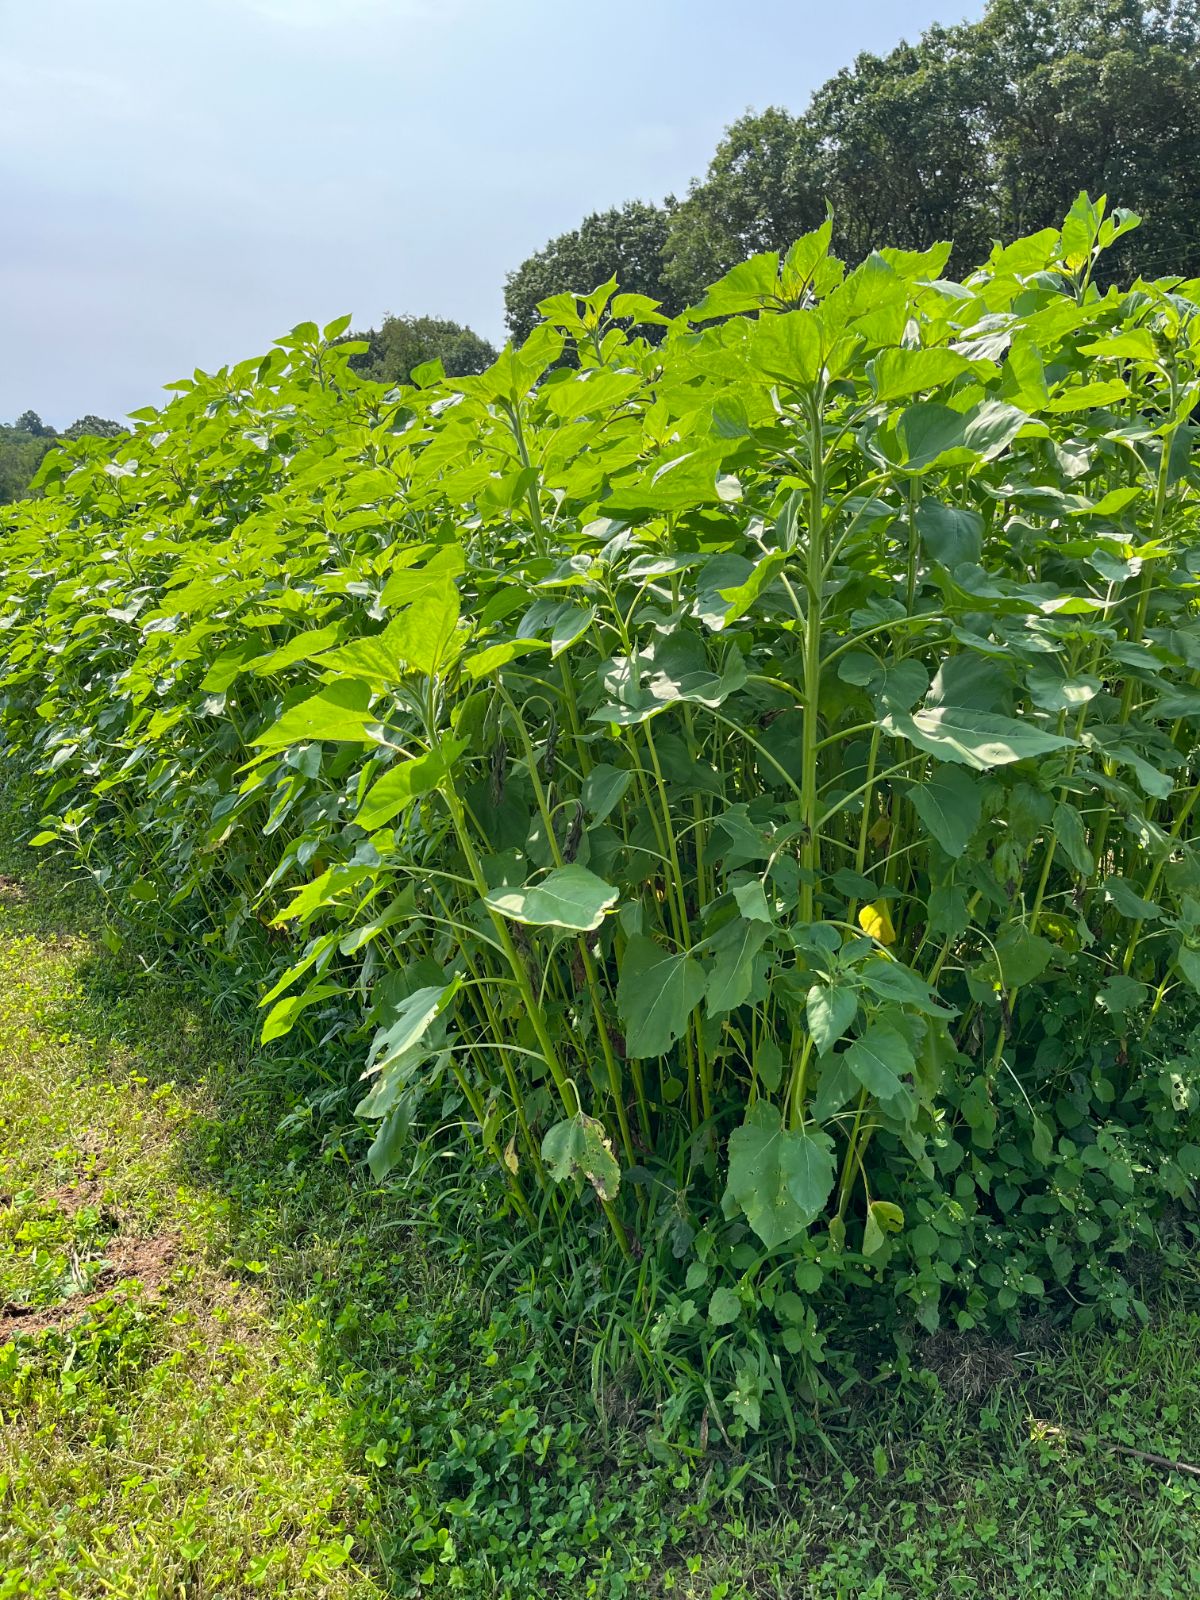
When I said I sort of downsized, this is what I meant. Though I no longer need a garden as large as I once had, and maintaining a huge ¼ acre+ garden has become too much of a draw on my time and (and if I’m honest, maybe a little on my body, too) I also did not want that garden space to lie dormant and invite problem weeds and invasive species of plants (oriental bittersweet and multiflora rose are big problems around here).
I did want that space to remain available and accessible as garden space and not to have to bring in heavy equipment to reclaim it like we did when we moved here. So, I planted it with something easy that is basically no care. Something that makes me happy. Something that is useful as feed for my chickens, my rabbits, for us, and for birds and wildlife. Something that draws in bouncing butterflies, hummingbirds, pollinators, bumble bees, and honeybees by the droves—sunflowers!
When I planted these sunflowers, I just cultivated the spot, tilling it lightly to turn the bed over and give the seed a good shot at contact with the soil. Then I broadcast sunflower seeds in several varieties across this 10 by 25-foot patch. I tilled them in on the cultivator setting to cover them, then let them grow. And that was it. I have not weeded or touched this patch since, except to mow the aisles around it.
The sunflowers quickly jump ahead of any small weeds that do germinate, then they take off running and shade the patch. Yes, some weeds do grow below the flowers, but they don’t compete with the flowers, and they’re pretty weak weeds because the sunflowers are taking the lion’s share of the nutrients, water, and sunlight. It works, and I don’t weed this space at all.
One note—I did seed heavily when I planted this patch, and for some, it might be considered too heavy because the plants are a bit crowded. When I seeded, I had lots of spring birds that were interested in what I was doing, and I wanted to make sure that even if they snacked on my seed, there would be enough left behind.
This worked out well, and plenty of sunflowers came up. They could certainly have been thinned if I chose to, which I did not, except for a row on the outer edge that I realized was a bit too close to my tomato row as they grew. These were casting some shade and blocking more air circulation on my tomatoes than I’d have liked, so I trimmed back the outer edge of the sunflowers. Problem solved.
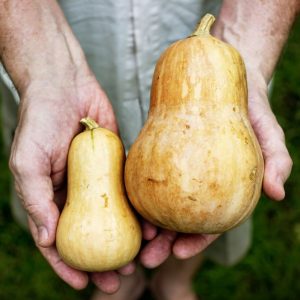
10. I planted squash and pumpkins amidst my garlic and onions
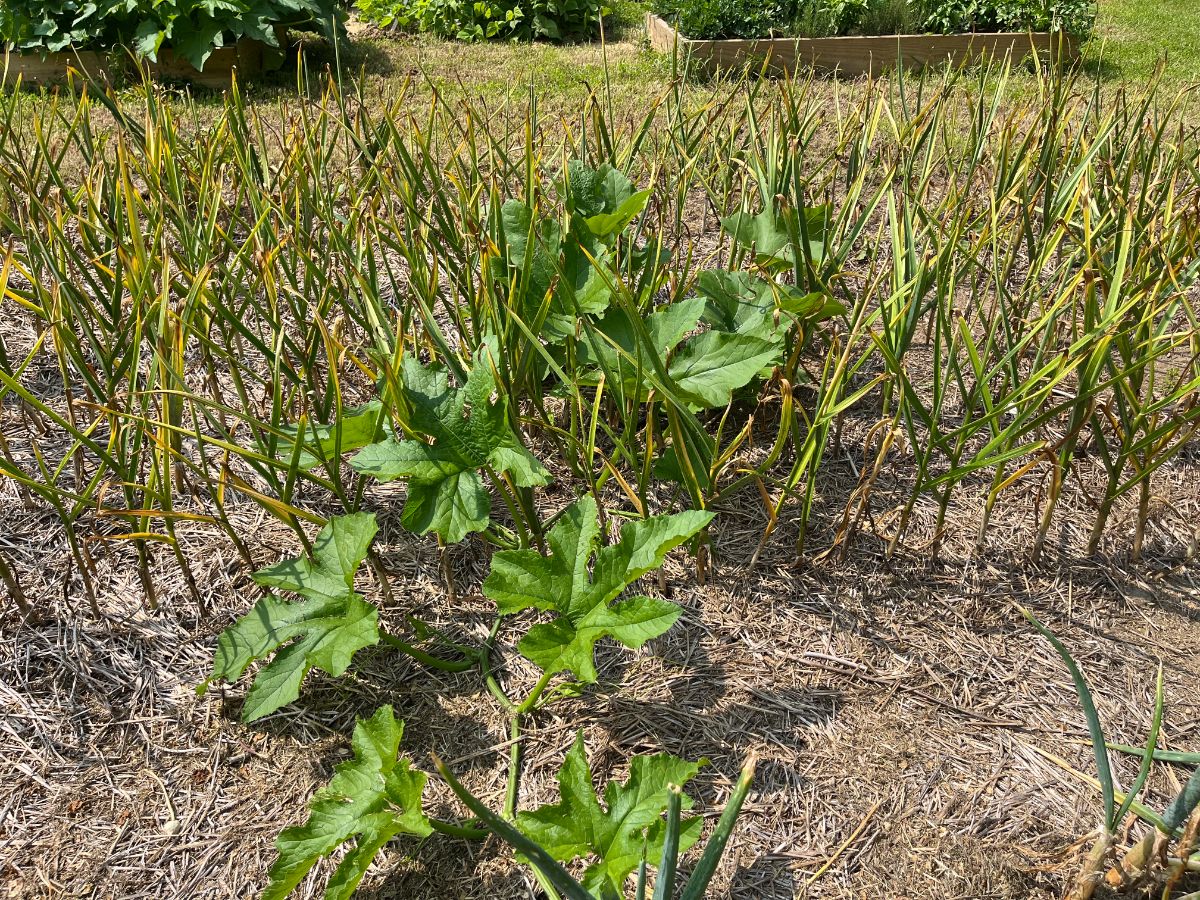
Garlic, as many know, is something that you plant in the fall. The bulbs overwinter under straw mulch, then pop up in the spring and grow until they’re full-sized and ready to pull. In my area, this is generally in July (though weird dry, then wet weather has messed with their schedule, and I’m pulling them a little later this year).
Onions and anything in the allium family are similarly protective. I also overwinter my onions, which saves me planting time in the spring and also gets the crop a jump start before I would otherwise be able to get it in the ground.
My garlic patch is already laid out with weed-limiting straw mulch. The onions are the last row at the end of it (we use loads more garlic than onions here, and I use some of the garlic for seed garlic for the next year). Garlic and onions are well-known companion plants that keep a lot of damaging insects away. My garlic rows are about one foot apart—plenty of space to make a few small hills in between the rows to set small transplants or direct sow seed of vining squash and pumpkins.
One of the biggest pest problems I have in my garden is squash bugs and stink bugs. It’s a fight with them every year. But not this year. This year, with my pumpkins and squash nestled in the middle of four rows of garlic, the squash bugs have left it well alone.
Now, you might wonder whether pulling the garlic with squash and pumpkins trailing through it is a problem. It’s an issue I wondered about myself when I decided to give this a try. It has not presented as a problem, though. The squash and pumpkins were still small enough while the garlic was growing and up until it was time to pull the garlic and onions so that they just didn’t get in the way of each other.
Now that the pumpkins are starting to take over, the garlic is coming out. The squash bugs have mostly found homes elsewhere by this time of year, and I’ve not been battling any, save for a few clusters of eggs I found on the zucchini and summer squash that are planted in a different area of the garden. Those I crushed and treated for early, and we’re still in very good shape.
11. I succession planted and planted for a fall garden
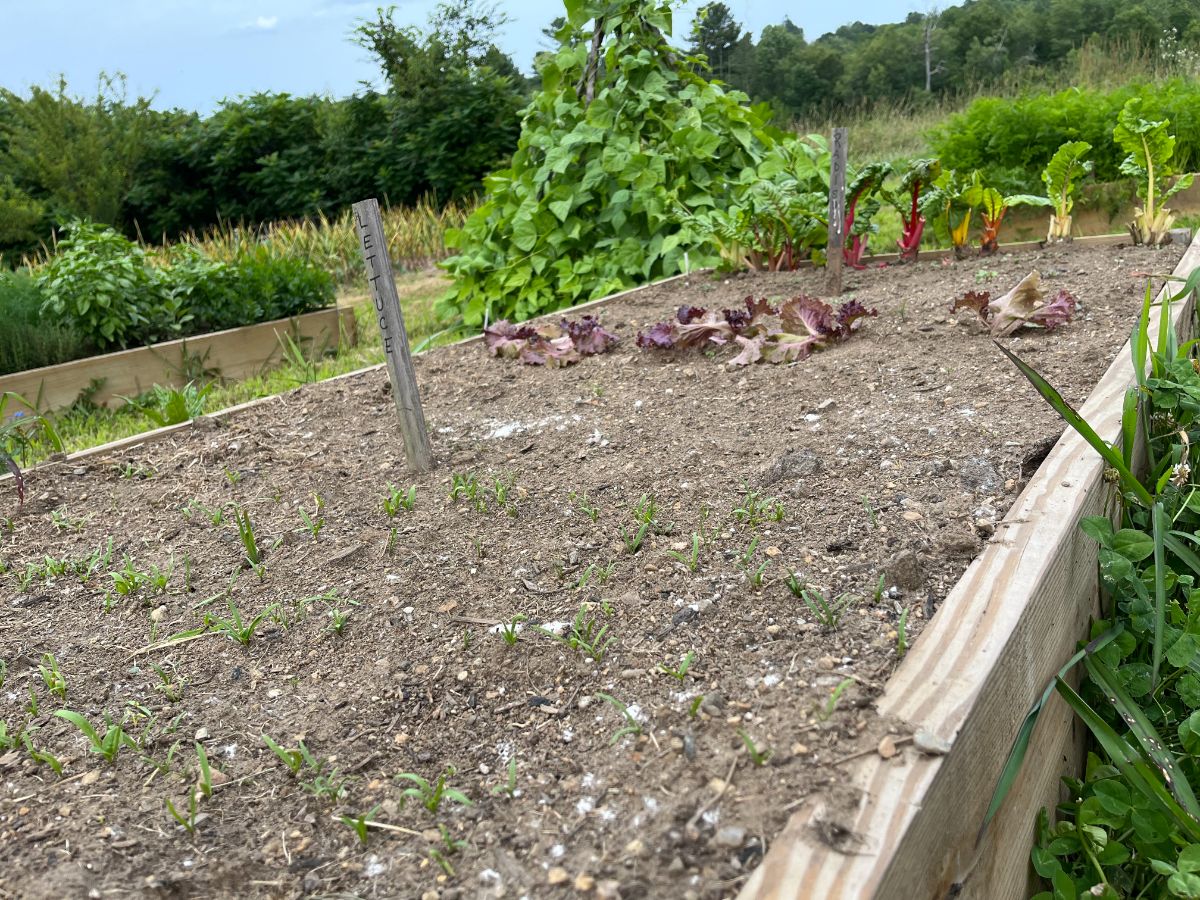
This certainly is not a new idea, and it’s not something I can claim (or would claim) to have come up with myself, but it’s something that I did more of as I consolidated my growing and grew in the smaller spaces of my raised beds.
One of the reasons that succession planting is working well for me is that in the past, I’ve had a tendency to plant all in one go and then not have fresh short-term vegetables (like lettuce and spinach) for very long. Going at succession planting with a plan has made a big difference in having good eats more steadily.
I’ve also learned to keep this at the forefront of my mind and not to put it off too late. In past years when I’ve planned for fall harvested plantings, I’ve made the mistake of just counting days to maturity and waiting too long to start the second or third round.
Now I’ve figured out that for my location, I need more days than what is recommended because, by the tail end, the days and the sunlight are getting short. They’re cooling off, and growth rates slow down. It can be tough to get those fall-harvest crops to finish. I added some time to the recommendations, and I started those things a couple of weeks earlier.
Another reason that putting more effort into succession planting has served me well this summer is that the weather has been extremely difficult to deal with.
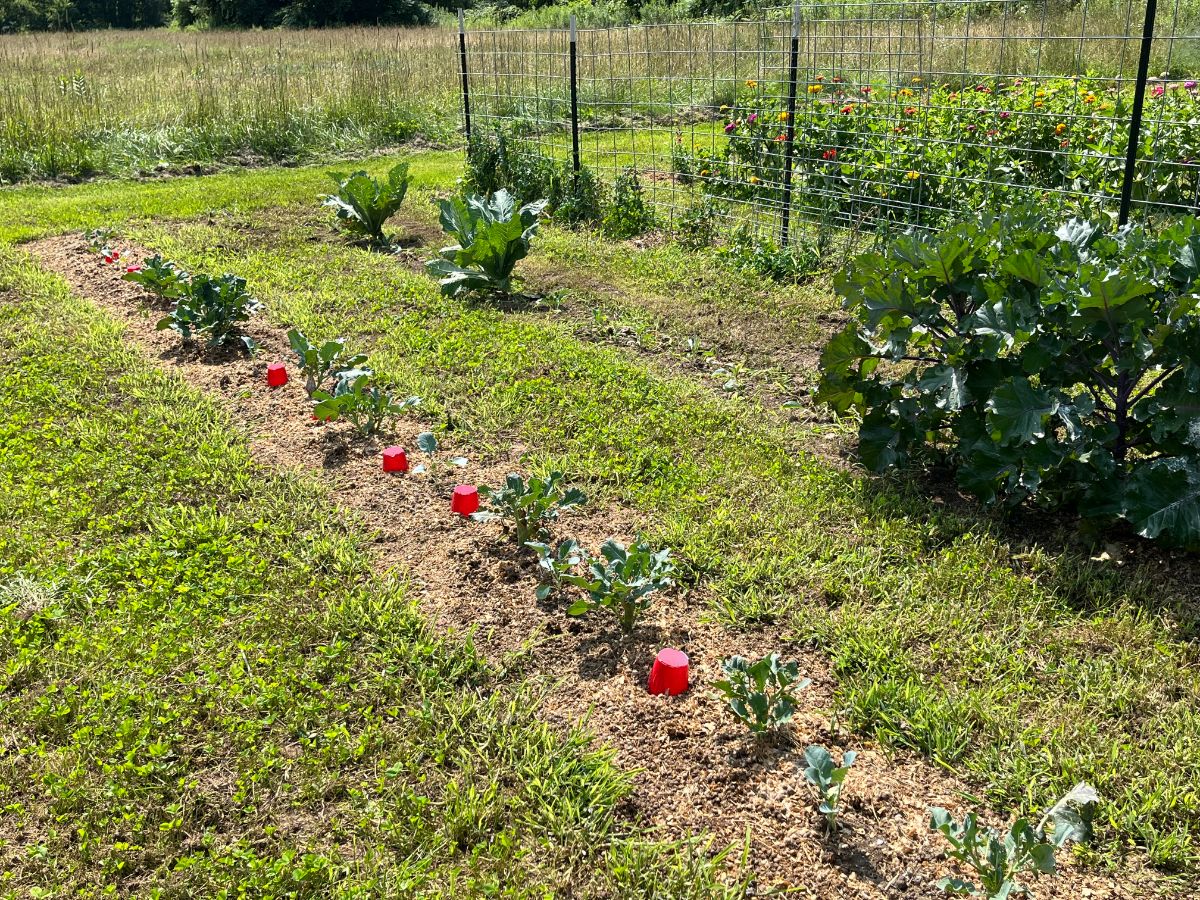
In the spring, conditions were drought-dry, and plants took a long time to get growing, even with supplemental watering. Once the rain started, it didn’t stop. Some vegetables have failed entirely. Every single head of broccoli rotted before it was time to pick it, and I salvaged only a few heads of cauliflower.
Because I was keeping on top of it, I had the time to replant these crops for a fall harvest. I’m missing my broccoli on my flat-top grill about now, but I am hopeful that I will get a sizable crop from the second planting to still put plenty in the freezer.
12. I let go a little, did some experimenting, and set some of my own garden rules
Here’s what I’ve really done right this summer. I let go of some not-very-realistic expectations, like keeping a garden that never sees a weed or being afraid to “not fix if it isn’t broken.” I’ve ventured to try some new things, to tweak some things others have done, and to find the things that work for me, my garden, and my time.
I hope you’ve found some worthwhile ideas here that might help you to do the same. In the end, if you take away only one thing, let it be this:
Don’t be afraid to change some things up in your garden. Learn, read, see what others do, and play around with some fresh ideas to see if they might work for you.
If you do, you’re sure to find ways to make your gardening life easier, more productive, and more enjoyable! Happy gardening!
Have a tip to share? Something you did right that might help a fellow gardener? Share it in the comments!
Leave a Reply