Garlic is a crop that is planted in the fall, but that doesn’t mean there’s nothing for us to do with it in the spring. If you want the best and biggest garlic bulbs, you'll want to give it some attention, starting in early spring.
Fortunately, garlic is an easy and fairly low-maintenance crop. That doesn’t mean we should ignore it completely.
Jump to:
Four Main Tasks for Spring Garlic
There are four main things that your garlic needs in early spring and a bonus that comes a bit later into late spring/early summer. They’re pretty simple tasks that won’t take up too much of your time, but by doing them in the early spring, you’ll set the stage for your garlic to grow well and be all that it can be.
When should you start spring garlic care?
Start these few tasks early in the spring. In some places, this may be as early as February or March. Northern locations that have snow cover in March may need to wait until April.
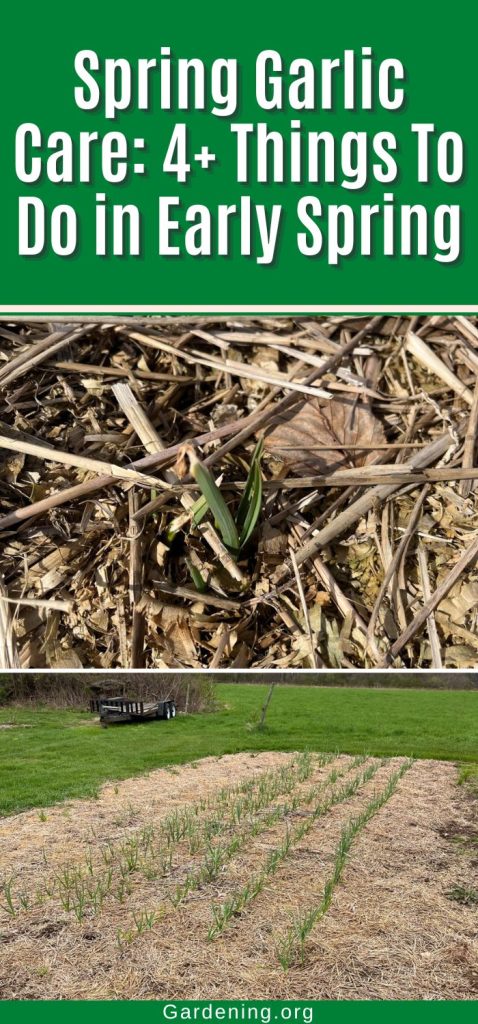
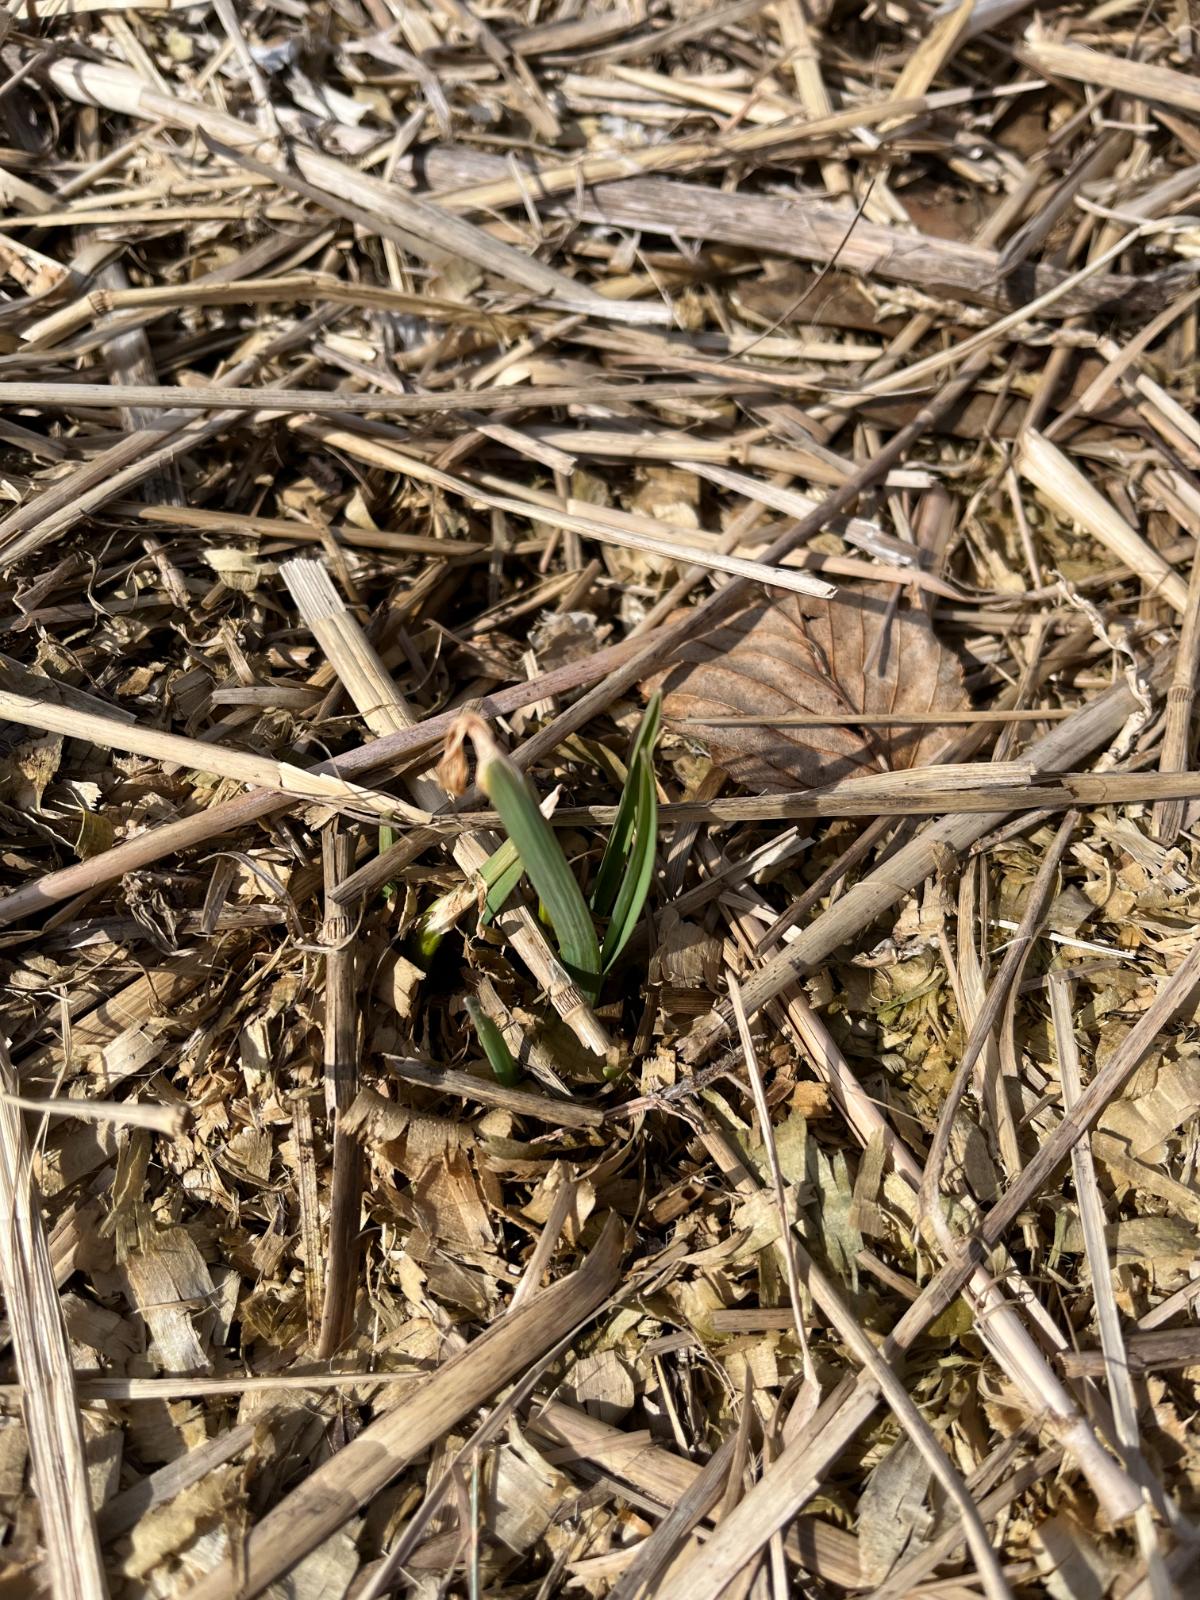
The big sign that you should tend to your garlic is the appearance of new green shoots from the overwintered bulbs. Once you see two or three inches of growth, you'll know it’s time to tend to your garlic.
1. Manage the Mulch
The first thing you need to do is to manage the mulch. Most people mulch their garlic beds before the winter, preferably once the cold temperatures have set in. This helps to maintain a more steady cold temperature through the winter, which is better for the bulbs and reduces frost heaving.
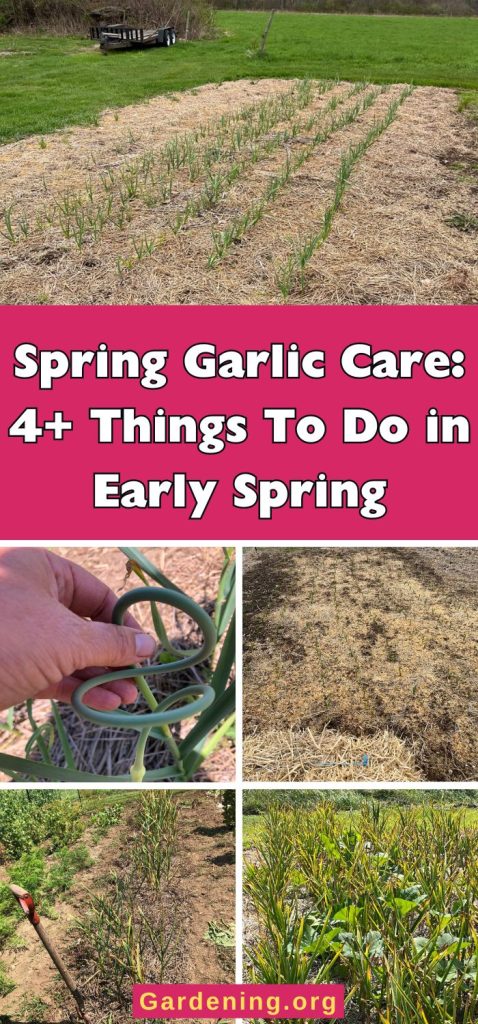
It’s best to keep the mulch in place, as long as the winter mulch layer isn’t too thick. Two or three inches of straw is a good depth but basically, if your garlic shoots have come up through the mulch and they all seem to have made it through, the layer is not too deep.
If you see that other early spring bulbs like daffodils and tulips have started to come up and your garlic isn’t sprouting, take a look under your mulch. If the ground seems frozen (because the mulch is insulating, too), you may need to pull it back for a few days and let the sun warm the soil. Then, put it back over the garlic after the soil has warmed up.
If you think your mulch is too thick (more than three inches), remove about an inch of the mulch (more if you need to).
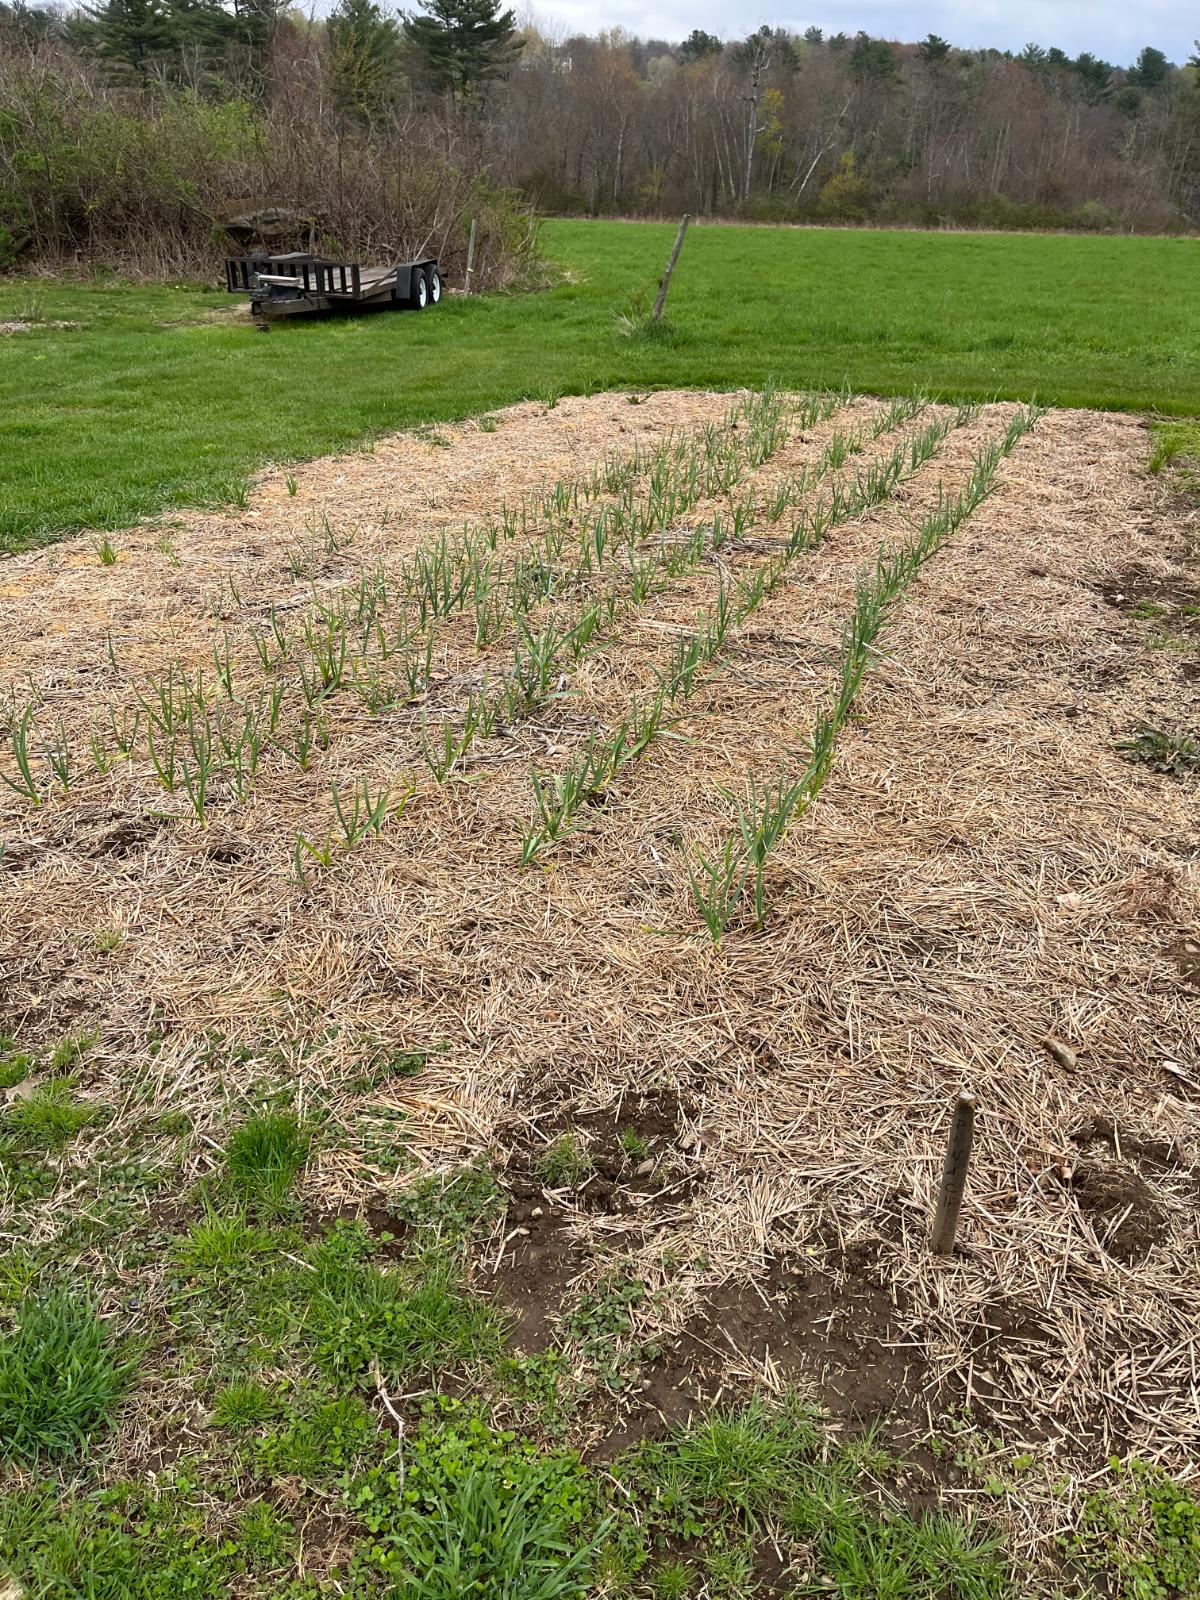
Leave the mulch in place to help suppress weeds throughout the spring and summer. It will help protect the soil and prevent it from drying out, too.
If your mulch layer is not thick enough to keep the weeds down, add a layer to the top. You’ll want about three inches of mulch for weed suppression in the growing season.
Straw is a good choice. Garlic can usually come up through it easily, and it does a good job of blocking almost all the weeds.
2. Fertilize for Bigger, Better Bulbs

Early spring is the perfect time to fertilize your garlic. Garlic that is fertilized in the early spring is bigger. You should start early when you first start to see the new green garlic shoots appear.
Fertilize every one and a half to two weeks (about every 10 to 14 days) through spring. Stop fertilizing about a week before you expect garlic scapes to start growing. Only hardneck garlic varieties will grow scapes.
You can continue to fertilize softneck garlic every two weeks while it is actively growing but stop a few weeks before the expected harvest time.
Compost and vermicompost or compost tea are good slow-release fertilizers that are typically well-balanced and complete.
If using a complete (bagged) fertilizer, Keene Organics recommends a fertilizer with a ratio of 5-2-2 (5% Nitrogen, 2% Phosphorous, and 2% Potassium).
You can fertilize by top dressing around the cloves, but you do want the fertilizer at the soil level. When you apply your fertilizer, pull back the mulch near the bulbs and top dress with your fertilizer, then replace the mulch.
3. Watch the Water
You may or may not need to water your garlic in the spring. Many, if not most, locations will get enough water from Mother Nature in the wet early spring.
If you live in a drier location or if you are having a particularly dry spring, you may need to provide supplemental watering.
Garlic needs about one inch of water per week. If you get enough from natural rains, don’t worry. If not, give it about one inch of water. Deep watering is best, so water once or twice per week (one inch if once per week, one-half inch if twice weekly).
As you get close to harvest time for your garlic, start to taper off the extra watering, until you are not giving any additional water the week of harvest. Stop watering your garlic completely the week before harvest.
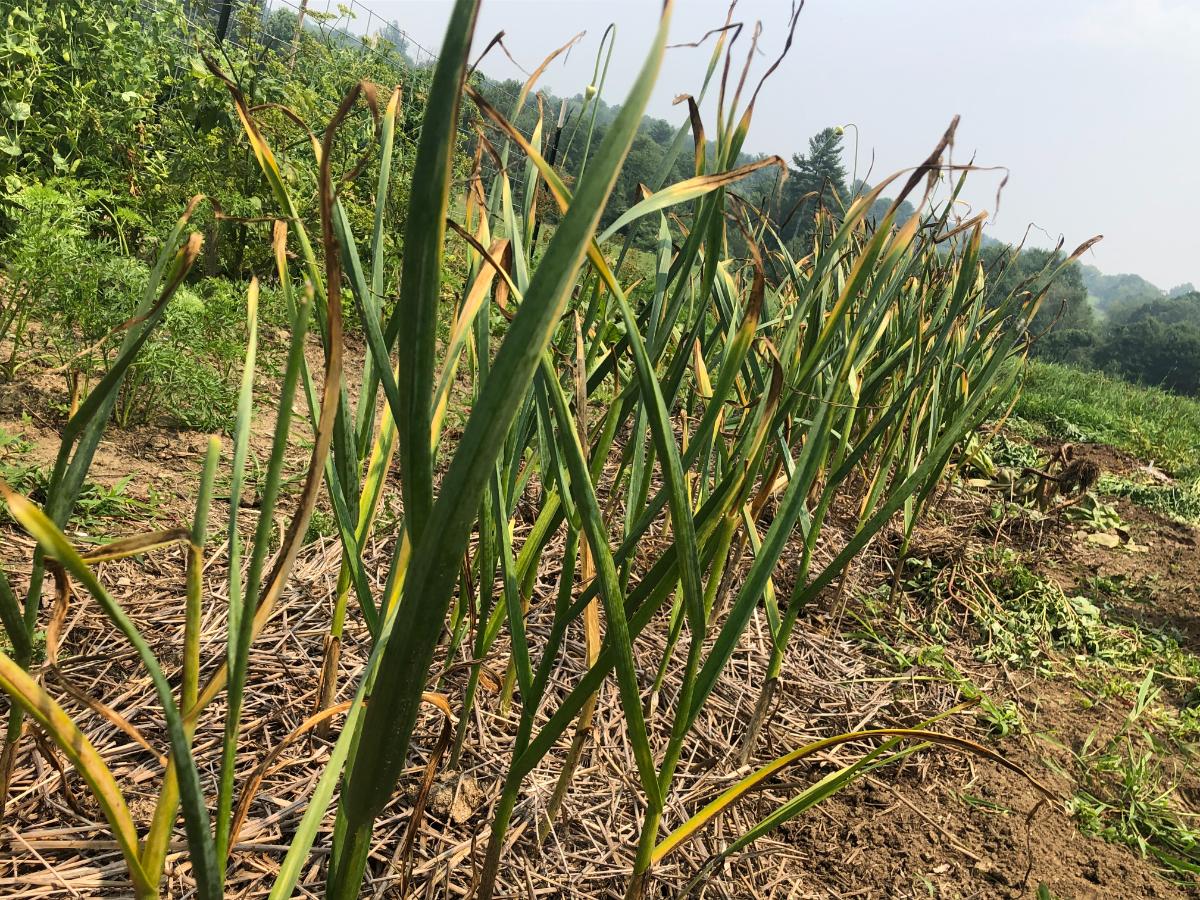
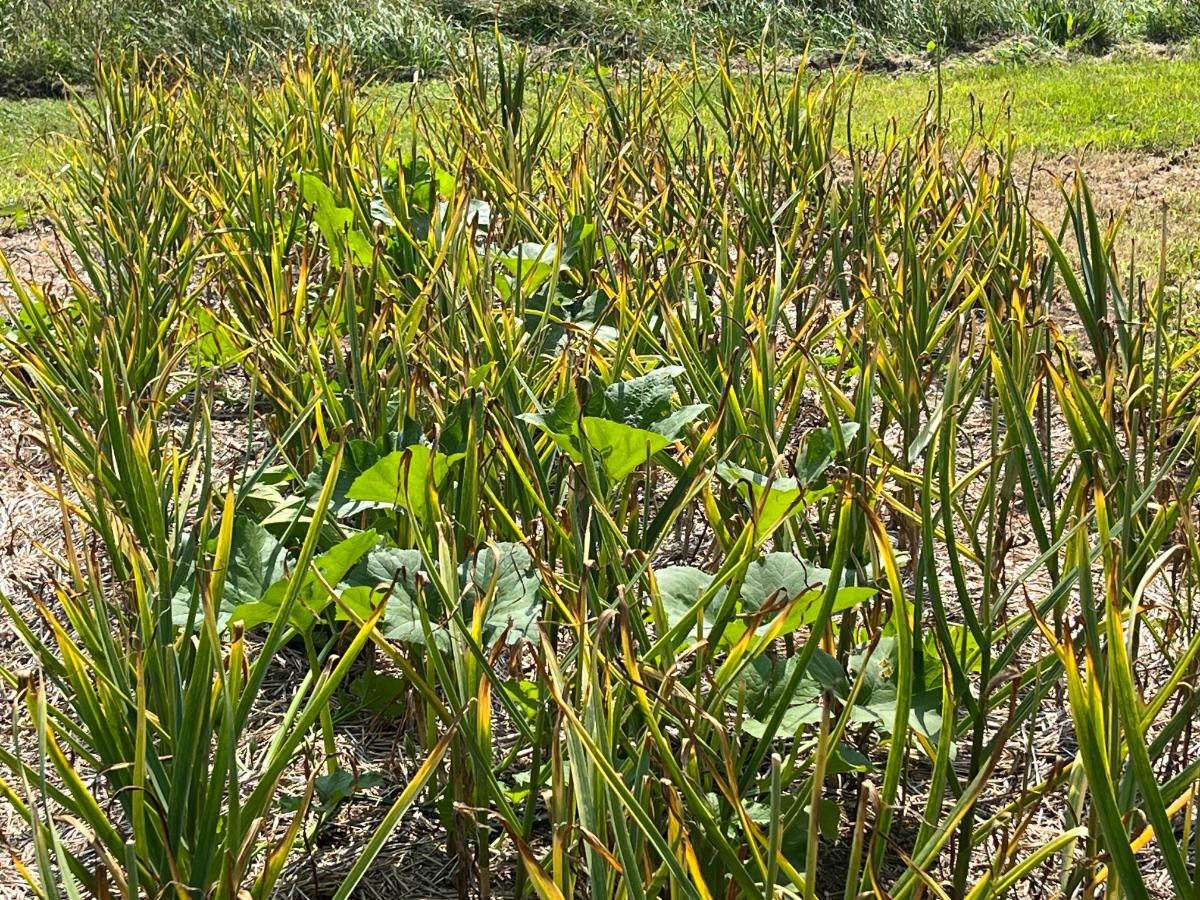
You want the garlic to start to dry down and the outer leaves to die back and turn brown by harvest time.
4. Watch Out for Weeds
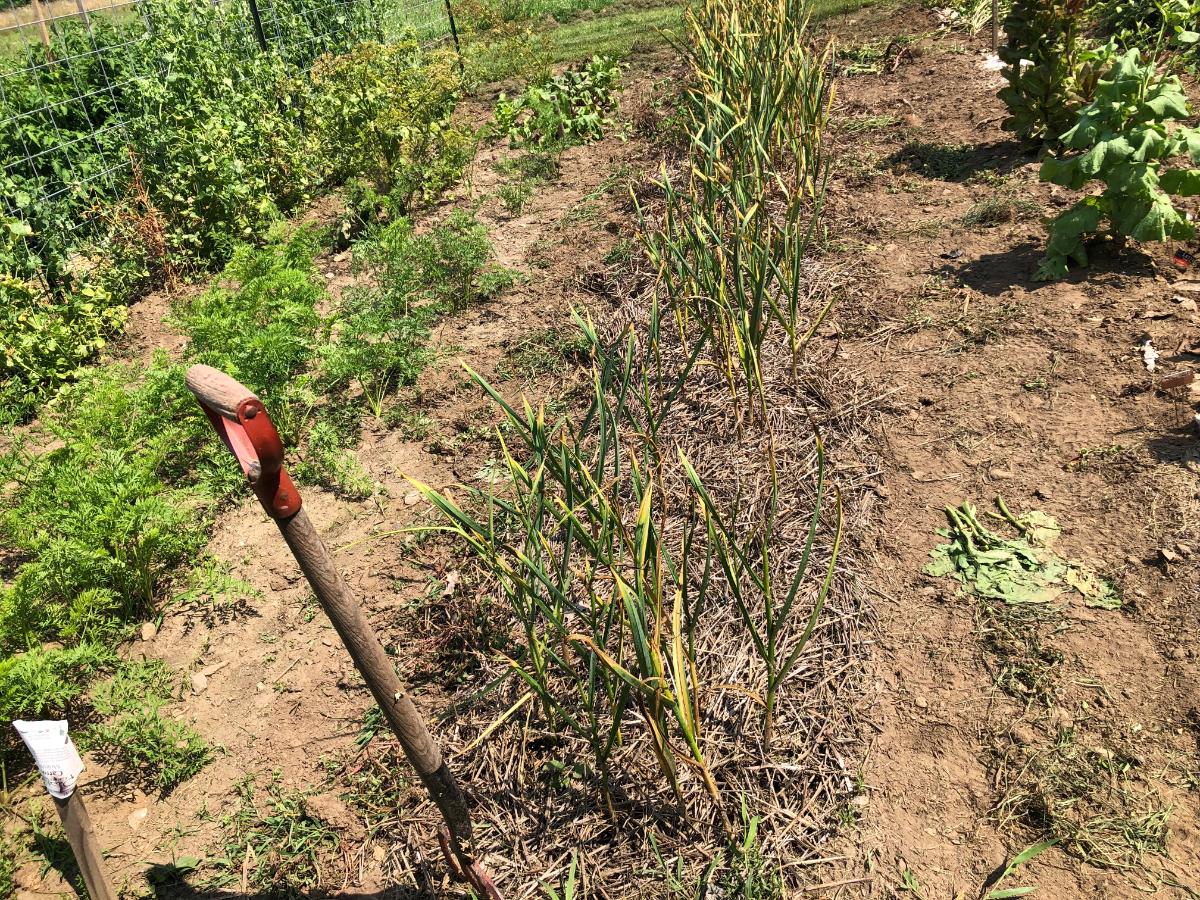
When garlic has to compete with weeds, the bulbs do not grow as well. Garlic that is pressured by weeds will grow smaller bulbs.
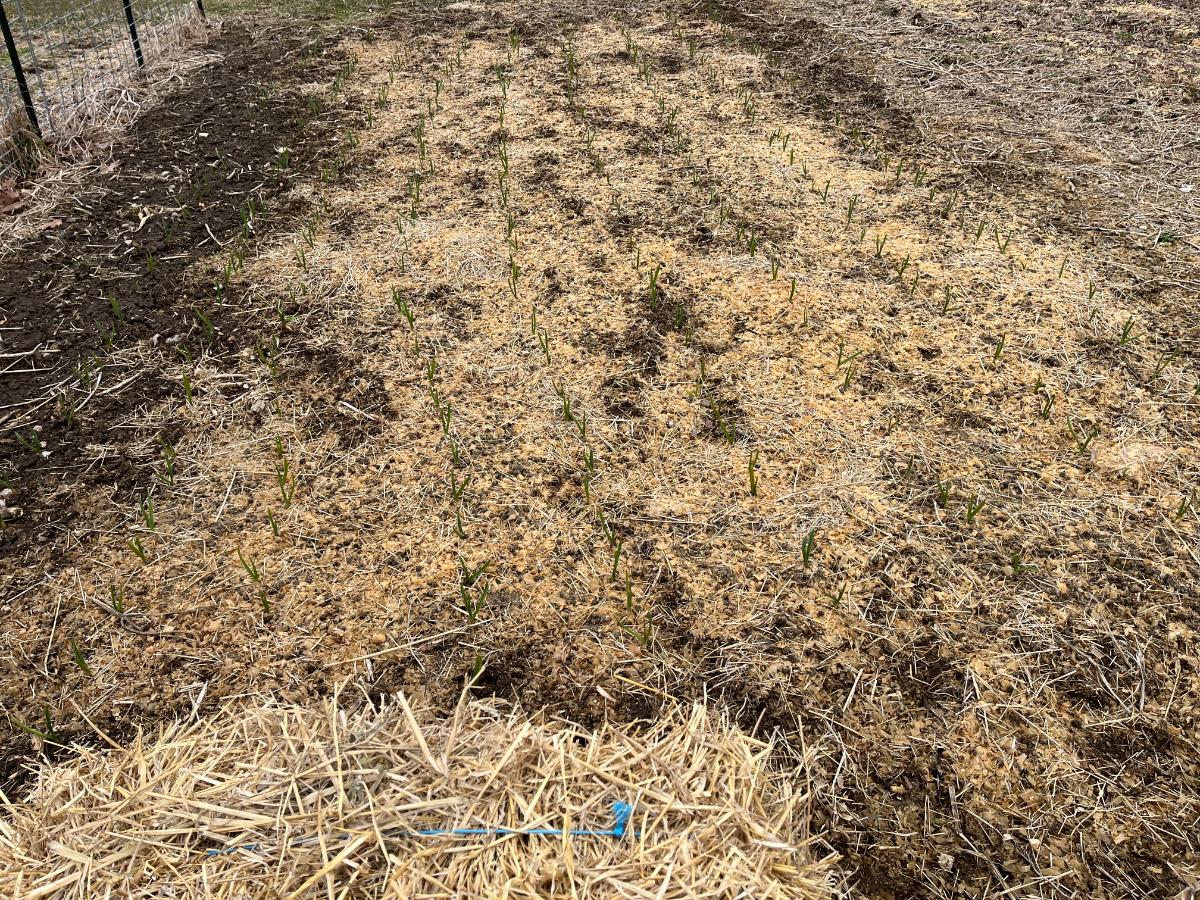
When garlic first starts to sprout in the spring, it’s usually too cold for very many weeds to grow. Still, this is the time to start keeping an eye out.
Get that mulch in place if it’s not there, and top it up if it’s not thick enough. If you do this, you will find you don’t need to do much weeding at all.
Then, stay ahead of it. Pull the weeds as you see them. Don’t let them get too big.
It’s harder to pull big weeds. Also, large weeds that are growing close to garlic heads may uproot the bulbs when you pull them. Garlic bulbs don’t do well if their roots are disturbed, so that often means the end of the growing season for that bulb.
(If you do accidentally pull up a head of garlic, use it as green garlic!)
For the biggest and best garlic, start pulling weeds early and keep at it until the garlic is harvested.
What Comes Next: Cutting Garlic Scapes
The four tasks listed above are what you should focus on in your garlic patch in the early spring. As spring goes on, hardneck garlic will start to grow scapes. These are the flowering stalks of the garlic plant.
Scapes usually appear a month or so before the garlic will be ready to harvest. In many locations, this is about mid-June, but warmer locations may see scapes in May or earlier. Some will be later.
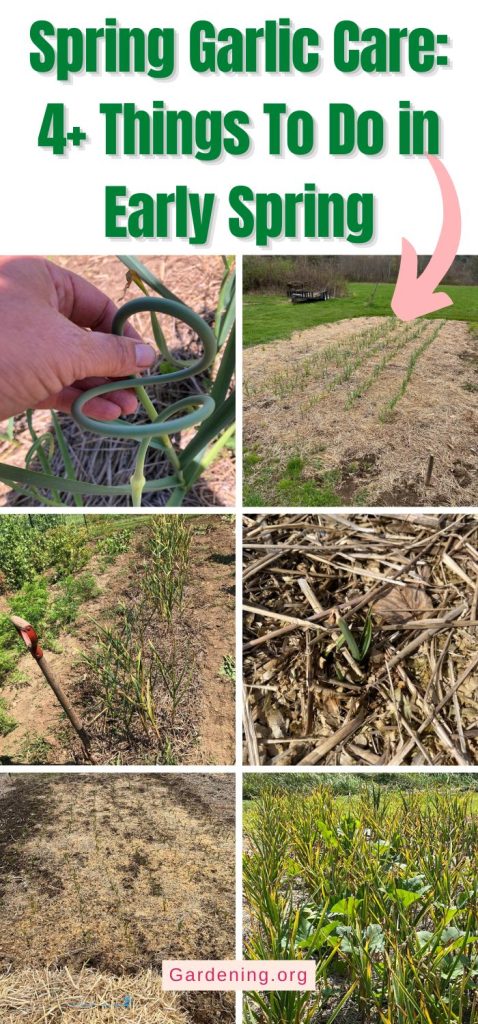
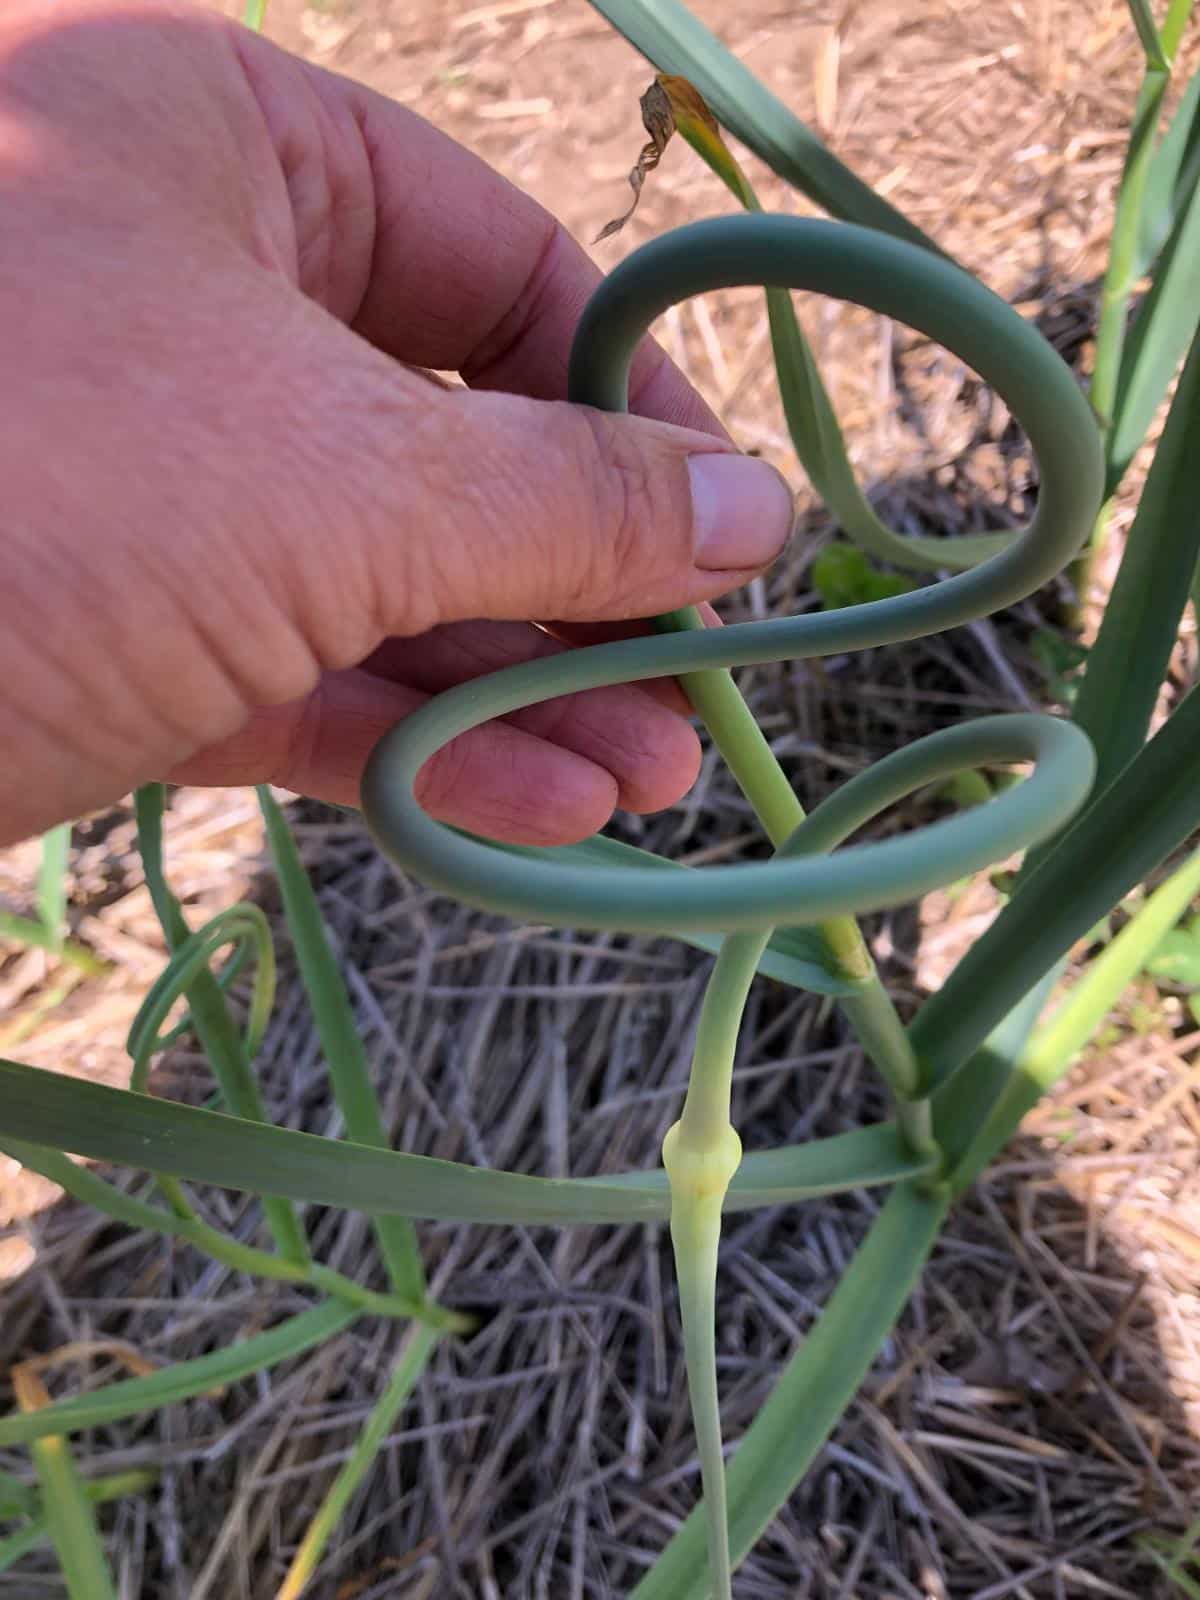
Remove the scapes from your hardneck garlic. Cutting off the scapes sends all the energy into the bulb. This will give you the biggest possible heads of garlic.
Pick the scapes when they begin to curl. Follow the scape back to where it comes out of the leaves, and cut or snap it off.
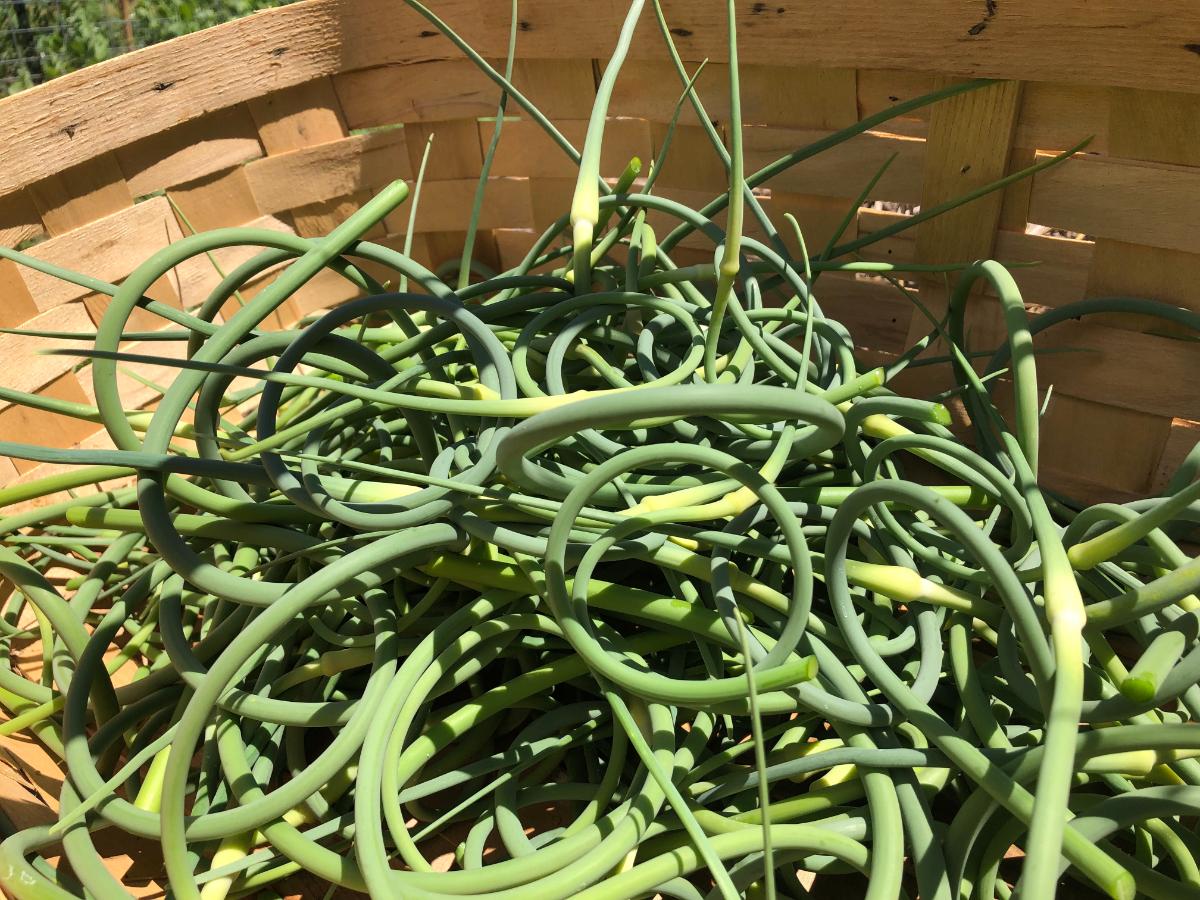
There is no need to waste your scapes! Garlic scapes are very much a treasured culinary delight. They have a mild garlic flavor and can be used in many ways, including eating fresh, sautéing, pickling, or drying and turning into powder.
If you do this handful of tasks, your garlic crop will mostly take care of itself. And it will be as big and bold as it can possibly be, thanks to your good spring garlic care!
Leave a Reply