
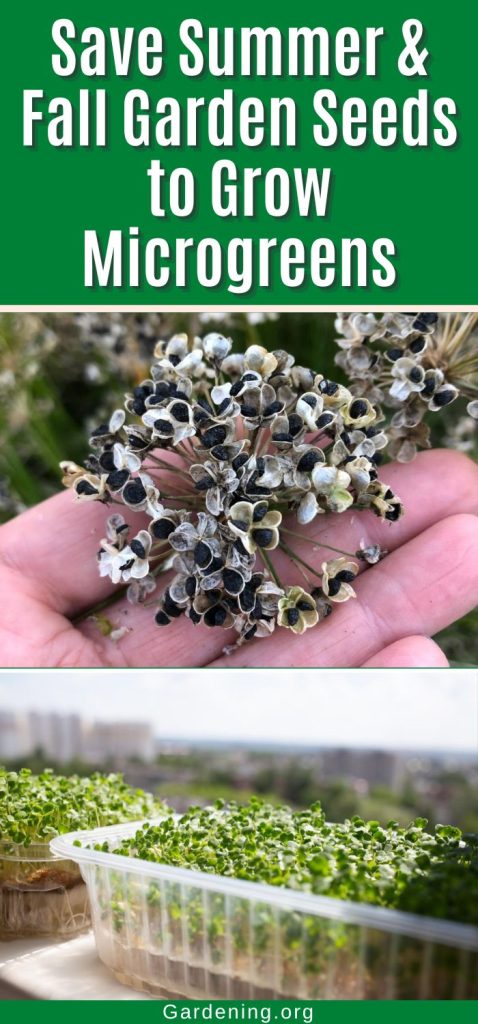
As the gardening season begins to wind down, take a look around your garden for what might just be your next harvest – seeds for microgreens!
It might seem like your plants have betrayed you when so many have bolted and gone to seed, but those could, in fact, be just what you need for growing fall and winter microgreens.
After those long, hot summer days have taken their toll and sent plants to bolt and setting seed, you’ve got the perfect free seed resource right at your fingertips.
Jump to:
- Microgreens: The Ideal Year-Round Greens to Grow (Especially in Fall and Winter!)
- Something between a sprout and a baby leaf green
- Some advantages of growing microgreens, especially off-season
- What Makes Growing Microgreens Tough?
- Why It’s Such a Great Idea to Save Garden Seeds for Microgreens
- Simple Steps for Seed Saving for Microgreens
- Basic Steps to Growing Microgreens
- When to Harvest Microgreens:
- What Garden Seeds Make Good Microgreens?
- Some Helpful Tips for Growing Microgreens from Garden Seeds:
Microgreens: The Ideal Year-Round Greens to Grow (Especially in Fall and Winter!)
Microgreens are not a variety of plant. They are seeds from edible plants that are grown in a growing medium (like potting soil or on coconut coir).
Something between a sprout and a baby leaf green
Microgreens are similar to sprouts, but they are grown to a slightly longer phase. Whereas sprouts are seeds that are allowed to sprout without a growing medium and are eaten before they leaf out (after just a few days), microgreens are allowed to grow into tiny plants and are harvested after they have one or two sets of leaves.
Sprouts are arguably the most expensive “green” of all to grow, because they barely grow past the germination stage.
By the way – you could use garden seeds to grow sprouts, too.
Some advantages of growing microgreens, especially off-season
Microgreens have an advantage over sprouts because they grow larger, which means that you get more mass per seed. Microgreens are harvested before the baby leaf stage.
Microgreens reach harvest stage quickly, in about two to three weeks (depending on the type of seed. Ten to 14 days is average harvest time for microgreens.
They are nutritional powerhouses and are nutrient-dense because they retain all the nutrition of the seed that is designed to sprout and grow the sprouted seedling until it starts manufacturing its own nutrition through photosynthesis.
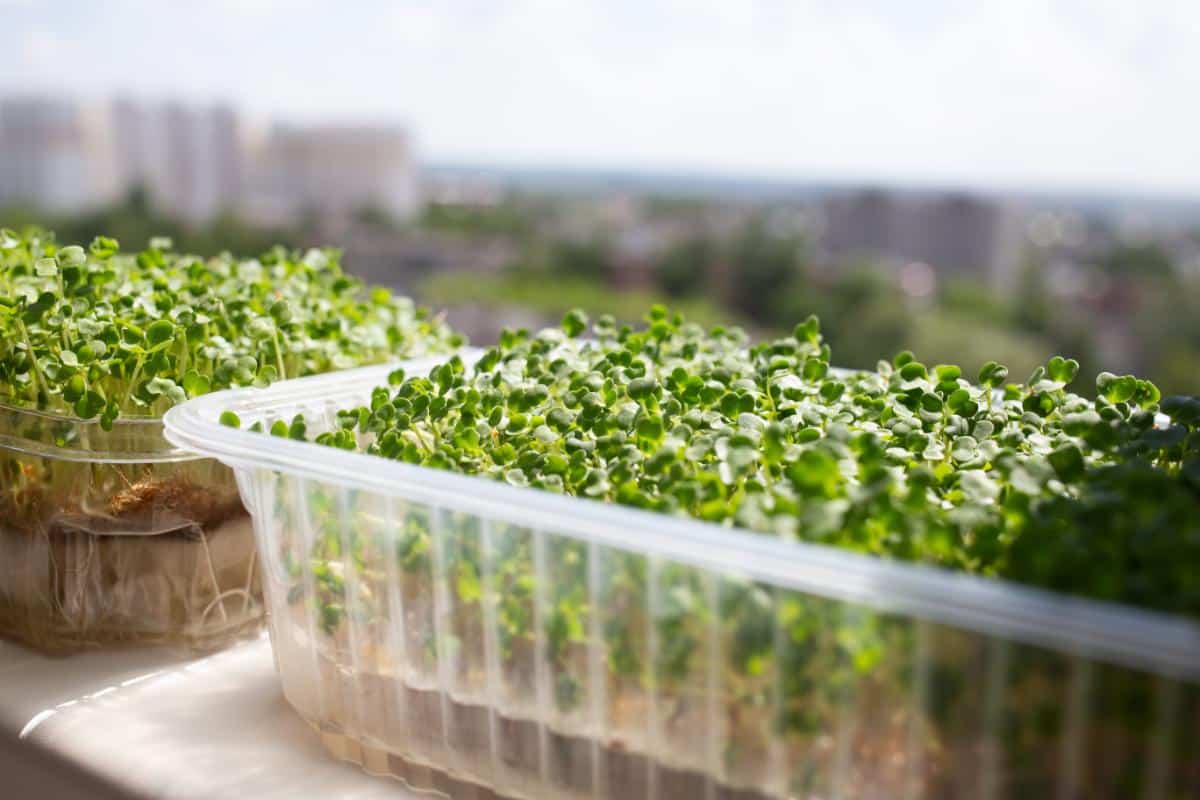
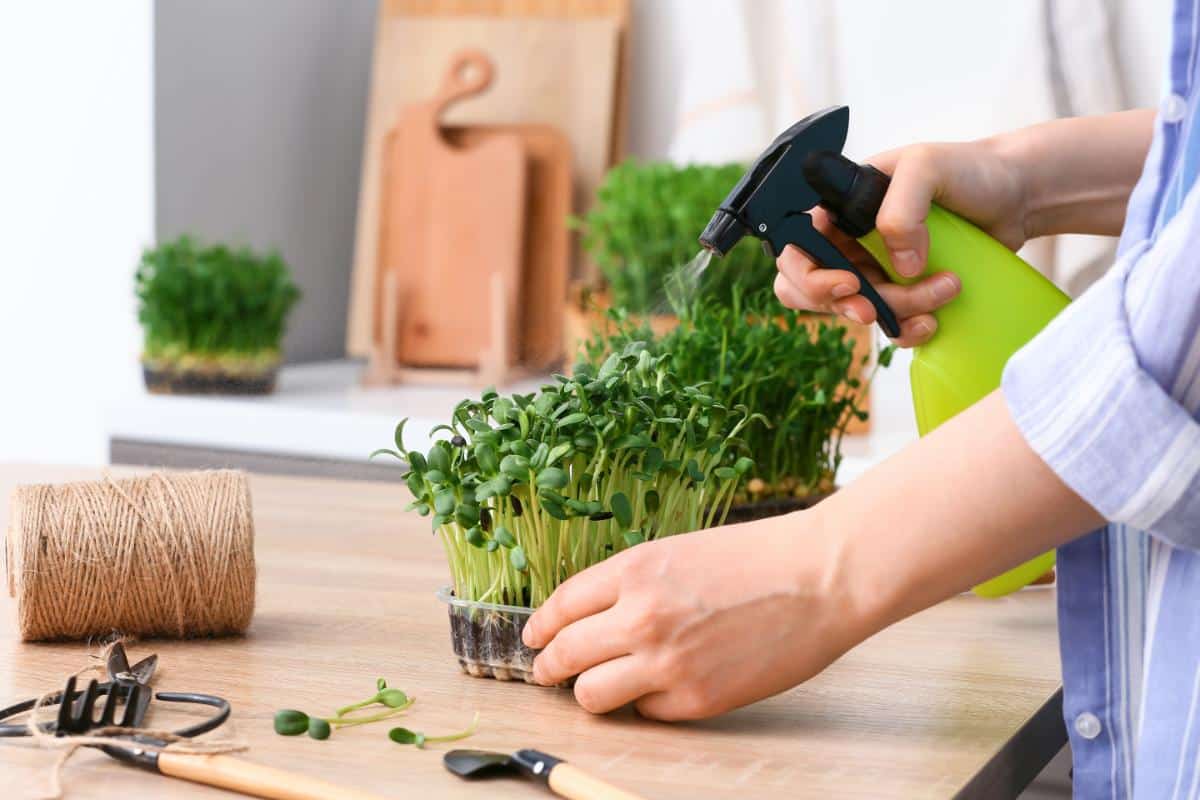
One of the big advantages of growing microgreens, especially as an off-season nutritional green, is that they do not require much in the way of supplies or equipment.
Though you can grow them under grow lights, and that can help speed their time to harvest, you don’t have to. A sunny windowsill will more than make do!
What Makes Growing Microgreens Tough?
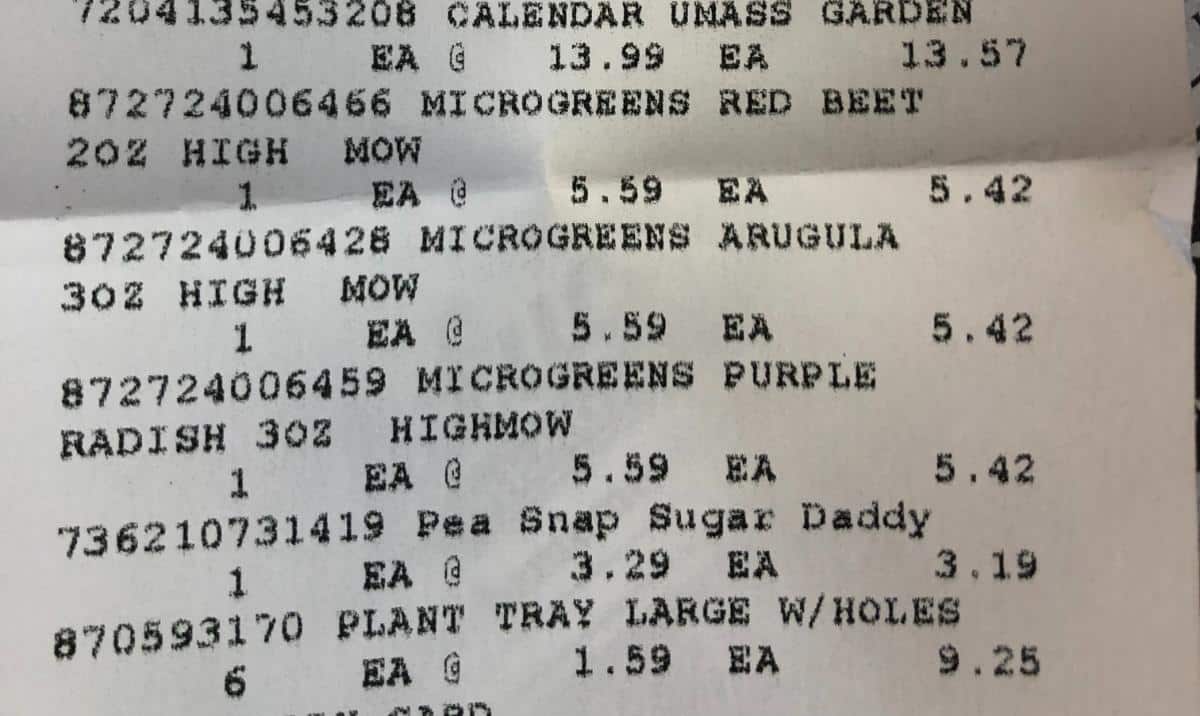
What makes growing microgreens tough is the expense. Like sprouts, each little plant you harvest is from a single seed.
That means it takes a lot of seed to grow a tray of microgreens! And since they are not reaching a leafy stage, it can also take a lot of microgreens to take the place of something like lettuce in a salad or sandwich.
So, as good as they are and as nutritionally solid as they are, it takes a lot of seed to take advantage of these little powerhouse foods. Over time, that seed can get expensive.
This is where your summer or fall garden comes in!
Why It’s Such a Great Idea to Save Garden Seeds for Microgreens
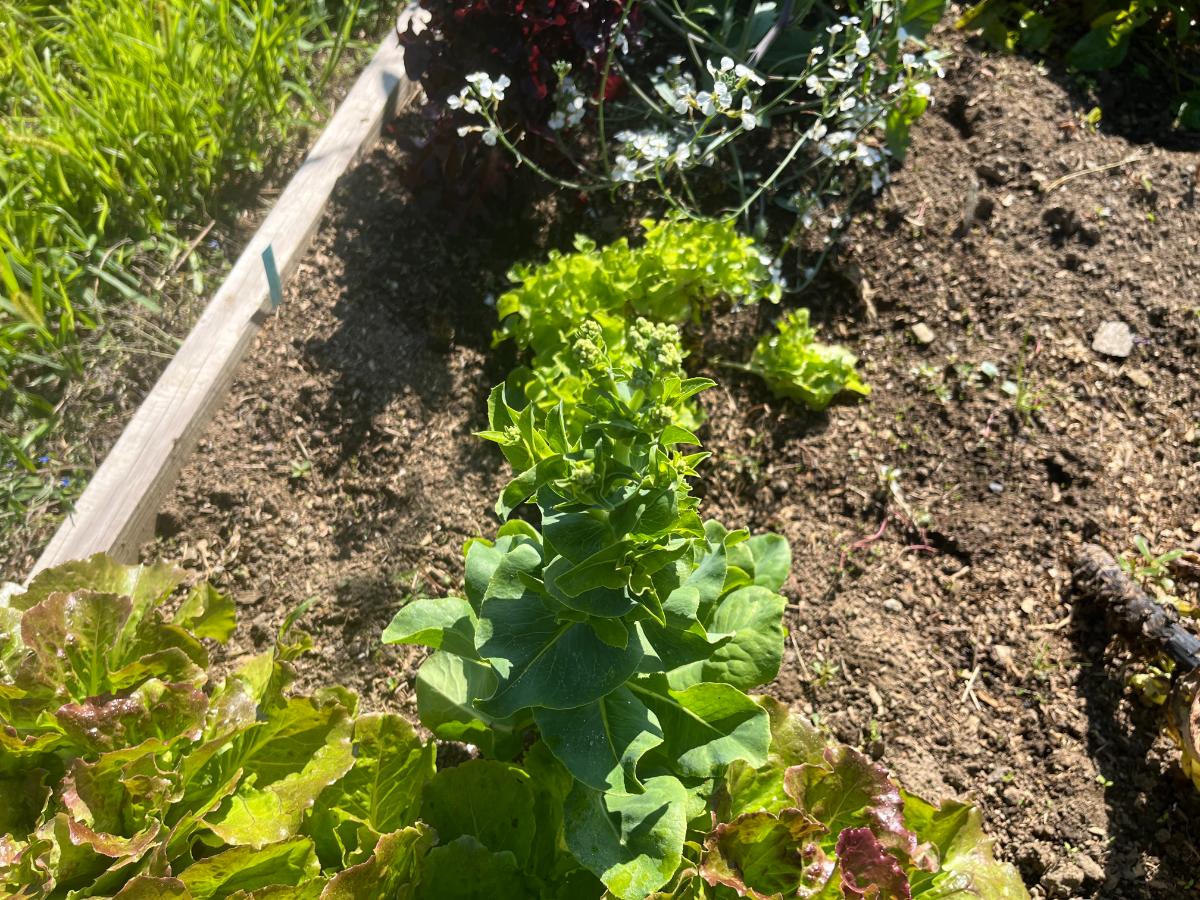
It’s easy to let certain garden plants go to seed, Then, you can collect those seeds in the late summer or early fall after they have matured and begin to dry down.
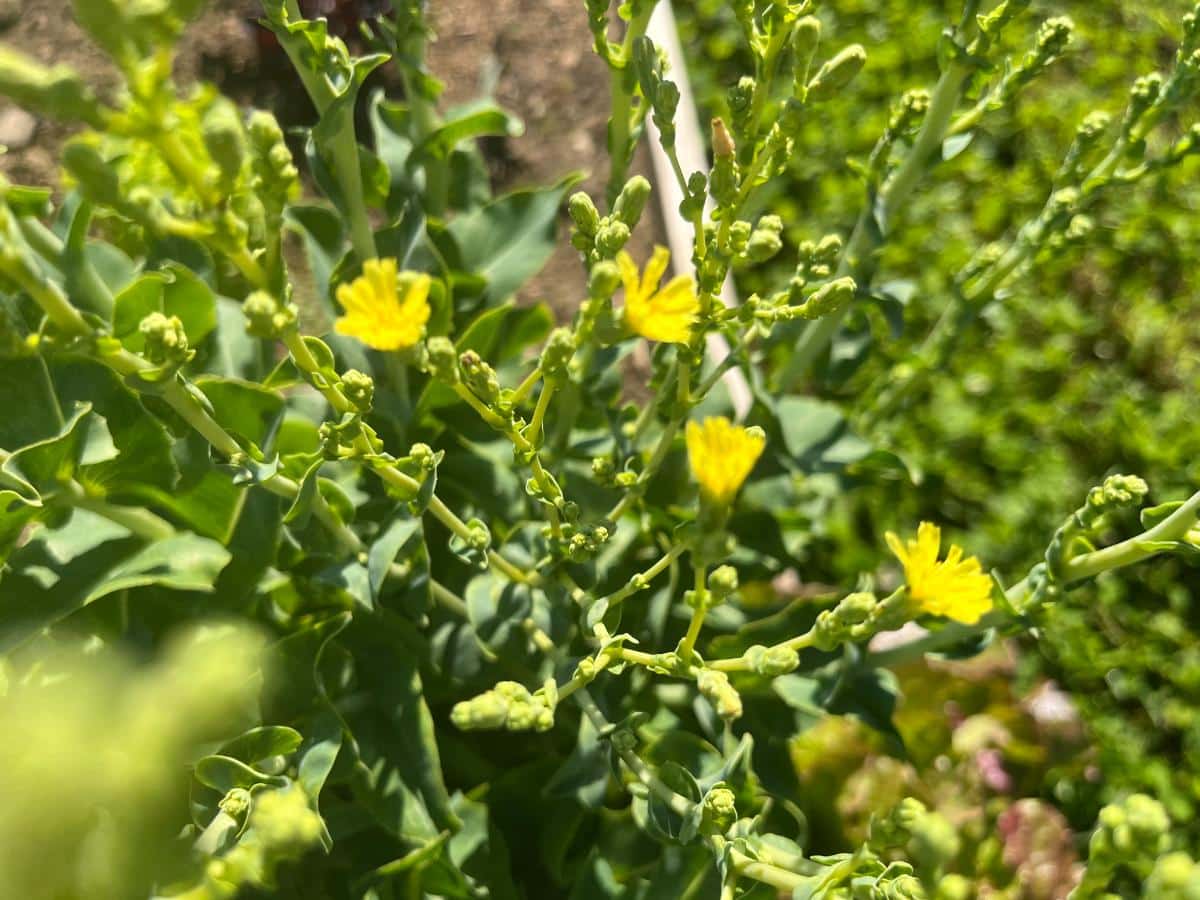
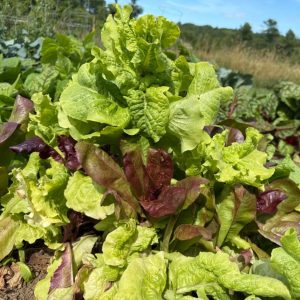
In fact, for many of us, plants go to seed without us even trying. Radishes, spinach, cilantro, lettuce and others (all of which make excellent microgreen crops!) like to bolt in hot sun and high heat.
This can be frustrating for a gardener, but if you see them for the gift they really are and as potential microgreen seedings, you may have a new appreciation for bolting tendencies!
A single spinach, lettuce, or radish plant can throw a lot of seeds. This can set you up well for growing microgreens over the winter.
So, if you collect seeds from your garden plants, you can get a whole second harvest that turns into an excellent, easy-to-grow indoor winter crop, and that will also make it economical to do so!
Simple Steps for Seed Saving for Microgreens
Saving the seeds from those plants is simple.
- Let the plants complete their flowering and seed cycle
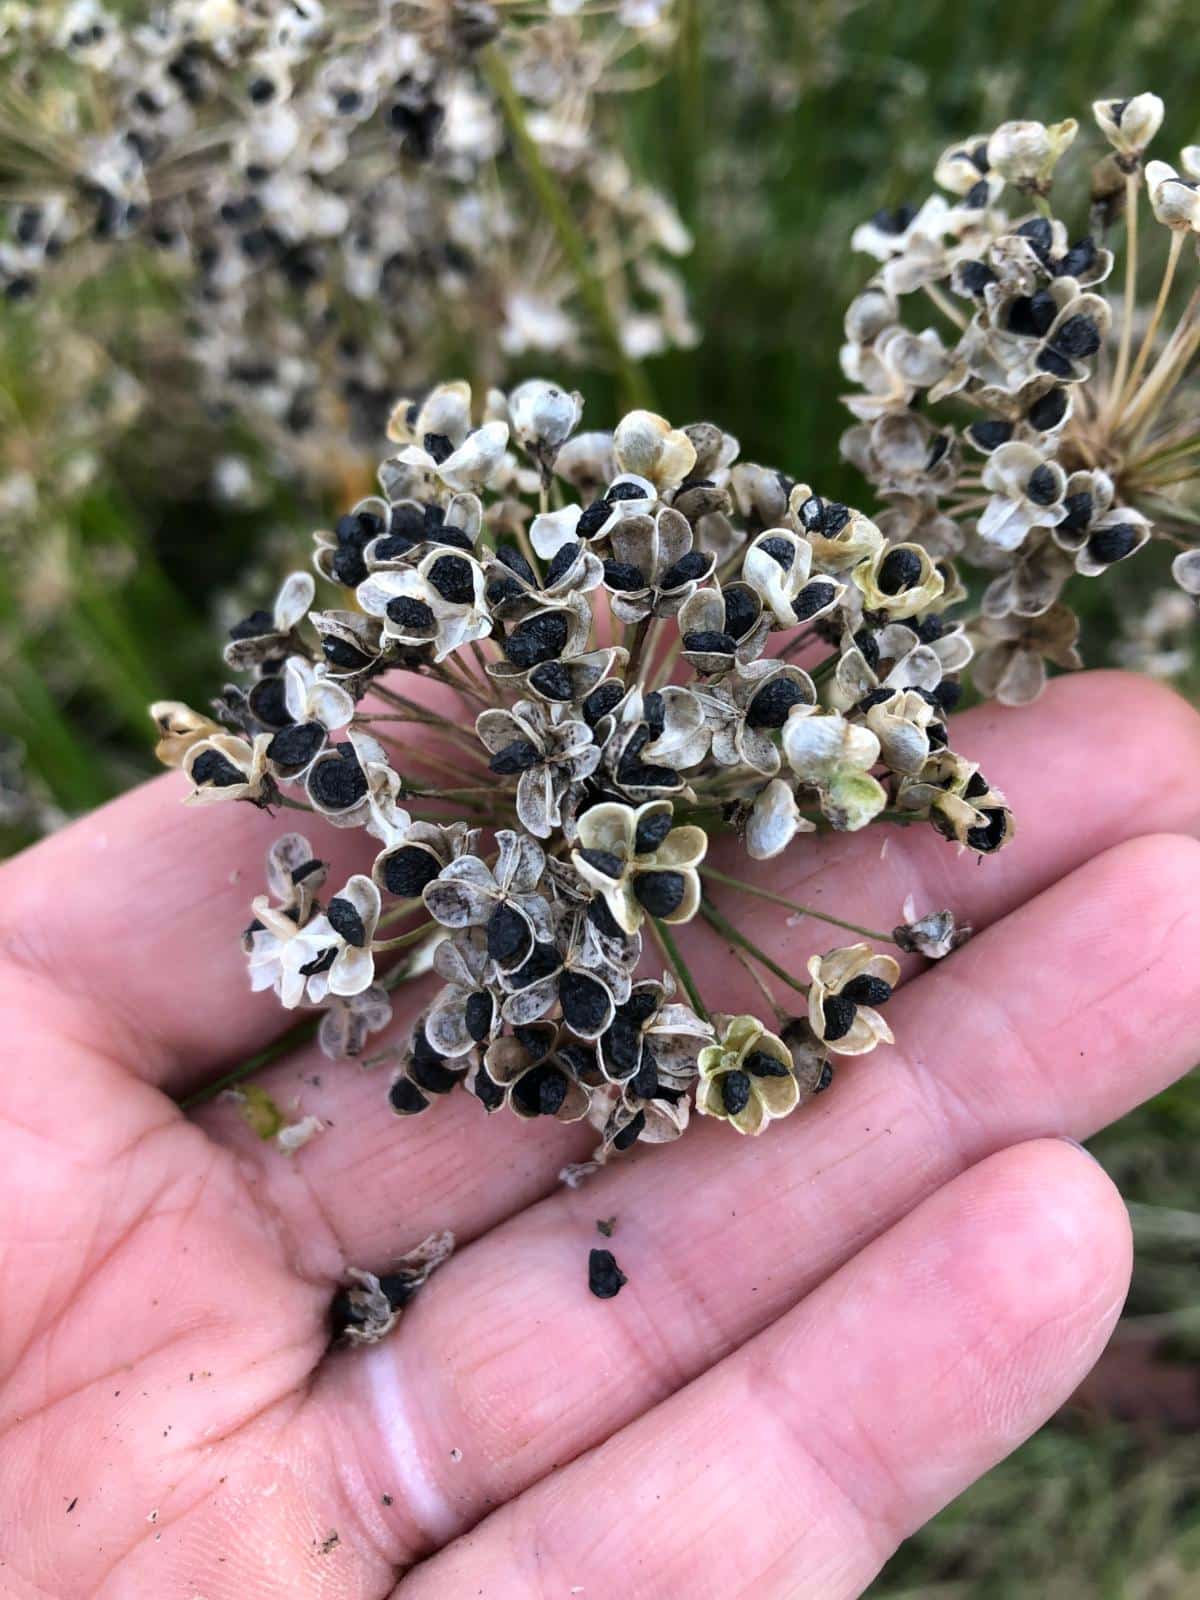
- When we collect seeds for planting (whether as future plants or for sprouts or microgreens), we need to let the seed fully mature
- The mature stage is beyond green and to a dry, brown stage
- The easiest way to harvest and collect most seeds for microgreens (because most of these will be fairly small seeds), is to cut or pull the whole plant at the base
- Place it upside down in a brown paper bag
- Tie twine or loop an elastic around the plant's stem and the top of the bag
- Then, hang the whole plant in the bag upside down in a dry place that has good air circulation
- As the seeds open and fall, they will drop into the bag
- Once collected, check the seeds to see if they are dry (a similar dryness as what you get when you buy garden seed)
- Then, you can remove the bulk of whatever dry plant leaves or pieces are in the seed and put the seed in paper envelopes until ready to use (if you miss a few pieces, it won’t cause any harm)
- Keep stored seeds in a dry, dark place
When we save garden seeds for growing next year’s garden transplants, we worry about things like open pollination, cross-pollination, and accidental hybrids. The reason this matters for mature plants is that we need to be able to rely on them, producing consistent fruits and abundant harvests.
That’s not really a worry when we are saving seeds for microgreens because we’re not planning on ever letting the plants get that far. We just want to harness the power of the small, tasty, sprouted plants.
For more on savings seeds, check out this article: Seed Saving Basics for Beginners and Beyond
Basic Steps to Growing Microgreens
Microgreens are easy to grow. They are space-savers, too, because you will grow a whole set in a single tray. And that tray can be any size that fits your space, time, and harvest and eating goals.
Following are the basic steps to growing microgreens. You can find more on how to grow microgreens here, too.
Supplies for growing microgreens:
- Shallow trays, such as planting trays or upcycled trays* like berry containers
- A growing medium – a small bag of good quality potting soil will serve you for many sets to come!
- Optional but helpful, a mister or sprayer for watering
- Seeds collected from your garden!
*Check out this article for ideas for upcycled trays for growing microgreens: 7 Upcycled Items to Start Saving for Seed Starting
How to grow microgreens:
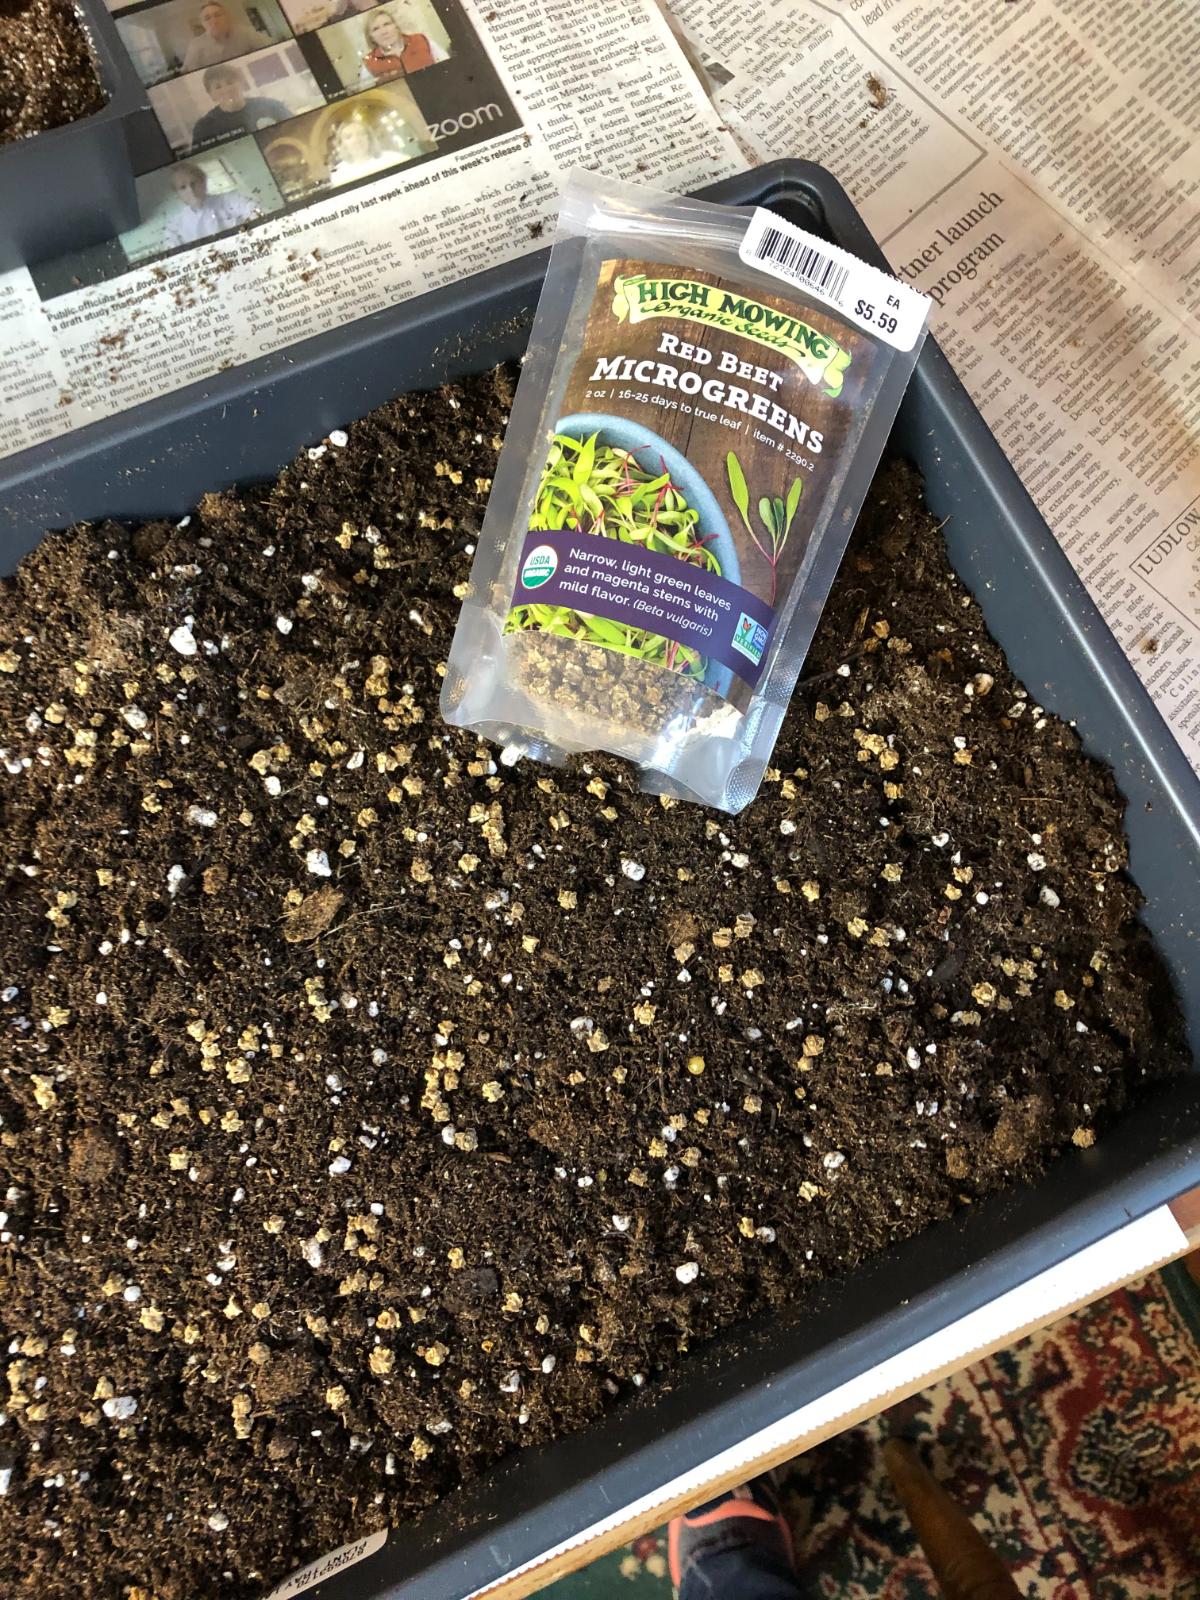
- Premoisten the potting soil; make it moist but not soaking wet
- Put about 1 ½ to 2 inches of potting soil in the bottom of the tray. Cover the whole bottom of the tray. (Or you can use another preferred growing medium or mat like coconut coir)
- Broadcast the seeds evenly** over the surface of the soil, across the whole tray
- Sprinkle a light layer of potting soil on top of the seed – very light (if you are using a growing matt, skip this step)
- Lightly press the seeds into the soil
- Mist the top of the soil and the seeds until consistently moist
- Don't overwater, or the seed will rot
- Cover the tray to provide darkness and preserve moisture while the seeds sprout (you can use an empty tray overturned over the top or a piece of cardboard)
- Check daily.
- Water as needed – either with a mister or by bottom watering -- only until the top of the soil turns dark with moisture
- Once the seeds sprout, remove the coverings and let the seedlings grow
**Spacing microgreen seeds:
Crowding seeds will only waste seed. It can also result in rotting seed and sprouting problems.
Seed should be close together to make the best use of your space, but it should not be overlapping.
A good rule of thumb for spacing seeds for microgreens is to use about 12 seeds per square inch for small seeds and 6 to 8 seeds per square inch for large seeds like peas and sunflowers.
Of course, no one expects you to measure every square inch of space, but in the beginning, it helps to count the seeds and spacing until you know about what this looks like. Then, you can move to free handing it!
When to Harvest Microgreens:
- Most microgreens are ready to harvest when they are about 1 ½ to 2 inches tall. For large seeds like sunflowers and peas, cut at 3 to 4 inches tall.
- Harvest times vary a bit by seed type and light and air temperature, but plan on harvesting at about two weeks old.
- Some seeds may take up to three weeks until they’re ready to harvest.
- To harvest microgreens, simply cut a little above the base of the stem.
- The entire microgreen is edible; you just want to cut high enough to avoid the dirt!
What Garden Seeds Make Good Microgreens?
There are a lot of plants in the average garden that can make good microgreen seeds.
Basically, think about the plants that we eat or that the whole (or most of) the plants are edible. If you eat a stem or a root of a plant, for example, that’s probably a good candidate for seed saving for microgreens.
For example, you would basically eat the lettuce plant, but you would not eat the plant of the tomato, pepper, or eggplant – you would eat those plants’ fruits instead.

Some good seeds to save for growing microgreens include:
- Lettuce
- Arugula
- Spinach
- Collards
- Radishes
- Leafy greens
- Broccoli
- Kale
- Beets
- Kohlrabi
- Peas
- Sunflowers
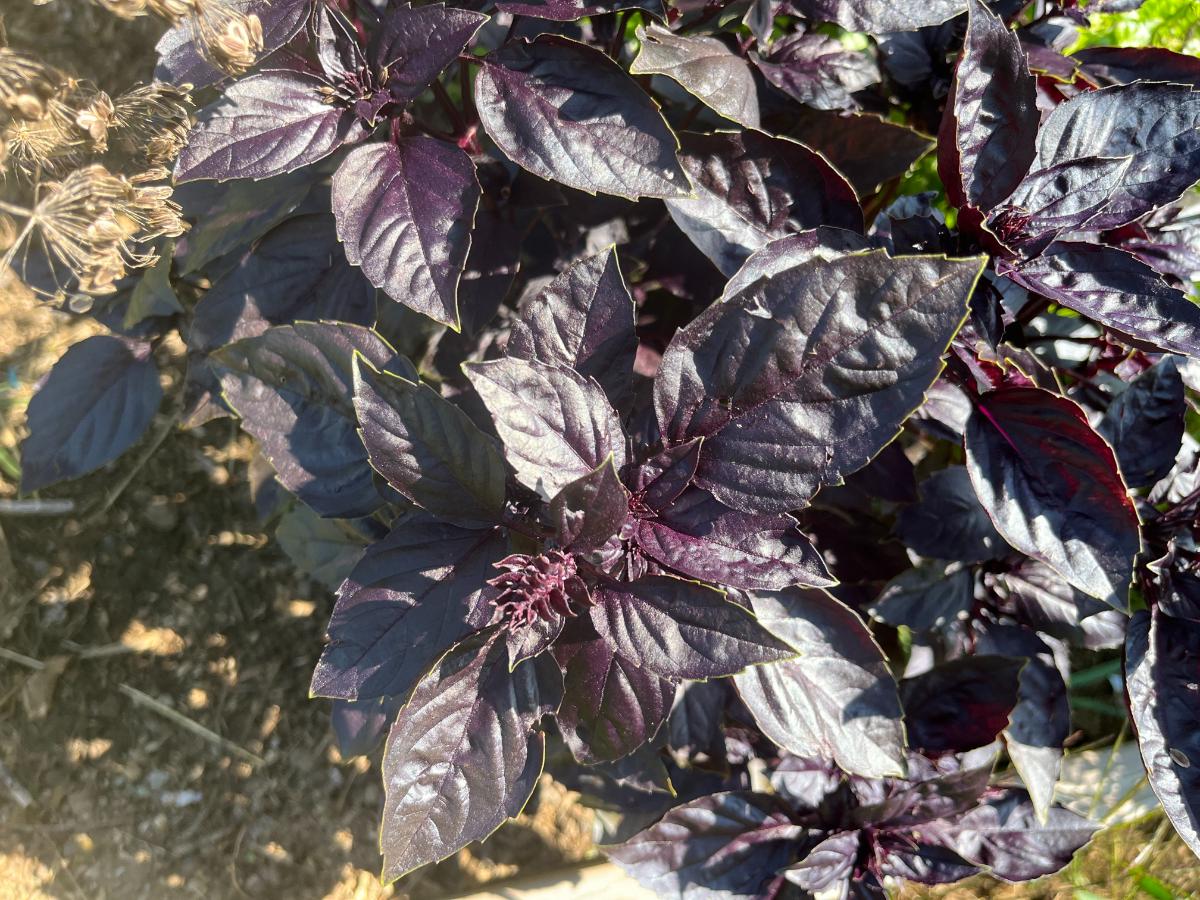
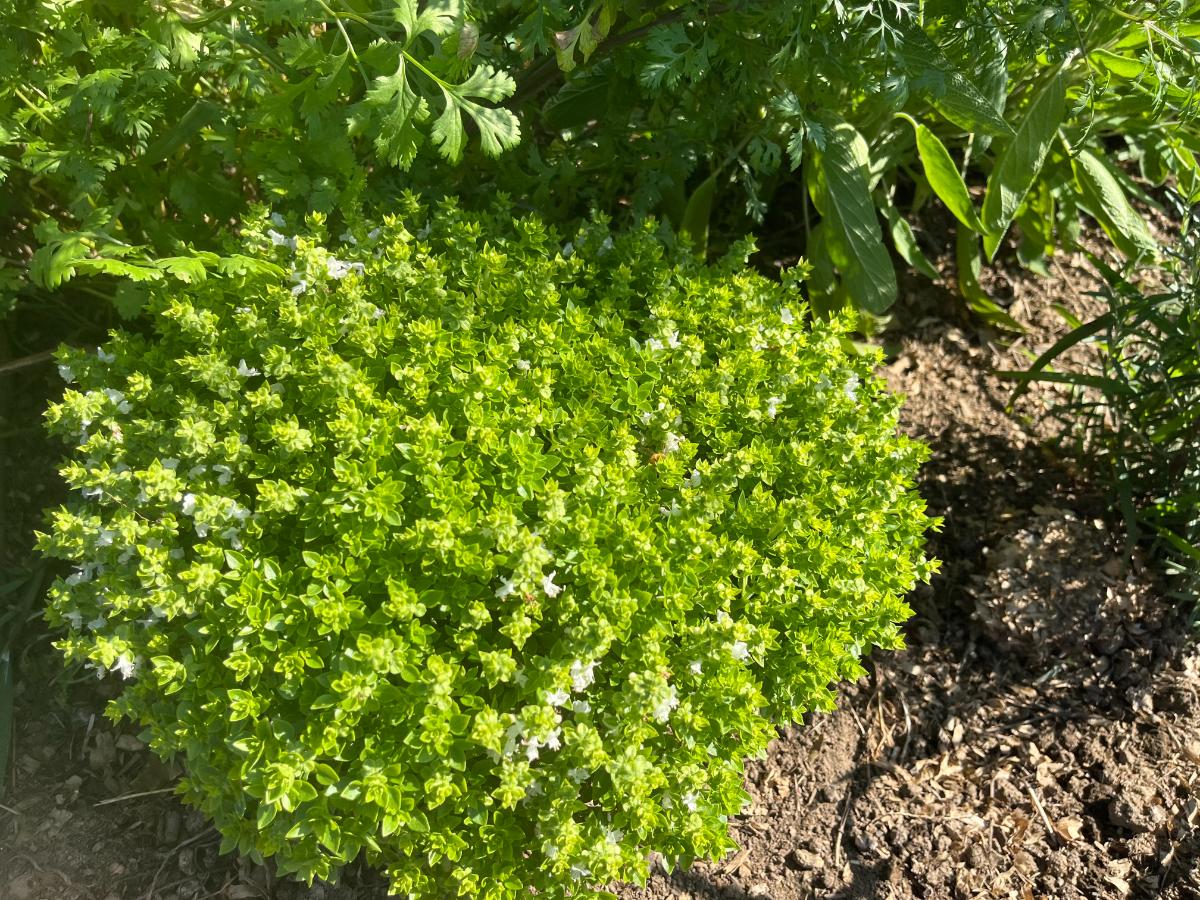
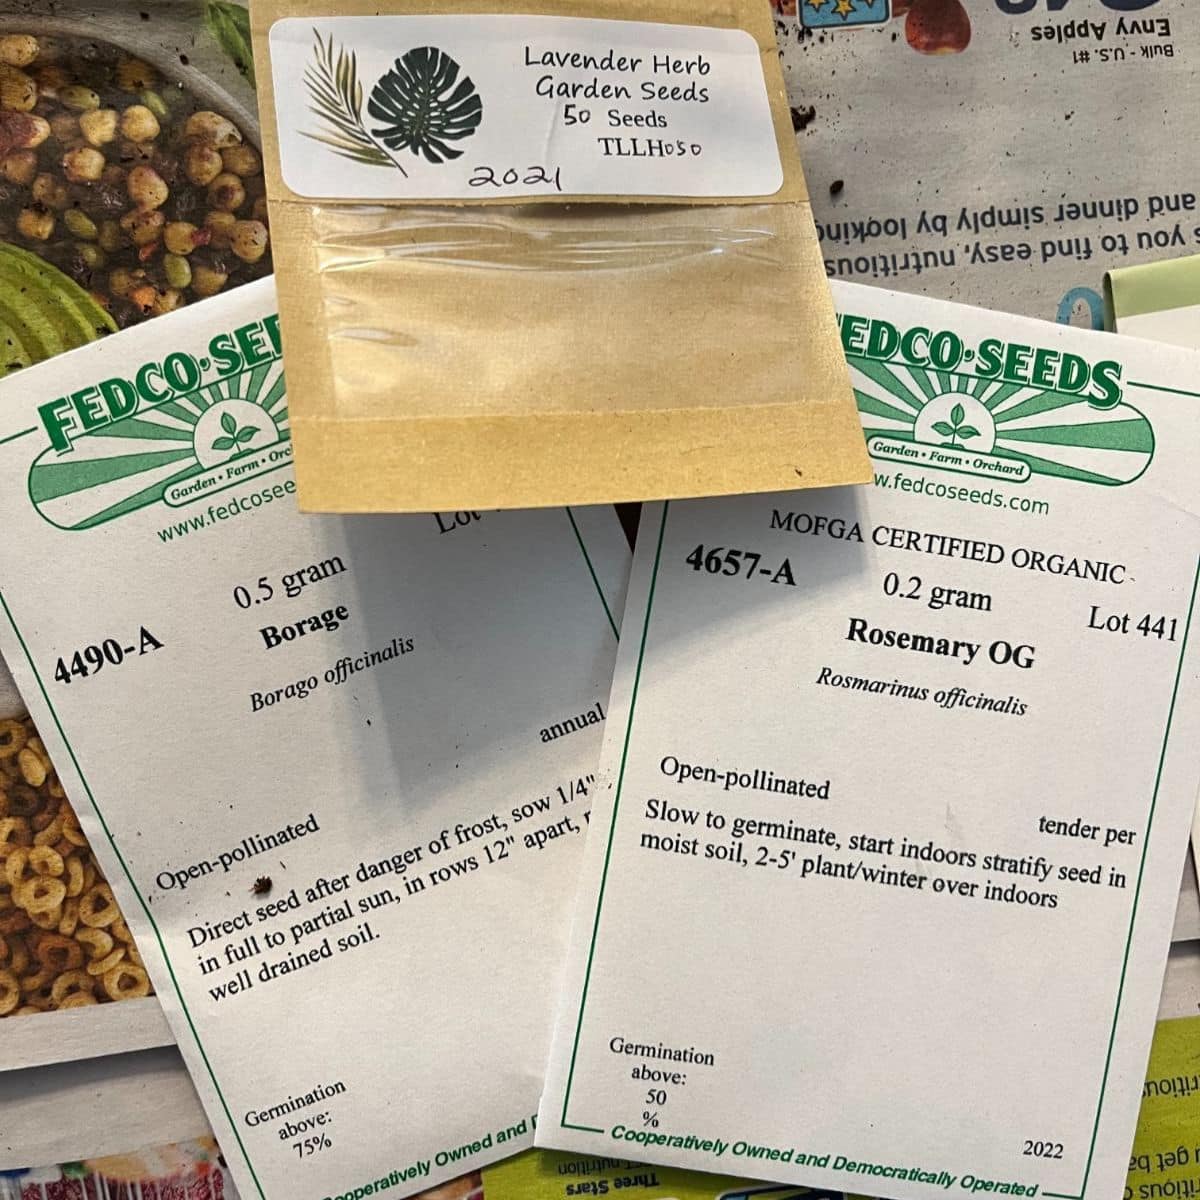
- Herbs including cilantro, basil, thyme
Some Helpful Tips for Growing Microgreens from Garden Seeds:
- Start with clean trays every time you start a new set of microgreens; clean trays in warm, soapy water and rinse
- You will only get one harvest off each set of microgreens (except for pea shoots – if you leave a set of leaves on the bottom when you cut them, you can get one or two more shoot harvests)
- You can make mixtures of seeds for a nice flavor blend or sow seeds of a single type
- If mixing, pair seeds with similar sprouting and growing times
- Seeds in mixes should be about the same size to keep large seeds from covering small seeds and to prevent large seedlings from crowding out or shading out small seedlings
- Herb seeds are slow to germinate and take a long time to grow to harvest size, so they’re best grown as single sets or mixed only with other slow-growing herbs
- Don't worry if microgreen seedlings get leggy – they won’t live to be adult plants, and the leggy stems are fine to eat, too!
- Play around with flavors and seed types until you find what you love the most!
- Large seeds and seeds with hard coats (like sunflowers, peas, and cilantro) benefit from pre-soaking before sowing – six to eight hours is good!
- Microgreens can be eaten fresh, used in salads, stir-fried, steamed, sauteed, and more
- Keep starting seeds in rotation, so you have microgreens in steady supply
- Start new seeds once a week
- If seeds get a little larger than intended for microgreens, it’s still fine to cut them and eat them!
- Most seeds do not change in any major way (taste-wise) if left to grow a little longer
- Sunflowers are the exception – try not to let them grow true leaves because the true leaves get bitter, and once sunflowers hit that stage, they are less nutty and more sour and bitter-tasting
- You can also cut just a part of a tray and let the rest of the tray continue to grow a day or two (or three...) more until you’re ready to use them
Mary Coakley
I really like hour emails you are so knowledge I always learn something