It’s every gardener’s dream to have a massive garden harvest. But when a well-run garden starts producing more lush tomatoes, juicy cucumbers, and crisp green beans than you know what to do with, you may need to start canning your produce so it doesn’t go to waste. However, if you’ve never canned vegetables or fruit before, all that canning terminology can be a bit confusing!
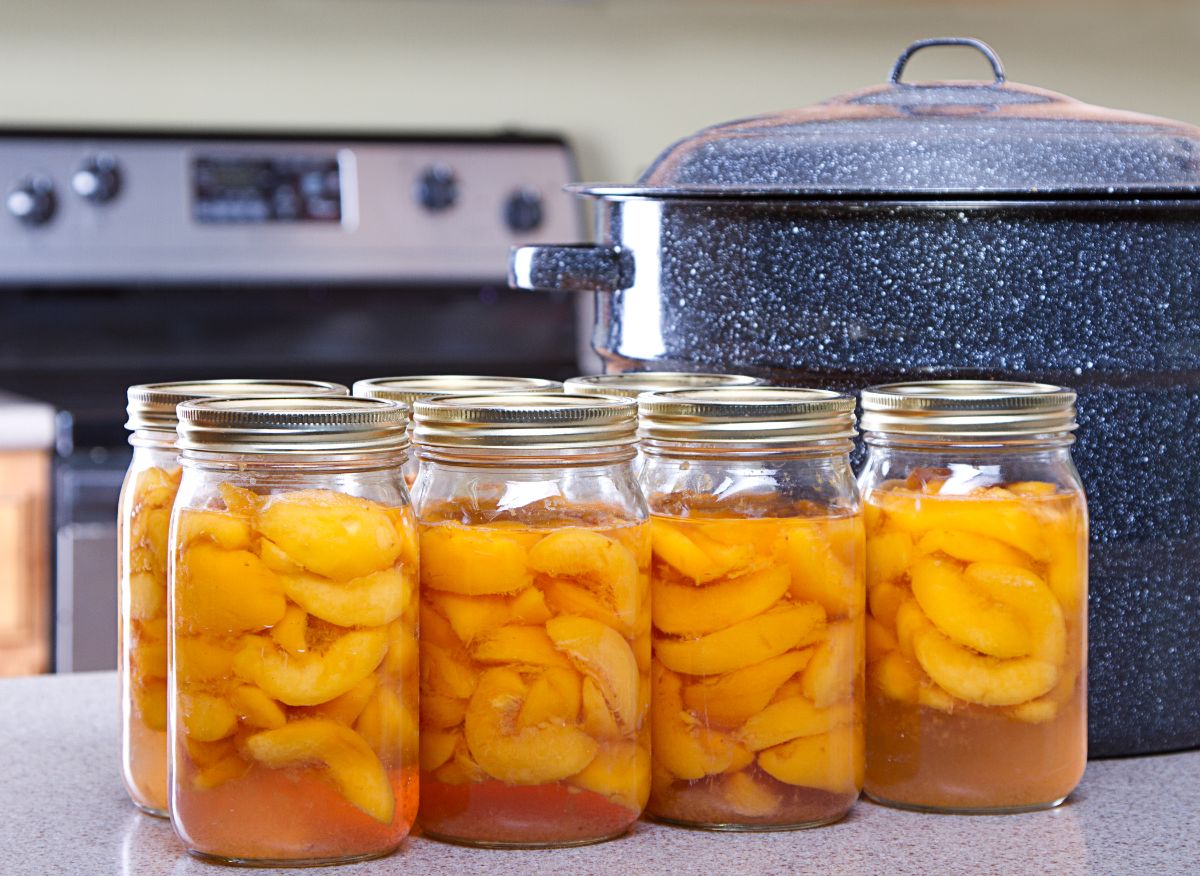
Most home preservers use one of two different canning methods: water bath canning and pressure canning. Certain vegetables and fruit are better suited for water bath canning than others, while some garden produce can only be safely canned with pressure canning. Choosing the wrong canning methods can result in a bad batch of preserves, which could even be contaminated with botulism.
While that may sound intimidating, both water bath canning and pressure canning are easy to master, and if you keep a few simple canning tips in mind, you’ll always know which method to use for your produce. In the guide below, we’ll walk you through some of the basics of canning, including which canning method to use for fruit, vegetables, and other preserves. But, of course, you’ll also want to consult a reliable canning book or the USDA’s website* for specific recipes and food safety guidelines.
*It should be noted that recommendations may vary by country. Pressure canning is not as popular or common in many places around the world, so it is possible to find variation in recommendations depending on where you live. The USDA maintains more stringent guidelines and recommendations, and so those are the recommendations we focus on here.
Jump to:
What is water bath canning?
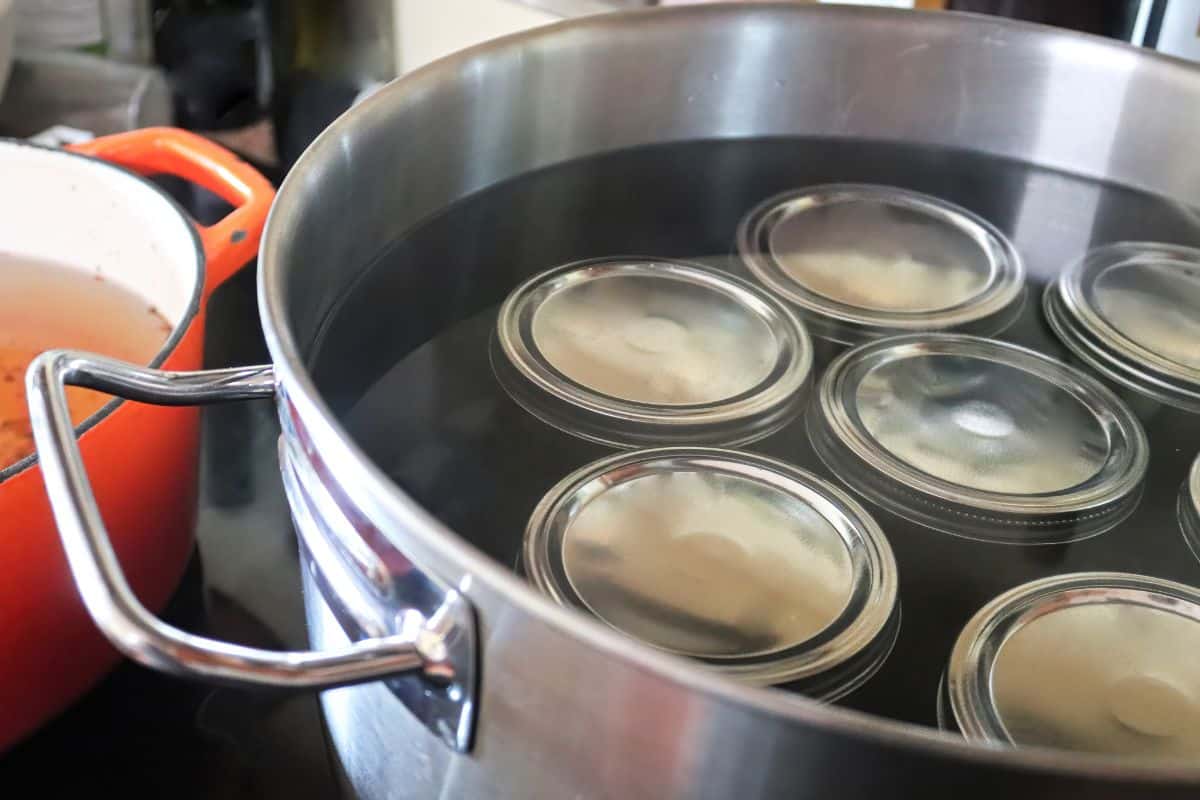
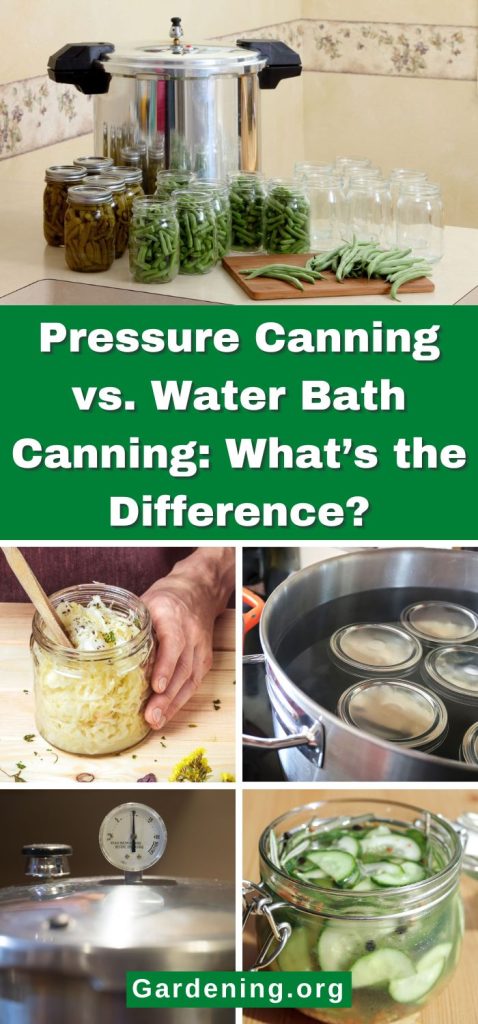
Also known as hot water canning or boiling water canning, water bath canning is the easiest canning method to master. As its name suggests, water bath canning involves heating canning jars in boiling water to kill off harmful bacteria in your preserves and create an airtight seal on your jars. However, as useful as this canning method is, it only works for high-acid foods.
Water bath canning is mostly done in stockpots on your stove, so it can only heat jars to the temperature of boiling water (212°F). While this temperature is enough to kill many bacteria strains, it doesn’t kill botulism spores. Botulism can’t breed in high-acid foods, so they’re safe to process with water bath canning, but low-acid or alkaline foods need to be processed at higher temperatures for food safety.
Depending on the altitude of your location, you may need to increase processing times for certain canning recipes. That means that canning jars may need to be boiled for a few minutes longer, but you should never reduce the processing times listed in canning recipes for any reason. This website can help you determine your altitude, while this helpful chart has guidelines for increasing processing times based on altitude.
Common foods that can be canned with water bath canning include pickles, salsas, sugary preserves, fruits, and tomatoes (with an added acid like lemon juice or citric acid.)
What equipment will I need?
One of the best things about water bath canning is that it doesn’t require any special equipment beyond canning jars and lids. All you need to do is slip your canning jars into a large stockpot with water and let them boil away for the recommended amount of time for the recipe you’re working with. Just make sure that whatever stockpot you use is large enough to hold your canning jars safely and that it’s tall enough that your jars will be covered with at least 1 to 2” of water during processing.
While you don’t necessarily need more tools than a stockpot and jars, some other handy items to have for water bath canning include:
- Canning rack. Canning racks help prevent jars from cracking during processing. They also ensure that jars are fully surrounded by boiling water.
- Jar lifter. An essential tool for picking hot jars out of the boiling canning water!
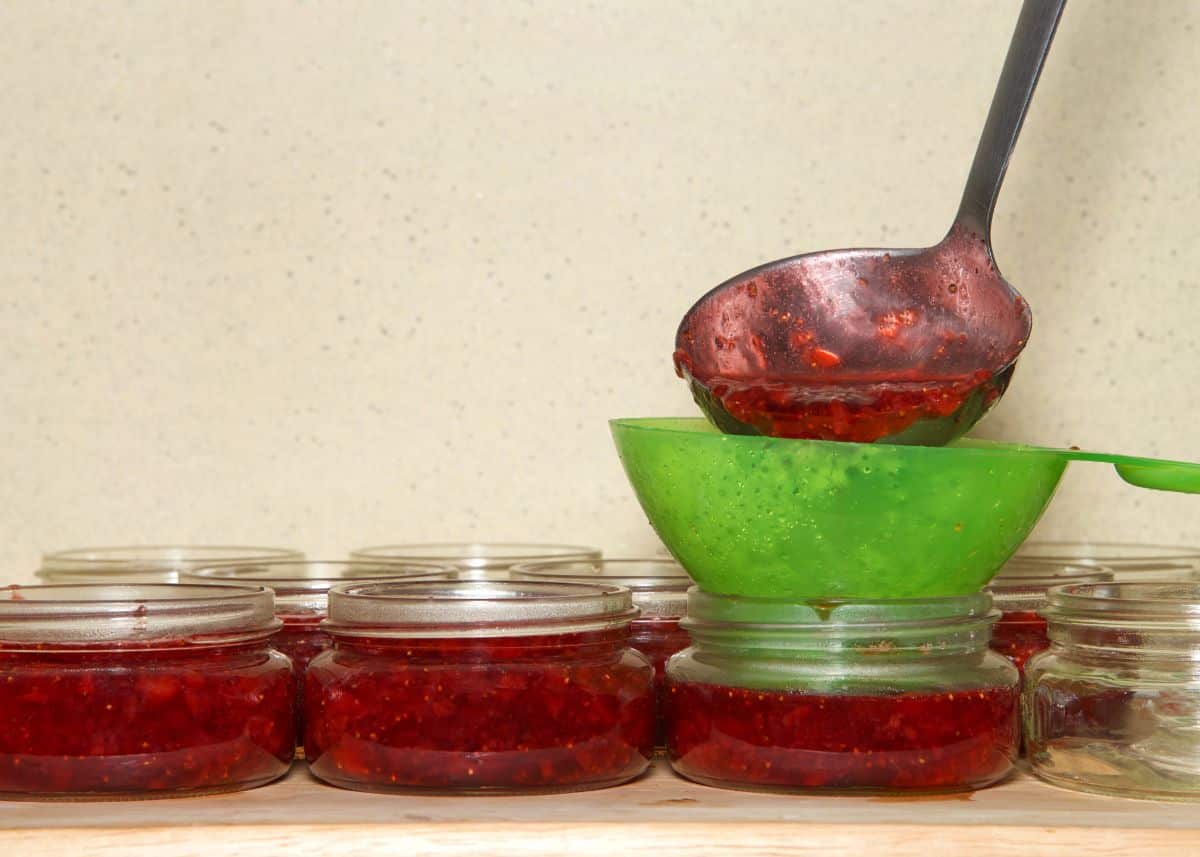
- Canning funnel. Canning funnels are useful for both water bath canning and pressure canning methods. Funnels can be made of plastic or metal, and they help direct your preserves right into the jars, limiting spills and waste.
- Ladle. Like funnels, ladles help keep your canning jars clean while you’re filling them.
- Clean cloths. Clean cloths are a must for wiping down canning jars before screwing on their lids. Make sure you have a lot of clean cloths on hand before the canning season starts!
What is pressure canning?
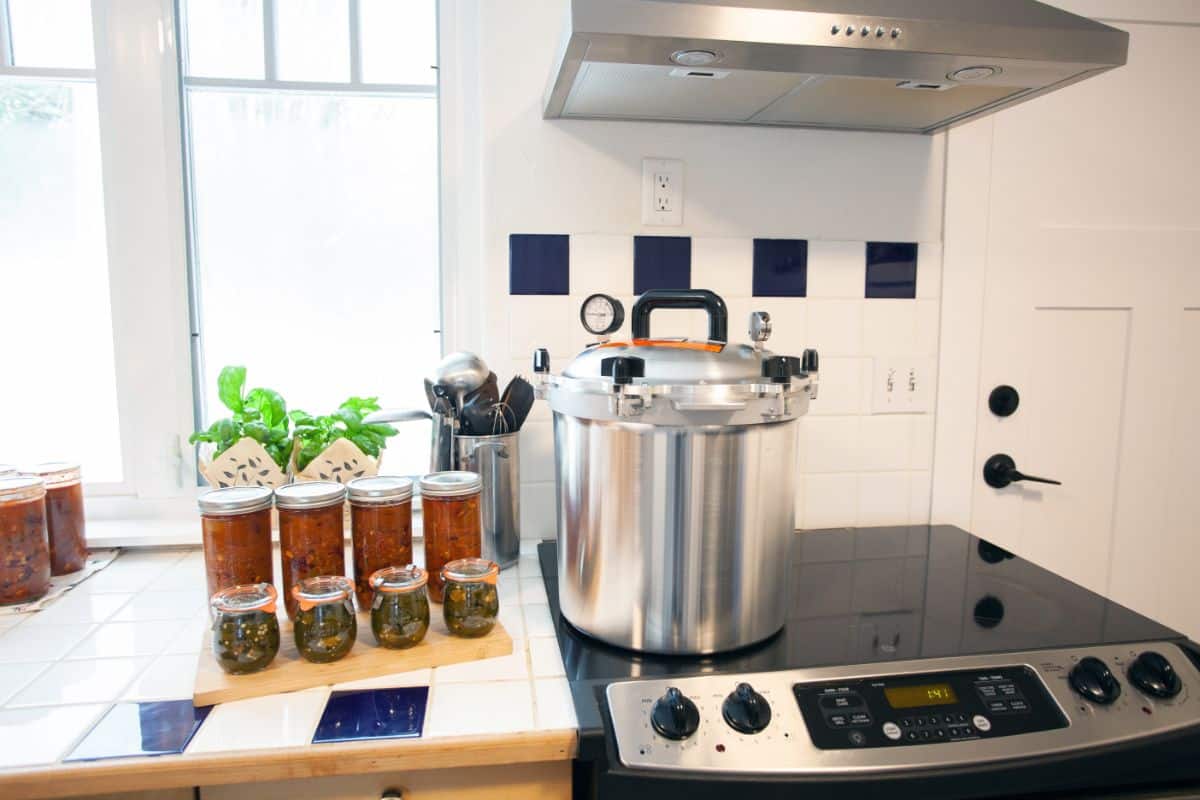
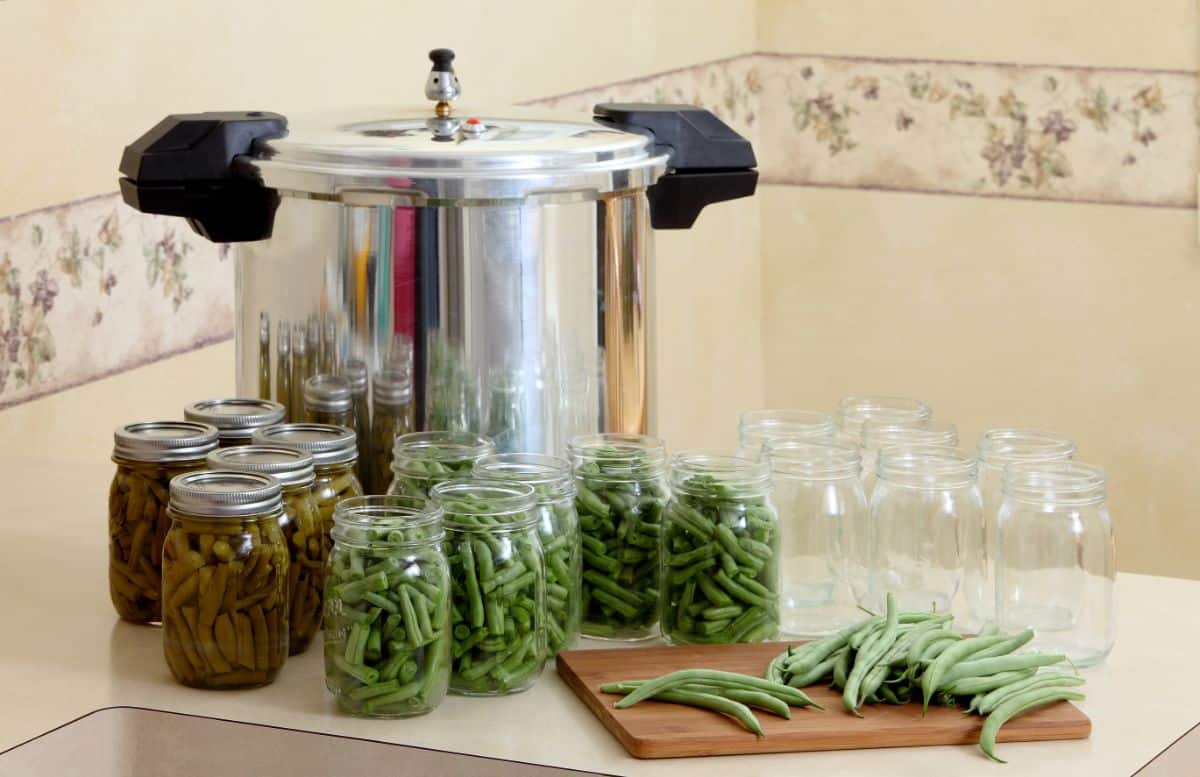
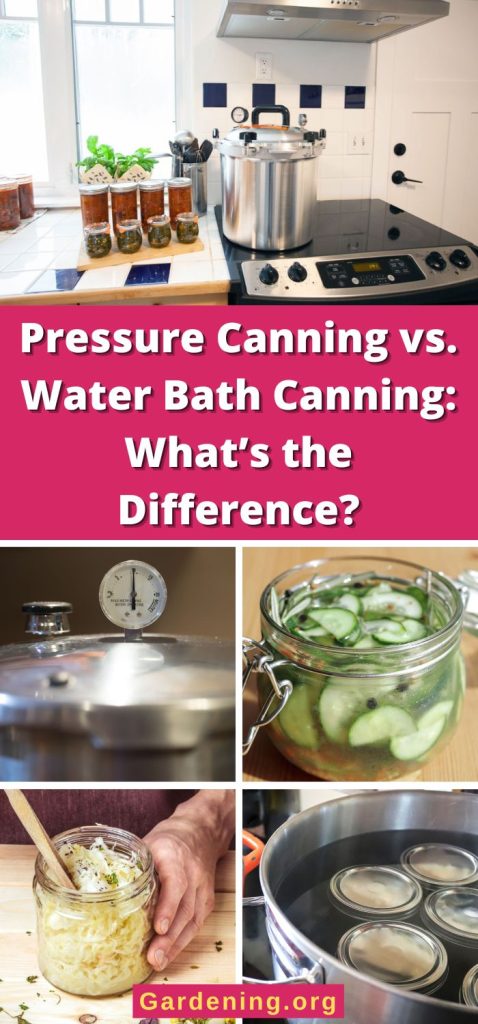
Pressure canning is a little bit more involved than water bath canning, but it’s still a relatively easy process. This canning method uses a pressure canner to increase temperatures above the boiling point of water during canning. These high temperatures are enough to kill off most bacteria, as well as botulism spores, making pressure canning the only safe method to use for low-acid or alkaline foods.
When processing foods with pressure canning, a canning rack is placed inside the pressure canner, and canning jars are placed on top of it. A few inches of hot water are then added to the pressure canner, and the pressure canner lid is firmly affixed to the canner.
After that, the pressure canner is heated on a stove, which creates steam and pressure inside the canner. This causes canning temperatures to rise above the boiling point of water, killing any bacteria in the jarred preserves and creating an airtight canning seal too.
If you have a quality pressure canner, you’re well on your way to producing delicious home-canned preserves. But just as with water bath canning, your jars may need to be processed a bit differently depending on your altitude. With water bath canning, processing times are adjusted, but with pressure canning, it’s the pounds of pressure that may need to be altered depending on your altitude.
If you need to adjust the pounds of pressure for pressure canning, this chart can help you do just that!
Pressure canning is the canning method of choice for all low-acid foods. Creamed corn, peas, carrots, and any other veggie that isn’t preserved in vinegar is generally canned with pressure canning. Additionally, any canning recipe with meat, such as homemade chili, can only be safely preserved with pressure canning.
Since pressure canning can be used on such a wide variety of different ingredients, it can be tempting to process all of your food jars with this canning method. But hold that thought.
While you can technically preserve salsas, pickles, and fruit with pressure canning, it’s not ideal. Pressure canning these foods often results in overcooked and mushy produce, and it can destroy the consistency of delicate jams and jellies. While it’s not a food safety issue per se, it is a quality issue, so water bath canning is still the recommended method for all high-acid foods.
Note: While pressure canners can be used on most indoor stoves, they’re not recommended for glass top ranges. This is because pressure canners can be very heavy when full, and you may run the risk of accidentally cracking your cooking surface if you use them on a glass-top stove!
What equipment will I need?
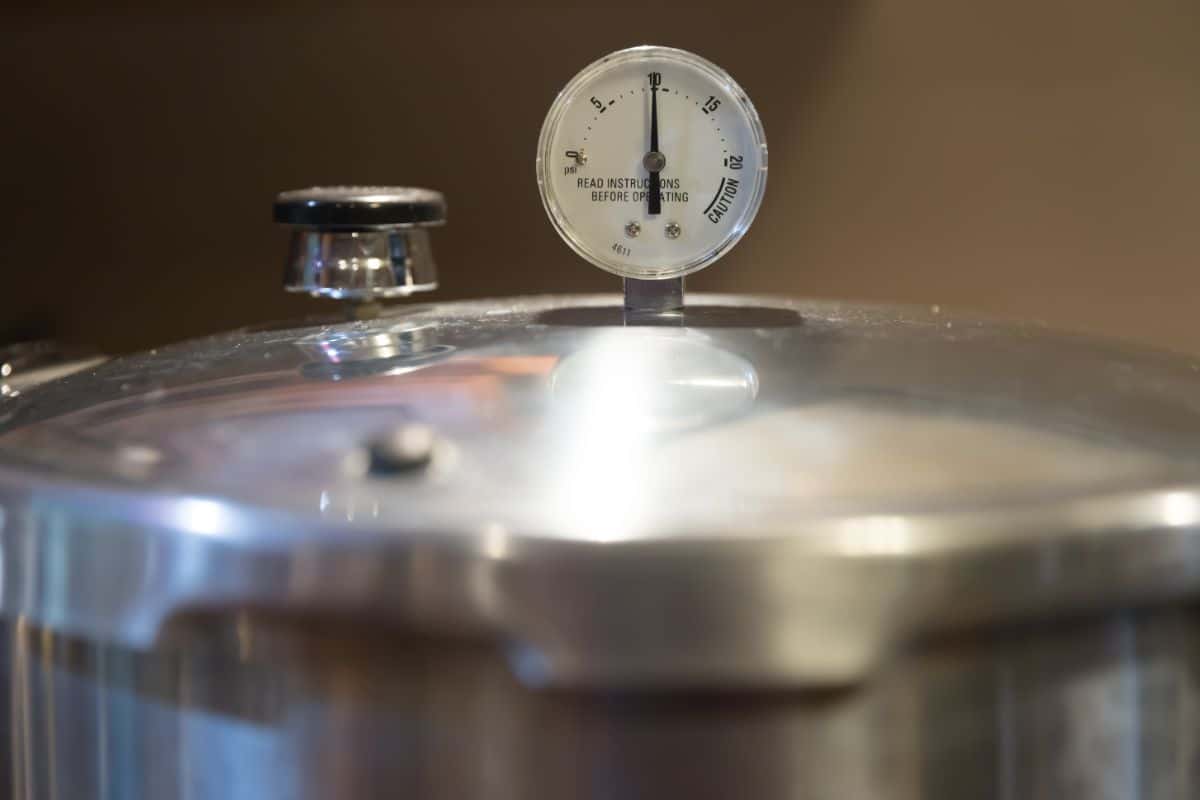
The most important tool you need with pressure canning is, of course, a pressure canner! Pressure canners come in a variety of different sizes, ranging from small 10-quart canners to massive 41-quart canners. Consider how many jars you want to process at one time to determine the size of the pressure canner you’ll need.
As a reference point, a 10-quart pressure canner should be able to hold about 4-quart canning jars, while a 41-quart canner can hold about 19-quart jars.
Beyond the pressure canner, many of the tools that are useful for water bath canning are also helpful with pressure canning. This includes:
- Canning jars and lids.
- Canning rack.
- Jar lifter.
- Canning funnel.
- Ladle.
- Clean cloths.
What are low-acid and high-acid foods?
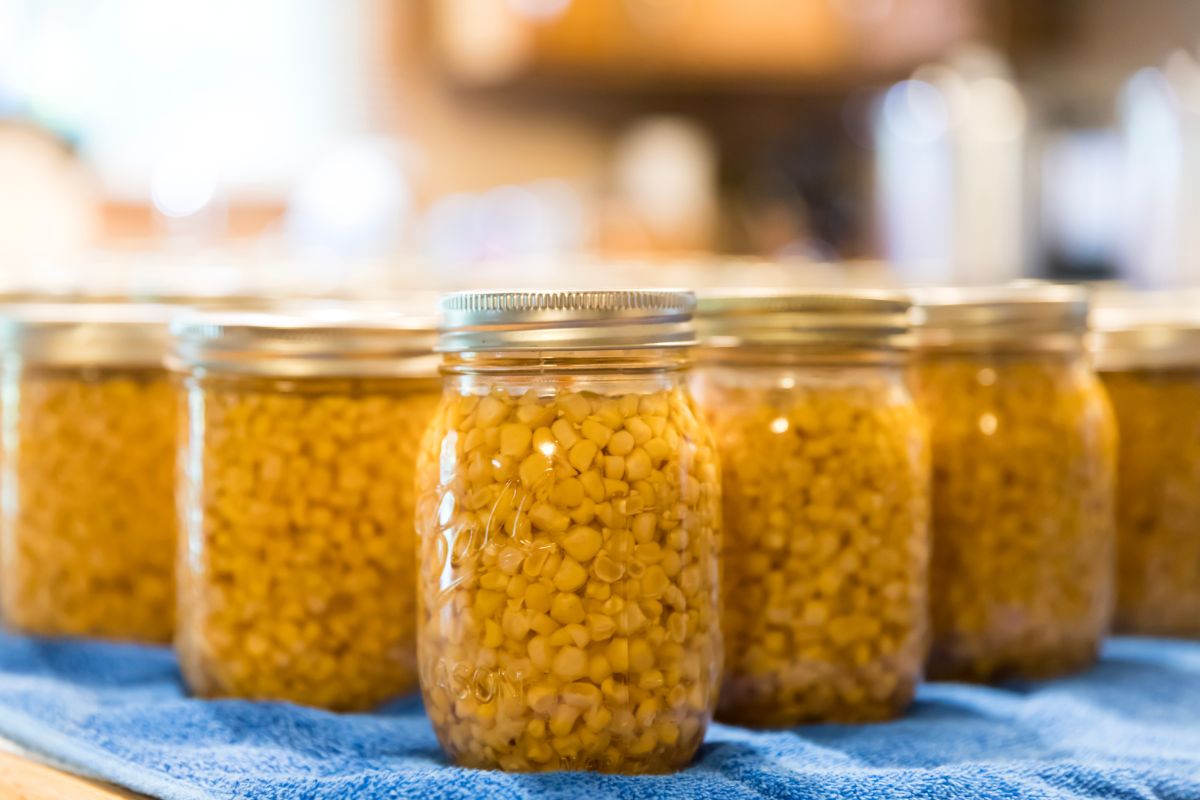
The terms “high acid” and “low acid” foods are very important to know as they will help you determine which canning method is appropriate for the types of produce you’d like to process.
In general, vegetables in lightly salted or plain water have a relatively neutral to alkaline pH, so they will need to be processed with pressure canning. Red meats, poultry, and seafood are also only safely preserved with pressure canning.
On the other hand, vegetables preserved in vinegar, like salsas and pickles, are canned with water bath canning. Citric acid and lemon juice can also be added to canning recipes to increase acidity levels, but it’s important to follow reliable recipes if you go this route. Fruit, jams and jellies, and other high-acid foods with a pH of 4.6 and below are also safe to preserve with water bath canning methods.
Tomatoes are generally considered to be a high-acid food, but some tomato types have lower acidity levels, and their pH may be above 4.6. For this reason, citric acid, vinegar, or lemon juice are usually added to canned tomato recipes, including pasta sauces, stewed tomatoes, and tomato paste.
If you’re ever unsure whether a food has a high or low acidity content, this chart can help. But for a quick reference guide, some of the most popular high-acid foods to can with water bath canning include:
- Apples
- Peaches
- Blueberries
- Raspberries
- Blackberries
- Strawberries
- Gooseberries
- Muscadine grapes
- Cherries
- Plums
- Pears
- Citrus
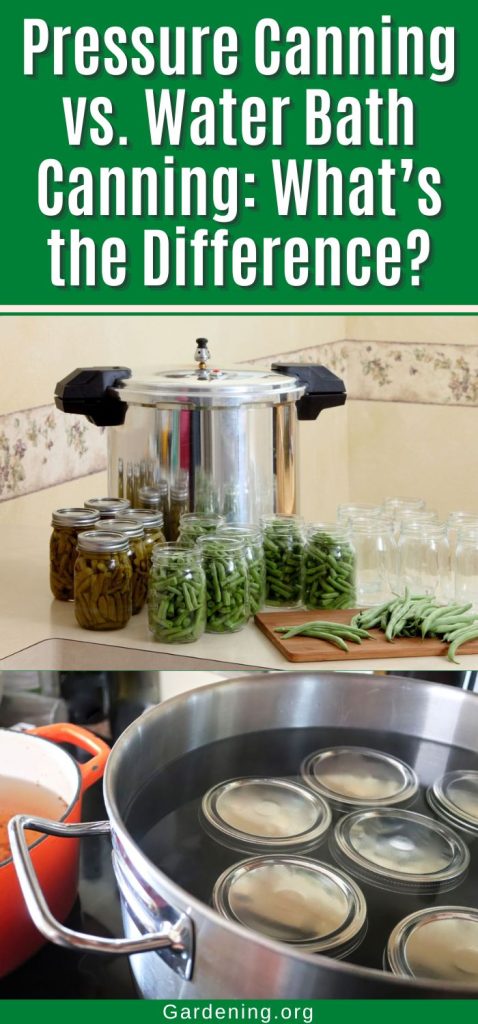
While cucumbers are technically a low-acid veggie, most cucumbers are canned with vinegar to make pickles, which increases the acidity content and makes them a high-acid canned good. Dilly beans, dilly carrots, pickled onions, pickled garlic, pickled beets, giardiniera, salsas, hot sauces, and chutneys also usually have vinegar added, which makes them safe to preserve with water bath canning.
What about quick pickles and quick preserves?
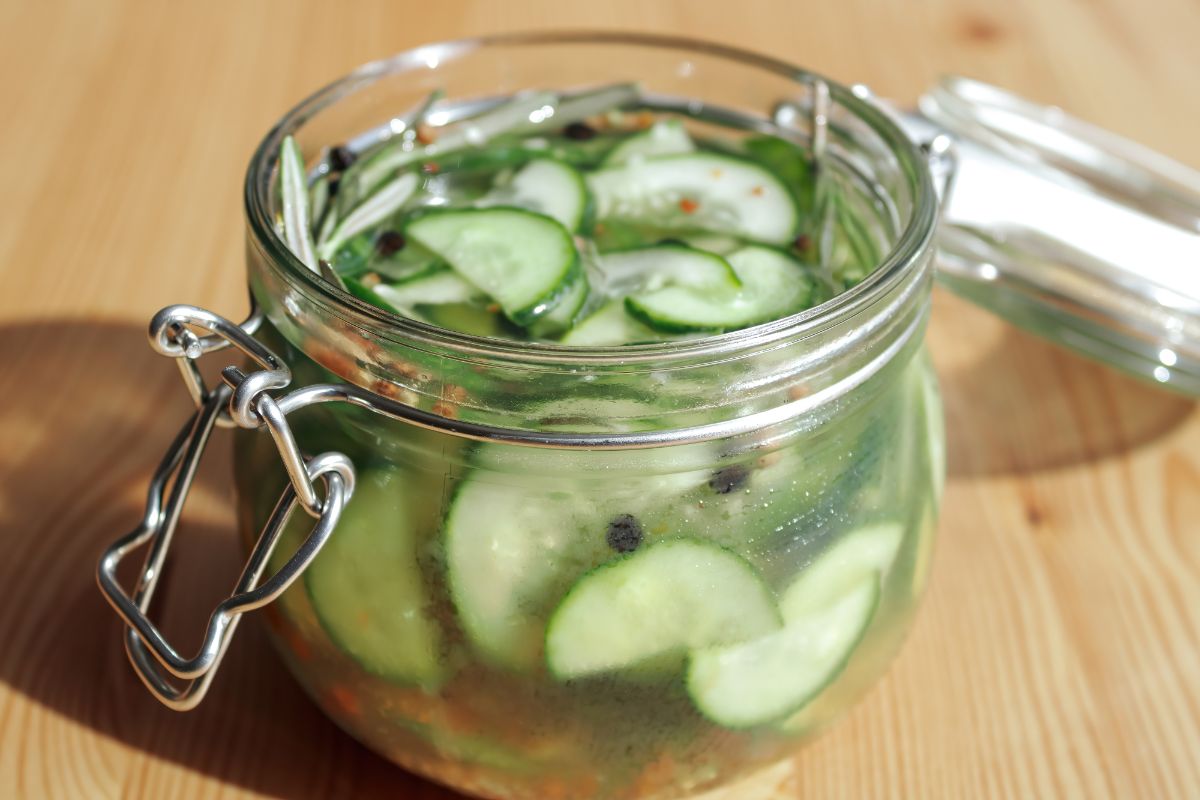
Other popular canning options are “quick pickles” and “quick preserves.” These foods are technically not true canned goods, but they are delicious and fun to make, and they can keep your harvest fresh for a few extra weeks.
Sometimes also referred to as refrigerator pickles, quick pickles, and preserves are made in much the same way as other preserved goods. However, after the pickles or preserves are made, they’re transferred to clean jars and stored in the fridge instead of being processed with a water bath or pressure canning methods. This is a great option for anyone who doesn’t want to tackle canning just yet, but quick pickles don’t have the same shelf life as true canned goods.
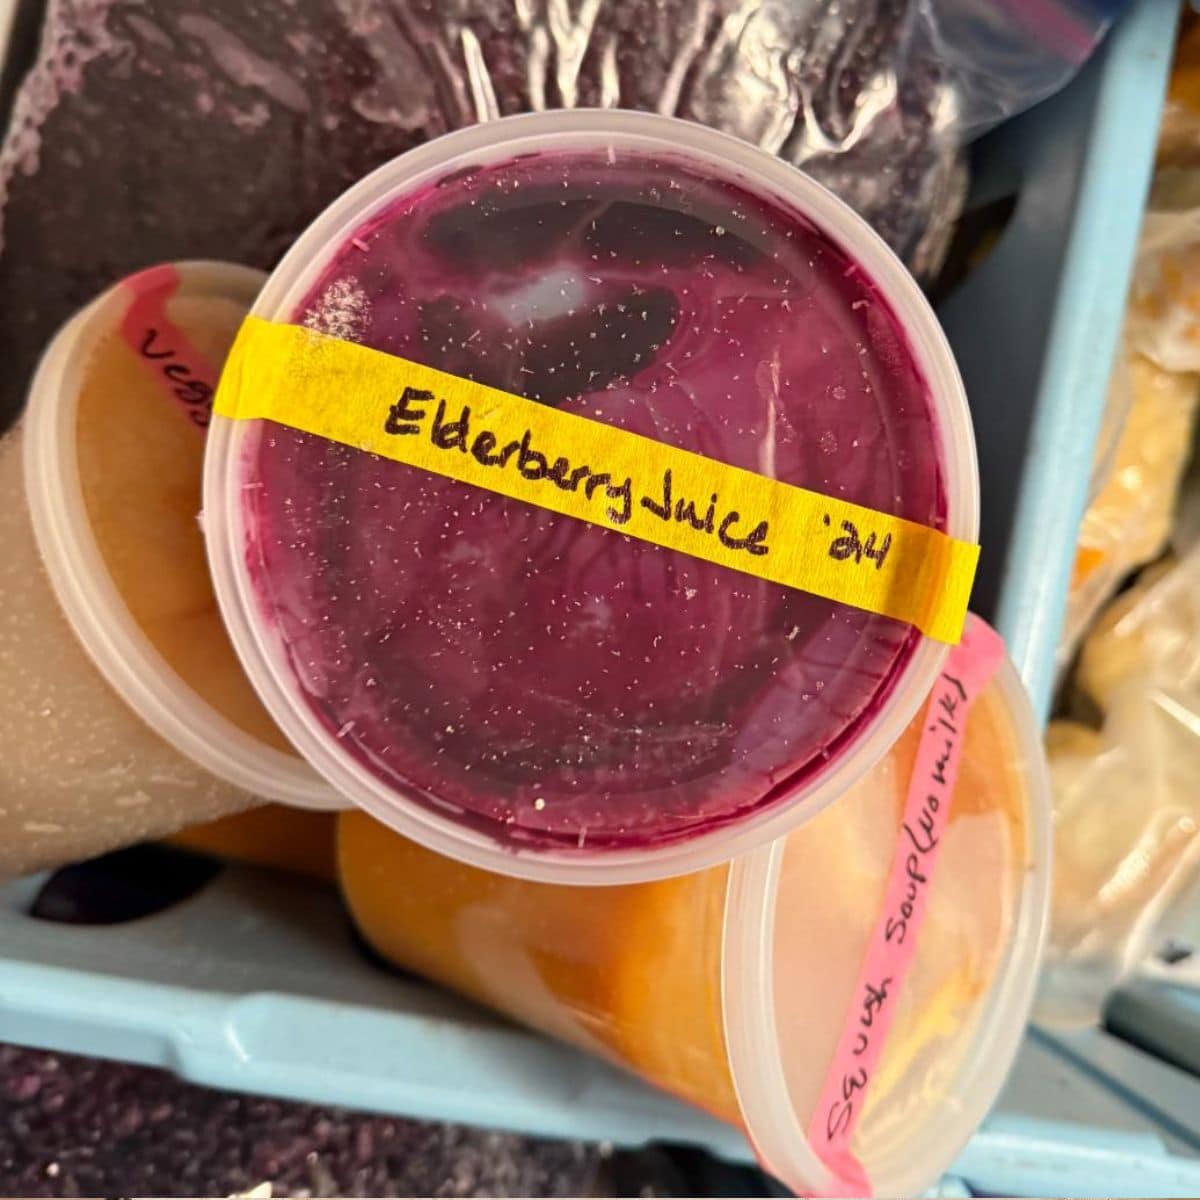
Since they aren’t processed with heat, quick pickles and preserves will only last in your fridge for about 3 to 4 weeks. Another option is to store these items in your freezer, where they will stay fresh for about a year. Just make sure you remove your canning jar lids before freezing quick pickles to avoid jars expanding and breaking when they freeze!
Can you can lacto-fermented products?
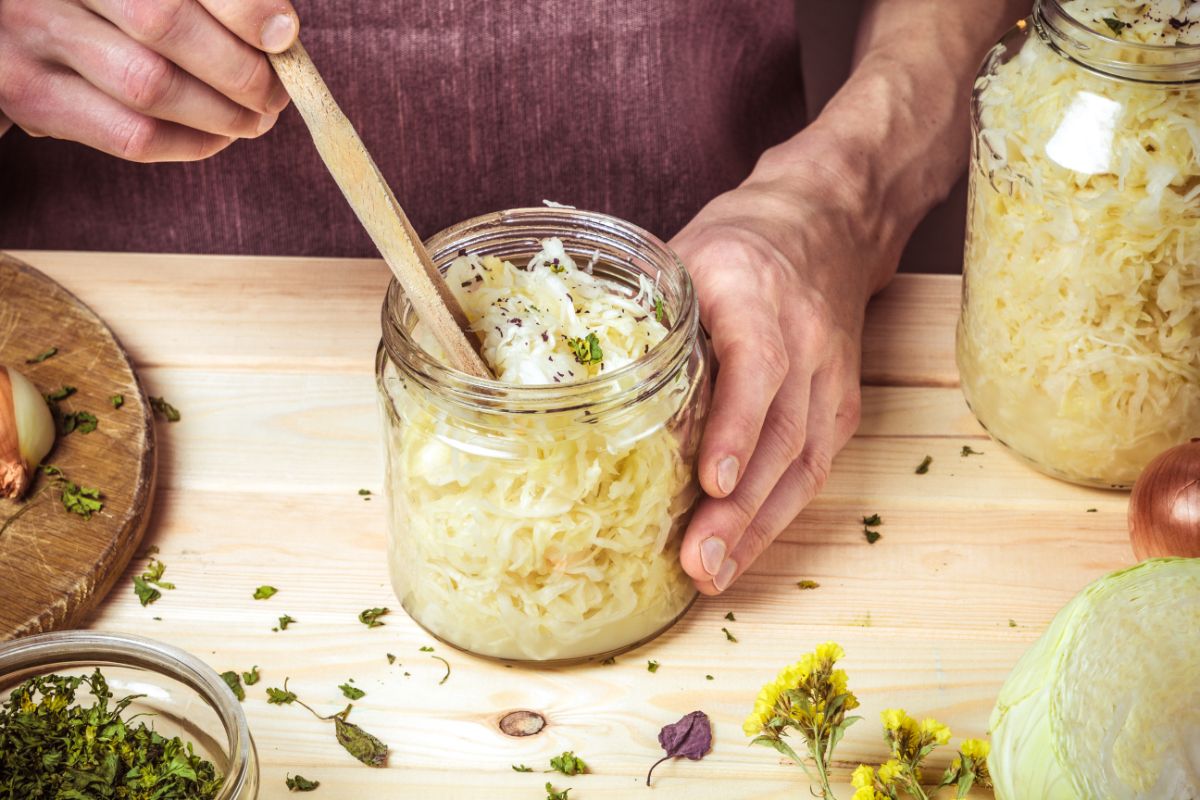
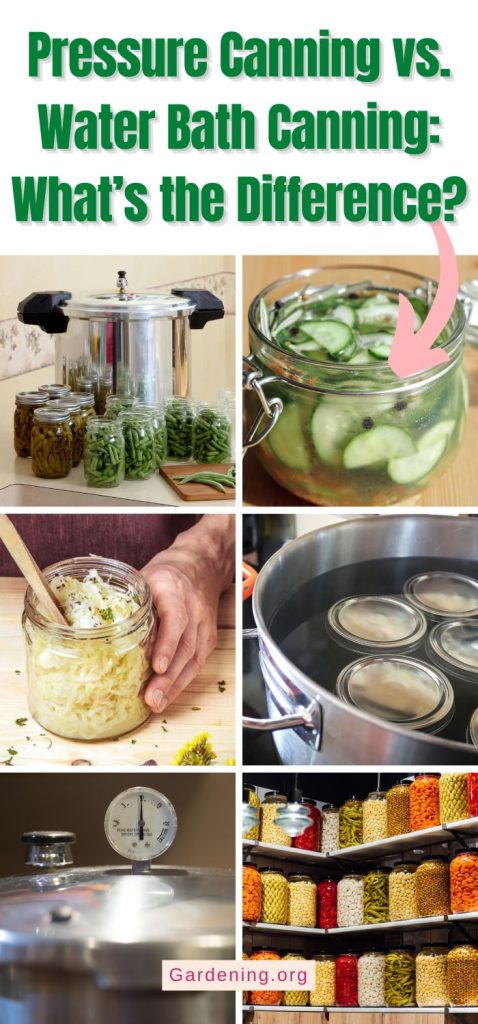
Gut healthy and super easy to make, lacto-fermented preserves are becoming increasingly popular. Many different vegetables, including pickles, sauerkraut, and hot sauces, can be made with lacto-fermentation, and the resulting product is tangy, sour, and rich in probiotics. But can you lacto-fermented veggies?
That depends. Technically, lacto-fermented pickles and other preserves can be canned using water bath canning methods. However, processing these products with heat will kill off the probiotics in them, which can defeat the purpose of making lacto-fermented preserves.
Lacto-fermented pickles and other goods will last in your refrigerator for about 4 to 6 months as long as you keep them consistently cool and you skim the brine’s surface from time to time. If you made lacto-fermented pickles to boost gut health, storing these products in the fridge is recommended. However, if you have more pickled goods than you can feasibly use in 4 to 6 months, canning them is a great way to extend their shelf life and make sure none of your hard work goes to waste.
How long do home canned goods last?
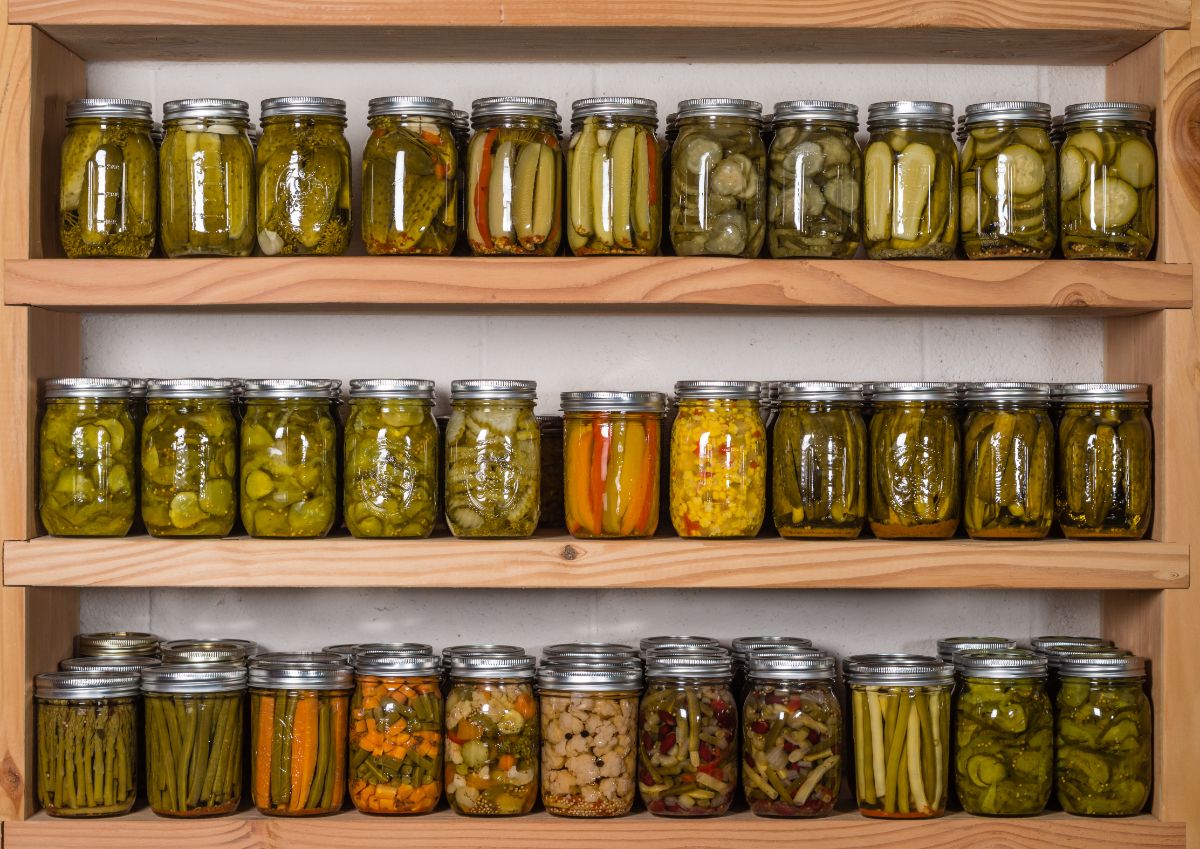
One of the main reasons why gardeners can their harvests is to keep it fresh and prevent waste. But while canned goods can last a long time, the quality of preserves can diminish over the years.
Technically, home canned goods should last for many years as long as they are canned properly. However, a general rule of thumb is that home-canned produce should be used within 1 year for best quality, texture, and flavor. If you have a jar of pickles or other preserves that’s 2 or even 5 years old, it still is probably edible, but the produce may lose its color or become soft over time.
One way to make sure you always have fresh canned goods is to date all of your jars before storing them in your pantry. It can also be good practice to rotate your jars, moving new preserves to the back of your pantry and older jars to the front to remind yourself to use up last year’s produce quickly!
How do you store canned goods?
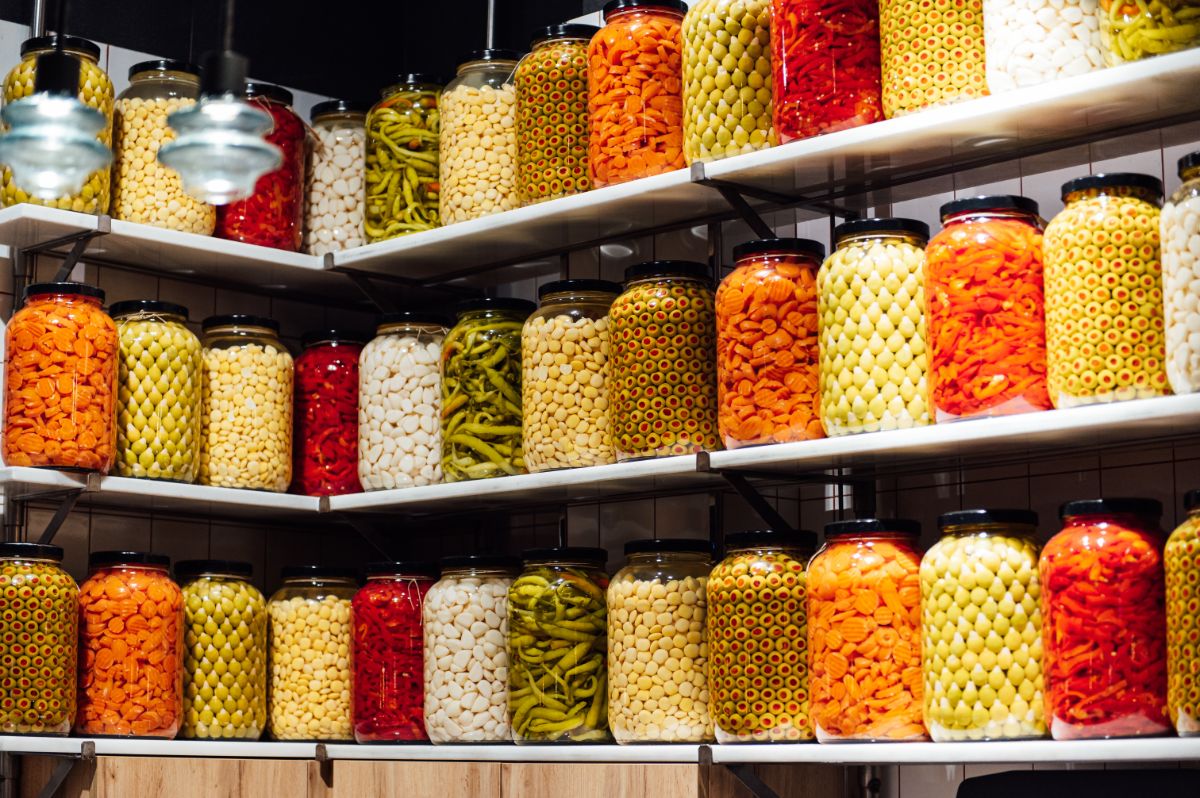
Once you’ve processed your canned goods, most of the hard work is done. But you’ll still need to store your preserves properly so they’re easy to access and maintain their quality over time. Use the tips below to help you determine the best place to keep your home canned goods.
- Store your cans in a cool, dry place and out of direct sunlight. Sunlight and heat can both degrade the quality of canned goods, causing colors to fade and textures to change. To avoid this, store your canned goods out of direct light and, ideally, at a temperature range between 50 and 70°
Canning jars are often stored in kitchen pantries or dry basements. But if you don’t have enough space in your kitchen for canned goods, you can also store them under your bed or in your closet!
- Remove canning rings before storing your jars. Canning rings help hold canning jar lids on during the canning process, but they’re no longer needed after your jars are sealed. If you leave rings on your canning jars during storage, there’s a good chance the rings will corrode and make it very difficult to open your jars.
Even worse, leaving rings on canning jars can also pose a food safety issue. If jars aren’t sealed properly, the contents will often bubble out of the jar and cause a mess. However, if the canning rings are left on, they may keep jar lids in place even if jars aren’t properly sealed, which can make it difficult to determine if your canning lids are compromised or not.
- Always wipe your jars down before storage. Wiping jars down with a clean cloth after processing will remove any old food debris and keep your jars looking pristine. After all, no one wants to reach for a canning jar and find that it’s coated in a sticky food residue!
- Store canning jars upright. Some home preservers store their canned goods on their sides or upside down; however, this is not ideal. Storing jars in this manner can compromise their seals, and it also increases the chances that the lids will corrode and discolor your preserved goods.
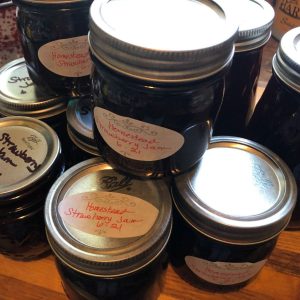
- Don’t forget to label! While you may not think you’ll forget what you put in your canning jars when you’re processing them, it’s very easy to lose track of what you canned, especially if your jars are stored for months on end. Many canned goods can also look very similar after processing, making it easy to confuse canned peaches with canned apples and hot salsa with pasta sauce.
A good solution for this is to always clearly label your canned goods with the product name and the date of canning. That way, you’ll never forget what’s in your pantry, and you’ll be able to keep track of what cans need to be used first.
Frequently asked questions
Water bath canning and pressure canning are both useful preservation methods for homegrown produce. However, these canning methods have different applications, and it’s important to know when to use each canning method for food safety. Water bath canning is best for high-acid foods, while pressure canning should be used for any low-acid vegetable preserved in water or a lightly salted brine.
Tomatoes are an interesting canning ingredient as they are one of the few foods that can be canned with either water bath canning (with an added acid) or pressure canning methods. However, recent research suggests that pressure-canned tomatoes may have a slightly higher nutrient content than water-bath canned tomatoes.
Tomatoes are generally a high-acid food, but some tomatoes may have lower acidity levels than others. Since home canners aren’t likely to test the acidity content of their tomatoes before canning, adding an acid like lemon juice, citric acid, or vinegar is recommended for food safety reasons. This higher acidity level helps combat foodborne illnesses and prevents bacteria from growing in your canned tomatoes.
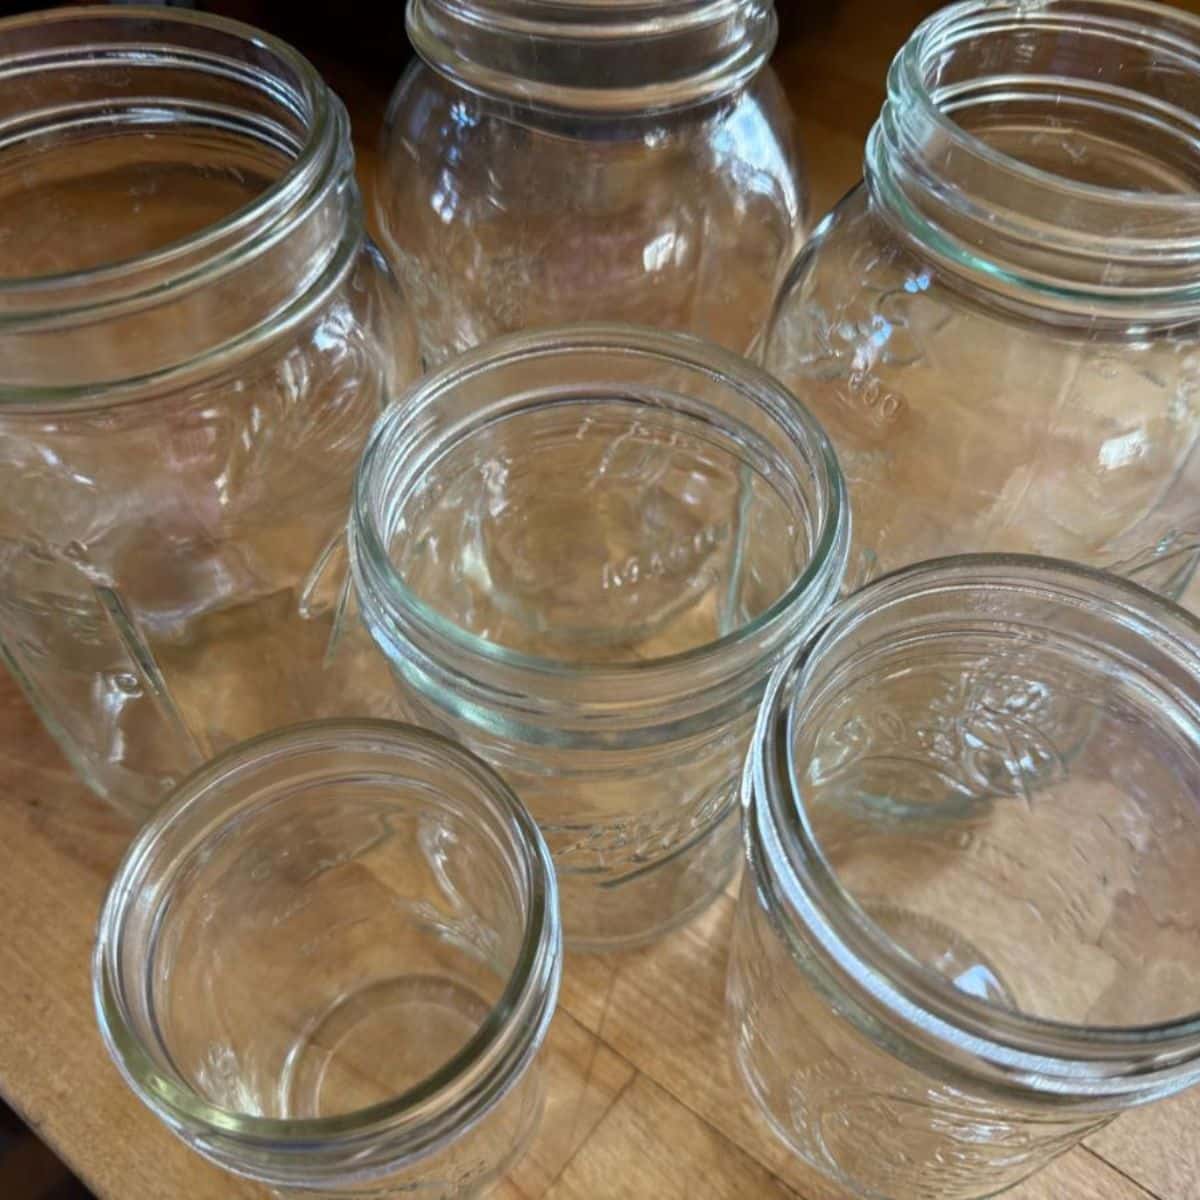
Absolutely! Mason-type jars are the recommended jars to use with both pressure canning and water bath canning methods.
How many jars can be canned at once will depend on the size of your canner. If you want to streamline your canning process, choose a very large stockpot or pressure canner. This will allow you to can your jars in bulk, so you won’t need to spend as much time canning!
No, canning lids are intended to be single-use, and they won’t seal properly if reused for canning. Reusing lids can compromise your canned goods and cause food safety issues. That said, canning rings can be reused as long as they aren’t rusted, and old canning lids can be used in your pantry if you need a lid to store dried goods and dried herbs.
Summary
Canning your homegrown produce takes a fair amount of work, but once you have your colorful preserves lined up neatly on your pantry shelves, it’s totally worth it! To new gardeners, canning can feel intimidating at first, but it gets much easier with time and practice. Soon you’ll be churning out salsas, sauces, and fruit preserves like a master, and you’ll have the highest quality homemade canned goods to enjoy during winter or to share with friends.
If you haven’t tried canning before and the thought of working with a pressure canner still feels a bit questionable, you may want to start out with making a quick pickle or lacto-fermenting veggies. To get you started, you can find a list of the best beginner-friendly crops to preserve with lacto-fermentation right here.

margaret cook
good advice, I was just making sure what I know about canning, pressure and water canning. thank you.
Mary Ward
Glad it helped! That's exactly why we included it.