Most gardeners look forward to starting their seeds indoors in the late winter or early spring. Even when it’s snowing outside, you can still get your garden growing with a few indoor lights and a quality potting mix. Seed starting is an easy way to bust those winter blues, but it also gives you a jumpstart on the growing season ahead.
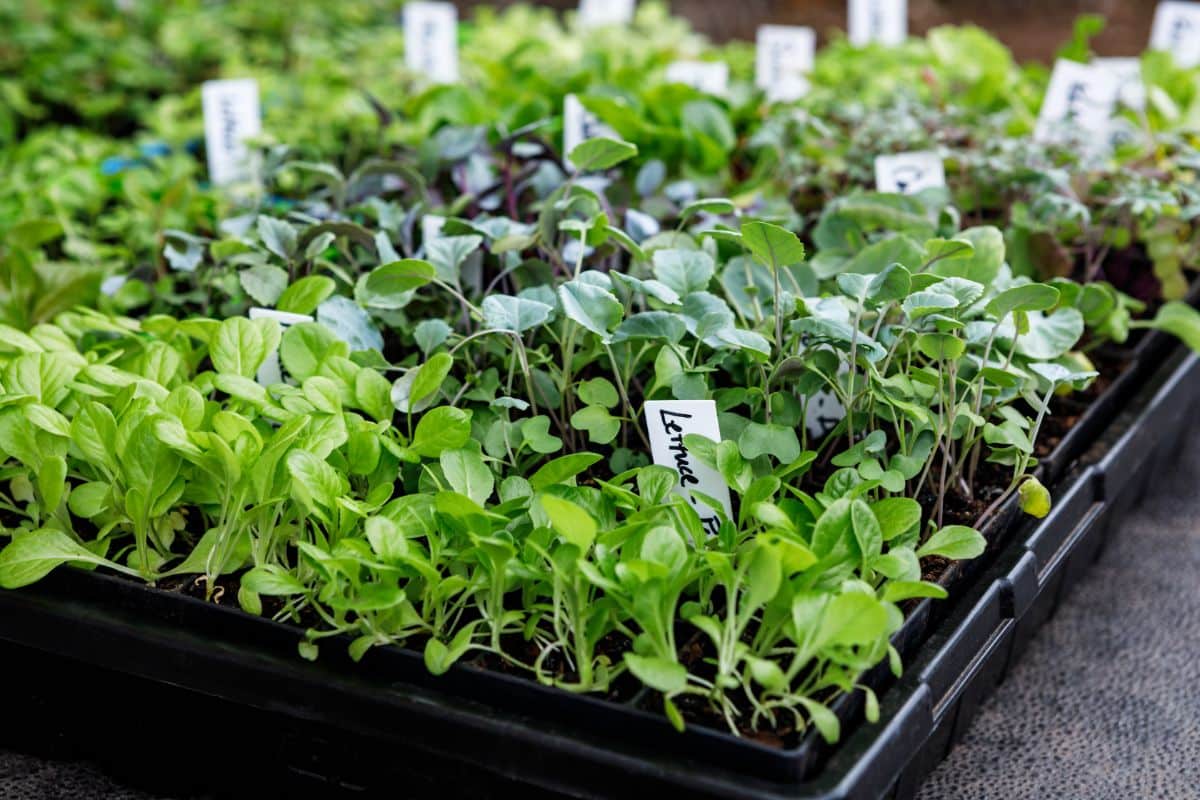
If you’re new to gardening, you may know a bit about seed starting, but you may still be unsure about exactly what supplies you need to begin your indoor garden. To get you started, we’ve compiled this helpful guide full of the 12 items you need to start seeds indoors this spring.
Jump to:
12 must-have products for starting seeds indoors
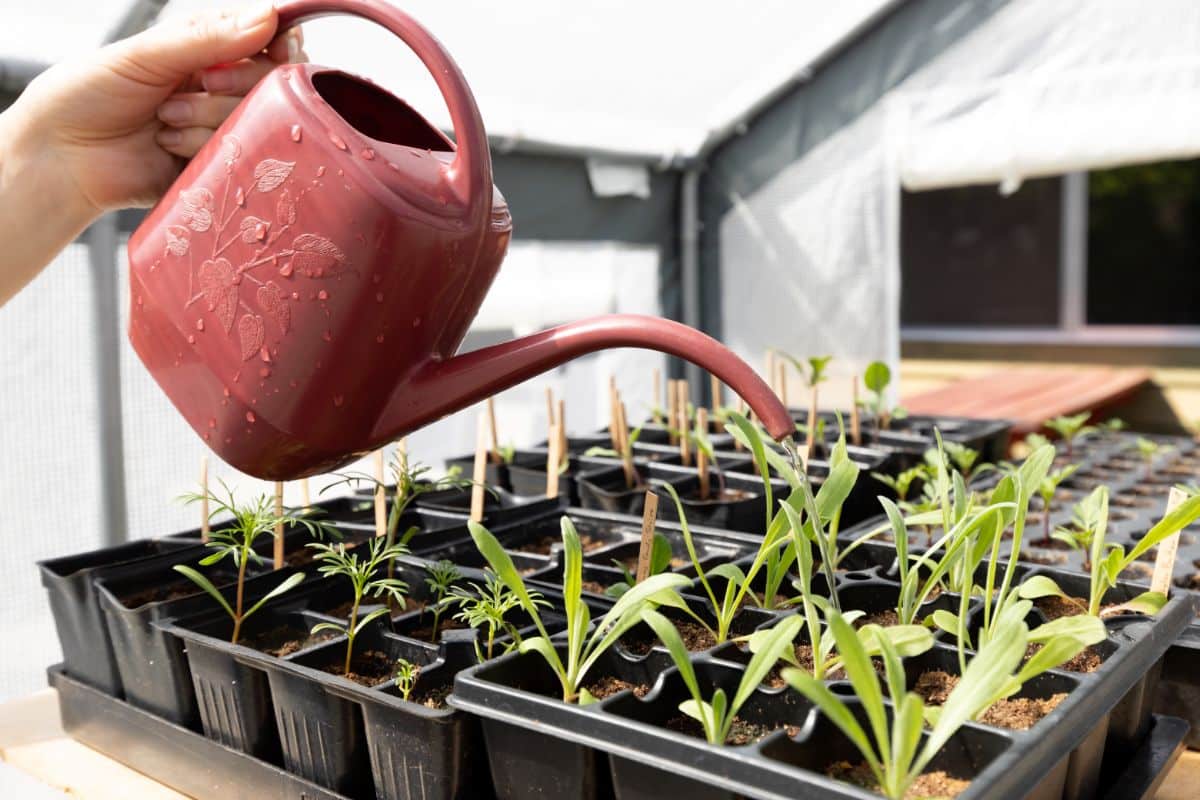
From growing trays to soil-blocking kits, we have all of the most helpful seed-starting supplies below. Read on and start growing your best garden yet!
1. Seeds
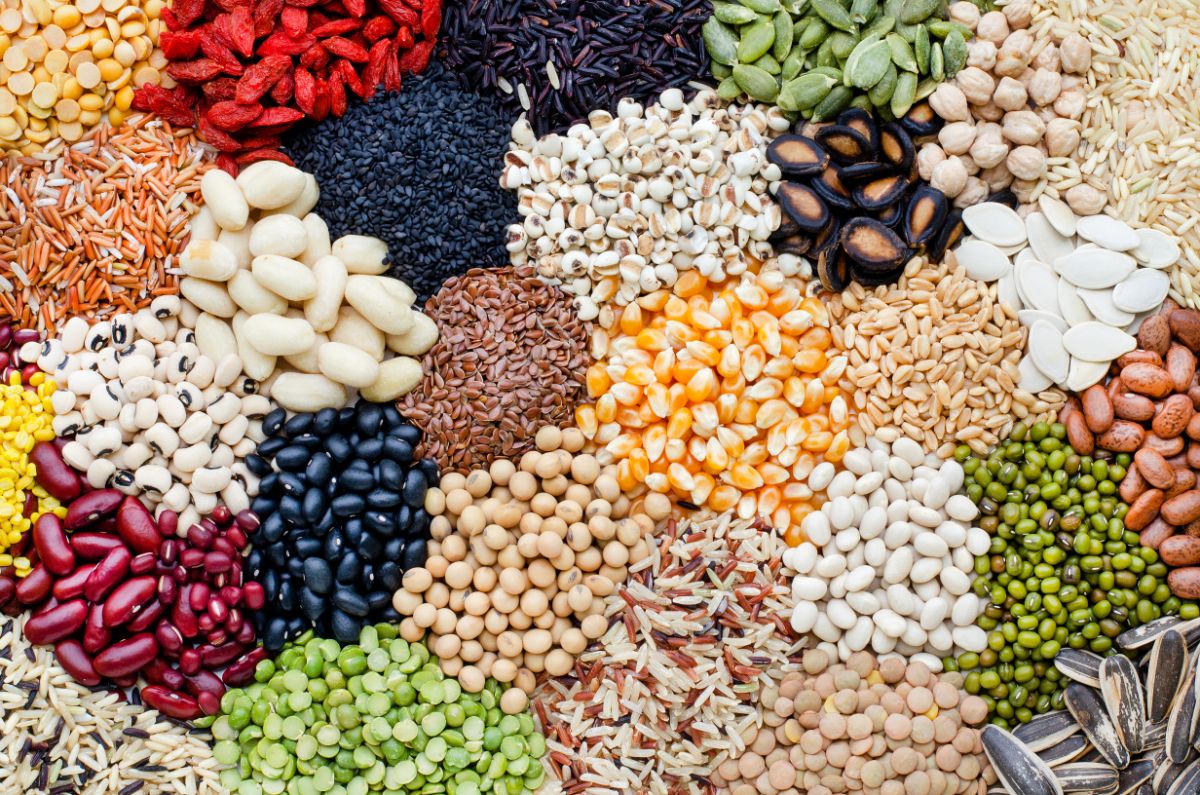
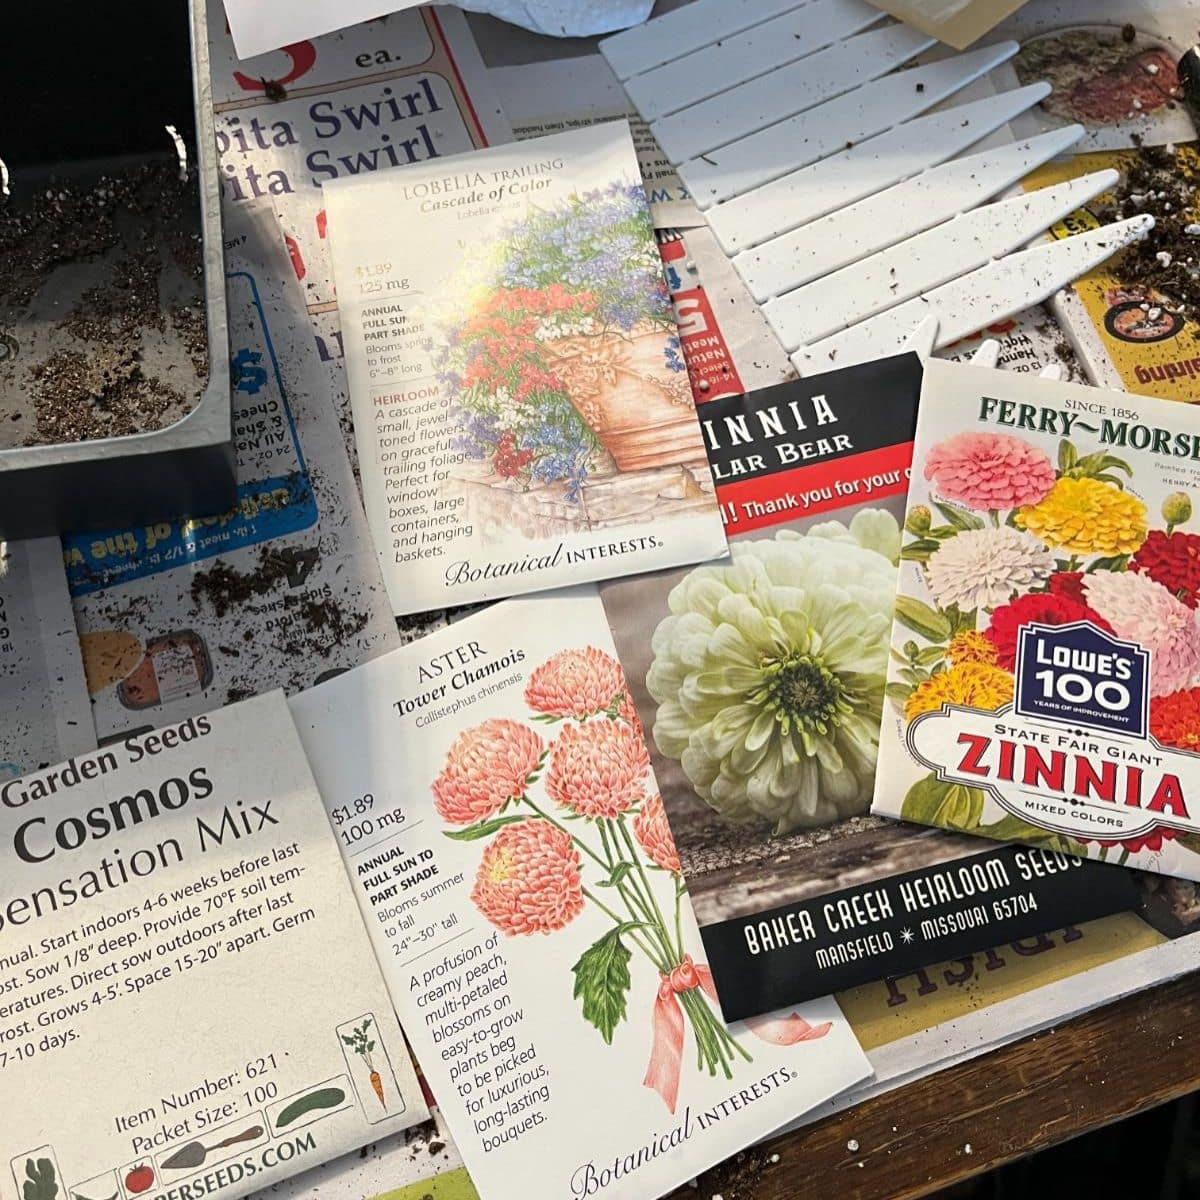
Of course, you’re not going to be doing much seed growing if you don’t have any seeds! So, the first thing you’ll want to do is to pick out the seeds you’d like to grow this season, which may require a bit of garden planning. If you’re new to gardening, we’ve written this helpful guide on garden planning.
In general, you’ll want to consider your growing season, how much available gardening space you have, and what you like to eat. With these factors in mind, browse online seed catalogs or websites like Amazon for the seed types you’d like to grow.
It can be tempting to start a ton of seeds during your first year of gardening, but try to resist the impulse. Mastering gardening doesn’t happen overnight, and it can be much easier just to grow a few crops during your first year. You can always add more crops to next year’s garden!
If you’re unsure about how many seeds to order, it’s generally a good rule of thumb to plant 2 to 3 seeds per planting hole or pot and then thin out your seedlings later. Planting more seeds than you’ll need is a good way to avoid issues resulting from low seed germination rates.
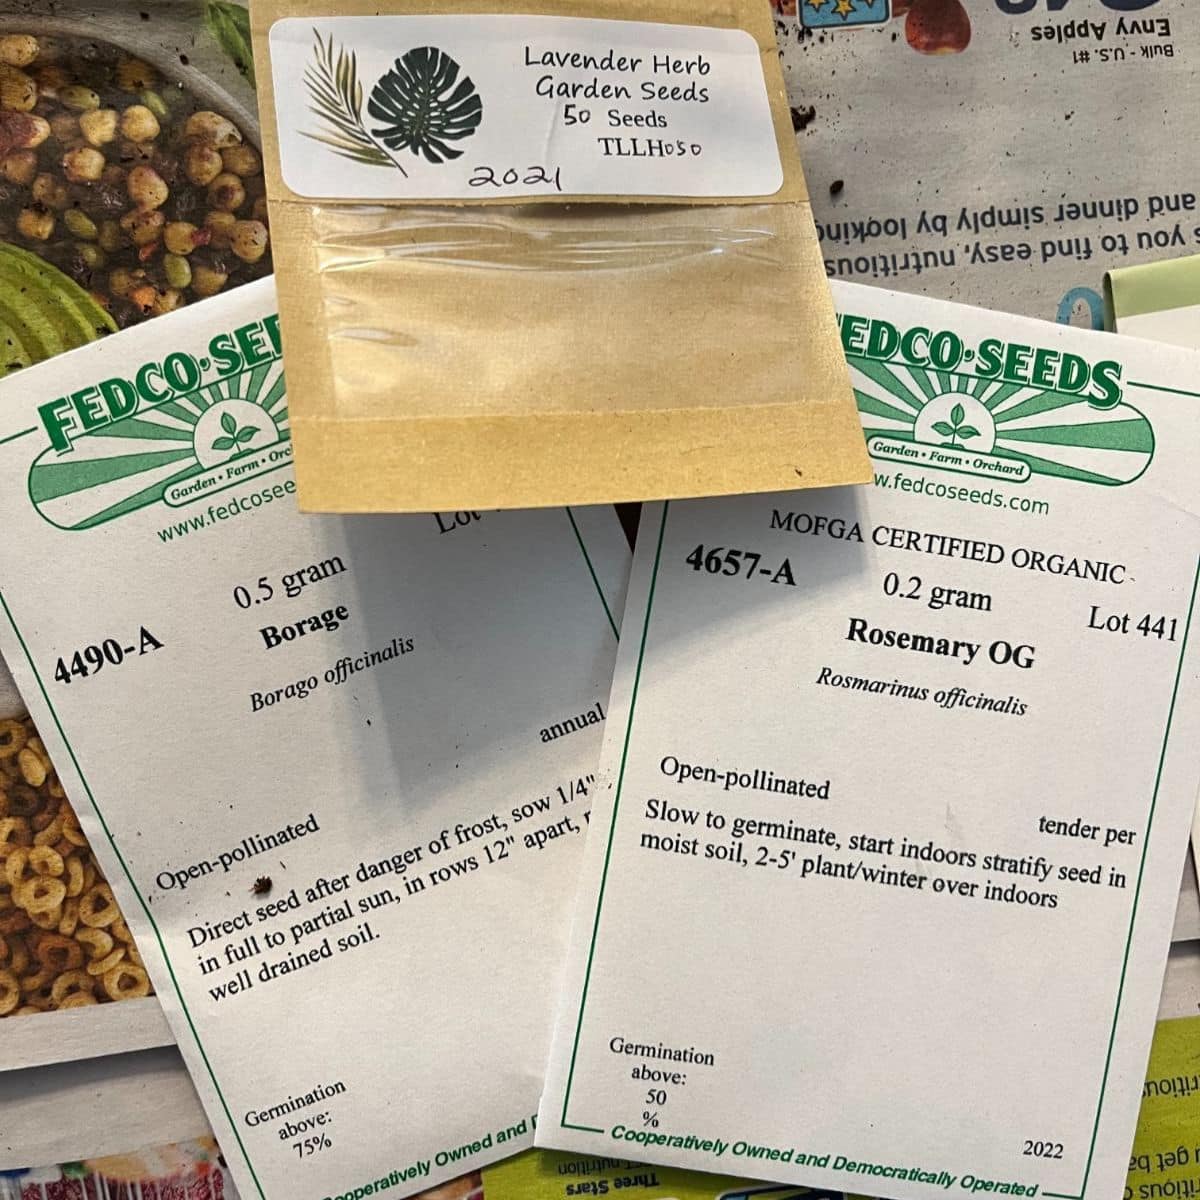
For anyone who’s been gardening for a while, you may already have a cache of seeds tucked away from previous years’ gardens. Most seeds maintain high germination rates for about 3 years, but germination rates do drop as seeds get older. While some gardeners have success starting plants from seeds that are many years old, if you have seeds that are older than 3 to 5 years, you may want to buy a new batch of seeds for starting.
2. Seed starting mix
You may think you know dirt but think again. When it comes to starting seeds indoors, you don’t want to go dig up a shovelful of dirt from your backyard for your growing containers. This is because new seedlings are quite delicate and require a bit more care to grow properly and to ensure their small roots develop well.
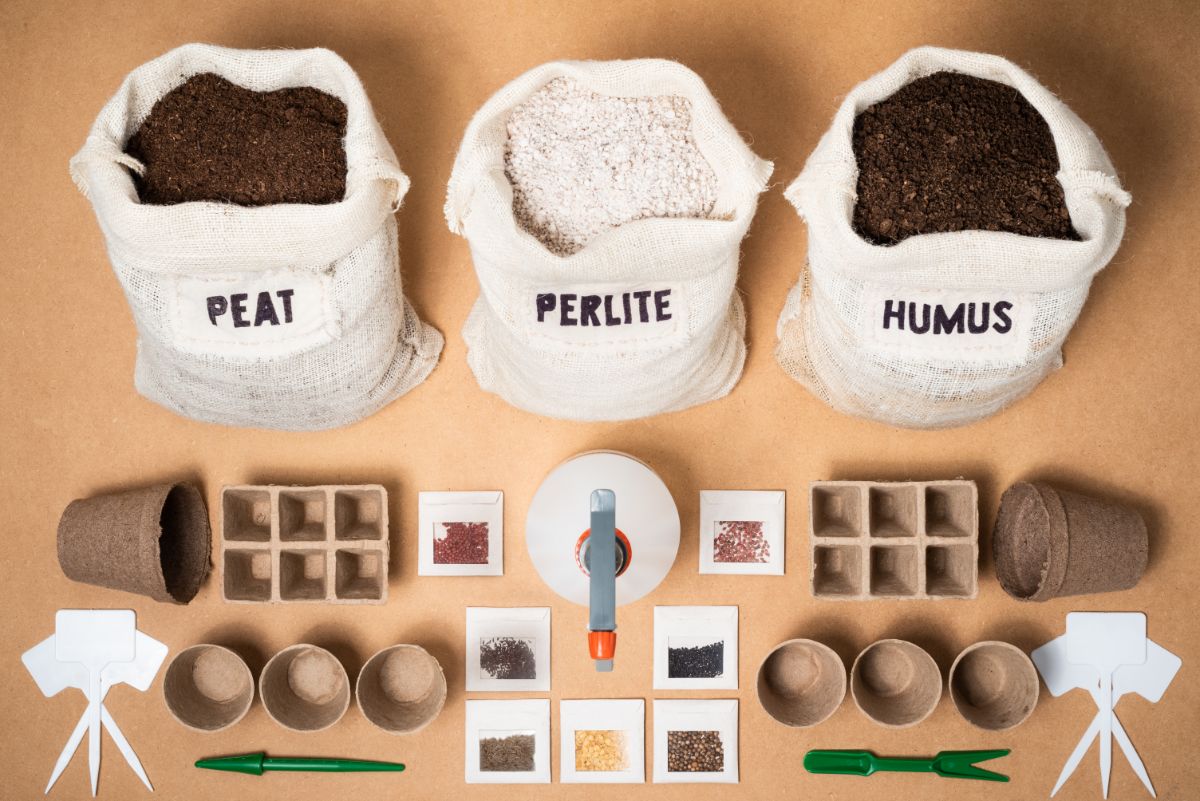
Unlike potting soils and garden dirt, seed starting mixes are specially formulated with new seedlings’ unique growing requirements in mind. These starting mixes are often soil-free and are composed of ingredients like vermiculite and sphagnum peat moss. These materials are lighter and less dense than standard soil and are much easier for young roots to navigate.
Because they are airier, starting mixes can promote healthier root growth in your seedlings. But that’s not all. Thanks to the addition of ingredients like perlite and coconut coir, starting mixes are better able to maintain the moisture levels that new seedlings need.
For an easy fix, you can buy seed starting mixes online or at your local gardening center. Some good options are the Organic Seed Starting Mix by Espoma or the blend by Purple Cow Organics.
More DIY-minded gardeners may choose to create their own seed-starting mix from scratch. While there are different recipes that you can use, a good basic homemade seed starting mix can be made by combining the following:
- 1 part coconut coir
- 1 part compost
- 1 part pumice
- A small amount of azomite (an all-natural ingredient that aids plant growth and is a rich source of the micronutrients that plants need)
3. Pots
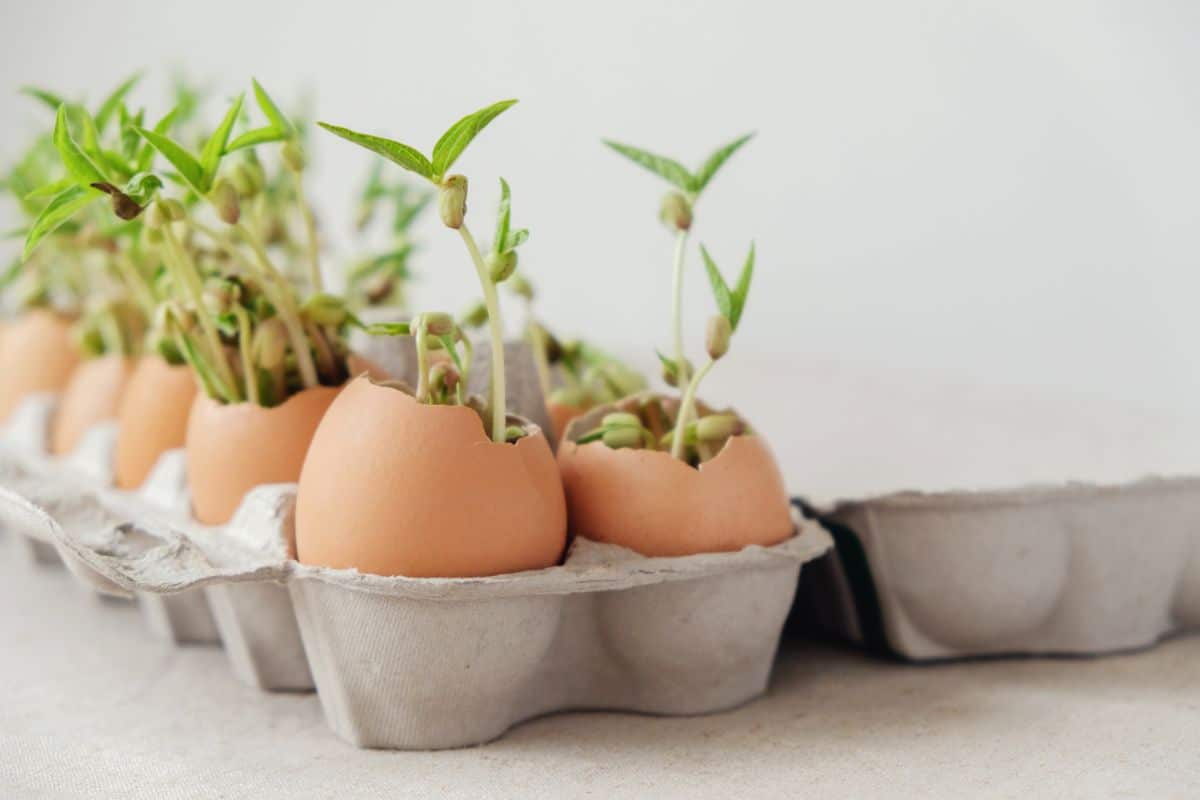
Once you have your seeds and your starting mix, you’ll need something to pot your plants in.
Depending on what plants you grow and the size of your garden, buying individual pots for your seeds may not make sense budget-wise. However, if you’re just growing a few plants for a small gardening space or you need to upgrade older seedlings into larger pots, individual pots can work. You can also get a bit crafty and find some low-cost to free pot options too!
If you want to purchase pots, peat pots can be a great choice. These biodegradable pots can be planted right along with your seedlings, so you won’t need to disturb any tender roots at transplanting time. These pots can also be purchased in large quantities, which can be helpful when it’s time to start your seeds.
Alternatively, you can also upcycle food-grade plastic containers to create free seedling pots. Anything from yogurt containers to the bottom of your single-use plastic water bottle can work, just as long as you poke a few drainage holes at the bottom of the pot to prevent soggy soil. Some gardeners make their seedling pots out of cardboard toilet paper tubes or eggshells instead.
You can also try asking your local plant nursery if they have any old plastic planter pots to spare. Or check on Facebook Marketplace or Craigslist to see if anyone in your community is trying to rehome old plastic pots. You’ll usually find there are lots of free pots available, and upcycling old containers is one easy way to make your garden even more eco-friendly!
4. Seed starting trays and domes
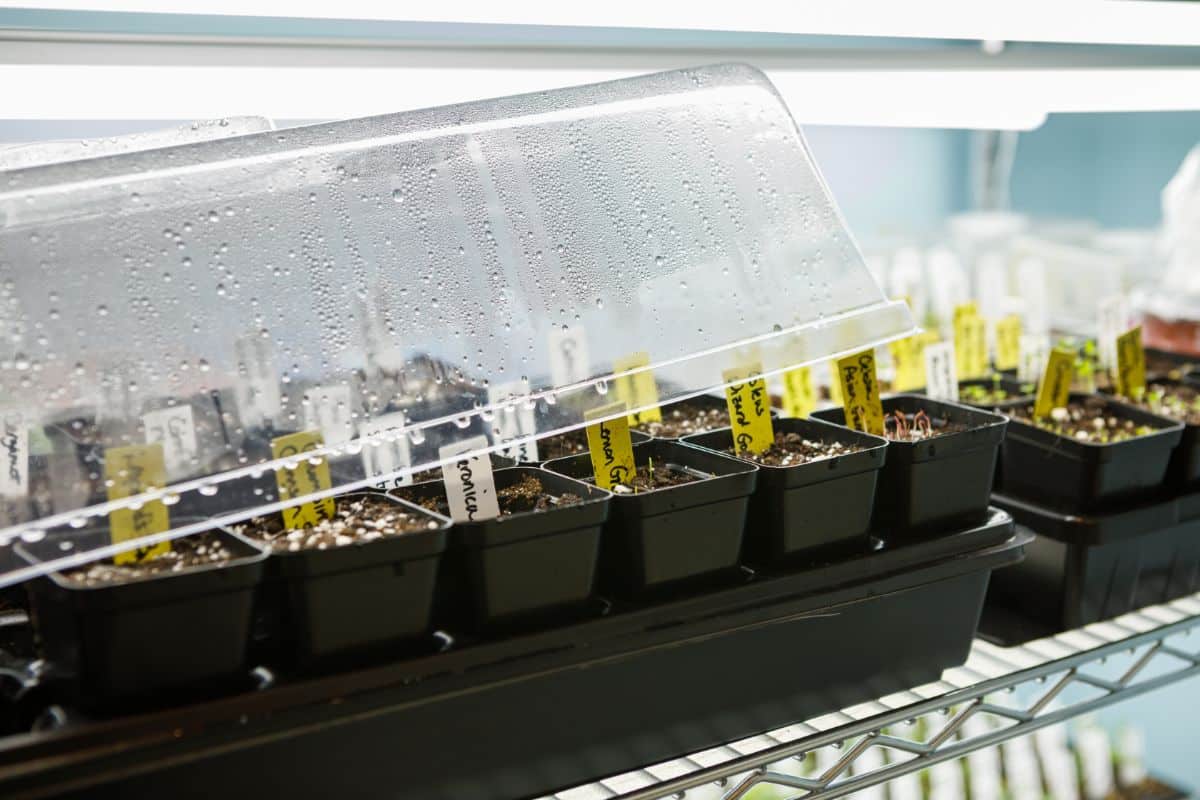
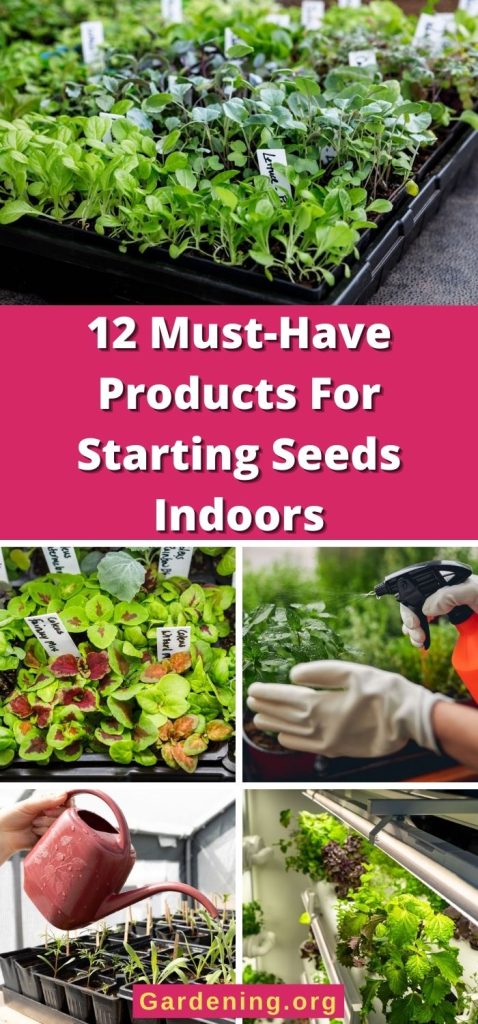
When you’re just starting new seeds, individual pots may not be the best option, especially if you’re growing a lot of seeds. Seed starting trays are often the best choice in this case, as they give you plenty of space for seed growing.
Seed starting trays come in lots of shapes and sizes. Some have individual cells for seedlings, while others have flat bottoms, which can give you more choices when it comes time to plant your seeds. What you choose is up to you.
Many seed starting trays also come with humidity domes which may or may not have vents. Humidity domes can help regulate moisture levels within your seed starting trays and will prevent your seed starting mix from drying out too quickly. However, humidity domes should be removed after your seeds have germinated to prevent issues with mildew and mold.
Depending on what plants you’re growing, you may choose to start your seedlings in seed-starting trays and then upgrade seedlings to individual pots as they get larger. Whatever you decide to do, make sure you pick pots and seed-starting trays with drainage holes to avoid waterlogged roots.
5. Grow lights
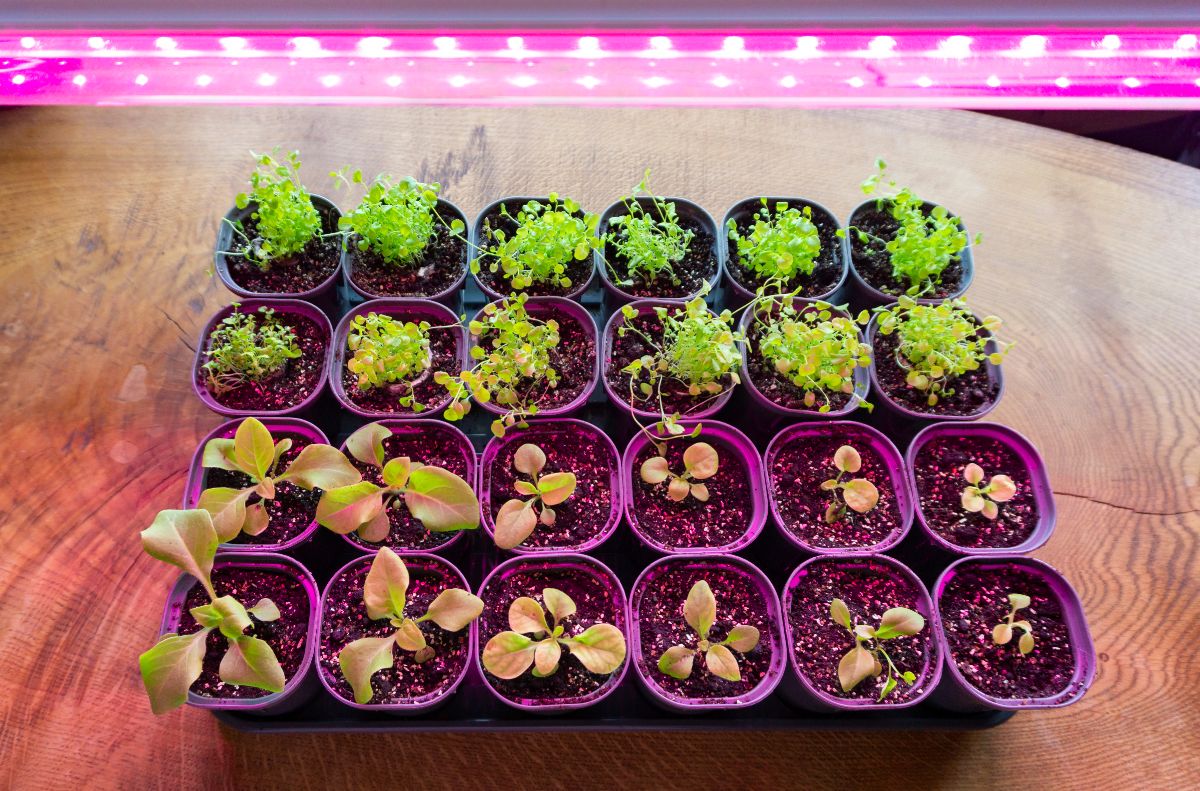
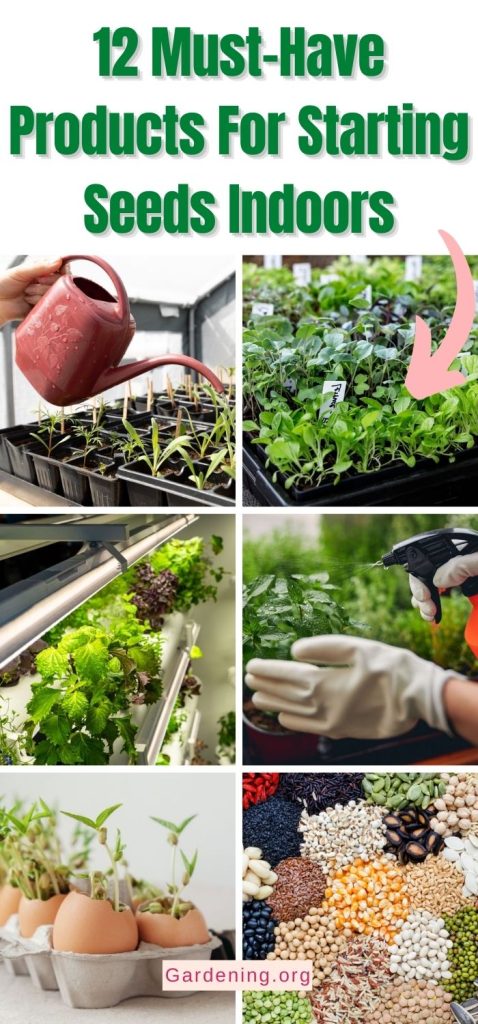
Many new growers often don’t want to pick up grow lights, but starting vegetable seeds without them can be tricky. Most vegetables need bright light to germinate, and the filtered light streaming in through your kitchen window may not be enough to support healthy growth. Without enough light, seeds may fail to germinate, or they may grow weak and leggy.
Grow lights can ensure your plants develop as strong and healthy as possible; however, choosing the right grow light can feel intimidating at first. There are just so many options!
That said, most gardeners have success keeping seedlings under either LED or fluorescent lights. While the setup you choose will vary based on your grow room size and your budget, opting for a standard shop light for your seedlings usually works quite well.
LED grow lights like this full spectrum light by the Monios-L Store or these grow lights by ANTLUX will be much appreciated by tender seedlings, too. If you’re just planning on starting a few plants, picking up a self-contained system like this one can be a simple solution as well.
For healthier plants, make sure you hang your grow lights at the appropriate height over your plant pots or seedling trays. Placing your lights too far away will result in leggy and spindly plants, while moving the light too close may cause leaf burn. It can help to research specific plant needs to determine how high to hang your lights.
6. Growing racks
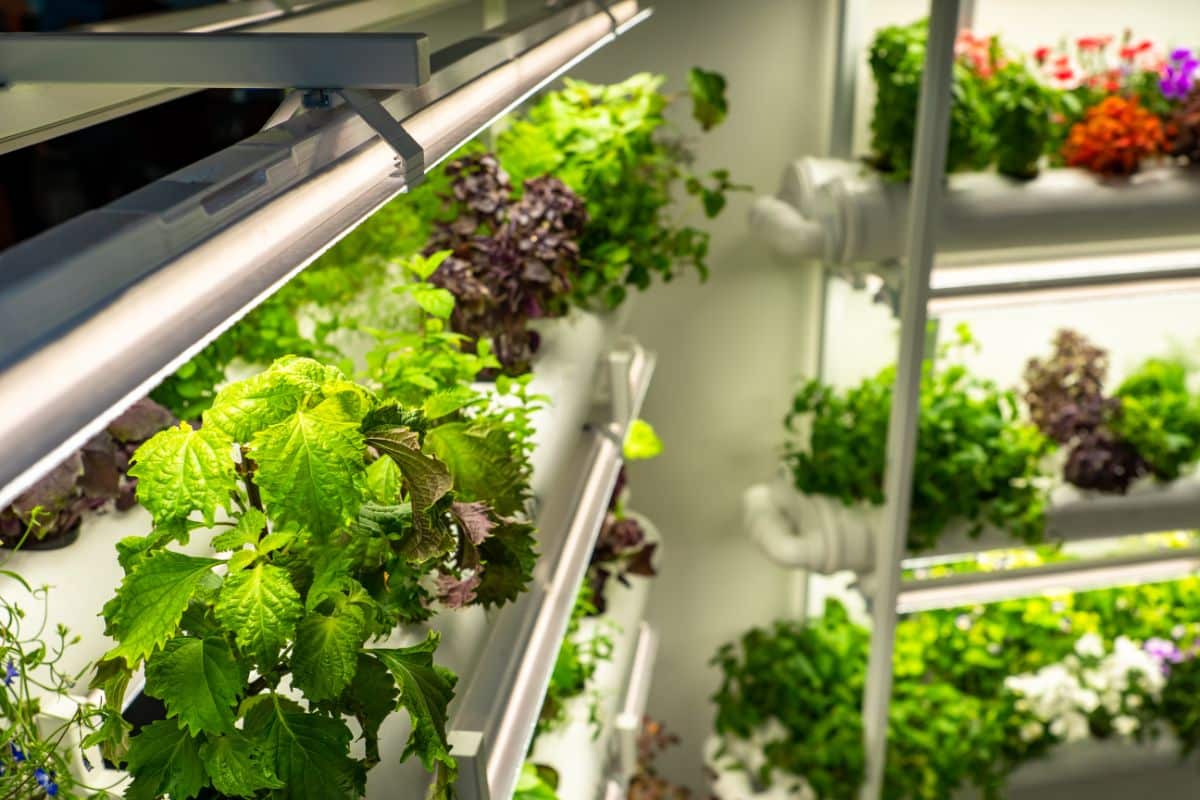
Small-space gardeners probably won’t need growing racks, but if you’re starting seeds indoors for a larger garden space, particularly if you live in a cold climate, growing racks can be a lifesaver.
Northern gardeners know that, due to their short growing season, they’ll often need to keep seeds indoors through April and into May. During that time, plants can start to take up a lot of space as they mature. If you don’t want to sacrifice your kitchen counters and dining room table surface for your seed starting, growing racks are the way to go.
Placing your seed trays on growing racks can be a great way to maximize your growing space. Even better, most grow racks are easy to hang grow lights from, allowing you to create a nice and tidy growing setup.
For a really basic system, a chrome grow rack can hold about 8 standard-sized seed starting trays, and their grow lights. However, there are more stylish grow racks available, which can be incorporated into your home’s décor. Or you can opt for a self-enclosed grow rack with a greenhouse cover for humidity regulation.
7. Timer
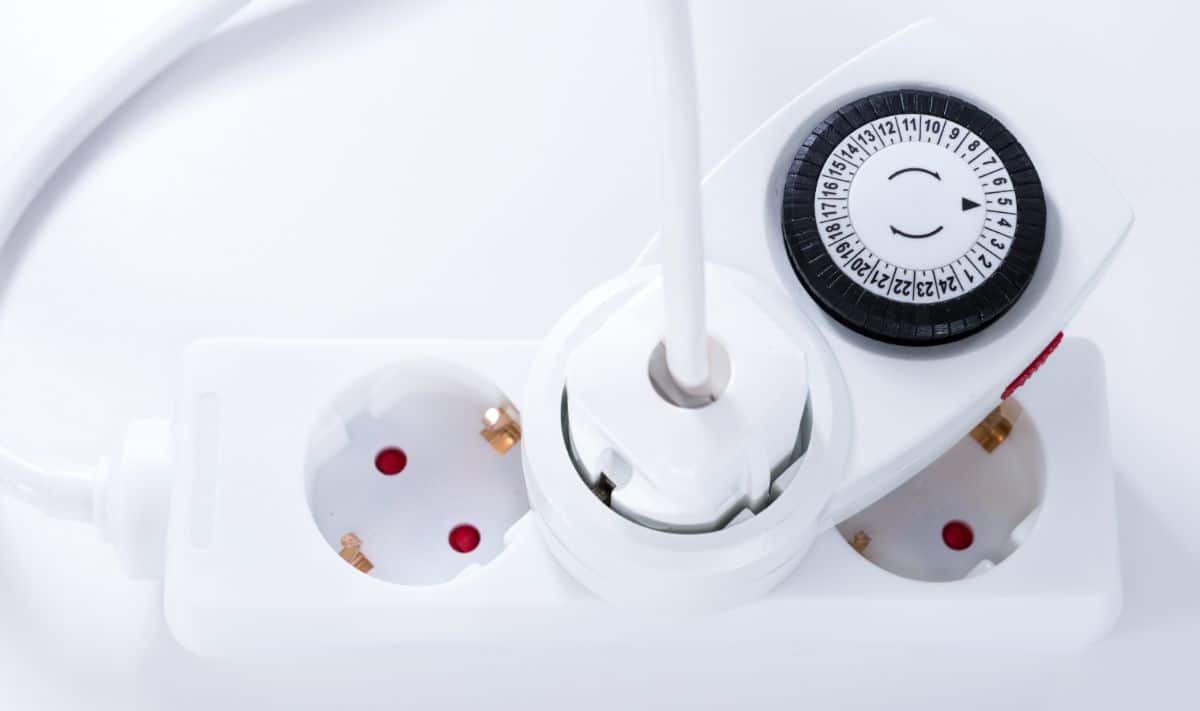
So, you have your grow lights, and your grow racks. Now what? Add a timer, of course!
As much as seedlings love bright light, they need a period of dark to grow properly. Running your grow lights 24 hours a day wastes energy and will drive up your electricity bill. But it will also stress out your new seedlings and make them more vulnerable to pests, diseases, and other issues.
Instead, for proper growth, most seedlings need about 14 to 16 hours of bright light daily. While you can manually turn your grow lights on and off, adding a timer can simplify your gardening chores and will also ensure that you don’t forget about your grow lights even on a busy day. If you travel a lot, adding a timer to your grow room can take away a lot of headaches too!
Some grow lights come with built-in timers, but if you have a more basic grow light setup, you’ll probably need to add your own. Timers like this one can allow you to run several grow lights at once that are all programmed to turn on and off at the same time.
8. Soil blocking kit
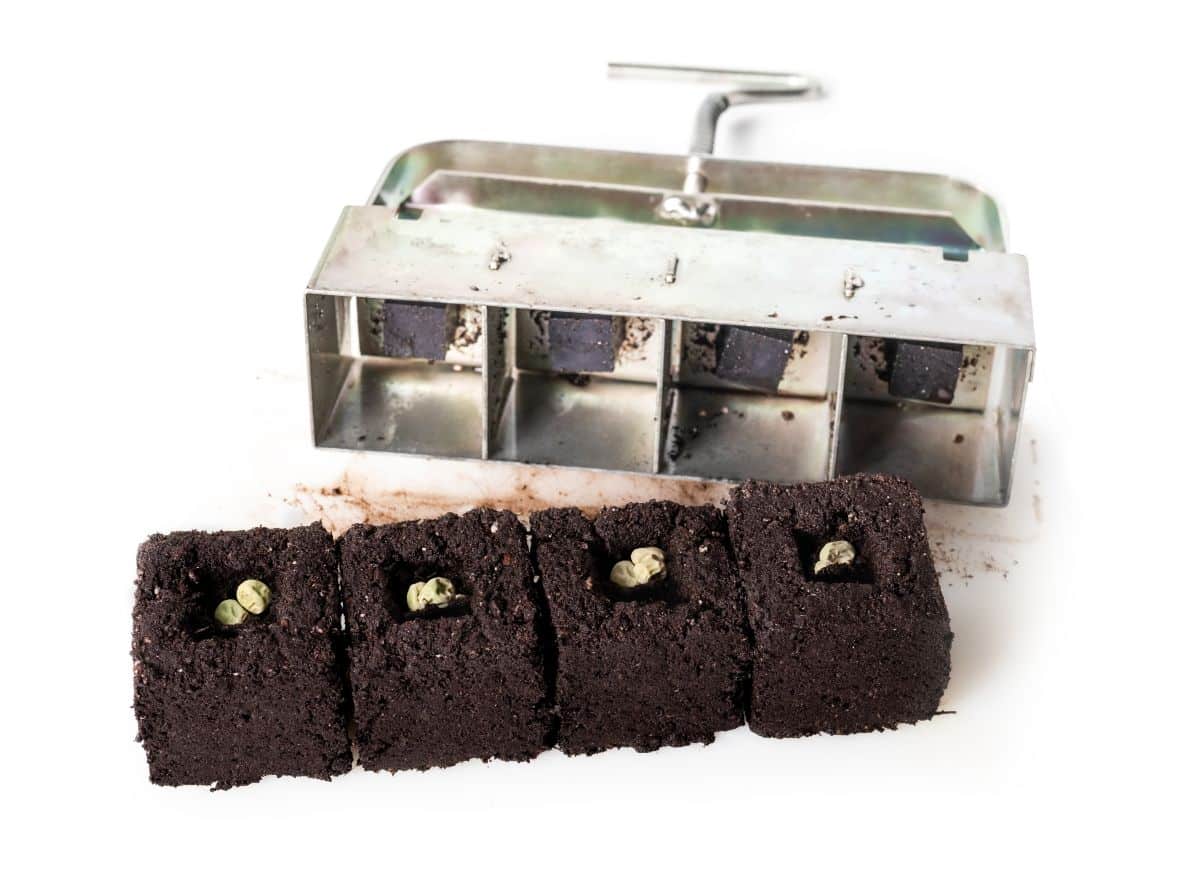
While soil blocking kits aren’t strictly needed for indoor seed starting, they can be an environmentally friendly alternative to seedling trays and planting pots. Even better, soil blocking can be an economical solution too!
Soil blocking is a gardening technique in which soil is moistened and then compressed tightly together to form a block for planting. Because the soil is compressed, it naturally holds itself together, meaning you don’t need to contain it in planting pots. This reduces your need for plastic and also limits spending money on new pots.
While you can form soil blocks on your own using any sturdy form, you can buy handy soil blocking kits online too. These kits come in assorted sizes to form different sizes of blocks and have an additional plunger attachment to push out the soil blocks once you’ve created them. After forming your blocks, soil blocks can be used on their own or in conjunction with seed-starting trays.
You can use any seed starting mix with your soil blocker or try out this DIY soil recipe.
9. Spray mister
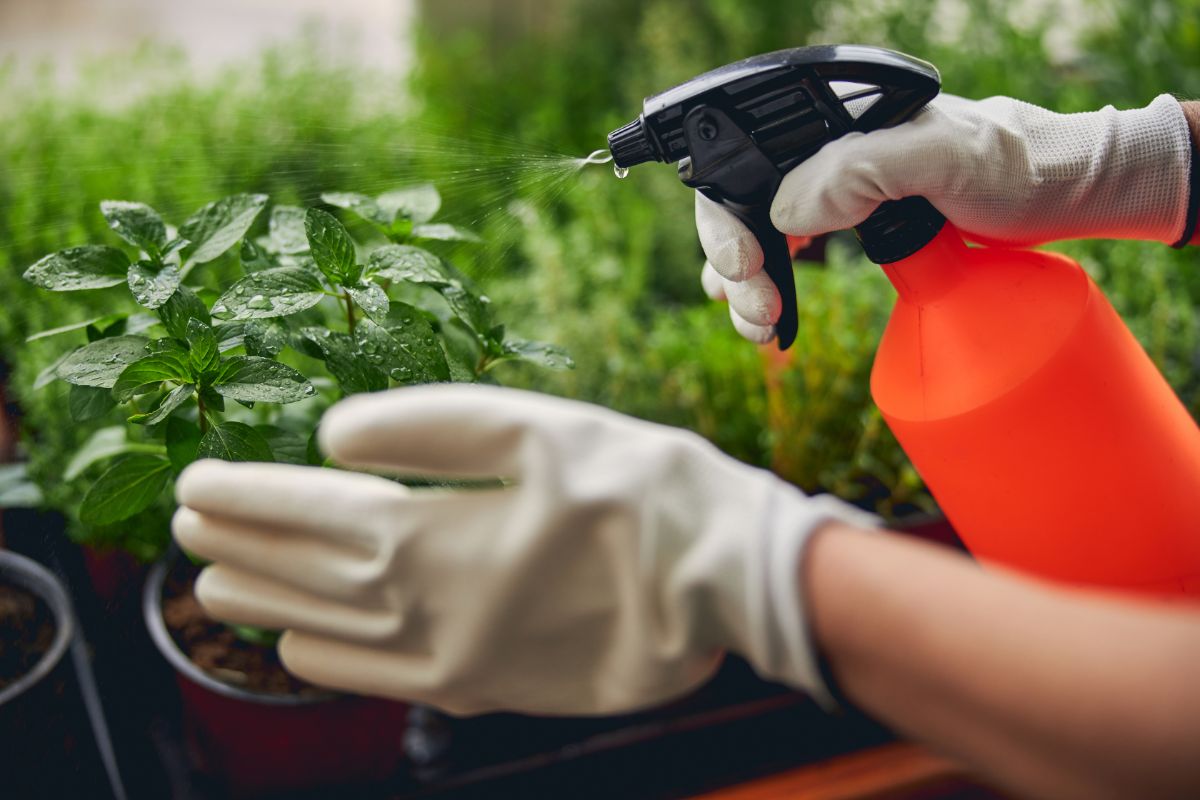
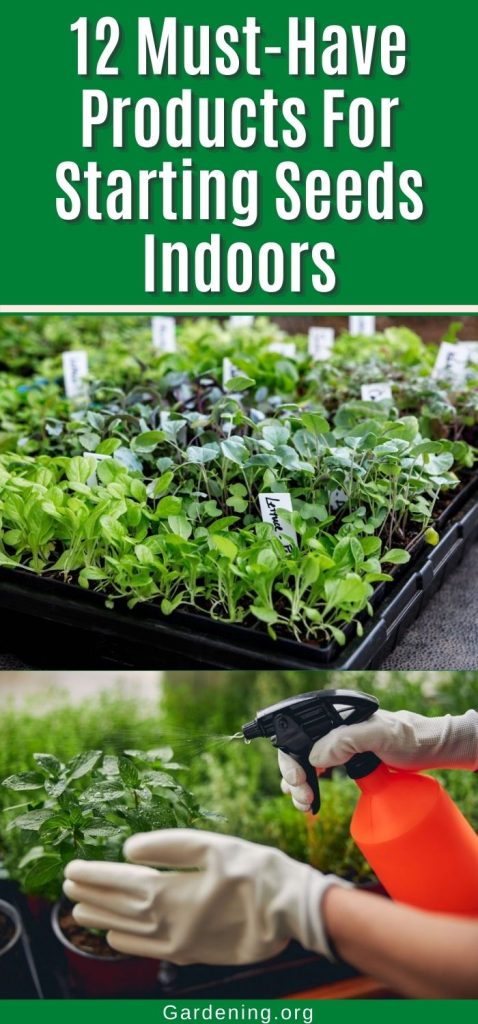
Like other plants, seedlings need plenty of water to grow properly, but too much water can spell trouble for tender seedlings. Because they are so small, seedlings can quickly be overwhelmed by too much water, and lightweight seeds can be easily washed away. For this reason, most standard-sized watering cans are too large for watering seedlings.
What is the solution? Well, you can use a small watering can for houseplants. Or you can use a misting sprayer instead.
Unlike watering cans, misting sprayers can be adjusted quite a bit, so you can limit how much water your plants receive. Backpack misting sprayers can also make tending lots of seedlings a breeze, especially because they contain such a large water reservoir!
10. Heating mats
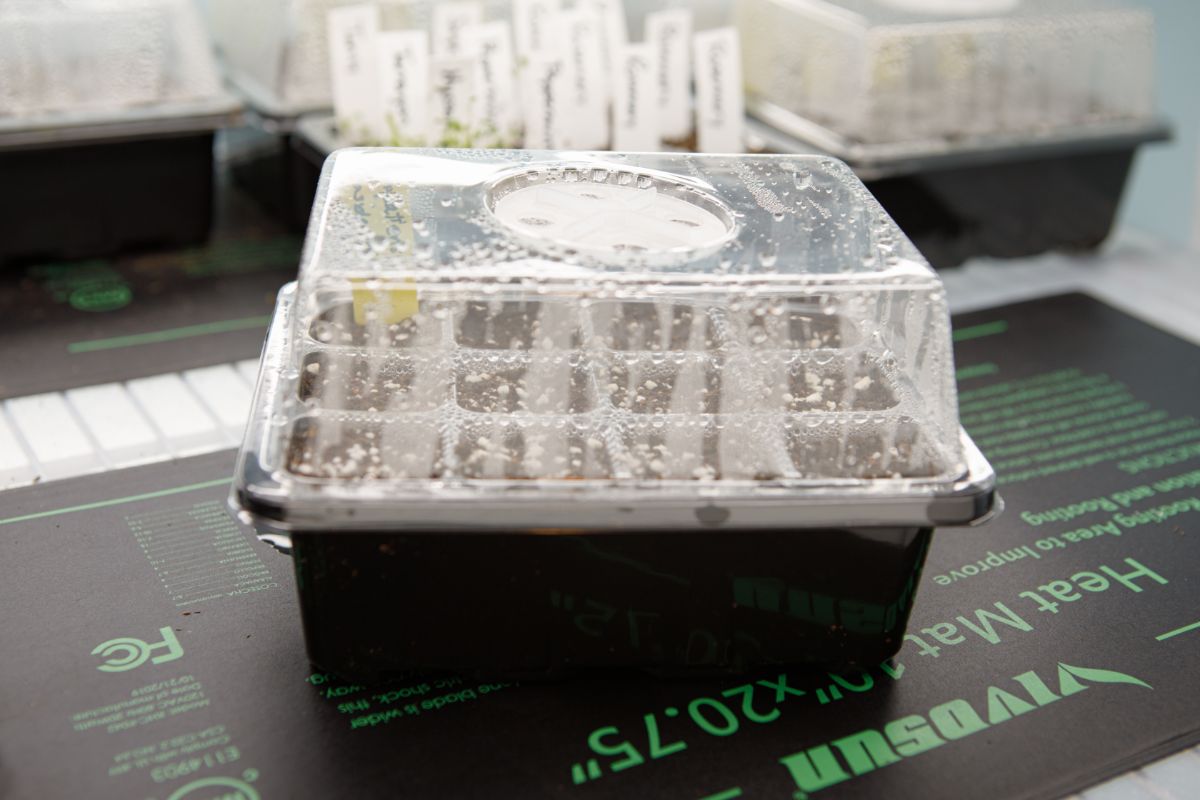
Not all seedlings need heating mats, but heating mats can be particularly helpful when growing tomatoes, peppers, and other nightshade plants. Ginger, melons, woody herbs, some perennial flowers, and an assortment of other plants grow better with heating mats too.
Heating mats placed beneath seed starting trays and pots can warm up seedling soil and speed up germination rates significantly. Just make sure you use a heating mat that is created specifically for gardening purposes, as heating pads for personal use are not intended to be used in a moist environment (like a grow room).
To avoid overly dry soil and parched plants, remember to turn off your heating mat after your plants have germinated.
11. Fan
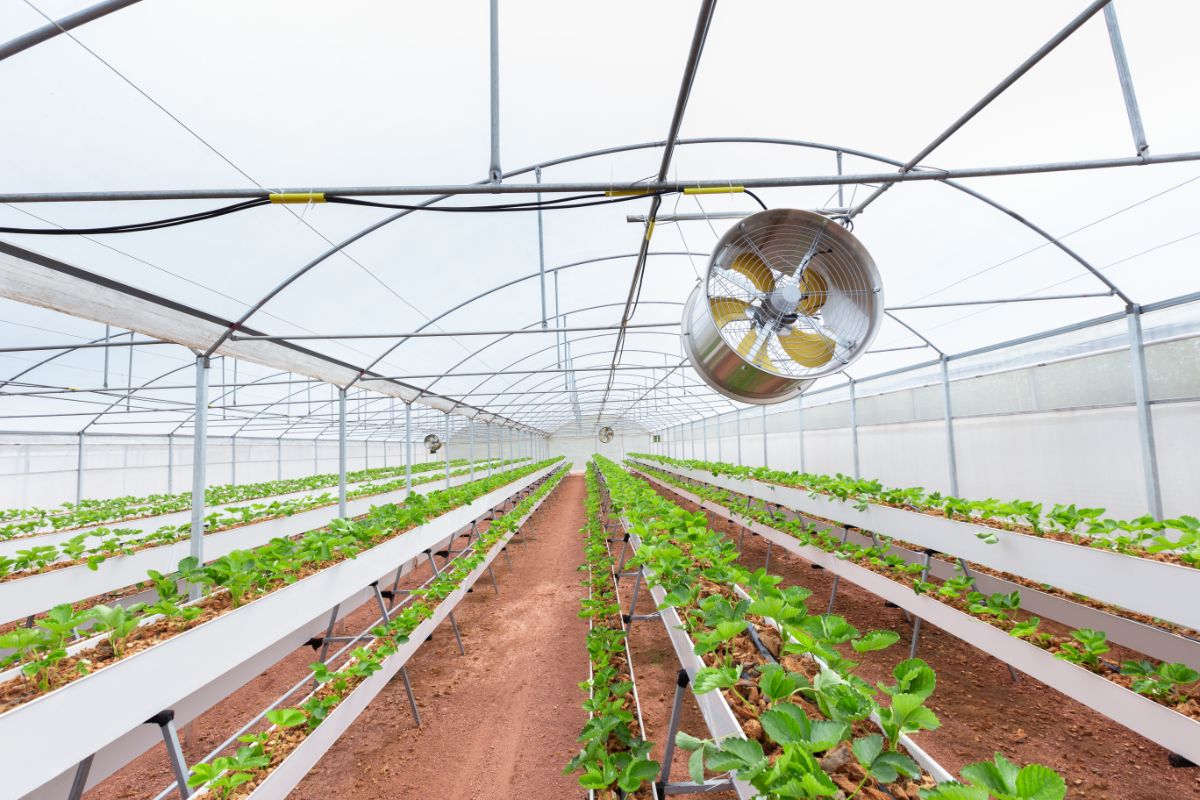
You may not think of including a fan in your grow room setup, but it is a great way to grow healthier seedlings.
When planted outdoors, seedlings are naturally buffeted around by the wind. This continuous movement helps to strengthen seedlings’ stems so they grow stronger and more vigorously. However, when grown indoors, seedlings rarely experience any movement, which can result in spindly stems.
Even worse, stagnant air in indoor grow room setups can be a breeding ground for common issues like mildew, damping off, and plant edema. These problems can weaken your seedlings or even kill them!
A simple fan, even a small one, can help strengthen your seedlings and improve airflow so that your seeds won’t experience as many problems. In general, it’s recommended to remove any humidity domes on your seedling trays after your seeds germinate. This is a perfect time to turn on your small grow room fan too!
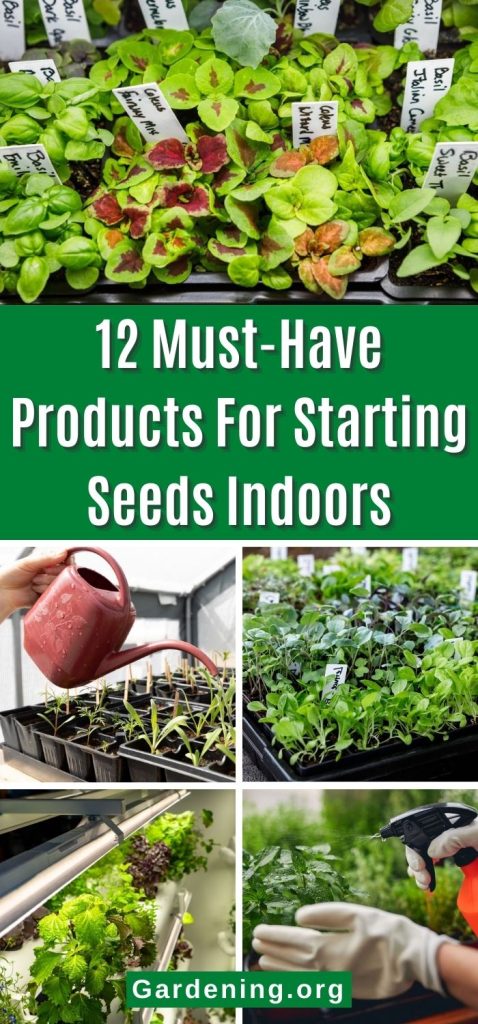
12. Plant labels
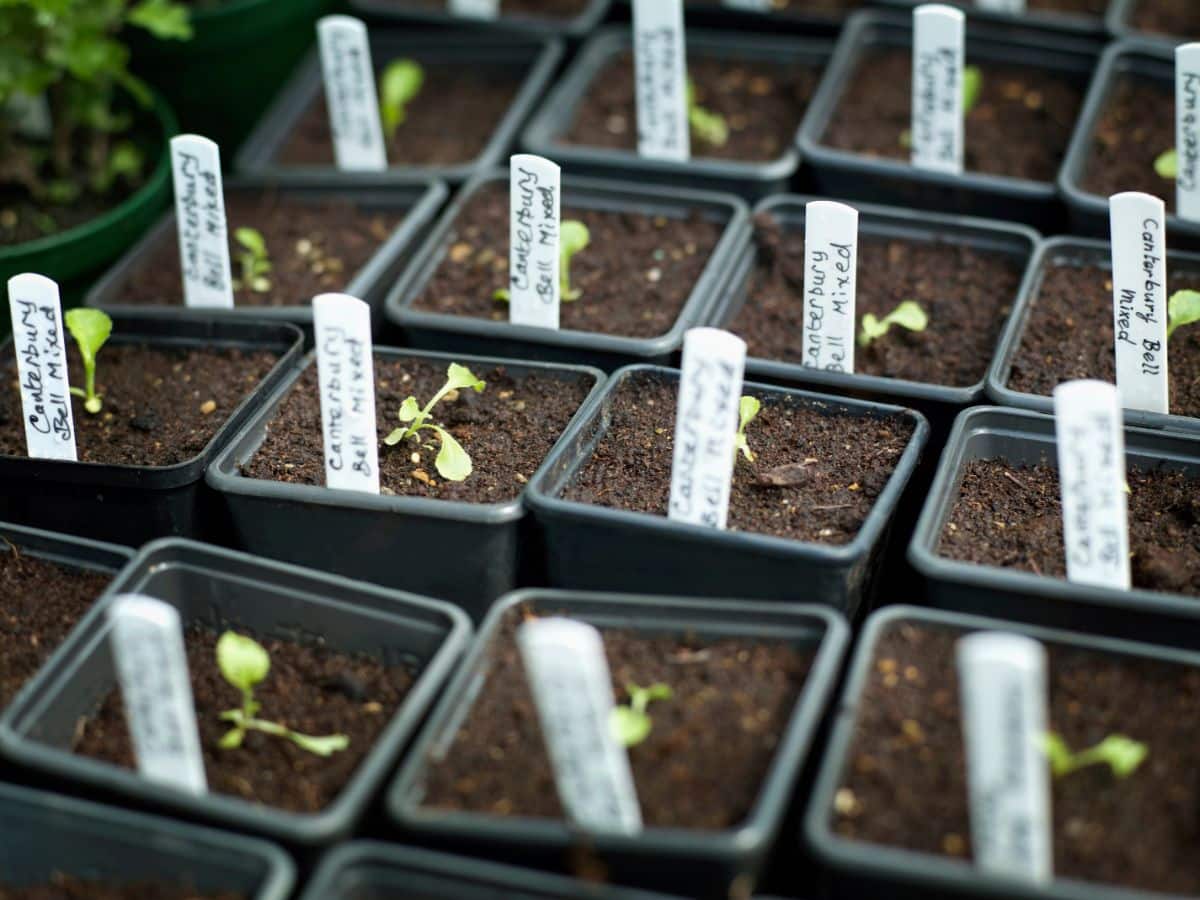
Once you start working with your seeds, it can be hard to keep track of what you planted where. While this may not be a problem if you’re just growing a few plants, if you have a large grow room setup or are growing multiple cultivars of a single plant type, it’s easy to forget what you planted.
Adding plant labels to your seedling trays is always recommended. If you want, you can also include sowing dates, plant variety, and the seed company which you purchased specific seeds from on the label too. That way, you can decide to throw out seeds that haven’t germinated within the appropriate planting window.
Noting which seed companies you purchased particular seeds from can also help inform your future seed-buying decisions. It’s a good sign to keep buying from a particular seed company if all of their seeds germinated. However, if you’re left with a lot of empty plant pots because seeds didn’t sprout, you may want to buy from a different seed company in the future.
Many different plastic and metal plant labels can be purchased online or at gardening centers. For a DIY solution, you can also make your own plant labels by cutting up old plastic takeaway containers from your recycling bin. Popsicle sticks, natural sticks, window shims, and plastic spoons can all make fine plant labels too!
Frequently asked questions
You can find many different recipes for DIY seed-starting mixes online. However, for a very basic seed starting mix, blend together 1 part pumice, 1 part coconut coir, and 1 part compost. Then sprinkle in a bit of azomite.
Seeds usually won’t have a 100% germination rate, so most gardeners choose to plant more than one seed per planting hole or pot, just in case. For best results, try planting 2 to 3 seeds per hole and then thin out your seedlings later.
Yes, if you’re on a budget, upcycled paper or plastic egg cartons make perfect seed starting trays. You can choose to use them intact or snip them apart to create smaller planting pots. Just remember to poke some drainage holes in the bottoms.
In order to germinate, seeds need to receive light, moisture, and air, and they need to be kept at a temperature that encourages germination. While these requirements can vary between plant species, most vegetable seedlings do best with bright light and soil that is consistently moist but never soggy.
What month you need to start seeds really depends on what types of plants you’re growing. Slow-growing plants, like celery, are often started in February. Tomatoes and other nightshades are usually started inside in March.
Some seeds just don’t transplant well, so if you start them indoors, you may struggle to grow healthy plants. Melons, corn, squash, beans, peas, and other vining plants can be difficult to start inside. The good news is that these are fast-growing, warm weather-loving plants that usually do well when directly sown outside in spring.
Summary
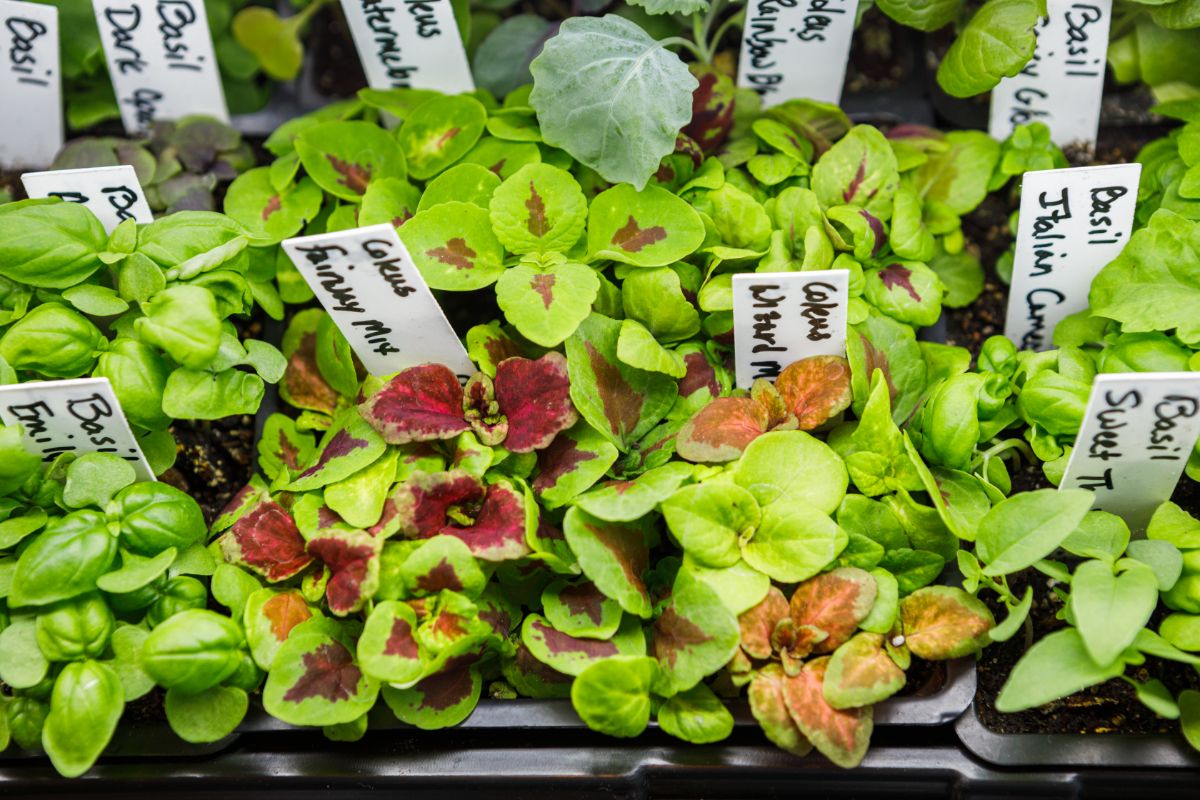
Starting seeds indoors in early springtime can give you a jumpstart on the growing season. What’s more, because you can find far more varied plants as seeds than nursery starts, indoor seed starting is the best way to get the most diverse plants and cultivars for your garden.
Seed starting doesn’t need to be complicated, but it does help if you have the right toolkit on hand. From plant pots to grow lights, we’ve compiled the essential items you need to start your indoor garden in this guide. So why not pick up a few seeds and start your spring garden early this year!
If you’d like to learn more about indoor gardening and seed starting, check out our article on growing microgreens.

Leave a Reply