Nothing says “autumn” quite like pumpkin pie! But while you can certainly buy premade pumpkin pies or pie filling at the grocery store, if you keep a vegetable garden and grow your own pumpkins, it’s so much more satisfying to make pumpkin pie filling from scratch. Not to mention, making your own pumpkin filling is super easy, and it’s the best way to get the most flavorful pies for the holiday season.
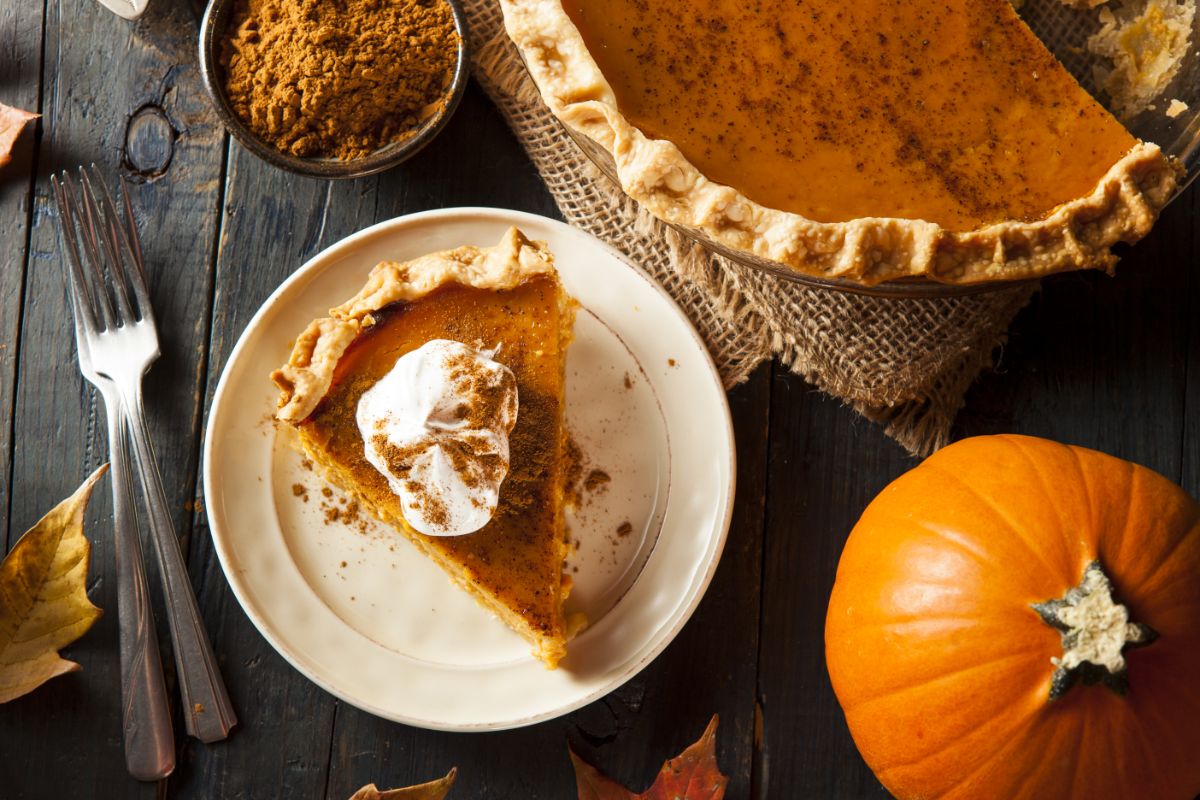
In this guide, we’ll walk you through the basic steps you need to take to transform fresh pumpkins into mouthwatering pumpkin pie filling. After that, you can spoon your pumpkin filling into homemade pumpkin pie, or you can use it to fill up empanadas or pie cones, place it on top of ice cream, or blend it into baked goods. The pumpkin-y options are endless!
Jump to:
- How to make pumpkin pie filling from scratch in 5 easy steps
- The process:
- 1. Clean your pumpkin.
- 2. Cook your pumpkin.
- 3. Cool and peel your pumpkin.
- 4. Puree the cooked pumpkin.
- 5. Add your other ingredients.
- 6. Mix well.
- How to use pumpkin pie filling
- Best pumpkins for pie filling
- Frequently asked questions
- Summary
- Pumpkin Pie Filling Recipe
How to make pumpkin pie filling from scratch in 5 easy steps
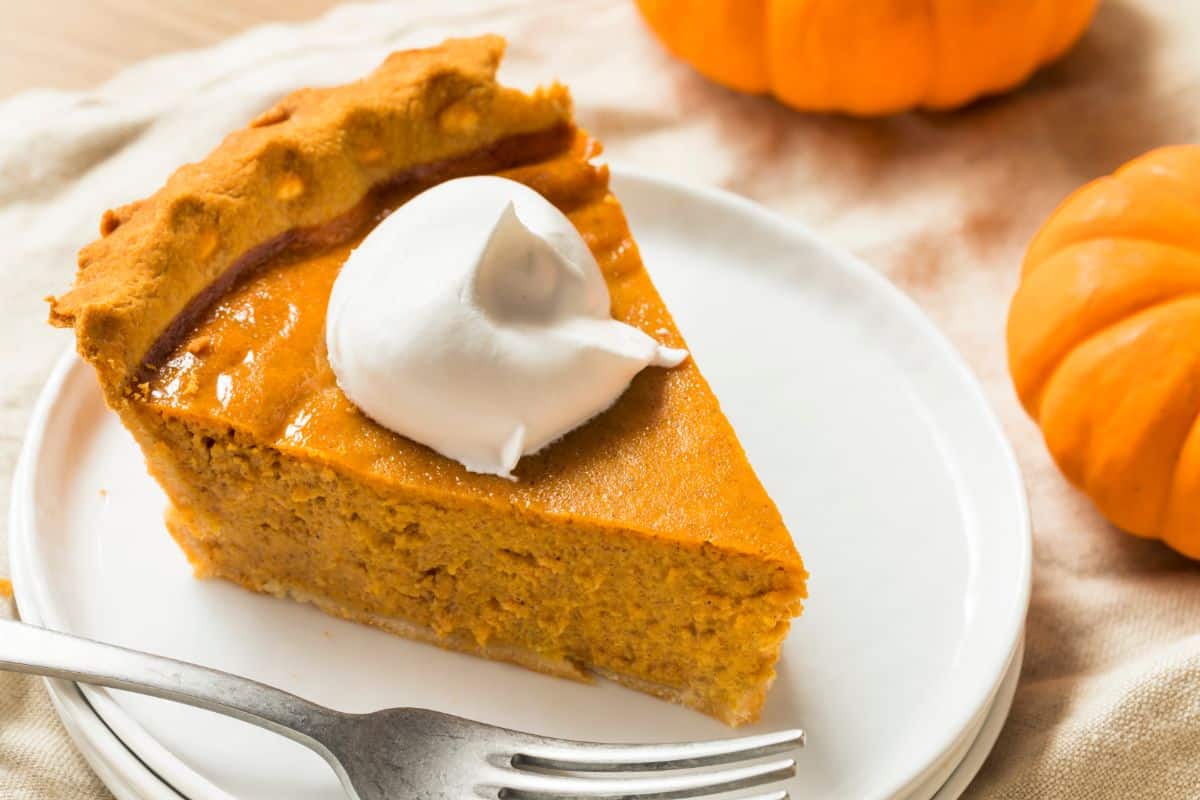
Making your own delicious pie filling is easier than you may think, and it’s far tastier than storebought pumpkin pie! Plus, if you make your own filling from scratch, you can put all those homegrown pumpkins to use and prevent garden waste. Follow the simple steps below and whip up your own batch of pumpkin filling for fresh pies and much more!
What you’ll need:
- Two small pie pumpkins
- One 12-ounce can of evaporated milk
- ¾ cup brown sugar, packed firm
- Two large eggs
- ½ teaspoon of salt
- ½ teaspoon of ground cinnamon
- ½ teaspoon of ground nutmeg
- ½ teaspoon of ground ginger
- Sharp knife
- Cutting board
- Baking sheet
- Food processor or potato masher
- Large mixing bowl
- Hand mixer
The process:
1. Clean your pumpkin.
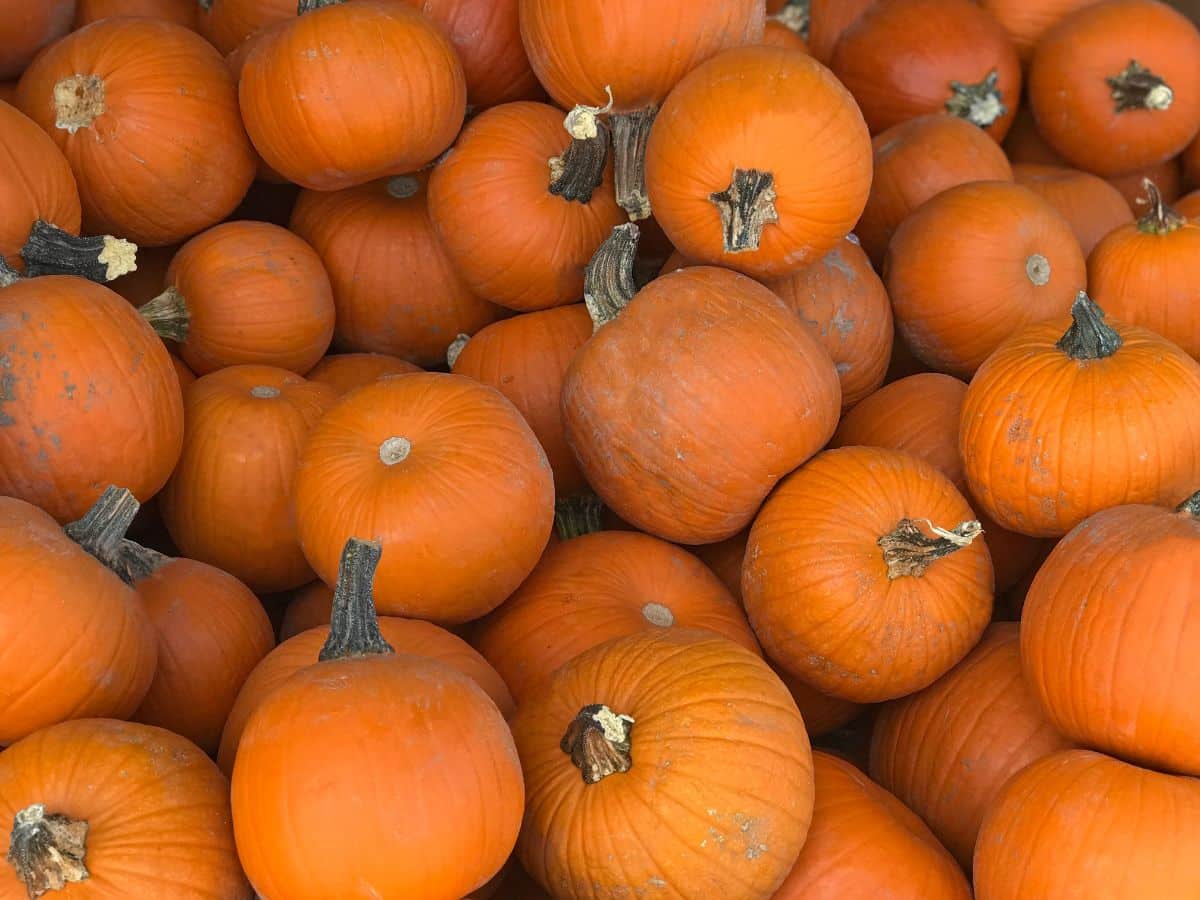
The first step to making pumpkin pie filling is, of course, preparing your fresh pumpkins!
To get started, rinse your pumpkins off well in your kitchen sink and then carefully slice them in half. Using a spoon or scoop, scrape out all of the pulp and seeds from the interior of your pumpkin halves and give them a good rinse. Then, pat your cleaned pumpkin halves dry with a paper towel.
Tip: When cleaning out your pumpkins, be sure to save your fresh pumpkin seeds. Delicious and nutritious, pumpkin seeds are packed with protein and other nutrients, and once they’re roasted and salted, they make a mouthwatering snack food!
2. Cook your pumpkin.
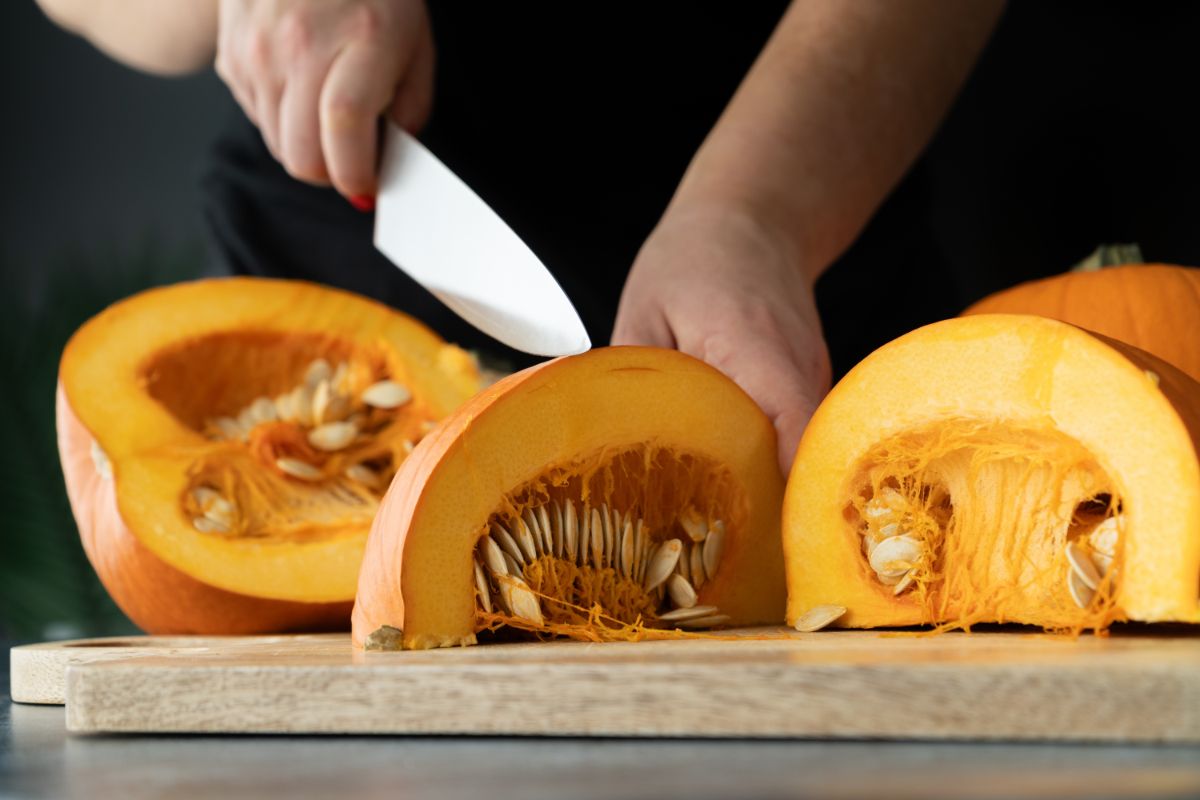
Once your pumpkins are all cleaned out, lay your pumpkin halves, cut sides down on a baking sheet, and roast them at 350°F for about 45 minutes. You’ll know your pumpkin pieces are thoroughly cooked when they develop a golden yellow color, and they can be easily pierced with a fork.
3. Cool and peel your pumpkin.
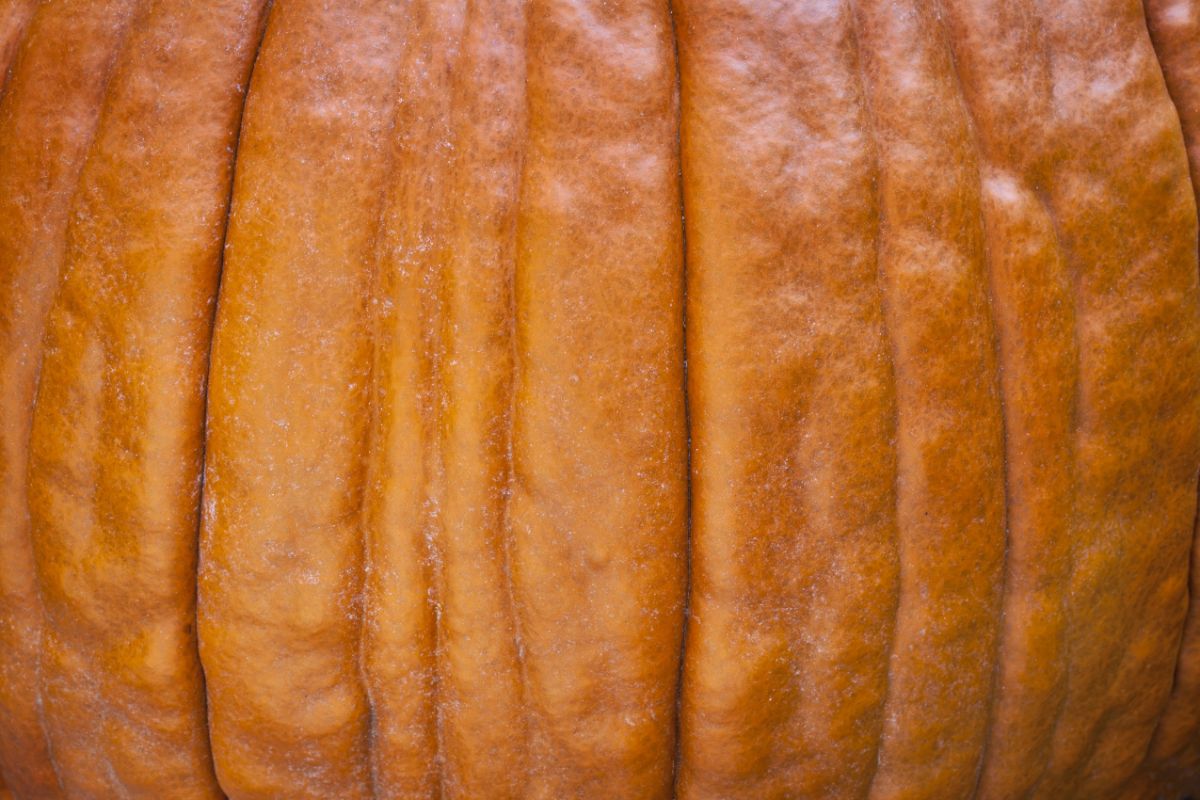
After removing your pumpkins from the oven, allow them to cool completely and then peel off their skins. Well-cooked pumpkins should be easy to peel with just your fingers.
Tip: Don’t throw out your pumpkin skins. They make nitrogen-rich additions to your compost pile, and backyard chickens love to gobble them up too!
4. Puree the cooked pumpkin.
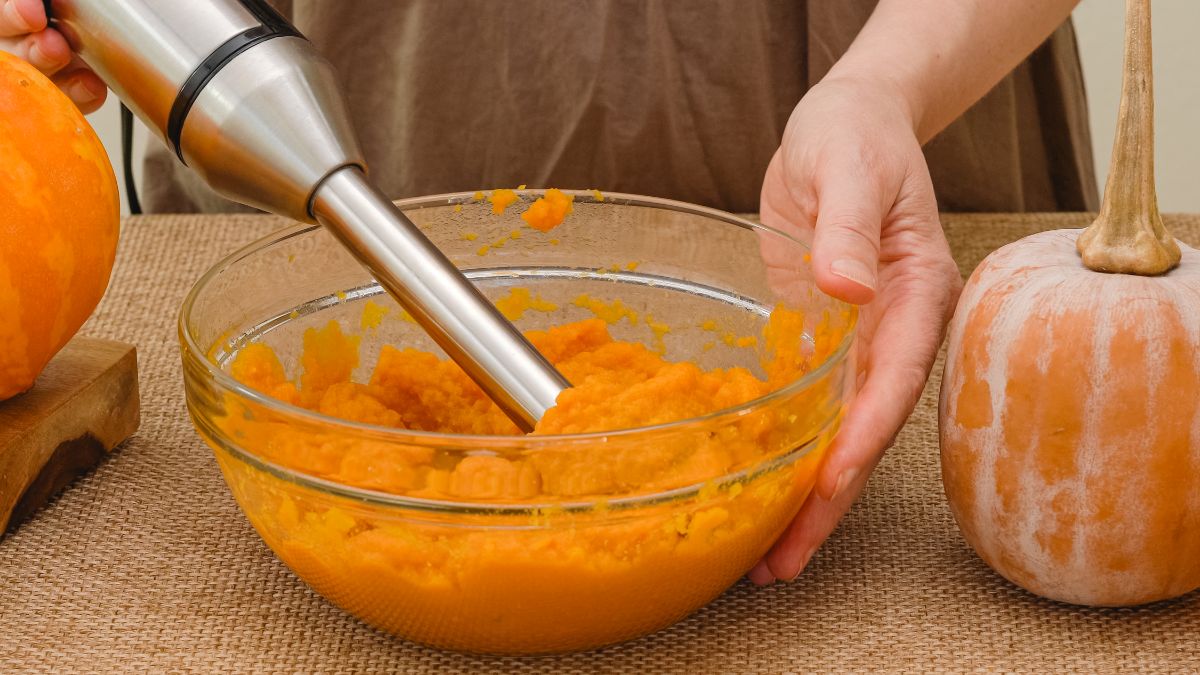
If needed, cut your cooked pumpkin into smaller sections and then pop them into a food processor or mash them in a large bowl with a potato masher. Depending on how much pumpkin you have, you may need to work in batches.
Keep mashing or pureeing your pumpkin pieces until you’ve created a silky, smooth puree. You may need to add a bit of water if your pumpkin feels dry but don’t add too much liquid! However, if you accidentally do add more water than you need, you can salvage your pumpkin puree by draining it in cheesecloth.
Tip: If you don’t want to make pumpkin pie filling right away, you can use this pureed pumpkin as is in soups, baked goods, and other dishes. In fact, you can even store pumpkin puree for several months by packaging it up in airtight Ziploc baggies and pressing it flat before popping it in your freezer!
5. Add your other ingredients.
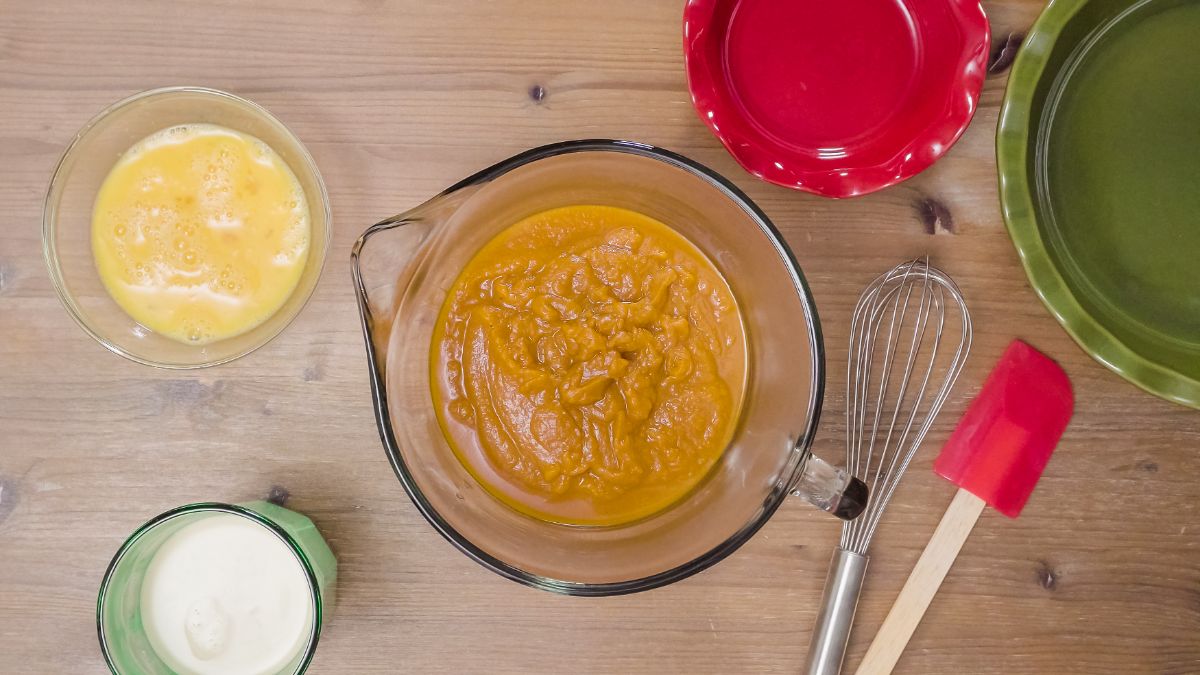
Now, add your two eggs to your mixing bowl and beat them thoroughly. Once the eggs are mixed well, scoop two cups of your prepared pumpkin puree into the mixing bowl and pour in your evaporated milk, brown sugar, salt, and spices.
6. Mix well.
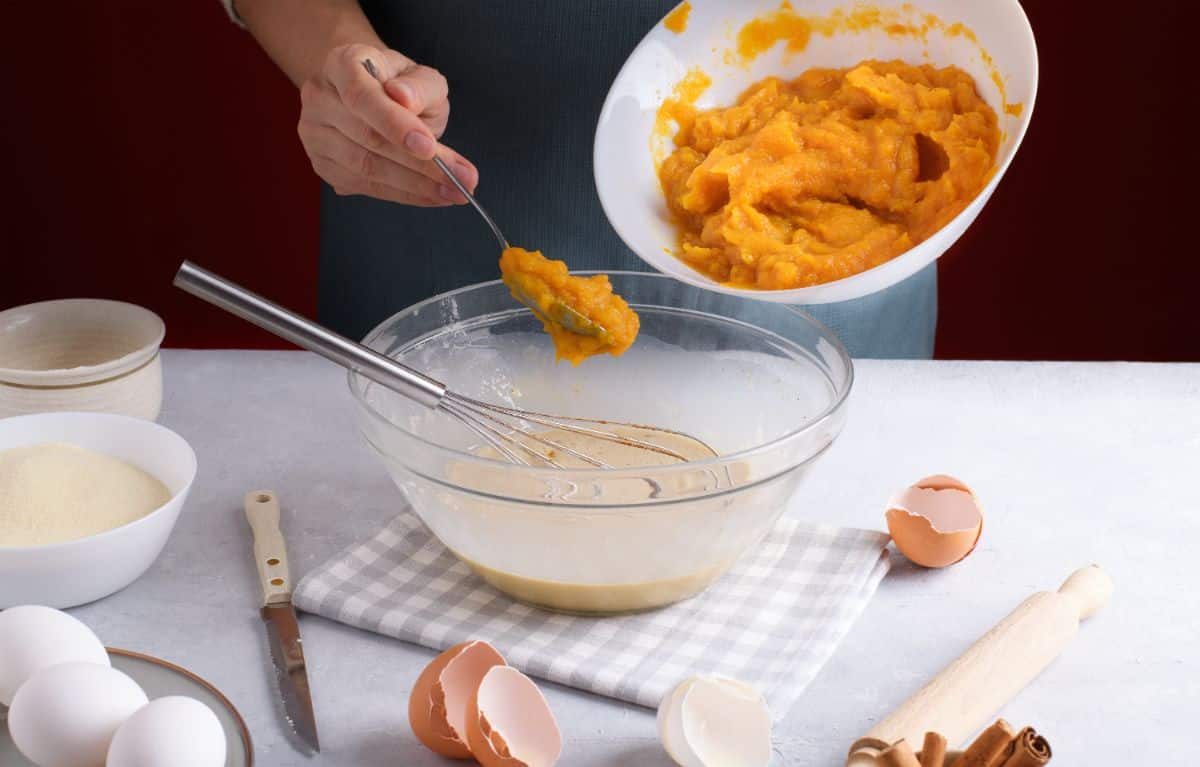
After all of the ingredients are in your mixing bowl, blend them by hand or with a hand mixer until the ingredients are well combined. At this point, you have a delicious raw pie filling, which can be baked into pies or used in other ways (see our cooking suggestions listed below.) However, while you can use this pie filling in various recipes, it does contain raw eggs, so it will need to be cooked in a pie or other form at 400°F for 40 to 60 minutes before you dig in!
How to use pumpkin pie filling
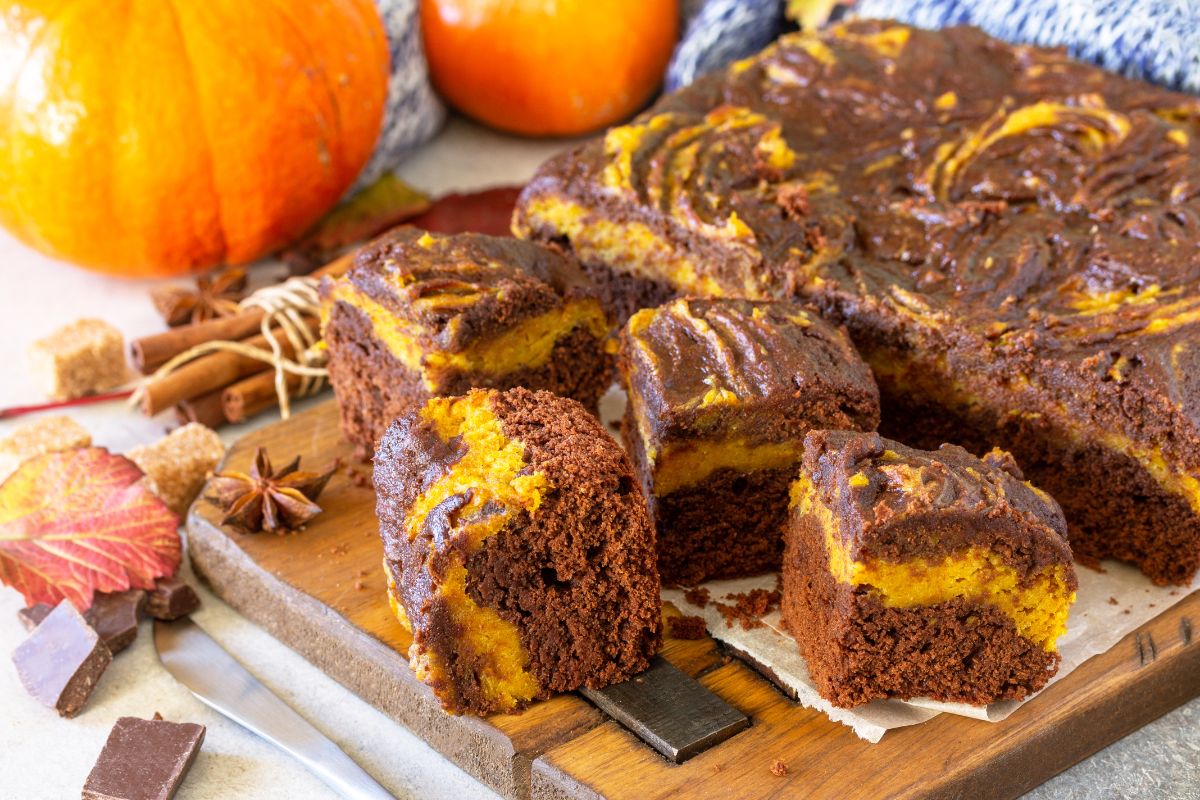
While you can use this pumpkin pie filling recipe in various ways, of course, the most popular way to use pumpkin filling is in pie making.
If you want to continue to bake your homemade pumpkin pie filling into a pie, use a storebought pie shell or make your own pie crust using your favorite recipe. Then, scoop the pie filling into your prepared pie shell and bake your pumpkin pie in a preheated oven at 400°F for 40 to 60 minutes. You’ll know your pie is fully cooked when you insert a knife into the filling, and it comes out clean.
However, if you’d prefer to use your pie filling in a more creative way, some other uses for prepared pumpkin pie filling include:
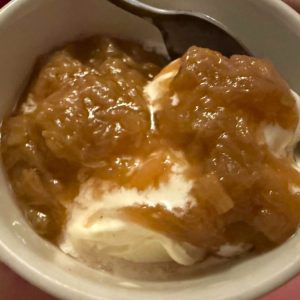
- Make your own pumpkin pie cones, or use pumpkin pie filling as an ice cream topping.
- Experiment with homemade pumpkin pie empanadas.
- Bake pumpkin pie filling into pumpkin bread, breakfast bars, or cakes.
- Whip up a pumpkin pie milkshake.
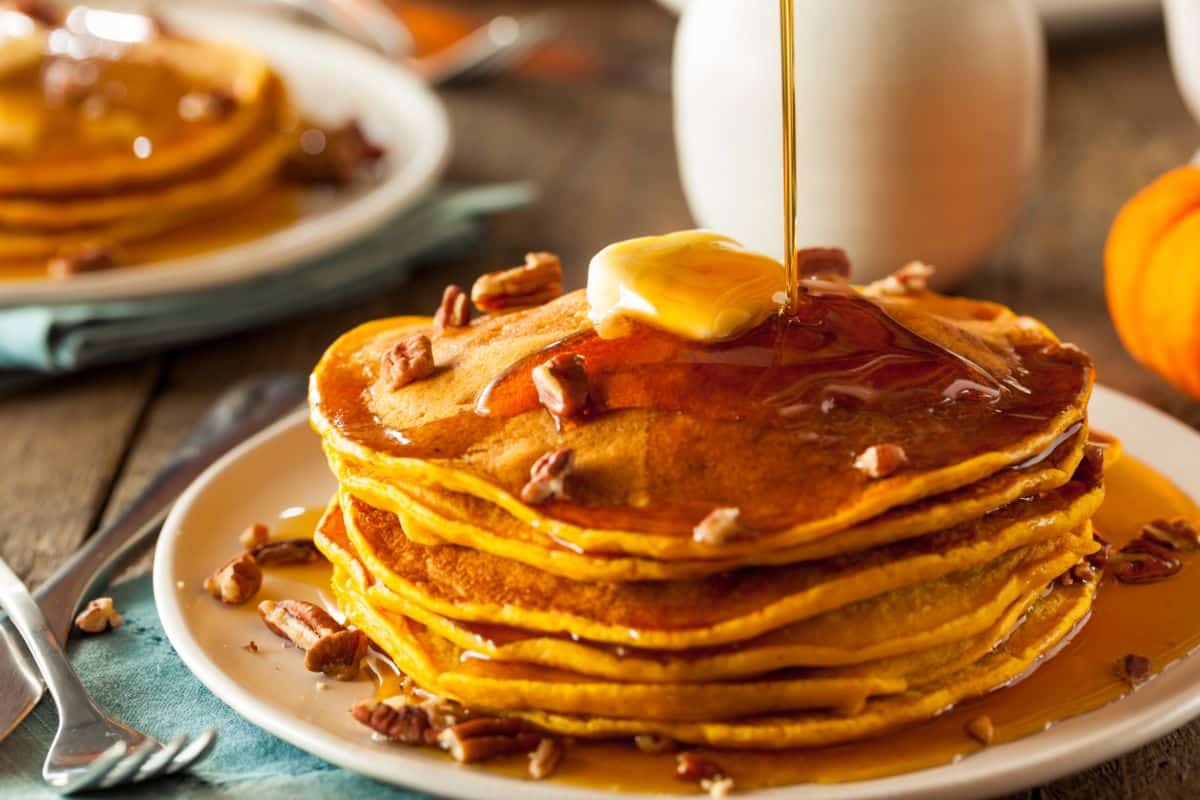
- Create a batch of pumpkin pie French toast, cookies, pancakes, or brownies.
- Stir pumpkin pie filling into a creamy pasta sauce.
Best pumpkins for pie filling
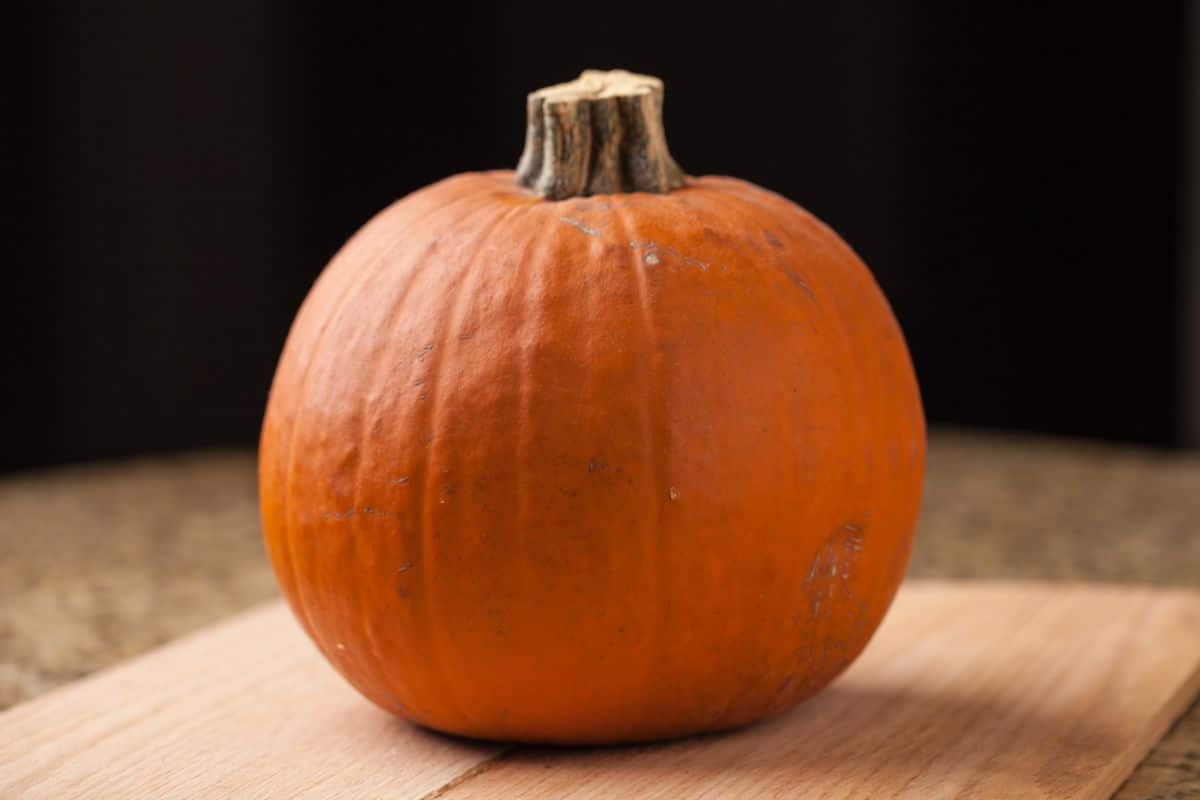
A quality pumpkin pie starts off with quality pumpkins. But what pumpkins are best for pie making?
In general, sugar or pie pumpkins are THE type of pumpkin used for pies, although any type of pumpkin can technically be turned into pie filling, and cheese pumpkins are popular choices as well. Field pumpkins, which are the type of pumpkins traditionally used for carved jack-o-lanterns, are edible, but they aren’t as sweet as pie pumpkins, and they tend to have a stringy texture. Instead, if you want to make the tastiest pie filling, try growing some of these sugary sweet pumpkins in your garden:
- ‘New England Pie’
- ‘Naked Bear’
- ‘Long Pie’
- ‘Winter Luxury’
- ‘Long Island Cheese’
For even more options, you can also use “non-traditional” veggies, like winter squash, to make pumpkin pie filling. After all, pumpkins are technically a variety of winter squash, so this swap may not be as strange as it sounds! If you like the idea of growing and cooking with winter squashes, some great options for pumpkin pies include:
- Kabocha
- Blue Hubbard
- Buttercup
- Butternut
- Acorn
- Red Kuri
And don’t forget, sweet potatoes also make a fantastic pie filling too!
Frequently asked questions
Yes! Canned pumpkin is just canned pumpkin puree that generally doesn’t include much or any seasoning. On the other hand, pumpkin pie filling is technically a custard with added ingredients like spices, eggs, and sugar, which give it extra flavor and a firmer texture when cooked.
Generally yes. It’s perfectly fine for pumpkin pie filling to be a bit watery when it’s raw. It is a type of custard, and it should become much firmer with cooking.
Pumpkin pies that are very soft or watery in the center are undercooked. If this occurs, pop your pumpkin pie back into the oven until the center is nice and firm. You’ll know your pie is properly cooked when you insert a knife into the center of the pie, and it comes out clean.
What makes a good pumpkin pie is a matter of personal preference, but most people agree that pies taste better when they’re made with fresh ingredients. And that includes pumpkin pies!
Pumpkin pie can be made on the day you want to eat it, but it’s a great make-ahead dessert too! If you’re worried about having too much to do for the holidays, feel free to make your pumpkin pies up to 2 days ahead of time and keep them fresh in your fridge until you’re ready to dig in!
Some pumpkins have lighter-colored flesh than others. Muscat pumpkins, for instance, have bright yellow flesh, while pie pumpkins tend to be more orange-y in tone. If your pie filling is lighter in color, that’s usually no cause for worry… it just comes down to the pumpkins you’re using!
Summary
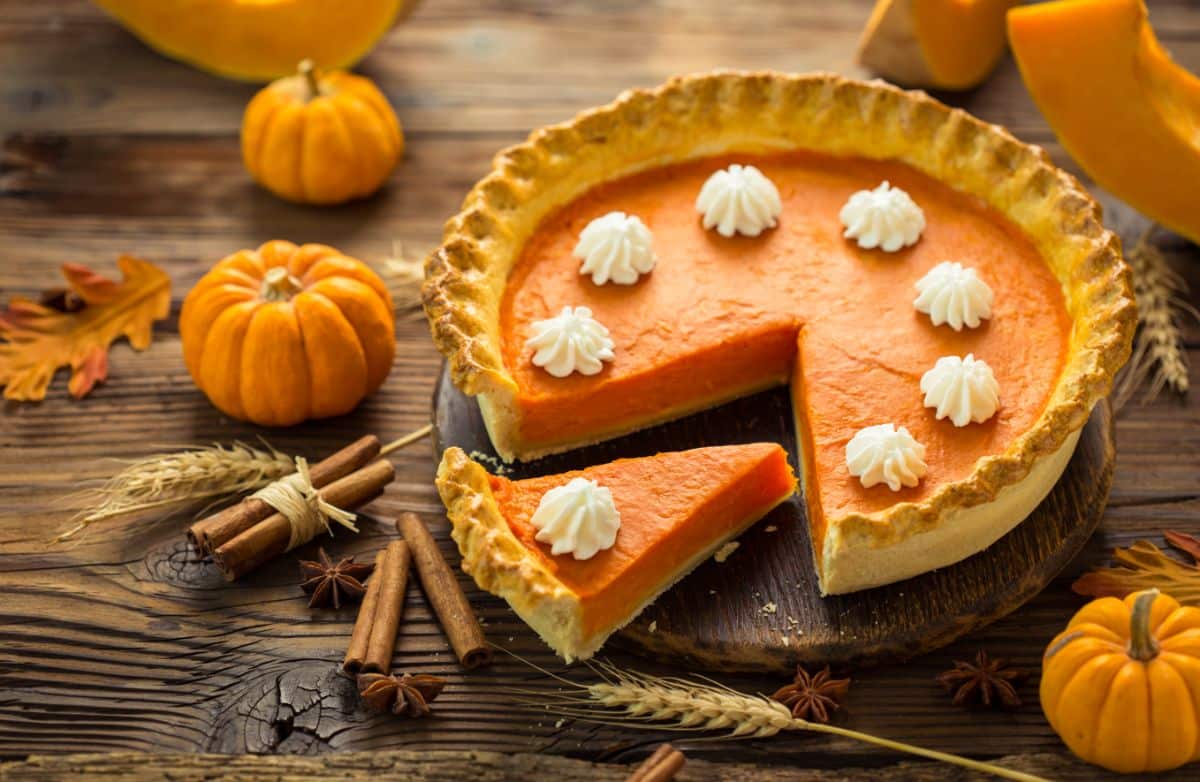
Spicy, sweet, and oh-so-creamy, pumpkin pie is a filling and autumnal treat that’s perfect with ice cream, whipped cream, or served plain. But if you want to take your holiday meal to the next level, make your own pumpkin pie (or other sweet, pumpkin-y treats) from scratch with homegrown pumpkins. Your holiday guests will be even more impressed knowing that you made your delicious dessert with pumpkins straight from your garden!
And if you want to be even more creative with your pumpkin pie this holiday season, why not make your pumpkin pie crust with homemade acorn flour using this simple foraging guide!
Pumpkin Pie Filling Recipe
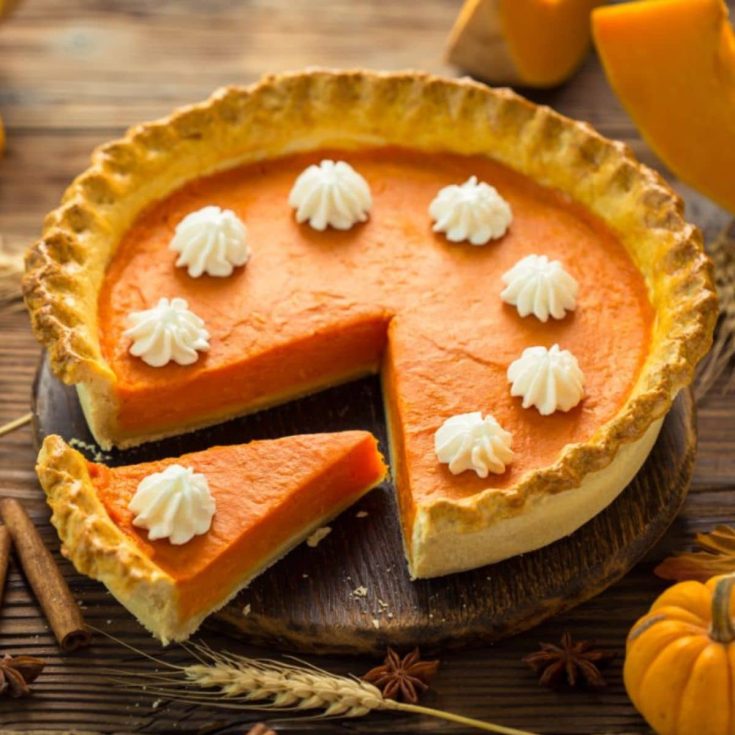
Get ready for the holidays with this delicious pumpkin pie filling recipe. It's easy to make and will impress your guests!
Ingredients
- Two small pie pumpkins
- One 12-ounce can of evaporated milk
- ¾ cup brown sugar, packed firm
- Two large eggs
- ½ teaspoon of salt
- ½ teaspoon of ground cinnamon
- ½ teaspoon of ground nutmeg
- ½ teaspoon of ground ginger
Instructions
- Clean your pumpkin. To get started, rinse your pumpkins off well in your kitchen sink and then carefully slice them in half. Using a spoon or scoop, scrape out all of the pulp and seeds from the interior of your pumpkin halves and give them a good rinse.
- Cook your pumpkin. Once your pumpkins are all cleaned out, lay your pumpkin halves, cut sides down on a baking sheet, and roast them at 350°F for about 45 minutes.
- Cool and peel your pumpkin. After removing your pumpkins from the oven, allow them to cool completely and then peel off their skins. Well-cooked pumpkins should be easy to peel with just your fingers.
- Puree the cooked pumpkin. If needed, cut your cooked pumpkin into smaller sections and then pop them into a food processor or mash them in a large bowl with a potato masher. Depending on how much pumpkin you have, you may need to work in batches. Keep mashing or pureeing your pumpkin pieces until you’ve created a silky, smooth puree.
- Add your other ingredients. Now, add your two eggs to your mixing bowl and beat them thoroughly. Once the eggs are mixed well, scoop two cups of your prepared pumpkin puree into the mixing bowl and pour in your evaporated milk, brown sugar, salt, and spices.
- Mix well. After all of the ingredients are in your mixing bowl, blend them by hand or with a hand mixer until the ingredients are well combined. At this point, you have a delicious raw pie filling, which can be baked into pies or used in other ways
Notes
- Tip: When cleaning out your pumpkins, be sure to save your fresh pumpkin seeds. Delicious and nutritious, pumpkin seeds are packed with protein and other nutrients, and once they’re roasted and salted, they make a mouthwatering snack food!
- Tip: Don’t throw out your pumpkin skins. They make nitrogen-rich additions to your compost pile, and backyard chickens love to gobble them up, too!
- Tip: If you don’t want to make pumpkin pie filling right away, you can use this pureed pumpkin as is in soups, baked goods, and other dishes. In fact, you can even store pumpkin puree for several months by packaging it up in airtight Ziploc baggies and pressing it flat before popping it in your freezer!




Leave a Reply