Upcycling, recycling, repurposing, reusing...all of these are great ways to DIY your garden and food preserving projects. After all, if gardening constantly costs more than it yields, you’ll have to start taking a long, hard look at where you’re spending your time and money.
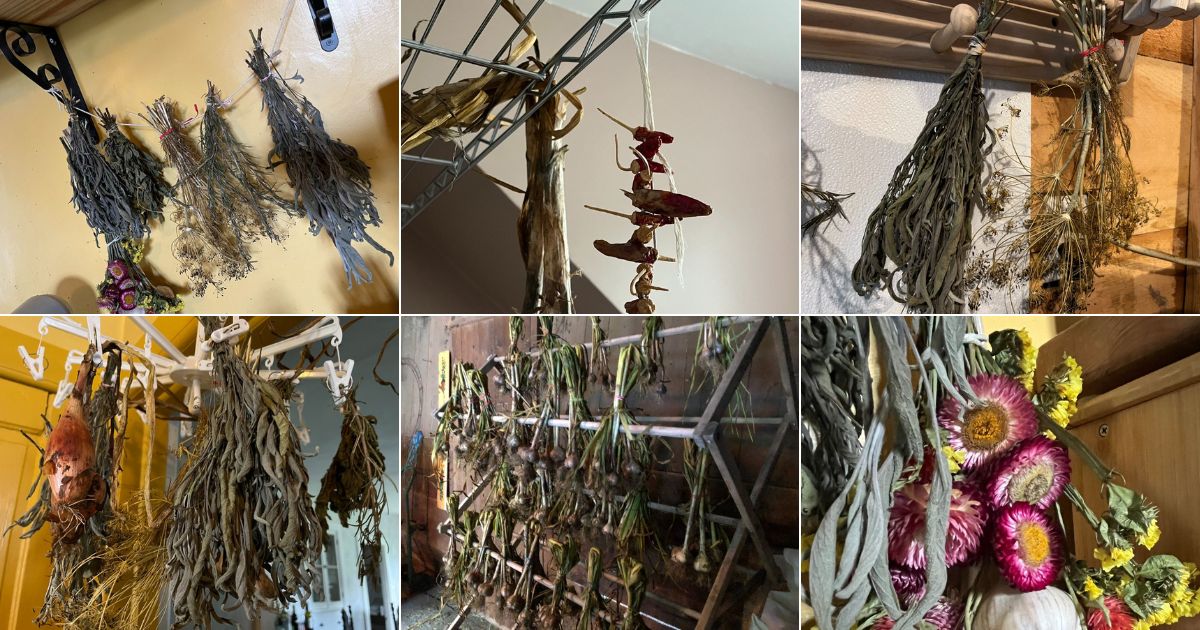
Gardening affords us many opportunities to upcycle, recycle, and repurpose. Like when it comes time to dry herbs, and cure bulb crops like garlic, shallots, and onions. Here are seven ideas for using home goods and gadgets for drying herbs and produce. You might already have these things in your home!
Jump to:
- 7 Things You Can Repurpose for Drying Herbs and Curing Crops
- 1. Clothes Drying Racks
- 2. Sock Drying Hanger
- 3. Window Screens
- 4. String Line
- 5. Pasta Drying Rack
- 6. Peg Boards or Hat Racks
- 7. Expanded Metal or Wire Shelves
- Tips for Easily Drying Herbs, Flowers, and Bulb Crops
- Storing Dried Herbs and Vegetables
7 Things You Can Repurpose for Drying Herbs and Curing Crops
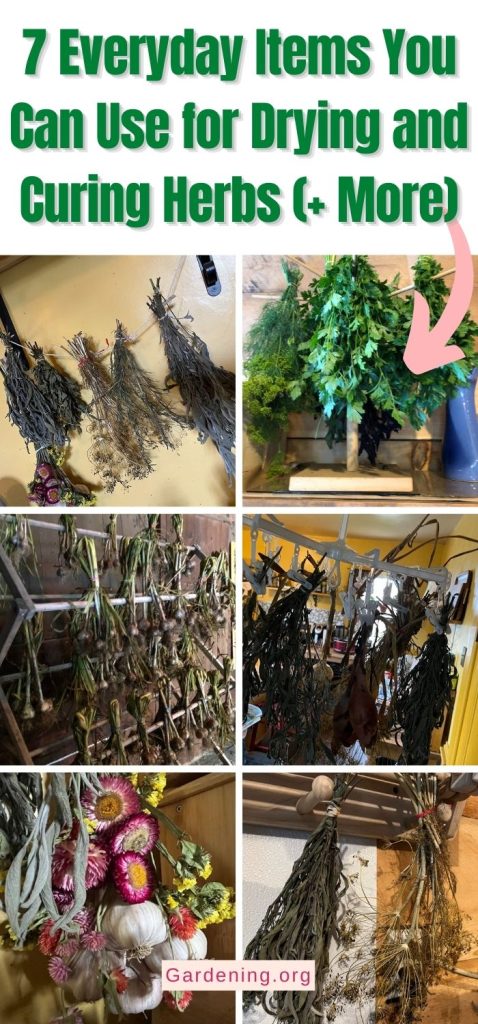
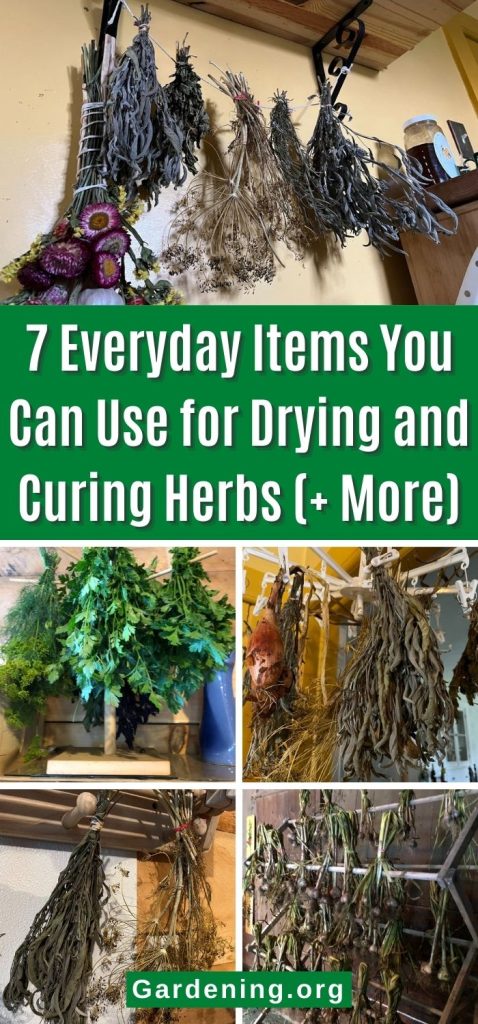
There's no need to spend a lot of money to hang herbs or cure garlic and onions. You probably have some good gadgets already at home.
1. Clothes Drying Racks
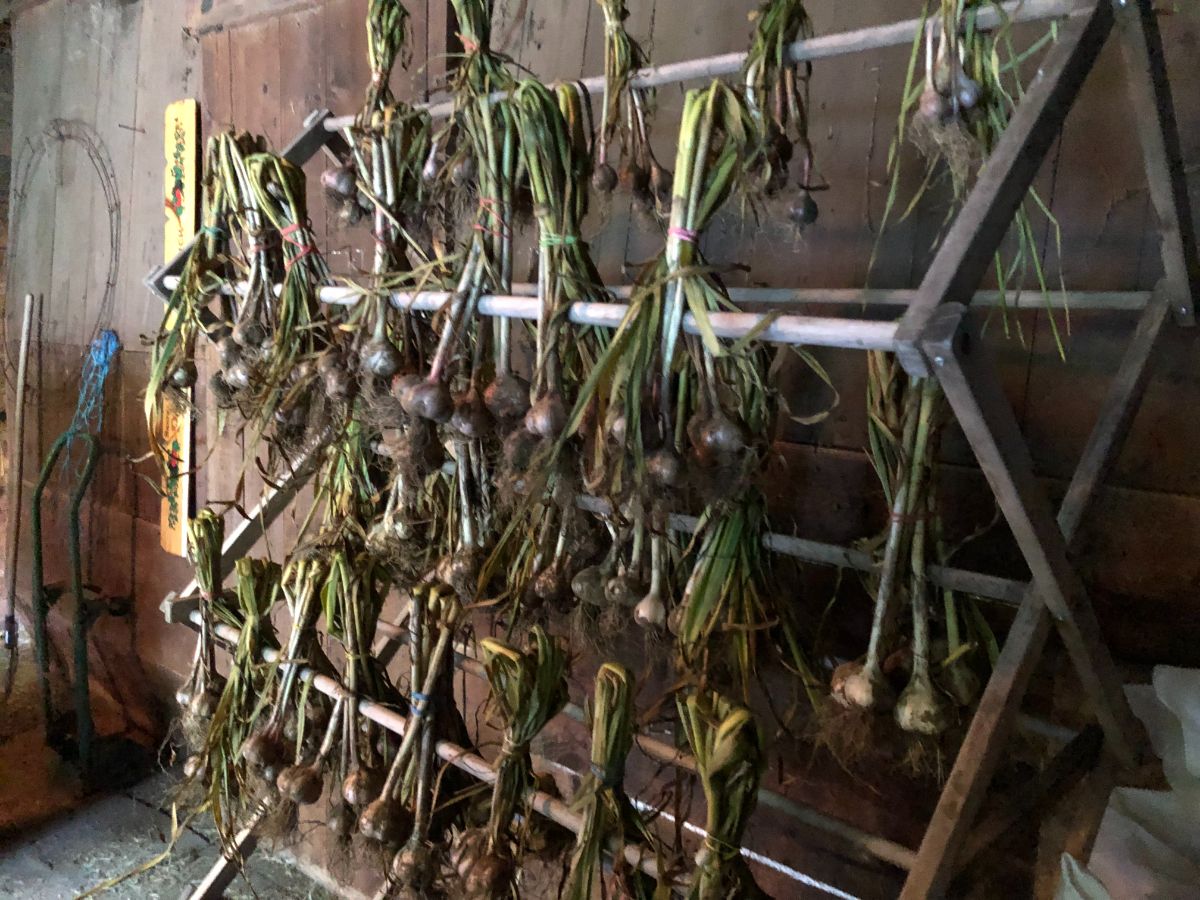
Foldable clothes drying racks make excellent racks for drying herbs and curing harvests of garlic and onions. Since we only need drying racks for a relatively short amount of time each year, repurposing a clothes drying rack is ideal.
For curing garlic, group in bundles of four or five, bend the stems at about the halfway point and put a rubber band around the bunch. Then set the inside crook of the bunch on the bar. Let hang to cure until ready for cleaning.
You can cure onions and shallots the same way.
This is a real space saver. A lot of garlic will fit on one drying rack. The ability to move the rack and put it in a good drying area is very helpful, too.
The same rack can be used for drying bundles of herbs. If the bars are too wide for the herb bundles, add some loops of string or “S” hooks to hang banded bundles from.
2. Sock Drying Hanger
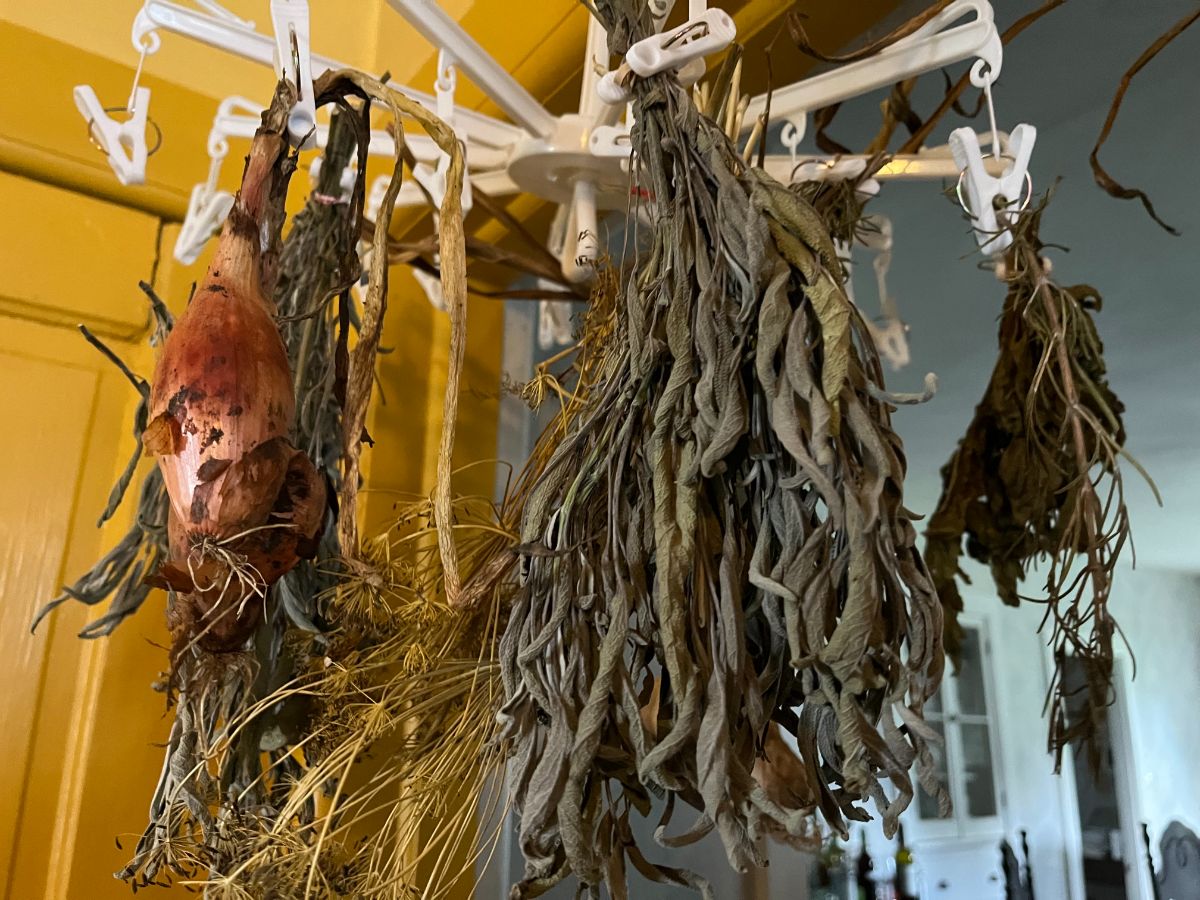
Hanging sock dryer racks are the perfect compact solution for drying herb bundles and things like dried flowers. They are inexpensive, fold and stow for storage when not in use, and can be used for some real household purposes—like, maybe, drying socks!
What's nice about these little racks is that they have a cental hook for hanging the rack, but then the rack itself already has clips built into it (similar to clothes pins). This makes it easy to tie or bind your herbs and flowers with twine, elastics, or twist ties, and then just clip the string to the rack’s clips.
These dryers are portable, so they are easy to “install” (just pop on a hook or a nail, shelf, etc.). This makes it easy to find the space in your home that has just the right level of darkness and heat without installing a lot of apparatus and without taking over the space permanently.
Or...if you like the looks of it, make the rack a part of your kitchen décor and you’ll have compact hanging herb bundles within reach anytime you want some to use.
3. Window Screens
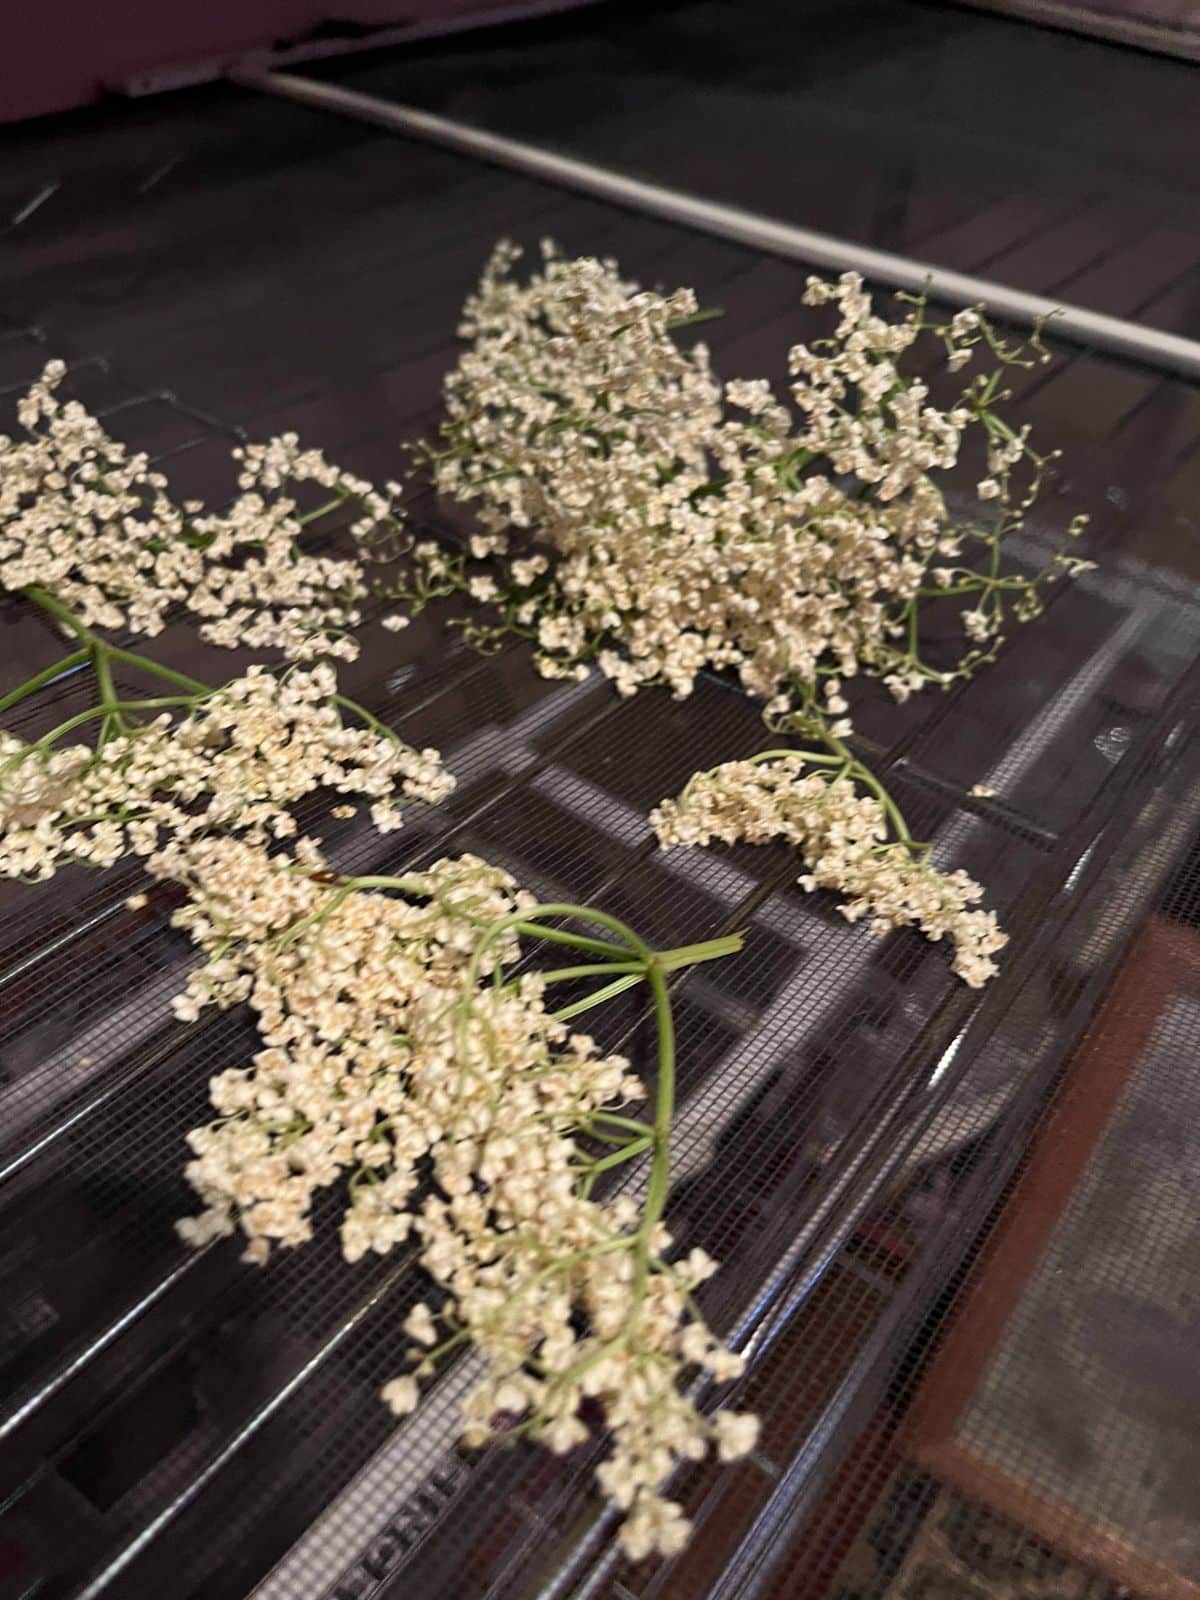
Window screens that are laid horizontally make great drying racks for herbs and flowers. They have excellent air flow and plenty of space. The fine mesh of the screen is great for catching small seeds and keeping smaller leaves and flowers and petals in a collectable spot.
Window screens are the choice of many experienced growers for drying herbs and flowers. They are ideal for elderflowers and chamomile flowers. They can even be used for making things like sun-dried tomatoes. They're a good choice for delicate herbs and flowers that dry out quickly and that get overdried and brown in a dehydrator.
Depending on what you are drying and what conditions are recommended, the screens can be used inside or outside. For most herbs and flowers, you’ll want to place them in a spot that is out of direct sunlight. For hardier things like tomatoes, you’ll want a sunny spot to capture the fast drying power of the sun.
The key with screens is to keep as much airflow as possible when you use them. It’s best not to lay them on a flat table, for example. A better way would be to place it over an open rack (like an expanded metal rack) or stretch it across the seats of two chairs. You can, however, use the screens over a table if you prop them up to create airspace below the screen. Use a couple of boards or bricks on the table and stretch the screens across them.
You can use old screens if you have them or buy expandable window screens for not much money. If you happen to have an old set of screens or an old screen door laying around, those can work, too.
If you’re concerned that your old screen may not be something you want in contact with your food herbs, lay a length of open-weave cheesecloth over the screen first. This will protect your herbs from the screen, while still supplying airflow for drying.
4. String Line
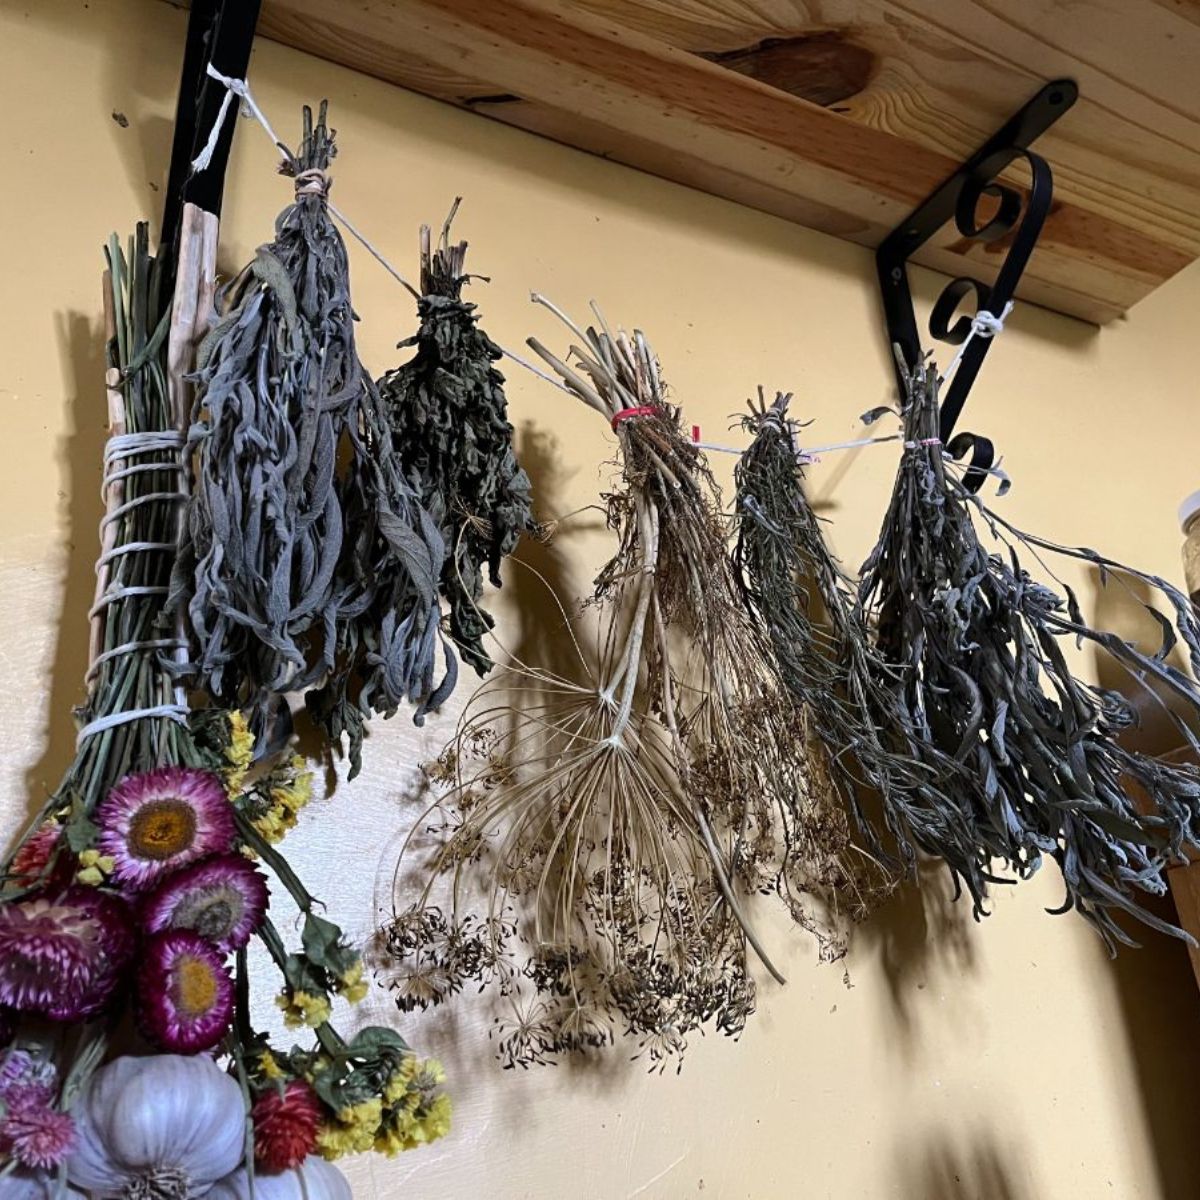
A simple line of string or twine is a very cheap, classic way for drying herbs, flowers, and curing vegetables like garlic and onions.
Make sure the twine or string is strong enough to support the weight and volume of herbs or vegetables that you are drying. For up to five or six herb and flower bundles, garden twine will usually suffice. If you’re not sure if your line is strong enough, double or triple it up.
For a large amount, or for heavy items like curing bunches of garlic or onions, go with something stronger and thicker—clothesline, for example, or baling twine.
If you have an indoor clothes drying line, that will work great. A retractable or folding portable line can work well as long as it is (or can be) placed in a room that does not receive extra humidity (so your laundry room may not be a great place).
Loops of string or clothespins work well to attach drying stems and bundles to hanging lines. For a space-saving option with a unique look, try hanging your line up-and-down vertically and staggering your bundles down the line. Just make sure each bundle has room to “breathe” and dry. This can look very nice hanging from a beam where the herbs (etc.) can get plenty of airflow for drying.
5. Pasta Drying Rack
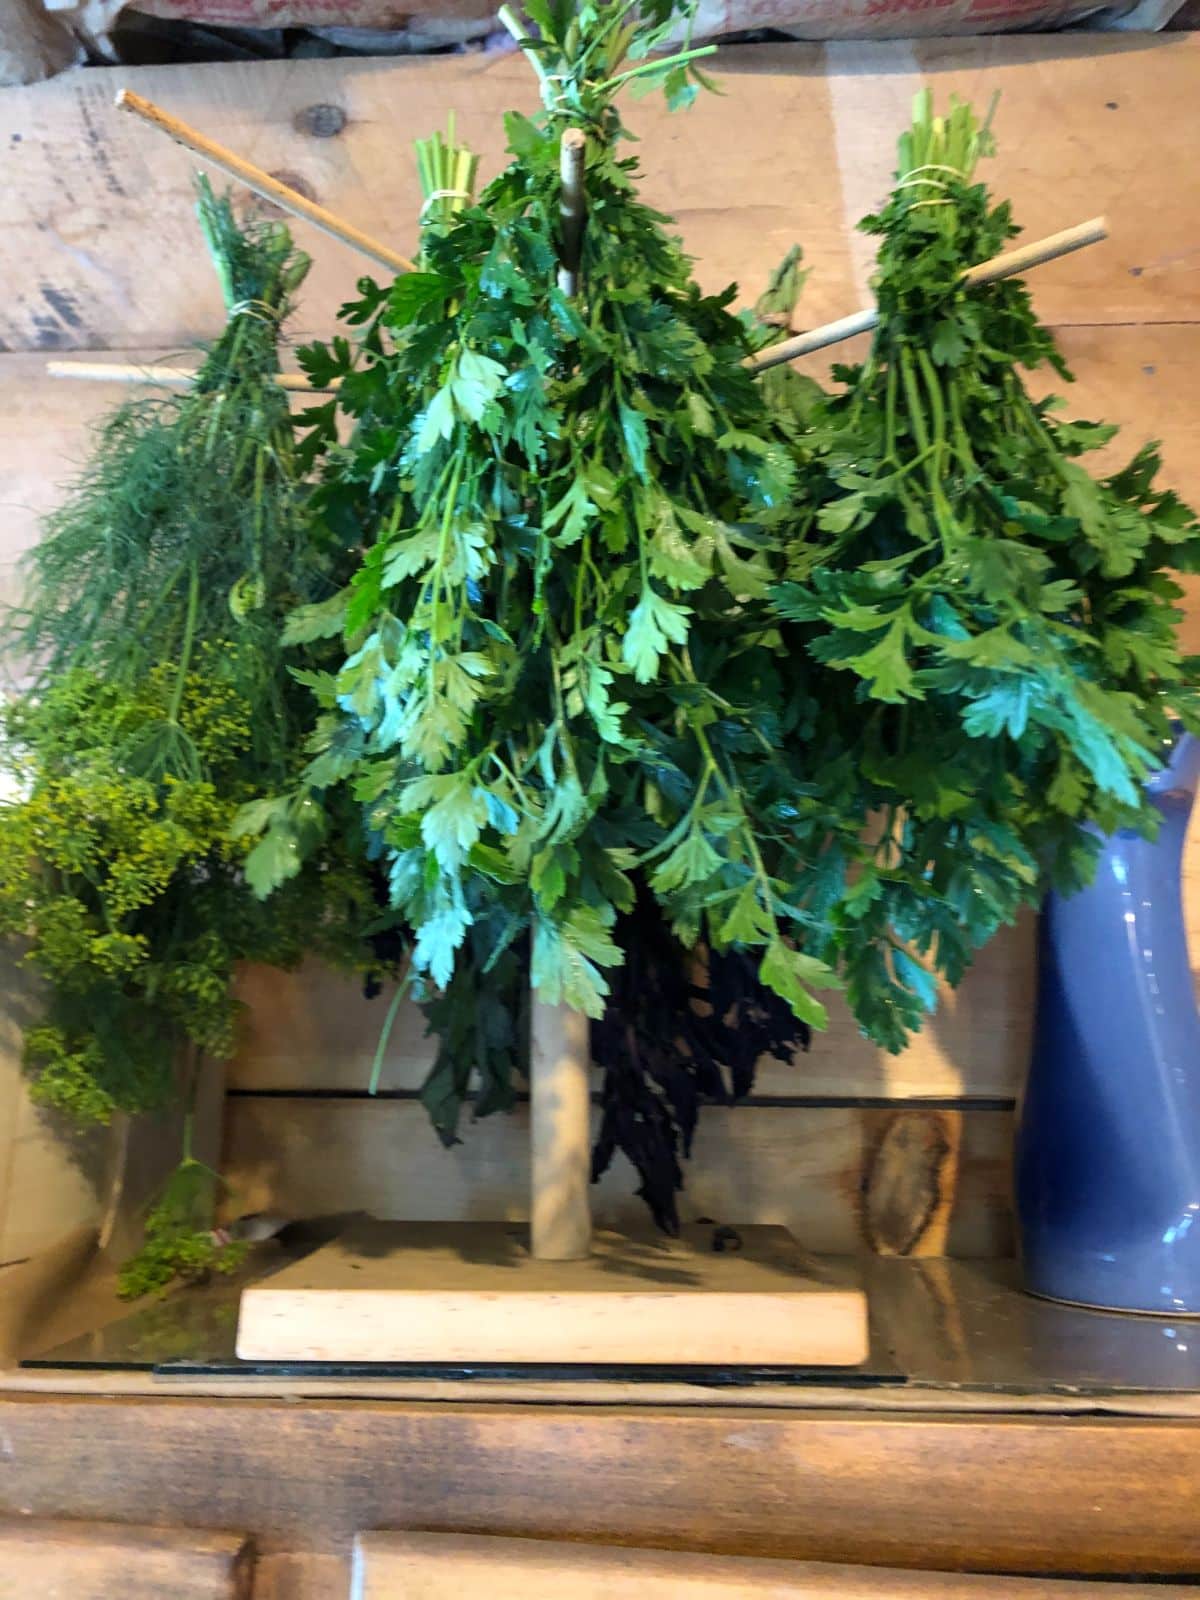
A pasta drying rack might be one of the simplest, most compact, space-saving, and attractive options for drying your herbs and dried flowers.
As with other methods, you’ll need to make small bundles of each herb that you want to dry and save. After herbs are bundled with twine or elastics, simply slide the stems just below the elastics onto the wooden dowels of the pasta drying rack.
The dowels are already spaced for good airflow and for drying, so as long as you don’t pack the bundles too close or too tight, it will work very well.
The portability of the rack, along with its small size, means it is easy to put in a dark, dry space while your herbs are drying. You can then move the whole unit to your kitchen or pantry where it will make a handy, pretty display—one that you can just reach up and take your dried herbs from when you want to use them.
Or you can remove the herbs, crush them and put them in jars for storing, and put your pasta rack back to work for what it is intended for.
This is a great use of a kitchen gadget you might not use a lot of the time. Multipurpose will make it a money-saver!
6. Peg Boards or Hat Racks
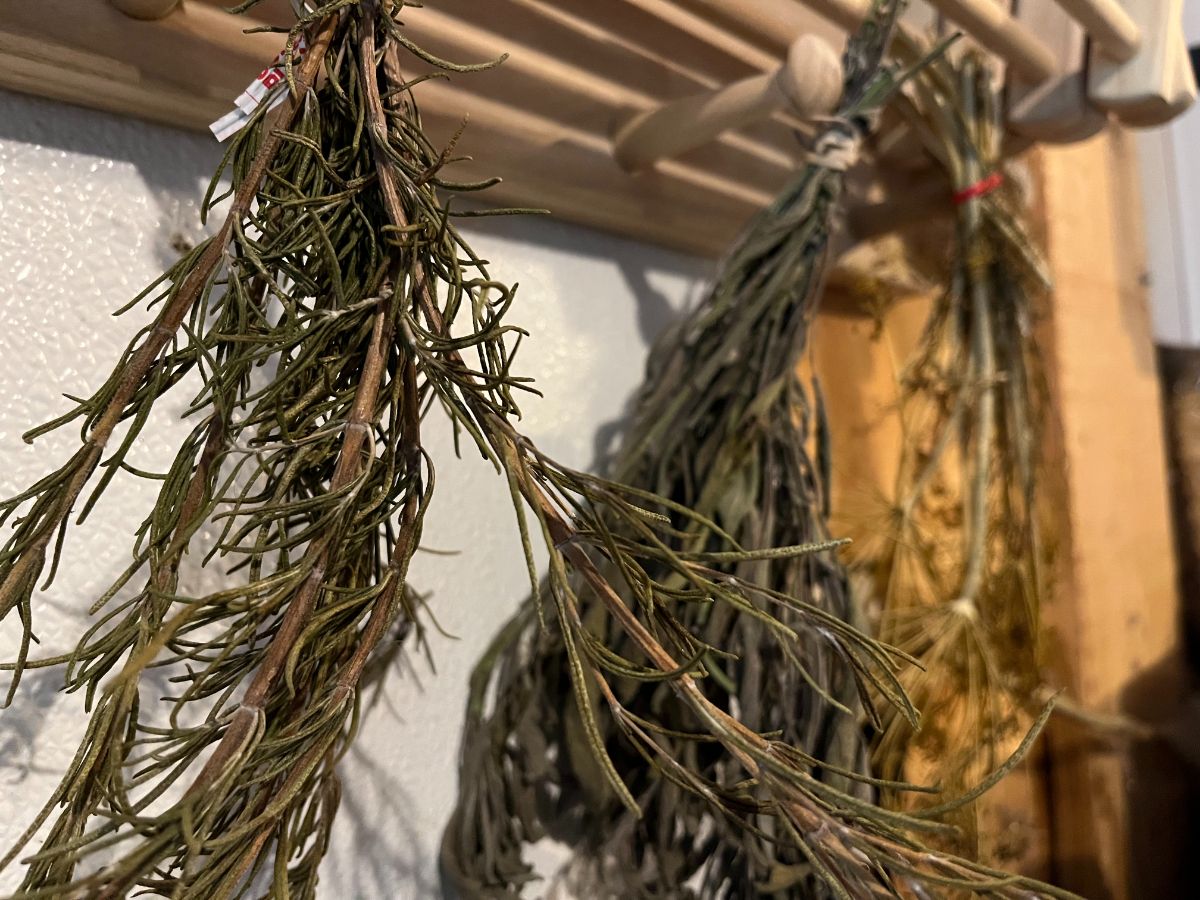
Got a peg board, set of hooks, or a hat rack in some upstairs or attic room, or maybe in a warm, dark closet? Put it to work drying your herbs and curing hanging produce!
It doesn’t get much easier than this. Throw out that bag full of bags you’re not using, bundle up your herbs or gather your onions and garlic together, and hang them from the pegs until dry or cured.
When dry, move the bundles to the kitchen to use them or strip leaves, crush, and store in jars for winter use.
It doesn't get much easier—or cheaper—than that.
7. Expanded Metal or Wire Shelves
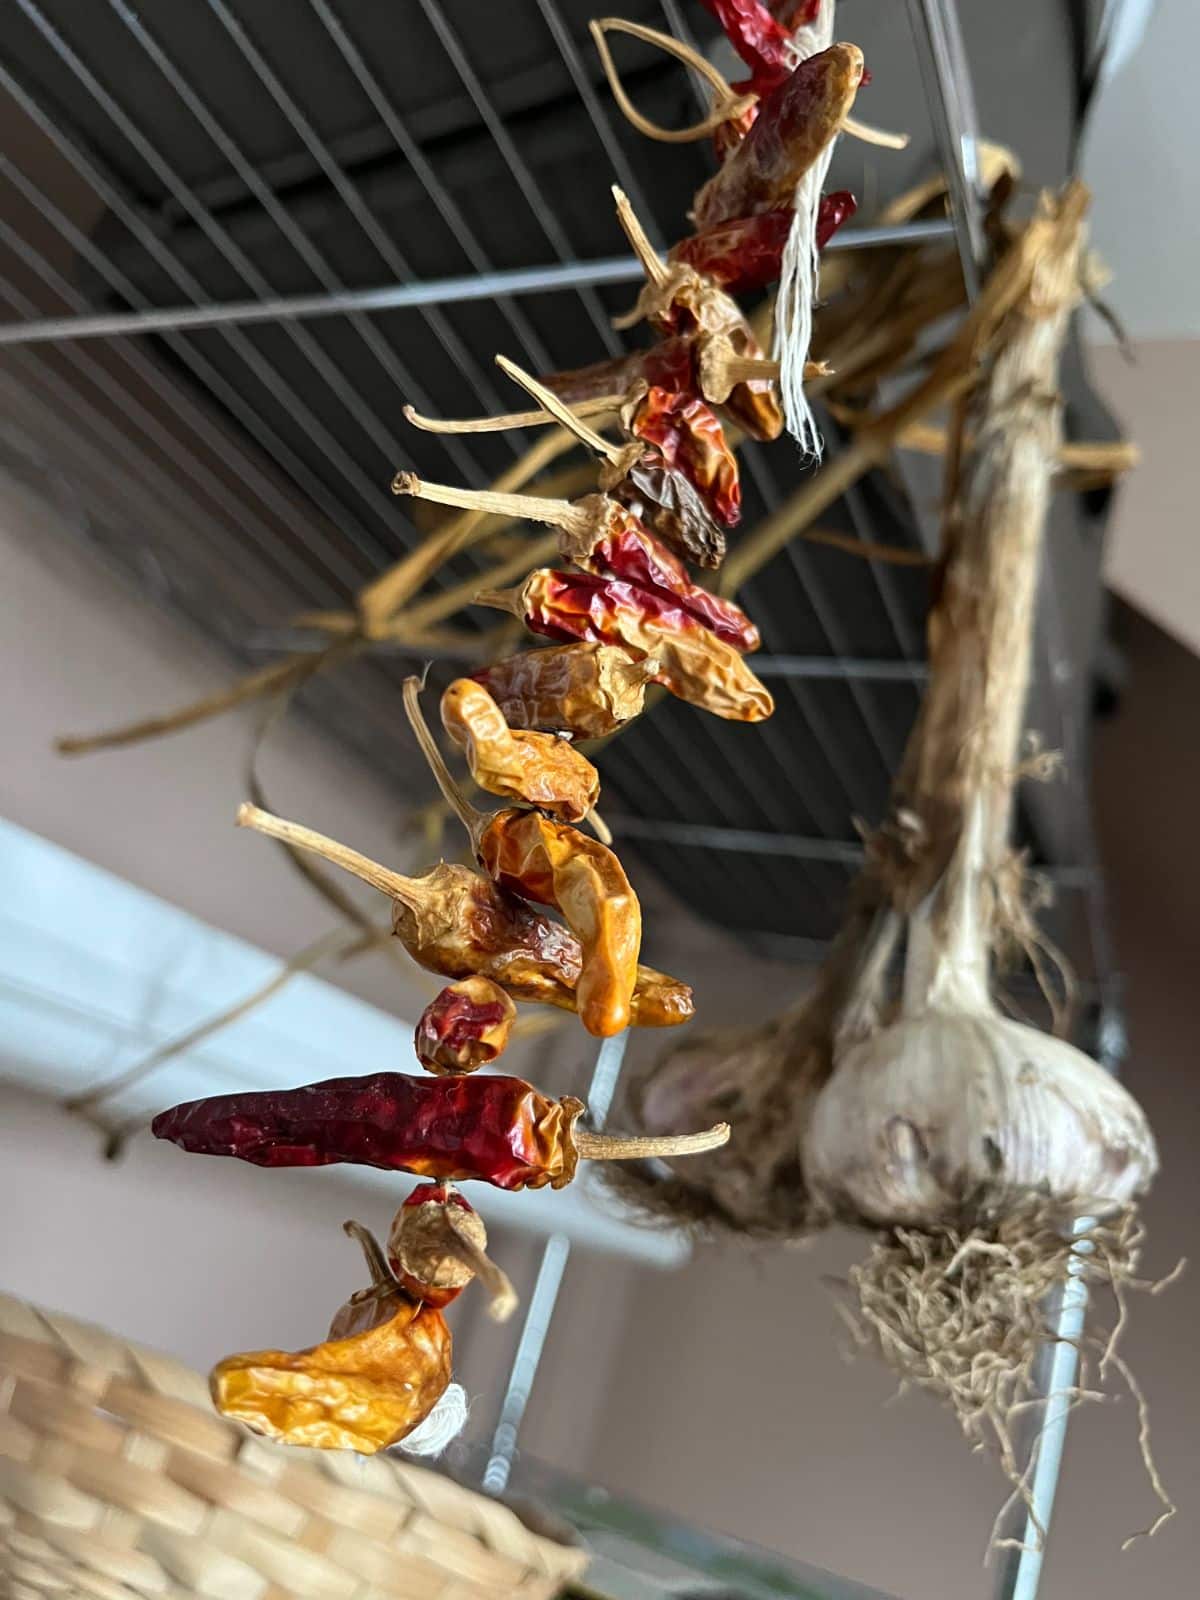
Open metal shelving is popular in a lot of homes, kitchens, pantries, and storage spaces. They are strong, cleanable, and airy, making them versatile and ideal for food storage and prep areas.
These types of wire racks make excellent herb drying and bulb-curing racks. The shelves are adjustable so you can move them up or down if you need more hanging area.
You can easily loop twine loops of tied bundles through the open wire spaces or from the bottom of the rungs of the racks or use clothespins to hang the bundles from the wires. Larger items, like garlic and onions, may be able to be bent and hung over the wires.
Wire racks are also ideal for stretching screens for drying small flowers and fine herbs—such as the screens mentioned in number three above. If you have a variety of herbs that need to be laid out and herbs in bundles or threaded onto strings (strings of drying hot peppers, for example), one rack can do it all—and save space!
When you’re done with the rack for drying and curing, it can be used to hang lights for seed-starting or in indoor winter growing setup!
Tips for Easily Drying Herbs, Flowers, and Bulb Crops
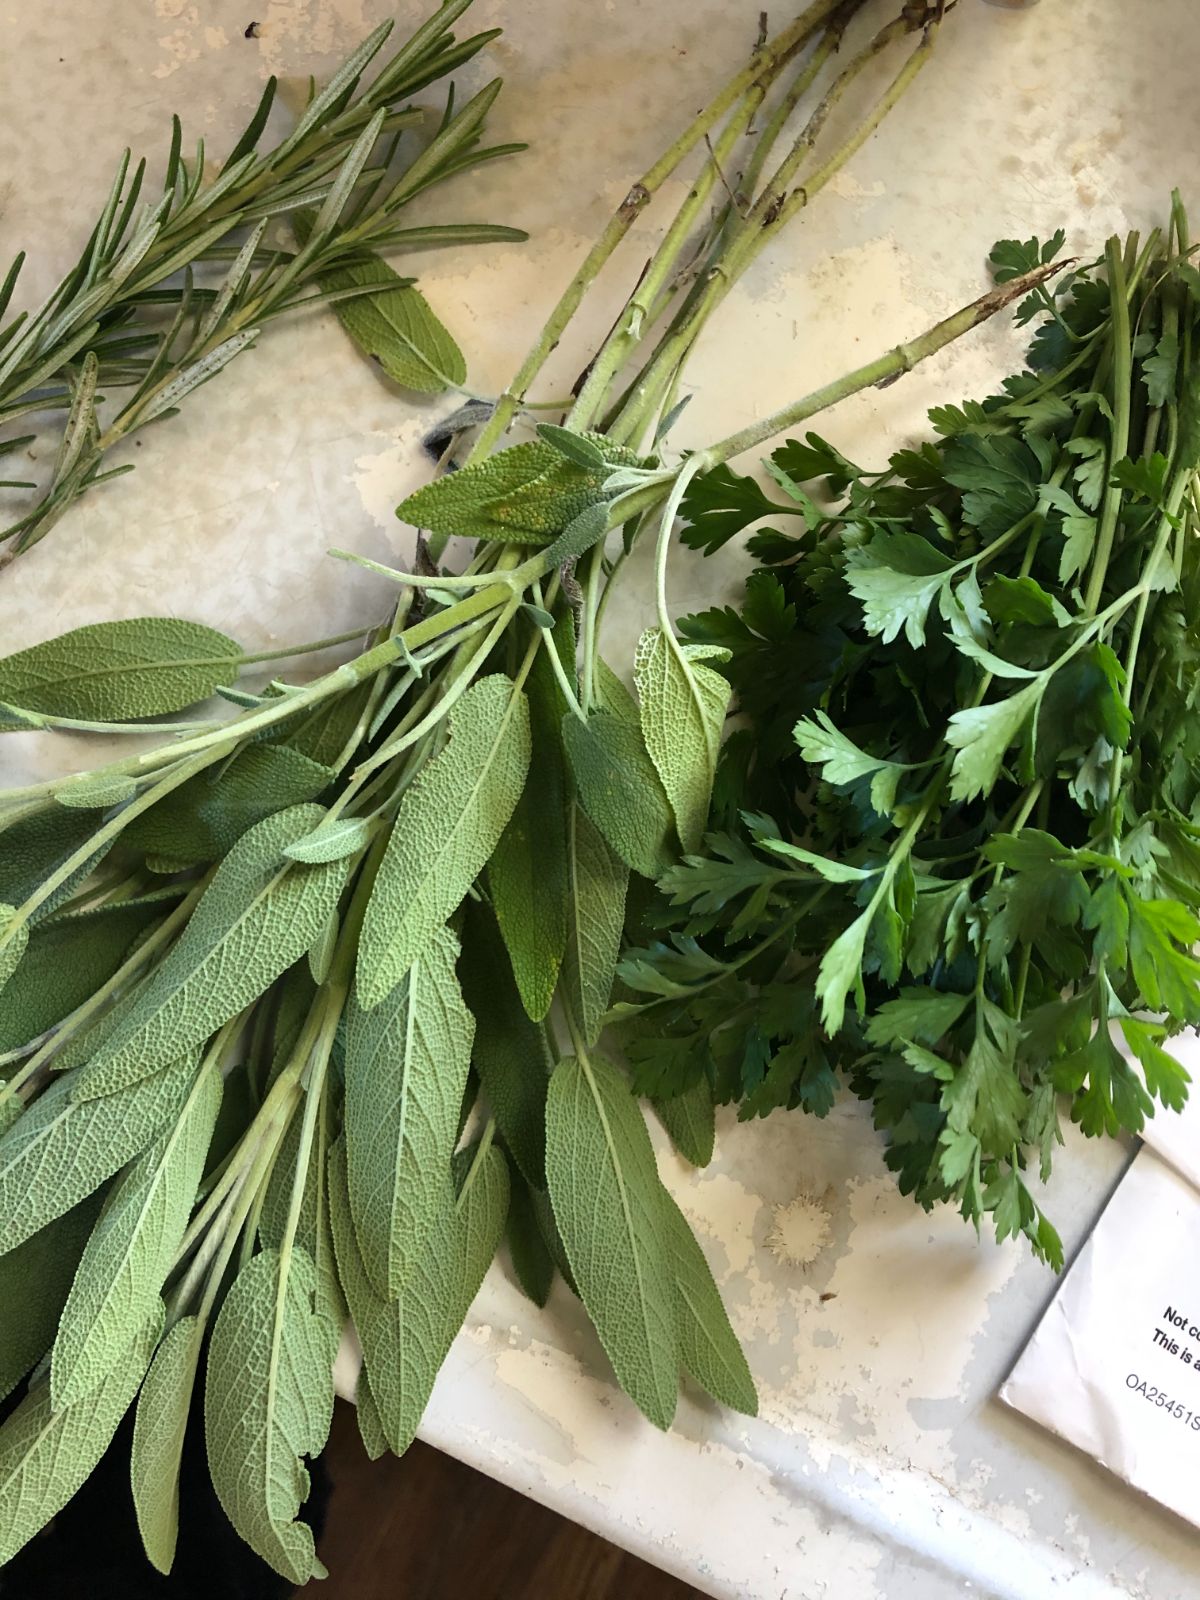
- Put drying herbs in a dark place or at least out of direct light. A closet, attic or spare room with shades drawn are good places. Second floors of homes tend to be a bit better than first. Shade and darkness preserve good color and essential oils in the herbs.
- Pick a warm space, but not too hot.
- Pick a place that is dry and not too humid. A laundry room is not usually a good choice unless it is well-vented. Basements are not good areas. Kitchens can be difficult if you create a lot of steam while cooking.
- Cover herbs as necessary to keep bugs and dust off (cheesecloth or muslin works great because they are loose weave cloths that breathe well).
- Keep enough air space around each bundle.
- Make your herb and flower bundles small (one to two inches maximum when gathered at stem tops). This will allow them to dry without molding.
- “Adjustable” ties and binds help you tighten bundles as the stems dry and keep them together while they shrink. Small elastic rubber bands work great because they contract as the stems dry and shrink down. You won’t need to go back and keep adjusting bundles. Twist ties also work well—they can be easily tightened as stalks dry.
- Hang herbs and flowers upside down to keep them from dropping and drying in drooped, misshapen bundles.
- If herbs are fine or you are drying heads with seeds, put something on the bottom to catch falling seeds and pieces. Fine mesh bags, muslin cloth, or small paper bags are good options. Paper bags can also be used to block light and keep herb color. Leave a small opening for airflow at the top.
- Ventilation and airflow help to dry herbs well. If it’s not too humid outside, you can crack a window to increase airflow. You can also use a light fan in the room if the air is very still.
- You will know your herbs are dry when they crunch and crumble and make a crackling noise when you rub the leaves between your fingers.
Storing Dried Herbs and Vegetables
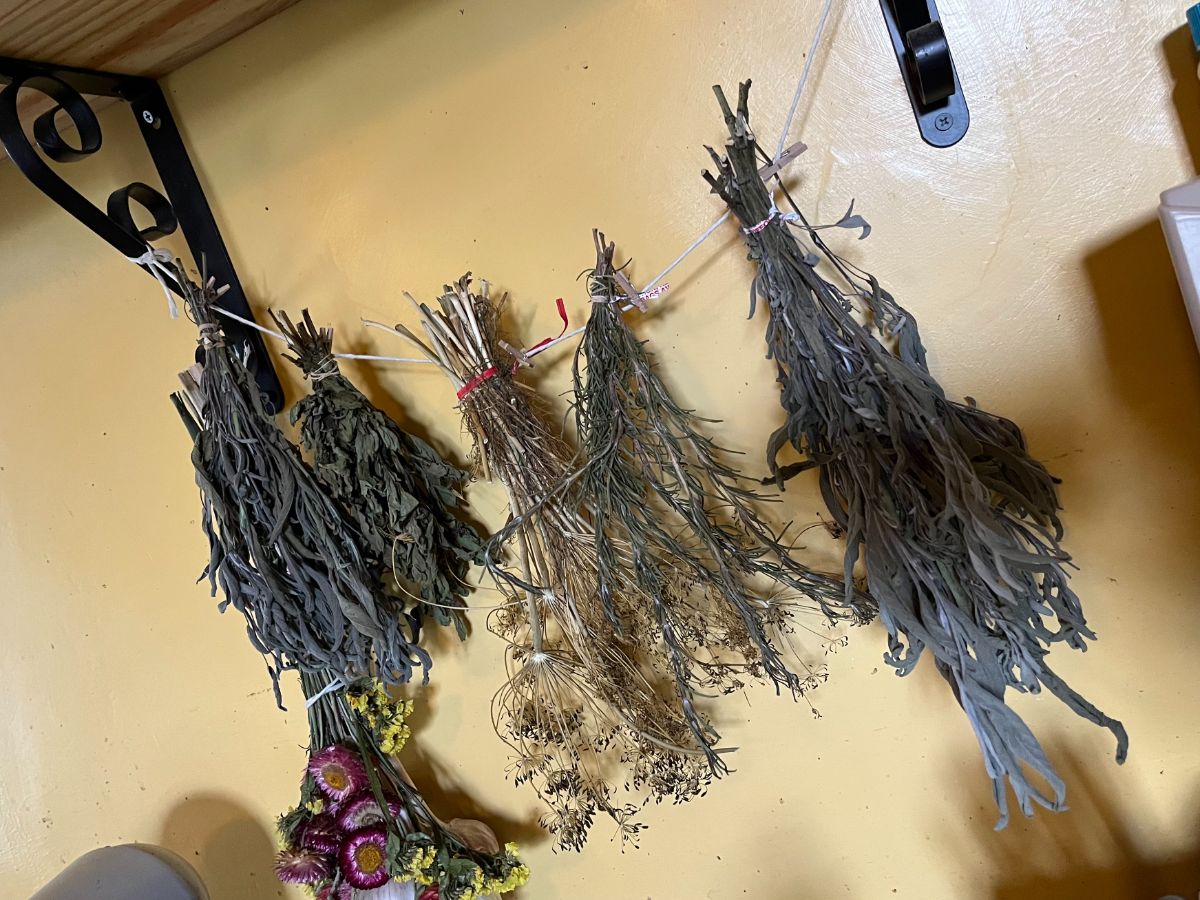
Once your herbs are dried, you can keep the bundles hanging in your kitchen or pantry and pull off leaves and stems for daily use. This can, sometimes, get messy if the herbs are too brittle. Over time, your herbs may collect dust or cooking oils from the air.
Your herbs will store very well if you keep them in sealed, air-tight containers. Regular canning jars work well, and look good in your kitchen, too.
If you are storing your dried herbs in jars or containers, it is best to remove the leaves from the stems. Crush them into small pieces, ready to use for cooking. This is quite easily done by rubbing the stems briskly with your hands and crumbling the herb leaves.
If you prefer a powdered herb, dedicate a small coffee grinder and run the dried herbs through the coffee grinder. Clean it between different types of herbs to avoid flavoring and cross-contamination. (You can clean it by running white rice through the grinder and then wiping it with a dry towel.)
It is best to prepare and store your dried herbs soon after they are done drying. This will keep them from reabsorbing moisture from the air. It will also keep them from getting over-dried and losing too much color and flavor.
Oxygen absorbers are not strictly necessary, but if you are drying a lot of herbs in bulk and storing them a long time without using them daily, they are good added protection from excess moisture and your herbs will keep a long time.
If you happen to have a vacuum sealer attachment made for sealing canning jar caps, that’s even better for long-term storage. You can also use this in combination with oxygen absorbers. Vacuum sealing isn’t very practical for small jars that you will use regularly, though.
Homegrown dried herbs and bulb crops can save you (pun intended) a bundle. Better still, the flavor and aroma are better, you know how your herbs were grown, and you know they haven’t been sitting and degrading on a warehouse shelf for years. Homegrown herbs can be as decorative as they are useful. With these repurposed drying solutions, drying your herbs and curing your crops doesn’t have to be difficult or pricey, either!
Now that you know what to dry them on, check out this list of 14 Herbs that are Ideal for Air Drying

Leave a Reply