All season long, perennial plants fill up our gardens with vivid colors, lush fragrances, and interesting textures, which add to the allure of our outdoor spaces. But by fall, most perennial plants look drab, and they die back when frosts arrive. However, while your garden may not be producing blooms late in the season, there is still one garden harvest to reap in autumn: seeds!
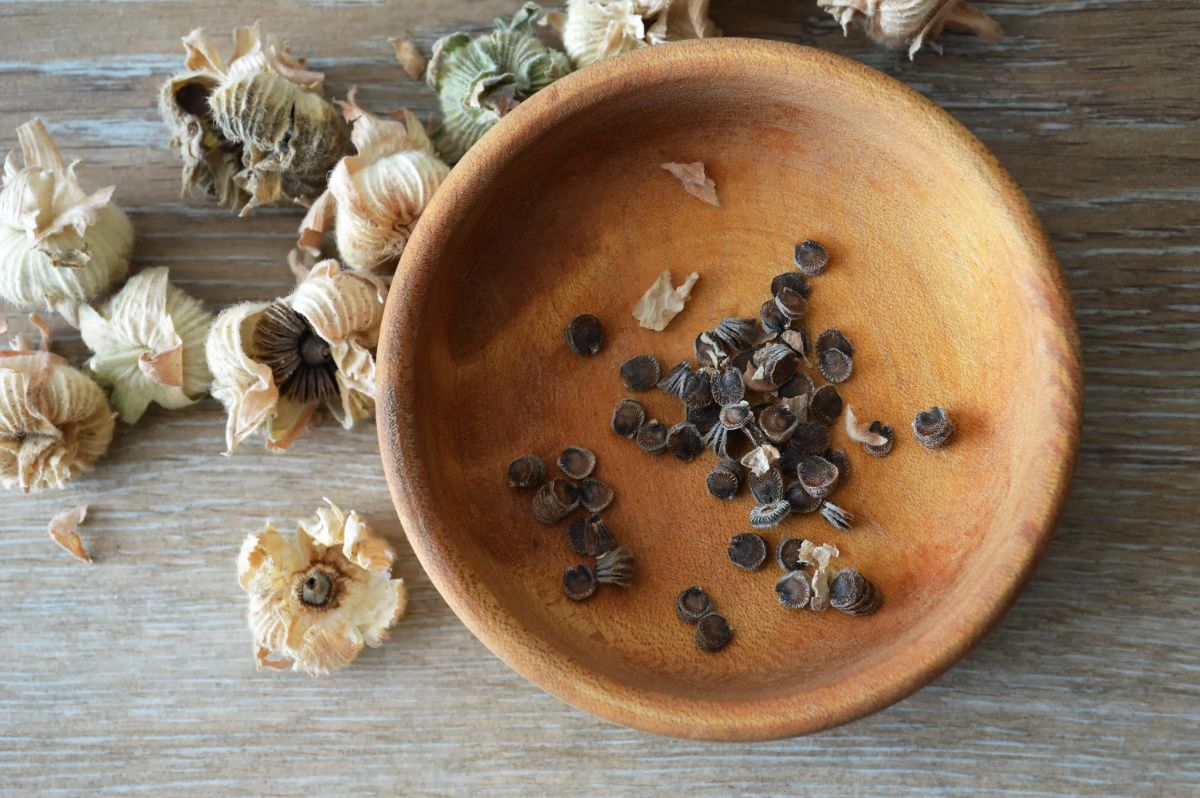
Many perennial plants produce loads of seeds by the end of the season, which are often gobbled up by birds, or they go to waste when they fall to the ground and get covered in mulch. But if you time your seed harvest correctly, you can gather in lots of fertile perennial and wildflower seeds from your garden or the landscape around you to plant in next year’s garden. Learn the basics of collecting perennial plant and wildflower seeds right here and grow your own flower garden from seed next spring!
Jump to:
Why save perennial flower seeds?
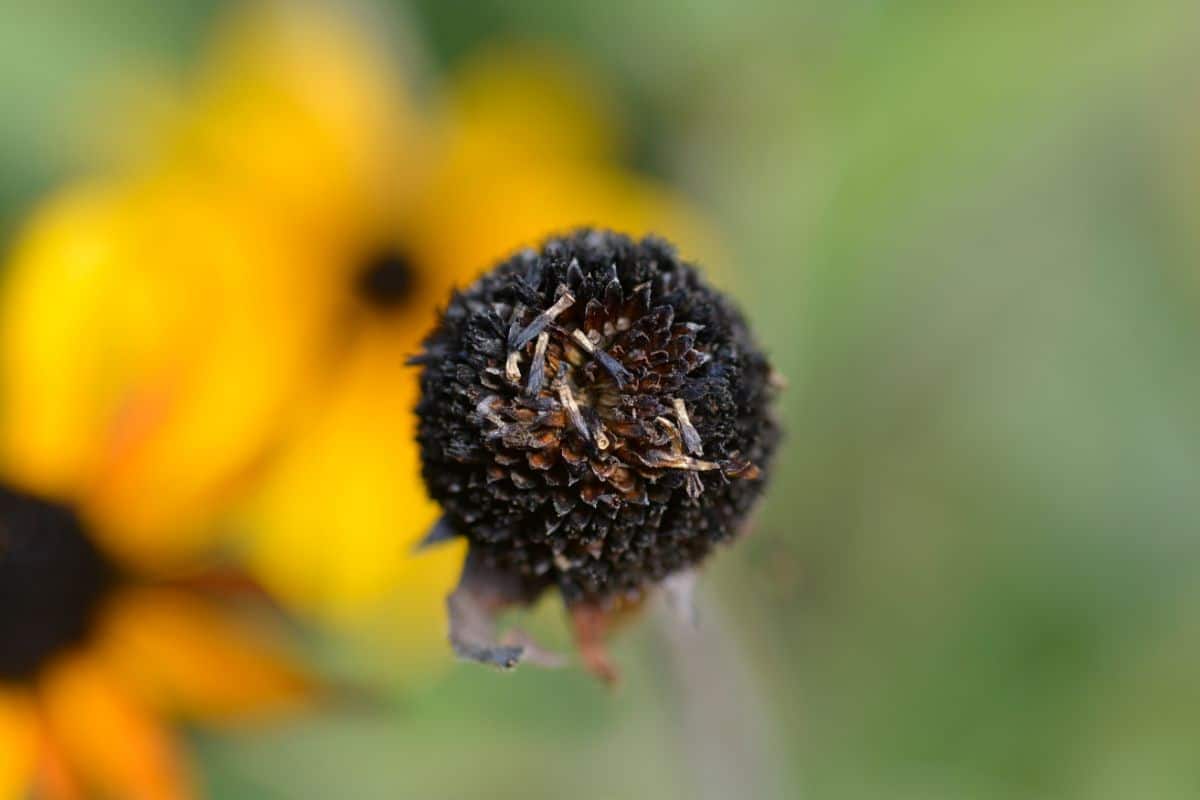
Saving your own perennial flower seeds is a lesson in self-sufficiency. While there’s nothing wrong with buying plant seeds from your favorite seed catalogs, collecting your own seeds can be a satisfying experience, and it’s also comforting to know that you can gather your own seeds! There are many reasons why you may be drawn to collecting and saving wildflower seeds; however, some of the top perks of saving your own seeds include:
- It saves money.
Buying plant starts at your local nursery can be expensive, especially if you need to buy a lot of plants for a new garden bed. Because of how costly plants can be, many gardeners resort to growing flowering plants from seeds purchased online. But there’s an even more budget-friendly solution: collecting your own seeds.
Seeds gathered from your garden or from wildflower plants are free, which means you can make tons of new plants for your garden without spending a cent. Not only that, but you’ll also be saving gas money since you won’t need to run out to the plant store every time you want to add a new plant to your garden!
- It preserves genetic diversity.
Saving seeds keeps heirloom plants going for generations, and it’s also a great way to preserve native wildflower species. Not only does this help the plants themselves, but it also supports native pollinators, which seek out the nectar and pollen in native plants and wildflowers. - You have a larger variety of seeds for planting.
If you only plant your flower beds with started plants from big box stores, you’re missing out on a lot of plant diversity! Growing plants from seed gives you many more plant options, and you’ll have even more variety if you gather your own seeds for seed starting. - You can select for certain plant characteristics.
If you’re new to saving flower seeds, you may not want to fiddle around with plant genetics. However, if you’ve been saving seeds for a while, experimenting with plant selection and hand-pollinating plants to favor certain genetic characteristics can help you develop new plant cultivars that are totally unique to you!
If you notice that certain plants flower earlier than others or they have longer-lasting blooms, you can preserve those plant characteristics by saving seeds from those particular plants. Or if one of your plants produces a totally wildflower color, save those seeds so you can grow more of those eye-catching blooms!
- It’s a learning experience!
Gardeners of all ages (and children, too!) can learn a lot by saving their own seeds. Not only does seed saving encourage us to play around with plant genetics, but seed saving also makes us pay closer attention to the world and plants around us and take note of the changing seasons as well!
How to save perennial flower seeds
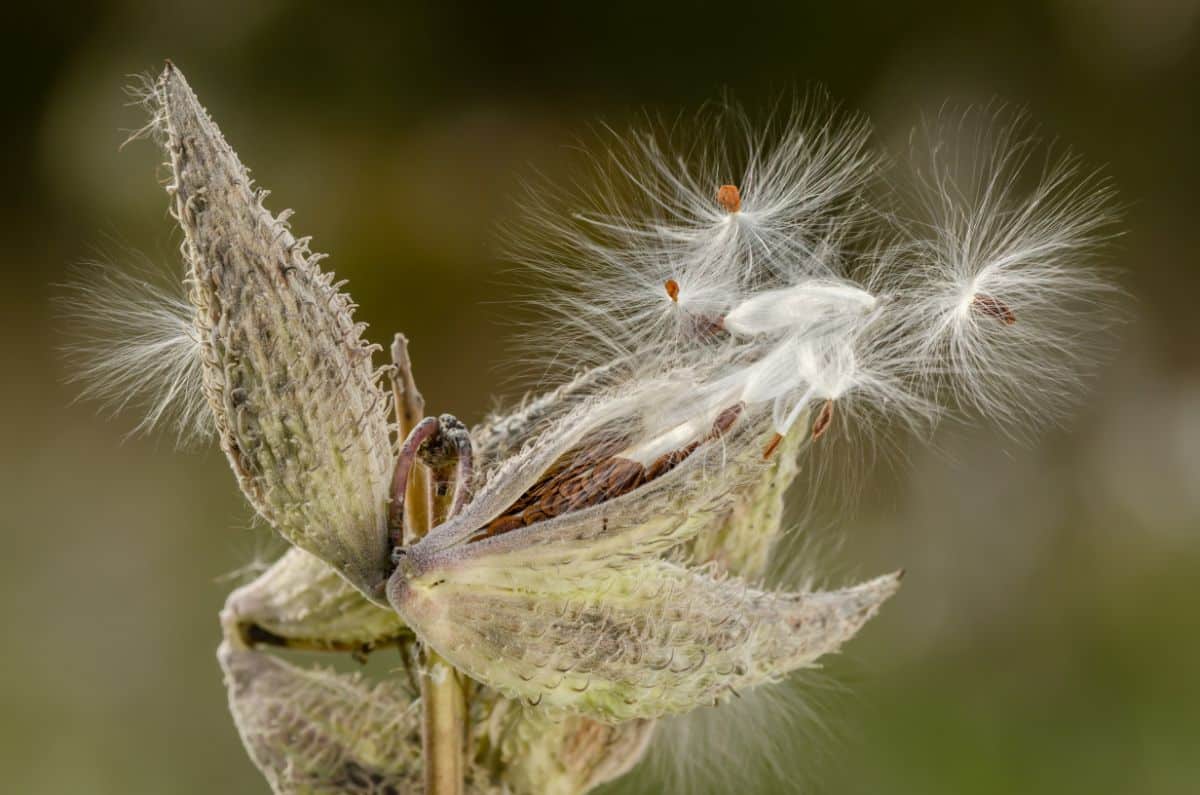
Perennial plants bloom throughout spring and summer, but their flowerheads start to fade by fall. At this time of the year, gardens are winding down for the season, and cool temperatures start to creep in. This is also the perfect time for seed saving.
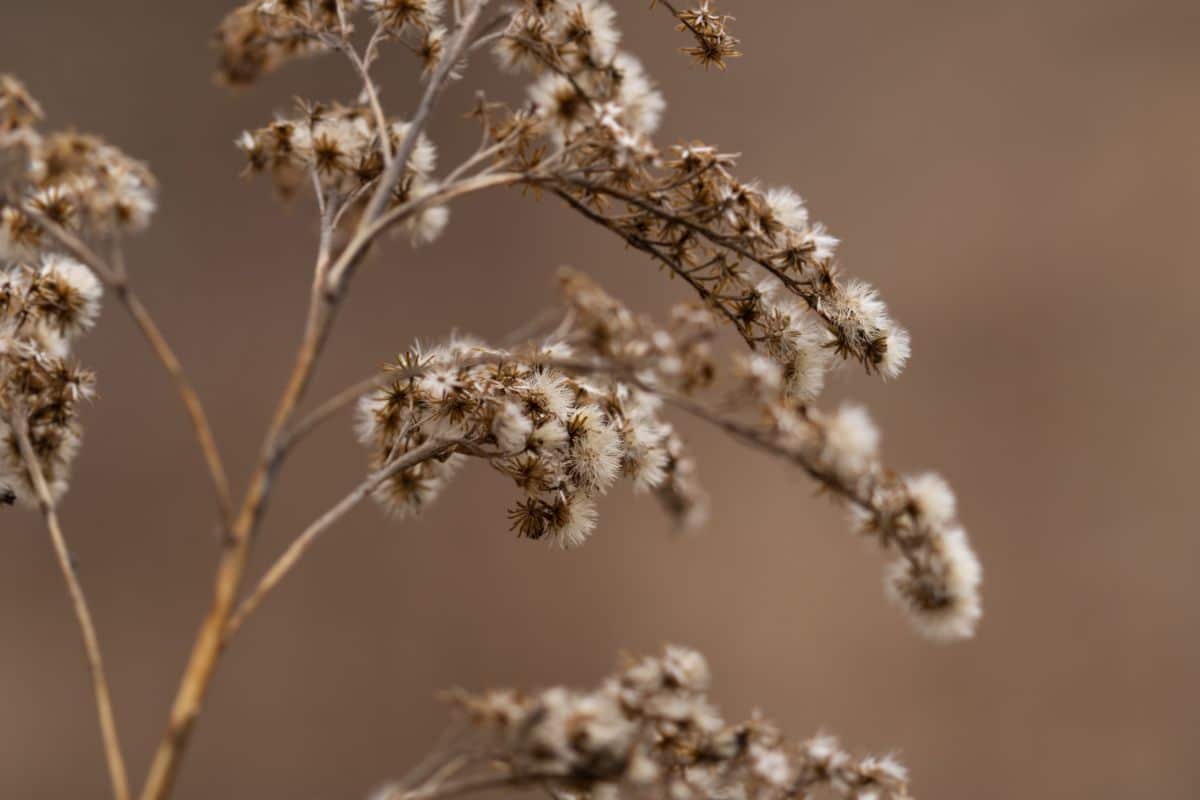
Perennial plant seeds are generally harvested in autumn, about 1 month after perennial plants have flowered. A sure sign that your perennial seeds are mature and ready to pick is when the plant’s flowers start to dry up and drop their petals. Flowerheads may look crispy and brown, and they may droop on the plant as well.
Because flower seeds are generally small and dry to begin with, they are excellent candidates for dry seed-saving methods (as opposed to wet seed-saving methods, which are used on some vegetables). That means you can allow the seedheads to fully dry on the plant before harvesting, although you’ll want to pick the dried flowers before they start dropping their seeds. You may also want to harvest your flowerheads a bit early if you’re worried about birds eating all of your seeds before you get a chance to pick them!
The best time to harvest perennial flower seeds is when the weather is dry and warm, and it hasn’t rained for a few days.
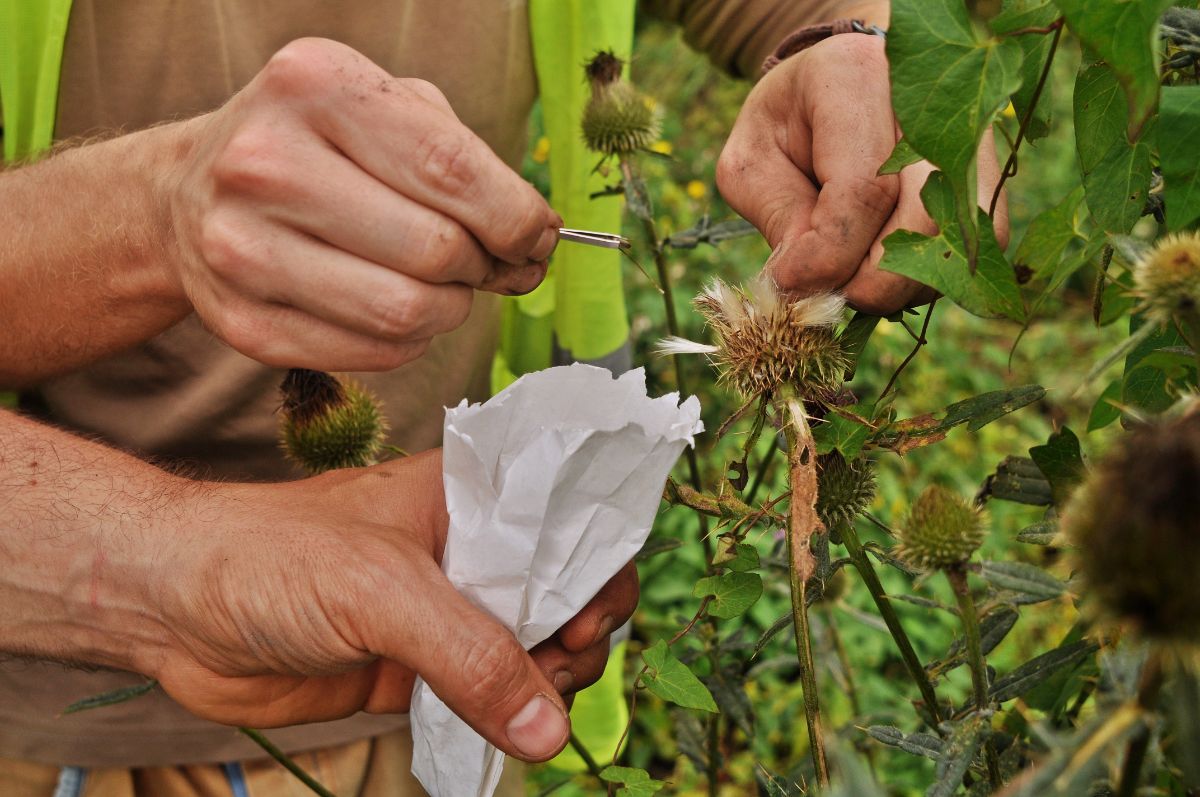
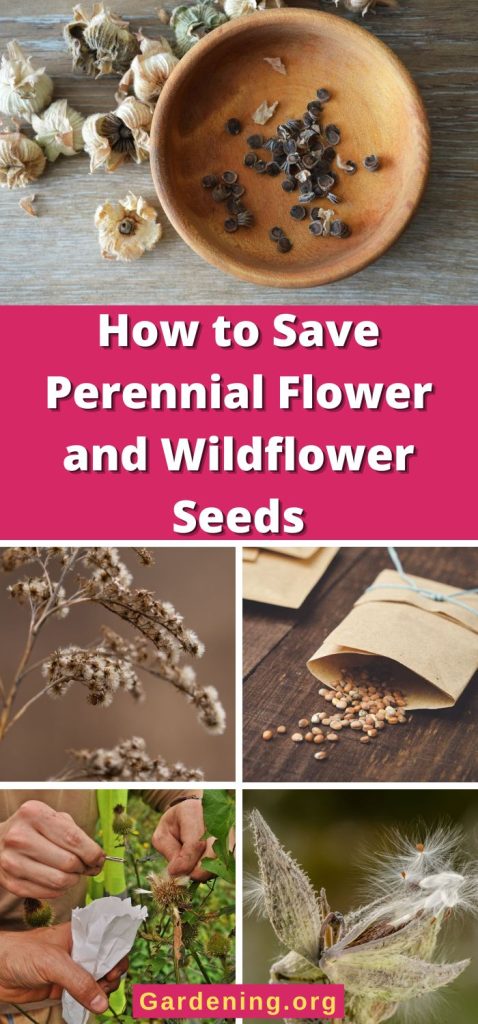
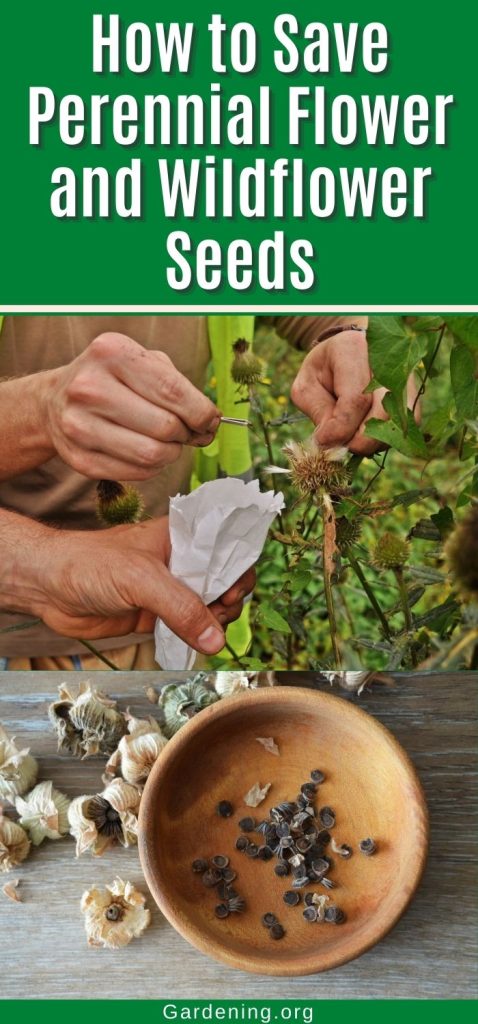
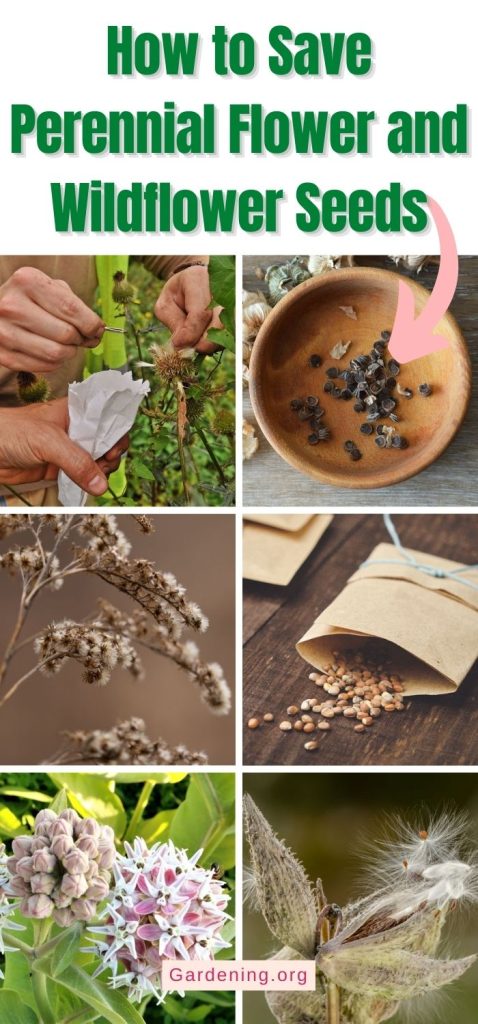
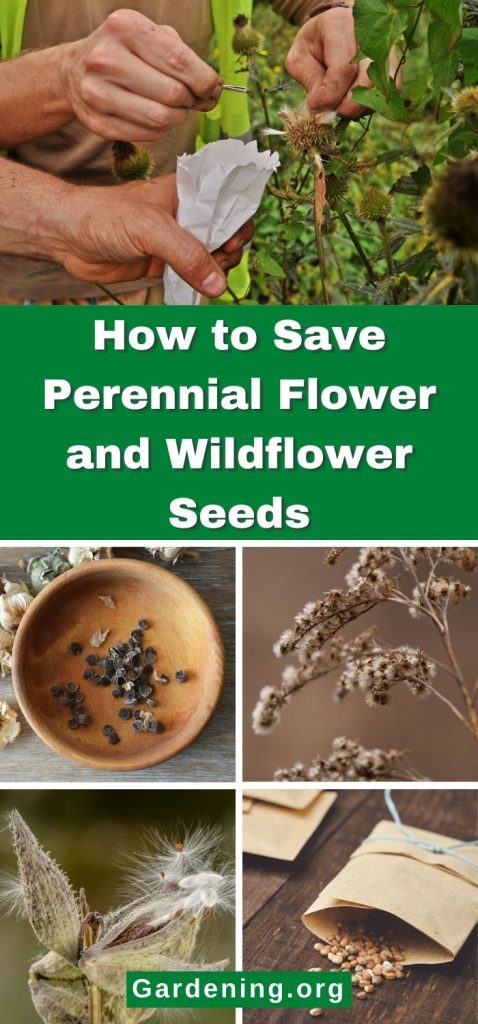
To get started, take your plant pruners or a sharp pair of scissors and nip off the dried flowerheads of the plants you’d like to save seeds from. Gather the flowerheads in a paper bag as you go to keep seeds from scattering. Some plants produce seed pods rather than seedheads, but dried seed pods can be pinched off the plants too, when the seeds feel plump and the pods feel dry.
After gathering your perennial seeds, bring the seeds indoors, lay them out in a single layer on a baking sheet, and allow them to dry out of direct sunlight in a warm, dry place for about a week. Alternatively, if you’re working with a lot of seeds, you may want to loosely place the seedheads or pods in paper bags, write the plant name on the bag, and then put the bags to the side to dry. Even if your flowerheads or pods feel dry after harvesting, drying the seeds for an extra week will ensure all moisture evaporates and that your seeds will remain fresh in storage.
Once your flowerheads or seed pods have dried for about a week, pull up a comfy chair and get to work separating the seeds from the remaining plant material. This, too, is an important step, as seedheads can sometimes harbor pests. In fact, if your flowerheads seemed very buggy after harvesting, you may want to separate the seeds from the flowerheads before drying the seeds!
How you should go about separating the seeds will differ slightly depending on the plants you’re working with. Perennials like coneflowers often drop their seeds easily if you rub your finger across the plant’s center disk, while sturdier plants and pods may need to be picked apart with your fingers. If you’re working with a lot of seeds at once, you can place the seedheads in a fine mesh colander and rub them around with your fingers to separate the seeds, or you can place the seedheads in an old coffee can with a few pebbles and give it a shake to free the seeds!
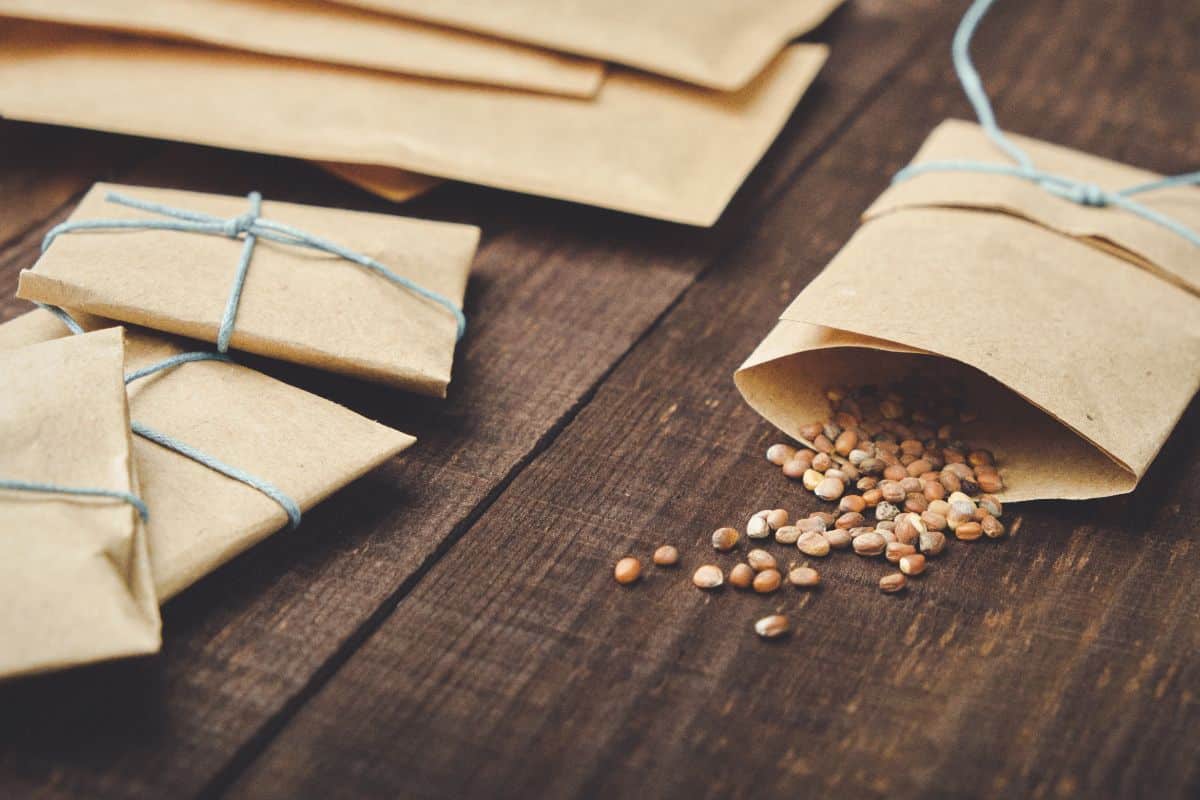
After your seeds have been separated from the chaff, place the seeds in small seed envelopes and label each envelope so you remember what seeds you gathered. The extra plant chaff can be composted or added to your burn pile.
Foraging note: If you’re gathering wildflower seeds beyond your own yard, make sure you have the proper permissions to gather seeds from the property owners. Also, when foraging from the wild, never harvest more than 1/10 of the plants you find. Leaving plants behind ensures that there will be seeds to feed wildlife and to create the next generation of wildflowers!
How to store perennial flower seeds
Most perennial flower seeds should stay viable for about 3 to 5 years when stored properly. However, you can extend the life of your seeds even further by keeping seeds cool. Seeds can even be kept in your freezer, but you’ll want to make sure the seeds are completely dry and placed in airtight packaging before they go into your icebox to prevent moisture build-up and potential freezer burn.
Generally speaking, the best way to save seeds is by placing them in paper envelopes, as these lightweight envelopes allow moisture to evaporate. Completely dried seeds can also be stored in glass jars, which is a good option if you’re worried about mice or other pests getting into your seed collection.
For best results, keep your seeds in a cool, dry place and avoid storing them in bright light or damp areas, as this will cause the seeds to spoil much more rapidly.
And, of course, don’t forget to carefully label and date your seeds so you remember what seeds you have on hand. This will also help you to keep track of how fresh your seeds are so you can remember to plant flower seeds while they’re still viable!
How to plant perennial flower seeds
After gathering perennial flower and wildflower seeds, you can share the seeds with friends or at seed swaps, or you can plant the seeds yourself in your own garden. If you decide to plant your seeds, there are three main planting methods to choose from that will work for most perennial flower seeds. What method you should choose will depend on the seeds you’re working with and your own personal planting preferences.
Many wildflower and perennial seeds need to be subjected to a period of cold in order to germinate (a process known as cold stratification). For instance, milkweed, certain types of asters, and goldenrods all need to be cold-stratified in order to germinate. But how you go about cold stratifying your seeds can vary.
Note: Many perennial seeds won’t flower until their second year, although they can grow vigorously and produce lots of leafy growth in their first year. It can be difficult to wait that long for blooms, but the satisfaction of growing your own wildflowers from seed is totally worth it!
3 Ways to Cold Stratify Wildflower and Perennial Seeds
Some perennial seeds can be planted in spring without cold stratification, but if your seeds need to be stratified, these easy methods can help.
Method one: Outdoor sowing in autumn
First, you can plant perennial seeds outdoors in autumn after the killing frosts have arrived and allow the naturally cooler temperatures of winter to cold stratify the seeds for you. This is, of course, the least demanding way to plant perennial seeds, but you may have lower germination rates. When cold stratified outdoors, seeds are more likely to be eaten by wildlife or be destroyed by moisture and mold.
If you want to go this route, simply scatter seeds across rich, prepared soil in a sheltered location in your garden and then gently water the seeds. Next, cover the seeds with a light layer of natural mulch and allow them to overwinter outdoors. When spring arrives, those flower seeds should start to perk up and sprout!
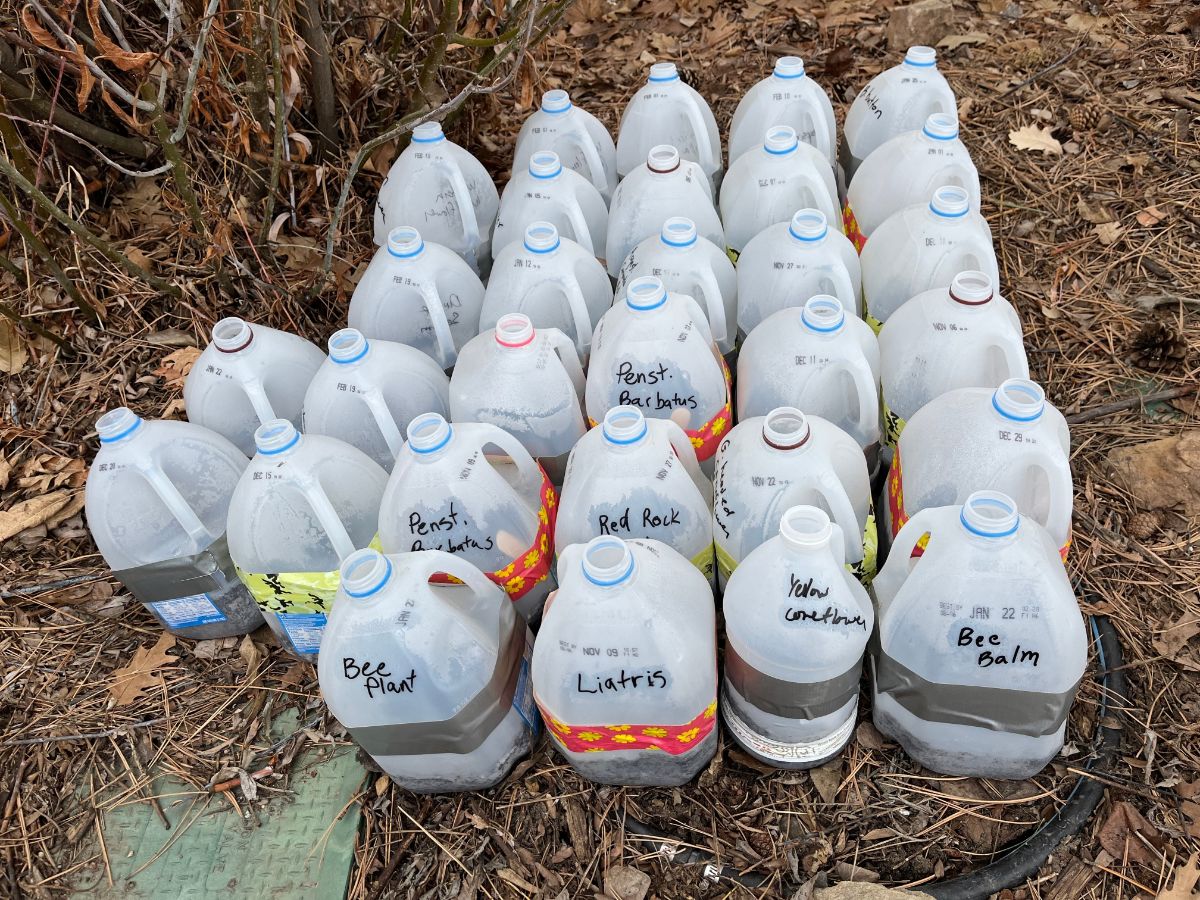
Method two: Outdoor sowing in milk jugs
Another way to cold stratify seeds outdoors is with milk jugs or other upcycled plastic containers. With this method, the milk jugs or other containers essentially work like miniature greenhouses, and they help insulate your seeds from some of winter’s chill. Plus, by keeping seeds in milk jugs, they’ll be less likely to be preyed on by wildlife!
With this method, start off by drilling drainage and airflow holes in your milk jugs with an electric drill and then slice the milk jug in half at the center. Fill up the bottom of the milk jug with seed starting mix and then plant your seeds and mist them with water. Then, tape the lid of the milk jug back in place and store your seeds outdoors in a sheltered spot that receives plenty of sun.
As winter progresses into spring and temperatures warm, gradually expose your seeds to the elements by cutting an increasingly larger hole in the side of your milk jug or remove the jug lid during the day and replace it at night. Once your seeds are a few inches tall and temperatures are warm, they can be transplanted into your garden.
Note: Don’t start your seeds too early in your milk jug greenhouse. Seeds should be planted around the winter solstice to mid-January.
Method three: Spring sowing
The final way to cold stratify wildflower seeds is the most involved, but it’s a great solution if you forgot to plant perennial seeds in autumn or you don’t want to worry about overwintering seeds indoors. With this method, seeds are started in spring, and cold stratification is replicated indoors using the cool temperatures of your refrigerator!
For small quantities of seeds, spread your seeds out in a single layer on a moistened paper towel and place the paper towel in a plastic baggie. Then slip the baggie into your fridge for a few weeks to trick your seeds into “thinking” they’ve experienced a full winter. If you’re working with larger quantities of seeds, you can mix the seeds into moistened sand and store the sand in a baggie in the fridge instead.
Most seeds need to be stratified between 2 and 6 weeks to germinate, but it’s a good idea to research the particular type of seed you’re working with to determine exactly how long they should be chilled before planting. After the period of cold stratification has passed, plant your seeds in seed starting mix indoors in pots or directly sow your seeds outdoors in your garden if temperatures are warm enough.
Best perennials for seed saving
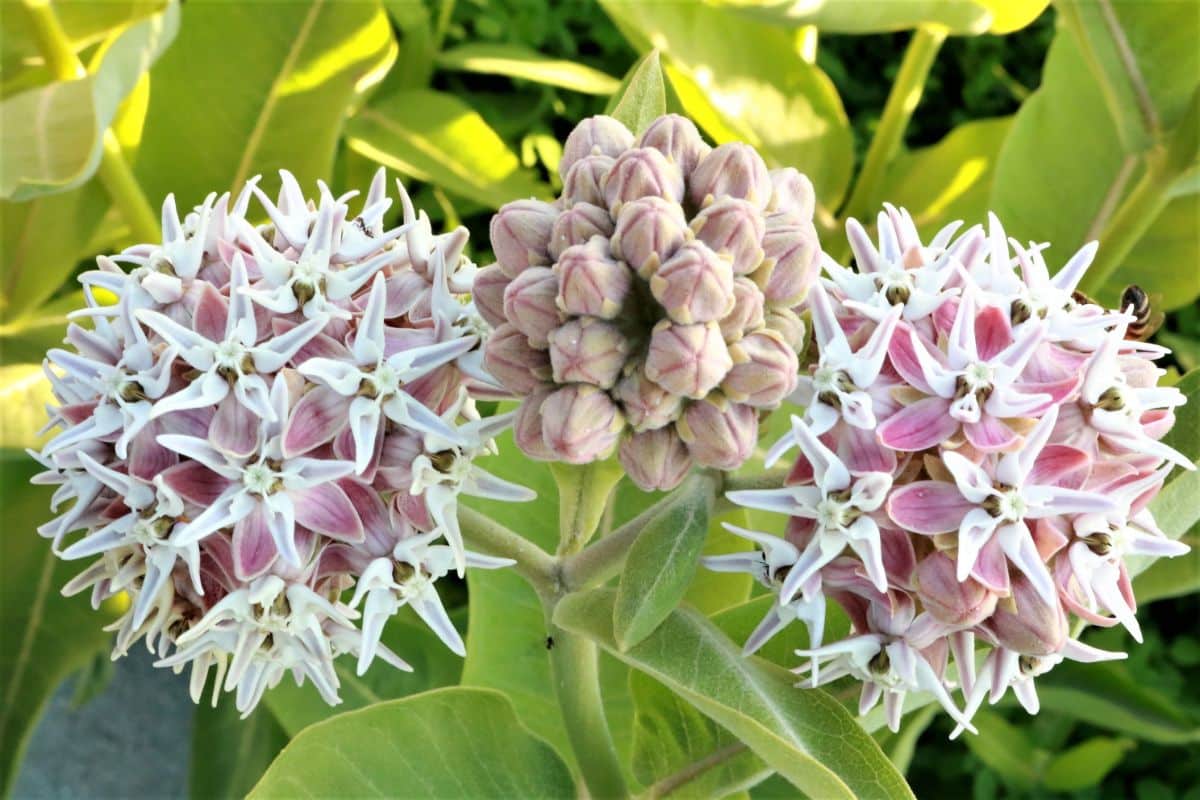
The best types of perennial flowers for seed saving tend to be open-pollinated, heirloom, and old-fashioned cultivars, as well as many species of native wildflowers. You can also try to collect seeds from hybrid perennial plants; however, hybrid seeds often produce plants that don’t look like their parent plants.
No matter what plants you’re working with, saving perennial flower seeds is a relatively simple process. But, if you’re new to saving seeds, you may want to start out by saving seeds from these beginner-friendly plants:
- Black-eyed Susan
- Coneflower
- Milkweed
- Goldenrod
- Meadow rue
- Veronica
- Asters
- Joe Pye weed
- Blackberry lily
- False sunflower
Frequently asked questions
Timing your planting correctly is very important for seed health, and if you plant seeds too early, you risk spoiling your new plants. Planting seeds outdoors too early in fall increases the chance that seeds will be eaten by wildlife or rot in rainy fall weather. On the other hand, if you plant seeds out too early in spring and the seeds germinate, any late frost that occurs is likely to kill off your newly germinated seeds.
Yes, you can technically just throw down wildflower seeds, and some may germinate. However, you’ll get better results if you prepare the soil first, remove any existing plants, and mix some compost into the soil for extra nutrients.
Different plants may prefer spring or fall sowing, so it’s a good idea to research the plants you’re working with before you start. That said, many gardeners find it easier to plant perennial seeds outdoors in fall and allow the seeds to cold stratify through the winter. Spring planting may take more work, but it is a great solution if you’re worried about pests eating your seeds over the winter months.
That depends. Some wildflower seeds may grow better if they’re lightly covered with soil; however, many wildflower seeds require light to germinate, and they won’t sprout if you cover them. For this reason, you’ll always want to research the specific planting requirements of the seeds you’re working with before you start sowing.
Yes! Seeds from many common annuals, including cosmos, marigolds, and sunflowers, are very easy to save, and collecting your own seeds can save you a lot of money at planting time. Even better, many annual plants will naturally self-sow if you don’t deadhead the spent blooms.
Soaking certain plant seeds before sowing can boost germination rates, and it’s particularly beneficial for plants with large seeds, such as nasturtiums. However, many wildflowers have very small seeds, which are difficult to work with and even harder to presoak. As a result, you may want to skip soaking seeds -- most wildflower seeds will germinate just fine without it!
Summary
Collecting your own wildflower and perennial seeds is a great way to save money in your garden and make your flower beds that much more productive! Many perennials are ideal for seed saving, but heirloom plants and old-fashioned cultivars are particularly good for this process. Many wildflowers also produce viable seeds that can be gathered along hiking trails, roadways, and more.
As long as you time your seed harvest correctly and store your flower seeds the right way, you should be able to gather perennial seeds with ease. Then all that’s left to do is sow your seeds in spring or fall and sit back and wait for those gorgeous, homegrown perennials to sprout!
If you’re in the seed-saving spirit and would like to learn even more, we have a full guide on seed saving for beginners right here. You may also enjoy our article on the best seeds to save for the self sufficient gardener, or if you’re feeling particularly adventurous, you may like our guide on unusual seeds to try in home gardens!

Leave a Reply