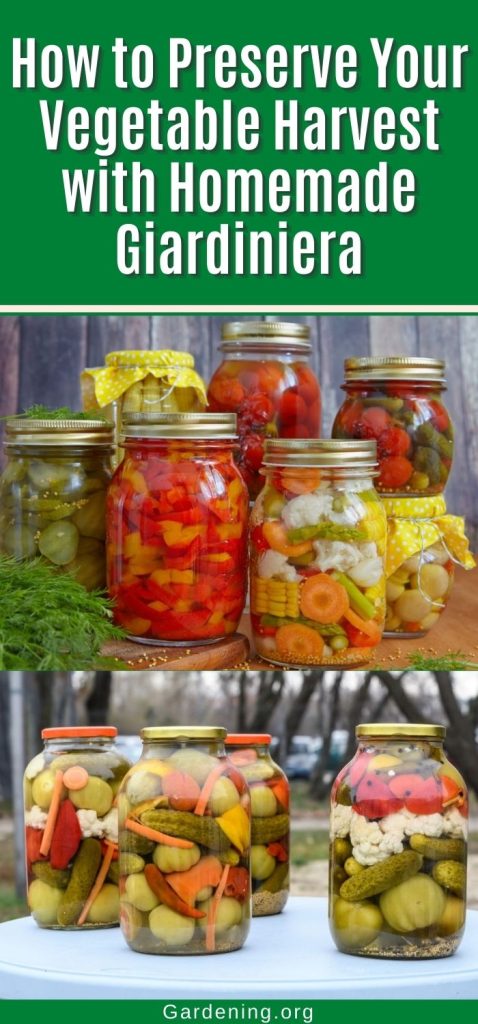
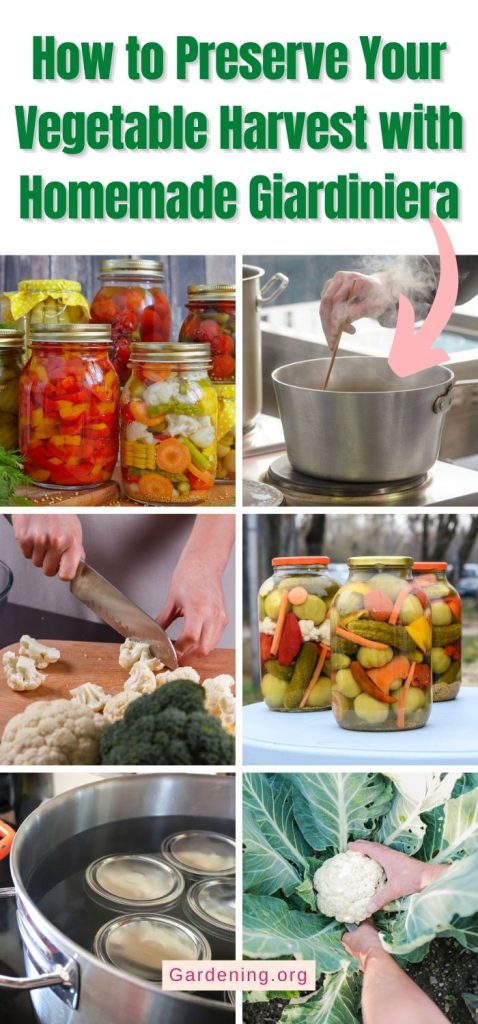
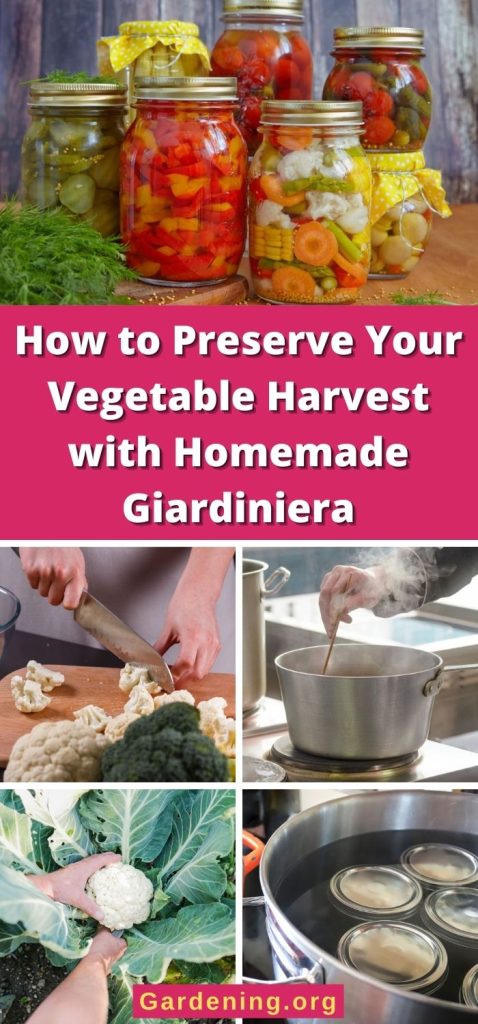
Once your garden starts producing, you may feel like your kitchen is overrun with more veggies than you can use fresh. One option is to freeze or can those vegetables individually, but another (and arguably tastier) option is to make homemade giardiniera!
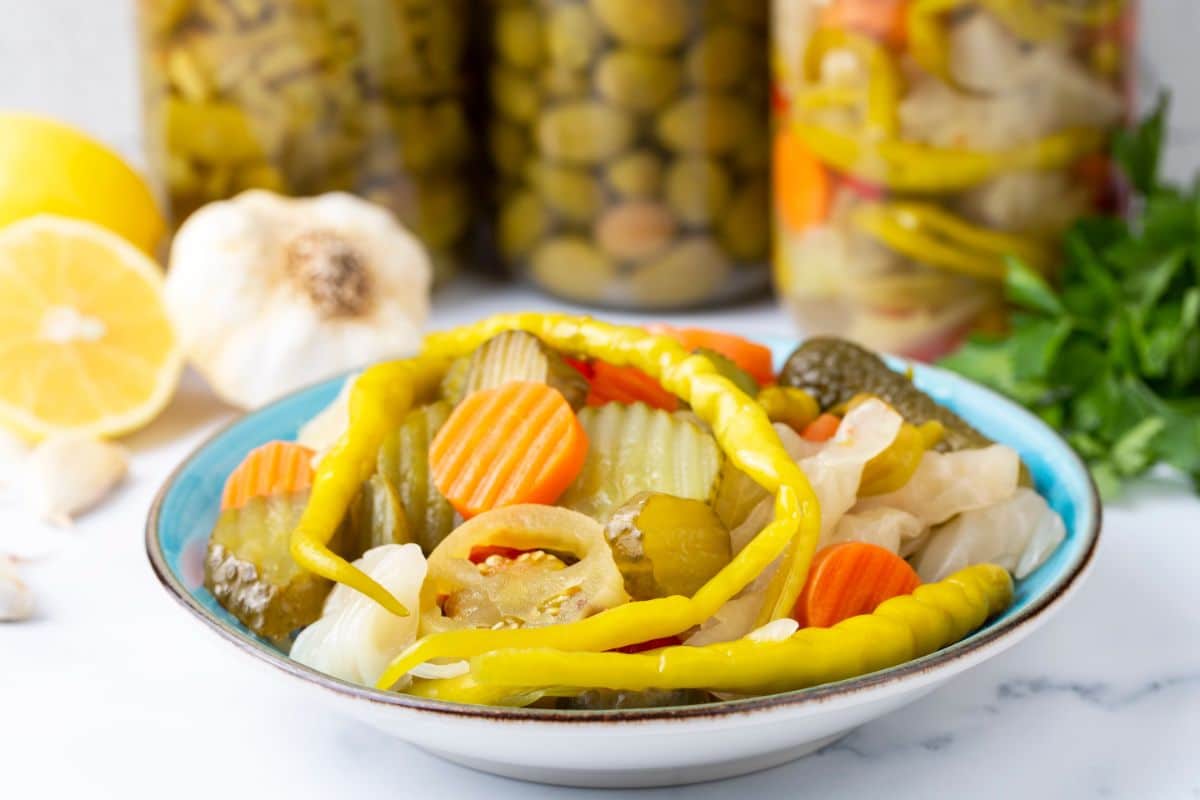
Giardiniera is a traditional preserved vegetable dish that transforms an assortment of different seasonal vegetables into a tangy and crunchy condiment or snack. Making your own homemade giardiniera will allow you to savor your homegrown produce throughout the winter, but canned giardiniera also makes a fantastic gift around the holidays. Below, you’ll find everything you need to know about giardiniera, including its history, an easy recipe, and suggestions on how to serve this flavorful treat!
Jump to:
What is giardiniera?
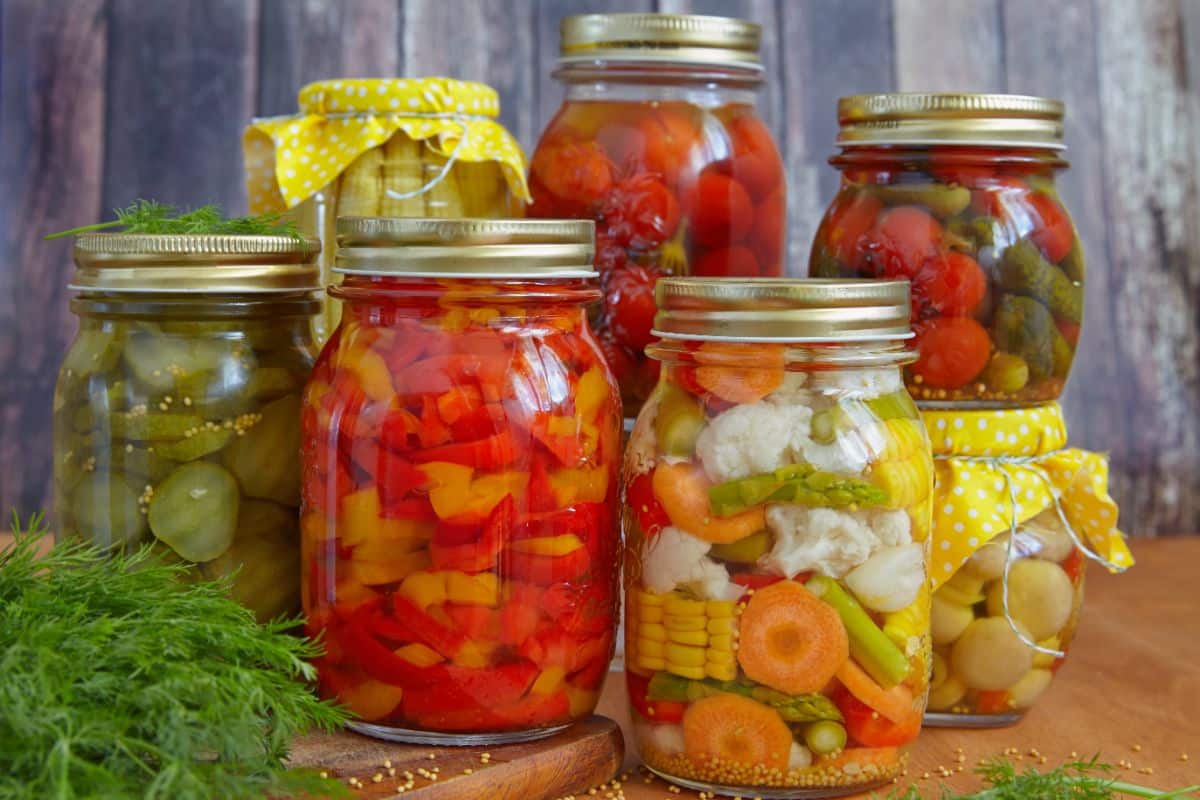
Giardiniera (pronounced Jee-ar-de-NYER-ah) is a traditional Italian pickled vegetable dish that uses vinegar to preserve an assortment of different summer vegetables. Often served before a meal on an antipasto platter, giardiniera has a distinct tang that’s intended to whet the appetite and get the stomach juices flowing. But while giardiniera is a fine complement to meals, it’s also a delicious condiment, and it makes a delightful snack all on its own.
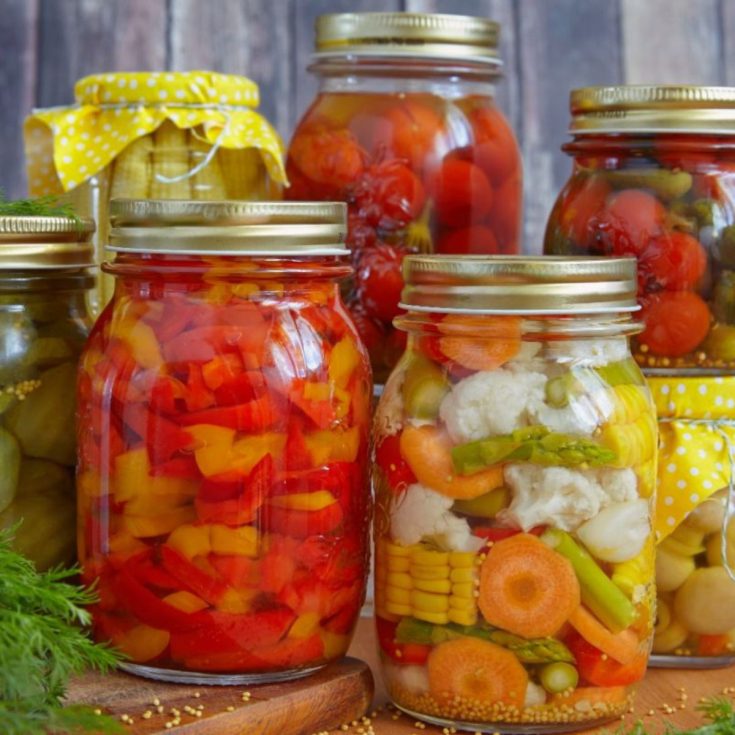
In Italy, giardiniera is sometimes also known as "verdure sottaceto," which roughly translates into vegetables under vinegar. What those vegetables are, however, is rarely specified as most cooks use whatever vegetables are at hand to concoct their giardiniera. Most classically, Italian giardiniera often includes carrots, cauliflower, green beans, onions, peppers, and celery, but recipes can vary depending on what vegetables are in season.
Why make giardiniera?
Because it’s delicious! Whether you serve giardiniera on salads, pasta, or charcuterie boards, giardiniera has a mouthwatering, tangy flavor with a nice balance of sweetness and crunch. Some giardiniera blends are spicy, too, while the individual veggies all contribute their own unique textures and flavors to the dish.
But beyond being scrumptious, there’s another main reason why gardeners and chefs have been canning giardiniera for generations. That’s because it’s a wonderful way to preserve a vegetable harvest, ensuring that nothing goes to waste.
Giardiniera can be made at the end of the season, although it can also be canned throughout the summer months. If your garden is growing prolifically and you have more peppers, onions, carrots, or other vegetables than you know what to do with, preserving them in a batch of giardiniera prevents waste and creates a delicious summer memento that you relish even in the depths of winter.
Different types of giardiniera
The most classic type of giardiniera comes from Italy, and it’s a simple dish using whatever vegetables are in season. Those vegetables are generally left in large pieces and preserved in a vinegar base, which can be flavored with spices like bay leaves and oregano. The main goal of Italian-style giardiniera is to preserve seasonal vegetables, and this giardiniera type looks right at home on a charcuterie board.
The other main style of giardiniera you may encounter is the Chicago-style giardiniera. This giardiniera type evolved out of the Italian giardiniera, and it was first developed by Italian American immigrants in the late 19th century.
Chicago-style giardiniera is a bit different from the original in that it is mostly intended to be a condiment for sandwiches and other dishes. To this end, the vegetables in Chicago-style giardiniera are usually chopped finer so they can be easily spread on sandwiches. The vegetables are also essentially preserved twice – they’re first pickled in vinegar, and then the vinegar is drained away, and the vegetables are steeped in olive oil.
Another major difference with Chicago-style giardiniera is that this variety often contains more peppers than the Italian giardiniera. Sport peppers or chili flakes are sometimes included in Chicago-style giardiniera, which increases the heat factor and adds a perfect amount of spice.
In America, you’re more likely to encounter Chicago-style giardiniera, which is often sold in glass jars with a charming label. However, if you find a canned giardiniera with larger pieces of veggies and a vinegar base, there’s a good chance it was made in the Italian style.
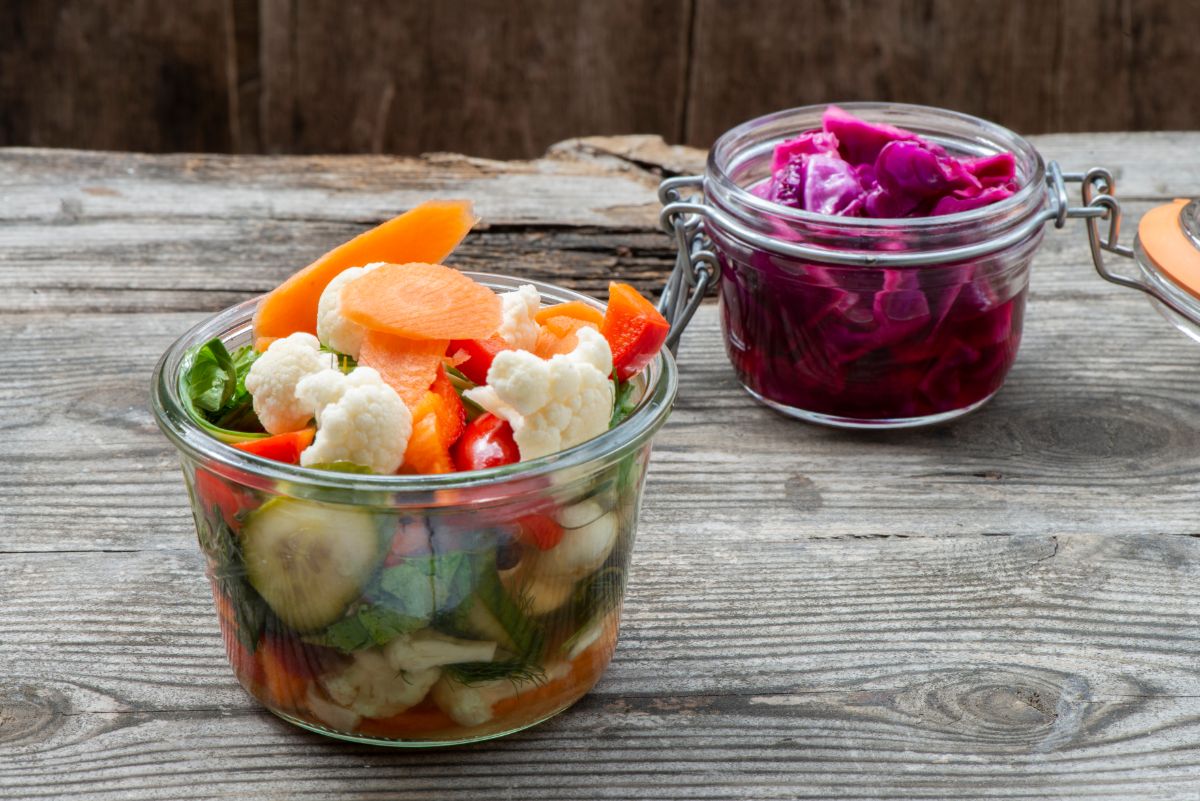
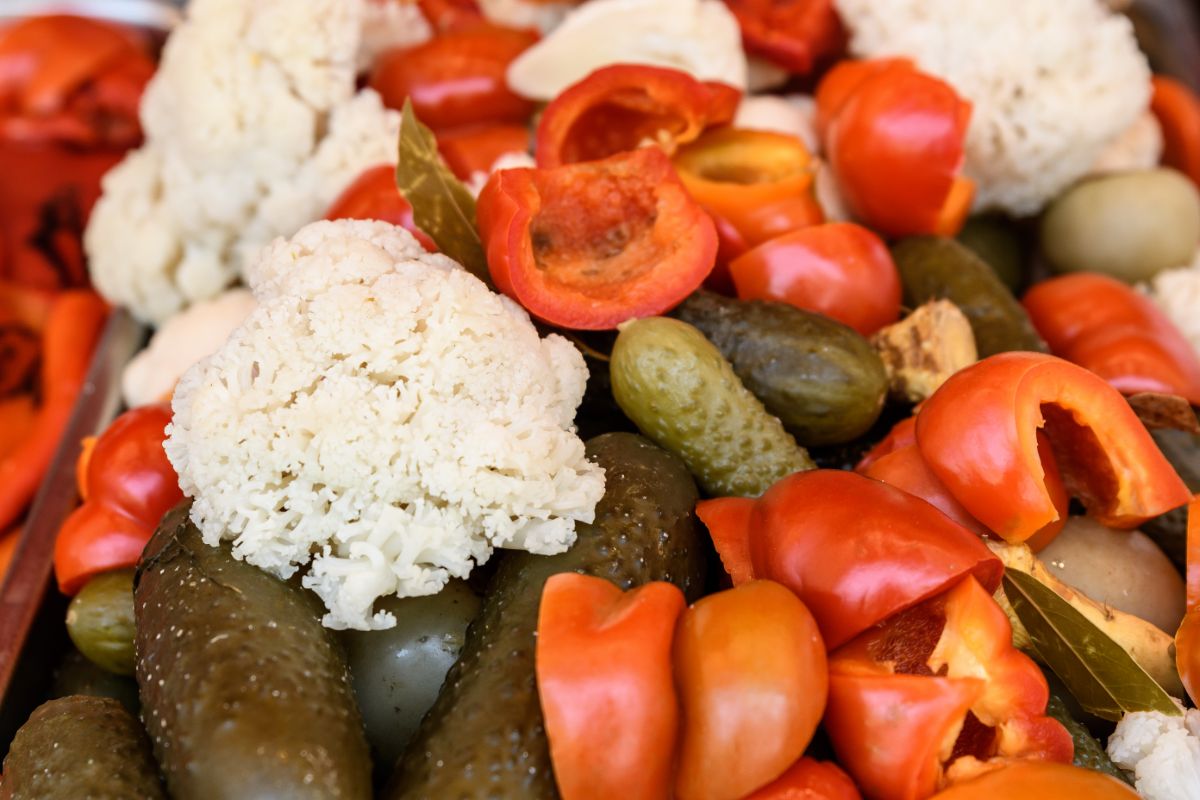
Beyond these two primary varieties of giardiniera, there are countless other variations of this dish that you can make at home. You can switch up the variety of vegetables you use in your recipe, or you can increase or decrease the amount of spicy peppers to vary the heat level. Some chefs also include olives or gherkins in their recipes for an extra savory flavor.
How to make classic Italian giardiniera in 10 easy steps
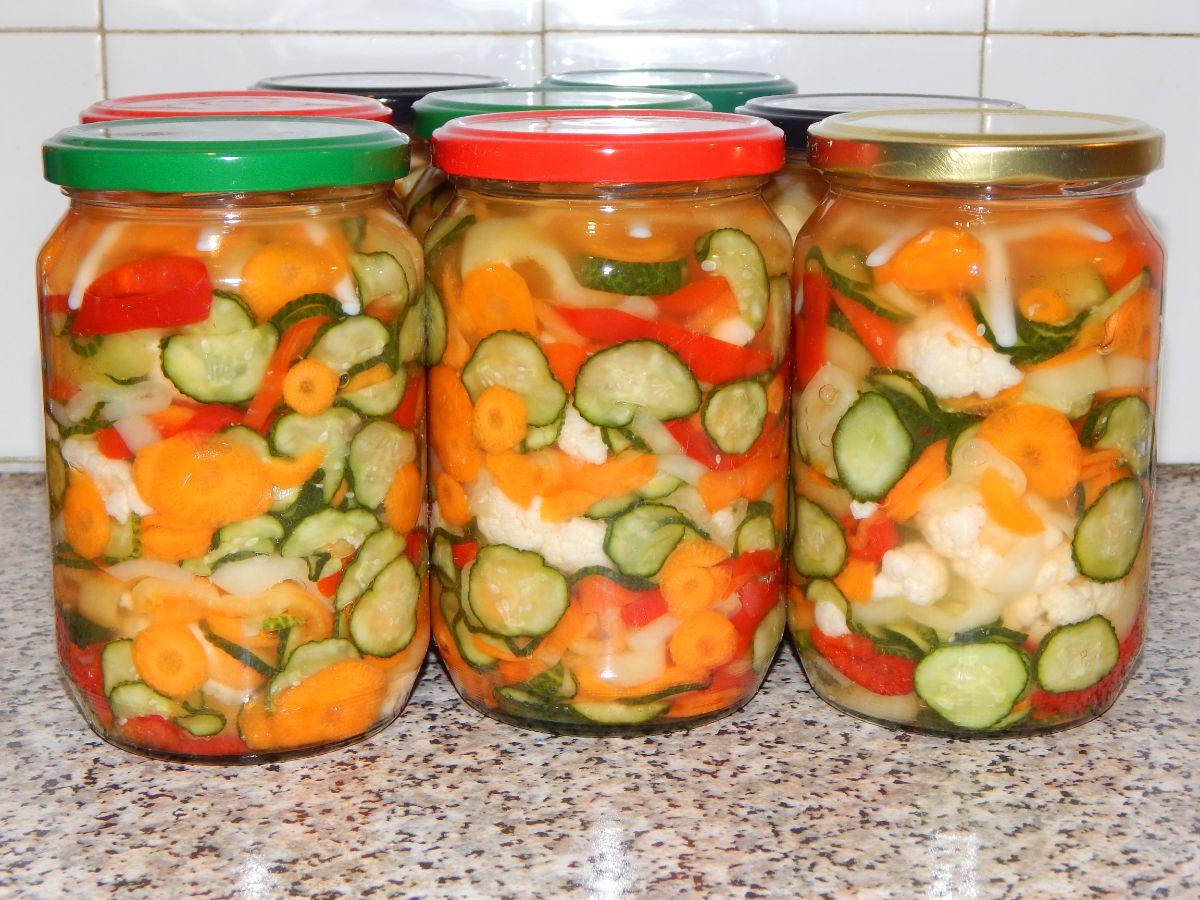
Has all this talk of giardiniera made you hungry? Well, then, this simple recipe for authentic Italian giardiniera is just what you’re looking for. With this recipe and your favorite garden veggies on hand, you can make a simple and delicious giardiniera that you can enjoy all year round!
What you’ll need:
- Seasonal garden produce, specifically: about 1 cup of pearl onions, 3 carrots, 4 stalks of celery, 2 cups of cauliflower, 2 bell peppers, 1 cup of green beans, and 6 cloves of garlic.
- Water
- ¼ cup of salt
- 2 cups of white distilled vinegar
- 1 cup of white wine vinegar
- 1 teaspoon of white sugar
- 4 bay leaves
- 2 tablespoons of peppercorns (any color)
- 2 teaspoons of dried oregano
- 1 teaspoon of fennel seeds
- 2 teaspoons of red pepper flakes (optional)
- Knife
- Cutting board
- Large bowl (ideally with a lid)
- Large stock pot
- Colander
- Ladle
- Mixing spoon
- Glass canning jars
- Canning lid rings
- New canning lids
- Canning funnel
- Optional – Canning equipment, including a large stock pot, canning rack, canning jar lifter, and clean cloths.
The process
- Prep your veggies.
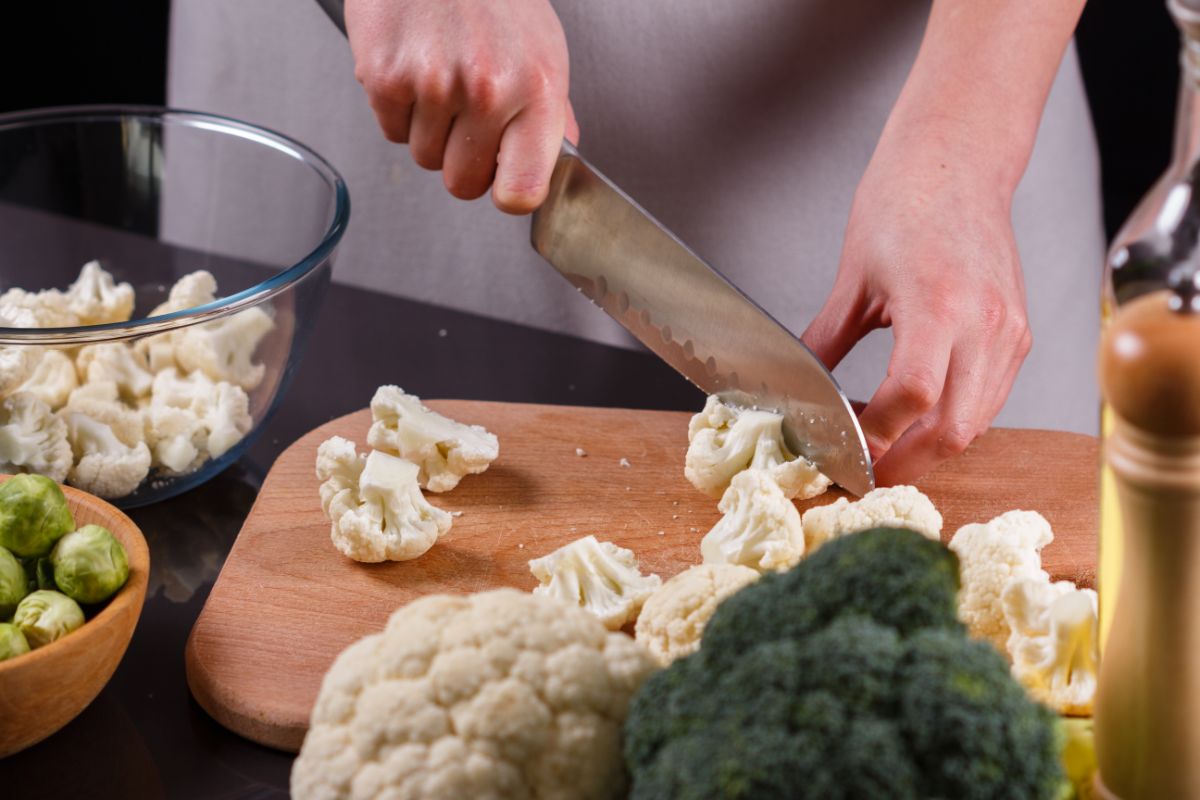
To make homemade giardiniera, you’ll first need to prep your veggies. Use the vegetable measurements listed above and then cut away any stems or blemishes and chop the veggies into bite-sized pieces. The onions and garlic should both be peeled, and the garlic should be finely sliced or diced.
After preparing your vegetables, add them to the large mixing bowl.
- Mix your brine.
Next, pour the salt and water into the large mixing bowl (ideally, the bowl should have a lid). Use as much water as you need to cover the vegetables.
Stir the vegetables, salt, and water together well until the salt is completely dissolved.
- Allow everything to marinate.
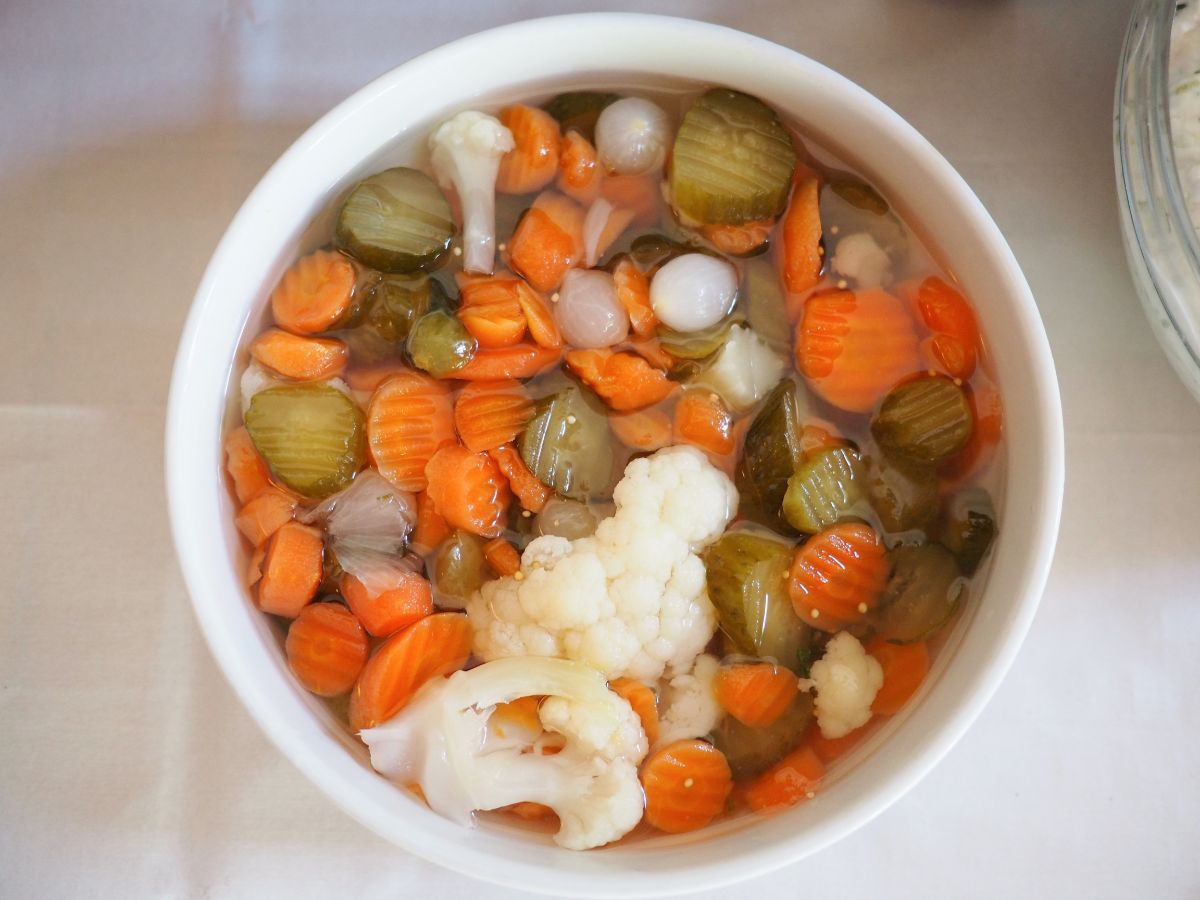
Now, fasten the lid on the mixing bowl (if your bowl has a lid) or cover the bowl up with a clean kitchen towel or a beeswax wrap. Then allow the mixture to marinate at room temperature for about 12 hours (or overnight).
- Drain the vegetables.
After marinating the vegetables for at least 12 hours, use a colander to drain the salted brine off the vegetables, and then give the vegetables a good rinse in your kitchen sink. Allow the vegetables to drain again in the colander.
- Make your vinegar mixture.
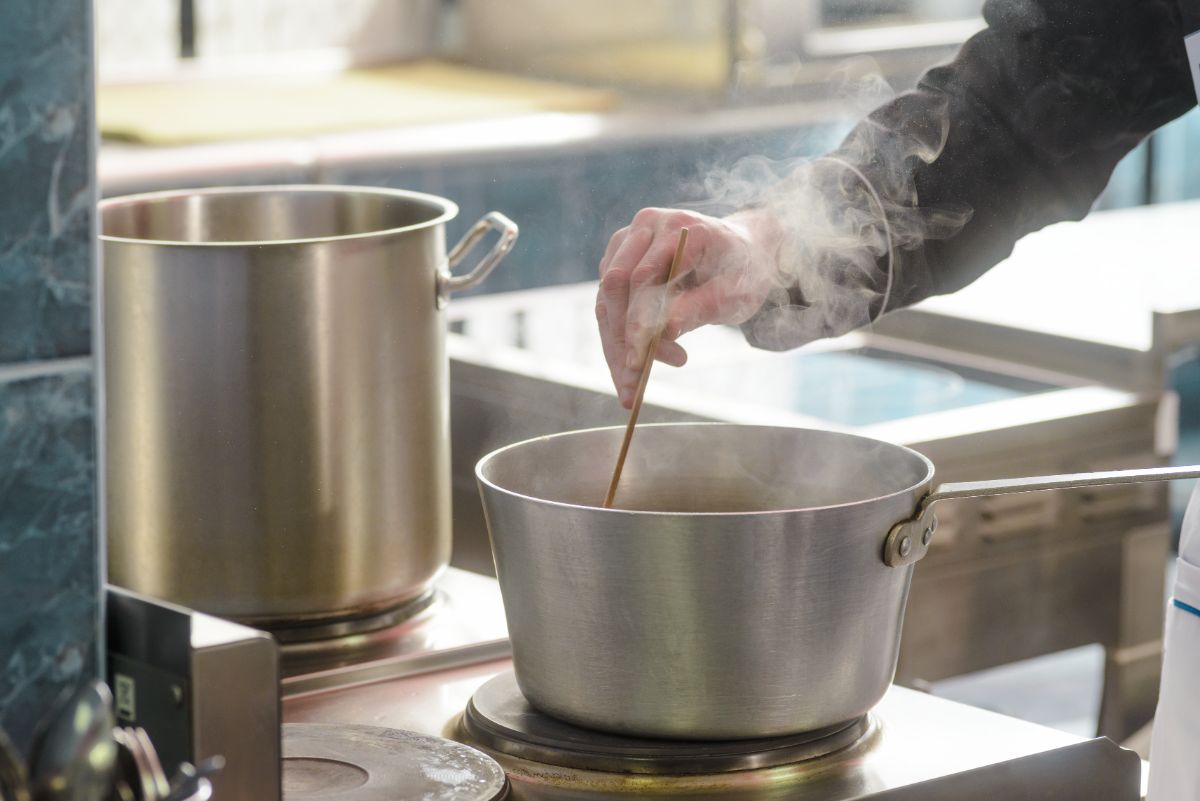
While the vegetables are draining, begin to make your vinegar mixture. To do this, add your white wine and distilled vinegar to a large stock pot and then stir in the sugar and all of the dried spices. Then heat the mixture on high.
- Cook your vegetables.
As the vinegar mixture is heating up, carefully ladle your vegetables into the stock pot. Give everything a good stir, and then bring the vegetable mix to a boil.
- Pack your jars.
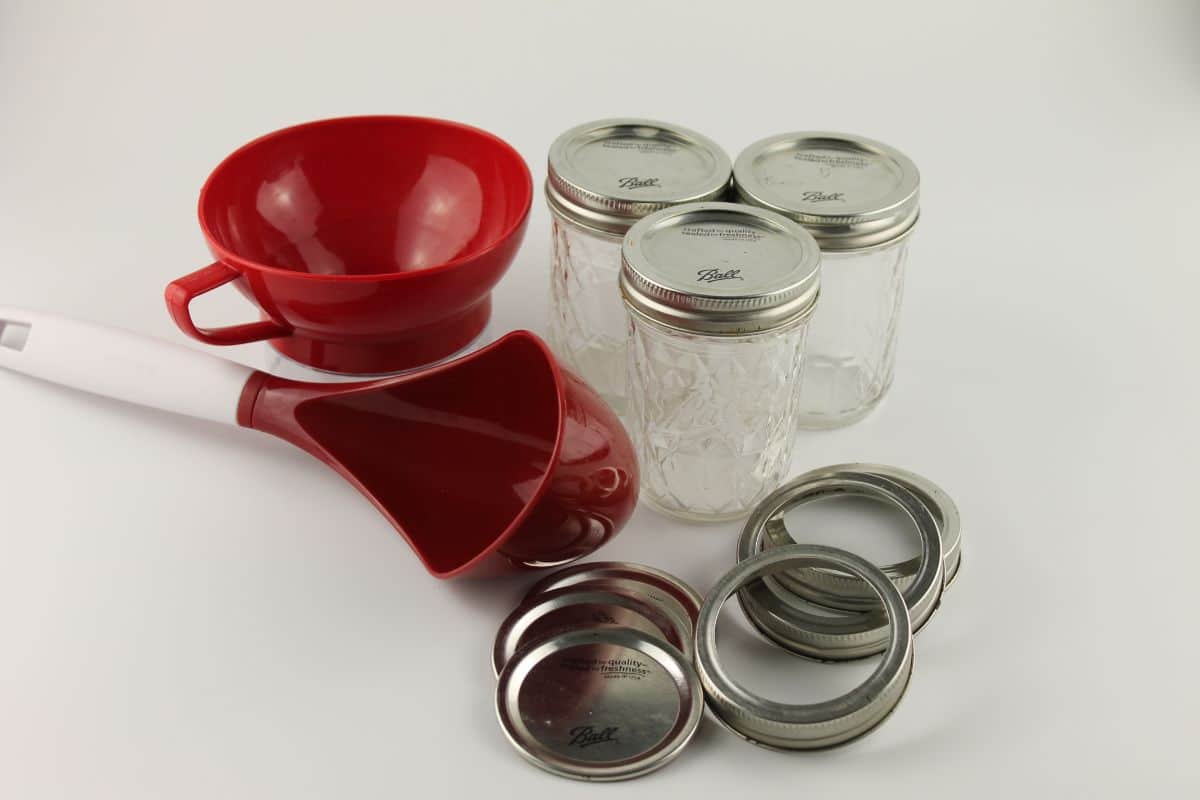
When the mixture starts to boil, remove the stockpot from the stove and ladle the vegetable mixture into clean and sterilized canning jars. To prevent spills, use a canning funnel. Use a spoon to really pack the vegetables into the jar and remove any air pockets.
- Add the vinegar.
Next, use your ladle to scoop up the remaining hot vinegar brine and pour it over the vegetables in the canning jars, leaving about ½” of headspace. If you’re new to canning, this guide on canning headspace can help.
- Screw on your canning lids.
After filling up the jars, wipe the rims of your jars dry with a clean cloth, then screw on the canning lids. If you intend to can your giardiniera, make sure you use new canning lids, as canning lids are single-use and won’t seal properly when reused. Canning rings, however, can be reused as long as they aren’t rusted.
If you don’t want to can your giardiniera, you can store your jars in your refrigerator for about one month. However, if you want to keep your homemade giardiniera even longer, proceed to the last step for water bath canning instructions!
- Water bath can your jars (optional).
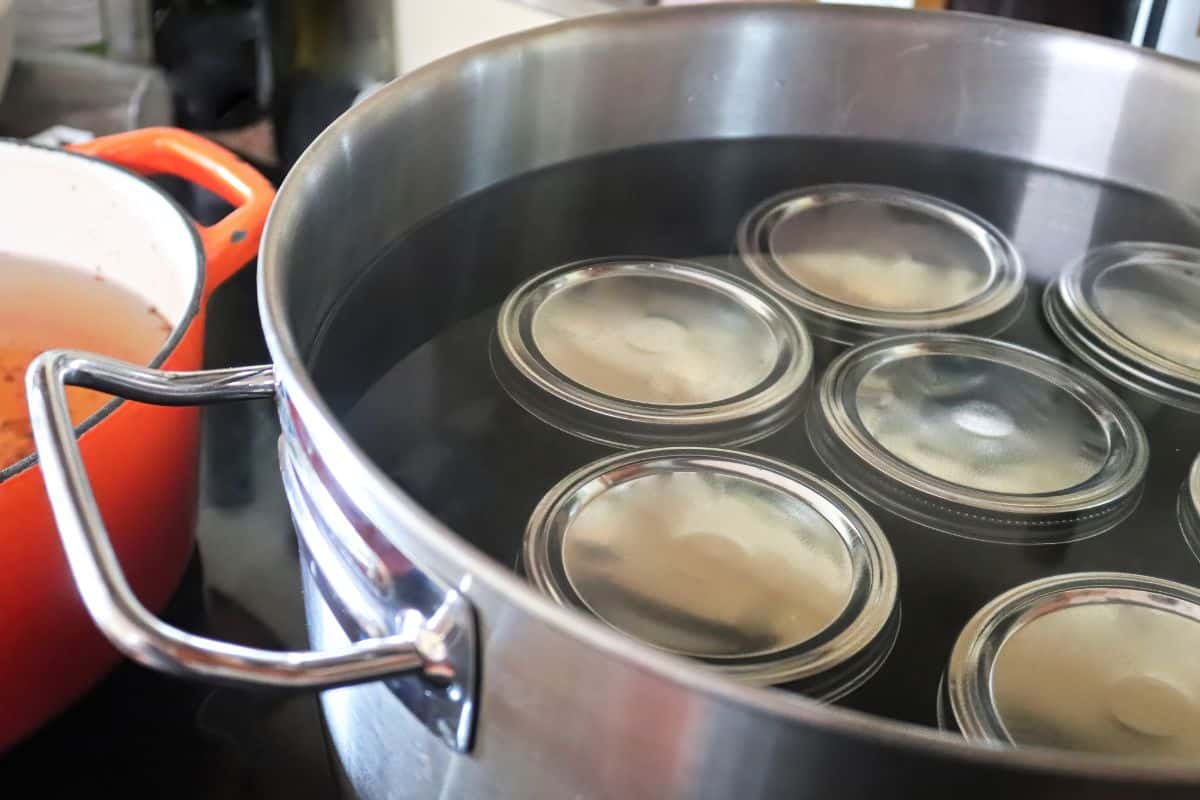
To can your giardiniera, first place your canning rack and jars in your large stock pot and then fill up the remainder of the stock pot with water. Your jars should be covered with at least 1 to 2” of water at all times during canning. To avoid cracked jars, fill up your stockpot with water that is approximately the same temperature as your giardiniera.
Place your stockpot on the stove and turn the heat on high. Bring the water to a boil and then allow your jars to process in the boiling water for 10 minutes. It can be helpful to keep another pot of boiled water nearby in case you need to add extra water to your canning pot as the water evaporates. Jars should always be covered with at least 1” of water during processing.
Tip: If you live 1000 feet above sea level, increase the processing time by 5 minutes. If you’re 5000 feet above sea level, increase the processing time by 10 minutes.
After processing your jars, turn off the stove and carefully remove the jars from the boiled water with a jar lifter. Place the jars upright on a clean towel and allow them to cool for 24 hours. To ensure a good seal, do not touch the jars' lids until the jars are completely cooled.
While the jars are cooling, you should hear a little popping sound. This is good, and it means your jars have sealed properly!
Once the jars are cooled, test the lids to double-check that they are completely sealed. If any jars didn’t seal right, store those jars in the fridge and use them up within a month.
If the jars did seal correctly, wipe the jars down with a clean cloth and then remove the canning rings from the jars (keeping the lids in place, of course!) Store your finished jars upright in a pantry or other cool, dry place out of direct sunlight. For the best flavor, allow your giardiniera to cure for at least a week before digging in!
Tip: Don’t forget to label your giardiniera cans and date them too! This will help you keep track of your canned goods so you always use them at the right time for peak flavor and texture. You can use adorable sticker labels or simply write a date on your jar lid with a permanent marker.
How long does giardiniera last?
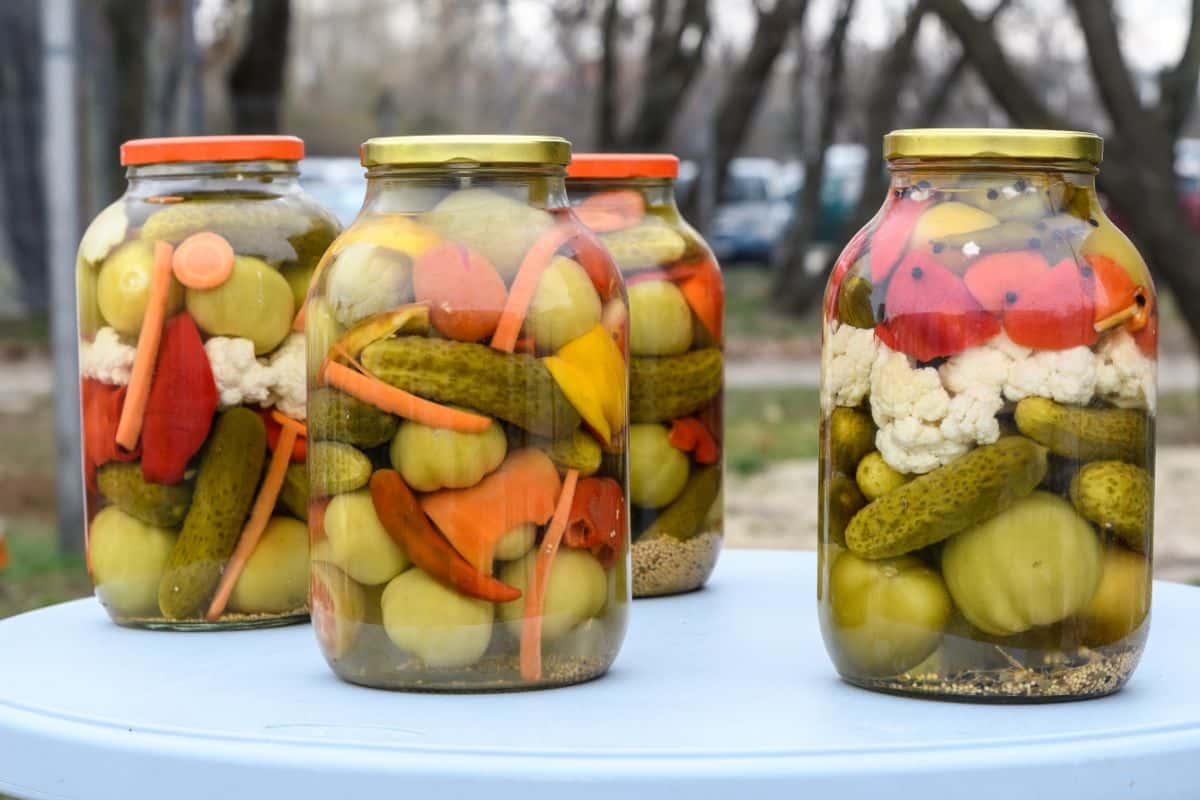
Giardiniera that’s not been processed with canning will last in your fridge for about one month. However, if you’d like to keep your giardiniera around for a lot longer, you’ll need to process your jars with water bath canning. Pressure canning is not recommended for preserving giardiniera as it can result in overcooked and overly soft veggies.
After water bath canning, giardiniera will retain its flavor, color, and texture for about a year. In fact, properly canned giardiniera can last even longer than that, but the quality of home canned goods generally start to decline after one year.
How to use giardiniera

Giardiniera is scrumptious on its own, and it can be enjoyed like pickles on the side of hamburgers and sandwiches. You can also use giardiniera in a classic way and eat it as an antipasto before a meal, or you can plate it up on a charcuterie board along with assorted meats, creamy cheeses, and crunchy toast and crackers.
If you want to get more creative with giardiniera, you can also use it to top salads, pasta, hamburgers, hot dogs, sandwiches, subs, tuna salad, pasta salad, bratwurst, pizza, omelets, and more. For that traditional Chicago-flare, you can also chop giardiniera into smaller pieces, which will make it easier to spread onto Italian beef sandwiches. Essentially, giardiniera can be used just about any place where you’d usually use pickles!
Sometimes during canning season, it’s easy to get a bit “over-inspired,” and you may end up with more cans of giardiniera than you can use. In that case, giardiniera makes a fabulous hostess gift, or you can package it up with other specialty foods in a darling gift basket and present it to your loved ones around the holidays.
Similar veggie preserves you may also love!
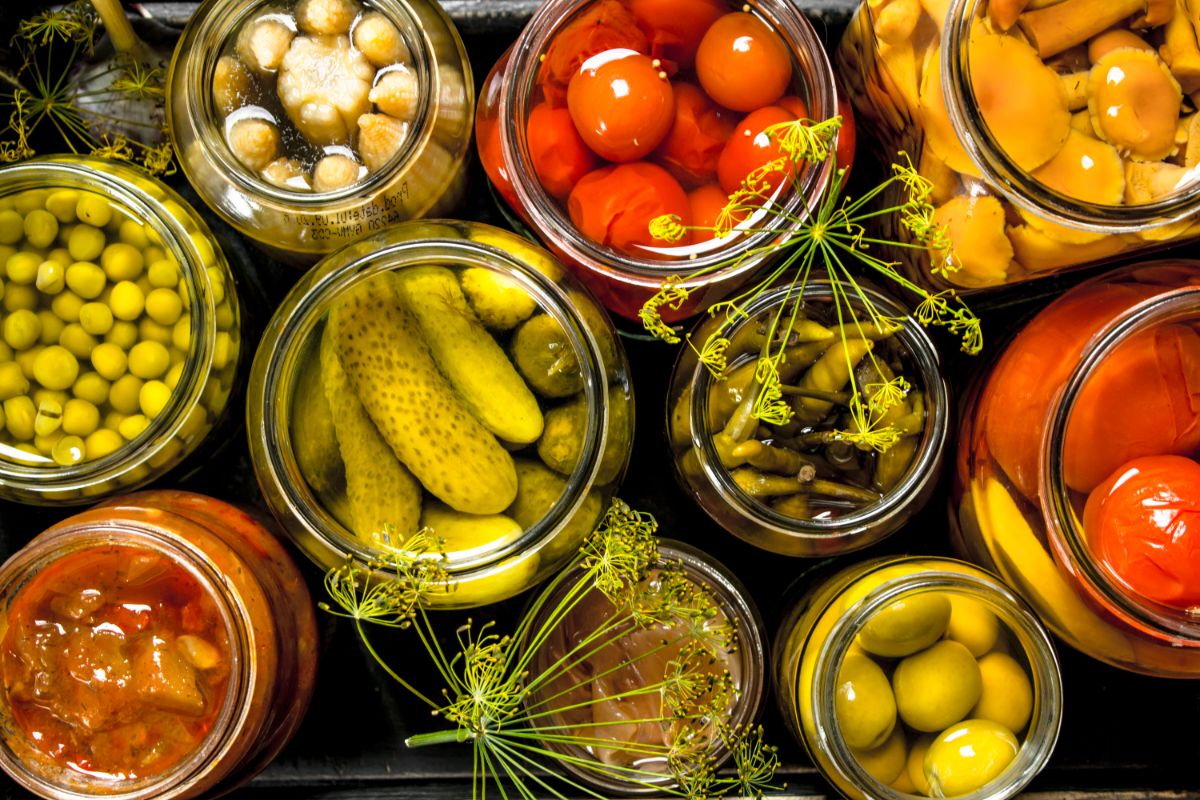
If you adore giardiniera, but you’re looking for more inspiration on how to preserve your vegetable harvest, you may want to try out other pickling or canning recipes. Of course, making your own pickles is an obvious choice, or you may want to try your hand at making other canned goods with vinegar bases, like dilly beans, dilly carrots, or pickled garlic. Beyond that, there are other mixed vegetable canned goods that may also delight anyone with a hankering for giardiniera.
Some similar mixed vegetable preserves from around the world include:
- Piccalilli
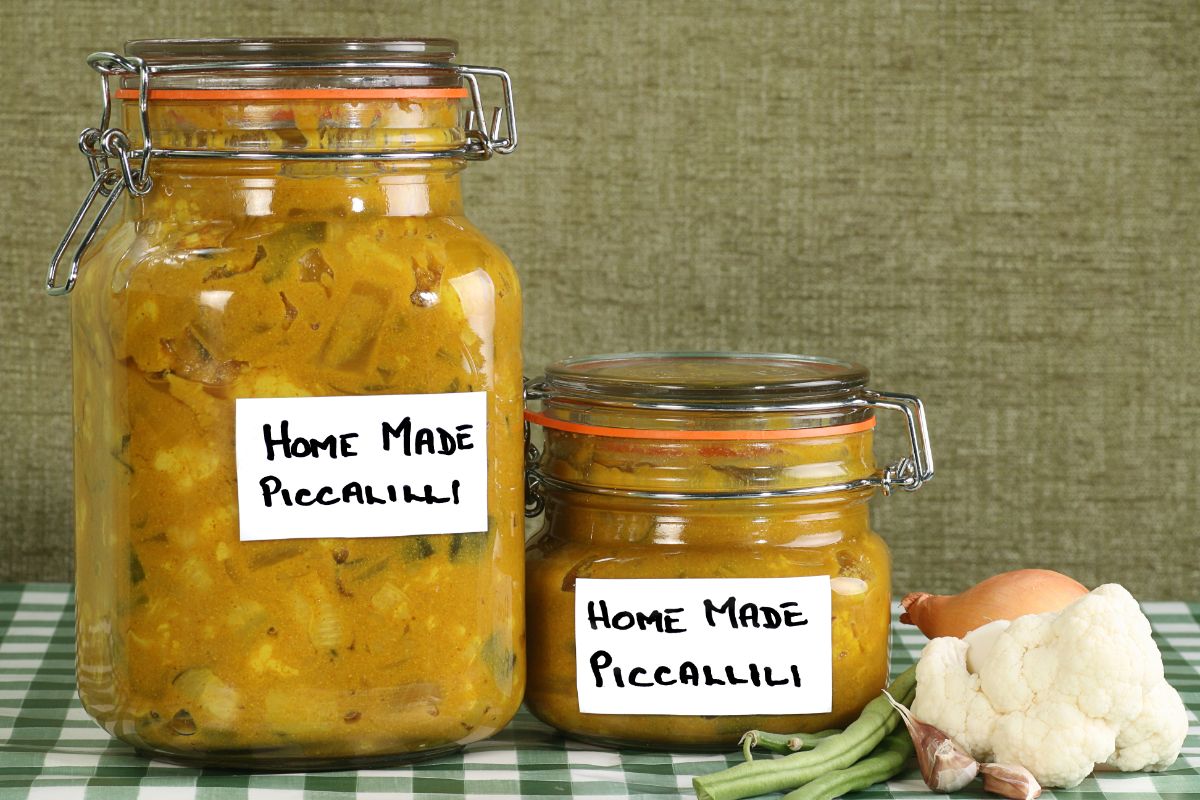
Also known as “mustard pickle,” piccalilli is a British take on a pickled dish from Southeast Asia. Like giardiniera, piccalilli includes an assortment of seasonal vegetables, but piccalilli uses different spices, like mustard, turmeric, ginger, and nutmeg. Piccalilli also makes a fine complement to charcuterie boards, or it can be used like relish on sandwiches, sausages, and other dishes.
- Encurtido
Encurtido is another mixed vegetable preserve with a delightfully tangy vinegar flavor. Encurtido is used as a condiment throughout Central America, and it’s particularly popular in Mexico and Honduras. Since encurtido usually includes jalapenos or other hot peppers, this pickle is often used to add extra heat to dishes.
- Do Chua
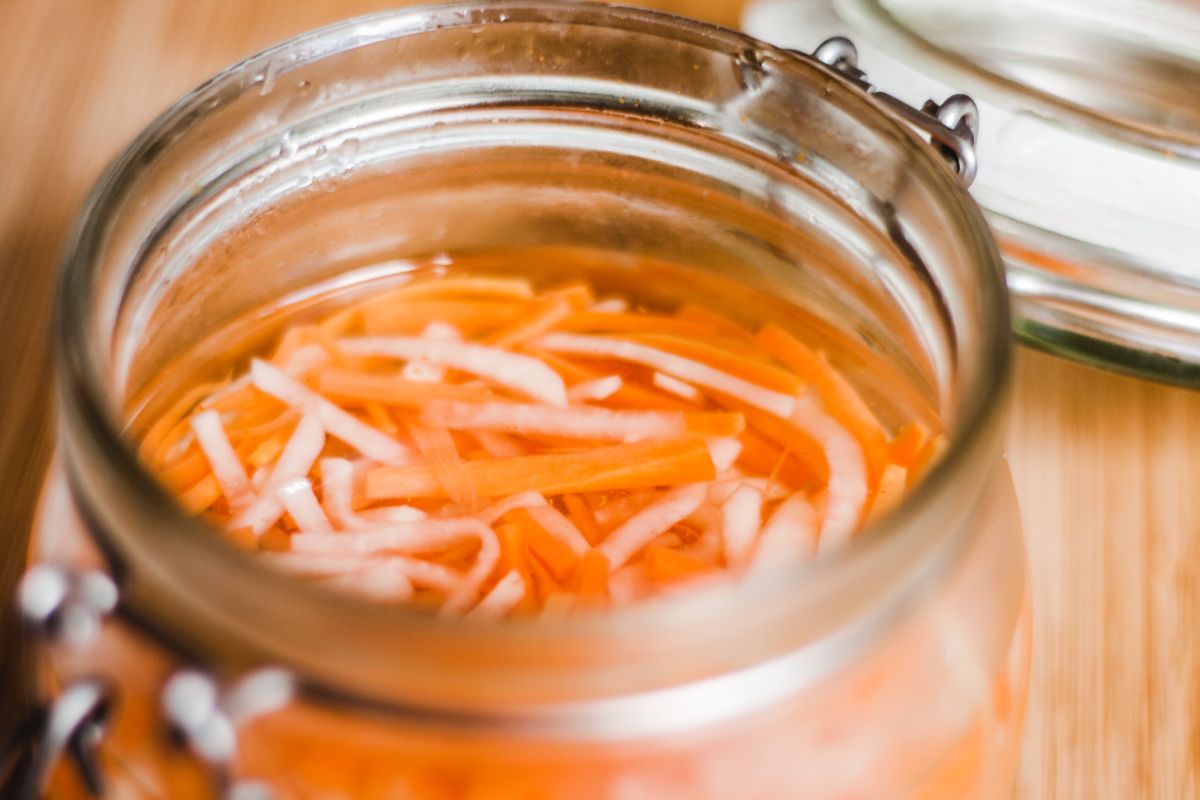
Do chua is a Vietnamese pickle that’s commonly eaten as a topping on banh mi sandwiches. Do chua typically features just two vegetables -- daikon radishes and carrots – but you can also throw in some hot peppers for extra spice. Additionally, do chua usually employs a rice vinegar base, which has a subtler flavor than the distilled vinegars that are commonly used in other pickle recipes.
- Torshi
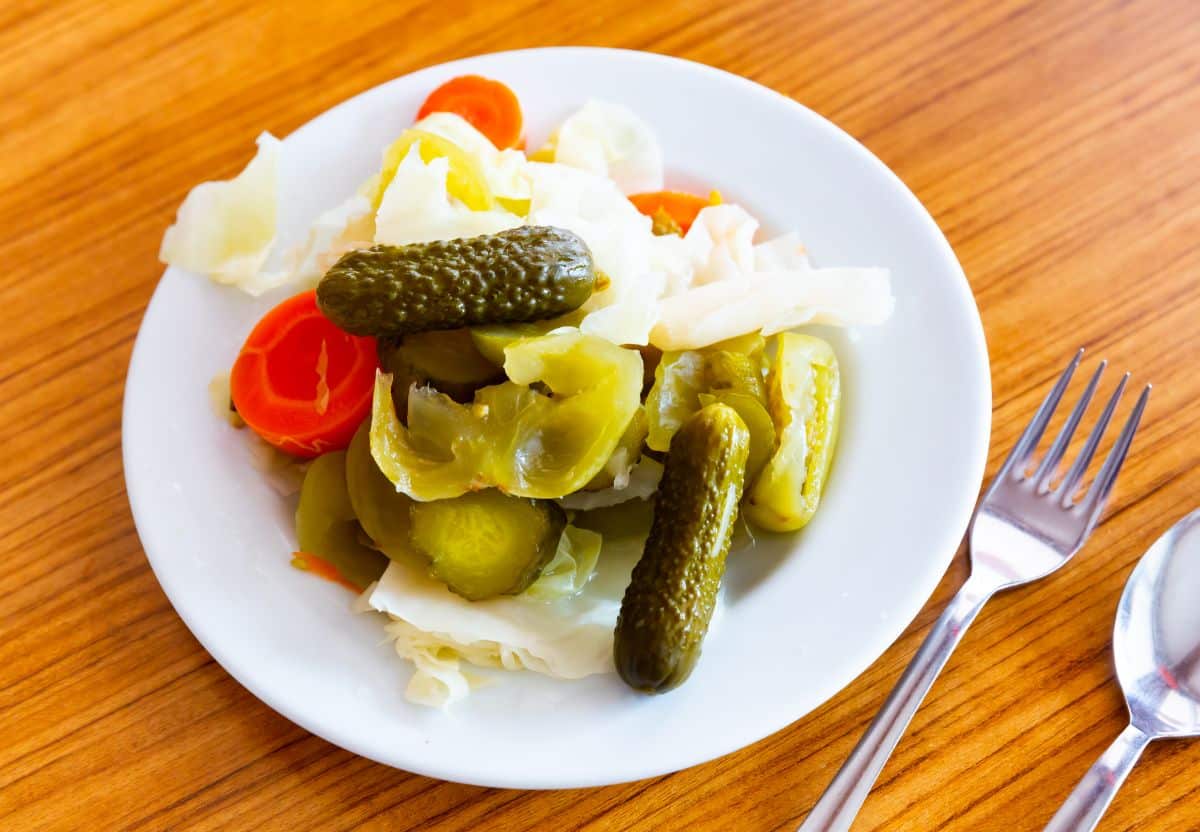
Torshi is a mixed vegetable dish that’s traditionally served in the Balkans and the Middle East. This zesty pickle is made with many of the same vegetables as giardiniera, although eggplants, cabbage, and beets are commonly included too. Torshi is often used as a complement to hearty stews, and some people think a meal isn’t complete without a side of torshi!
- Jangajji
Jangajji hails from Korea, and it’s usually served as a side dish or banchan. Created with a range of vegetables and herbs, including Perilla leaves, garlic scapes, and radishes, jangajji often also includes soy sauce for extra umami flavor. Savory and complex, jangajii is usually topped with a bit of sesame oil before serving.
- Chow Chow
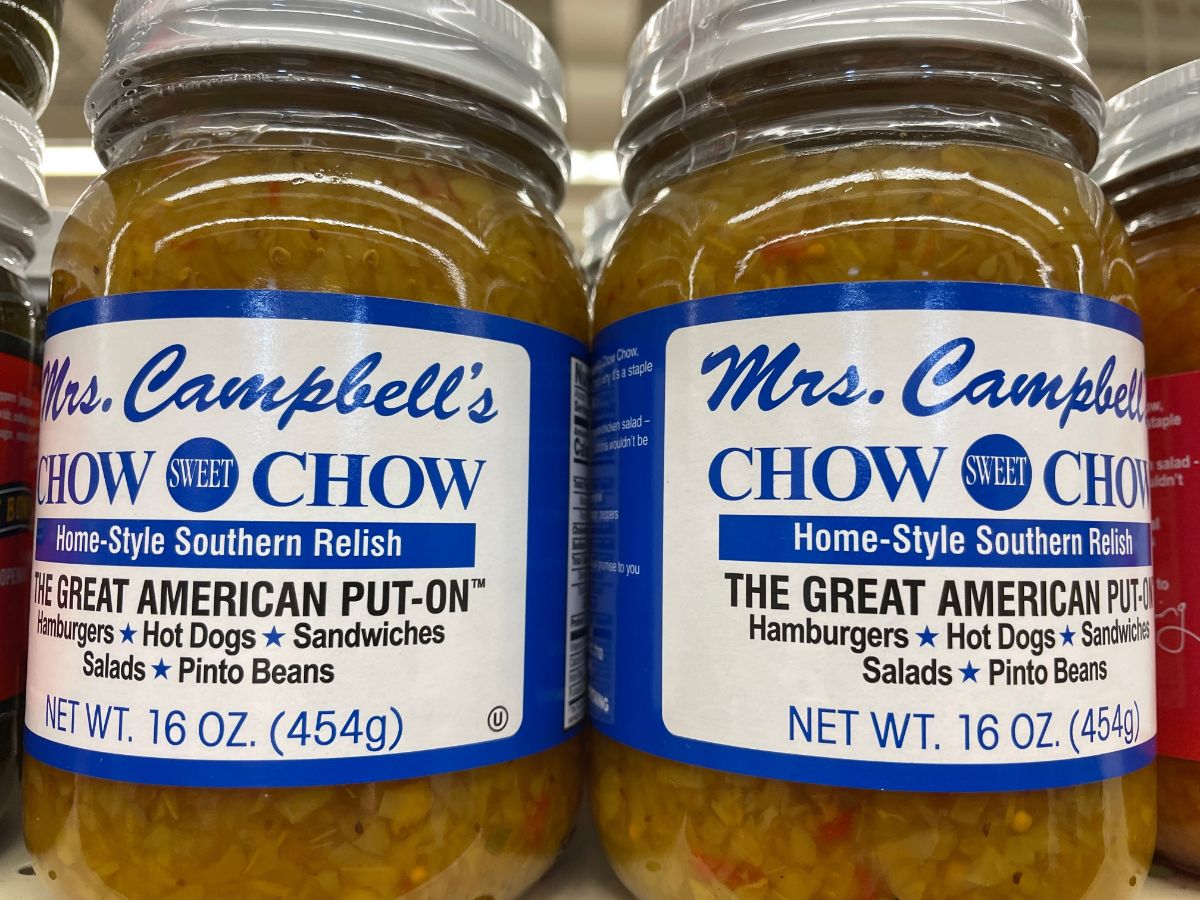
Chow chow is a North American dish, and there are two different varieties to choose from. Northern chow chow is common in Pennsylvania, while southern chow chow is eaten in the southern United States and contains a different mix of veggies. Chow chow is similar to piccalilli, although it does not include mustard, and green tomatoes and cabbage are often mixed in.
Frequently asked questions
One of the great things about giardiniera is that you can add different ingredients to your recipe and get an entirely different flavor. Olives are not always used in giardiniera, but they are sometimes included in certain giardiniera recipes. If you love the flavor of olives, both black and green olives can be used in giardiniera.
Not all giardiniera is spicy, but many recipes include either hot peppers or chili flakes in the mix. If you don’t like spicy heat, you can leave out these ingredients and still have a flavorful giardiniera to eat as a snack or use as a condiment on your favorite foods.
The traditional way to eat giardiniera is to serve it as part of an antipasti ritual. Served before a meal, giardiniera can keep guests sated while the rest of the meal is cooking, and the vinegar brine is also said to help with digestion.
Fresh giardiniera should last in the fridge for about a month. If you want to keep your giardiniera even longer, it will need to be preserved with water bath canning recipes.
Chicago-style giardiniera is usually steeped in two different liquids. First, the vegetables are marinated and canned in vinegar. Before serving, the vinegar is drained away, and the vegetables are then cured in olive oil, soybean oil, vegetable oil, or canola oil.
In its most basic form, giardiniera is a pickled dish made of vinegar, spices, salt, sugar, and seasonal vegetables. The most common vegetables used in giardiniera recipes are onions, carrots, cauliflower, green beans, garlic, celery, and bell peppers. Depending on your personal tastes, other ingredients like gherkins, hot peppers, chili flakes, or olives may also be included.
Summary
Whether you’re a seasoned canner or you’ve never canned produce before, giardiniera is a flavorful yet accessible canned product that’s so easy to make even beginners can master it. All you need is some fresh, seasonal produce, a few spices, and some canning equipment, and you’ll be well on your way to making a delicious batch of giardiniera to serve with your favorite dishes!
Beyond giardiniera, harvest season often inspires gardeners to try new pickling and canning recipes. For more canning suggestions, see our guides on how to preserve green tomatoes and how to make homemade berry jam.
Homemade Giardiniera Recipe
Craving some tangy and spicy giardiniera? Look no further! This homemade giardiniera recipe will have your taste buds begging for more.
Ingredients
- Seasonal garden produce, specifically: about 1 cup of pearl onions, 3 carrots, 4 stalks of celery, 2 cups of cauliflower, 2 bell peppers, 1 cup of green beans, and 6 cloves of garlic.
- Water
- ¼ cup of salt
- 2 cups of white distilled vinegar
- 1 cup of white wine vinegar
- 1 teaspoon of white sugar
- 4 bay leaves
- 2 tablespoons of peppercorns (any color)
- 2 teaspoons of dried oregano
- 1 teaspoon of fennel seeds
- 2 teaspoons of red pepper flakes (optional)
Instructions
- Prep your veggies.
- Mix your brine.
- Allow everything to marinate.
- Drain the vegetables.
- Make your vinegar mixture.
- Cook your vegetables.
- Pack your jars.
- Add the vinegar.
- Screw on your canning lids.
- Water bath can your jars (optional).
Notes
- Giardiniera that’s not been processed with canning will last in your fridge for about one month. However, if you’d like to keep your giardiniera around for a lot longer, you’ll need to process your jars with water bath canning. Pressure canning is not recommended for preserving giardiniera as it can result in overcooked and overly soft veggies.
- After water bath canning, giardiniera will retain its flavor, color, and texture for about a year. In fact, properly canned giardiniera can last even longer than that, but the quality of home canned goods generally start to decline after one year.
- Don’t forget to label your giardiniera cans and date them too! This will help you keep track of your canned goods so you always use them at the right time for peak flavor and texture. You can use adorable sticker labels or simply write a date on your jar lid with a permanent marker.
- Giardiniera is scrumptious on its own, and it can be enjoyed like pickles on the side of hamburgers and sandwiches. You can also use giardiniera in a classic way and eat it as an antipasto before a meal, or you can plate it up on a charcuterie board along with assorted meats, creamy cheeses, and crunchy toast and crackers.

Ria
I read your Blog & Trust me it is really very nice Content AND Very Unique & Lot of knowledge … Thanks for Sharing a Very lovely Details.