Learn to Can Homemade Jam—An Excellent Introduction to Canning for Anyone!
Jump to:
- How is Jam Different From Jelly?
- A Note About Pectin
- Prepare Equipment Before You Start
- Basic Cooked Jam Instructions (How To Make Jam!)
- Homemade Jam Directions
- Canning Your Prepared Jam: How-To
- How to Hot Process (Can) Your Jam
- A Note About Canning from Preserved Fruits and Berries
- How to Make Jam from Frozen Fruit or Berries
- How to Make Jam from Dried or Dehydrated Fruit or Berries
- Enjoy the Fruits of Your Jam-Making Labor!
Homemade jams are delicious, offer all the nutritious goodness your fruits and berries have to offer and are an excellent way to use and store your berry or fruit harvests without having to worry about refrigeration. What’s more, jams are a very good way to ease into canning if you’re new to the canning game. And almost any fruit or berry can be used to make fresh homemade jam.
How is Jam Different From Jelly?
It’s not uncommon to hear the terms “jam” and “jelly” used interchangeably, but there is a slight difference between the two.
Jam contains the cut or crushed solids of the fruit or berry. This may include fruit or berry skins (unless you have peeled them first) and often includes the seeds of small fruits and berries (those which it would be nearly impossible to remove without milling or straining—strawberry or blueberry seeds, for example).
Jelly is not a lot different than jam, but it does include an extra process in which the fruit is strained or milled through a fine sieve to remove all solids, including seeds and skins. Jelly can also be made from just the juice of fresh fruits and berries.
The yield per pound or cup of fruit is often better in jam-making, because you are not removing and discarding the solid parts of the fruit.
But perhaps best of all, jams are faster and easier to make than jellies. So without more ado, let’s learn to make fruit jam!
A Note About Pectin
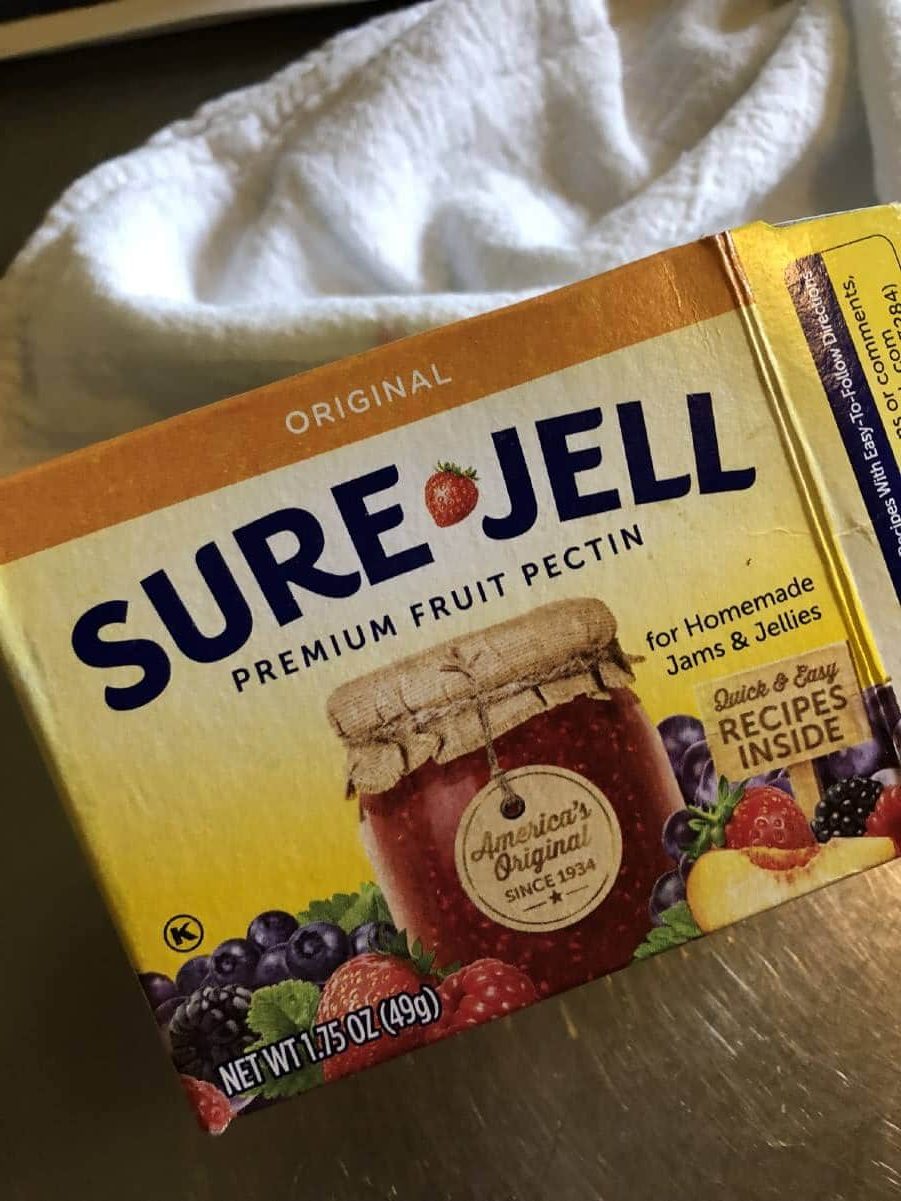
These jam directions follow the most common method, which is to make jam using added pectin (jam with pectin is also the most reliable in terms of set and end product). This recipe and instructions use powdered pectin. It should be noted that pectin is readily available in two forms—powdered and liquid. You should not simply substitute liquid pectin for powdered because the process itself is different for each.
You can, however, use a different brand of pectin. Different suppliers will offer different brands of powdered (and liquid) pectin, of which there are many.
If you can only find liquid pectin, be sure to review the package instructions to see how you need to change your order of operations (the difference primarily comes down to when the pectin is added and boiling and simmering time and order). You will also need to convert the pectin measurement. Four teaspoons of powdered pectin are equivalent to two tablespoons of liquid pectin. As long as you convert the amounts and change the process accordingly, once the jam is made, the process for canning your jam is the same.
Prepare Equipment Before You Start
Canning will go smoothly if you prep your area and sterilize your jars and equipment before you cook the jam mixture.
Cover Work Surfaces
Cover your work surface with heat-proof kitchen towels or newspaper to help protect your counters and to make cleanup easier. When you are ready to proceed, use canning jar tongs to safely remove your jars from the boiled water and line them up on the towels. Keep this setup out of drafts and cold—it is best to close any nearby window to avoid a breeze. This is to avoid temperature extremes and jar breakage.
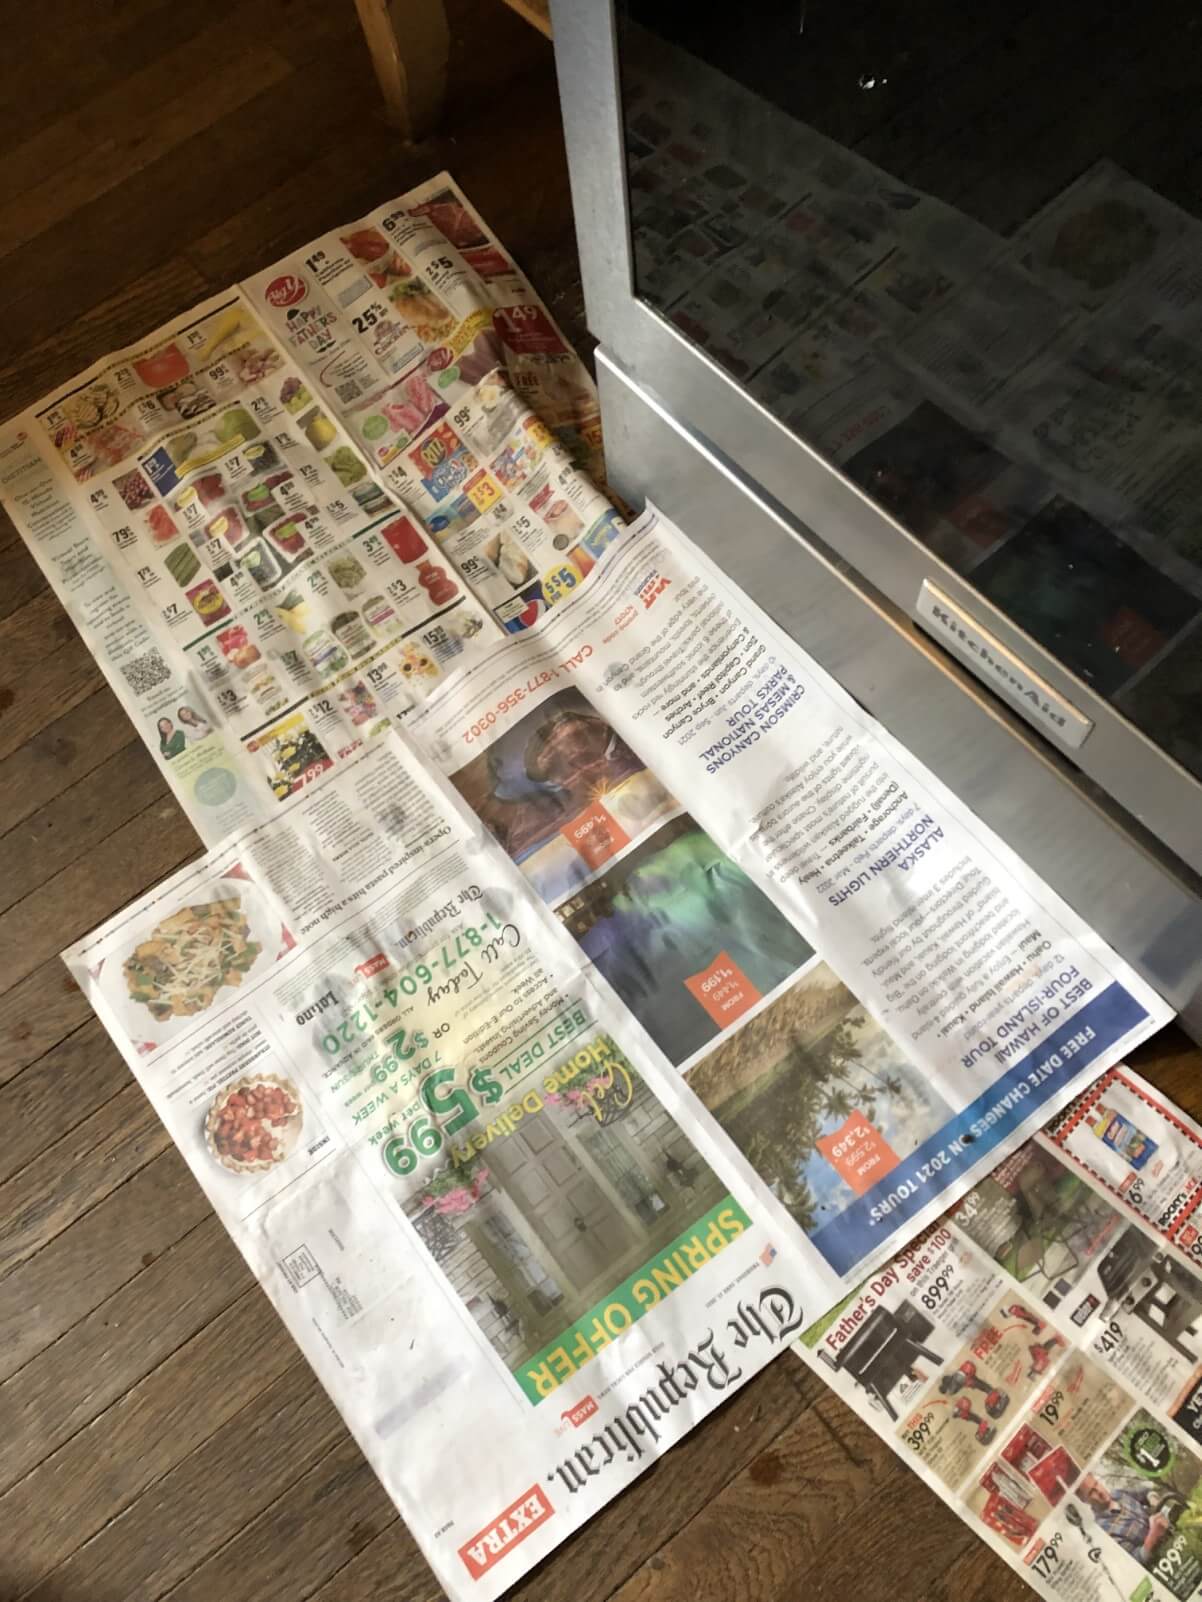
You may also choose to lay some newspaper over your floor to help protect it from hot, sticky drips. However, be sure your surface is slip-free and do take care while canning! It may be safest to only line areas close to counters that you won’t be walking on.
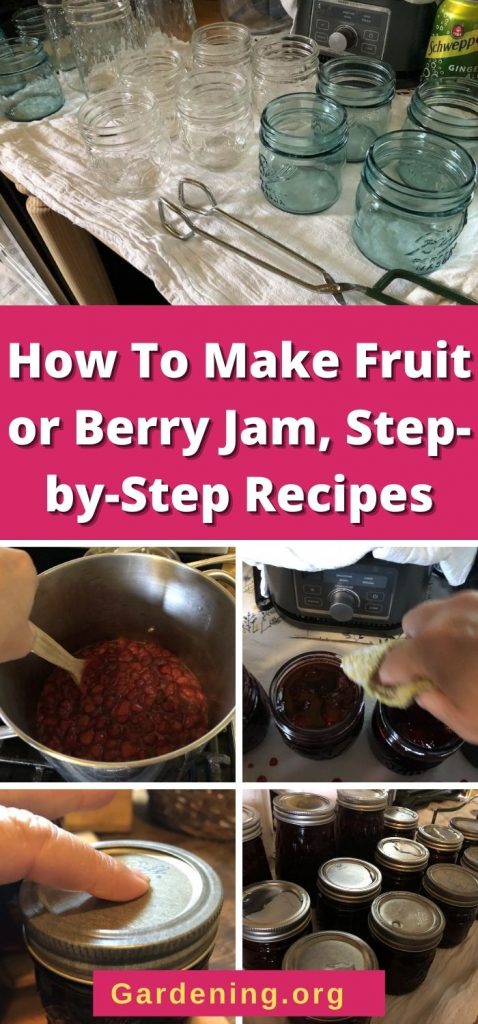
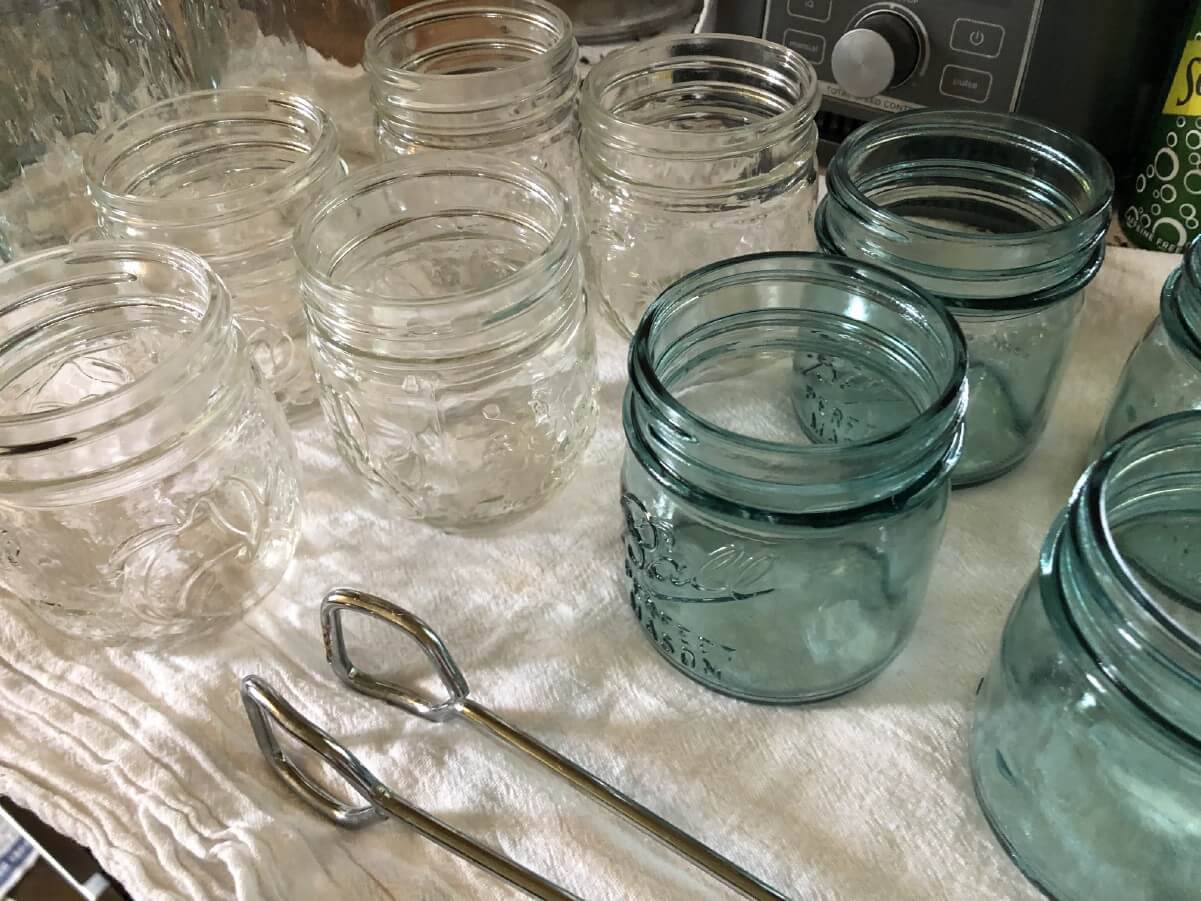
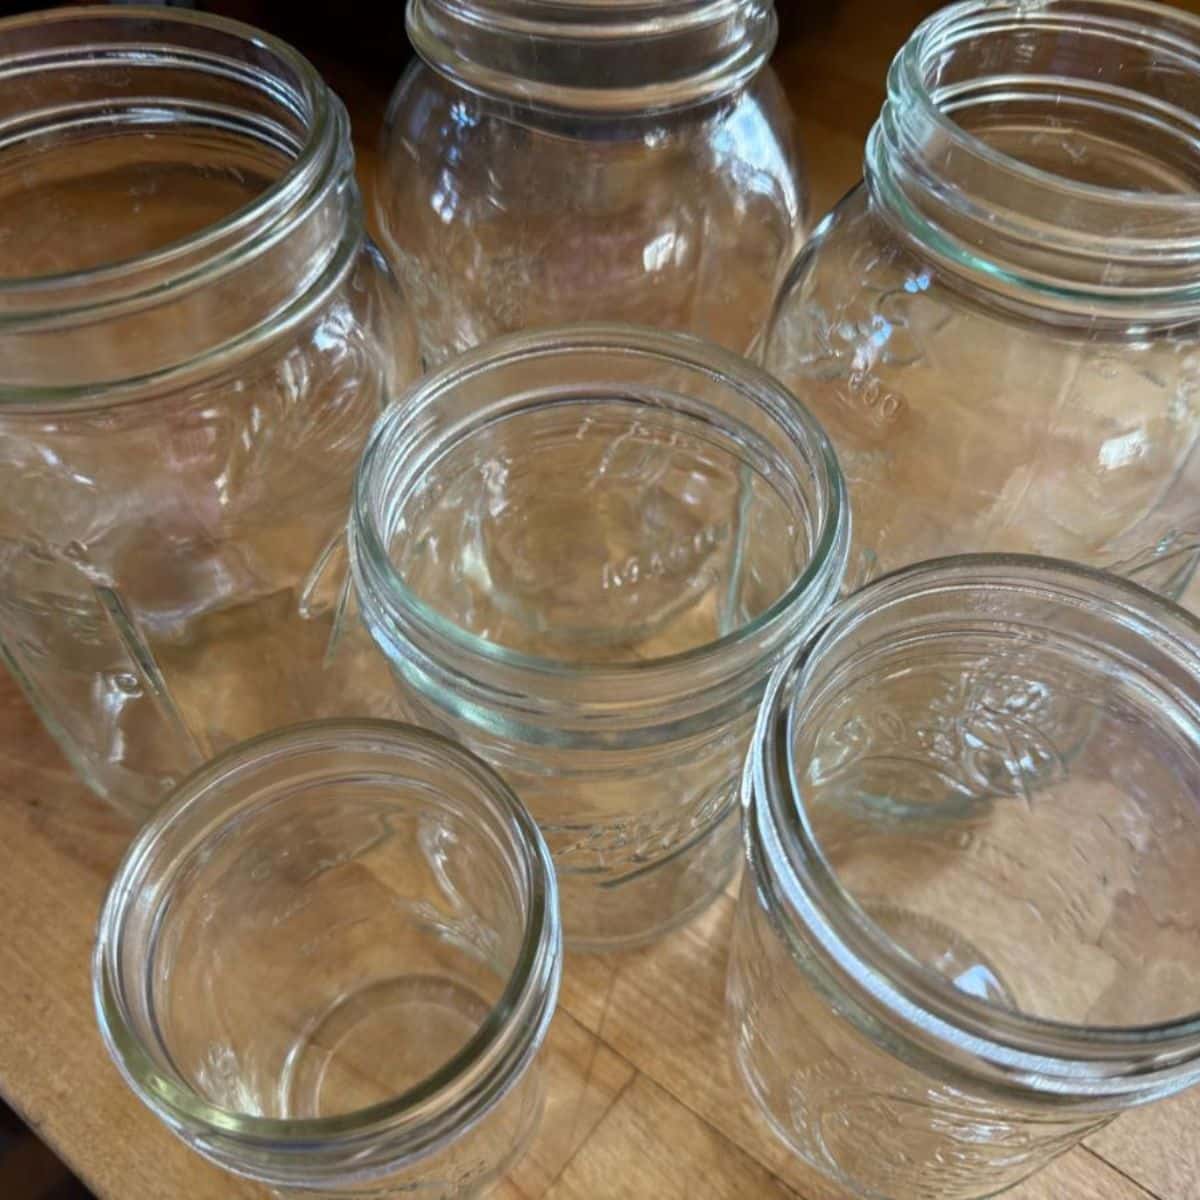
Sterilize Your Jars and Utensils
There is a difference between clean equipment (equipment that is washed and free from debris) and sterile equipment (equipment exposed to high heat—boiling— 212 F, 100 C — for a period of ten (+) minutes).
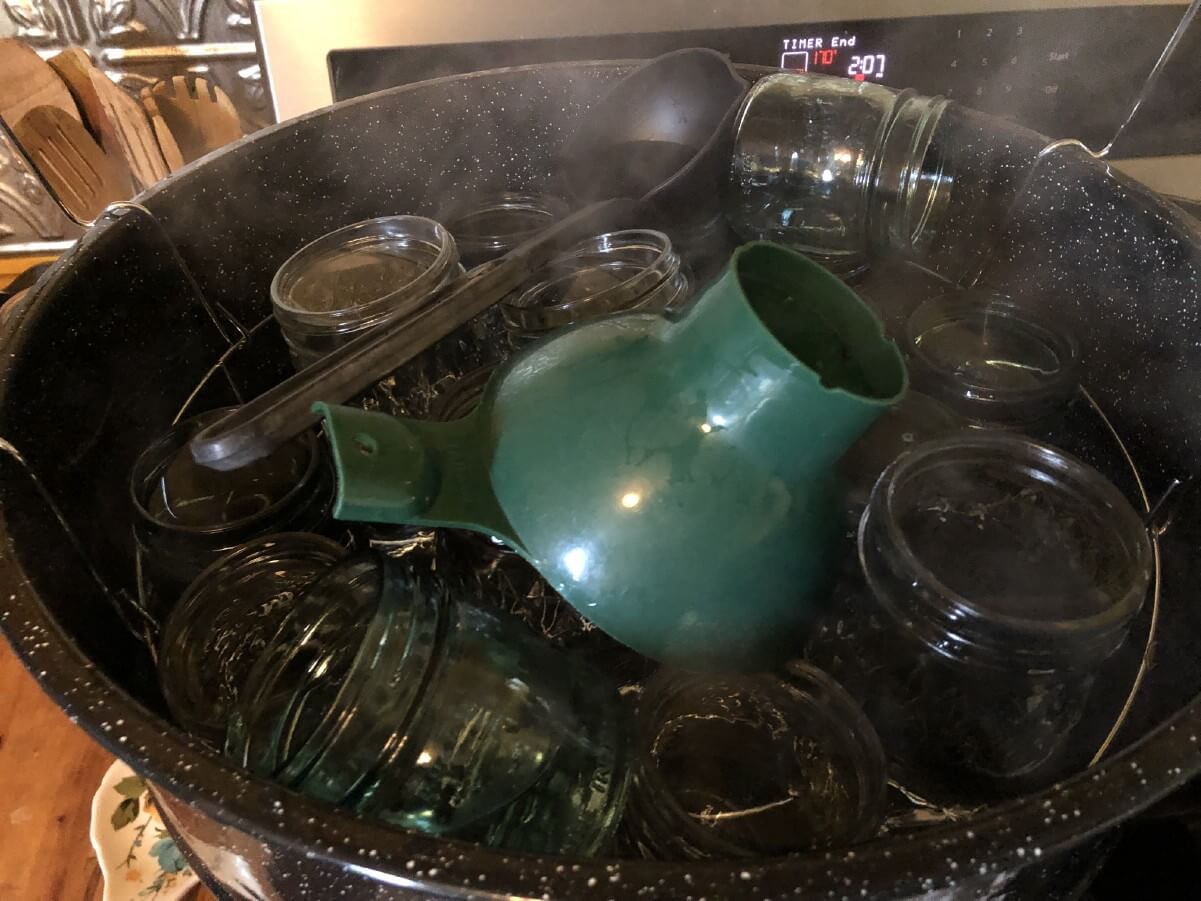
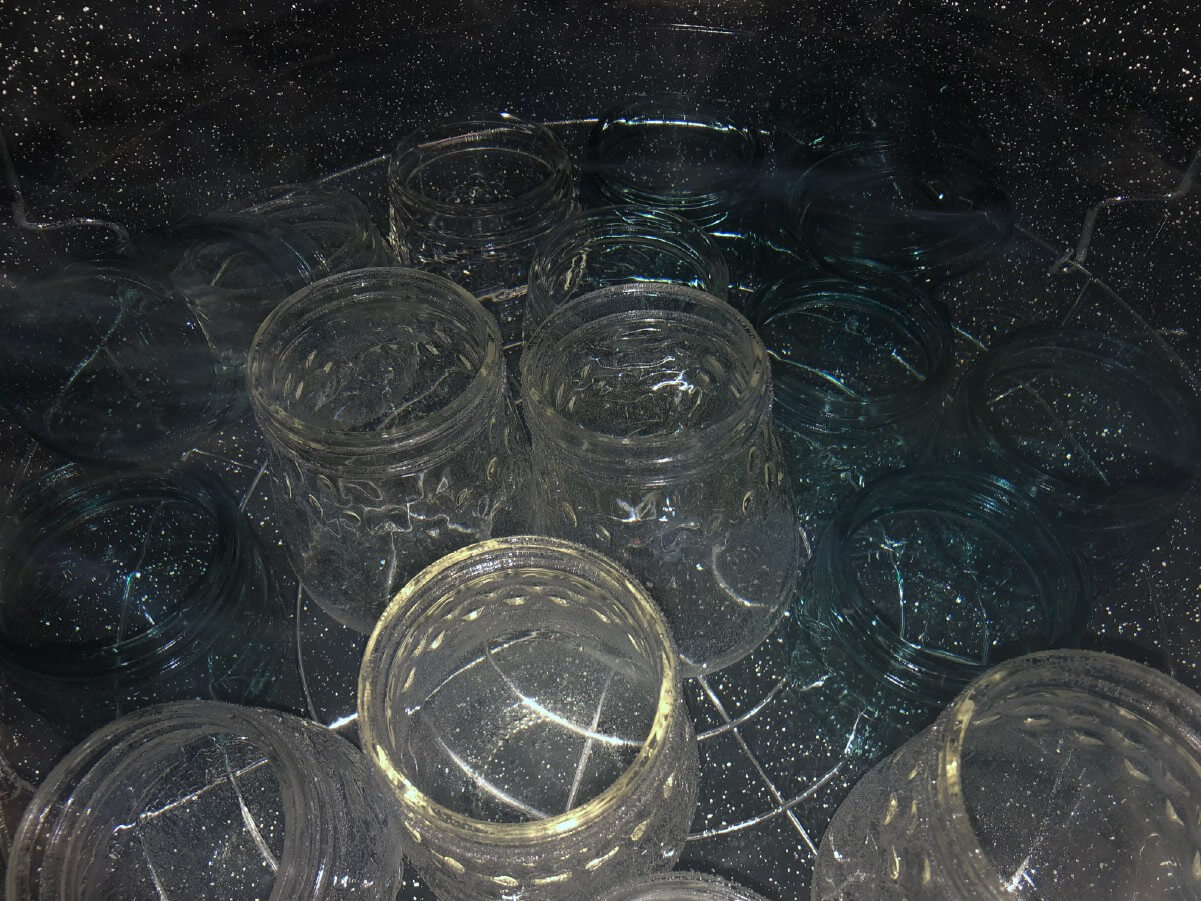
The first step in canning your fresh jam is to gather and sterilize your canning equipment. This is not as difficult as it sounds—you simply need to boil your jars and utensils, which can be done right in the canner that you will use to process your jam-filled jars. The water that you use to boil and sterilize your jars can then be used for the processing (because we are working with all clean equipment here).
Alternatively, you can sterilize your jars and utensils in a dishwasher if it has a high heat/sterilize setting. Start this process in enough time to complete by the time the jam is ready. Leave the dishwasher closed to keep jars hot until they are ready to use—do not can into cold jars or they will break! You can also place sterile jars into a glass baking pan placed in an oven set at 200F (93C) with an inch of hot water to hold until ready to use.
That said, jam batch sizes are quite manageable and it is easiest and probably most efficient to simply sterilize everything in your canner before you begin, then turn the heat to its lowest setting until ready to can the cooked jam. This will keep your water temperature close to ready for processing while also keeping your jars hot and protected from environmental contaminants after sterilizing.
Prepare New Jar Lids and Rings
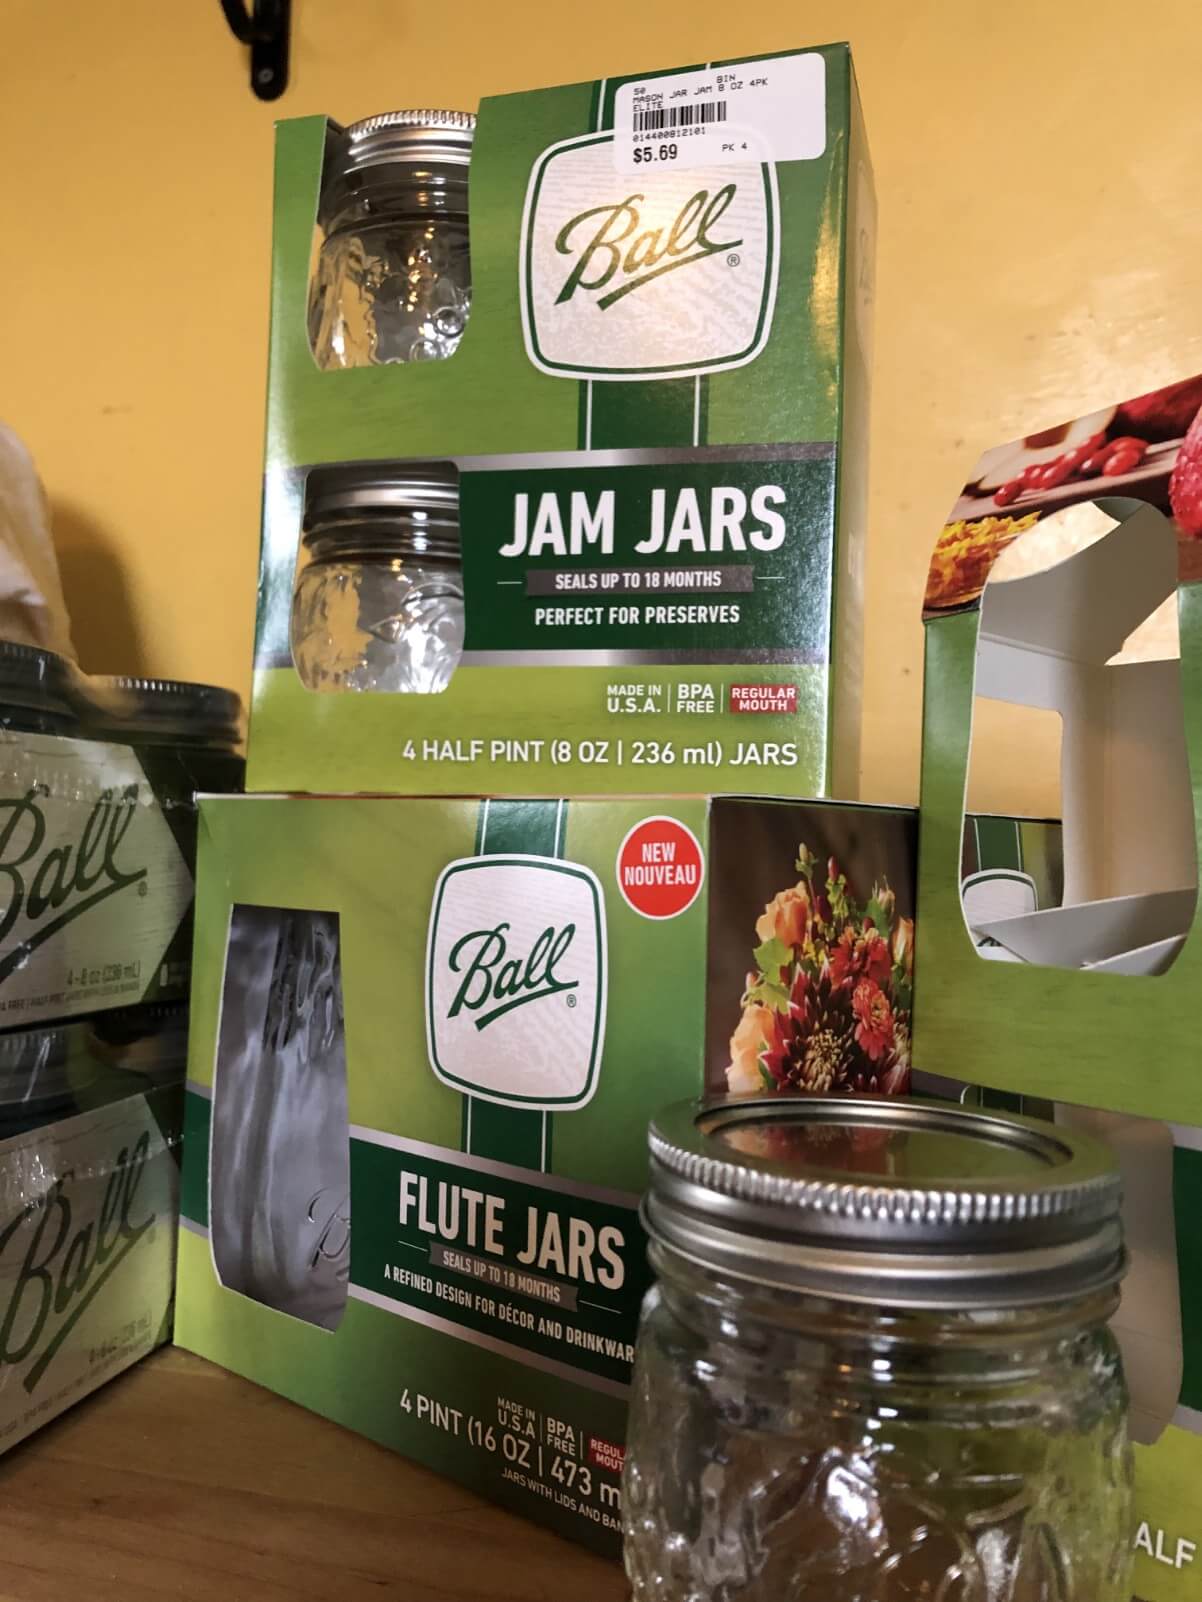
Most jars have what are called two-piece lids and rings—disk-like metal lids with metal rings that hold them in place while canning. The rings are reusable; use new lids (which you can buy separately) for every new canning project to assure a good, safe, seal.
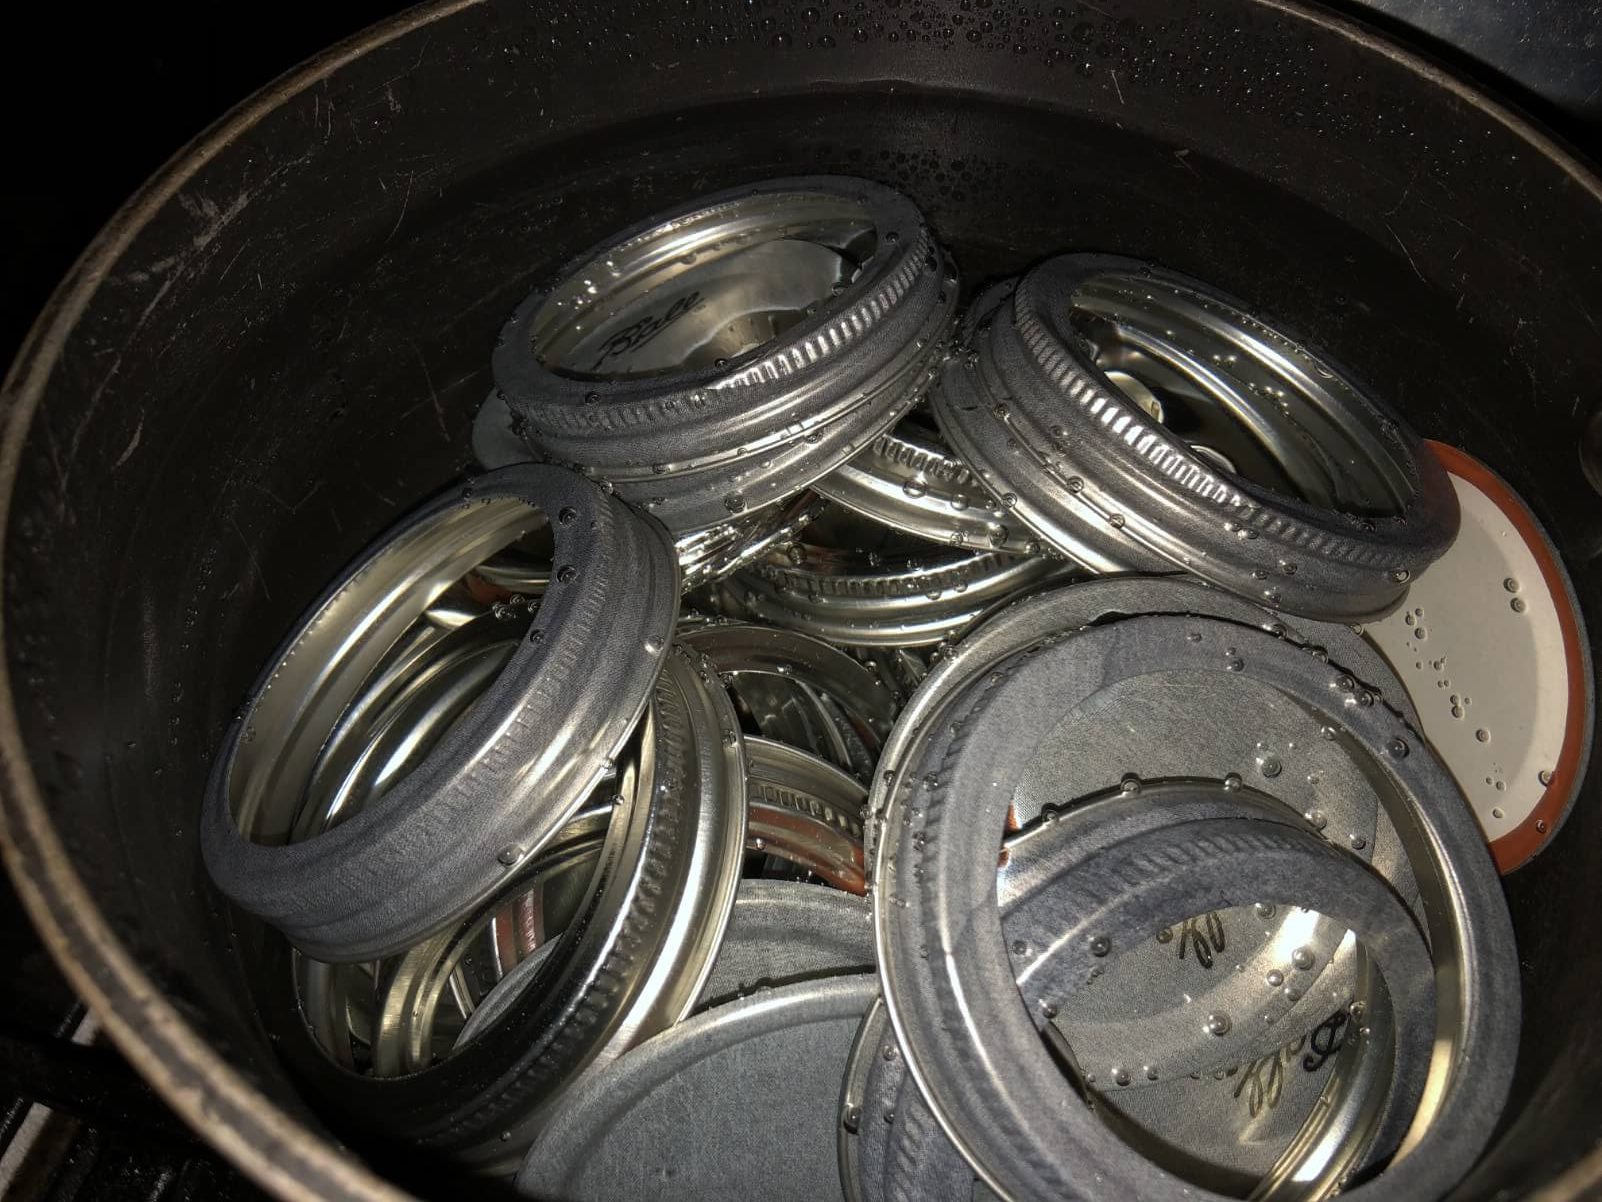
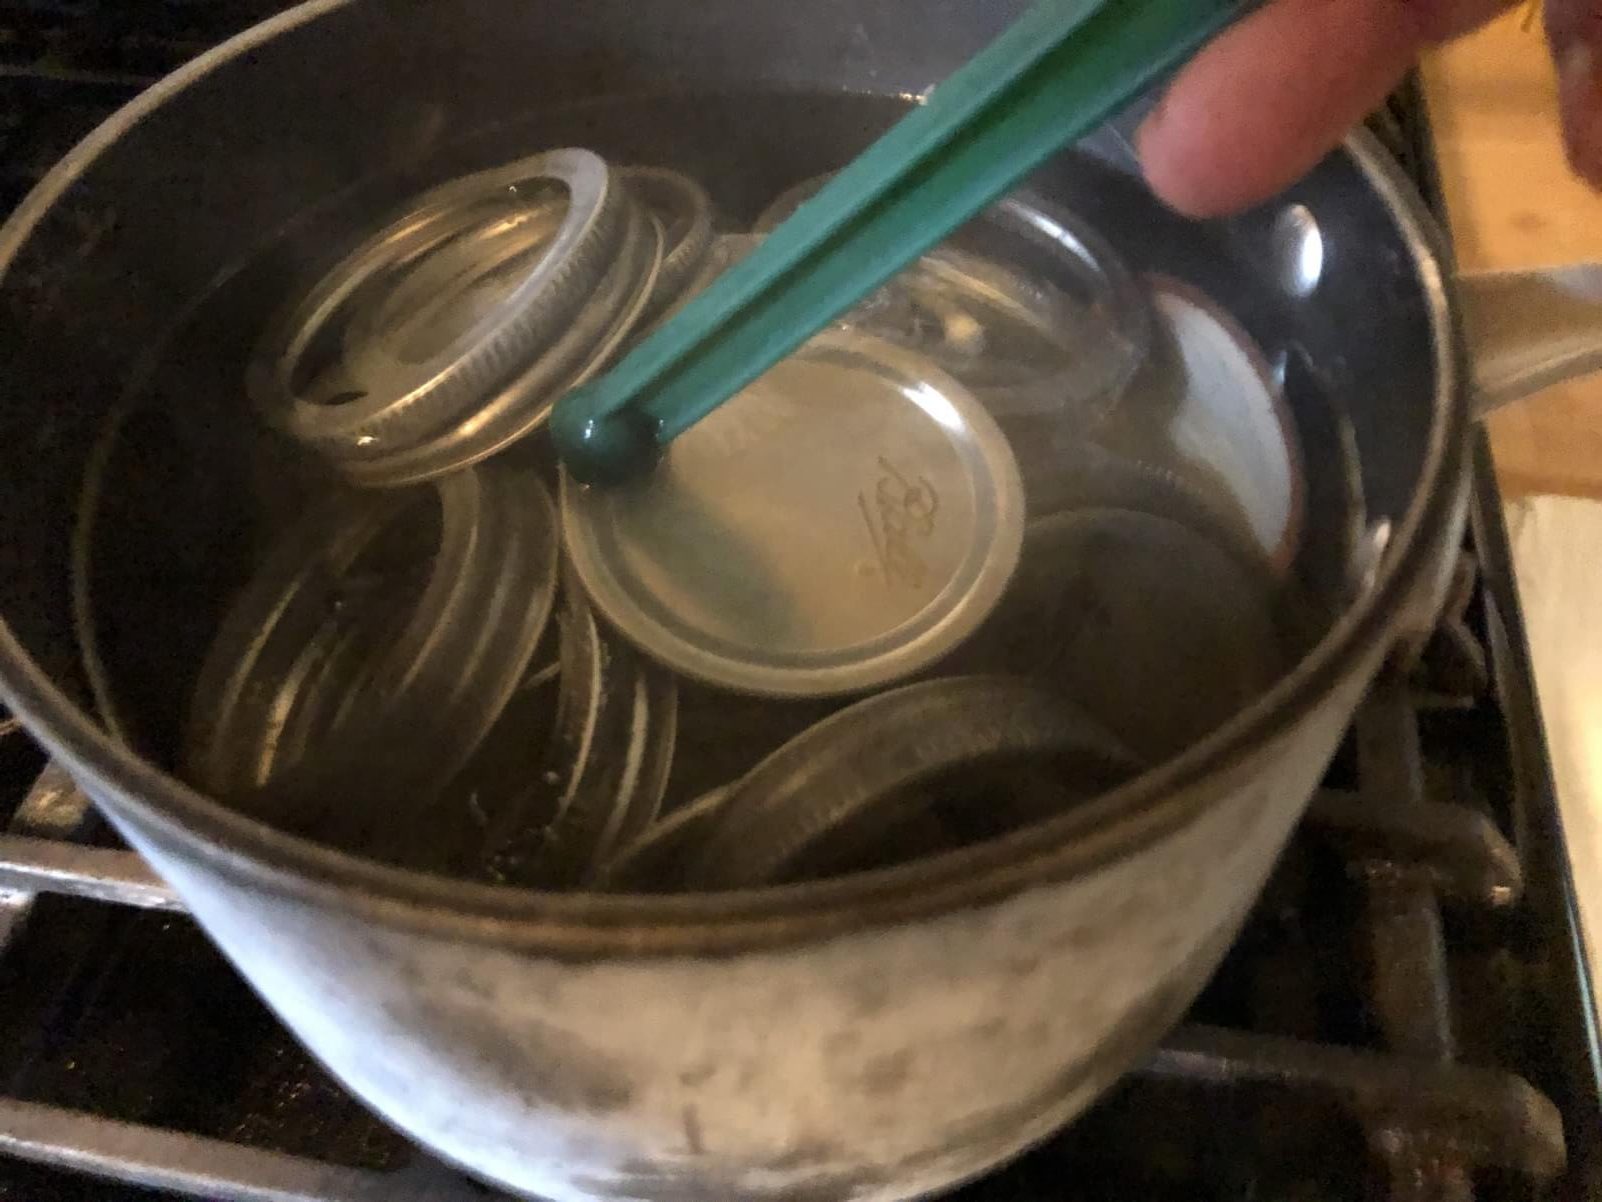
To prepare the lids and rings for canning your jam, place them all together in a separate pan of water (a saucepan will work just fine). Cover the lids and rings with the water. Heat on high until the water just starts to simmer, then turn it down to medium-low or low—just high enough to maintain a simmer—NOT A BOIL. Boiling the lids can potentially cause them to lose their ability to seal properly, so don’t heat the lids over boiling. Simmering will be hot enough for sterilization, and the hot jam and processing will add added protection.
Simmer for ten minutes, then shut off the heat. Leave in water until ready to use. Cover to retain heat if it will be some time before you are using the lids.
Use a magnetized canning wand to safely remove lids and rings from the hot water when prepping jars.
Basic Cooked Jam Instructions (How To Make Jam!)

The instructions—the process itself—are the same for most types of fruit and berry jams. What changes are the ingredients and their amounts. So first, we will cover the basic method for how to make jam, and then in a following section we will list ingredient amounts for several different types of the more common homemade jams. (This is part of what makes making homemade jams so great—once you know the basic process, you can just plug in the fruits and berries you have available to you to make a different delicious jam!)
Homemade Jam Directions

Before you make your jam, set up your canner, jars, and canning supplies so that they are ready for you to move straight on to canning when your hot jam mixture is ready (see below canning instructions). Prepping for this step includes sterilizing your jars to have at the ready, as outlined above.
To make the jam:
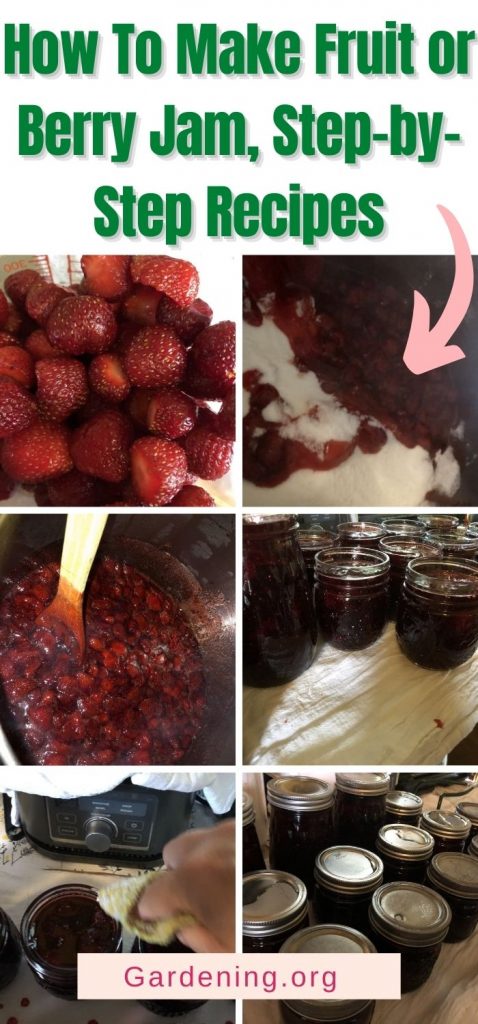
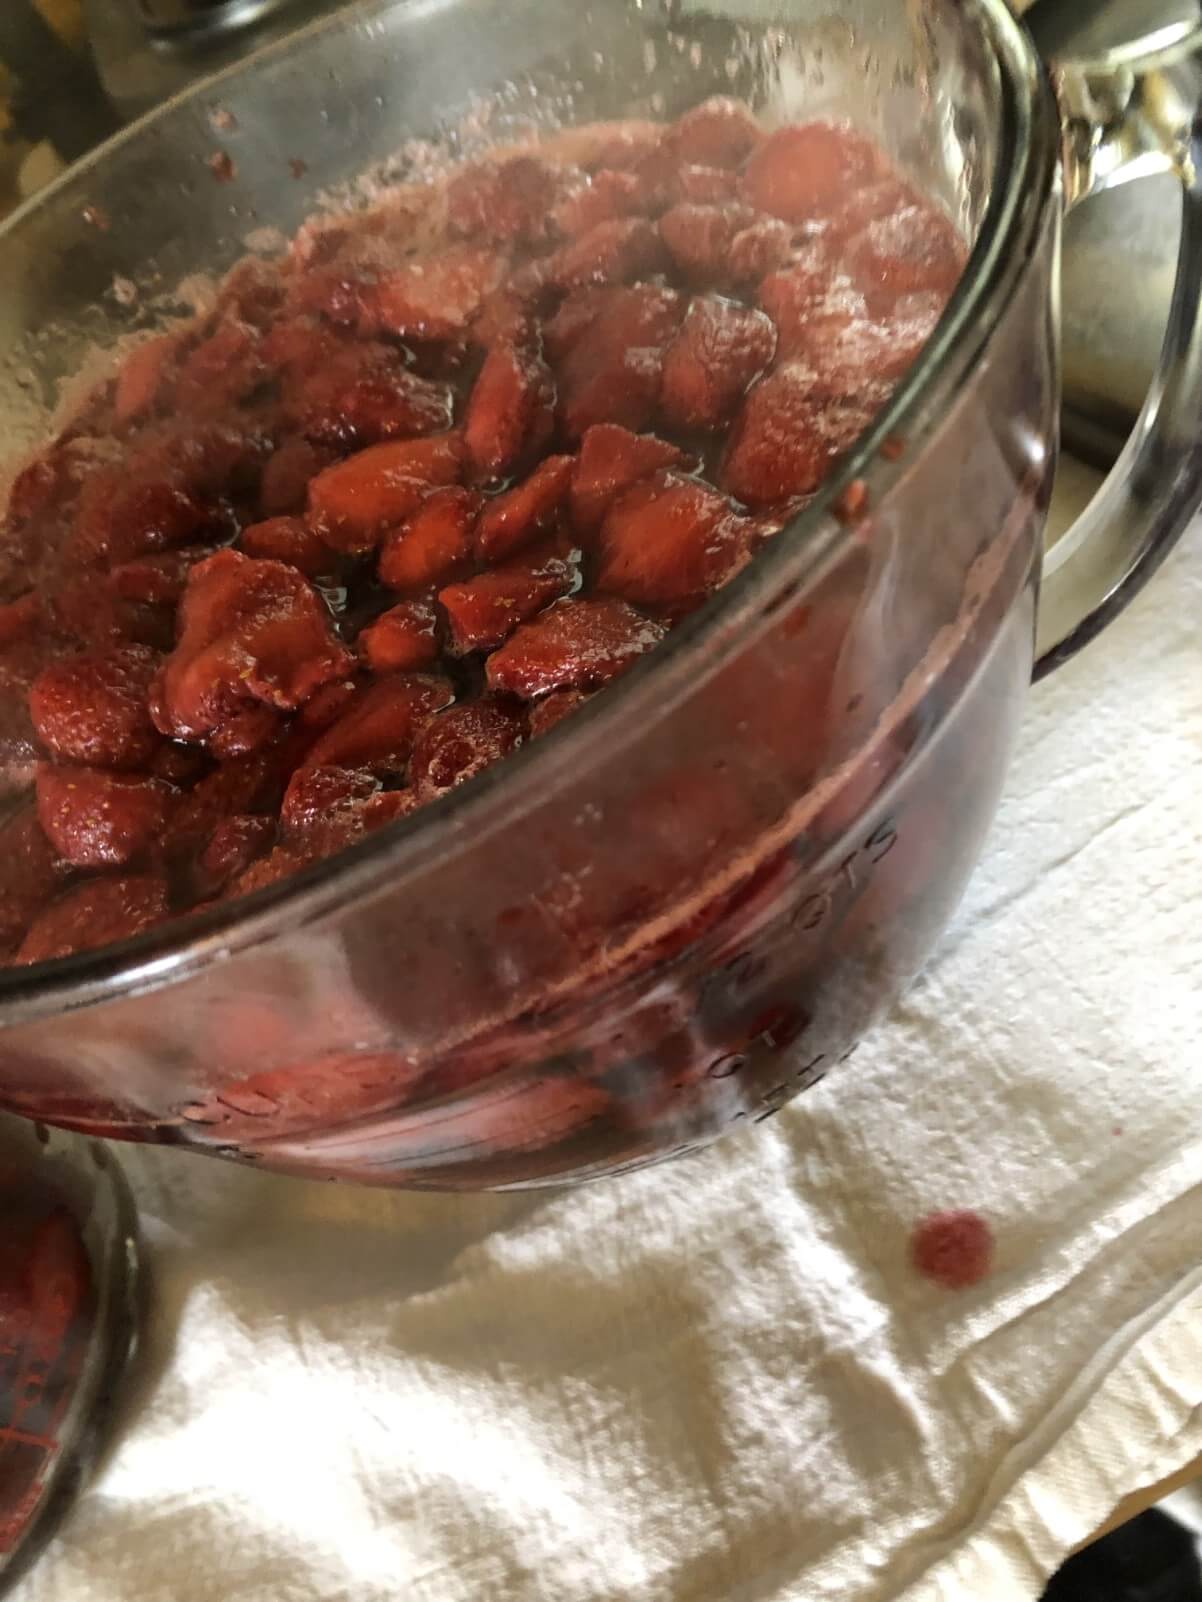
1. Prepare your selected fruit or berries according to listed directions (below, with fruit type).
2. Measure your prepared fruit into your cooking pan. If the recipe calls for additional ingredients such as lemon juice or added water (common in jam recipes), measure that into the fruit now. Use a large saucepan, larger than you expect to need—the jam will bubble and boil quite high while cooking. You want at least three to four inches above your ingredients to prevent boiling over (about twice the volume is even better).

3. Measure the sugar into a separate bowl, as per the ingredient chart. Be sure to use all the sugar that the recipe calls for—sugar is essential to achieving a proper set and thickness, and also to ensuring a safely preserved product (sugar is a preserving agent). Recipes given (based on sources such as SureJell Pectin and Ball Blue Book Guide to Preserving), have been carefully designed and tested for performance and canning safety; it is not advisable to change the listed ingredient amounts.
4. Sprinkle one standard package of powdered pectin into the fruit mixture and then stir it in. (One standard package of powdered pectin is equal to 1.75 ounces or four tablespoons of powdered pectin, or 48 grams of powdered pectin).
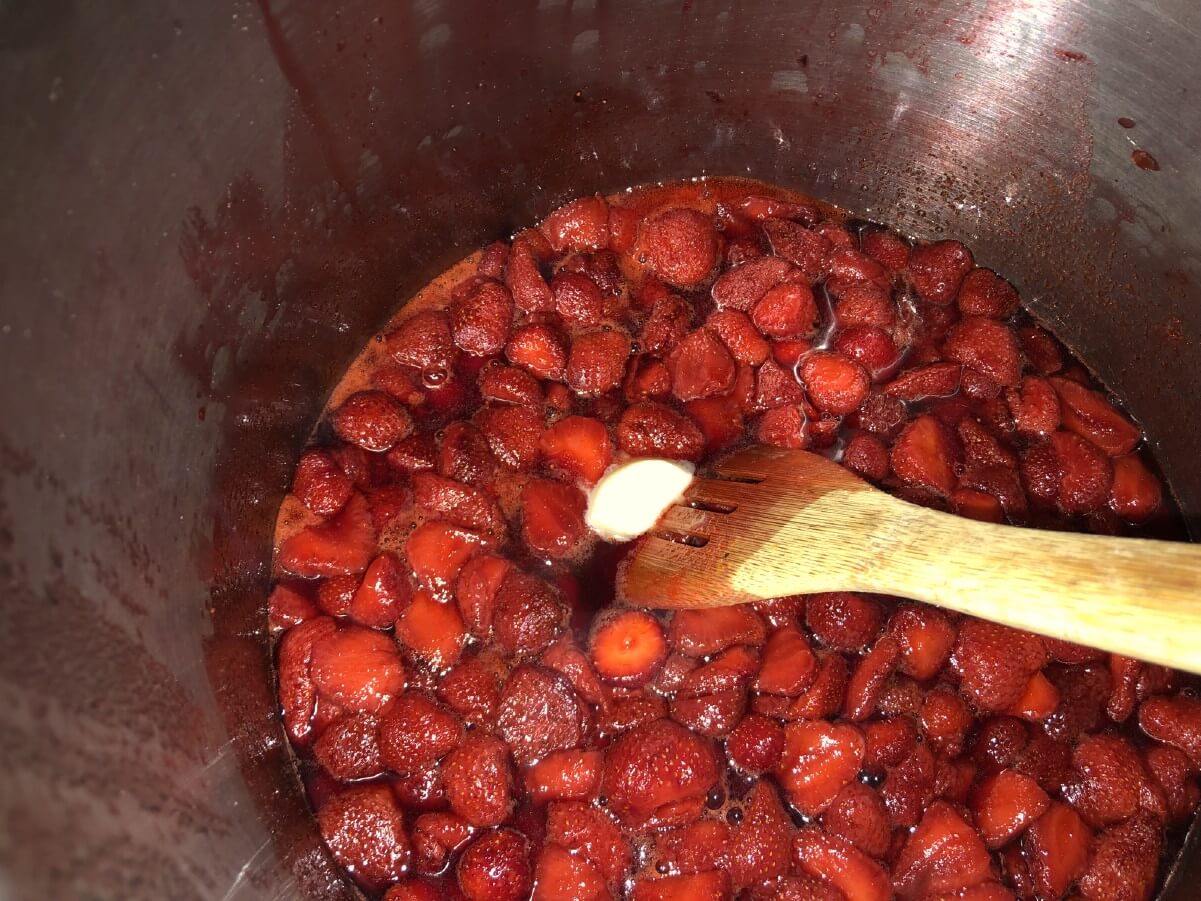
5. (Optional but advised to reduce foaming) Add one-half teaspoon butter or margarine to the pan.
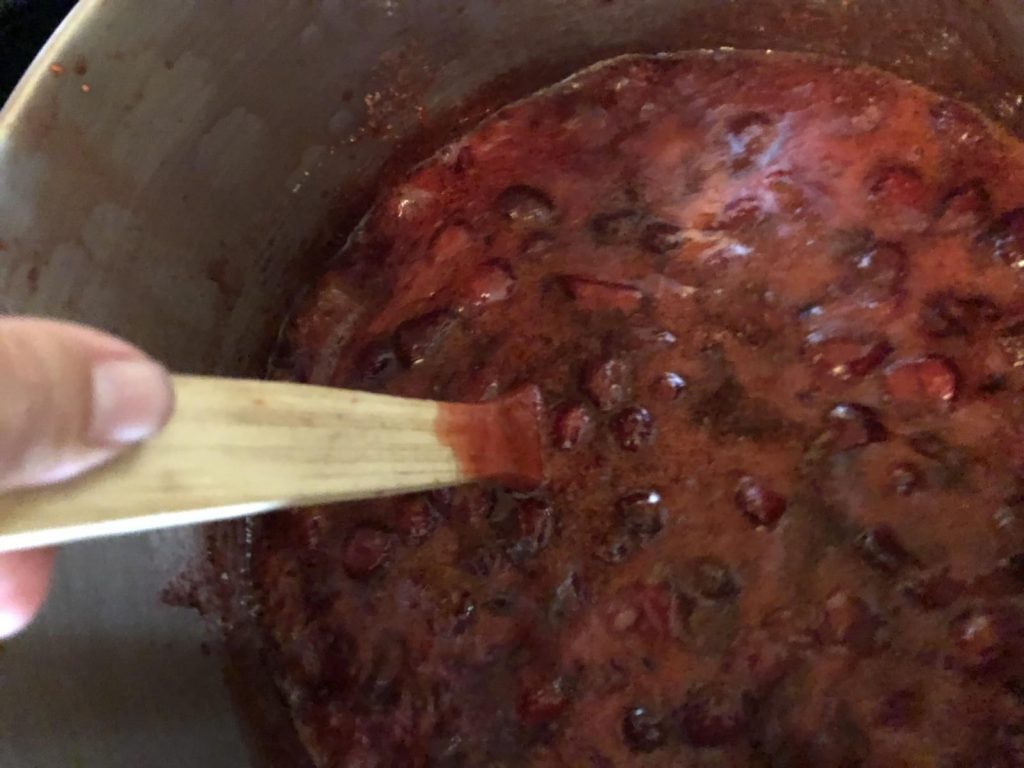
6. Heat on high heat and stir constantly until the mixture comes to a full rolling boil. A full rolling boil is one that cannot be stopped or stirred down with mixing.
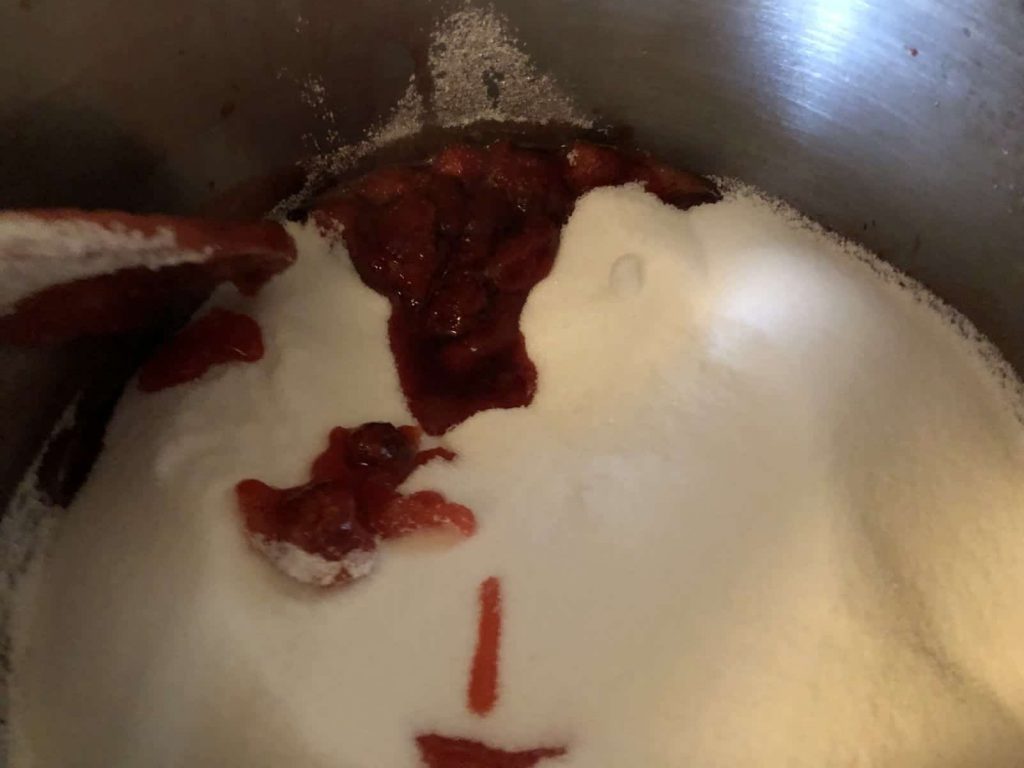
7. Add the pre-measured sugar to the mixture all at once. Take care when adding ingredients to hot and boiling mixtures. Safety first!
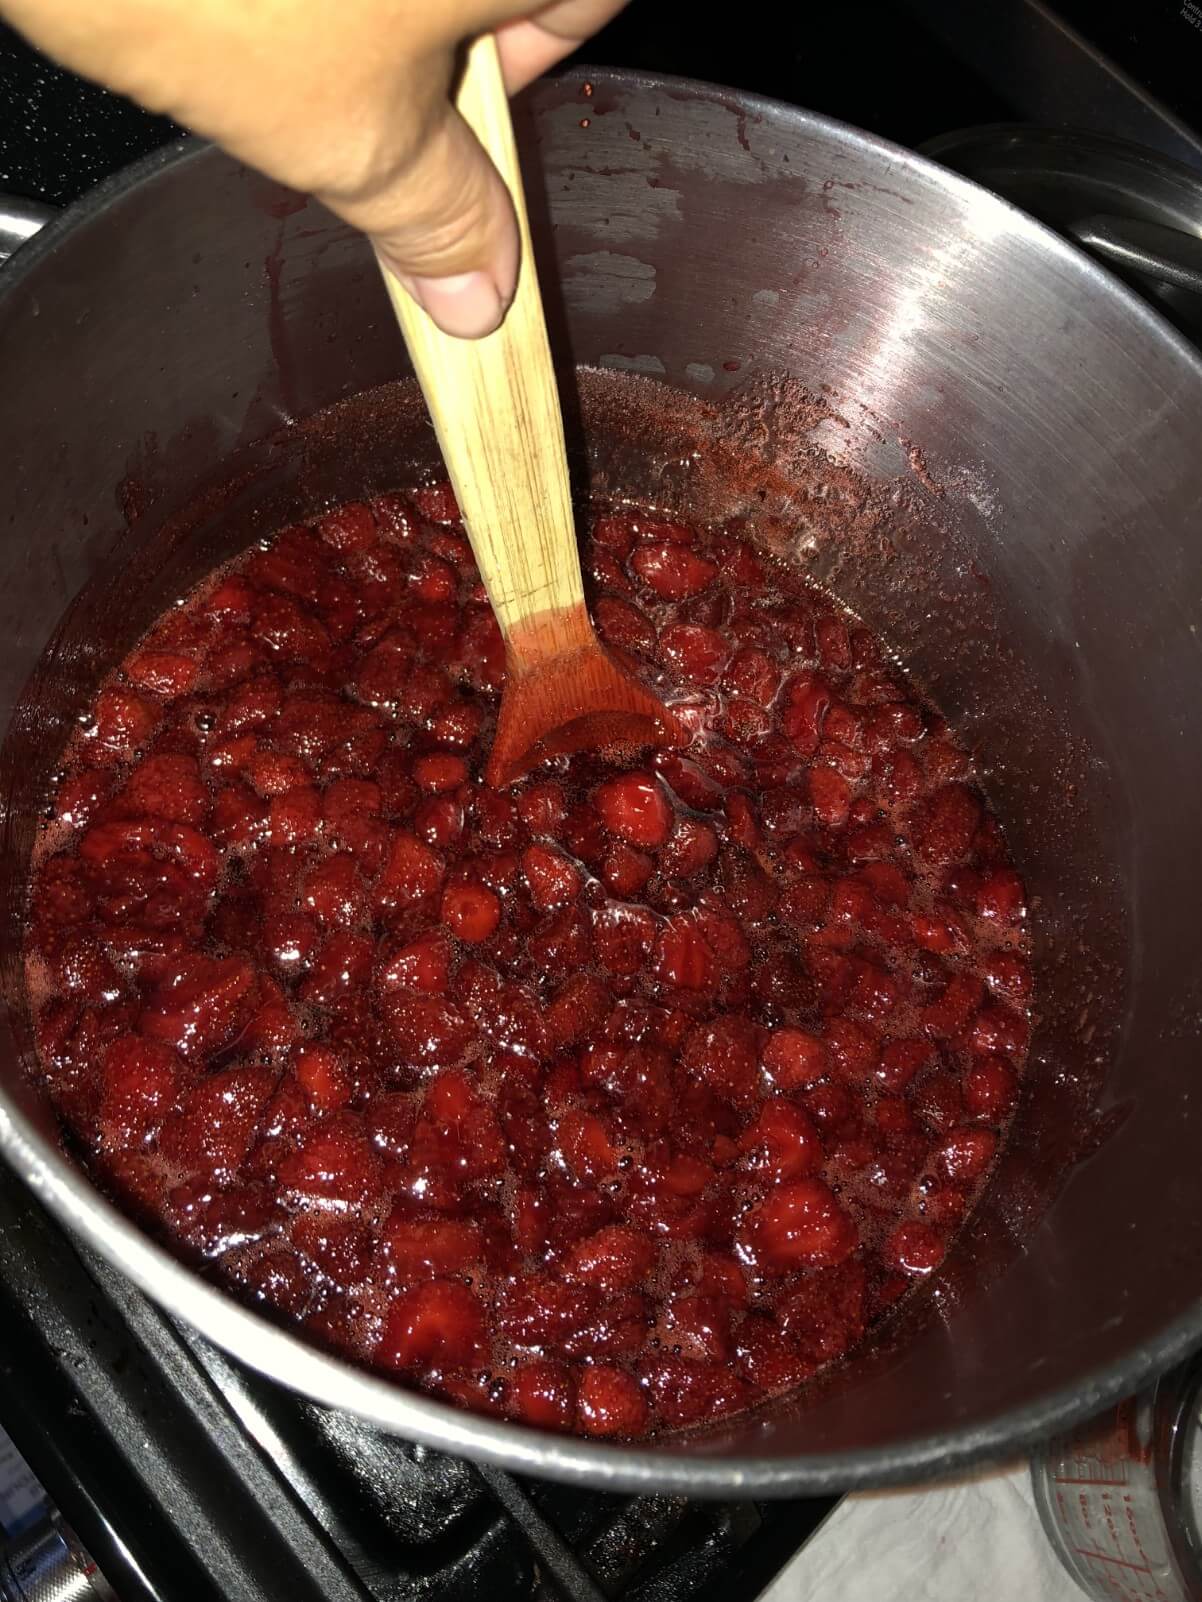
8. Stir in sugar and return the jam to a full rolling boil, stirring constantly. Time the boiling mixture from when it reaches a full boil; boil for exactly one minute (continuing to stir).
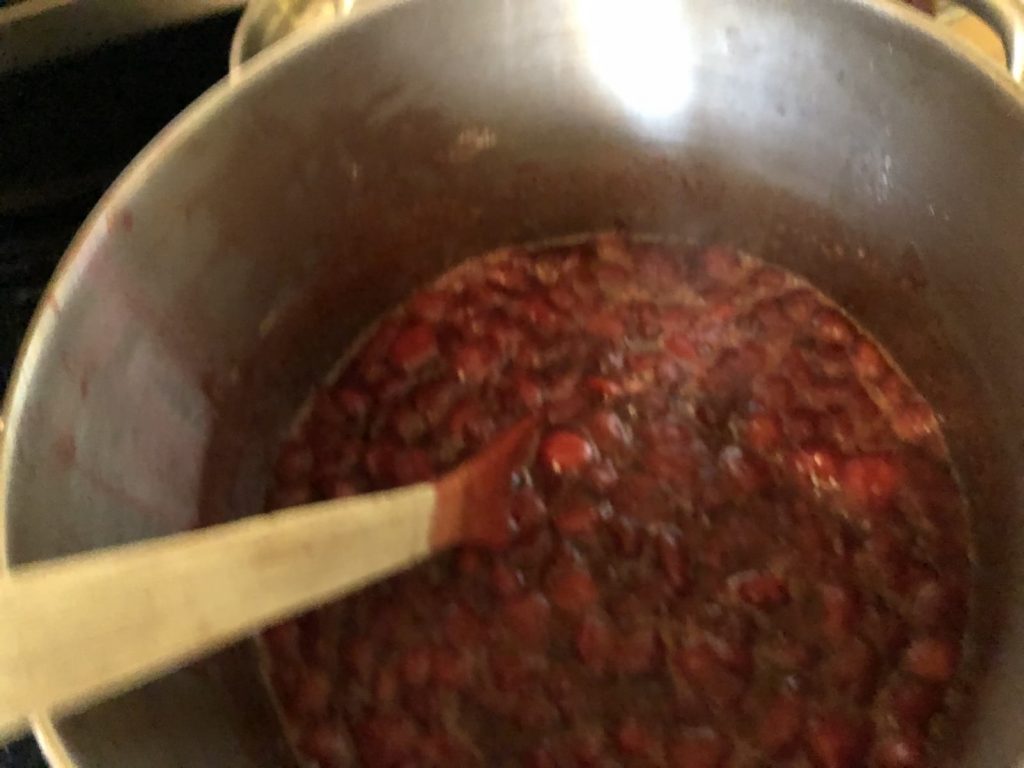
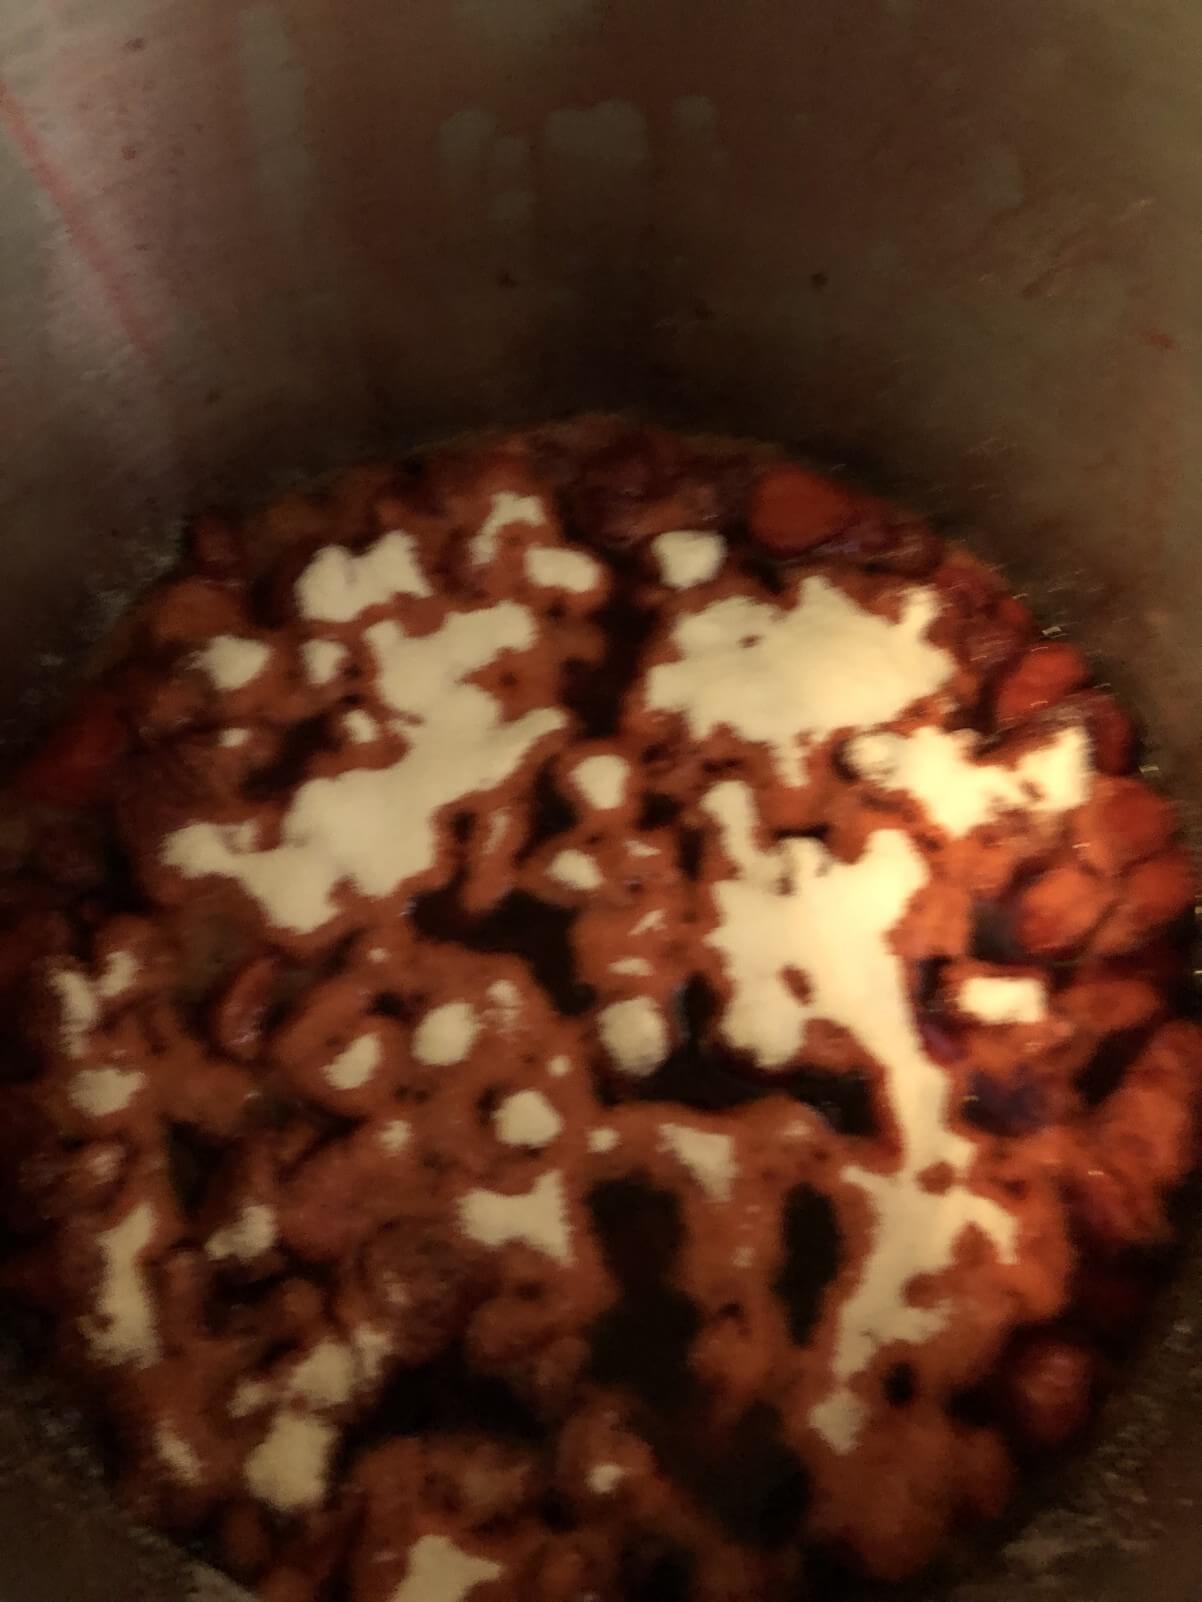
9. Remove from heat. Skim off any foam that may be on the top of the jam. (This is pretty harmless, but less attractive in the finished product—do your best to get as much foam removed as possible. Some fruits and berries may foam more than others; some hardly at all).
10. Your jam is now prepped and ready for canning. Proceed immediately to the canning step.
Jam Ingredients and Amounts for 14 Types of Jam
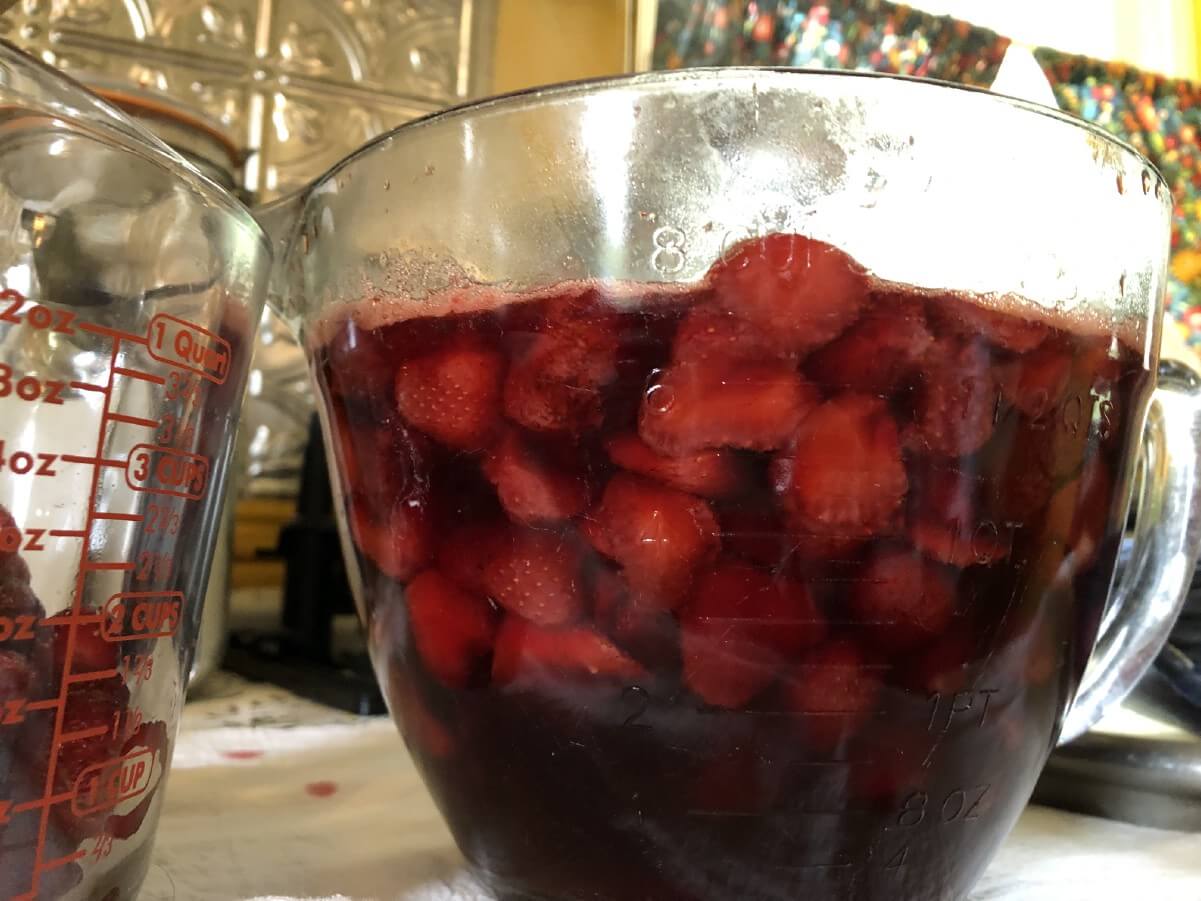
Strawberry Jam: 8 cups whole strawberries, 7 cups sugar
How to Prepare Berries: Remove tops, then crush strawberries with a masher.
Yield: Approximately 8 cups finished strawberry jam
Raspberry Jam: 8 cups whole raspberries, 7 cups sugar
How to Prepare Berries: Crush berries with masher. To reduce seed content, you may choose to press about one-half of the berries through a fine-mesh sieve (optional).
Yield: Approximately 9 cups finished raspberry jam
Blackberry Jam: 8 cups whole blackberries, 7 cups sugar
How to Prepare Berries: Crush berries with masher. To reduce seed content, you may choose to press about one-half of the berries through a fine-mesh sieve (optional).
Yield: Approximately 9 cups finished blackberry jam
Black Raspberry Jam: 8 cups whole black raspberries, 6 ½ cups sugar
How to Prepare Berries: Crush berries with masher. To reduce seed content, you may choose to press about one-half of the berries through a fine-mesh sieve (optional).
Yield: Approximately 8 cups finished black raspberry jam
Blueberry Jam: 6 cups whole blueberries, 4 cups sugar
How to Prepare Berries: Mash blueberries with a masher (or pulse to chop in a food processor—do not over-process).
Yield: Approximately 6 cups finished blueberry jam
Mixed Triple-Berry Jam: 6 cups whole strawberries, 3 cups whole raspberries, 2 cups whole blackberries, 7 cups sugar
How to Prepare Berries: Crush each type of berry separately with a masher, then combine.
Yield: Approximately 8 cups finished triple-berry jam
Loganberry Jam: 8 cups whole loganberries, 7 cups sugar
How to Prepare Berries: Crush berries with masher. To reduce seed content, you may choose to press about one-half of the berries through a fine-mesh sieve (optional).
Yield: Approximately 9 cups finished loganberry jam
Apricot Jam: 3 ½ pounds apricots, ¼ cup lemon juice (fresh-squeezed, preferably), 7 cups sugar
How to Prepare Fruit: Pit apricots, but do not remove skins. Finely chop.
Yield: Approximately 9 cups finished apricot jam
*Apricot jam is slow to set and may take as long as two weeks to set.
Peach Jam: 3 pounds peaches, 2 tablespoons lemon juice (fresh-squeezed, preferably), 5 ½ cups sugar
How to Prepare Fruit: Pit and peel the peaches. Finely chop.
Yield: Approximately 7 cups finished peach jam
Cherry Jam: 3 pounds cherries, 4 ¾ cups sugar
How to Prepare Fruit: Remove stems and pits. Finely chop cherries.
Yield: Approximately 6 cups finished cherry jam
Pear Jam: 3 pounds whole pears, 2 tablespoons lemon juice (fresh-squeezed, preferably), 5 cups sugar
How to Prepare Fruit: Peel pears, core, and remove seeds. Finely chop.
Yield: 6 cups finished pear jam
Plum Jam: 4 pounds whole plums, 8 cups sugar
How to Prepare Fruit: *Plum jam requires an extra preparation step (cooking) prior to making jam. Remove pits from plums and finely chop. Cook in large saucepan with ½ cup water. Bring to a boil, reduce heat to medium-low, simmer 5 minutes.
Yield: 10 cups finished plum jam.
Canning Your Prepared Jam: How-To
With your equipment prepped and ready, and your jam cooked, you are now ready to complete the process and can your homemade jam.
How to Hot Process (Can) Your Jam
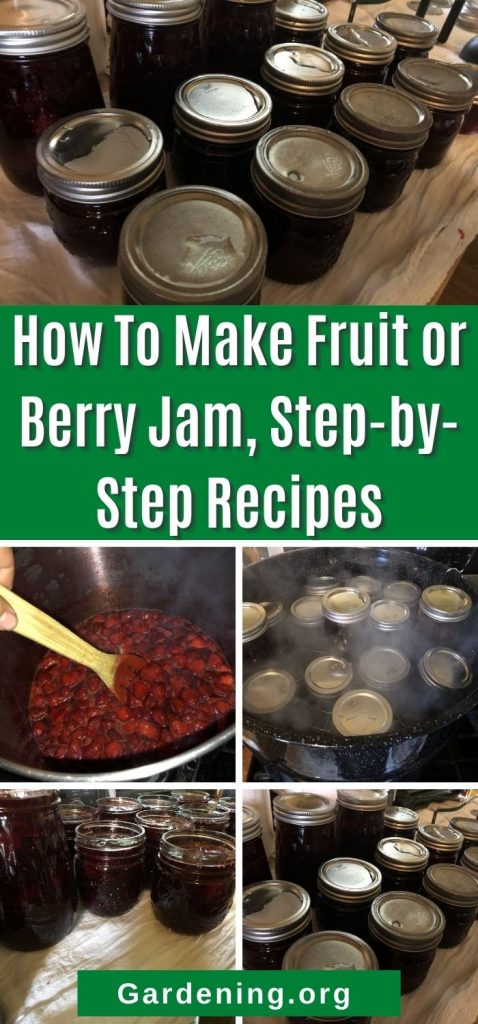
Properly cooked, canned, and processed jam is shelf-stable (able to be stored at room temperature without refrigeration) for a long time—at least up to a year. Once opened, your jam should be stored in the refrigerator and is best if used within one month.
Here is how to process, or can, your freshly-made jam, step-by-step:
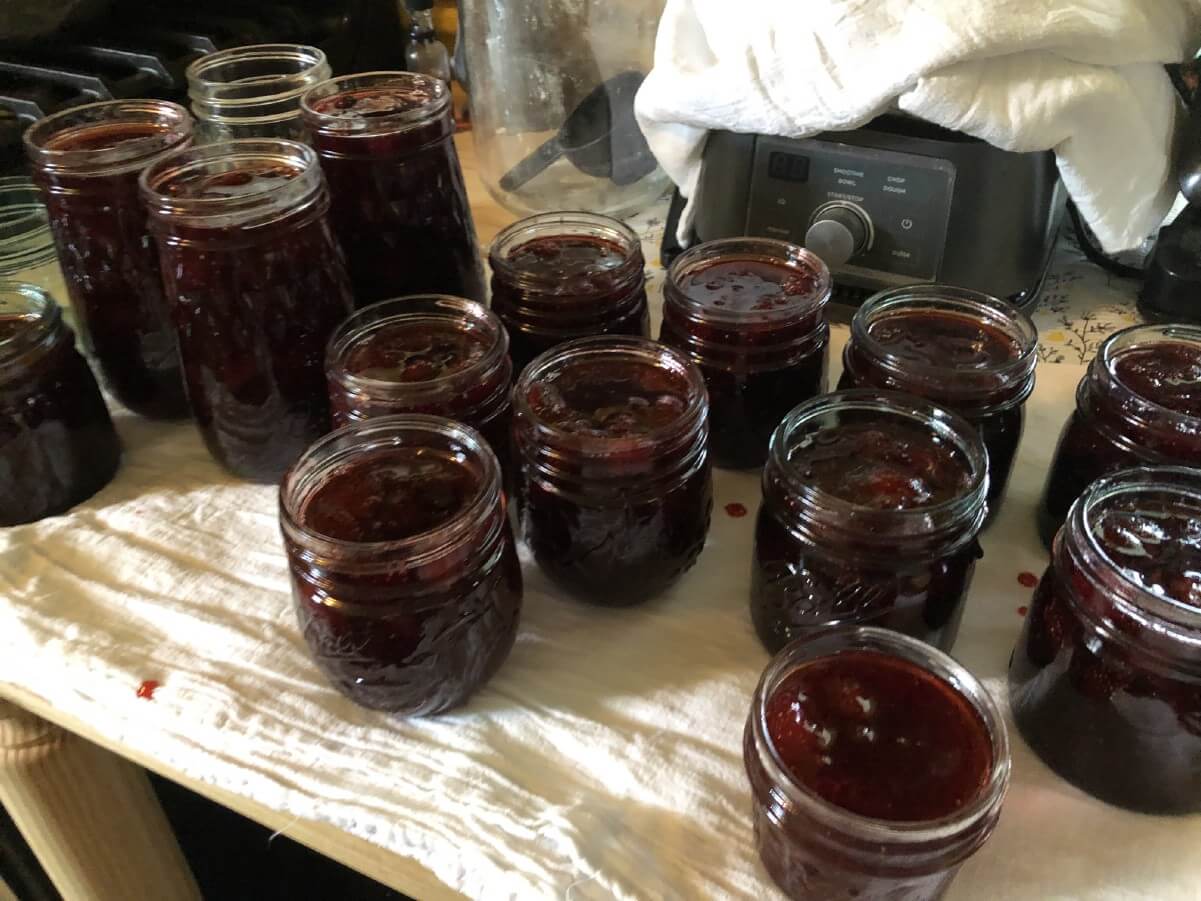
Step 1 - Fill Your Jam Jars for Processing
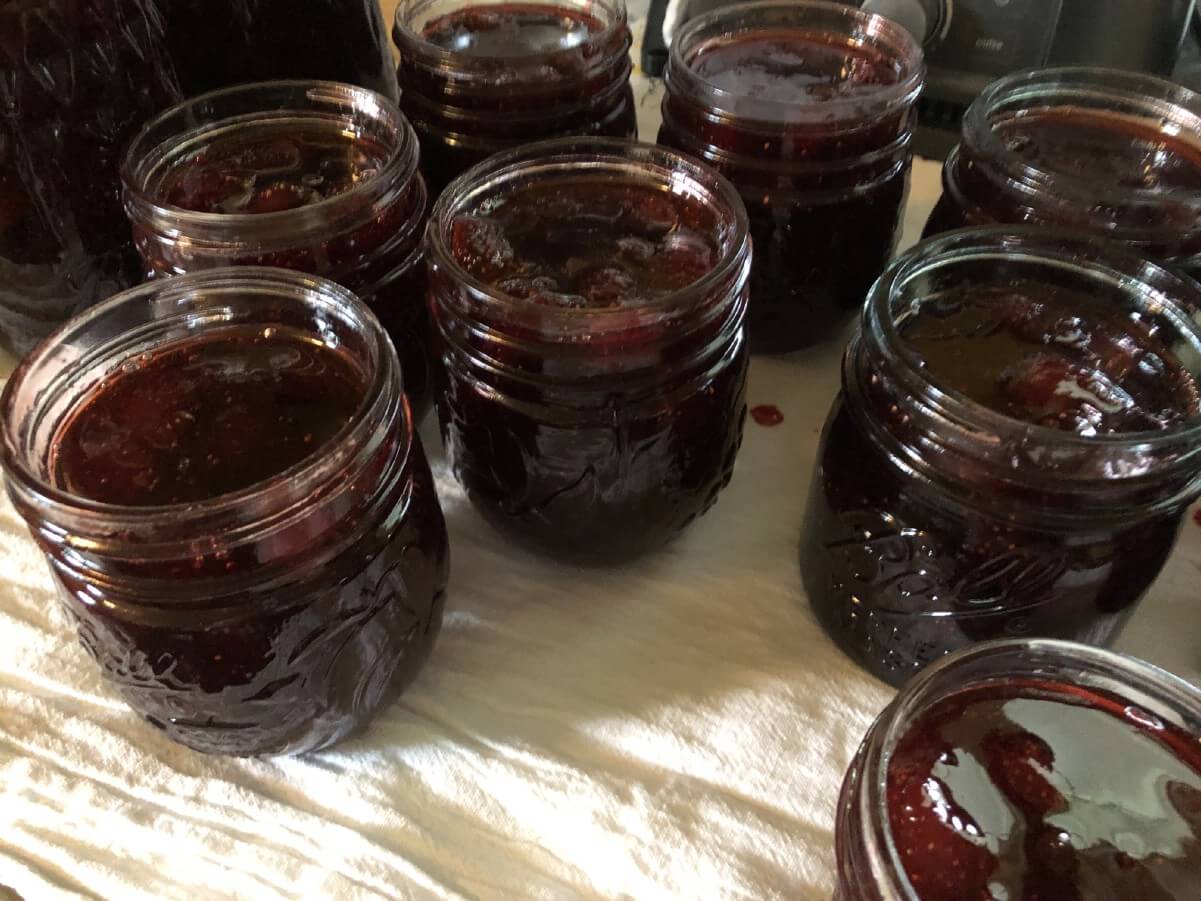
Use a canning funnel and a ladle and ladle the hot jam into your prepared canning jars. Fill the jars almost to the top, but leave a little “headspace” to prevent overflowing and help sealing. Leave ¼ inch of space unfilled. On standard canning jars, this is the height of one threaded ring down on the glass. You can also use a graduated tool designed for measuring headspace, available with canning kits and where canning supplies are sold.
A little more or less space is okay and your jam should still seal and be just fine, so don’t be too overly-worried if you are unsure of the exact headspace. It is better to leave a little more empty headspace than to overfill the jars.
Step 2 – Wipe Jar Rims and Threads
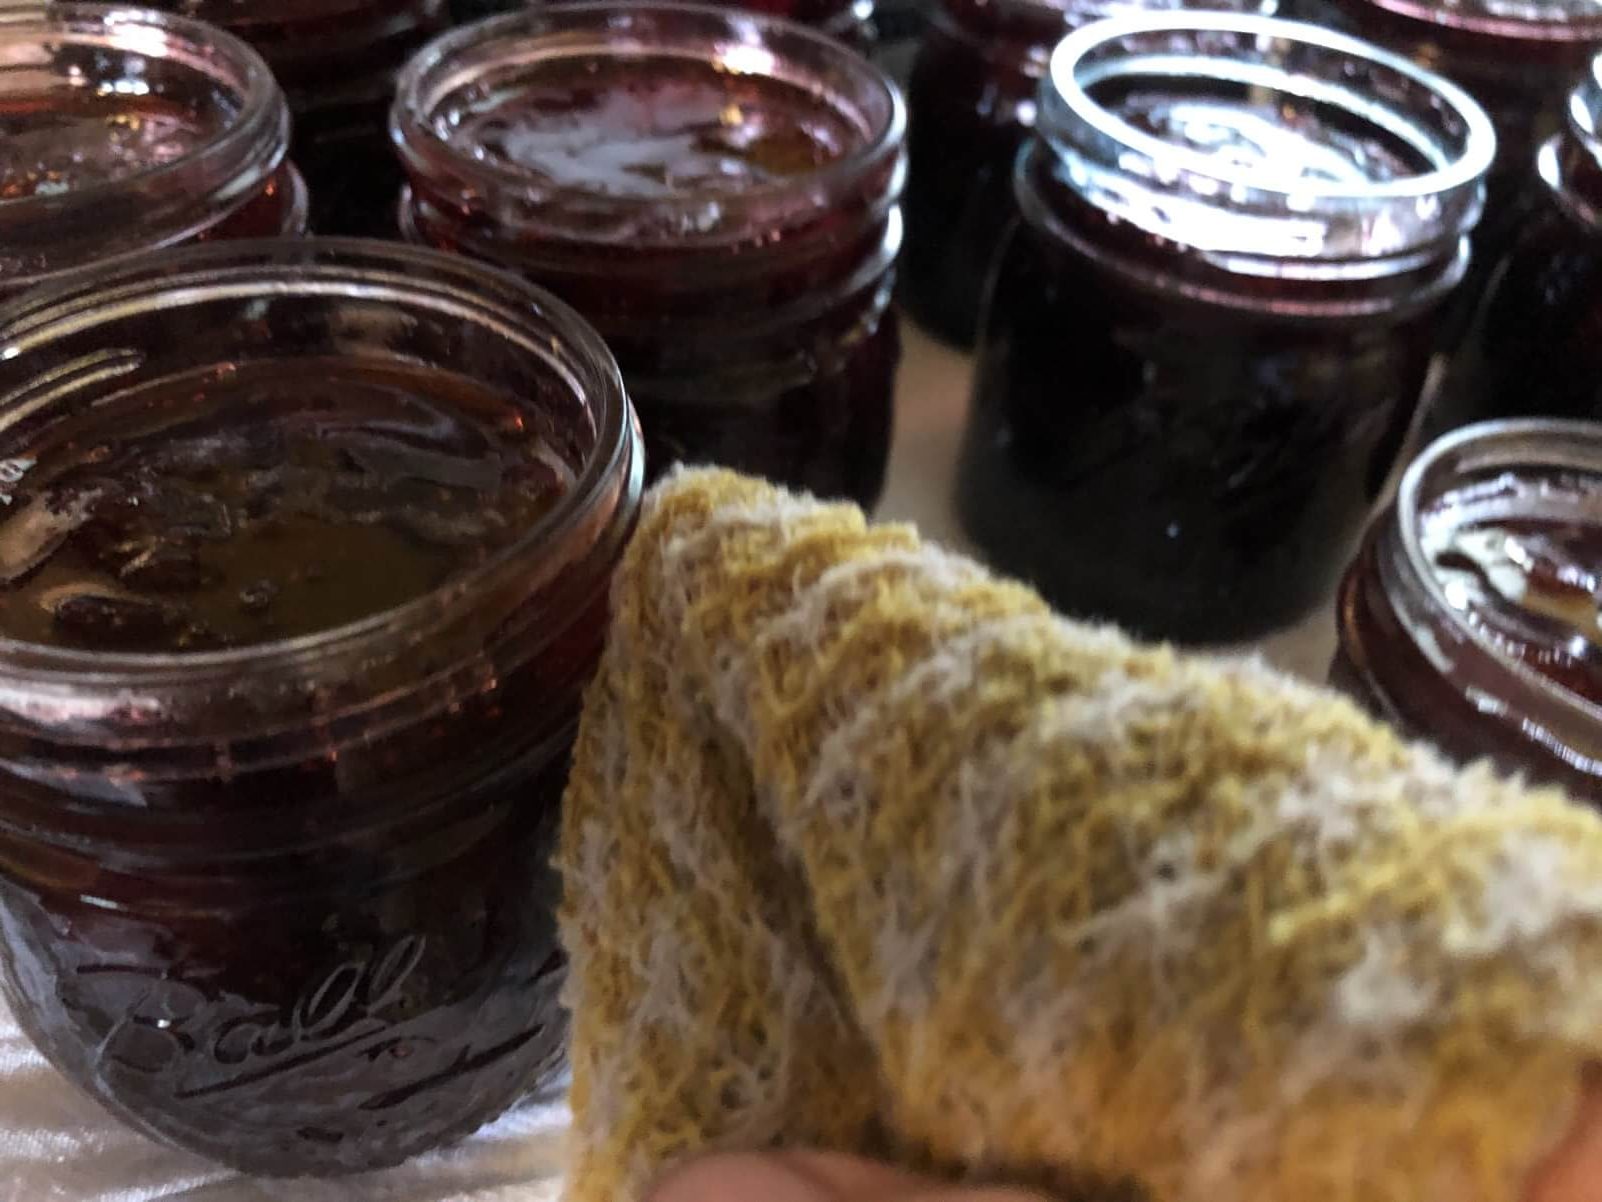
To ensure a proper seal (and keep jars clean and unsticky), use a clean cloth dampened with warm water and gently but firmly run it over the top edge of the jar rim and also over the threads.
Step 3 – Fit Lids and Secure Rings
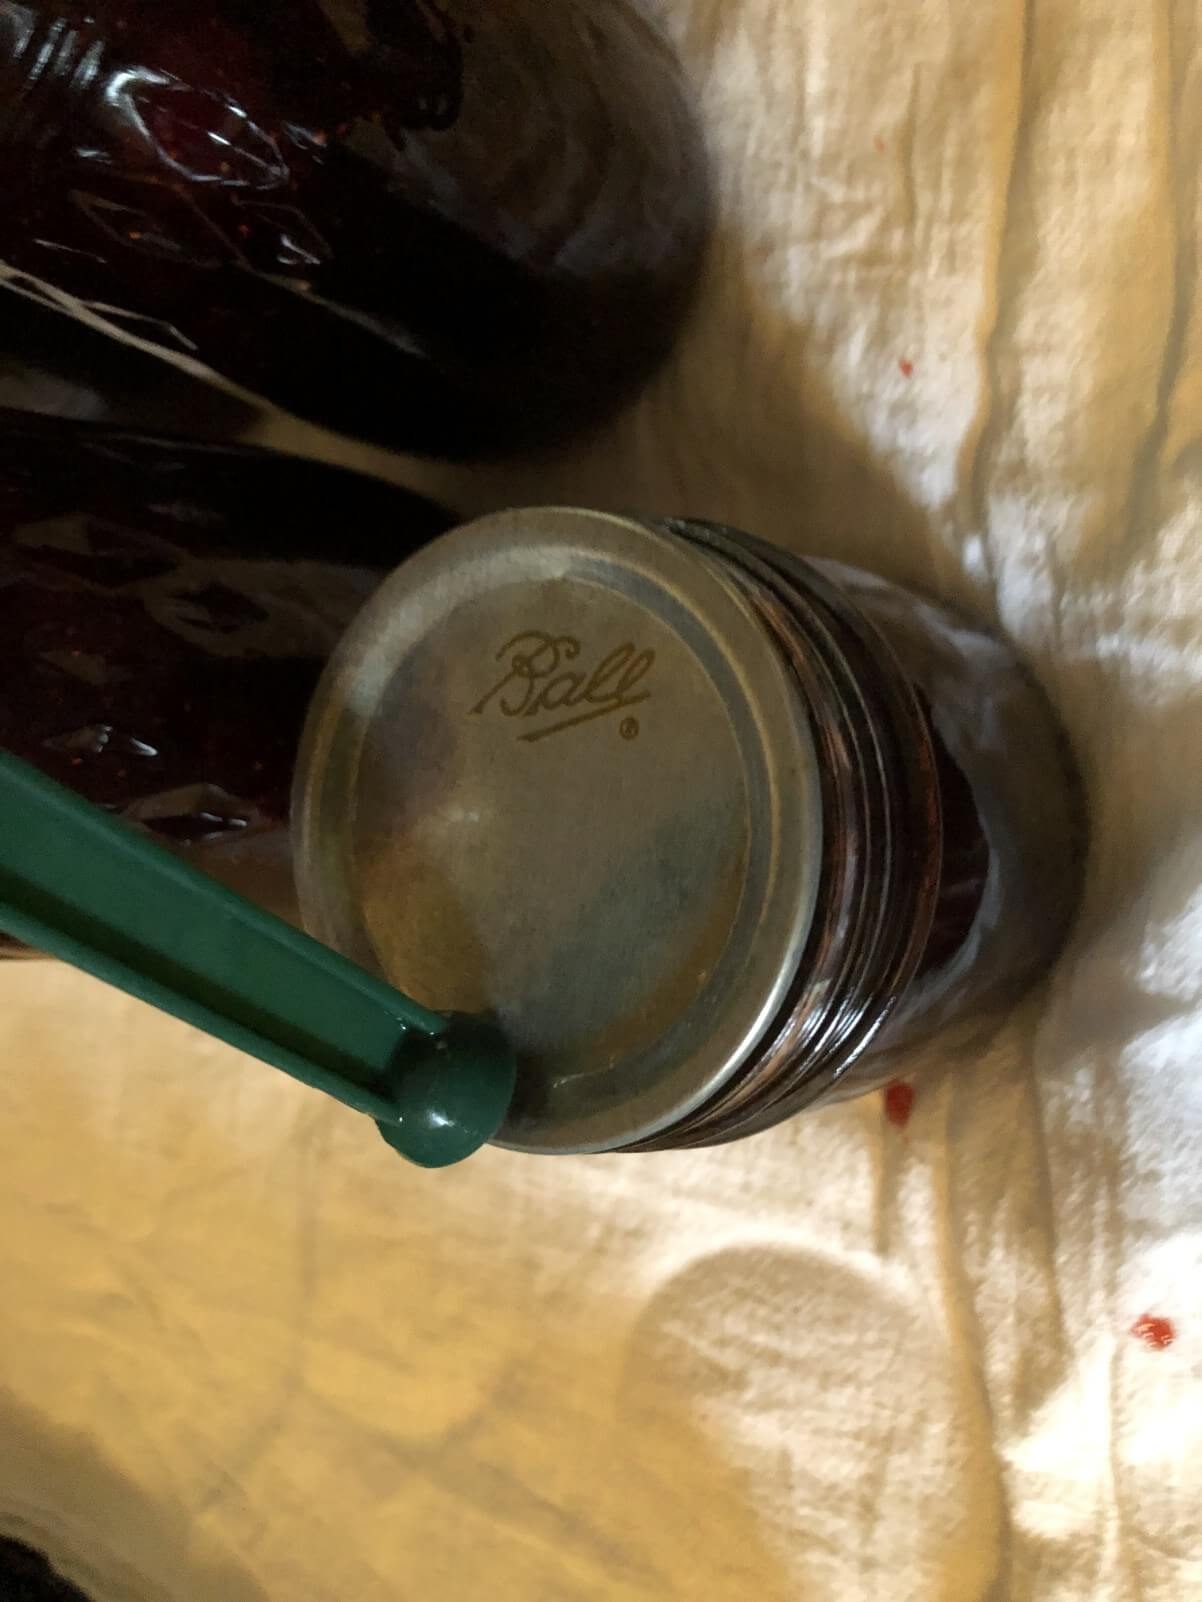
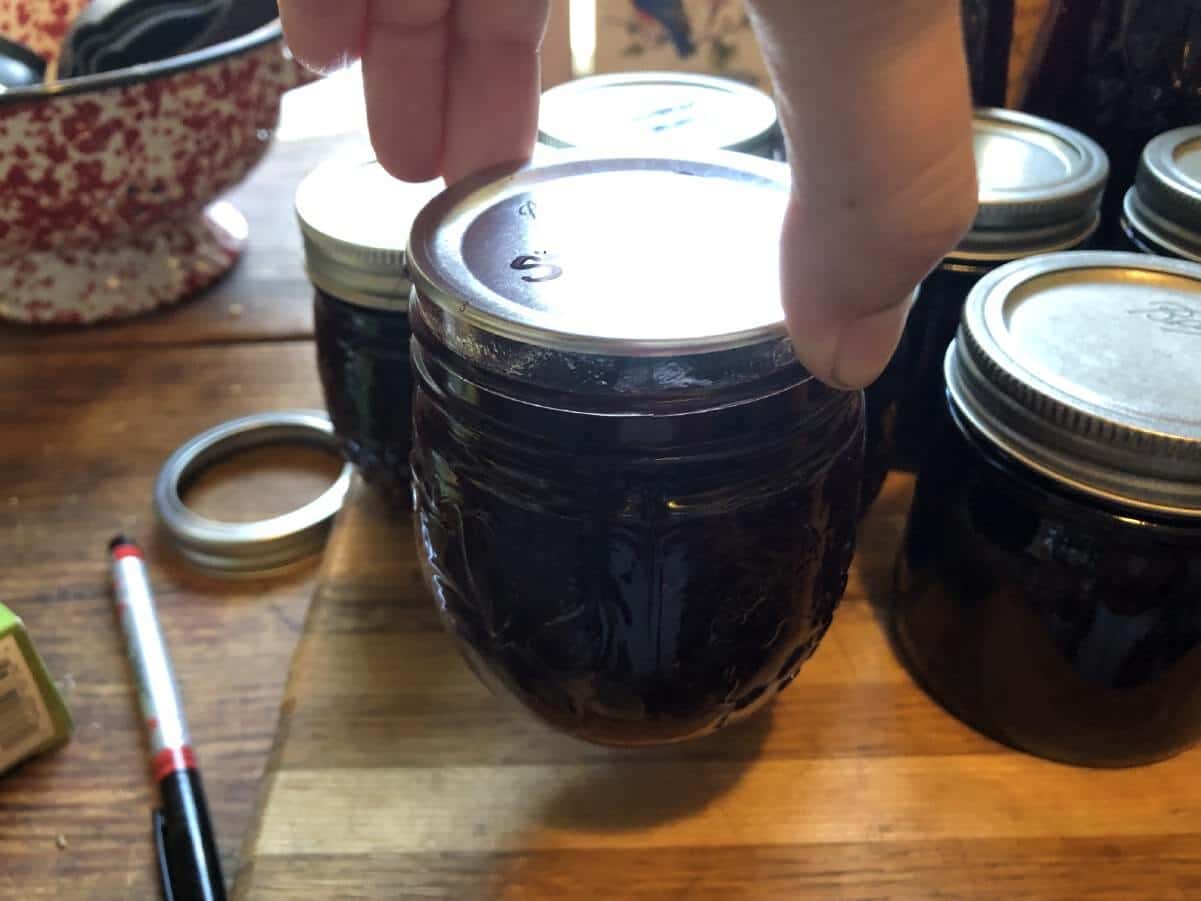
Now place one lid on each jar, and then secure it with a ring. Tighten the ring to a strong finger-tight fit. Do not over-tighten.
Step 4 – Place Jam in Canner
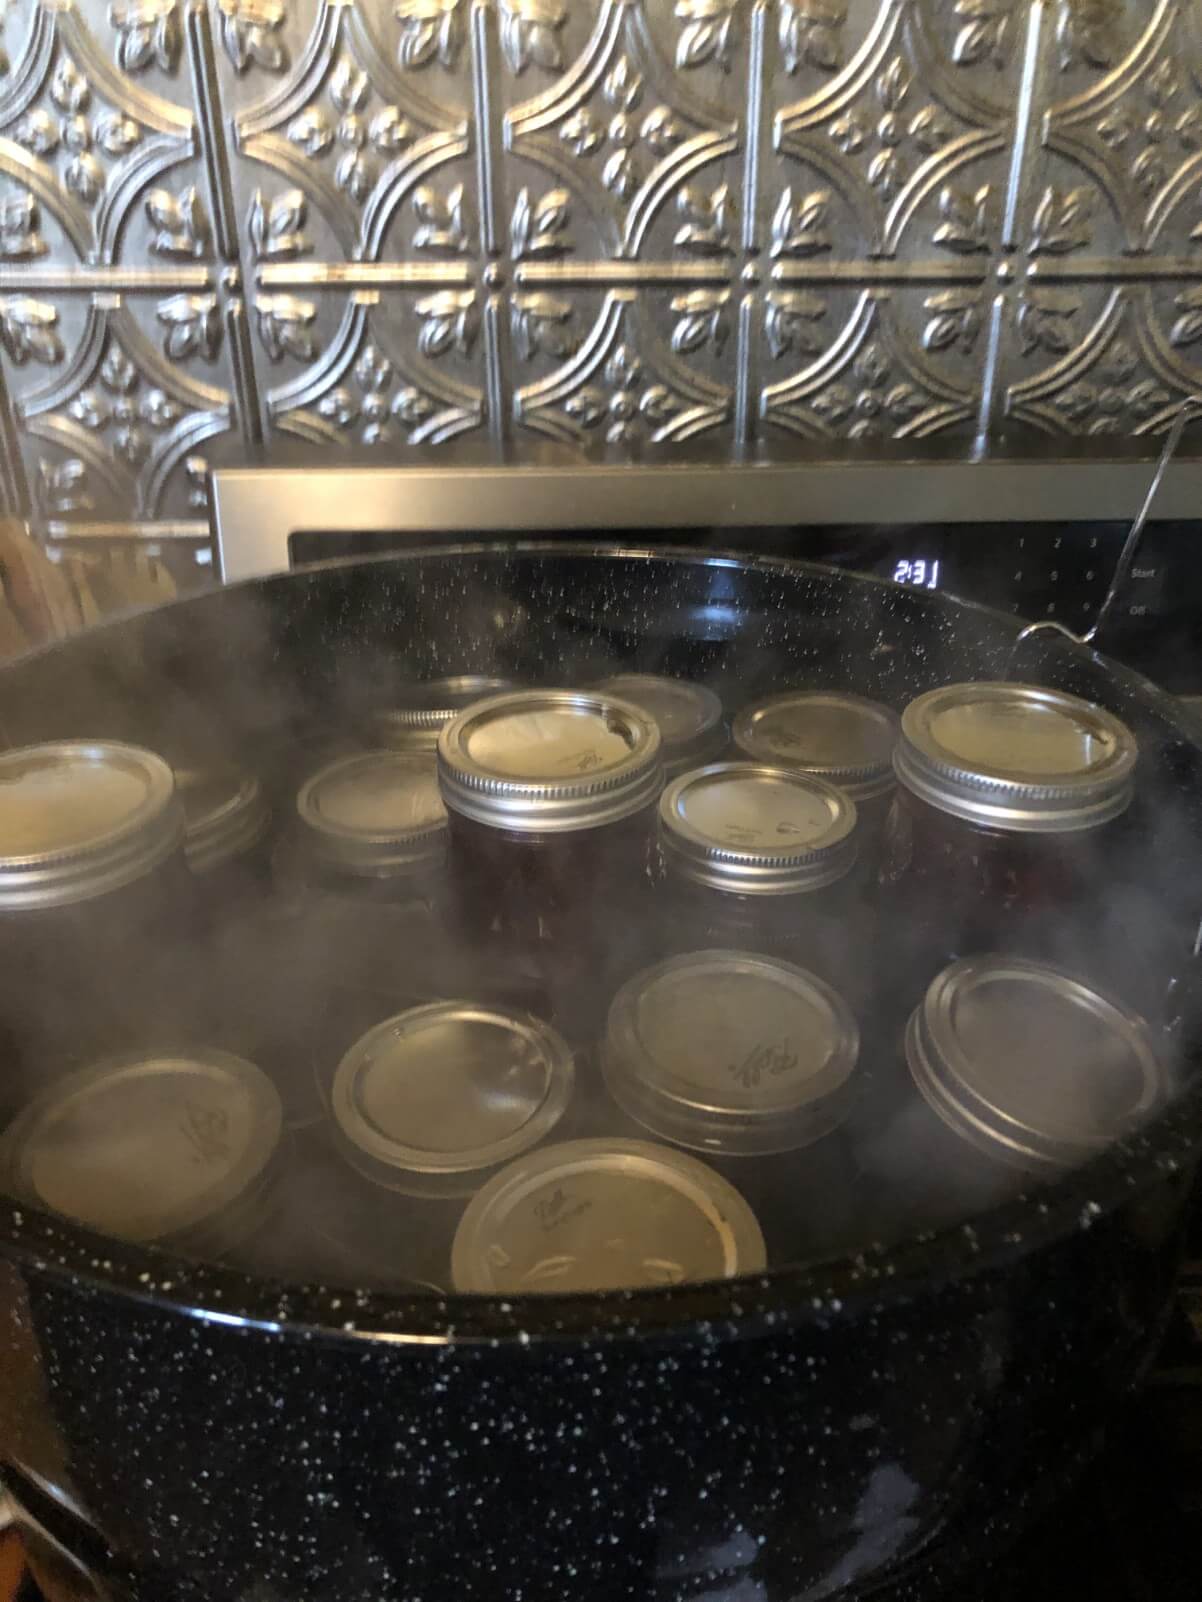
Your canner should have a removable rack that will keep your jam jars off the bottom of the canner (pot) to prevent breakage. This rack (or basket) will also have handles that allow you to raise and lower the loaded basket rack.
Fill the canning rack with jars, as directed for your canner. Use your canning jar tongs for this—jars and water are hot; do not get burned.
Lower the jar-filled rack into the canner, with care. You should have enough water in the canner so that there will be one to two inches of water over the tops of the sealed jars. If there is too much water in the canner, remove some with a heat-proof utensil. If you need more water, you may add boiling water from a kettle or pan (it is helpful when canning to always keep a boiled kettle of water on the back-burner, just in case). Put the cover back on the canner.
Step 5 – Bring the Canner Water Back to A Boil
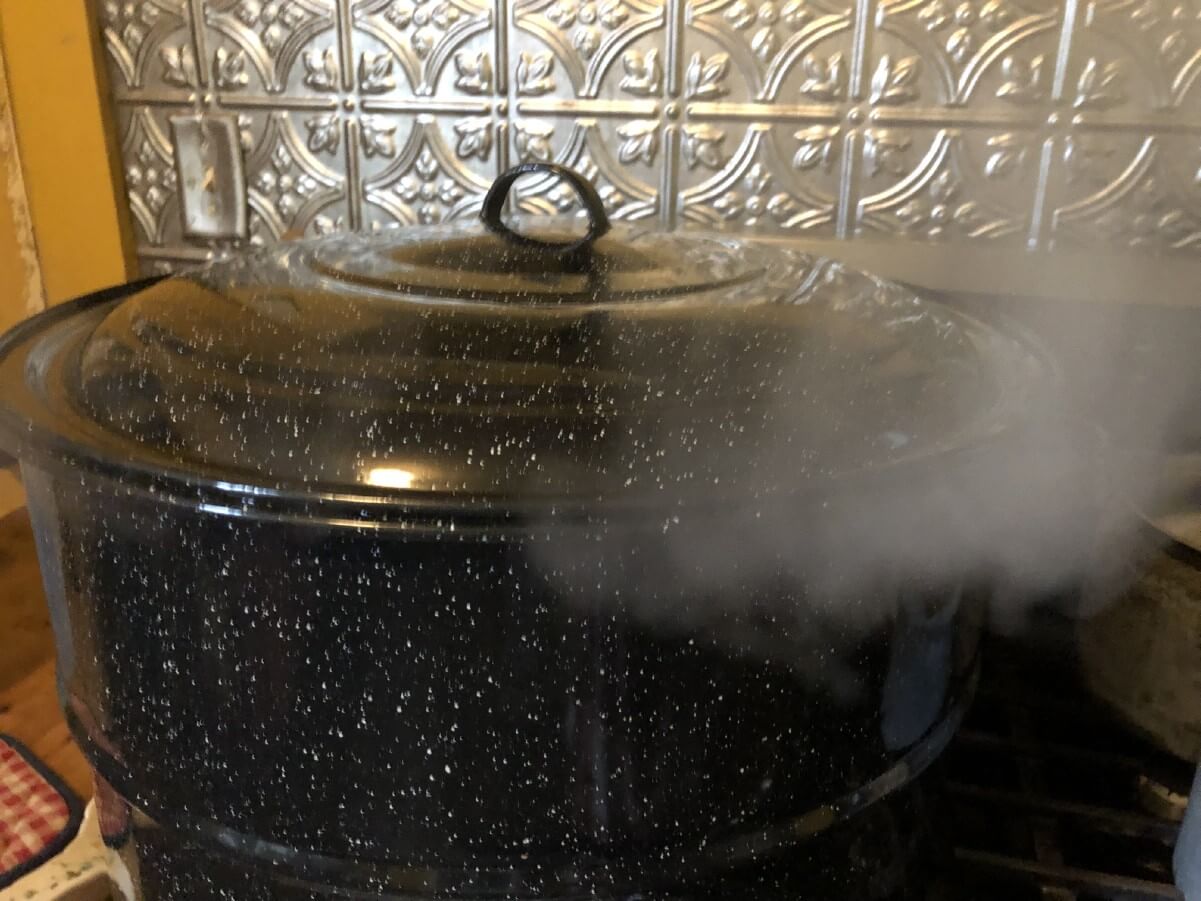
Turn the heat to high and let the water come back to a gentle boil. Try not to remove the cover, as this makes it take longer for the water to come to temperature. Peak if you must, but resist the urge to constantly remove the cover to check the water. Instead, look for a steady stream of steam coming from under the lid. When you see this, you’ll know the water is steadily boiling. Then you can take a quick look to make sure.
Step 6 – Time and Process the Jars
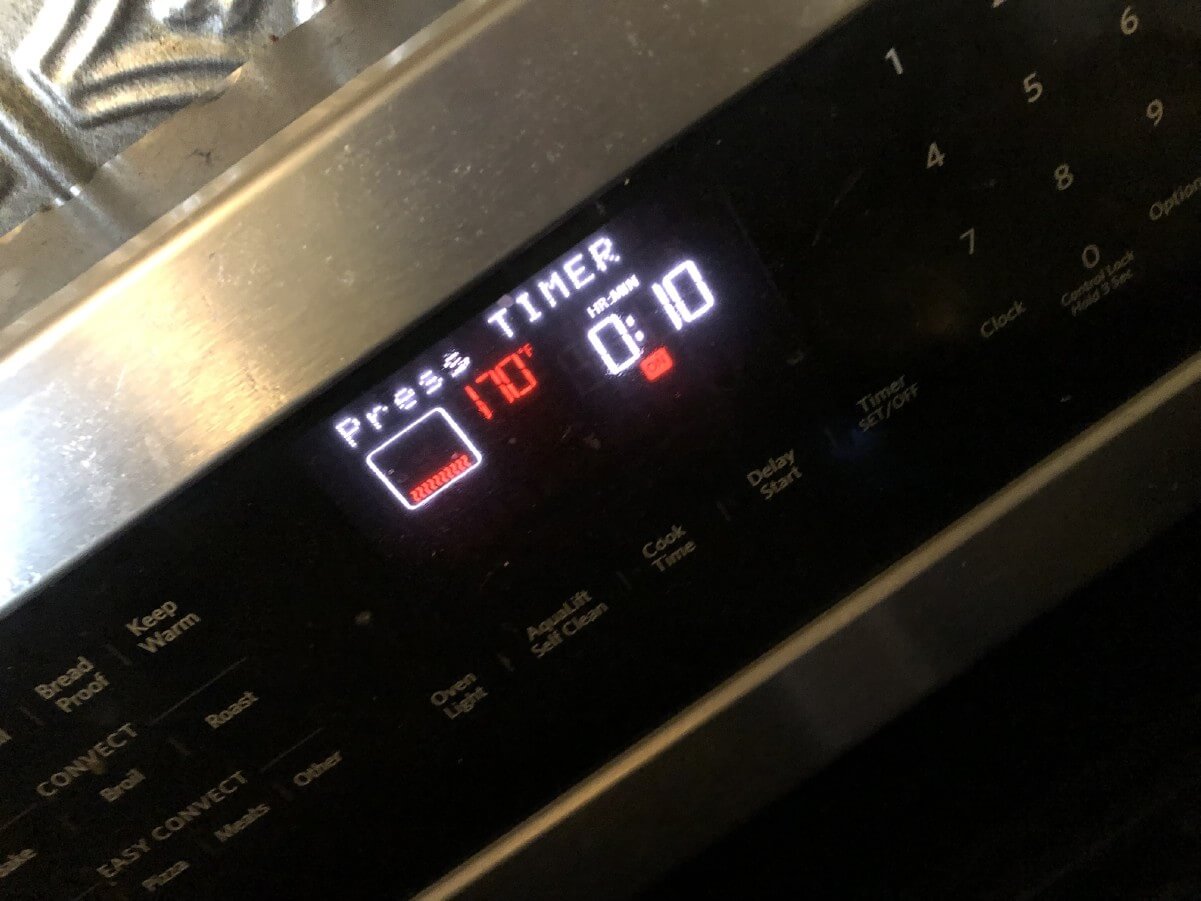
“Process” simply refers to the time the filled, sealed jars of jam spend in the boiling water. Start timing the processing time as soon as the canner has come to a full boil.
Keep boiling and processing your jam jars for 10 minutes. During this time, you may need to adjust your flame or heat to avoid boiling over, but make sure the water remains at a boil the entire time. When the time is up, turn off the heat and remove the cover from the canner.
*If you live at an altitude above 1,000 feet, you should adjust your processing time accordingly:
- process an extra 5 minutes for altitudes between 1,000 and 3,000 feet
- process an extra 10 minutes for altitudes between 3,000 and 6,000 feet
- process an extra 15 minutes for altitudes between 6,000 and 8,000 feet
- process an extra 20 minutes for altitudes between 8,000 and 10,000 feet
Do not attempt to move a hot filled canner. Do not attempt to lift, carry, or empty the water from a canner until it is completely cooled.
Step 7 – Remove Jam from Canner
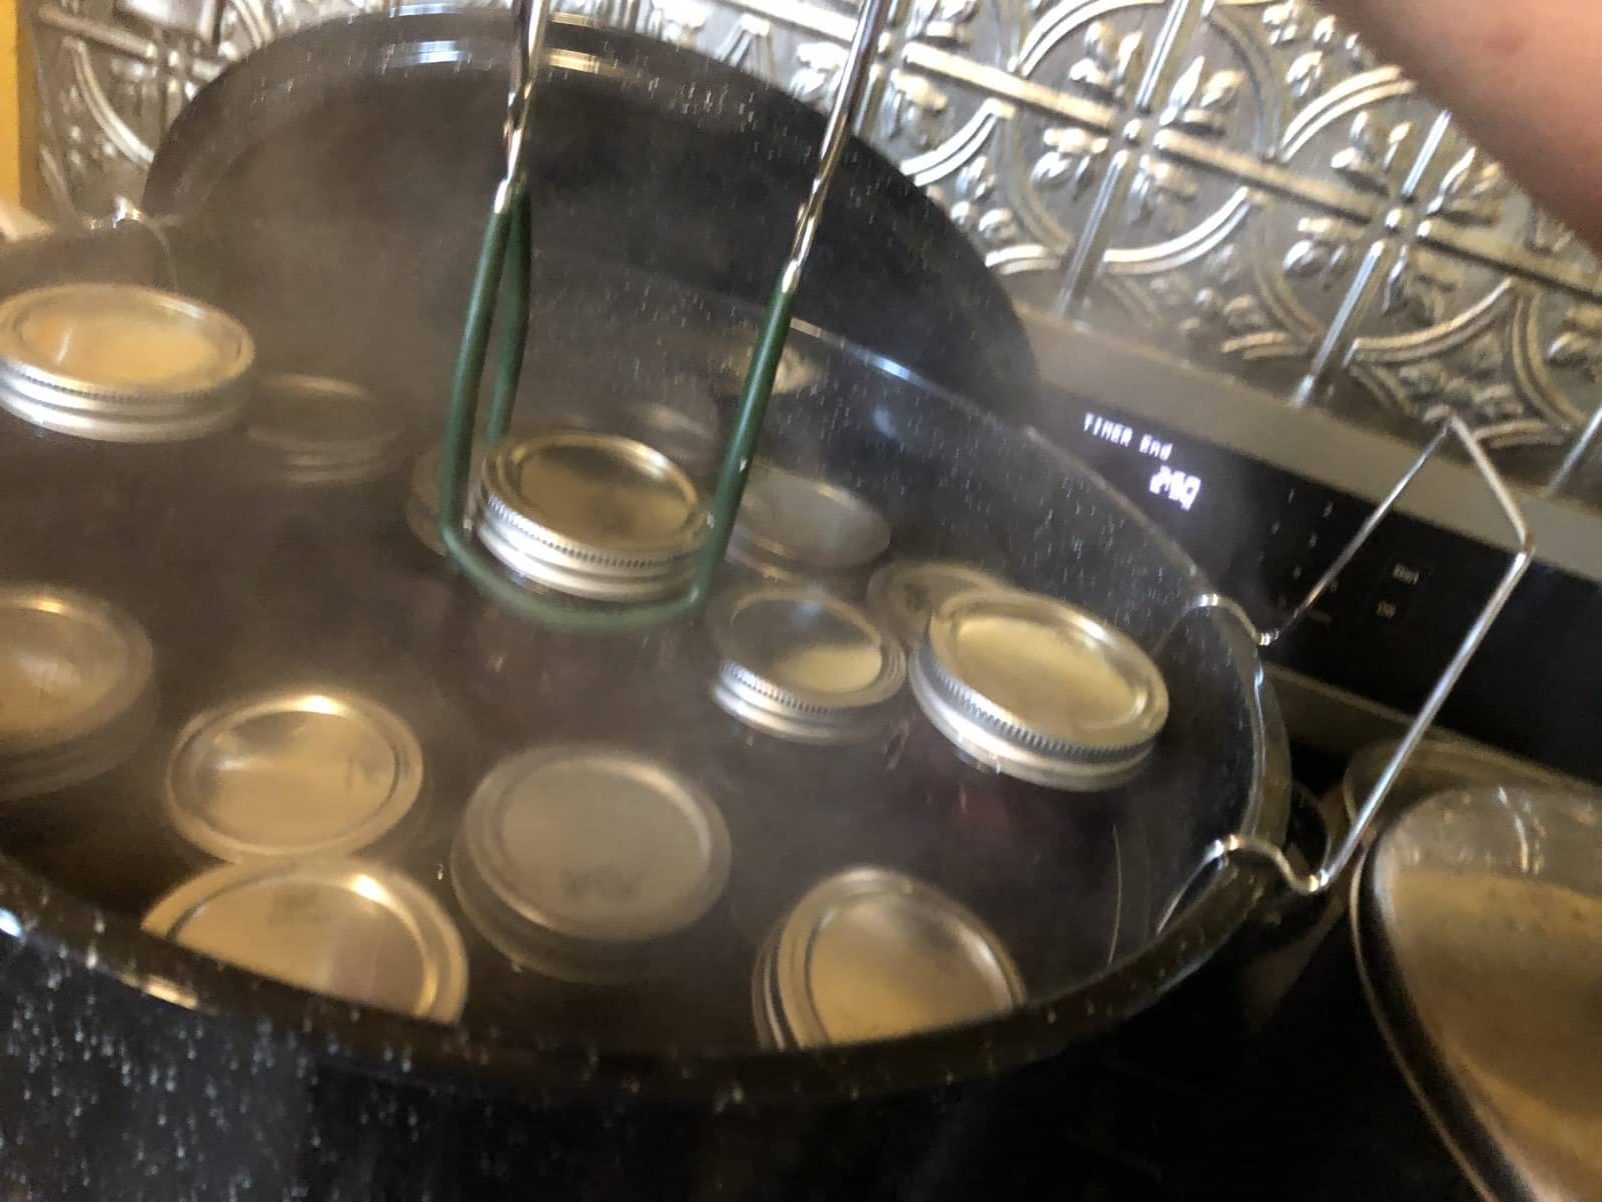
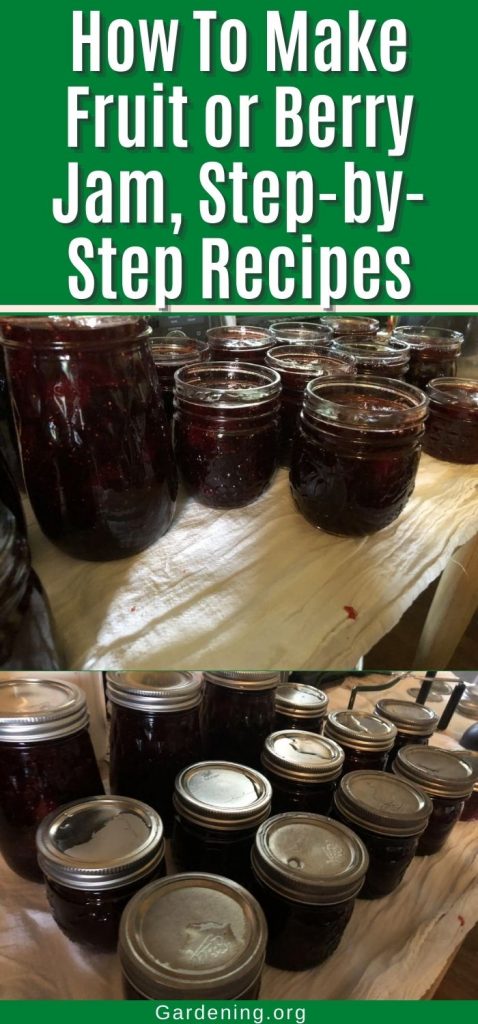
Lift the rack out of the water (most canner baskets will have a lip built into the handles to rest the basket at the top of the canner). Using canning jar tongs (be sure to use properly-designed tongs for safety’s sake!), lift the jars out of the canning rack and place them (upright—lids up) on a protected surface to cool. Space jars one or two inches apart. Avoid knocking jars together.
Cover cooling jam jars with a clean cloth towel to prevent drafts.
Step 8 – Let Cool and Sit, Check Seals
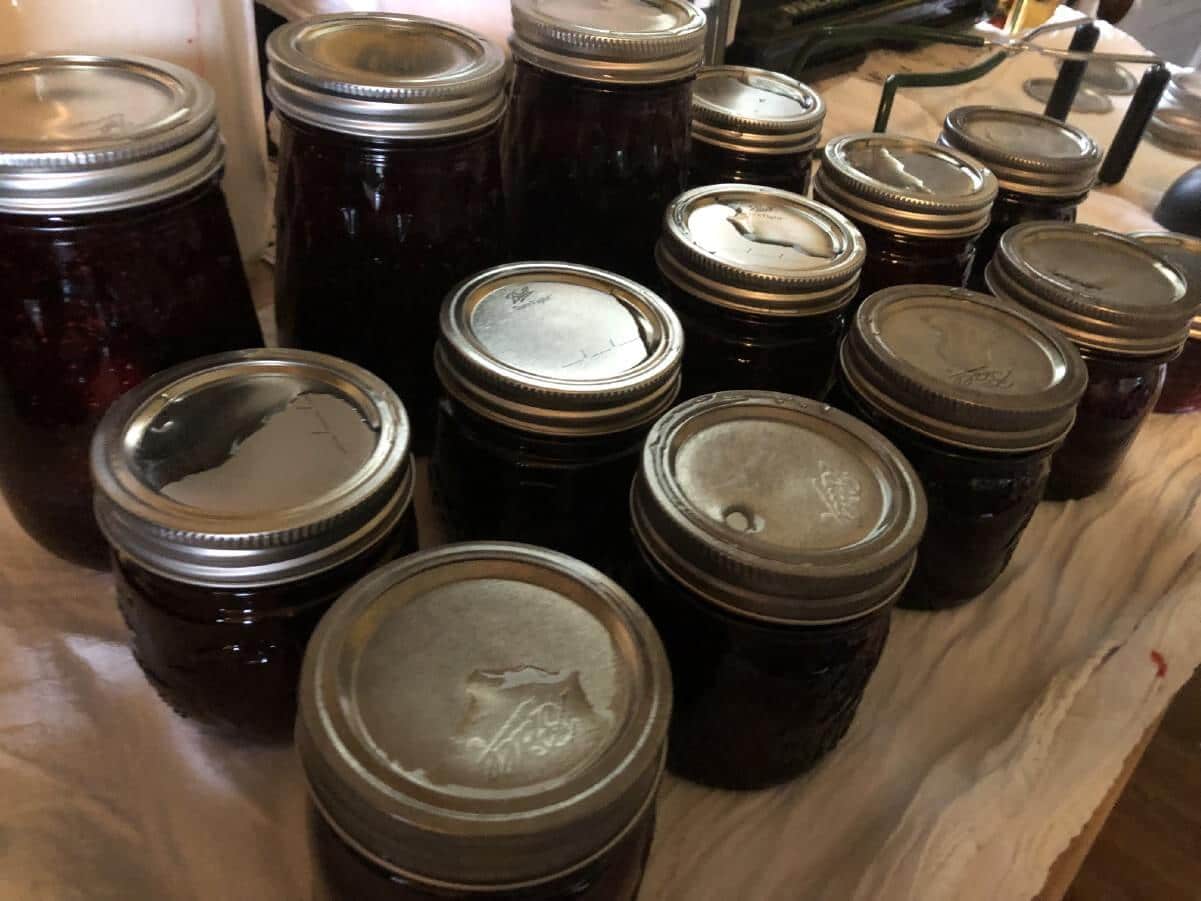
Leave jars to sit for 24 hours, giving them time to cool completely and for seals to properly seal. Jars will seal as they cool—you will often hear a very satisfying serenade of pops and pings, telling you your seals are setting!
After jars are completely cooled (the next day), check the seals. Sealed lids will be compressed and sucked into the jar. If you press on them they will feel solid and there should be no give. If you remove the ring band and gently pick up the jar by the edge of the lid, it will not come off—you should be able to lift the jar by the lid.
Once sealed, you can remove the ring bands if you so choose. The seal is achieved by the lid, not the ring. Sealed jars of jam can be stored at room temperature without rings if you like, however, it is convenient to have the rings on the jars so that when you do open a jar, the band is with it to seal it closed again.
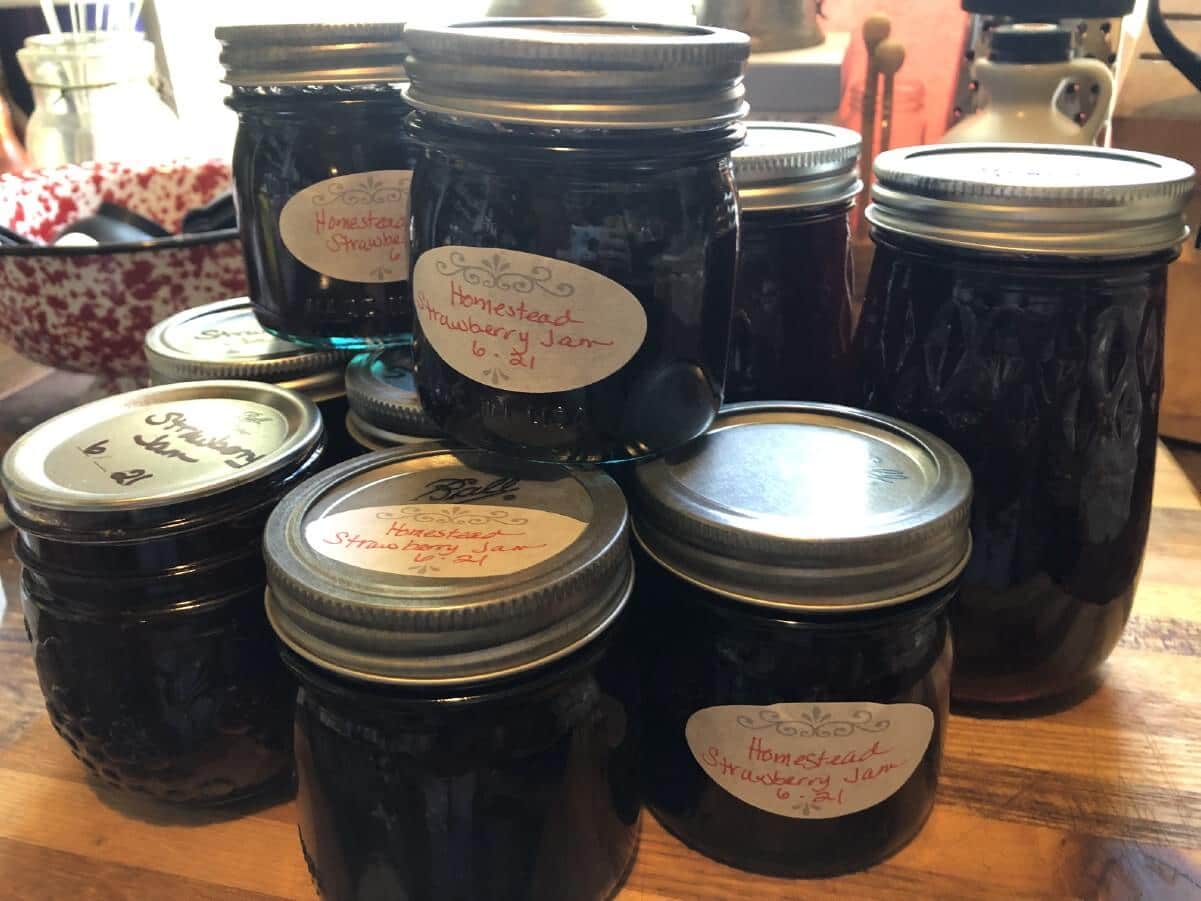
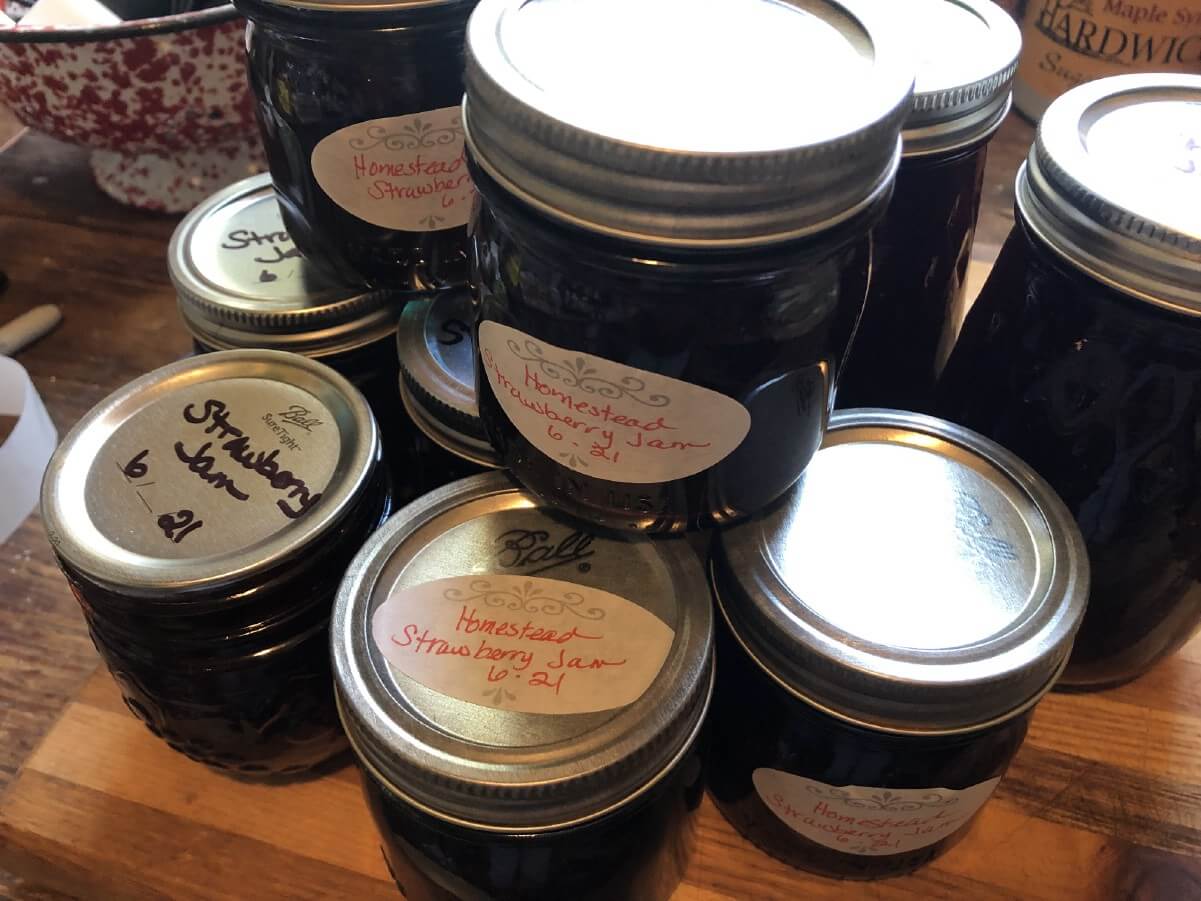
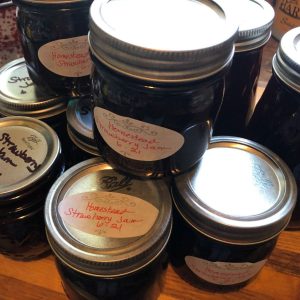
Step 9 – Label and Store
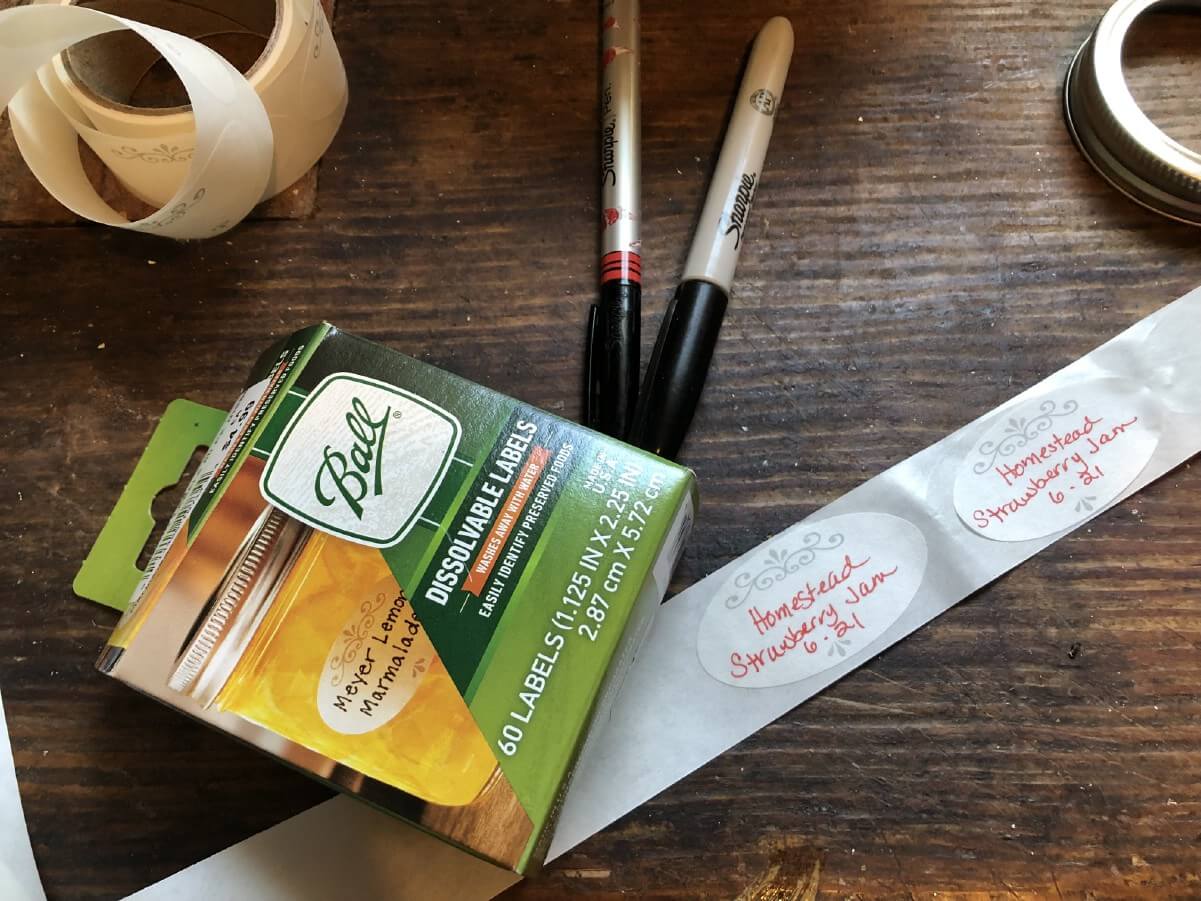
Be sure to label your finished jam so you know what is on your shelf—no guesswork!
Label your jam with the type (flavor) and date of processing—the month and year is sufficient.
Any jars that do not seal need to be stored in the refrigerator. Stored opened jars in the refrigerator.
It is not uncommon when making jam to have the last jar not completely filled. If the jar is close to full (with an inch or less of headspace) and it seals completely, you can store this on the shelf. If the jar is only partially full it is best to put this jar in the refrigerator and use it first (not a loss—you’ll want to give your tasty jam a try soon, anyway!).
Stored jars can be kept for one year. Opened, refrigerated jars should be used within about a month.
A Note About Canning from Preserved Fruits and Berries
It is certainly possible to make jam from fruit that you have previously frozen or from quality purchased frozen fruit and berries. Ideally, the faster you go from picked to preserved (such as making jam), the better, however, sometimes time is not on our side.
One reason to make your jam from previously frozen fruit is that harvest times can be big time-crunches. It can be hard to find enough time to pick your fruit and berries and make your jam at the time of harvest, especially if you are growing many different types of fruits, berries, and vegetables. So, if time is hard to come by, freeze your fruit or berries as soon as possible after harvest, then make your jam at a later date when you have more time—after all, you’ve got all winter to miss your garden and fresh produce!
Even if you don’t have your own fresh-frozen, homegrown fruit supply, you might just want to make your own jam from frozen fruit or berries because it is healthier and free of preservatives, dyes, artificial flavors, and artificial colors (common ingredients in commercial jams and jellies).
How to Make Jam from Frozen Fruit or Berries
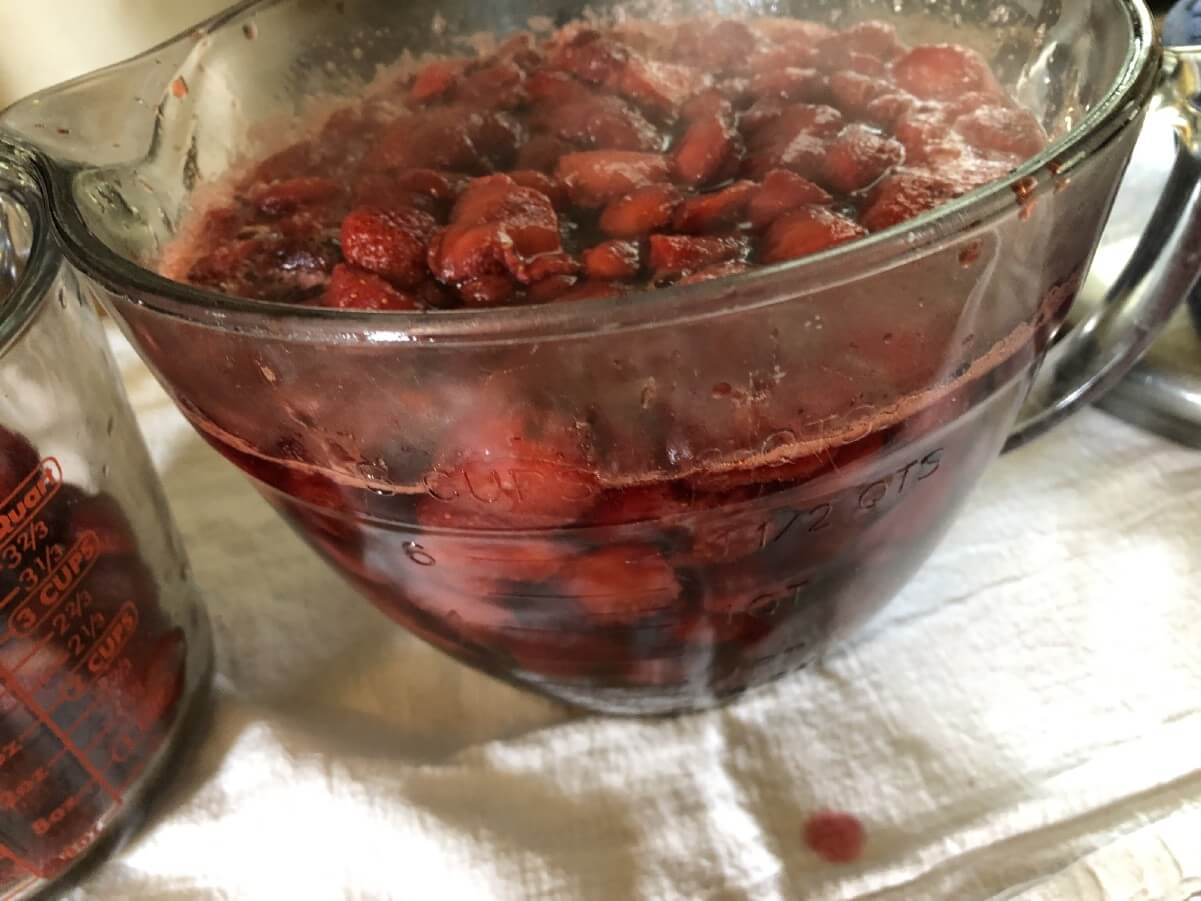
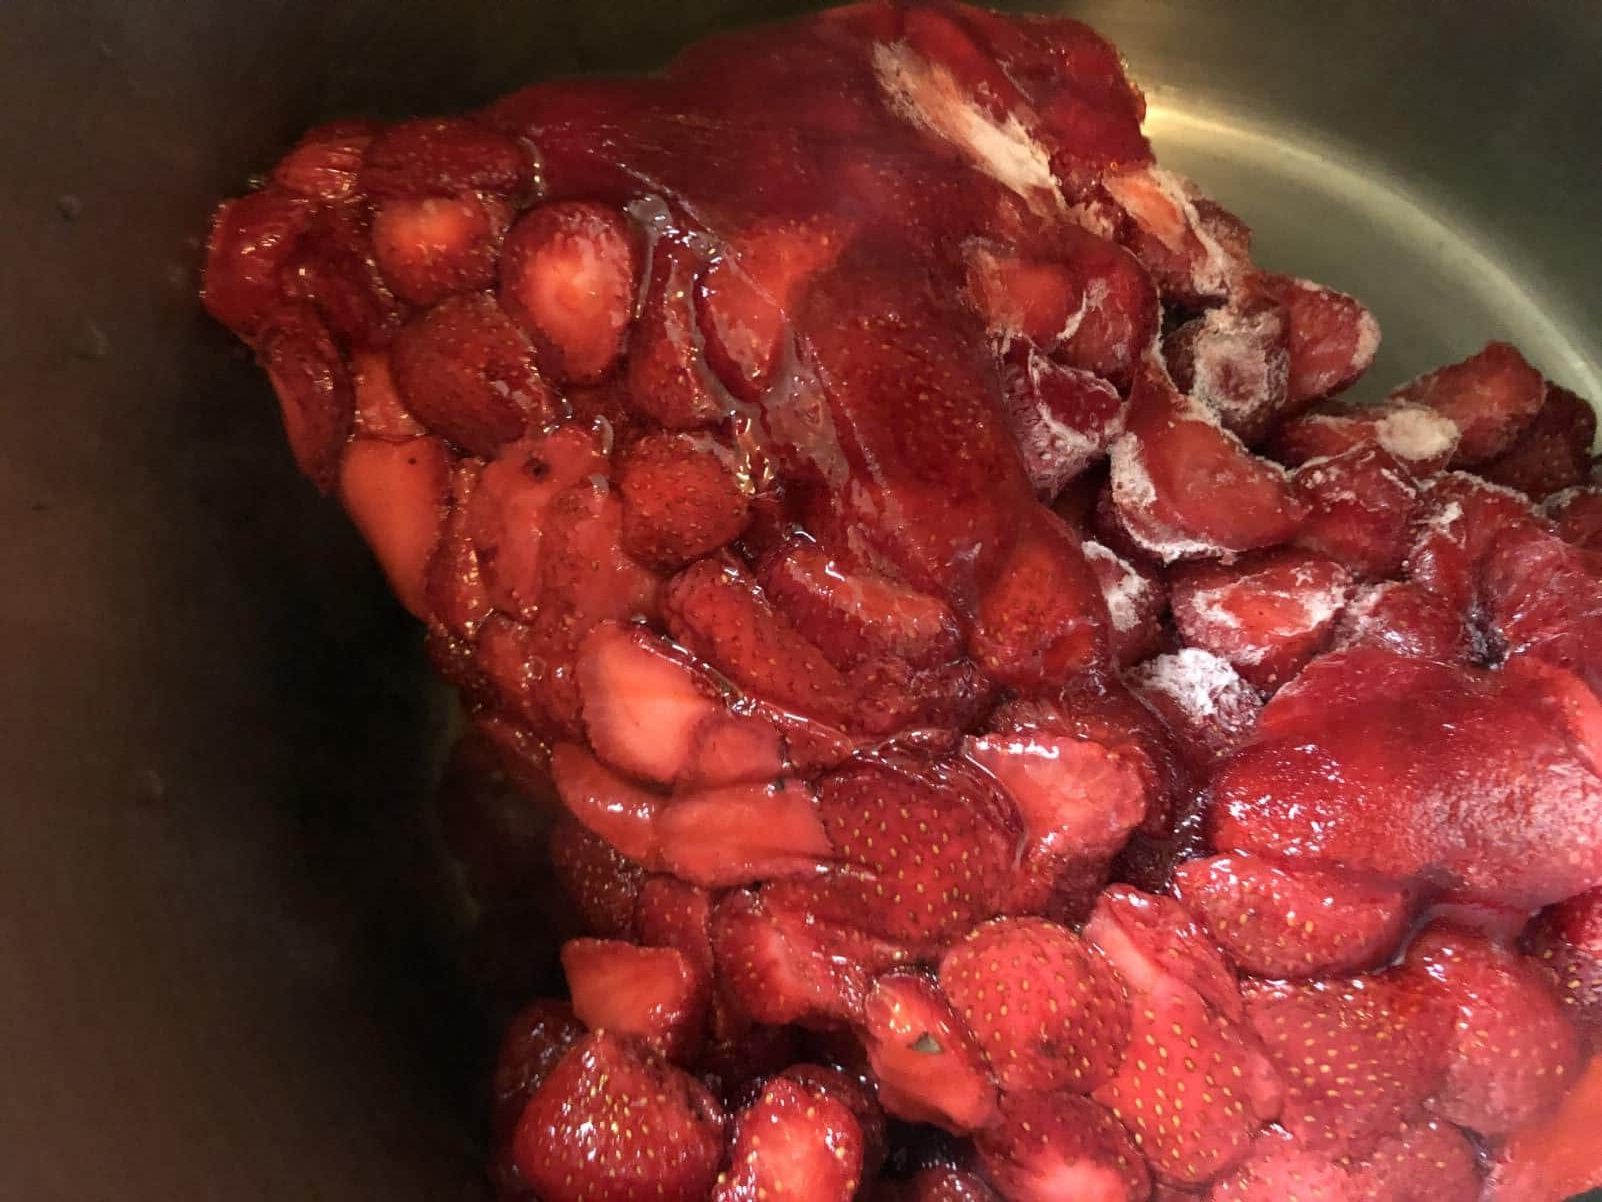
If working from frozen fruit or berries, it’s best to measure them into a bowl while still frozen (or mostly frozen). Include any juice that may appear as the fruit melts in your measurements—you do not want to lose that precious, delicious juice! After measuring, you should warm and thaw the fruit (or let sit until completely thawed) before making the jam. Then simply proceed as if you were making the jam from fresh produce.
How to Make Jam from Dried or Dehydrated Fruit or Berries
You can also make jam from dried or dehydrated fruits and berries. If using dehydrated produce, first rehydrate the fruit or berry. Then, measure (including any leftover juice or liquid) according to recipe measurements.
Enjoy the Fruits of Your Jam-Making Labor!
Homemade jam is truly a treat. It is a bright spot in the middle of winter –a reminder of warm, sunny, fruit-filled days. Though the process may seem overwhelming to the uninitiated, it is truly quite manageable and the whole process, start to finish, won’t take more than a couple of hours—time that will grow shorter with experience. Enjoy the fruits of your labor and take pride in your delicious jam preserves.
Leave a Reply