
Here’s an easy in-the-ground vermicomposting* system that you can make in under five minutes, and use all year long!
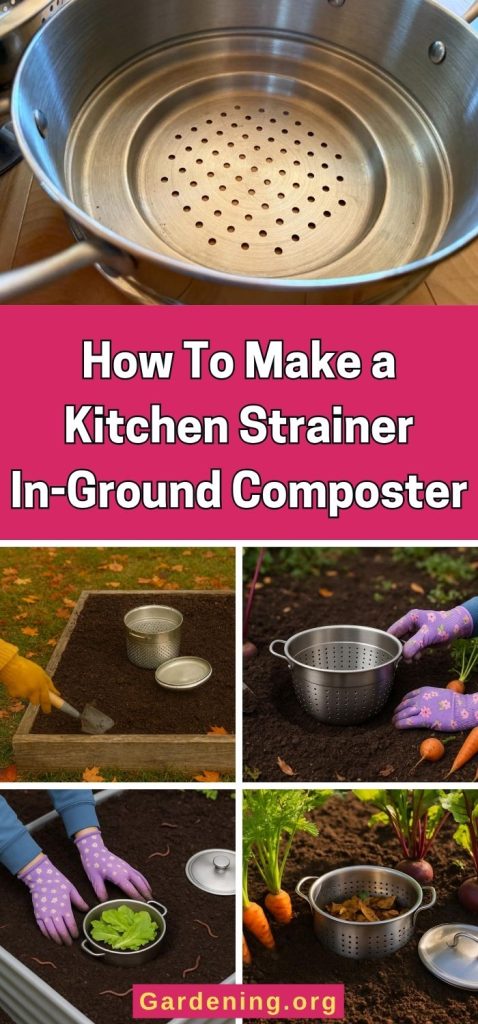
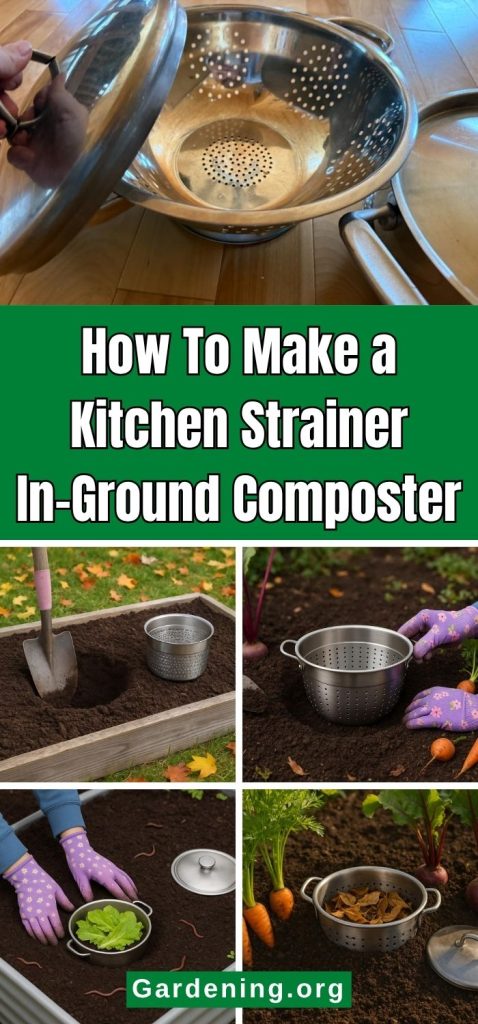
It’s a simple upcycling project that uses an old colander or pot strainer to make an in-ground composter. Composting straight in your garden bed!
Vermicomposting is composting with worms. It’s a valuable way to quickly and naturally compost your scraps and create nutrient-dense worm castings for your plants, containers, and gardens.
Jump to:
- Why An In-Ground Composter? What’s Great About It?
- When Can You Install an In-Ground Worm Composting Pot?
- What Type of Garden Can You Make a Upcycled Vermicomposter In?
- Up-Cycled Strainers Make Perfect Worm Composting Pots!
- How to Make a Vermicomposting Pot in the Garden or Raised Bed
- First, Find or Shop for Your Strainer
- Choose a place for your worm composter
- Dig a hole the size of your strainer
- Backfill to the sides of the strainer
- Add material to start your compost off
- When Can You Add to Your Compost Pot? (Time of Year)
- What If You Don’t Have Many (Or any) Worms?
- What Will Worms Do in the Winter?
- What To Do When Your Compost Is Done?
- More Pots Make More Composting Space
Why An In-Ground Composter? What’s Great About It?
Using an in-ground composting pot has several advantages.
- The pot is accessible even if the ground freezes
- You can add to the pot any time of year
- Worms can crawl into the pot to process the compost and scraps
- Speeds up composting via worms, even in cold weather
- Small holes keep rodents and pests out
- Lid can be locked down with a bungee cord to keep rodents and larger digging wildlife out (such as skunks, raccoons, etc)
- More protection from nuisance wildlife and pets, too
- Accessible any time, so you don’t have to collect scraps building up in your kitchen
- Builds soil and soil health
- Enhances beneficial worm population
- Compost can be spread nearby or taken out for use elsewhere
- Small, manageable pots
- Juices and runoff simply go into the ground
- Garbage smells are controlled and seep into the ground
- Less attraction for rodents and wildlife
- Composter gets moisture from garden moisture, so they’re lower maintenance
- Leaching liquids are basically free compost tea for surrounding plants!
- If you like to fish, you can harvest worms right from your strainer composter!
- No big piles to turn
- Valuable worm castings and compost for your garden
- Faster composting thanks to worms and beneficial bugs!
- Space saver!
- Anyone can compost on this scale!
When Can You Install an In-Ground Worm Composting Pot?
The fall and spring are two great times to install an upcycled strainer vermicomposting system in your garden areas, but truly, you can set this system up at any time of the year when the ground is not frozen. Basically, any time when you can dig into your soil.
Fall is a good time because you will be pulling plants and putting things to bed. Adding a compost pot for the worms now will give them some food to work with before things freeze solid. You won’t have plants in the way, and you won’t interfere with growing plant roots.
Spring is good for similar reasons. You can install your pots now that the soil is diggable again, but before there are plants in place and without fear of wrecking roots.
In either spring or fall, you’ll be able to plant around your compost pot. You can also move them or add more pots in places where you want to encourage a bigger worm population.
While spring and fall might be the easiest and most ideal times of the year, again, the timing doesn’t really matter as far as the worms are concerned. They’ll appreciate and find your pots, increasing fertility and the worm population in your gardens.
What Type of Garden Can You Make a Upcycled Vermicomposter In?
This simple composter can be built in any type of garden. Flower, vegetable, annual, perennial, raised bed, or in the ground. It doesn’t matter.
As long as there is enough ground to sink your colander of choice down into it, you can make yourself an upcycled vermicomposter.
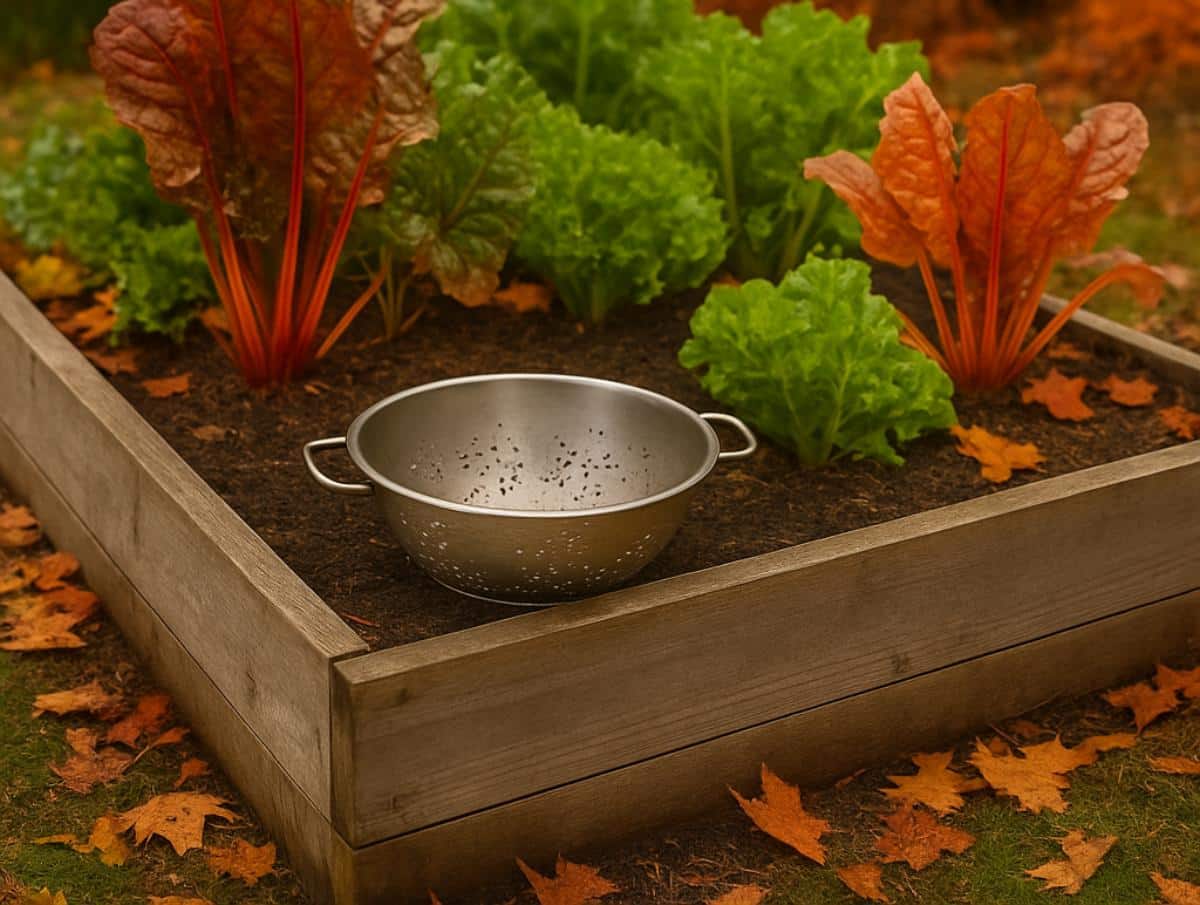
Up-Cycled Strainers Make Perfect Worm Composting Pots!
How to Make a Vermicomposting Pot in the Garden or Raised Bed
Making a strainer worm composter takes only a few minutes. If you can dig a hole, you can do it!
First, Find or Shop for Your Strainer
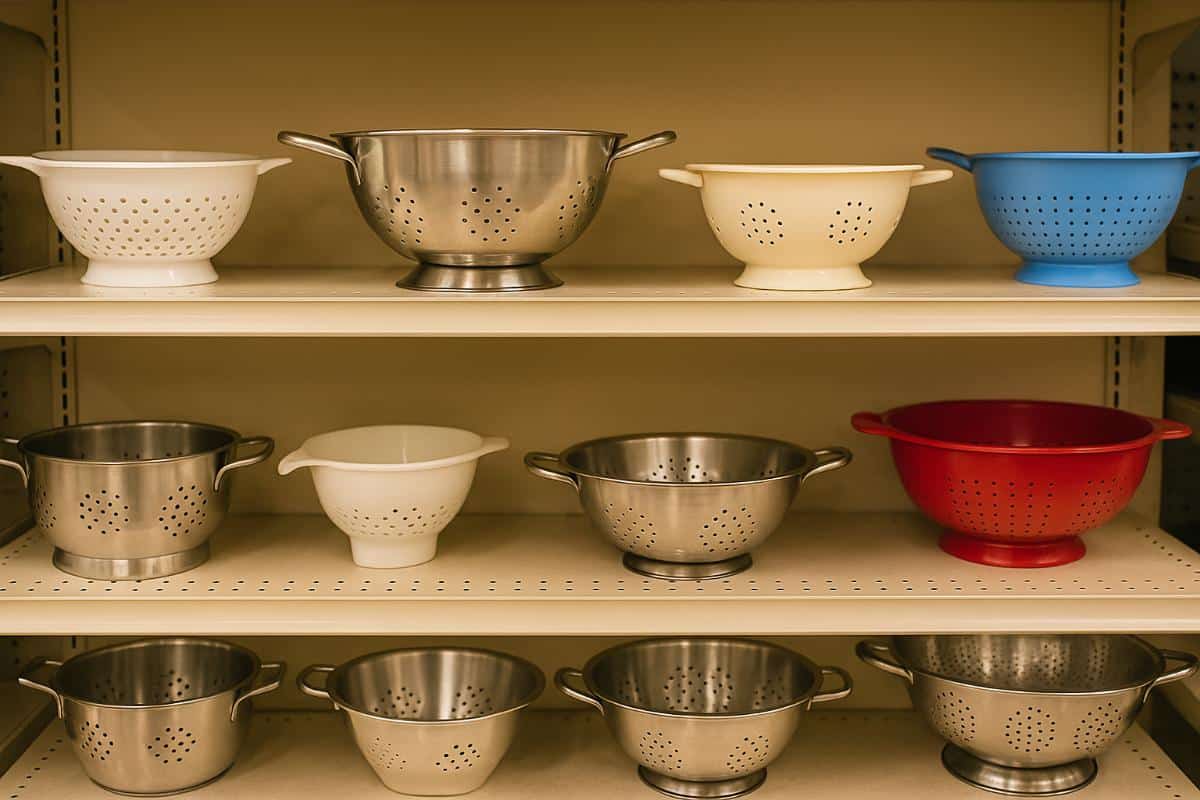
- Thrift stores and second-hand stores are great places to find strainers for this project
- The spaghetti pots and strainers that fit inside stock pots, blanching, canning, or pasta pots are good choices
- Tag sales are another good place to look
- Or, upcycle your older cast-off kitchen strainers!
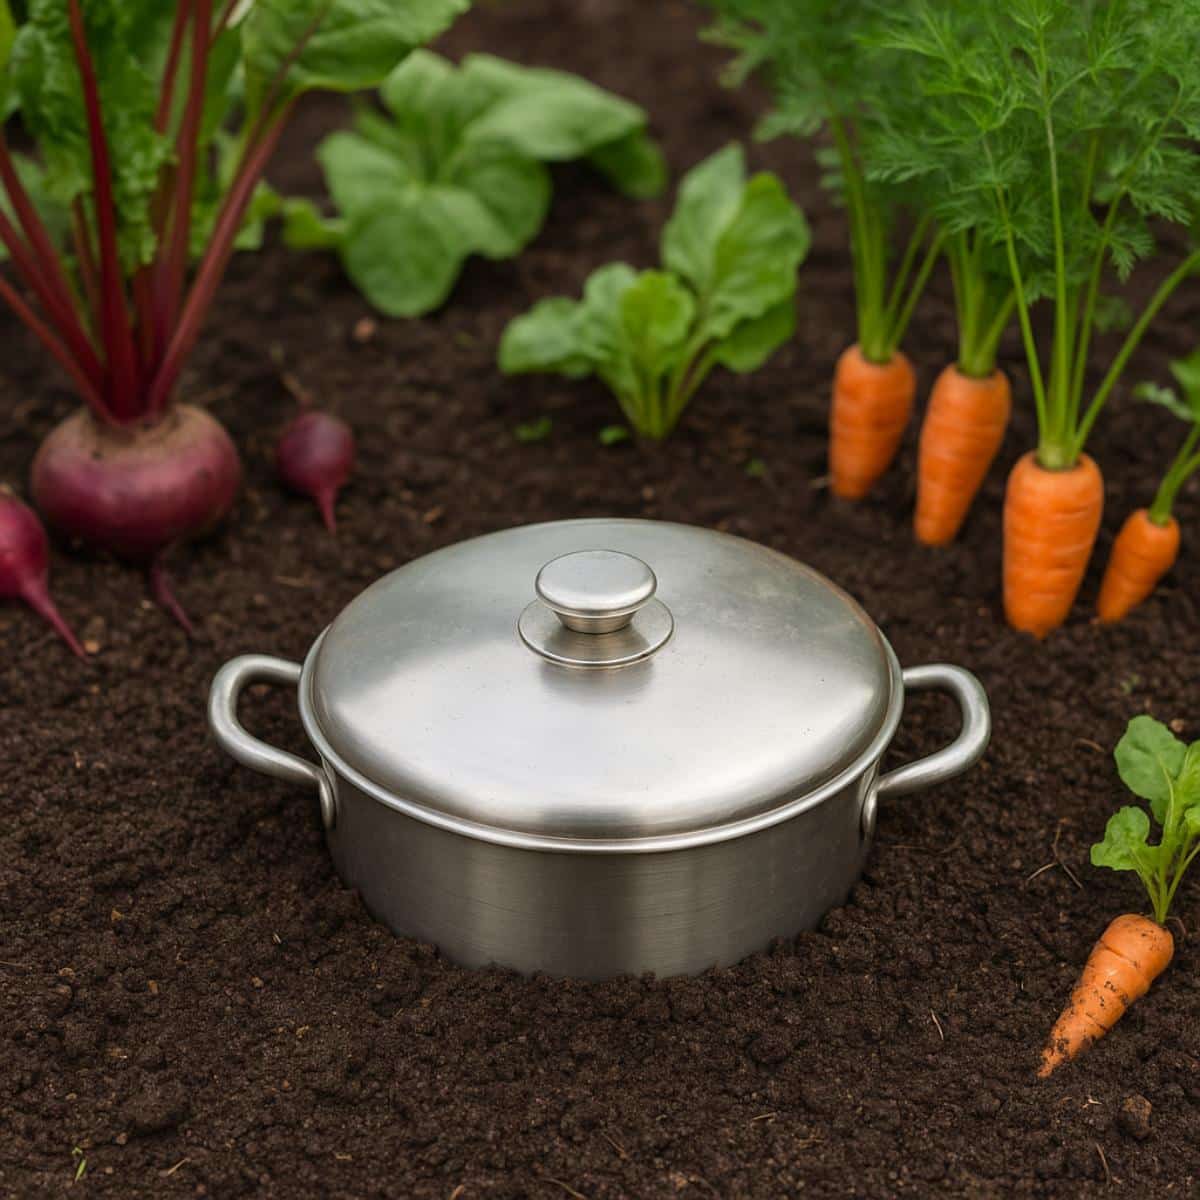
What to look for in a worm composter strainer
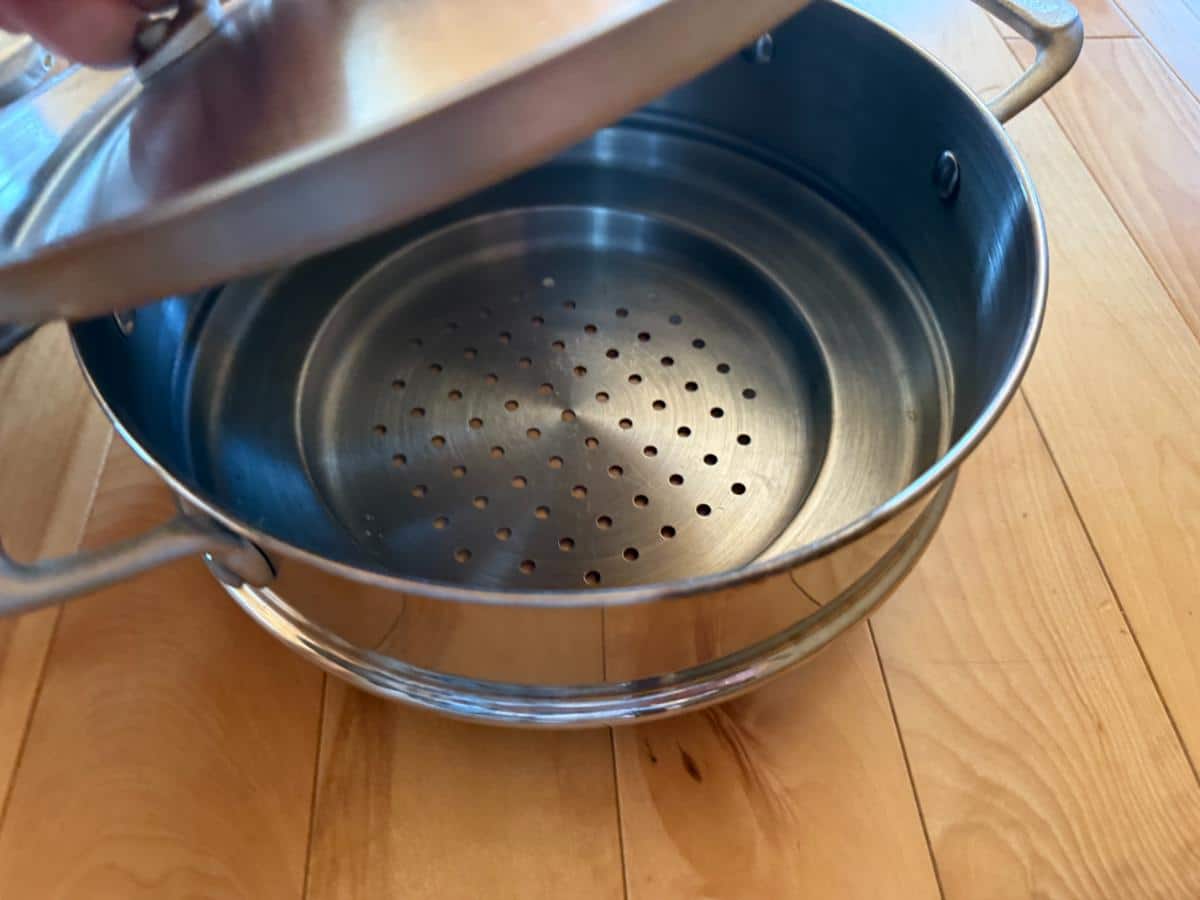
- You’ll want a lid for your strainer to keep pests, rodents, and wildlife out
- This is why pasta strainers with lids are a good choice
- Stainless steel or enamel strainers work well and last a long time
- Plastic is an option, but they often won’t have covers, and you would be introducing more plastic into your ground
- Plastic will also break down with UV exposure over time
- Choose a strainer with many holes -- ideally all around the sides and bottom
- The holes should not be too small; worms need to be able to fit through them
- Holes should also not be too large because you want to discourage rodents from squeezing through
- Worms need holes ⅛ to ¼ inch to fit through
- Stay within this size so rodents can’t get in
- The compost will need some oxygen, but the lid is not likely to be air-tight, and the air space at the top of the pot and from opening and closing should be adequate
Choose a place for your worm composter
You can put your composter anywhere in the ground that it won’t be in the way. Usually, a raised garden or garden bed is the place for this. An orchard or between trees, or a hidden place in a perennial bed, might be a good spot, too.
- Choose a convenient place where you can easily get to the compost strainer at all times of the year when you want to use it
- Avoid established roots of plants, where they can become damaged from your digging
- Pick a spot where you will be able to dig down deep enough to seat the strainer(s)
- The middle of a garden bed or the middle of a row is typically best
- Keep in mind you want to be able to both fill and empty the compost container, so that you can use all of that black gold you create!
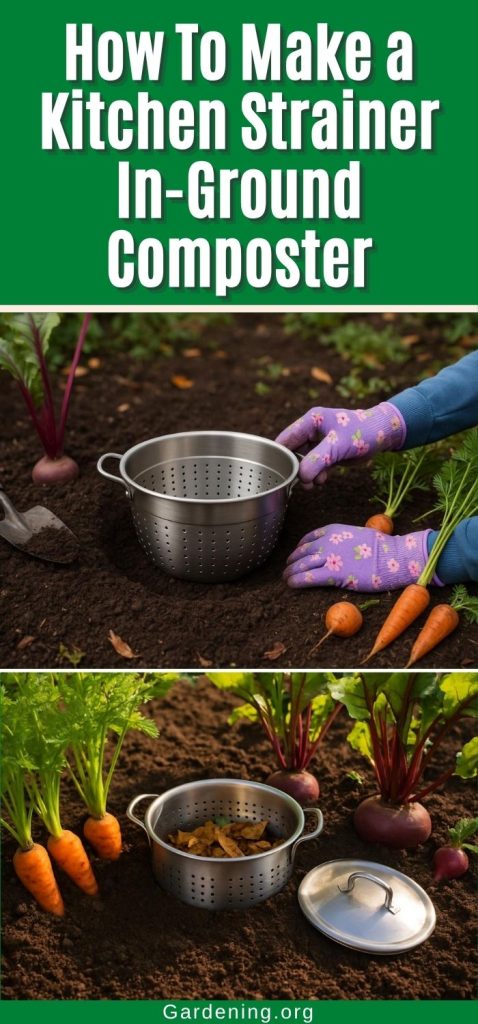
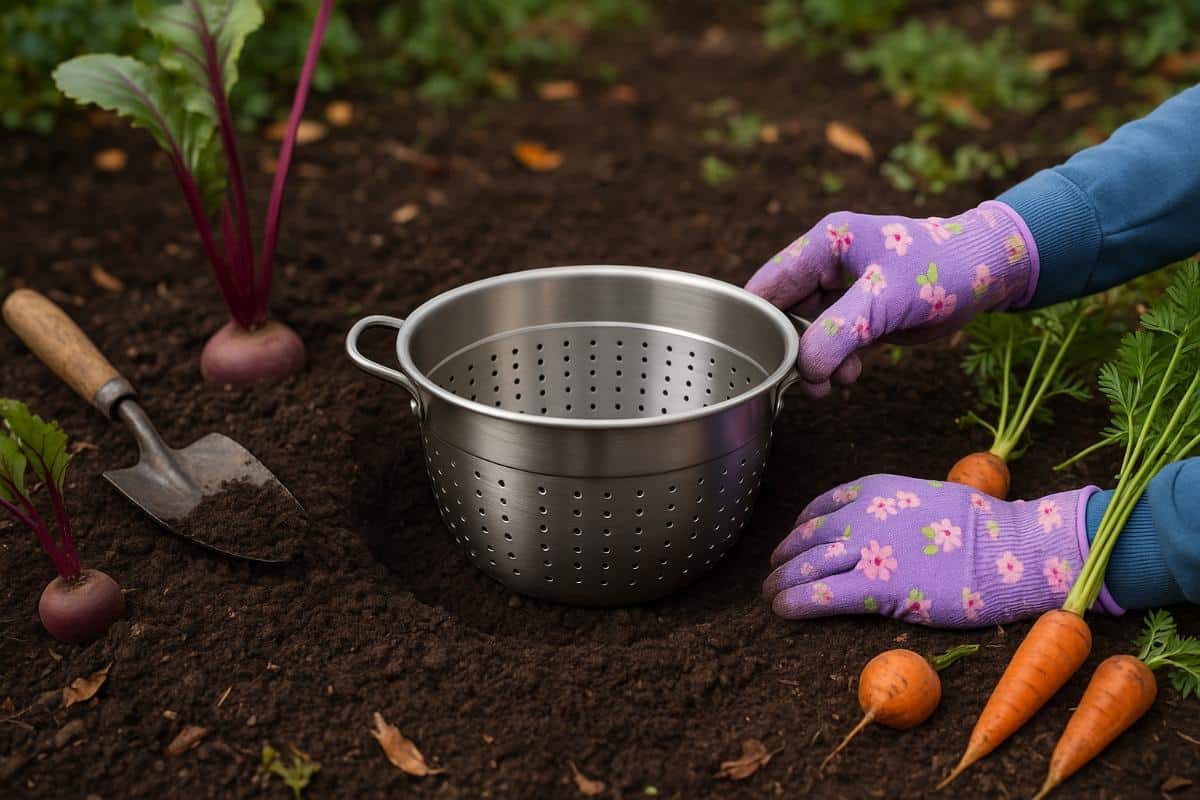
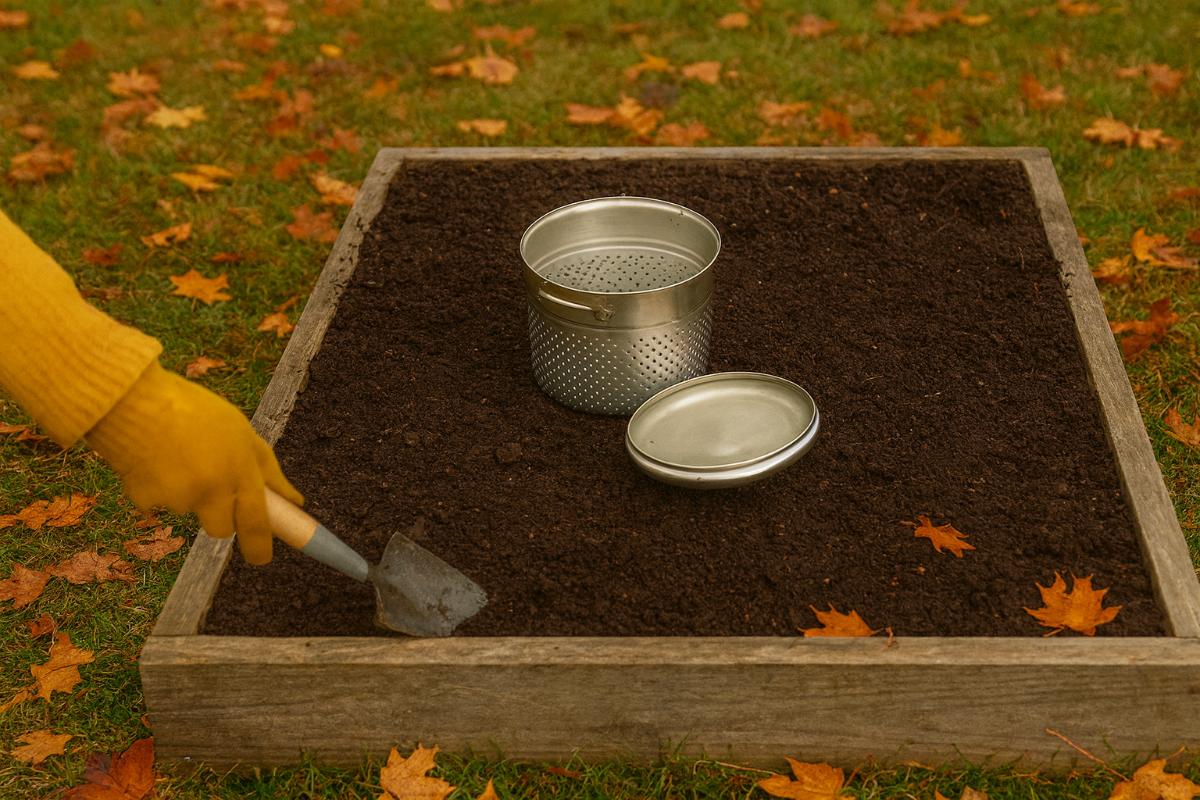
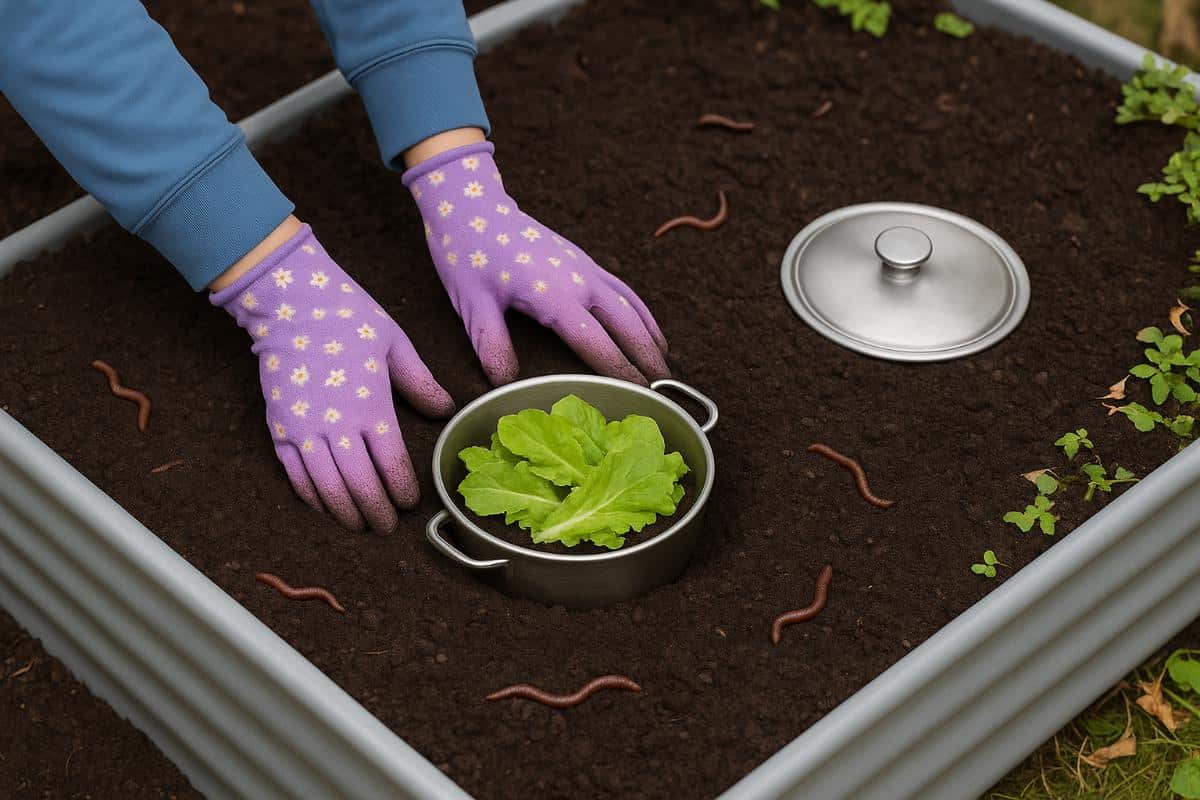
Dig a hole the size of your strainer
Now, simply dig a hole in the soil about the size of your strainer
- Dig down to the height of the handle or rim
- Leave just the top and lid area above the ground
- Basically, your strainer’s rim should be about even with the top of the soil
- Make sure the bottom of the strainer sits flat on the ground, in contact with the soil, so that the worms can travel in and out
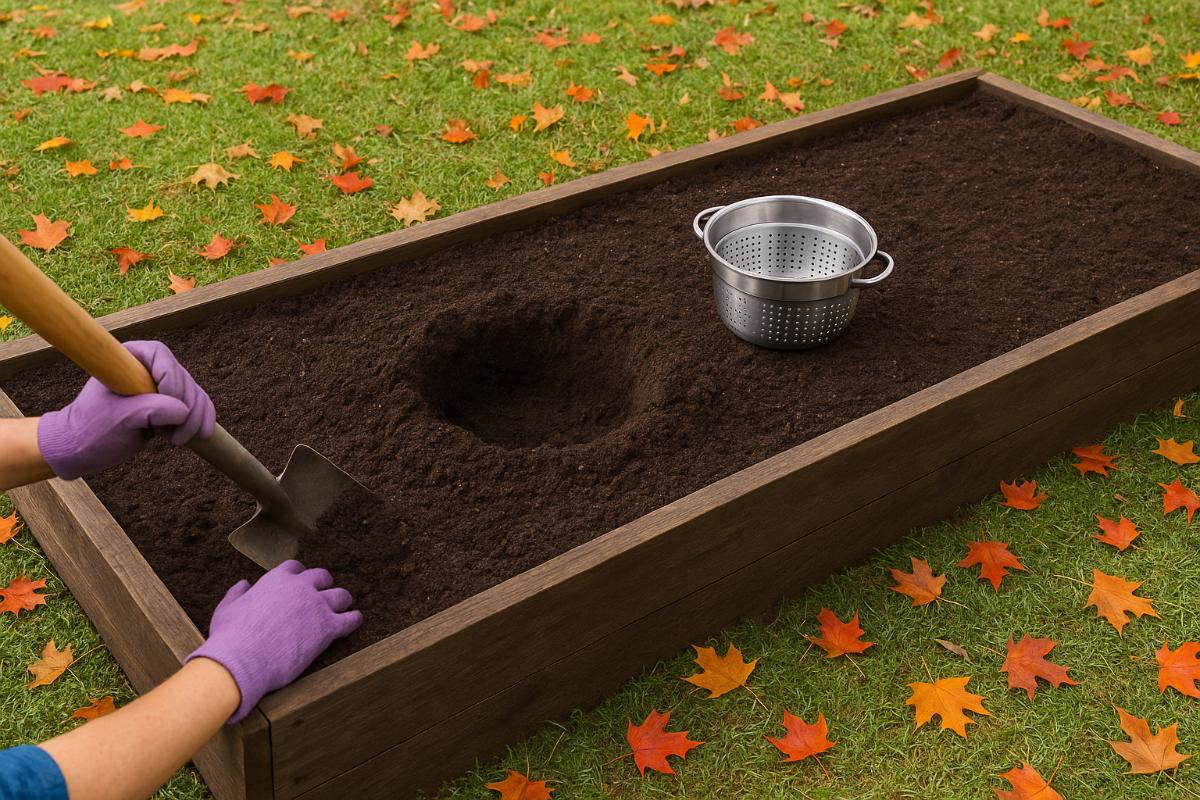
Backfill to the sides of the strainer
Fill in any extra space around the sides of the strainer so the soil backs up to the outer edge of the colander.
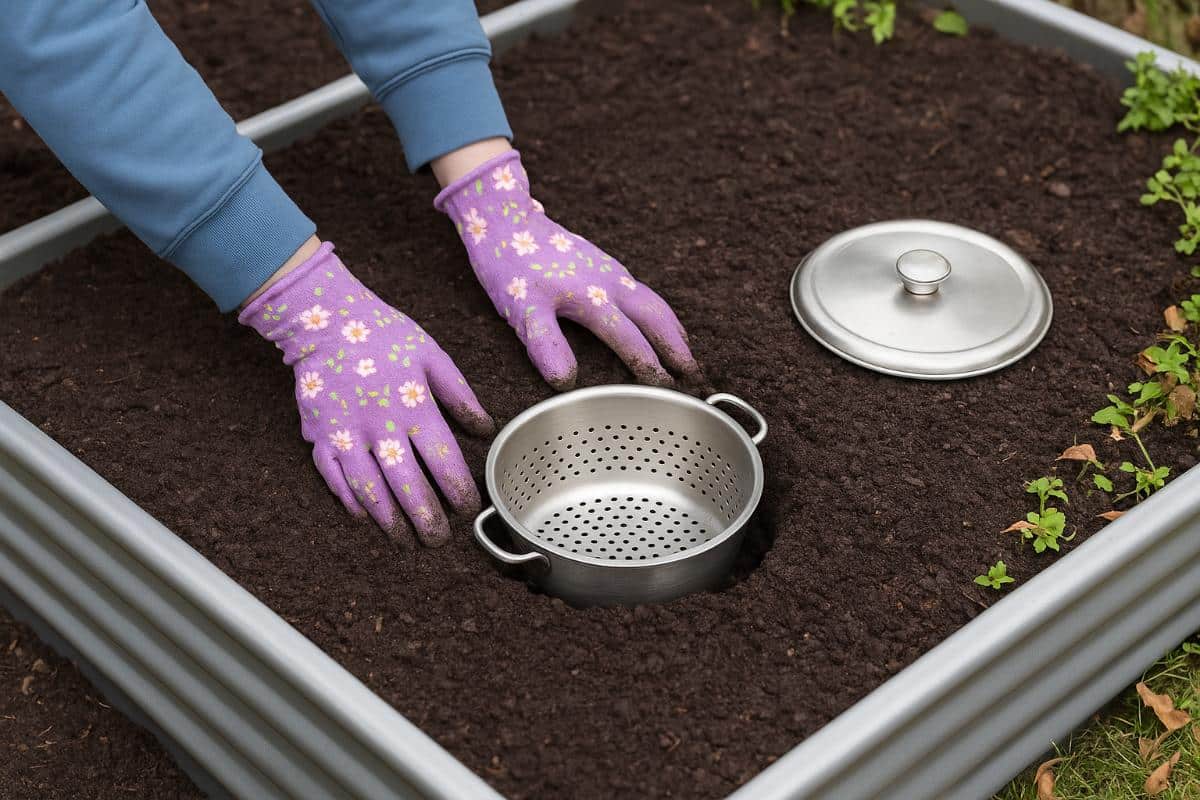
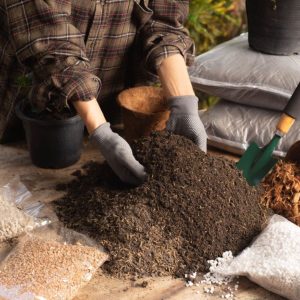
Add material to start your compost off
That’s all there is to installing your worm composter directly in your garden ground. All that’s left is to use it!
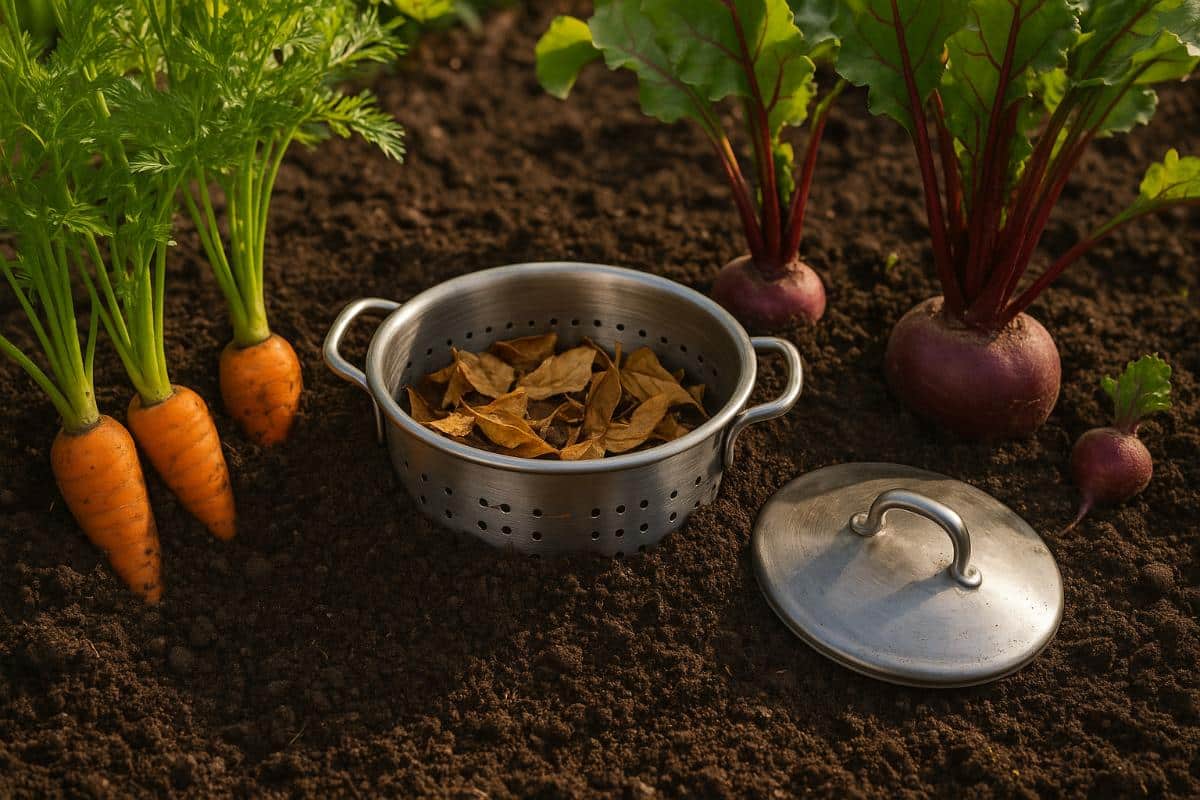
- Start off your composter with some kitchen or garden scraps
- Add some leaves, grass clippings, wood chips, or other “brown” materials to balance the green scraps, but don’t overfill it, as you want to be able to keep adding scraps as you go
- The scraps will shrink down as they rot, and as the worms turn the scraps into castings
- You can sprinkle a light layer of soil atop the scraps to give the worms something to travel and work with, and to incorporate the scraps into
- If the contents and the soil are dry, it helps if you add some water to get the process going
- Most of the time, garden rains and moisture will suffice for moisture control
- Cover the compost strainer with the lid
- It is best if you use a bungee cord or something to secure the lid
- Come back and add to the composter whenever you have scraps to discard!
- It can help to stir the contents around a little to make it easier for the worms to travel and work
When Can You Add to Your Compost Pot? (Time of Year)
You can add to your compost pot at any time of the year. In freezing cold weather, the scraps might not break down much, if at all, but when things thaw and warm, the process (and the worms) will start up again.
What If You Don’t Have Many (Or any) Worms?
Adding a worm-friendly composting system is a good way to build up your earthworm population. If you have little to no worm activity in your garden or garden beds now, the presence of the pot and food source will encourage them.
If you have very sterile soil, you can add some worms to the pot. Buy some worms from a local source. Buy live fishing bait, earthworms, or crawlers. Dig them from elsewhere in your yard and move them to your bed.
You can even buy worms online to start your compost off if you need to.
It doesn’t take much. What you add will seed your garden bed, and the food source will support them as they grow into a bigger and better population.
Add the worms in the soil near the pot or right into the compost colander. They’ll find their way in and out, just as the resident worms will.
What Will Worms Do in the Winter?
What your worms do in the winter will depend on where you live, how cold it gets, and how far down in the ground your system sinks.
Worms slow down at temperatures under 40℉ (4.44℃). When it gets cold, the worms will travel deeper in the ground or to the warmer parts of your compost bin. If it is warm enough, they will go to the center and bottom of your strainer. If they need to go further down in the ground for the winter, they will.
Worms will also lay eggs that then encapsulate and hatch in the spring when the temperatures rebound.
So, basically, you can leave your worms to themselves, and they will work your scraps when they can. The worms will do what worms naturally do when the conditions become too tough to take at the top of the soil.
Adding digesting scraps will help to warm the compost in the container as it processes, if it’s not too cold. This may or may not be enough to keep the worms active, given your location and winter conditions.
You can also lay a thick layer of mulch, hay, or straw over the top of your composter to hold in more heat.
If you can’t get to your compost strainer during the winter, no worries. It will be waiting there for you in the spring, and the worms will return when there’s something to come back for!
What To Do When Your Compost Is Done?
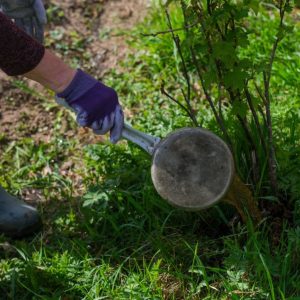
When the refuse is broken down into soil-like compost, simply remove and use it. You can just lift and dump the strainer in the garden bed where you're working, dig it out with your hands or a trowel, or pile it to use elsewhere.
You can empty the composter and reuse it over and over again. You can also move it if you feel one area has had enough of the good attention.
More Pots Make More Composting Space
It can help to maintain several of these pots in your garden or raised beds. That way, when one is full and processing, you can move on to start another. If you keep three or four (or more) of these worm composters going at a time, you can usually keep enough of a rotation going so that you continue to have room to place your waste while the other container(s) are finishing up and getting ready to use.
You can also make an in-ground vermicomposting container from a plastic bucket, but this project requires no drilling, and strainers come with the perfect-sized holes! They're ready-made, simple DIY composters!

Leave a Reply