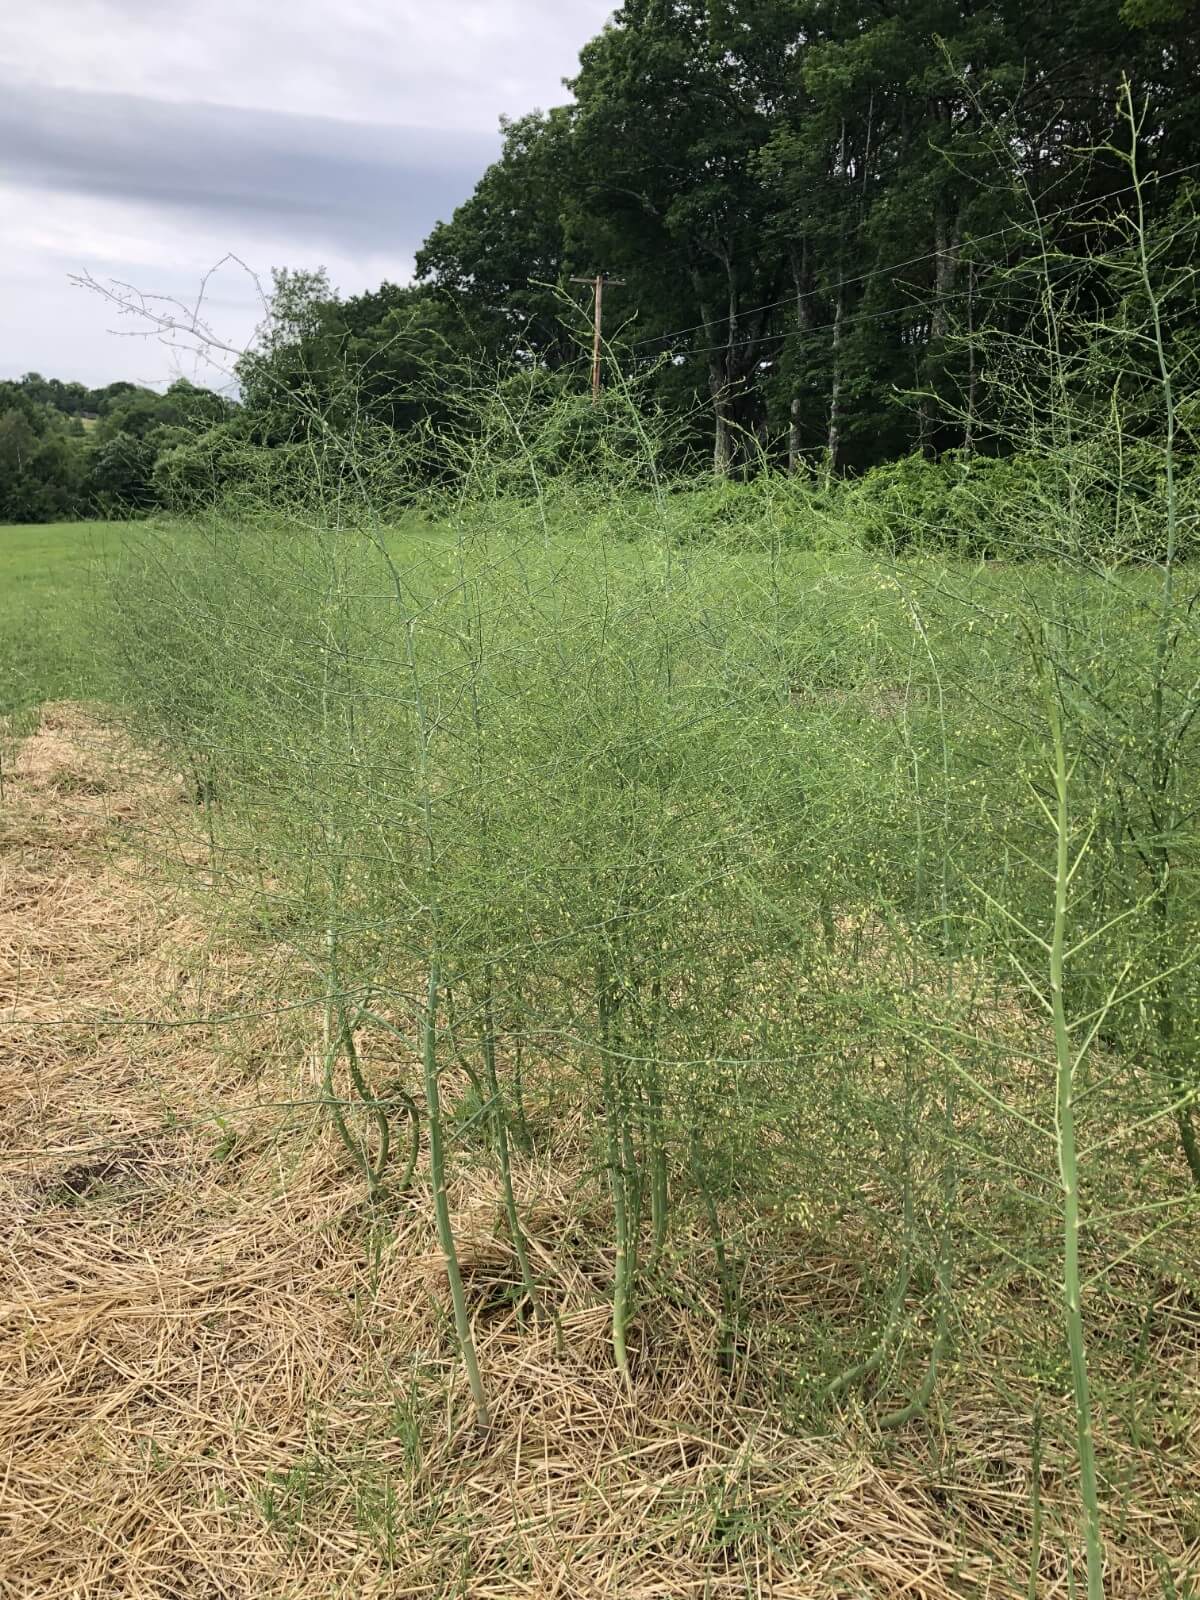
Asparagus is a perennial vegetable crop. It is one of the only true perennial vegetable crops in most regions. Asparagus has a harvest period of about six to eight weeks each year. After that, as long as you take care of it, it will regrow every spring (being one of the very first crops to harvest every year).
A well-maintained asparagus patch will easily last between 10 and 20 years minimum. In order to get this long life and good harvests, though, your asparagus patch will need a bit of tending through the growing season when it is not producing spears for eating. It’s not really a lot of work, but it is work that will reward you for many years to come. And so, it is most definitely worth taking a few minutes to learn how to maintain your asparagus patch to keep those coveted delicious, nutritious spears coming year after year.
Jump to:
- How to Fertilize Asparagus
- Recommended Fertilizers for Asparagus Beds
- Mulch for Climate Moderation and Moisture Control
- Mulch Prevents Winter Kill in Asparagus
- Mulch as Asparagus Weed Control
- Tips for Mulching Your Asparagus Bed
- How Often and How Much to Water Asparagus
- Get To Know Asparagus Pests
- Control Asparagus Beetles to Keep Plants Strong and Disease-Free
- Hand Picking is Safe and Effective
- Soap and Water Spray
- Organic Neem Oil Works on Chewing Pests
- Invite Beneficial Predators
Soil pH Maintenance for Asparagus Beds
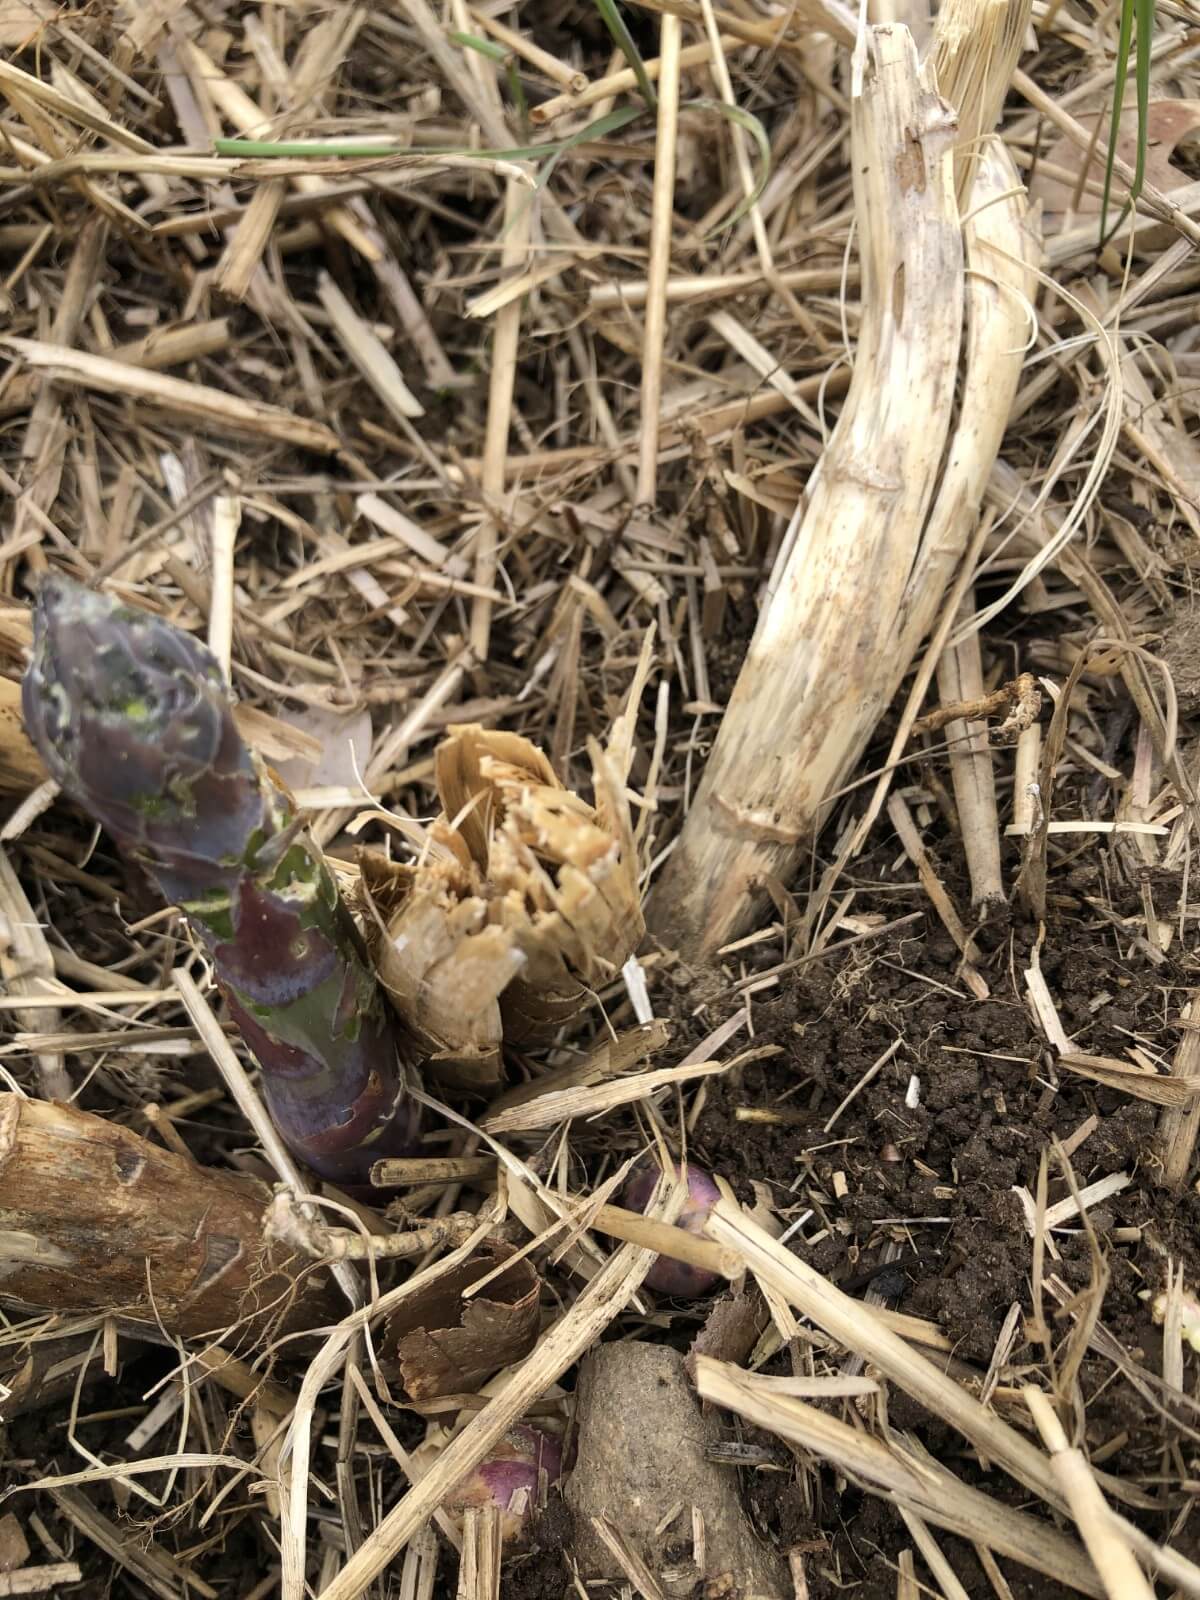
Asparagus is a pretty forgiving plant, but it does favor slightly acidic soil, preferably in the range of 6.5 to 7.0 pH. That said, asparagus will adjust to a higher pH or more alkaline soil more easily than many garden vegetables.
Generally speaking, the low to neutral pH level is the pH in which most garden plants thrive, so if your soil grows good vegetables, it is probably at a good level for asparagus, too. Soil pH levels can change over time, though, especially if your bed has reached that level through supplementation and amendment. And so, it is a good idea to check the pH level of your asparagus bed each year. You can do this with a home pH kit or you can use a simple at-home DIY pH test for a very general idea.
You can test your soil’s pH either in the spring or the fall. Fall is preferable because it will give your soil more time to process any amendments you might need to apply to adjust the soil’s pH and bring it back into the best range for your asparagus bed; but early spring applications are a good second.
If your asparagus soil pH is too low (too acidic), use lime to raise it. Apply at a rate of five pounds per 100 square feet.
If your pH is too high (too alkaline), use sulfur to lower it. Apply at a rate of one-quarter pound per 100 square feet.
Feeding and Fertilizing Your Asparagus Bed
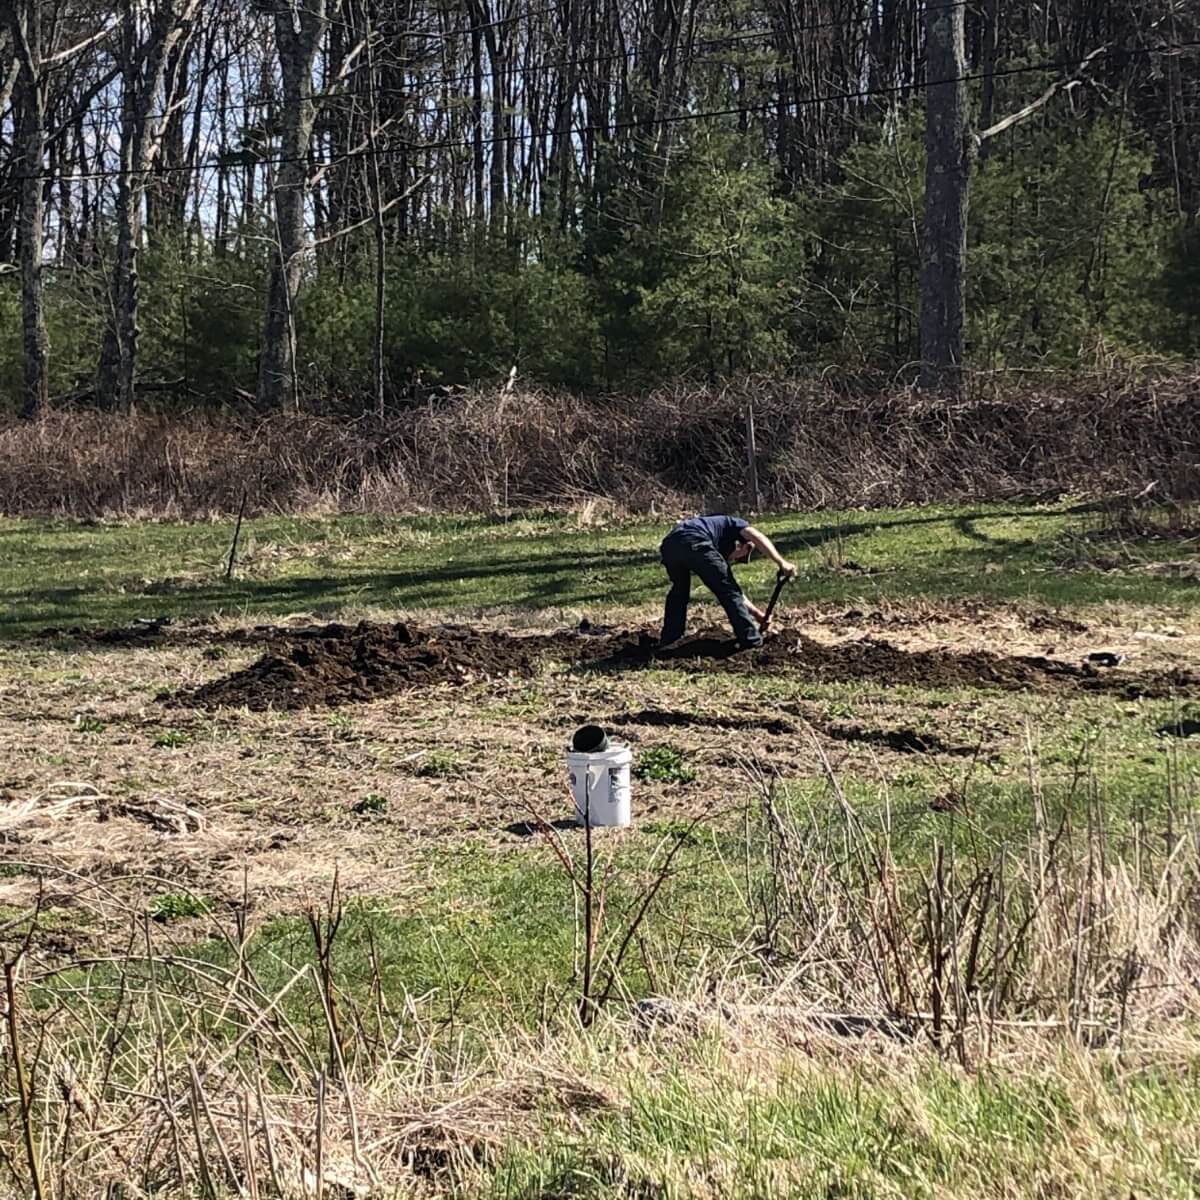
Asparagus are heavy feeders. As perennials, their home, their bed, is not one that will be tilled and replenished in the way that your seasonal garden bed will be. Because asparagus remains in its home for many years, it’s important to feed it and fertilize it regularly so that it can stay strong and keep producing.
Asparagus should be fertilized two times every year:
First Fertilization: Fertilize in the early spring, just before or as the new spears start emerging. This will boost and feed the season’s crop as it grows.
Second Fertilization: Fertilize at the end of the harvest season (when you stop picking or cutting the spears). This will provide a food source so the roots can feed, grow, and maintain healthy crowns, strengthening the bed through the rest of the year.
How to Fertilize Asparagus
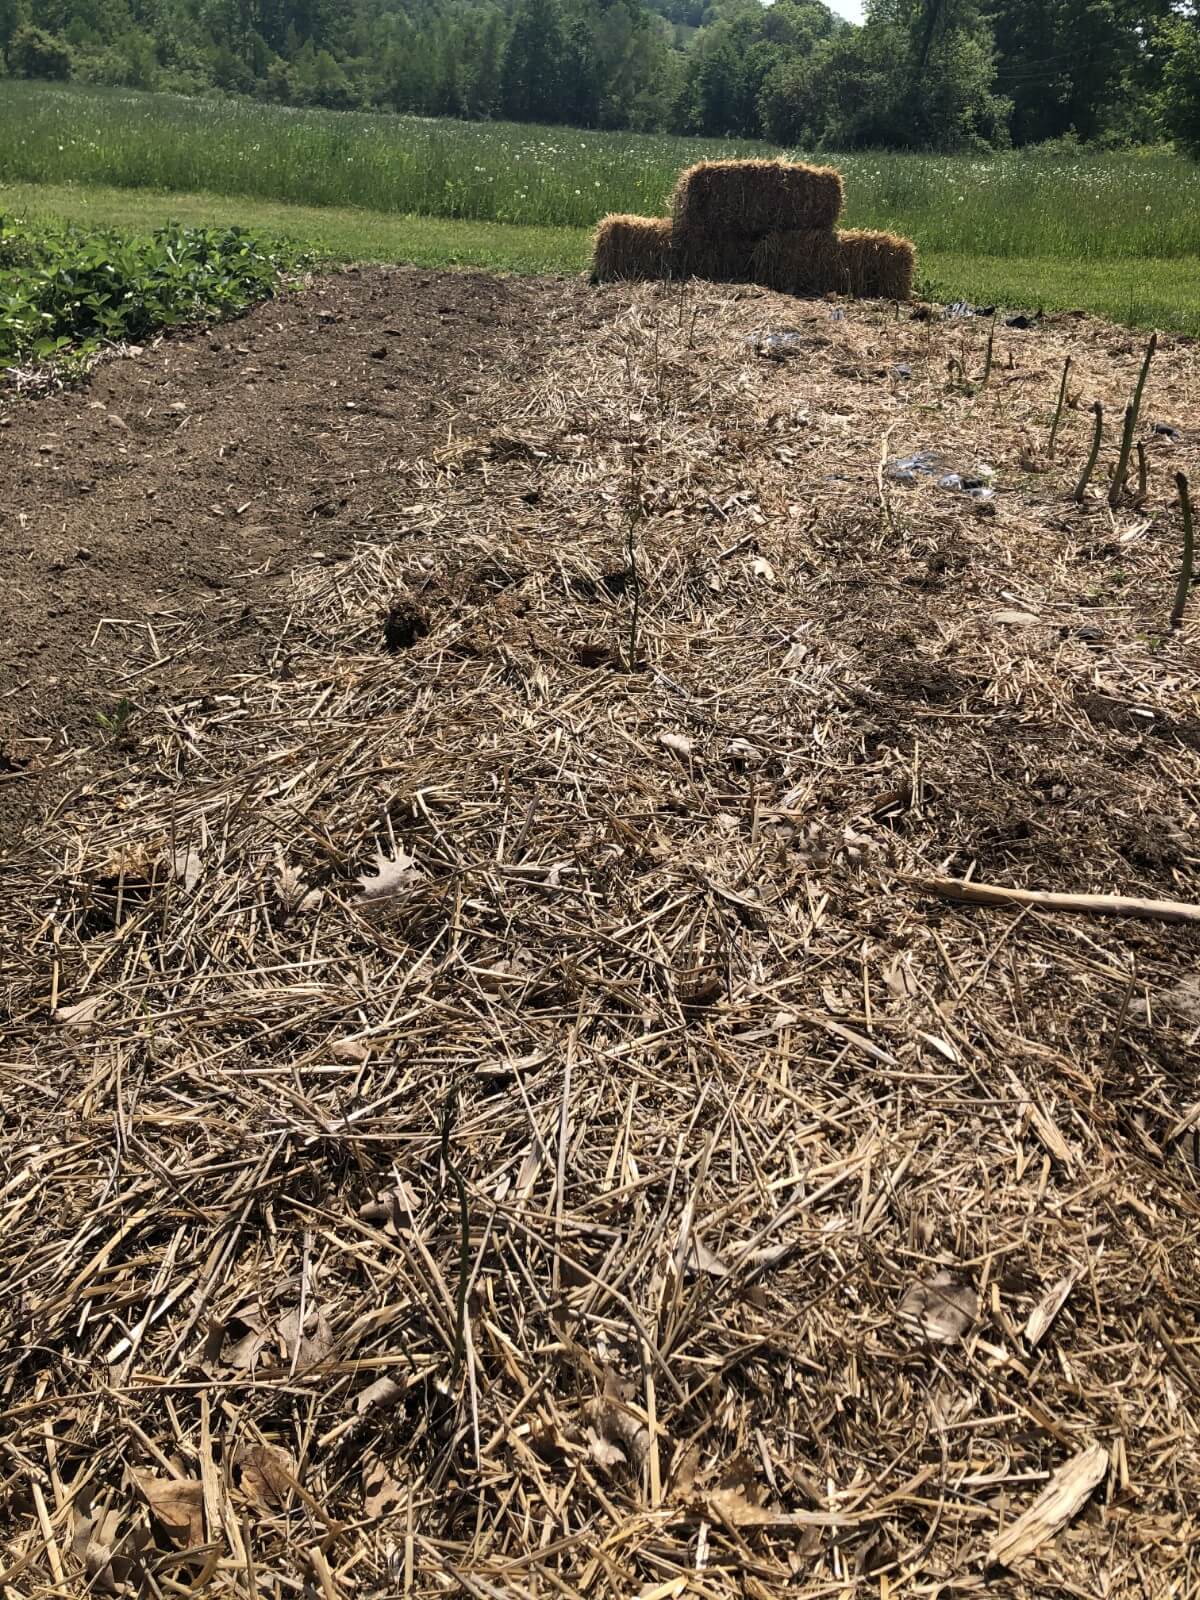
To fertilize asparagus, top-dress the patch by broadcasting compost or a prepared fertilizer over the surface of the whole bed, concentrating on the area around individual plants or crowns. If your patch is mulched, pull back the mulch layer to gain better access to the ground.
Work the compost or fertilizer into the soil to about two to four inches down, taking care not to damage root crowns. If in doubt, rather than damage crowns, leave the fertilizer on the surface and let it water in over time.
Replace the mulch layer to maintain moisture and suppress weeds. (For the first application In the spring, it is easiest to fertilize first and then mulch after applying fertilizer.)
Recommended Fertilizers for Asparagus Beds

Quality compost is always a good fertilizer. It is also cheap and easy to use, is environmentally friendly, chemical-free, and you can make it yourself!
If you do not have access to a good compost supply, or if you find yourself in need of another supplementation, here are some other fertilizers for asparagus:
- 5-10-10 all-purpose fertilizer. This means the mix is 5% Nitrogen, 10% Phosphorous, and 10% Potassium. These are engineered, commercial fertilizers.
- Bone meal (a phosphorous source)
- Calcium (eggshells are a good natural source)
Note that you will need one or a combination of these—but not all of these fertilizers—depending on the needs of your soil (which can be determined through soil testing and/or plant observation).
Control Weeds In Your Asparagus Bed
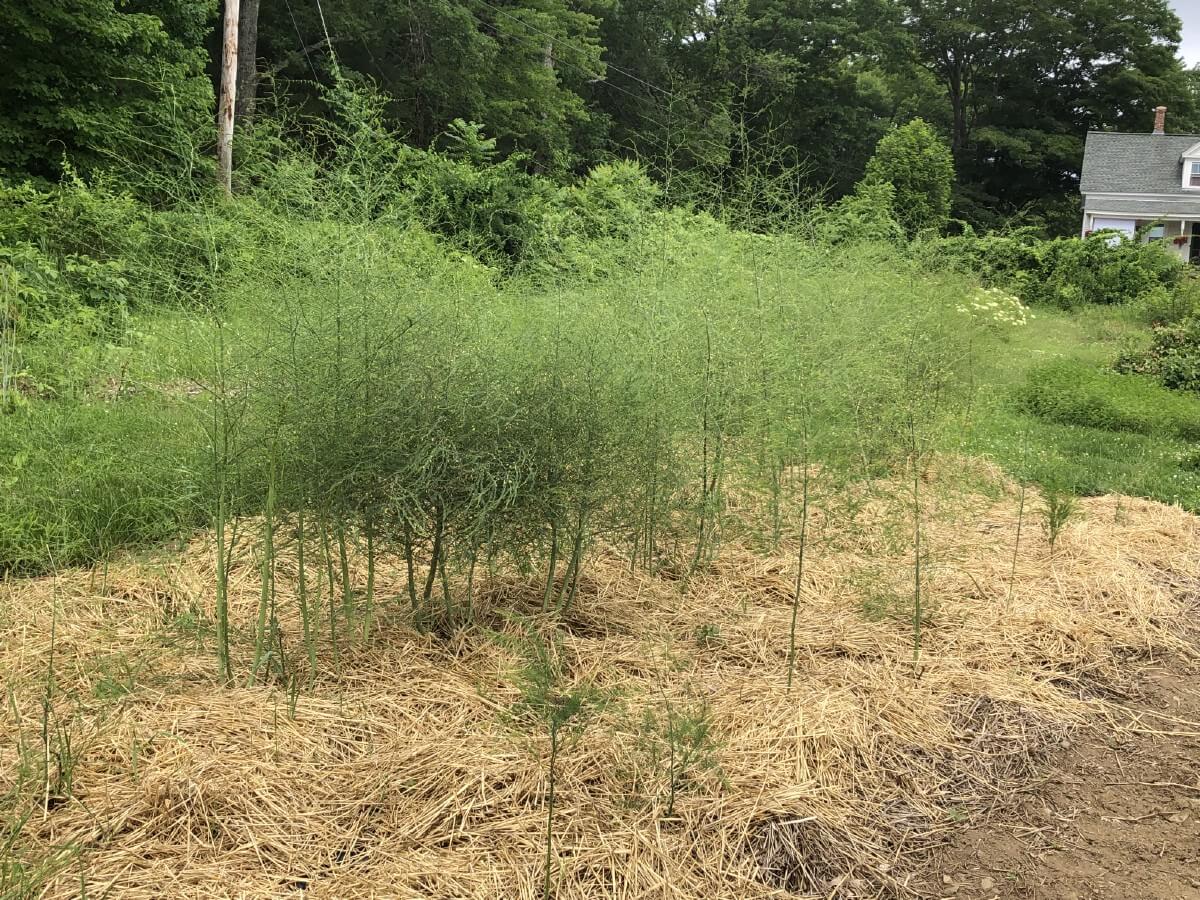
Weed control is very important in the asparagus bed. Asparagus will be chocked out and weakened if weed pressure is high. Weeds, especially grasses, can form a network of roots that form a net or mat over asparagus crowns, making it difficult for the spears to break through. Over time, this chokes out the asparagus crown. What’s more, excessive weeds steal needed nutrients and moisture, depriving asparagus of its food and water sources.
To keep your asparagus patch strong, weed it several times throughout the growing season (including after you have finished harvesting for the year—this is the time the plants feed most heavily and need these valuable resources). It is a very good idea to keep your asparagus patch mulched well (see below) and to reapply a fresh layer of mulch every year. The early spring is the best time to do this for season-long weed suppression and nutrient control.
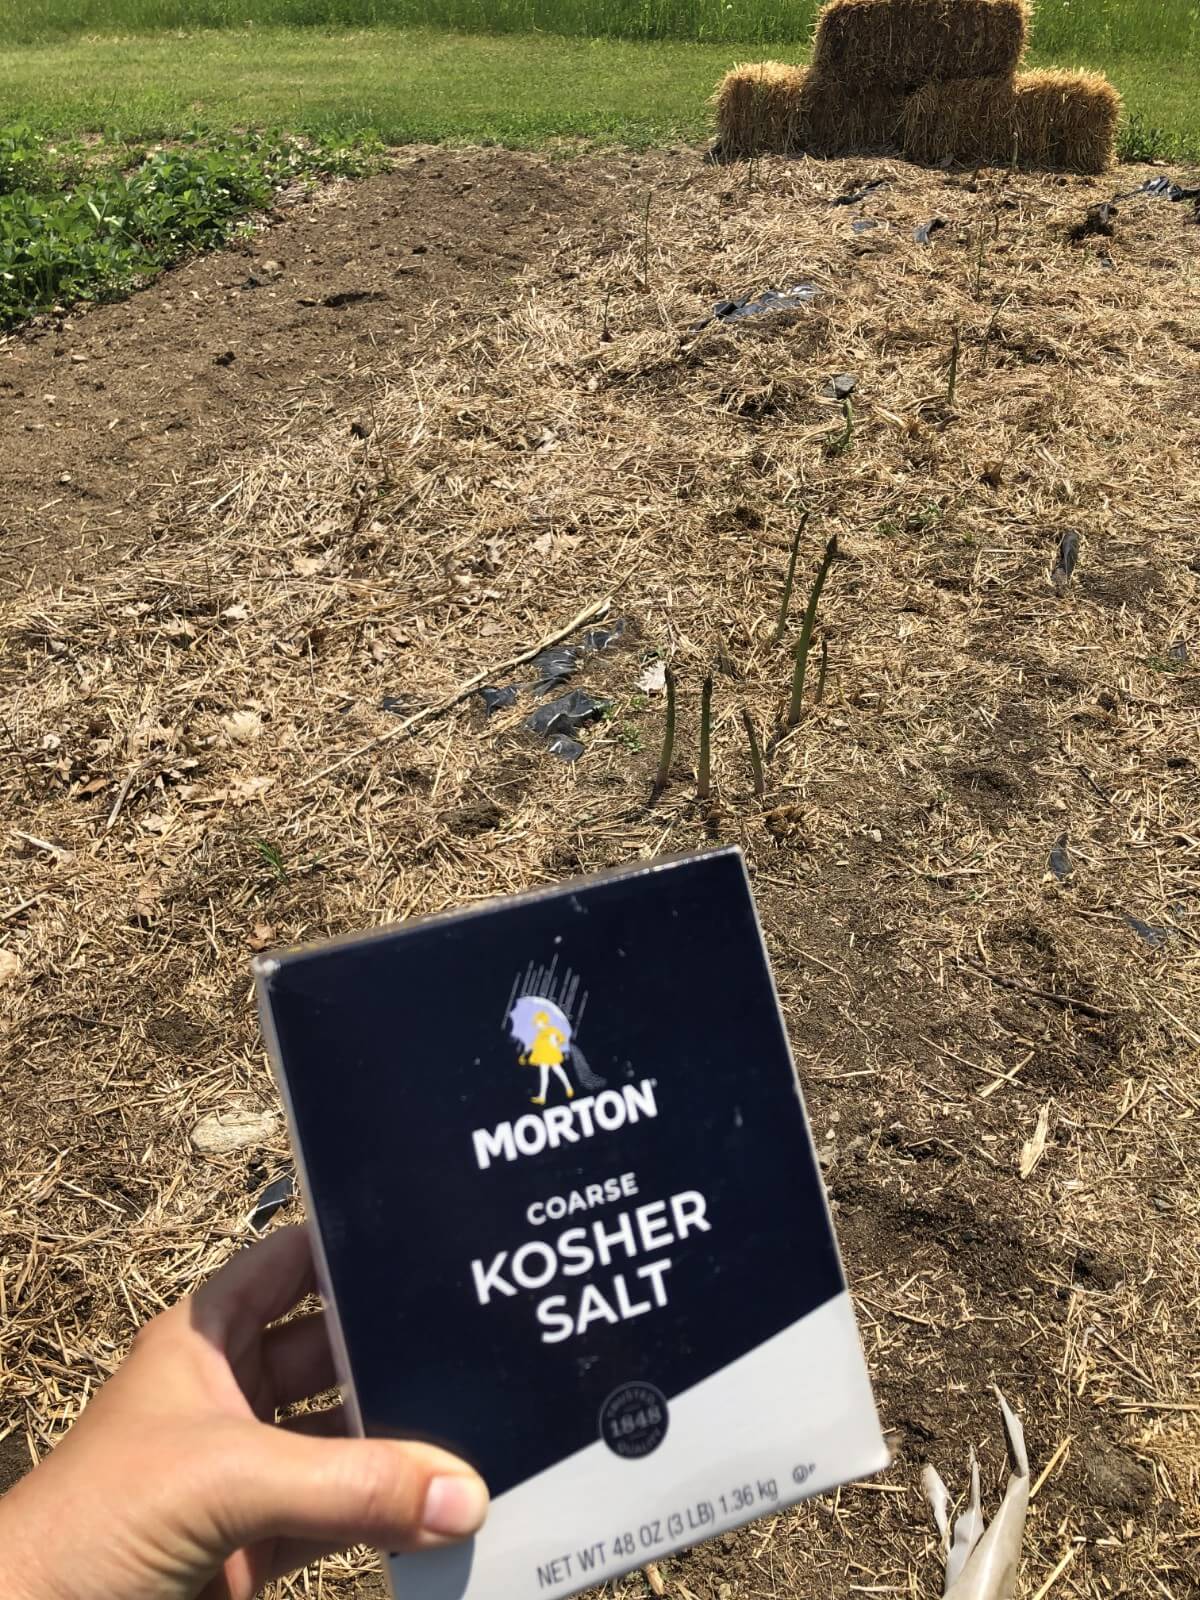
Another trick that is often used in asparagus beds for weed control is the application of salt to the bed. Asparagus originally grew in coastal lands throughout Asia and Europe, and as such is a salt water-friendly plant. Weeds, however, do not appreciate salting!
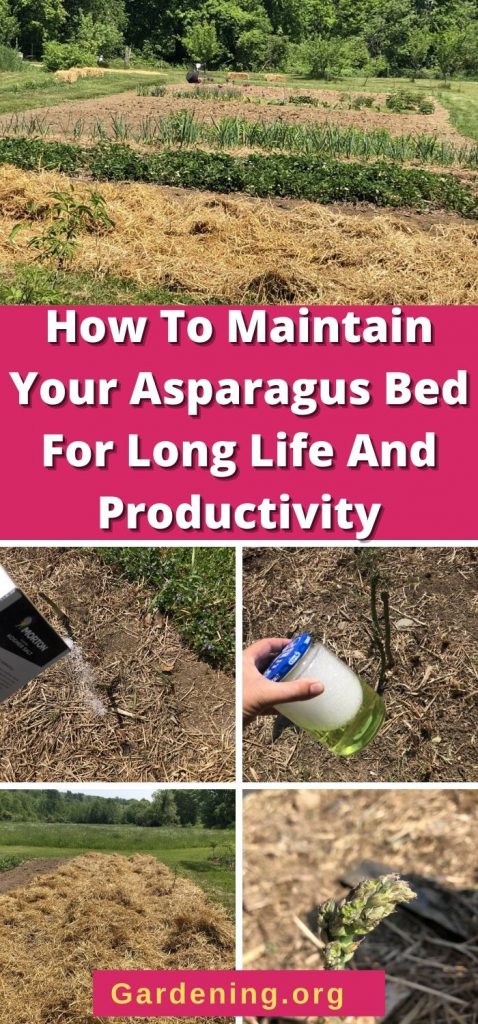
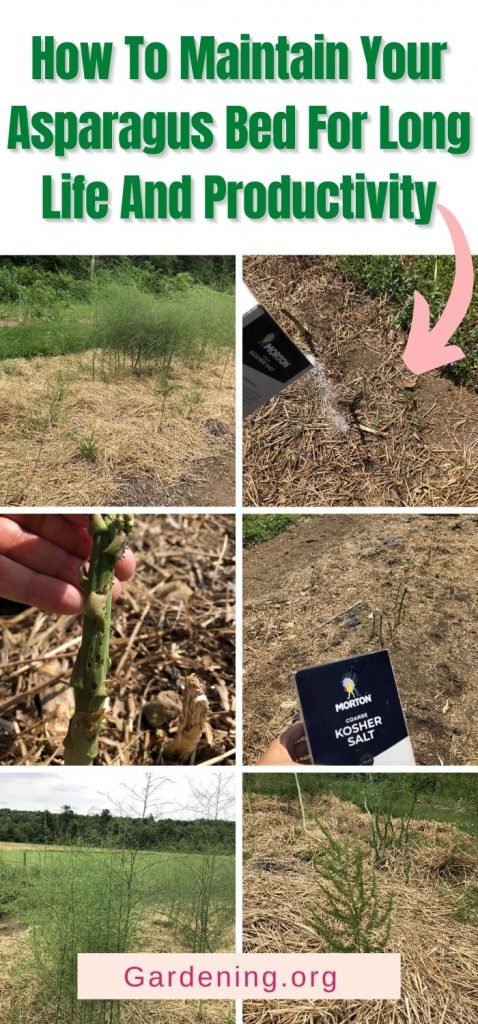
To use salt as a weed suppressant for asparagus, you can simply broadcast about one pound of salt per row (preferably under mulch), or you can apply it in the form of salt water. Mix one pound of salt into one gallon of water until completely dissolved, then spray the solution over the surface of the bed.
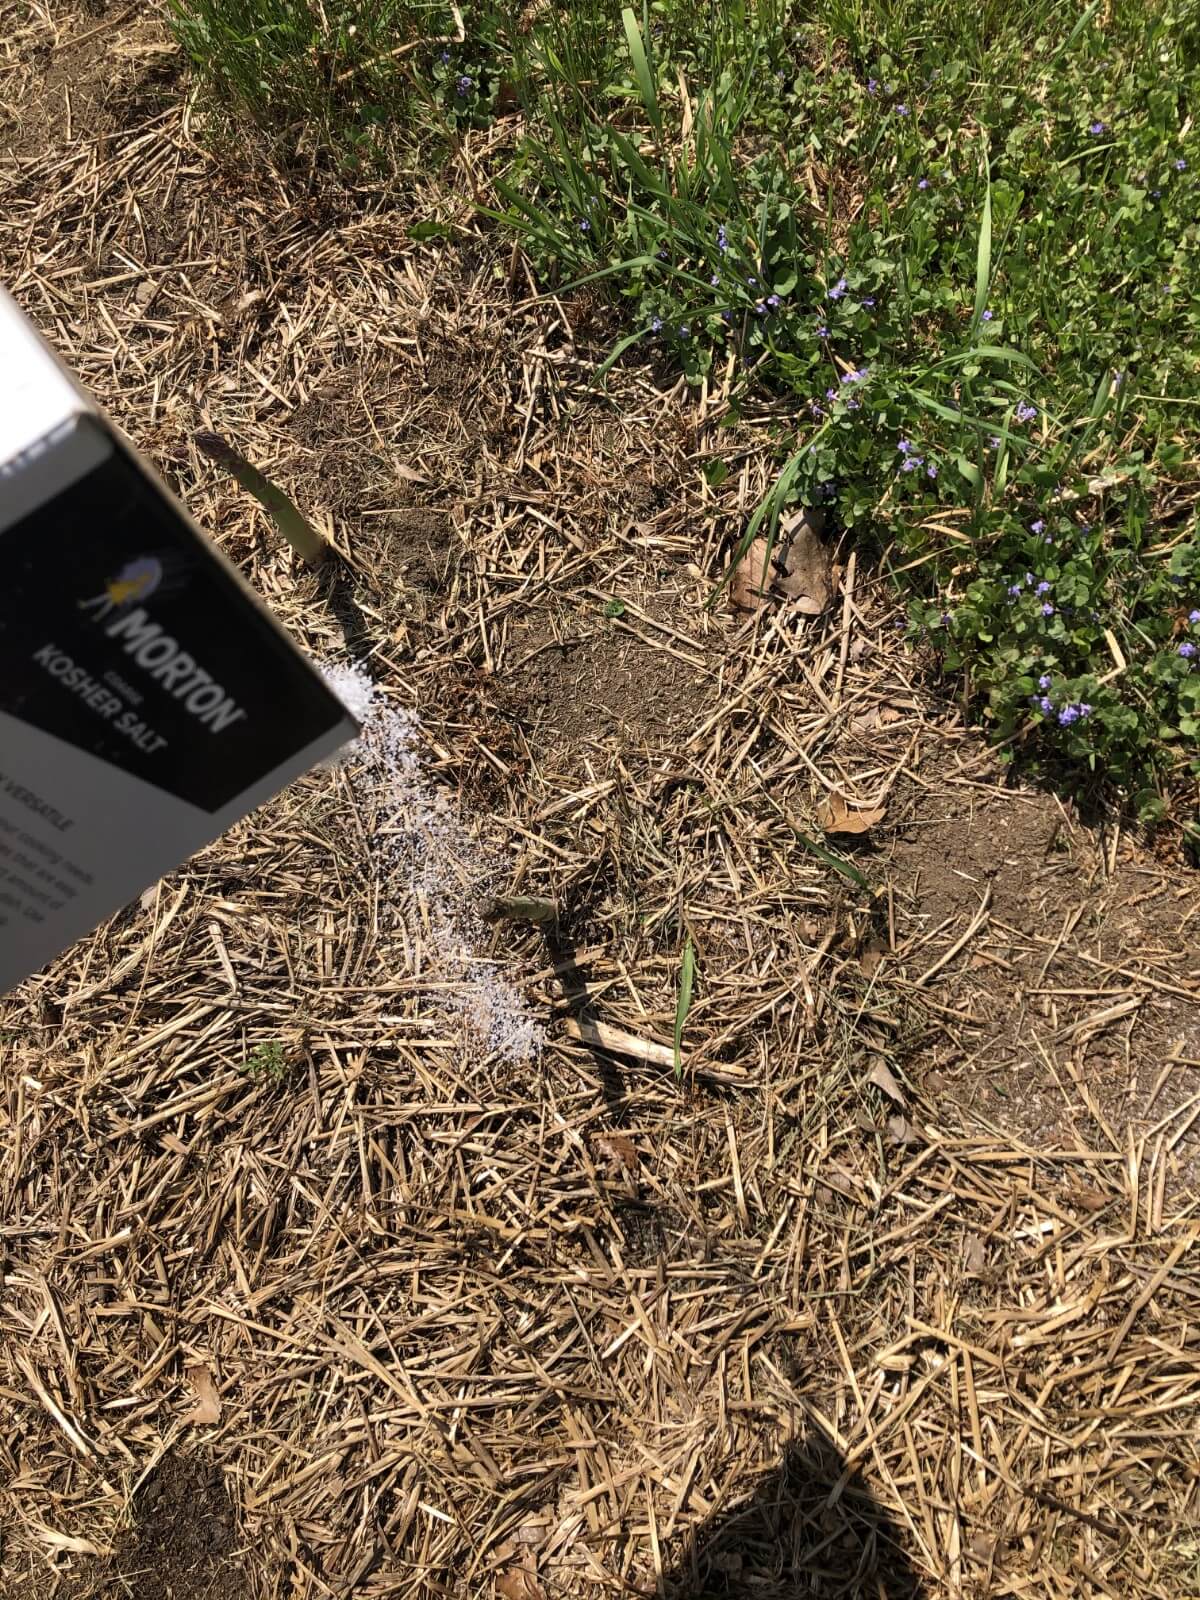
For best results, it is recommended that you apply salt or salt water after the ferns have matured.
Mulch Asparagus Beds for Best Results
Mulching will improve the performance of your asparagus bed as well as make it easier to maintain.
Mulch for Climate Moderation and Moisture Control
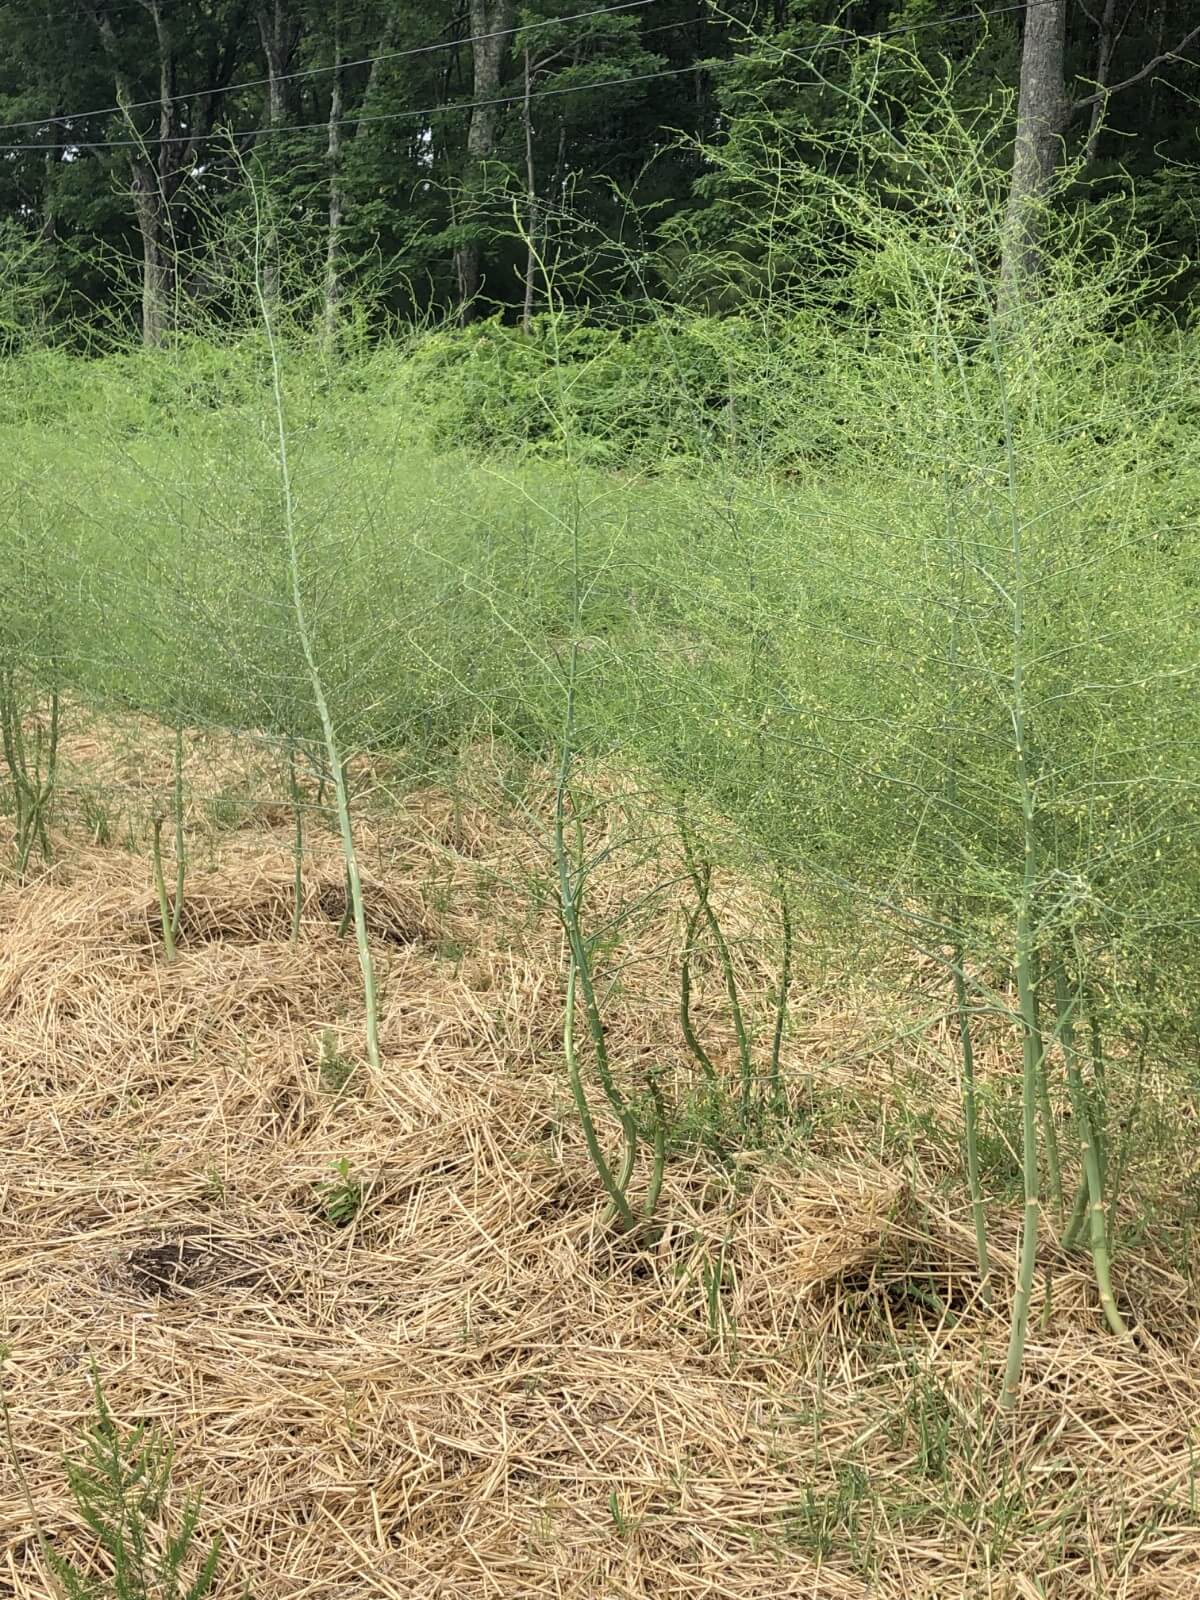
A good mulch layer will help to retain moisture through the heat of summer. It will help warm soil during the early days of early spring, helping to warm your bed and potentially bring earlier and more consistent production in the beginning of the season. In the spring when spears are just starting to emerge, mulch provides early protection from frosts; frost will not kill your asparagus plants, but it may cause some damage to spears and it can certainly slow production in the earlier parts of the annual harvest season.
Mulch Prevents Winter Kill in Asparagus
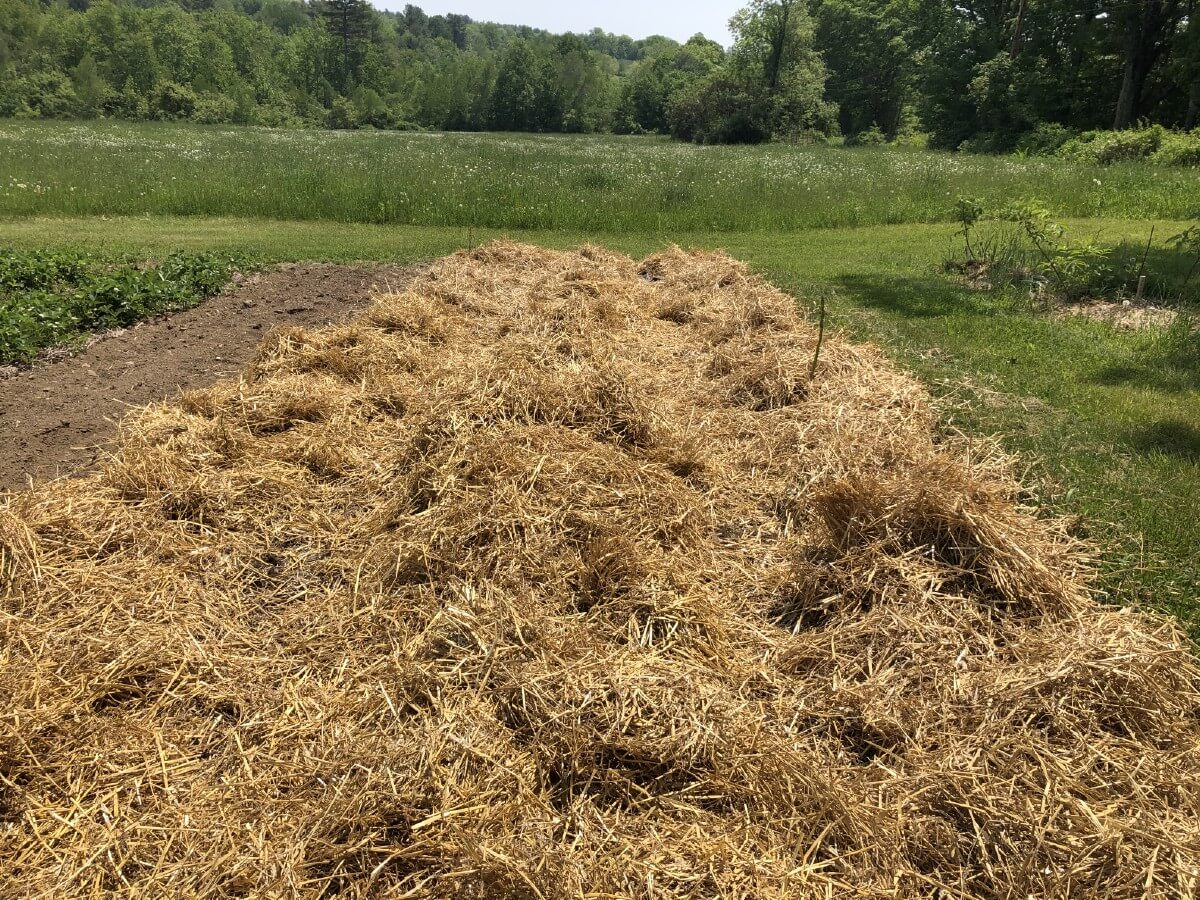
Mulch also works as important winter protection for your asparagus bed. A good layer of mulch provides added protection from hard frosts. Mulch will help keep your asparagus crowns from heaving up out of the ground, which will damage and possibly kill them. In this way, mulch prevents winter kill.
Mulch as Asparagus Weed Control
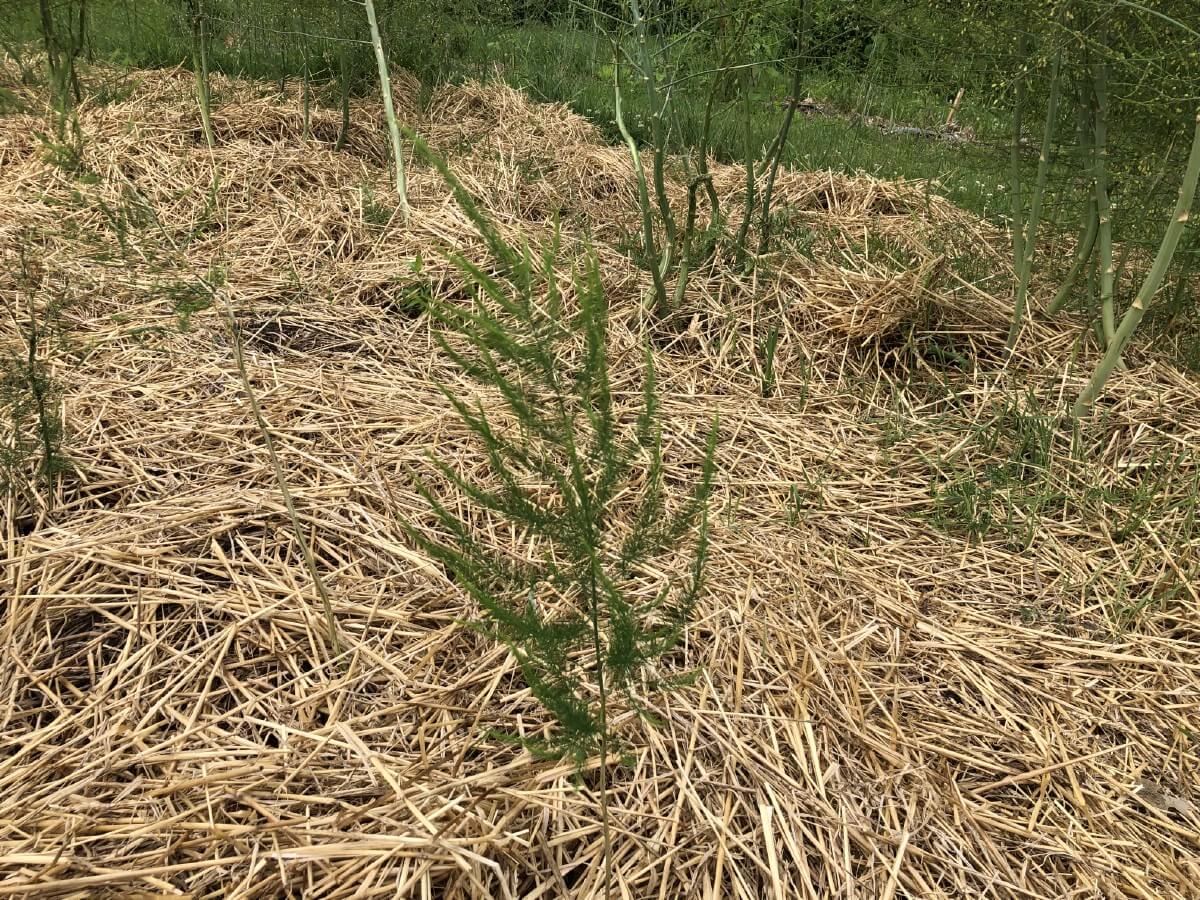
Finally, mulch is key in suppressing weed growth which, as we now know, is a critical component to the success and long life of your asparagus bed. A healthy mulch layer will keep out most weeds in your asparagus bed, making much lighter work of the few weeds that do break through.
Tips for Mulching Your Asparagus Bed
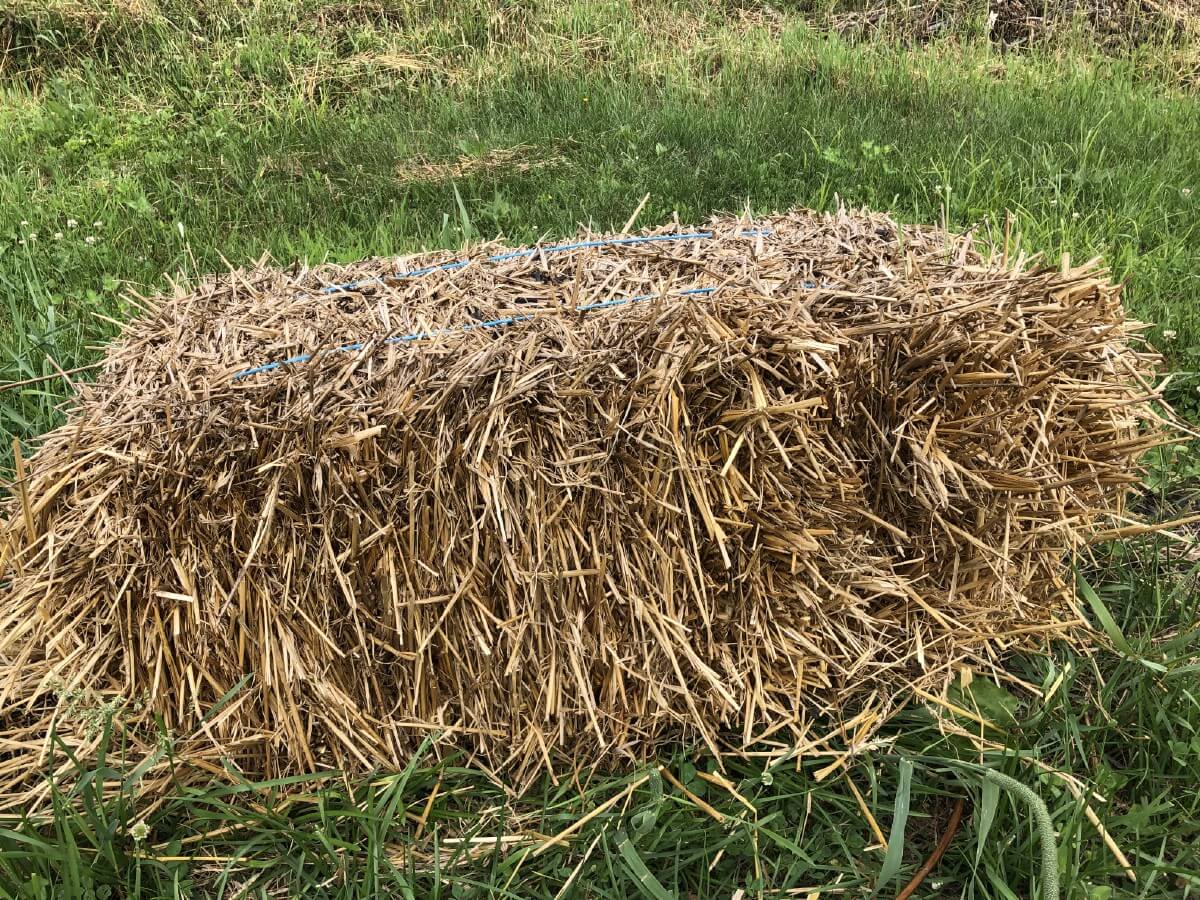
Mulch your asparagus bed with four to six inches of loose material such as straw, sawdust, leaves, pine needles, or grass clippings.
Do not use anything too heavy (stone or wood chip, for example), as heavy materials make it difficult for emerging asparagus spears to break through.
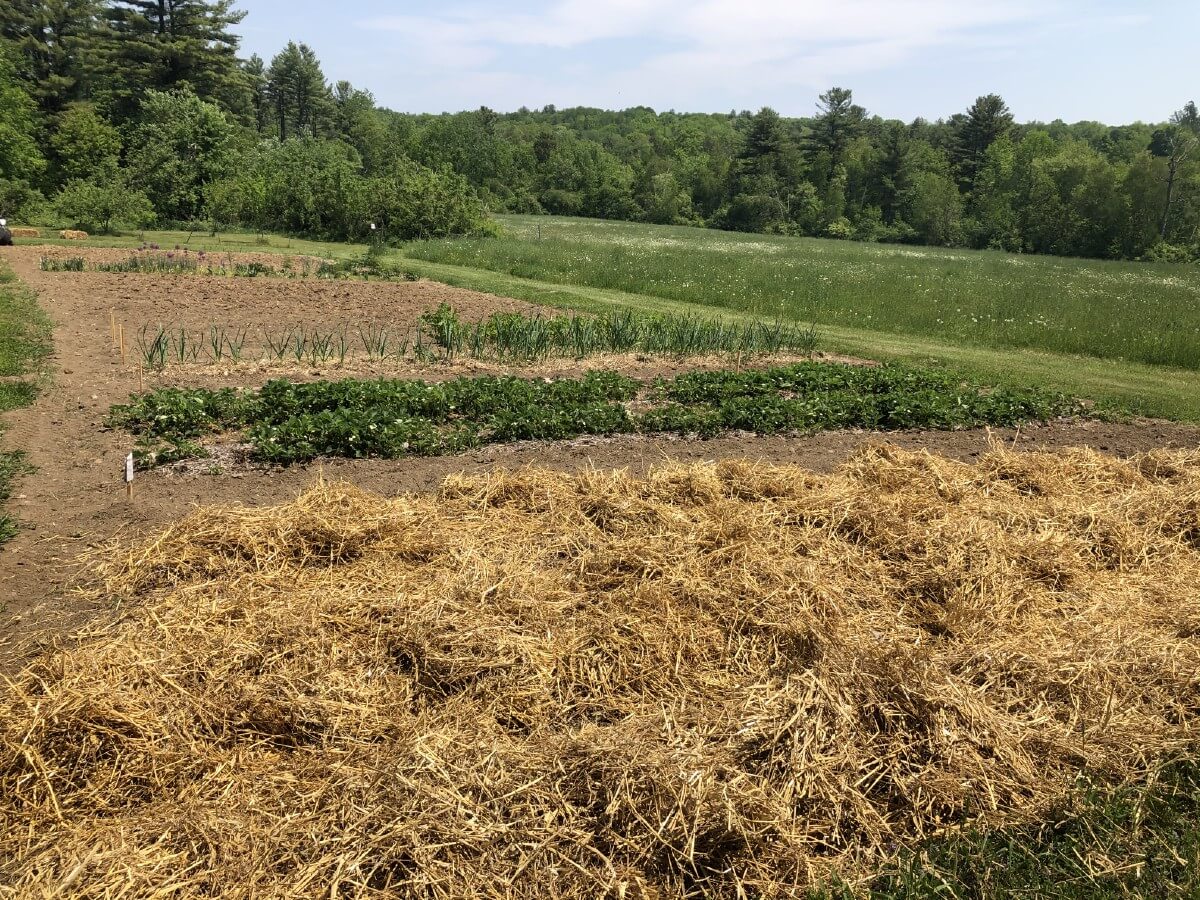
Over time, your mulch layer will break down from the bottom up. This helps feed and fertilize the patch, replenishing it with new organic material (note, however, that this is not a replacement for compost and fertilizer as previously discussed). Top up the mulch layer with two or three inches of new material every year. Early spring before your asparagus begins to grow is a good time for this. Use more (the full four to six inches) if you feel you need it to bring the layer back to a good weed-suppressing level.
Keep Your Asparagus Bed Watered
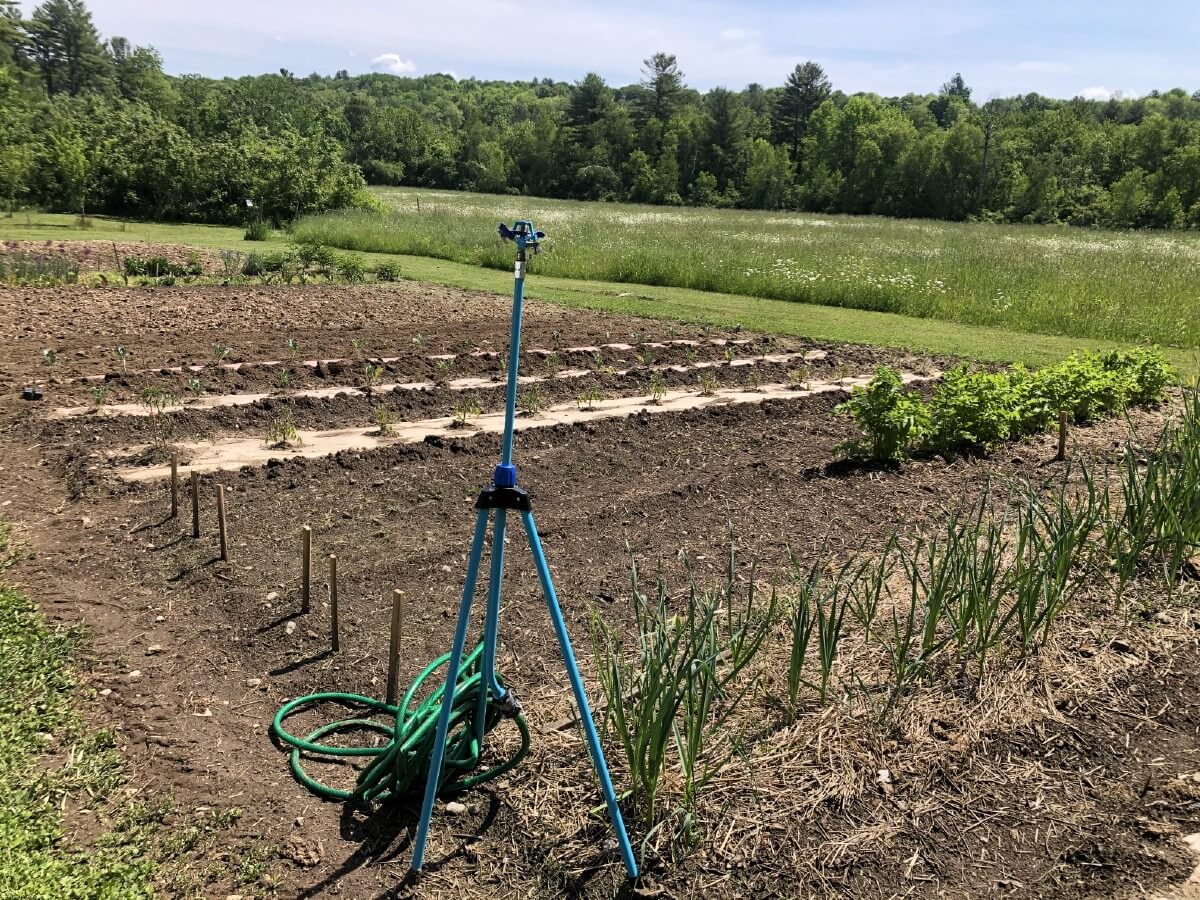
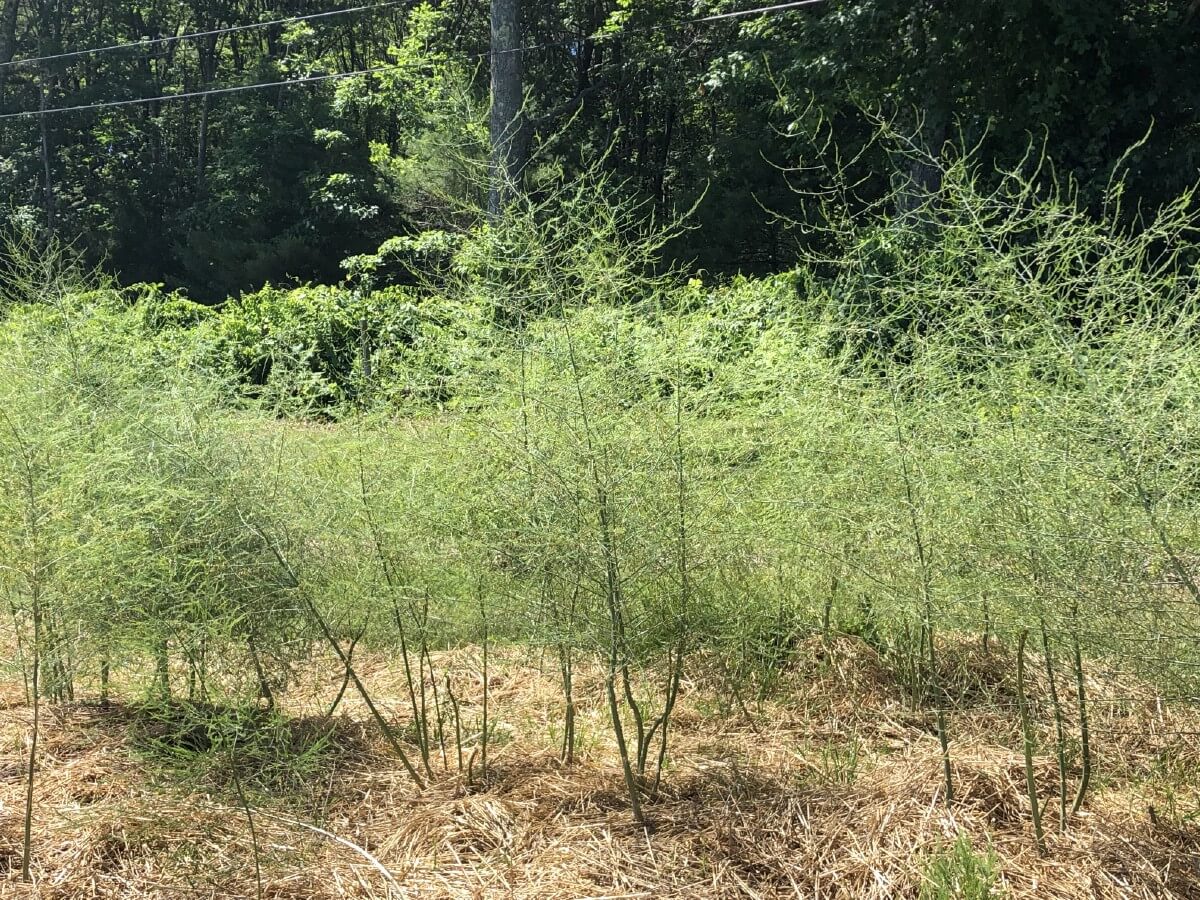
It is important to keep your asparagus bed watered even after the harvest has finished. It’s easy to think your asparagus is “done” for the year once you stop picking, but this is far from the truth. Even though we are not actively harvesting, and although mulching and good care mean little hands-on maintenance, there is a lot going on in your asparagus bed throughout the rest of the summer and growing season. The full-grown ferns are photosynthesizing and growing and maintaining those root crowns you’ve worked so hard to establish. And that means they need enough moisture to do their job.
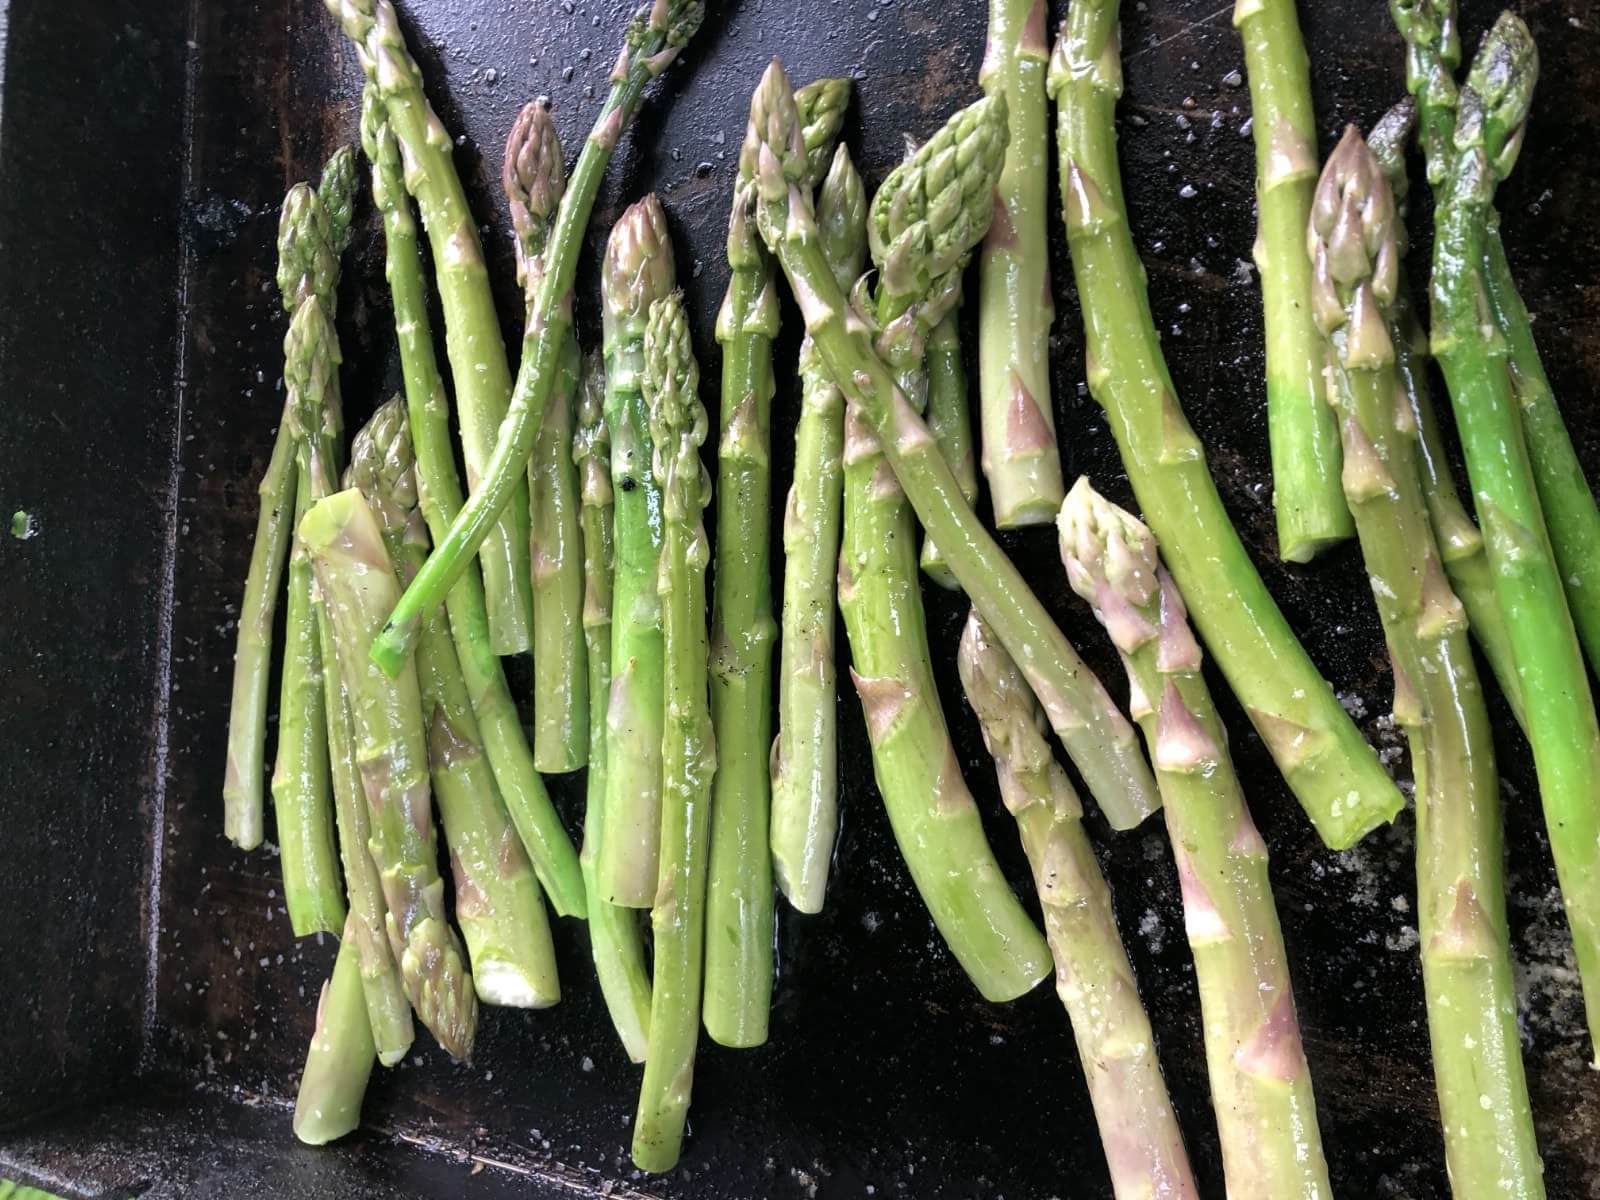
Asparagus is fairly forgiving and is tolerant of low-water conditions (another feature that makes it a good candidate for growing in dry areas). Regular watering will increase yield, though, and some regular watering is essential to maintain the bed, prevent die-off, and keep it producing year to year.
How Often and How Much to Water Asparagus
Ideally, your asparagus bed should be watered every week from the time of spear emergence and harvest on through the growing and feeding season. If you live in an area with water restrictions, asparagus can probably handle stretching this schedule to once every two weeks, perhaps a bit longer—do, however, be on the lookout for yellowing, browning, or brittle stalks during the growing season. Asparagus does not wilt and show water stress the same way many more tender, leafy plants do.
Water asparagus every week if you have not had a significant rainfall. Asparagus will do best if it receives one inch of water per week (whether from yourself or Mother Nature). A rain gauge placed in the patch will help you to measure the total water your patch is receiving. When watering, try to water enough so that the soil is wetted to a depth of six inches down (this does not mean six inches of mud—give the water some time to soak in—several hours—before determining this).
Control Insect Pests in Your Asparagus Bed
It is very important to control insects in your asparagus bed. Early on in the beginning of the growing and harvest season, insects pressure tends to be light because the days are cooler, and in a well-cleaned and maintained patch it may take some time for new bugs to find your plants, but as the days warm and the season moves on, pests like asparagus beetles (your most common asparagus enemy) are sure to emerge.
During harvest, it is important to limit asparagus pests—for a couple of reasons. First off, you do not want these chewing pests to damage the spears that you are harvesting. A little light damage does not mean your asparagus cannot be eaten, but it does result in deformed and unattractive spears and also in potential crop loss. Insects are also prime spreaders of fungus and disease, so managing them will help keep your asparagus plants healthy. By controlling pests from the very earliest of days in the new season, you also control the population, helping to prevent it from becoming too large and too damaging.
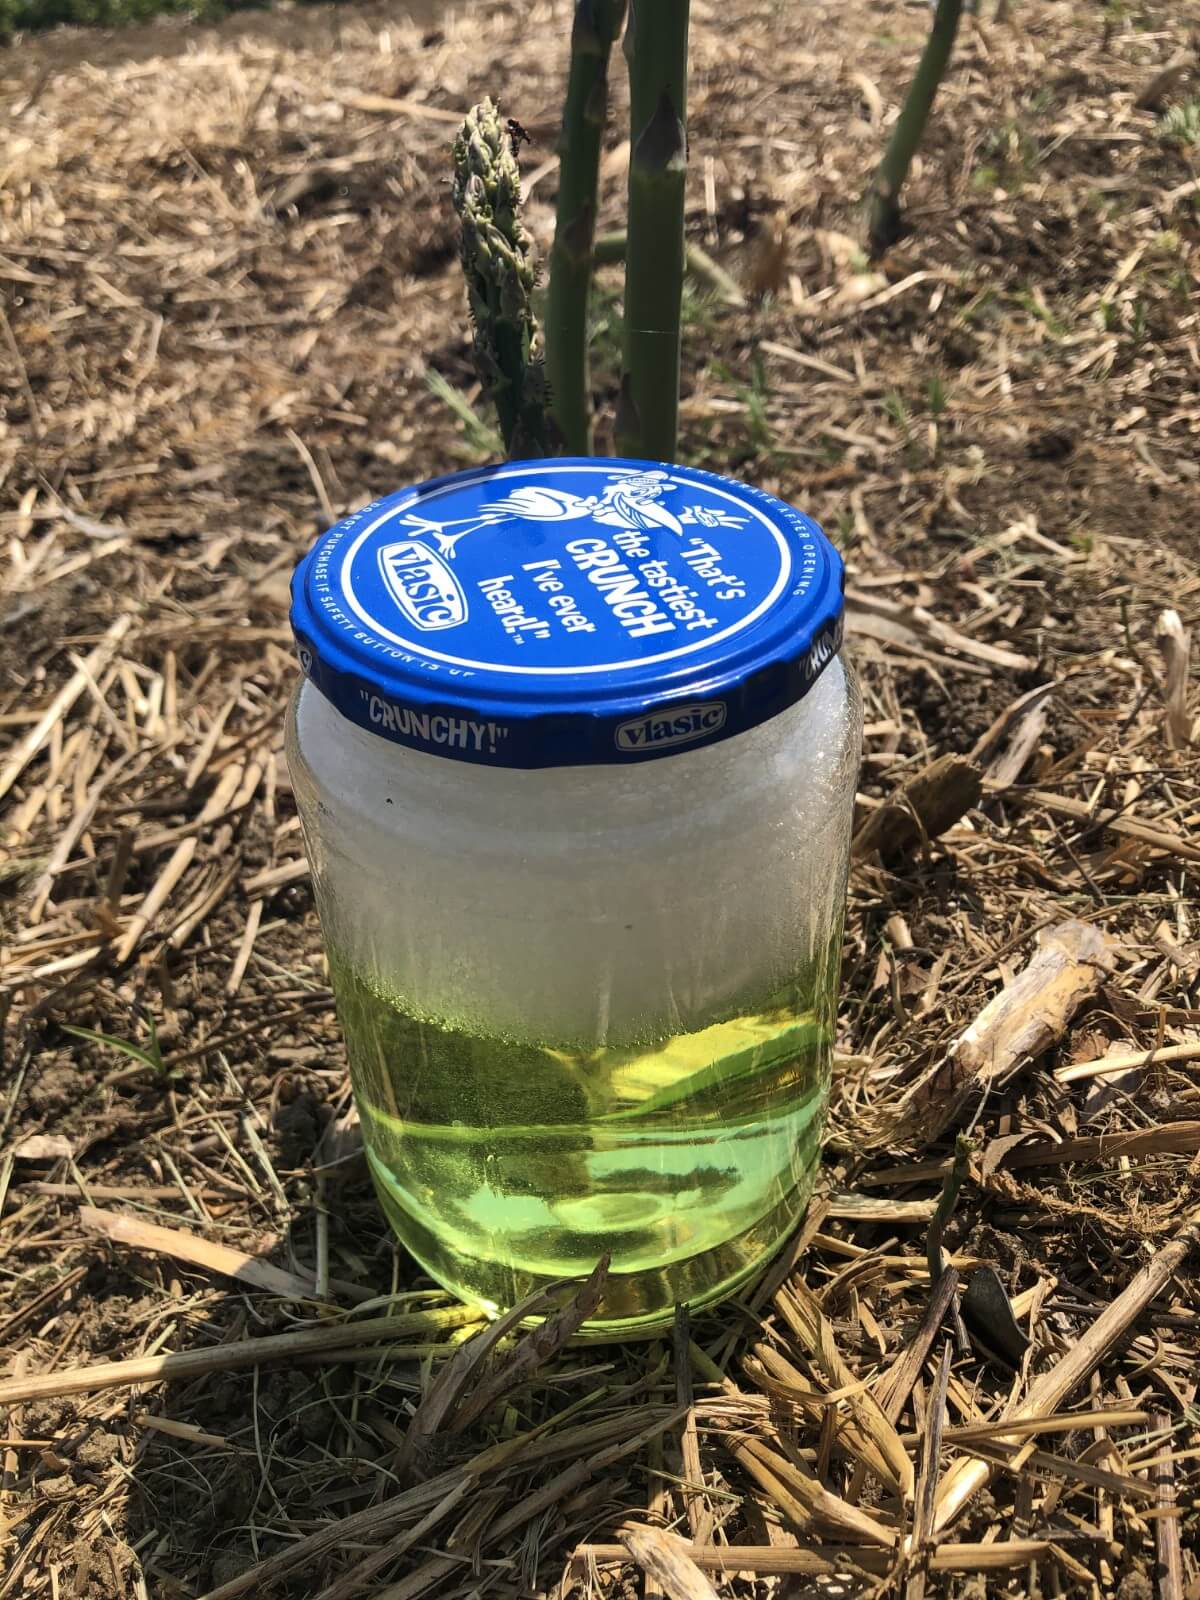
After the harvest is complete, you will still need to pay attention to insects and pests in your asparagus bed. Again, this is a crucial time in the life of your bed, so even full-grown ferns need to be healthy and strong to feed the plant and the roots of the bed. With good early control this job will be easier, but you do need to regularly check for and address insects throughout the season.
Get To Know Asparagus Pests
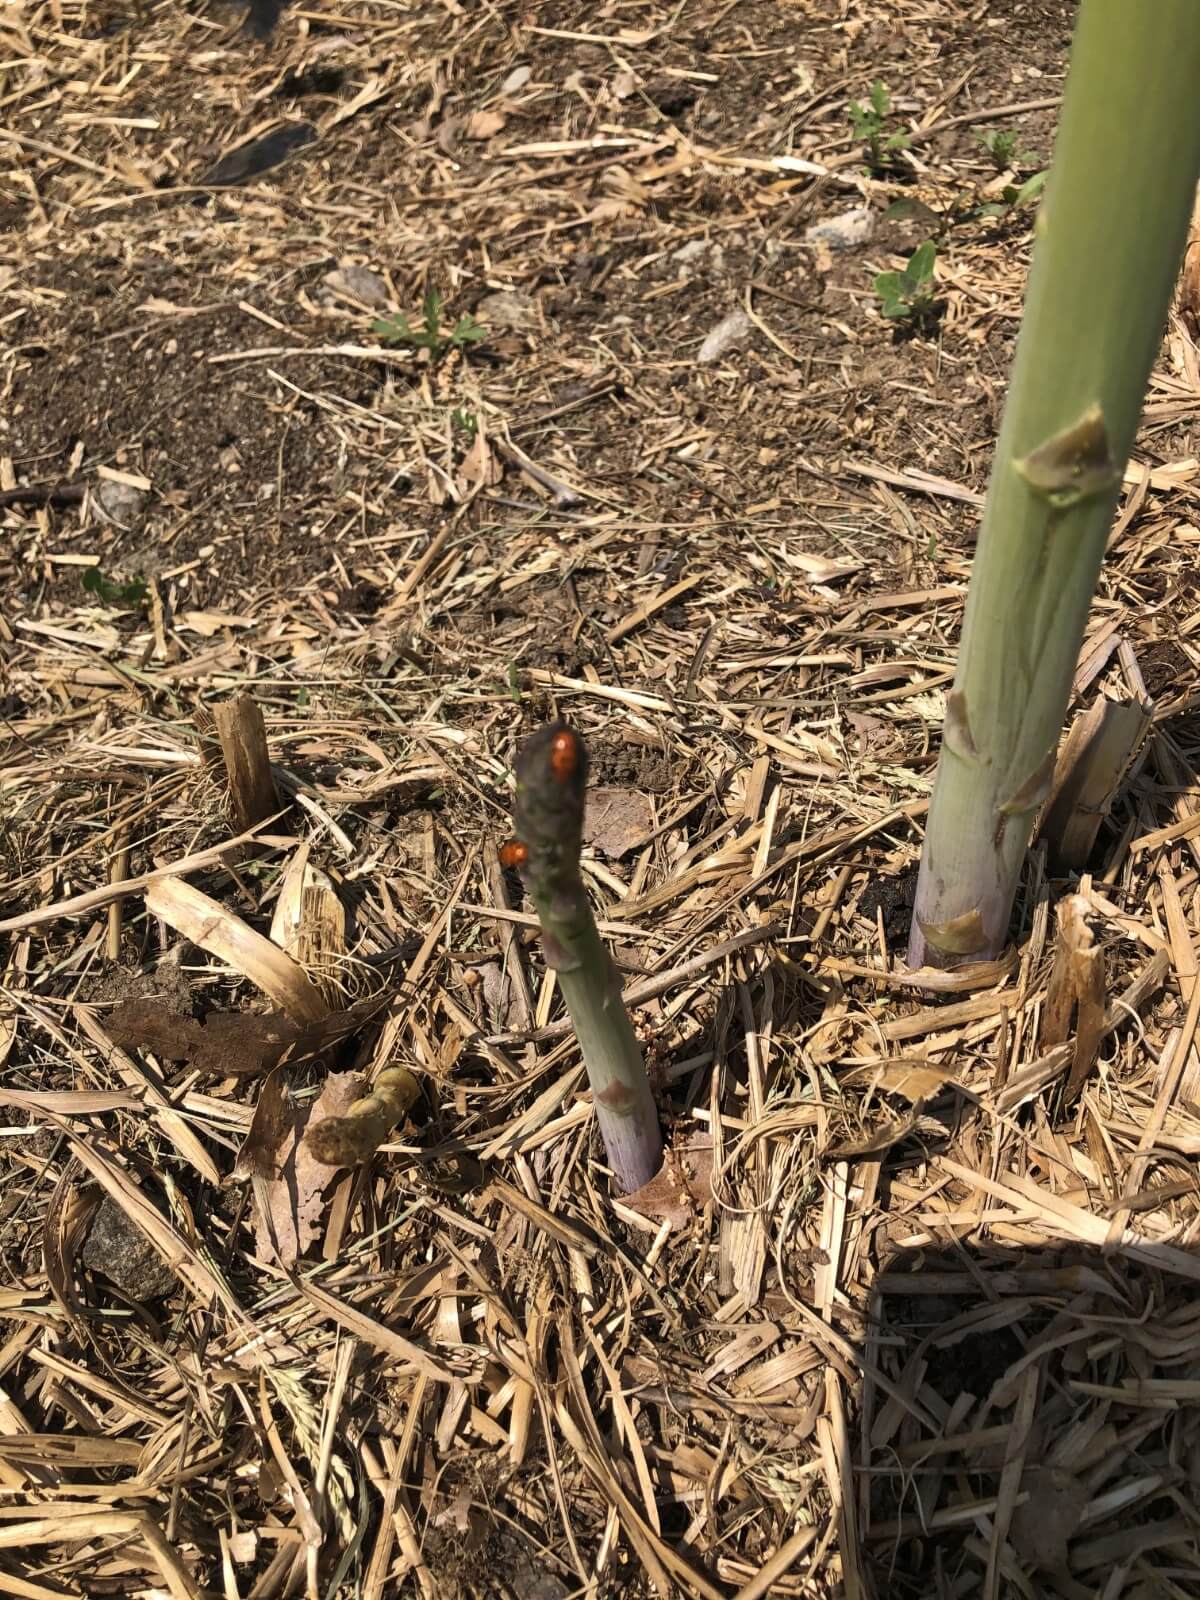
The best advice for controlling insects that feed and damage asparagus is to familiarize yourself with the insects that attack asparagus plants. Fortunately, there are a relative few and with some effort they can be reasonably controlled.
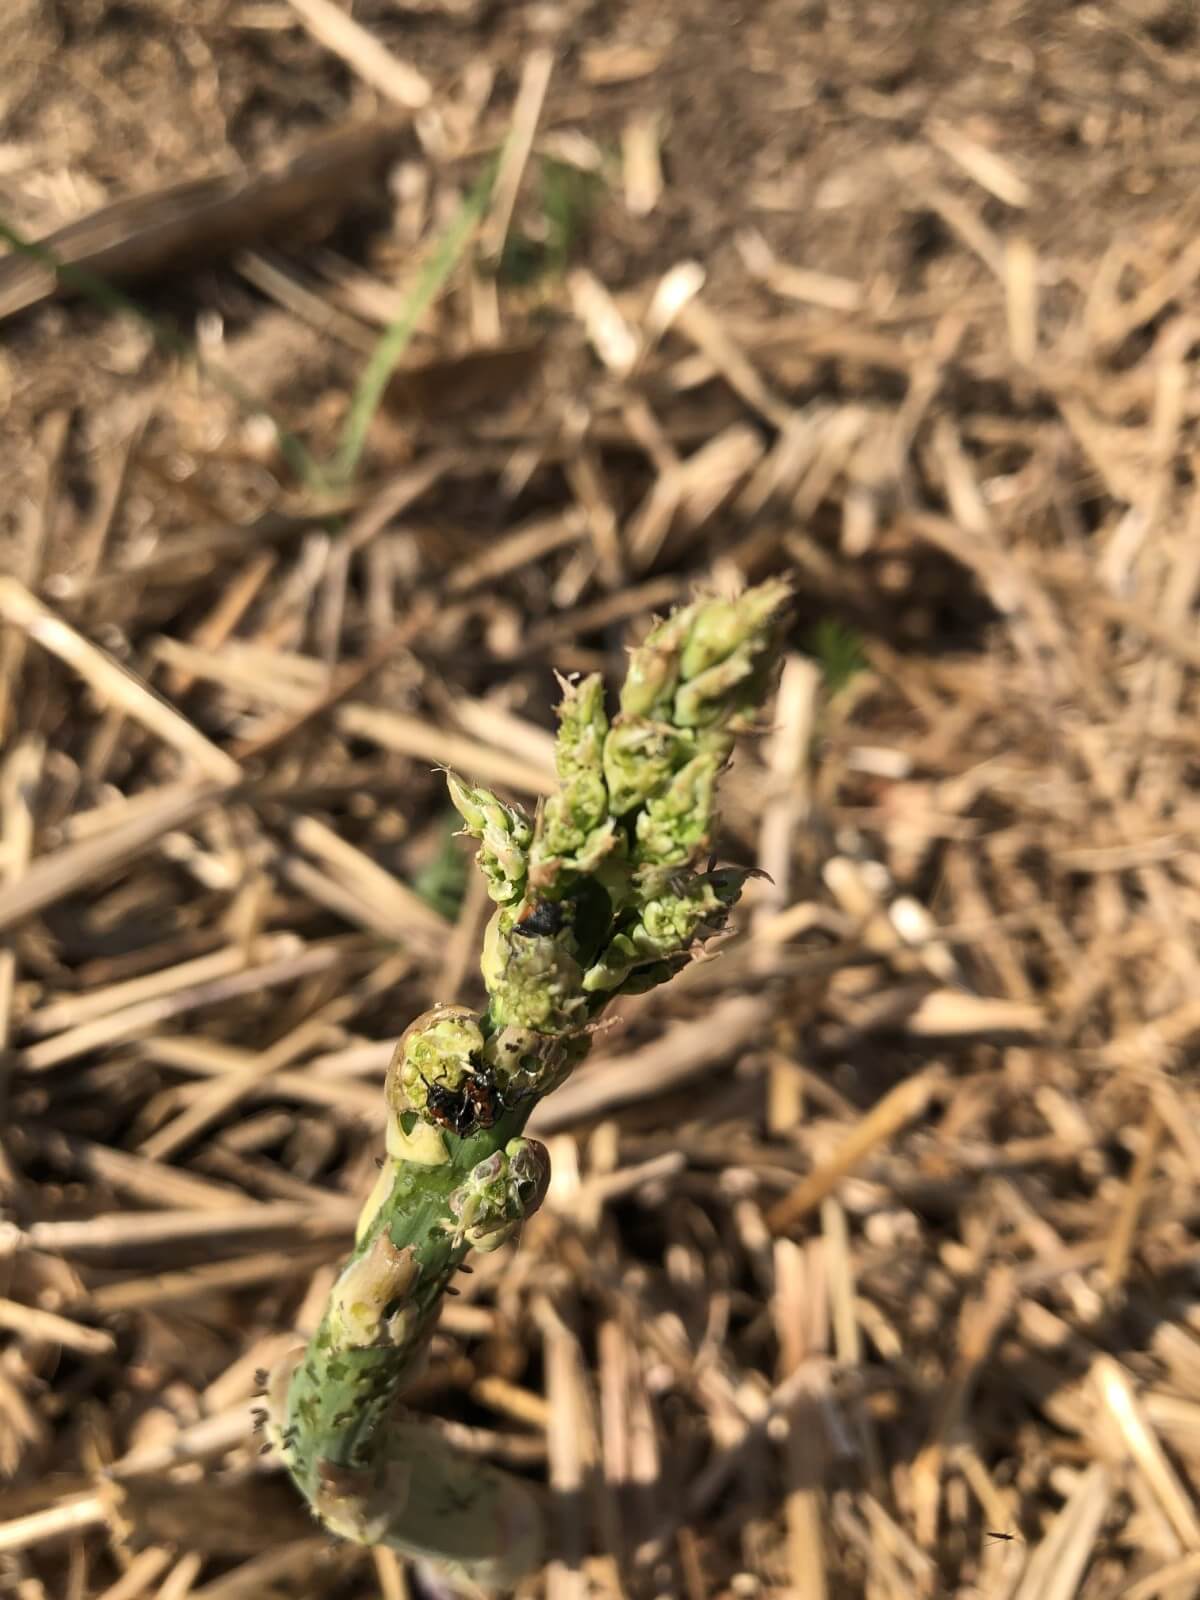
Asparagus beetles are the biggest problems for asparagus patches. They have about a four-week life cycle from breeding/egg to adult. They are small (around ¼ inch). There are two types—a common asparagus beetle and a spotted beetle (the reddish spotted asparagus beetle usually appears a bit later in the season than the darker common beetle).
You will notice the adult beetles first, and then soon after you will start seeing tiny, black, spiky-looking eggs laid in rows along the sides of spears and ferns. These will turn into a slug-like larvae. These small, grayish slugs will feed on the fine ferns of the plants before falling to the ground and completing their transformation into adult beetles.
Control Asparagus Beetles to Keep Plants Strong and Disease-Free
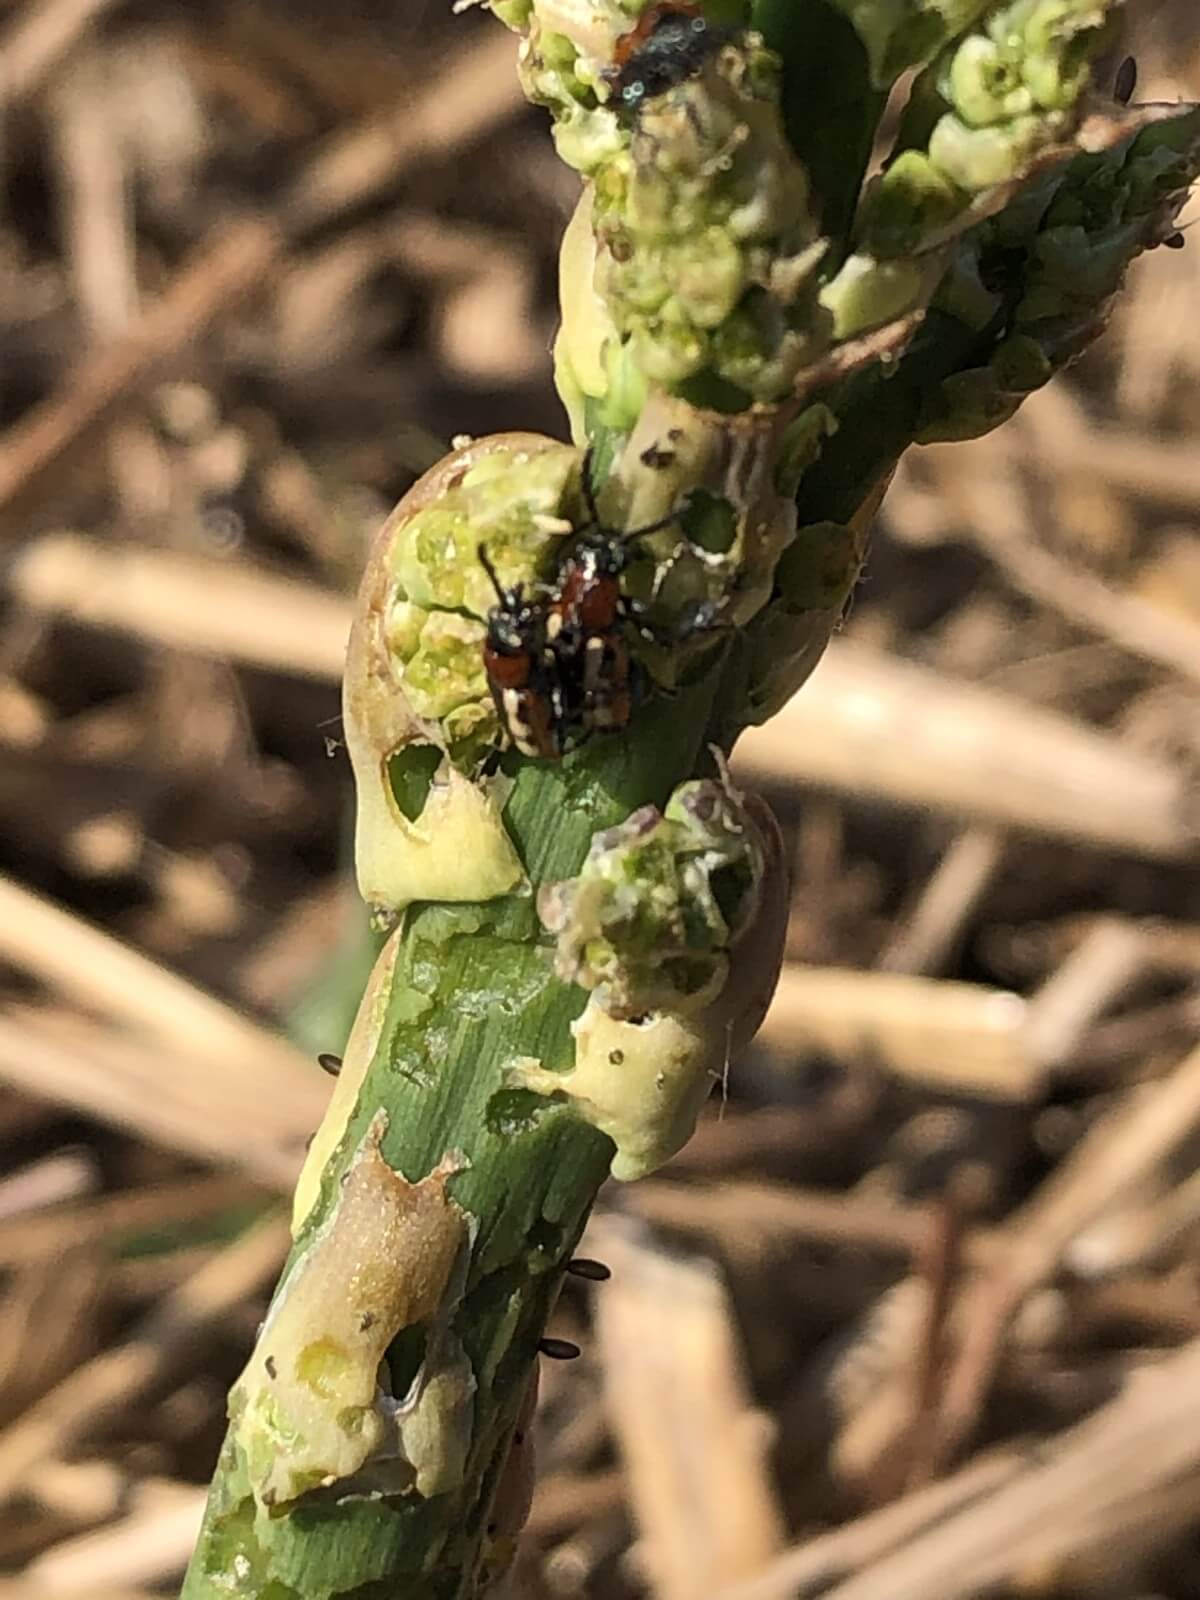
Of the two, the common asparagus beetles (dark with white spots) are more problematic because they feed off the ferny leaves, which deprives the plant of its food source and opens the door for diseases that proliferate on asparagus with reduced foliage (Fusarium, namely).
Spotted asparagus beetle larvae feed off the berries of the plant (which is why an all-male patch that does not produce berries has enhanced disease-control capabilities). Removing female berry-producing plants is one way to control spotted asparagus beetles. Both adult types damage asparagus, though, so removing as many of both types as possible is best for the health and vigor of your asparagus bed.
Other common garden pests may present issues for asparagus later in the season. Japanese beetles will feed on asparagus plants, too, and so these and other chewing pests should be watch for and controlled.
Some Easy Organic and Homemade Solutions for Asparagus Pest Control
Hand Picking is Safe and Effective
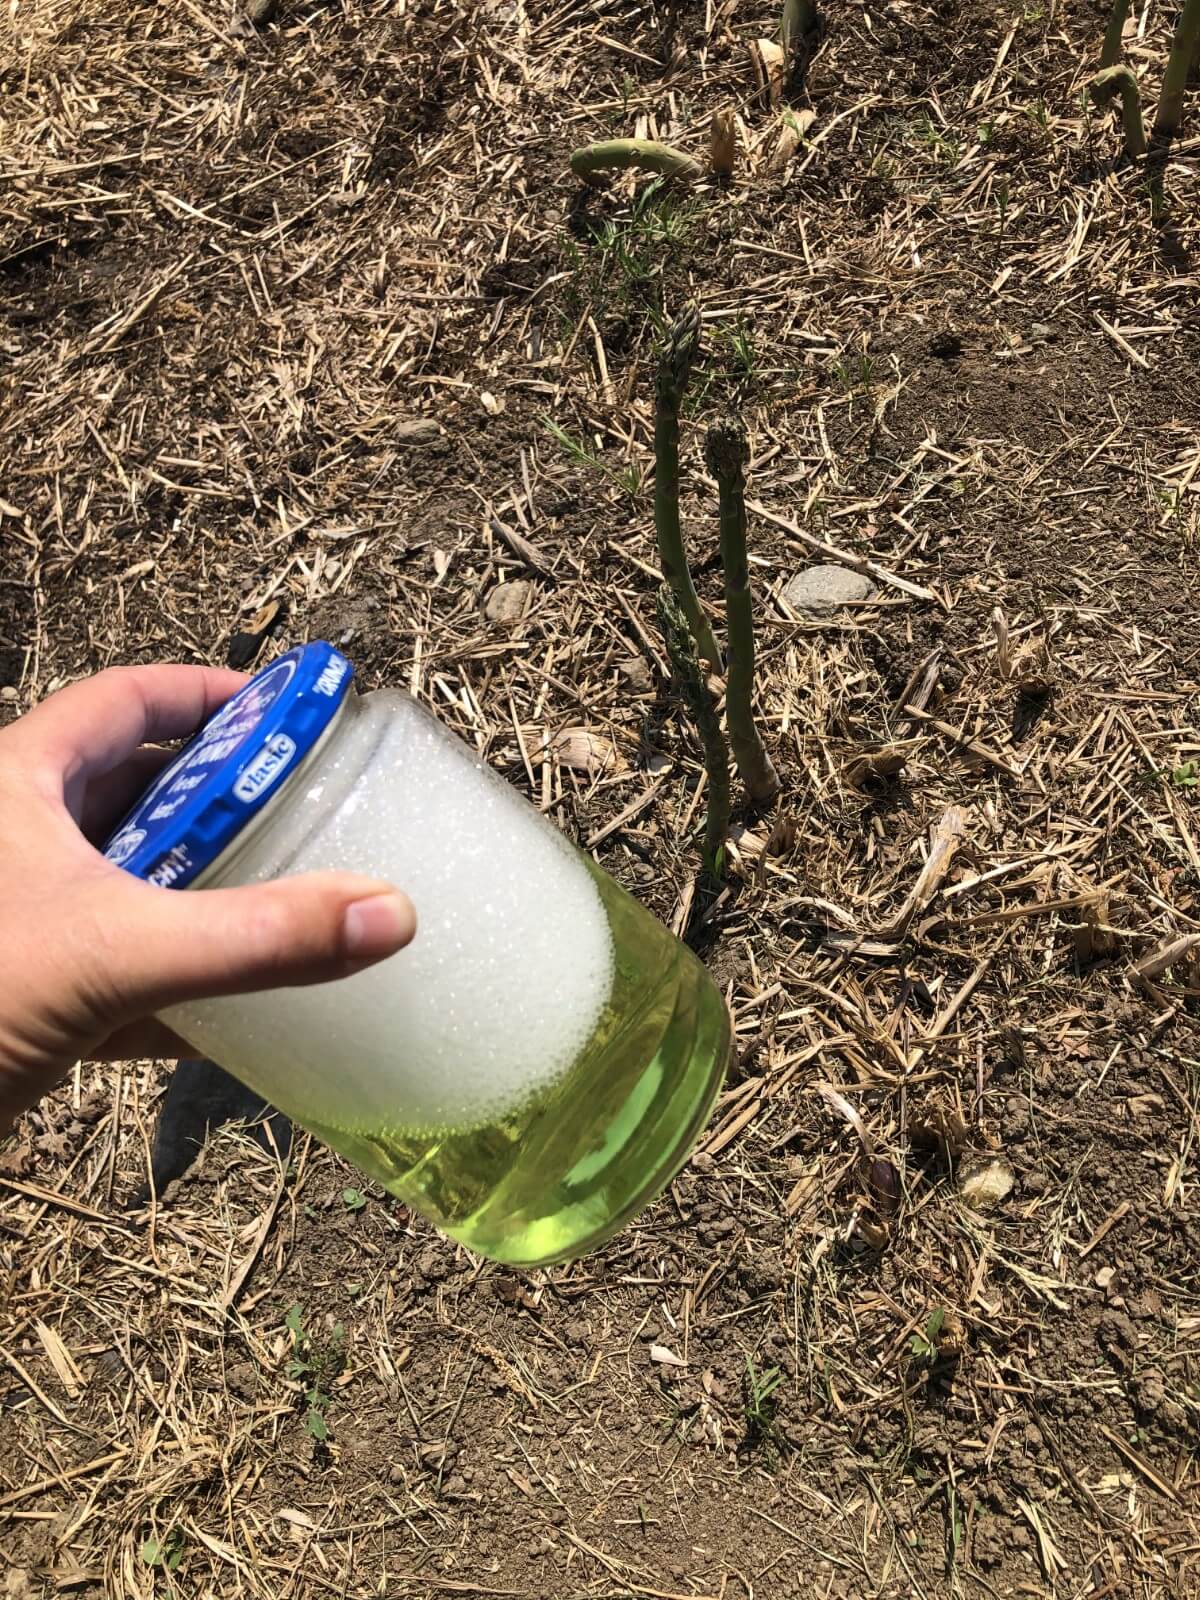
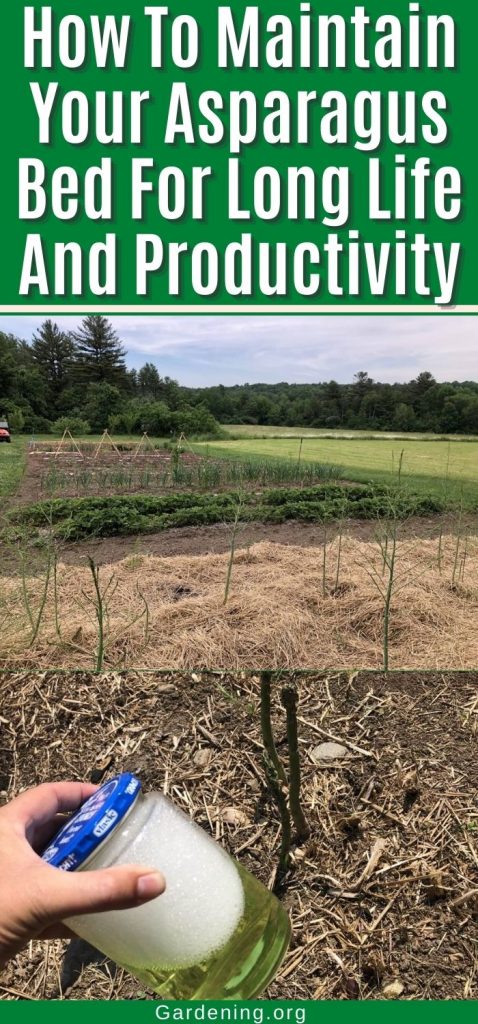
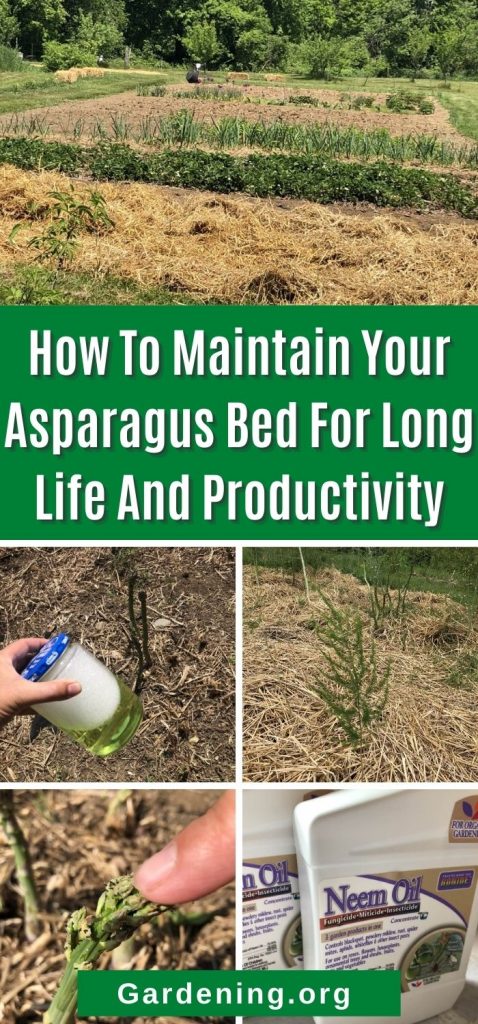
The most recommended control for asparagus beetles and pests is to simply take a walk through your patch with a jar of soapy water, then pick off the beetles and drop them in the jar (dish soap is just fine). If you do this when you harvest your asparagus, you’ll get a good jump on population control (beetles can go through three or more generations in one growing season, but the majority of them will start with the early couples). After the harvest season, try to make this a weekly habit until you see few or no beetles on your plants.
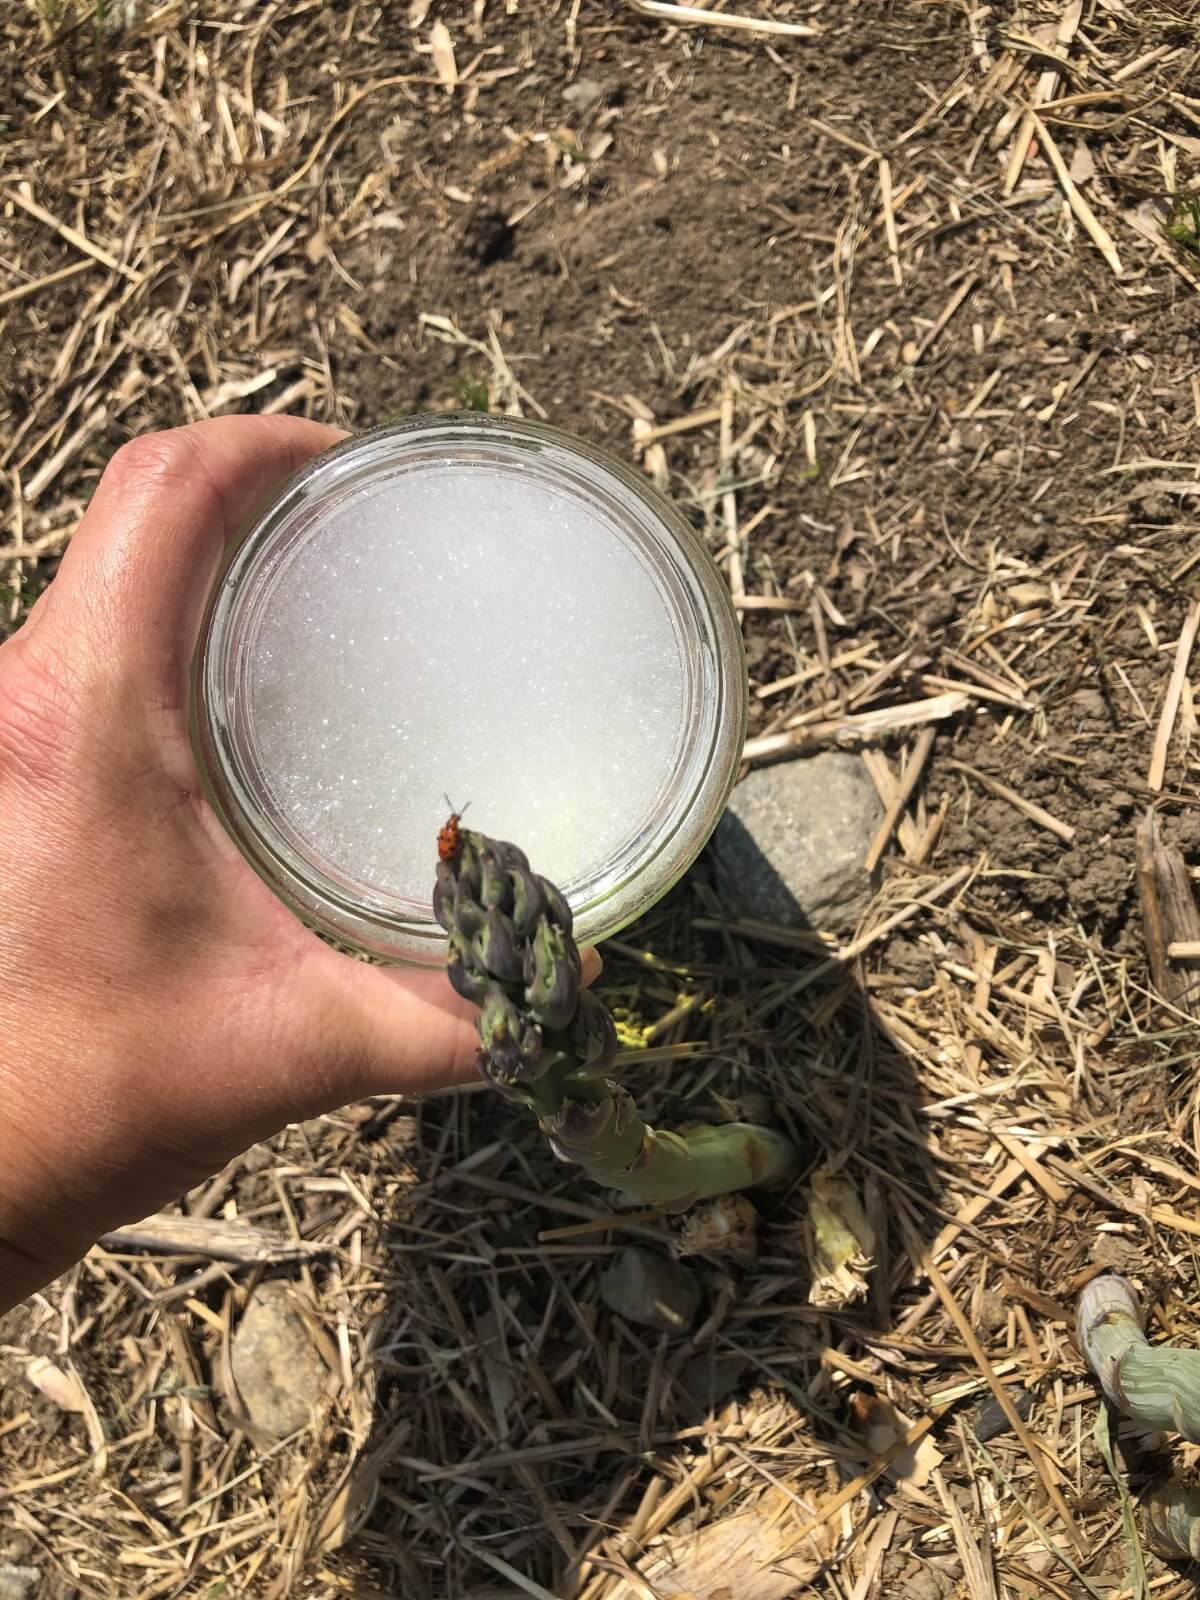
Also wipe off the spiky dark eggs as you walk your path—this will keep eggs and larvae from completing the cycle to pupa and adult stage.
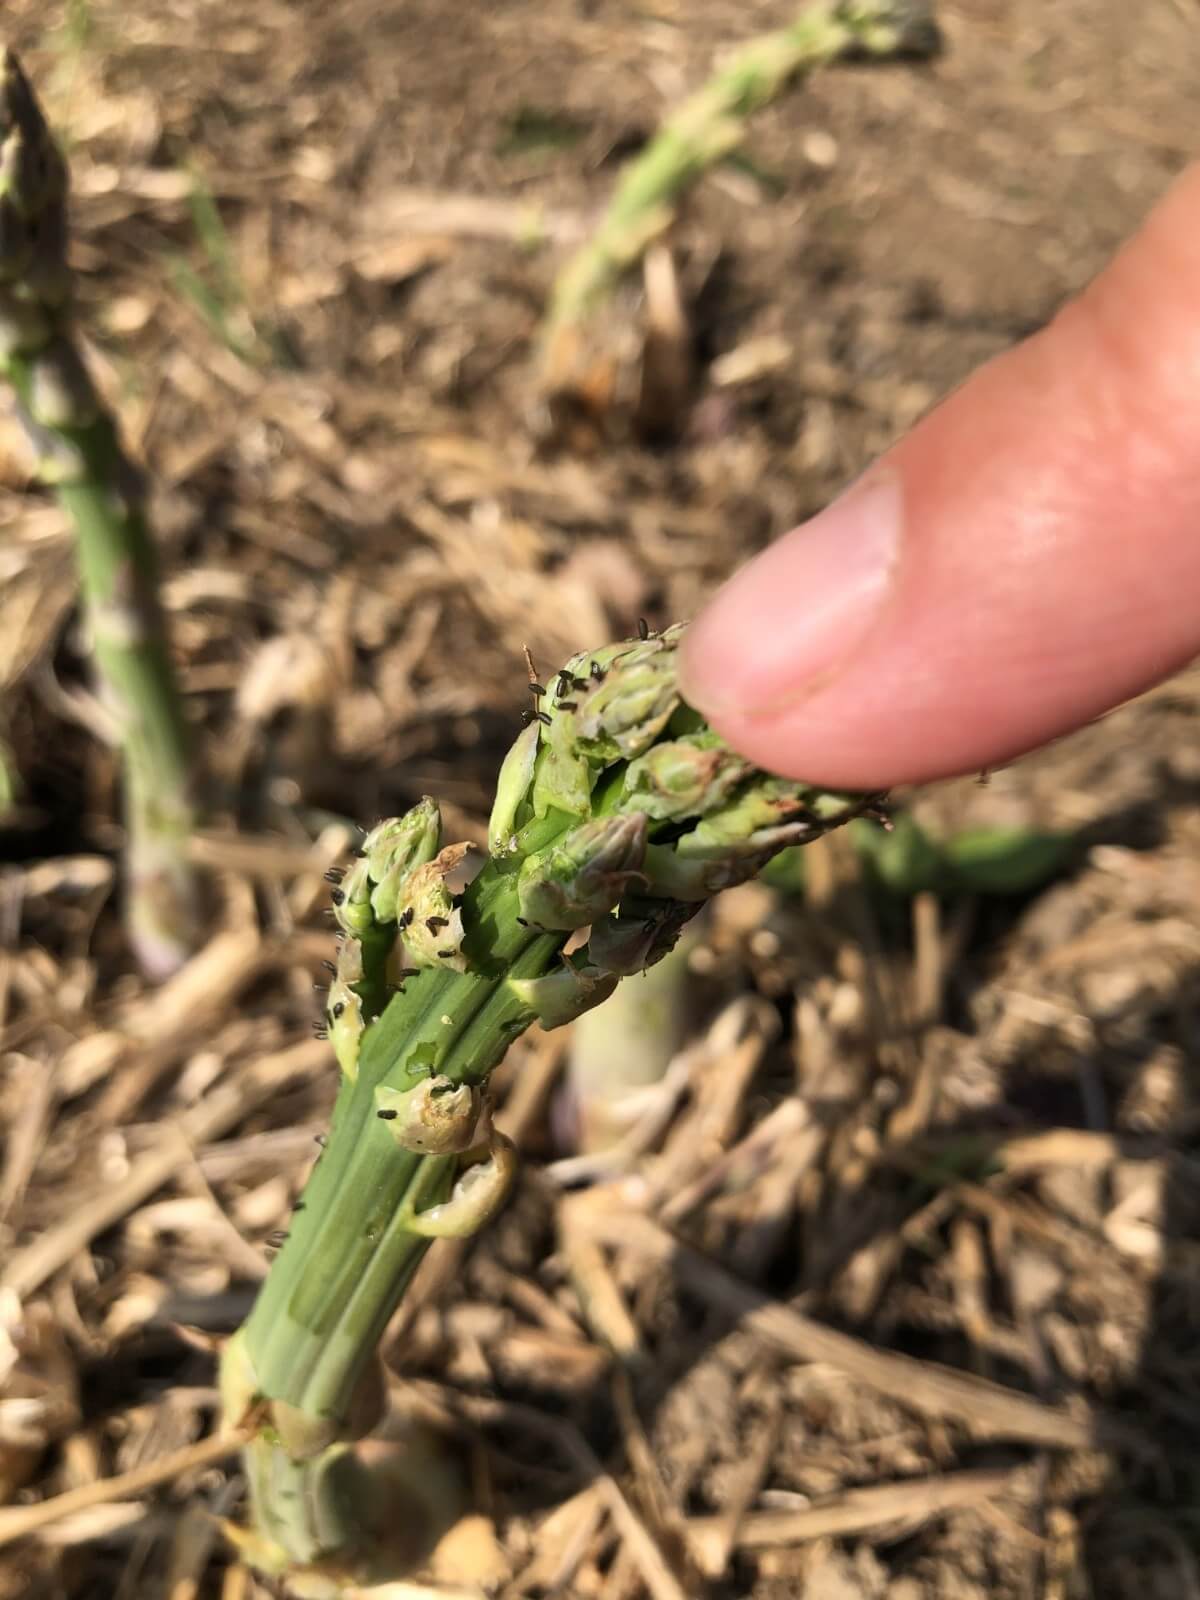
Soap and Water Spray
A spray of soapy water can also help to kill beetles and their slugs. Combine two tablespoons of dish soap in one gallon of water and apply with a spray bottle. Do note that soapy water can also kill bees and beneficial insects if they are sprayed directly.
Organic Neem Oil Works on Chewing Pests
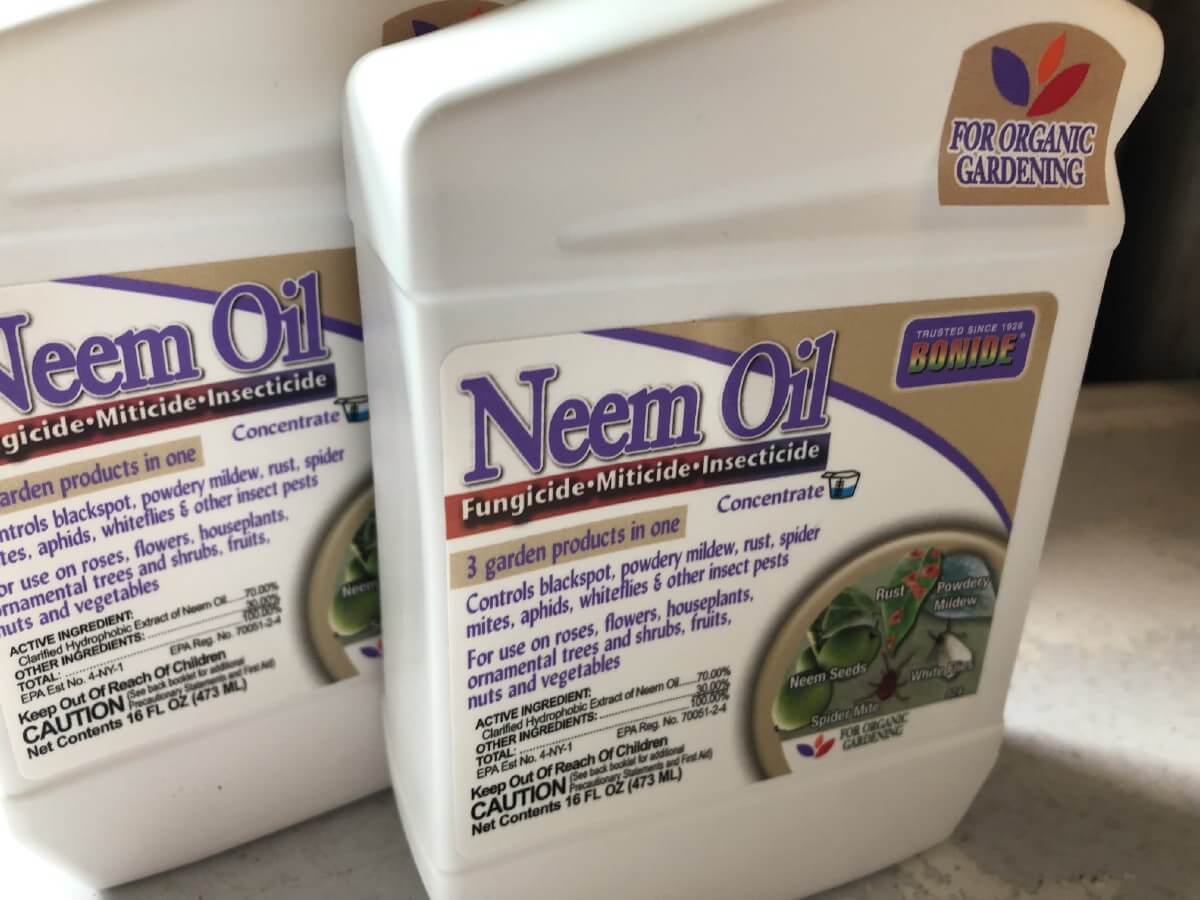
Neem oil spray is another organic option. It can harm bees and beneficial insects, but the biggest threat is if they are sprayed directly. Once dried, Neem oil works on insects that chew the plant. Therefore, if you can spray early in the day or later in the evening when bees are not active, or spray the plant at a stage when there are no flowers or blossoms and so bees are not visiting, you can avoid causing harm to them. It is more difficult to avoid spraying beneficials like ladybugs—if present, remove them from the plant before application. Since ladybugs do not chew the plant itself, after the oil is dried it is no longer a risk.
Neem oil also helps to control many funguses and plant diseases, making it a good dual-purpose organic option. It works best as a disease preventive. It is worth considering Neem oil as your treatment of choice for its low environmental impact, ability to target chewing pests, ease of management and use around beneficial insects, and control of fungus and plant disease.
Invite Beneficial Predators
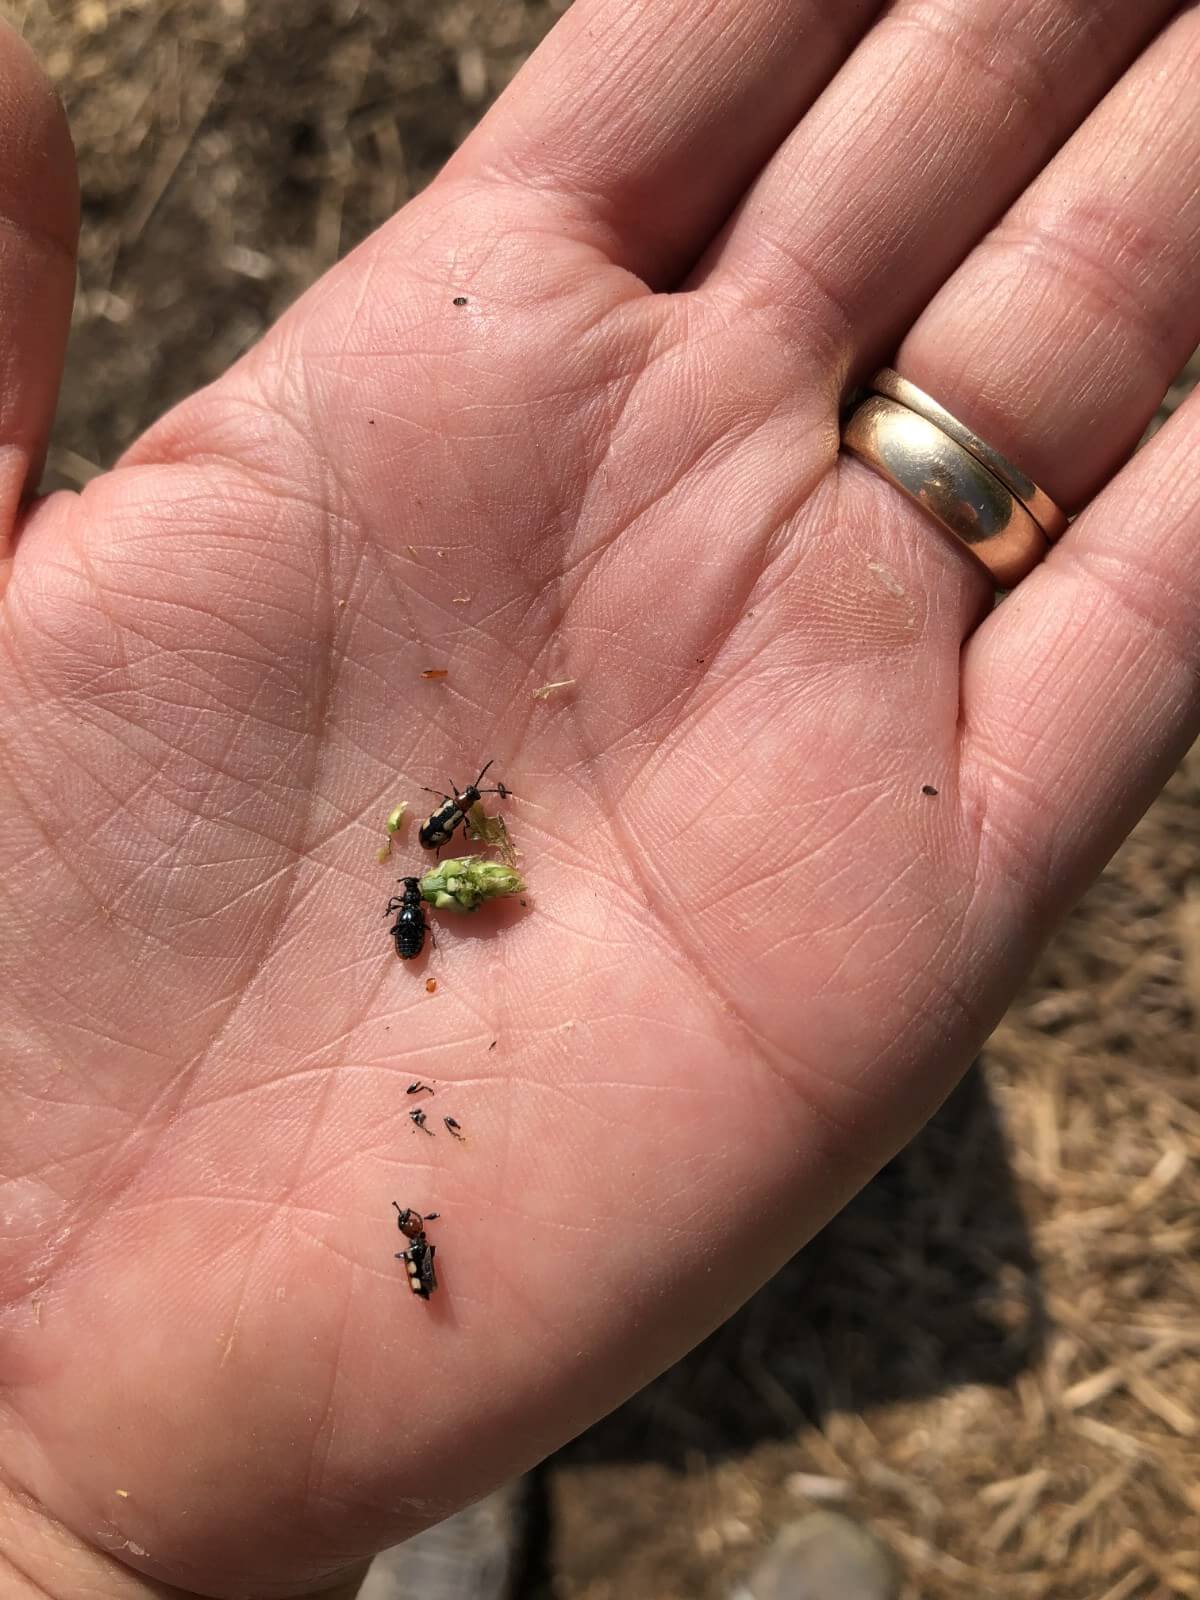
There are beneficial insects that can help control asparagus beetles. Inviting these or introducing them to your bed can help control asparagus pests.
Tiny parasitic wasps kill the beetles’ eggs. Lady bugs/lady beetles and lacewings feed on both eggs and larvae.
Beneficial nematodes applied to the soil help disrupt the pupal stage.
The salt mentioned earlier as weed control also can cause disruption to the pupal stages of asparagus beetles (though it should not be applied too heavily or to frequently).
One of the best forms of pest control for your asparagus bed is good maintenance and keeping a clean, strong, well-fed patch that is more able to tolerate and fight off disease.
Seasonal Clean Up
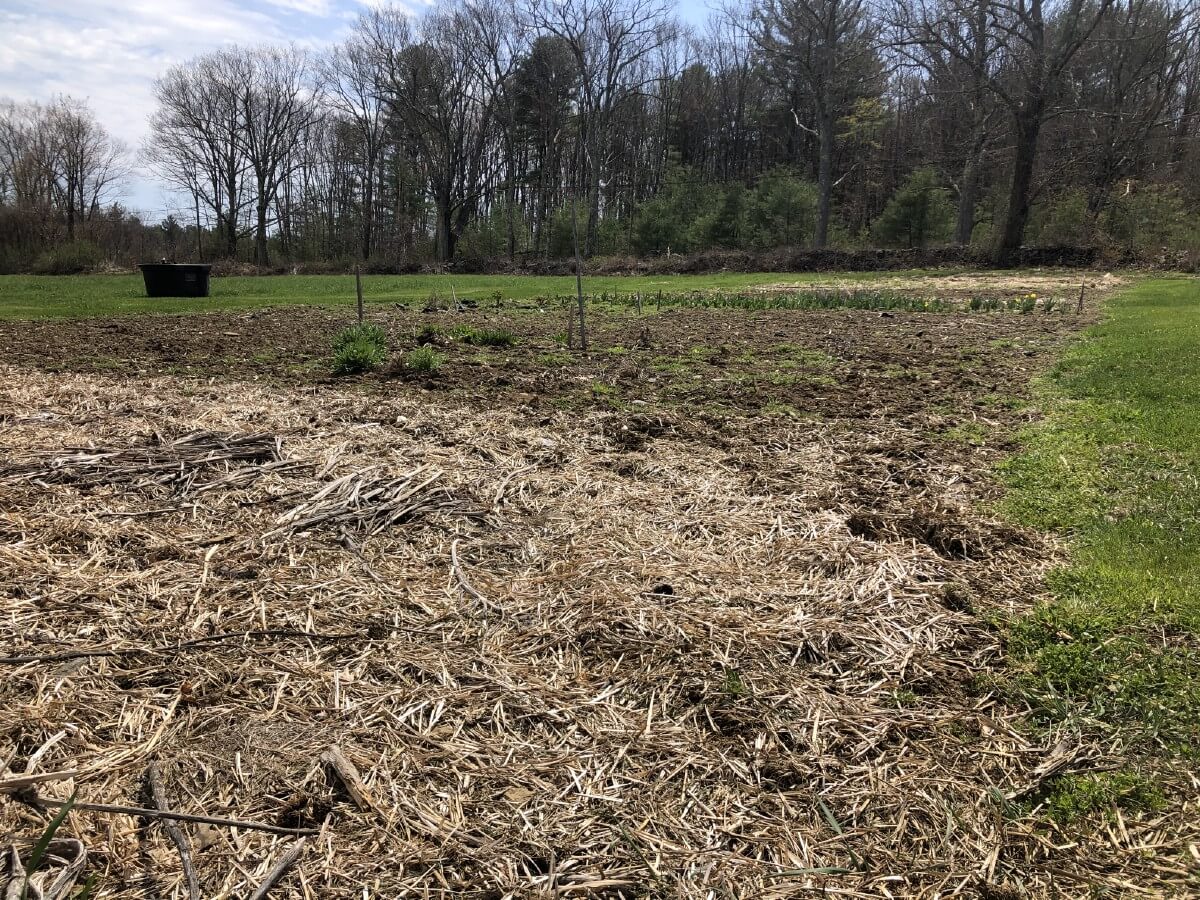
At the end of the growing season, after frost has killed off the plants for the year, set aside some time for cleanup. It won’t take long, but cleaning your asparagus bed at the end of the year will leave you with a bed that is ready for growing in the spring.
Cut down the dead fern stalks and remove them from your bed. This will help control insects, denying them a place to overwinter and making it harder for bugs to find your patch in the spring. Remove any weeds (living or otherwise) as well—debris makes a good home for asparagus pests.
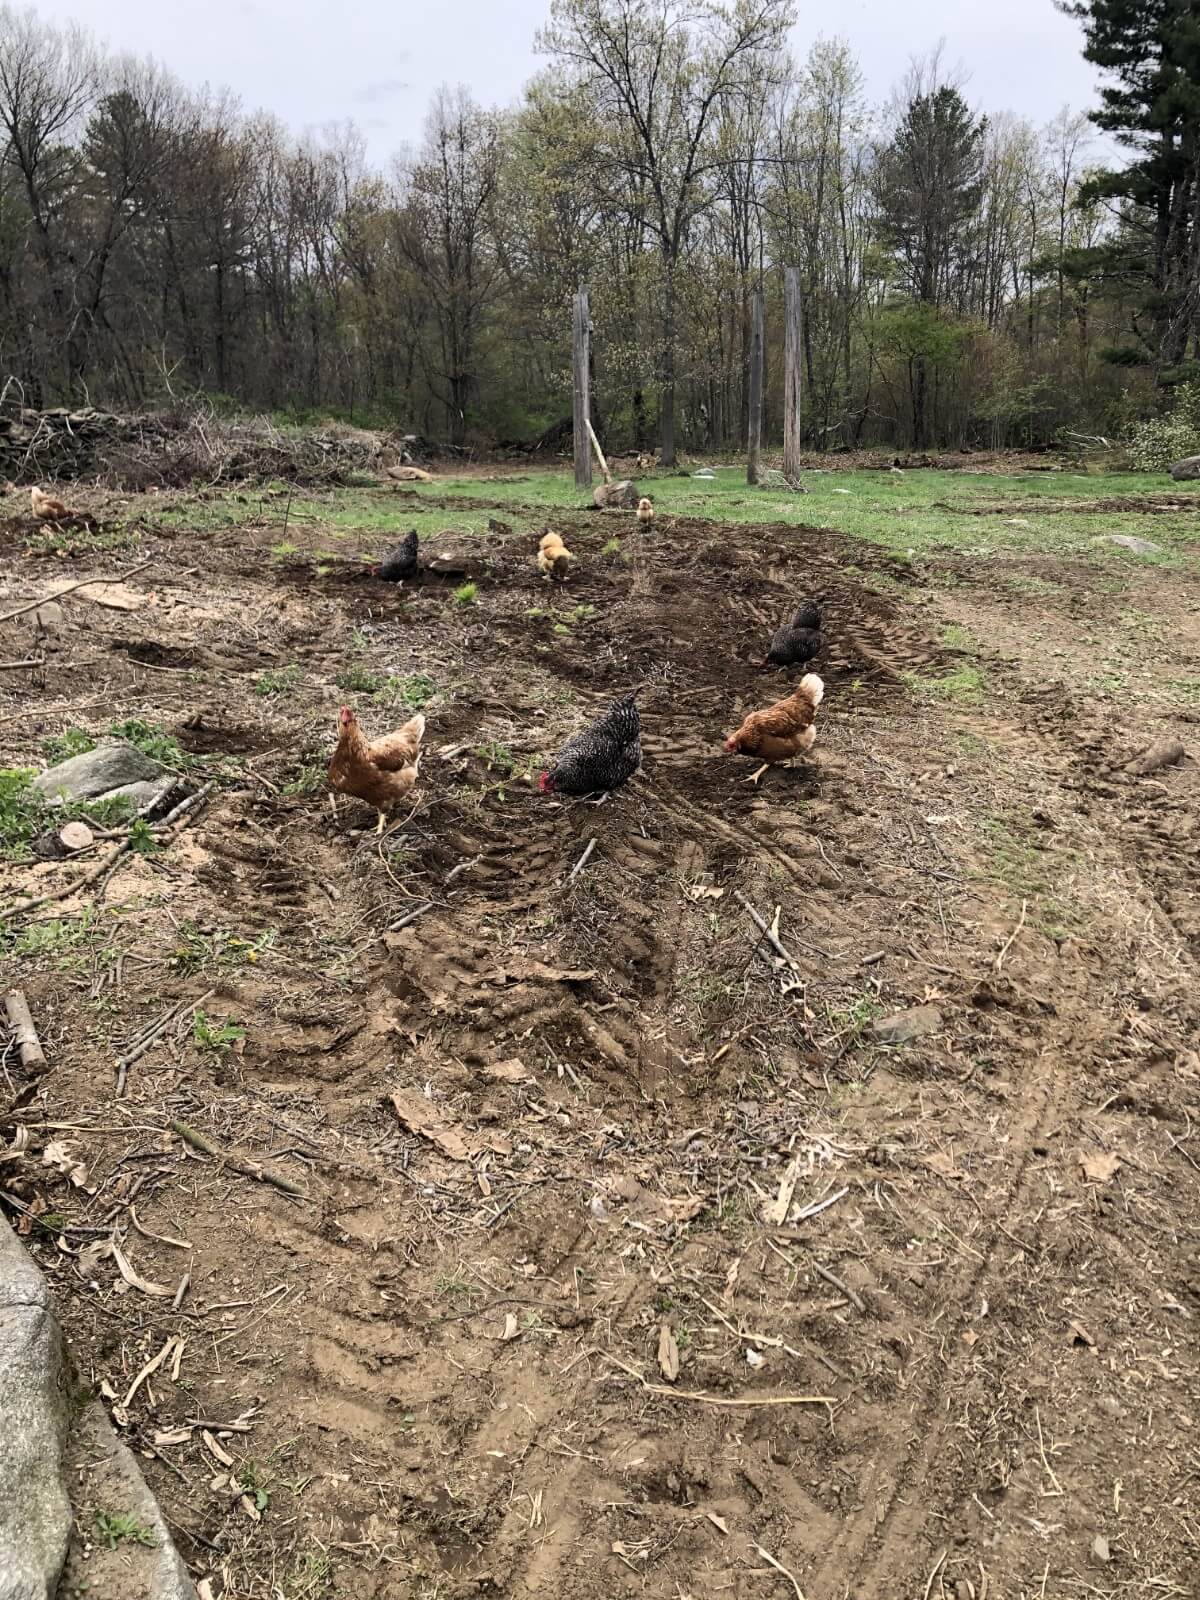
With the debris removed, it is a good idea to overturn or rake your mulch around. This will help expose any pests that are getting ready to overwinter there and make it easier for birds to find them and eat them. If you have chickens, it’s not a bad idea to turn them into the patch to scratch and eat any remaining bugs now.
A Time for Rest and Dormancy
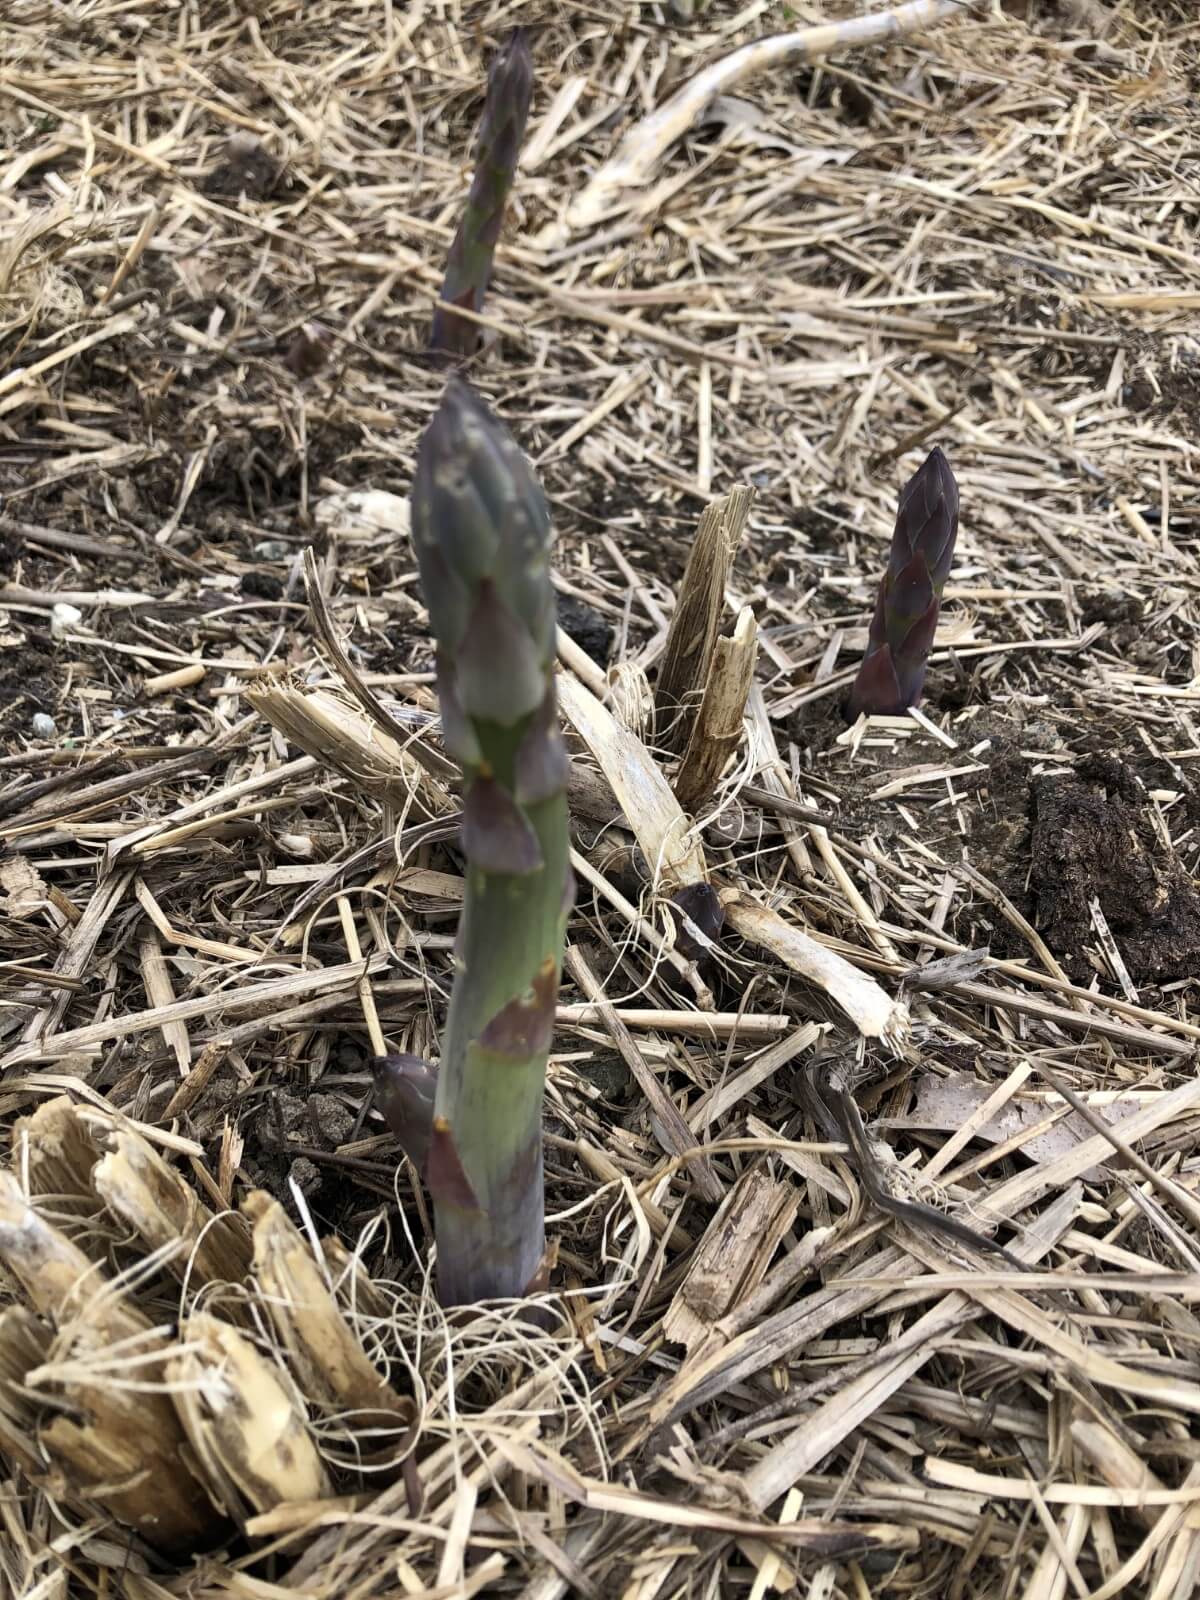
Asparagus requires a period of rest and dormancy to remain productive. This happens naturally in most areas where asparagus is grown. If you live in an area where frosts or freezes occur, Mother Nature will take care of this aspect of maintaining your asparagus bed.
If you live in a warmer climate, you can often achieve a state of dormancy by withholding water in the winter months and forcing the plants into the dormant state.
Dormancy is necessary to the asparagus patch because the new, tender shoots are the part of the plant that we harvest and eat.
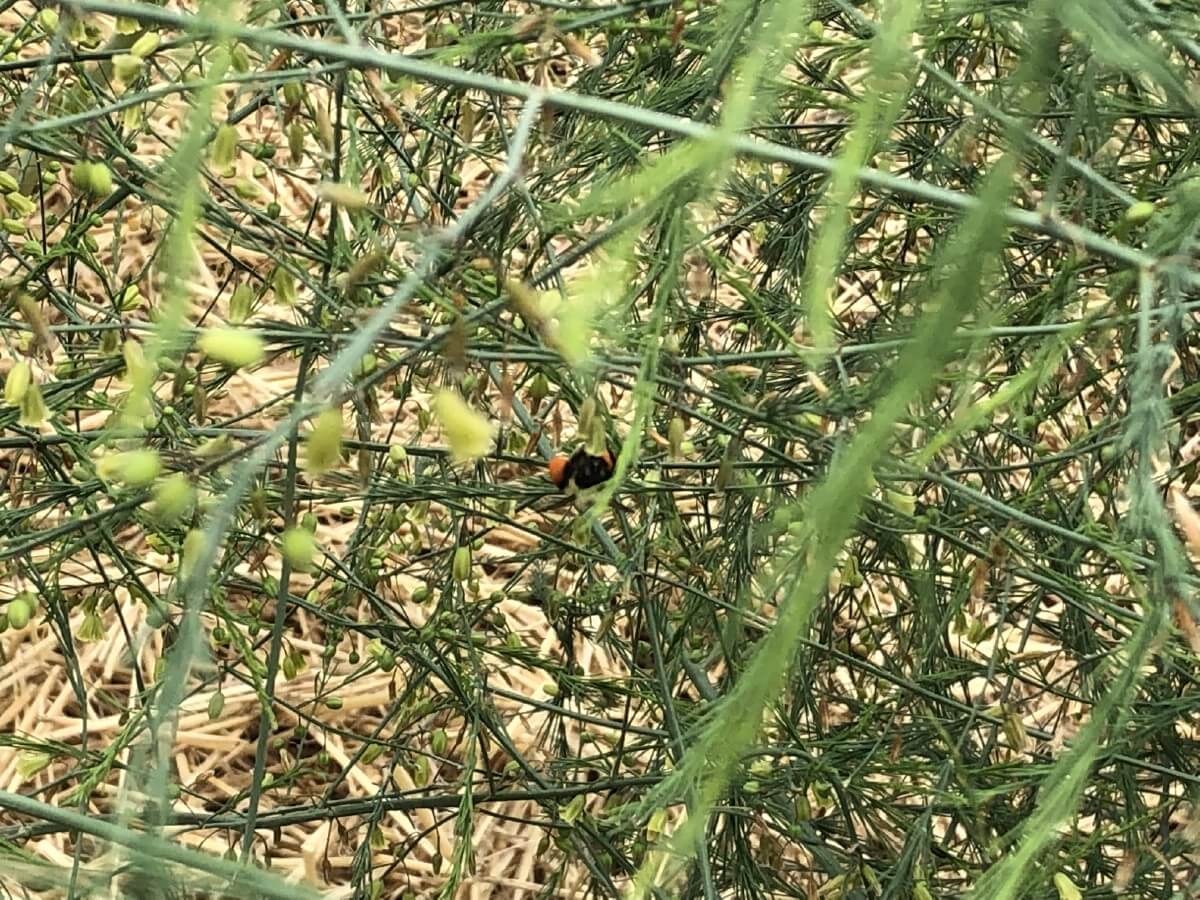
Your job coming into the dormant phase is to prepare your bed well for this period by feeding it, cleaning it, and maintaining good soil and mulch for protection. Once you have performed the necessary tasks for the year, you have only to wait for the spring and the new harvest again. A little attention to maintenance will keep your asparagus bed producing easily for ten years or more.



Cathy Bazzle
Thanks for the heads up. Can't wait to get started
Resa
You say apply salt at rate of 1 lb per row...how long is that tow? 10 feet? 20 feet? 50 feet? How about 1 lb per ? SQ feet of area??? This is how one normally tells people how to apply amendments or treatments. Your recommendation here is vague. Clarification please!
Resa
*row
Mary Ward
1 to 1.25 lbs per 25 foot row. As the article outlines, you may find it easier to apply as a liquid dilution of one pound per one gallon of water, sprayed evenly over the bed. You can also spot-target stubborn weeds this way.
Tracy
I, too, find this article very useful. Our asparagus bed has been going for 35 years and I'm in NW Indiana. My husband and I always argue about the weeds. I spend a lot of time weeding the bed and he thinks it's a waste of time. Can't wait to try the salt water weed preventative. Thanks so much for all the info!
S. Swayne
Do you pull loose woody stems from Asperger’s bed
Mary Ward
I do recommend pulling or cutting them either late in the fall or early in the spring--while the plants are dormant, after the stalks have died back. I prefer to cut them low down so I don't risk pulling up the crowns. Event the dead, dried stalks can be very tough and can pull up on the plant.
Marilyn Rowland
This is the best and most comprehensive discussion on the topic I have seen. I have been looking for guidance, and here it is. Thank you very much. Our asparagus bed has been in place for more than 20 years, and it's still doing pretty well. I hope with this to guide me, I will be able to encourage it to do even better. Again, many thanks!
Christine Hospodar
My bed has half that will
Be on its 3rd year next year and the other half will be on its 2nd. Am I incorrect to cut everything down in the fall and cover it with shavings from my rabbits? I have been Blessed this year ad the toads killed half my patch last year but able to keep them out this year. Looking forward to see what I get next year.
Sandra
Thank you so much for this article. It is the most complete and helpful. But I was wondering, would you be able to provide a quick summary of when things should be done. For example,
Early spring - fertilize and add weed prevention?
Growing season - water weekly, pull weeds, monitor and treat as needed for insects.
Late fall - fertilizer and mulch?
Winter - cut ferns?
Would this order be correct?
Mary Ward
Hi Sandra. Yes, this is a pretty good schedule. Fertilize before spears begin to emerge, and then again some time after harvest has stopped (probably better a bit earlier than late fall so it's there while they are still growing). Cut ferns after they have died and are standing brown. This can be done in the winter or you can leave them to stand until late winter/early spring. There is a theory that leaving the dead stalks standing through the winter will help them catch snow, which will capture more moisture and the snow cover helps protect the crowns.
Bob
We are recent growers of asparagus so I was truly interested in your topic. BUT there are so many ads disrupting my read that I got frustrated and stopped. You really need to adjust them. Bye.
Mary Ward
I'm sorry that is your experience. Unfortunately, we have to pay the bills! Ads are what allow us to bring you free information and quality content! You can "X" out of many of the ads by clicking the X in the corner.
Dawn
Hi! It is very difficult to get the weeds out of my asparagus patch, ch, will applying salt help with that or should I try to dig them out?
Mary Ward
Salt is said to help but I suspect it will work better on young, upcoming weeds. For large weeds, you'll probably have to start pulling. You may also be able to cut them low and them mulch heavily over the weeds. If it makes you feel any better, my bed is in the same shape!
Phyllis Brittenham
I worry that if I mulch my asparagus bed, I’ll step on emerging spears. My bed is about 15 years old and I didn’t plant them in rows.
Mary Ward
You'll do it more help than harm even if you do step on spears accidentally. If you mulch in the fall or early spring, you shouldn't damage anything and the spears will push up through the mulch.
Heather Irwin
This is so helpful! Thank you!
This may be a silly question, but I am new to this. How do I know when harvest is over and just let the rest grow into ferns? I usually pick until I am so tired of it and let the rest go, but there must be a better way to know when to stop picking.
Mary Ward
I think you'll find the answers you're looking for here https://gardening.org/harvest-asparagus/
Basically, when the stalks start to get thin and slow down, it's time to stop harvesting and let the plant mature and feed itself for the next year. A good rule of thumb is to make sure when you harvest there are shoots poking up behind them and stop harvesting if the stalks get smaller than a pencil (I like to stop a before that because I have large varieties and I want strong mature stalks to feed the crown through summer).