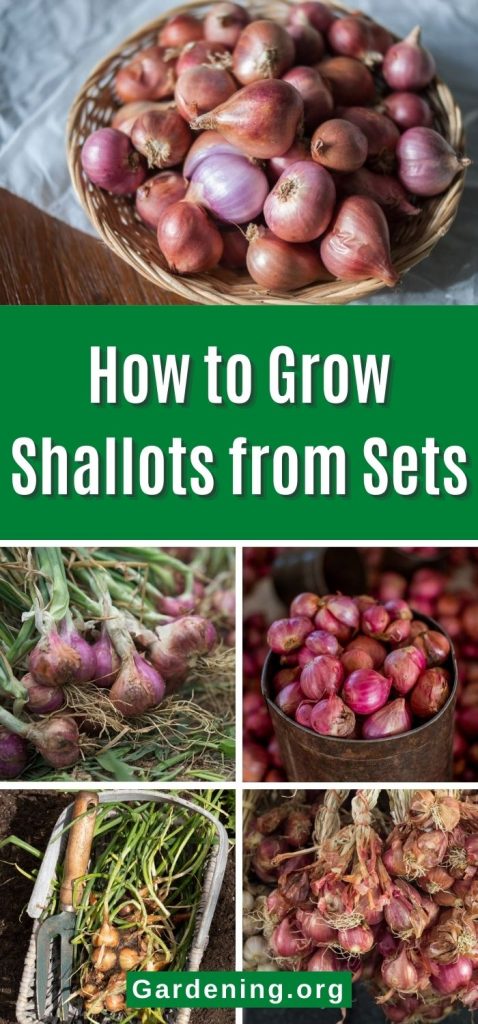
Shallots are a popular garden plant that is used as a gourmet onion substitute in many dishes. A member of the allium family, shallots offer an onion flavor with spicier notes of garlic too. What’s more, their purple flesh looks lovely when chopped finely and used as a garnish or flavor boost.
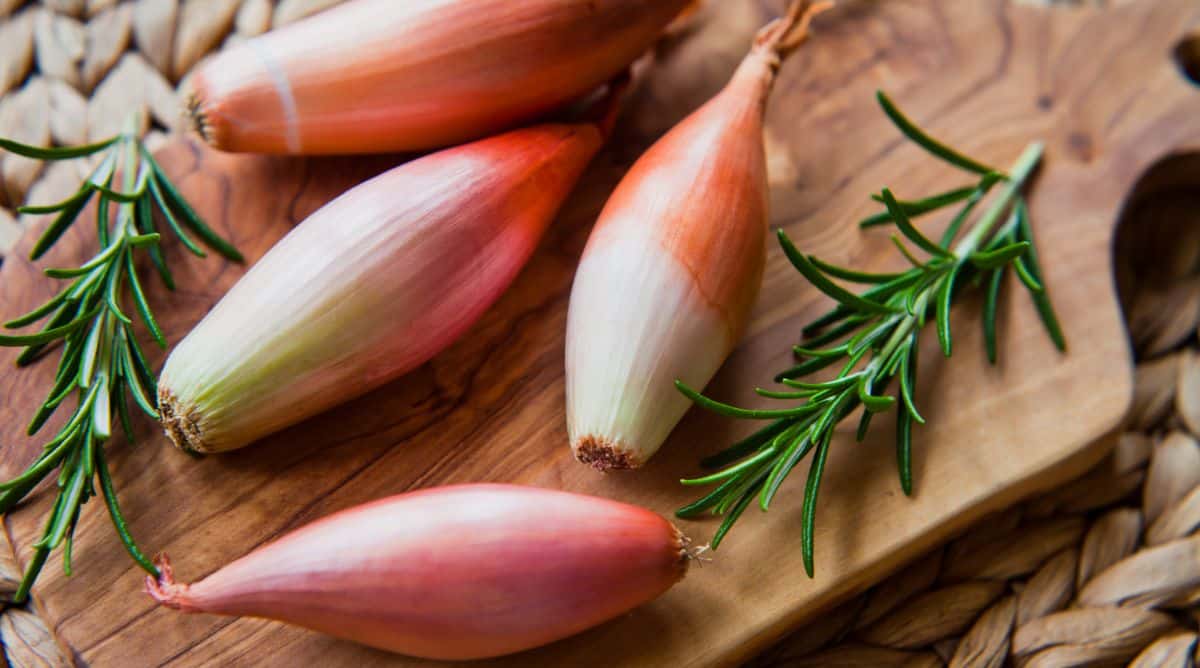
While shallots may be considered gourmet, they are actually quite easy to grow in backyard spaces. If you’ve ever wanted to grow your own shallot crop, check out the tips below and start growing shallots like a pro.
Jump to:
How to grow shallots from sets
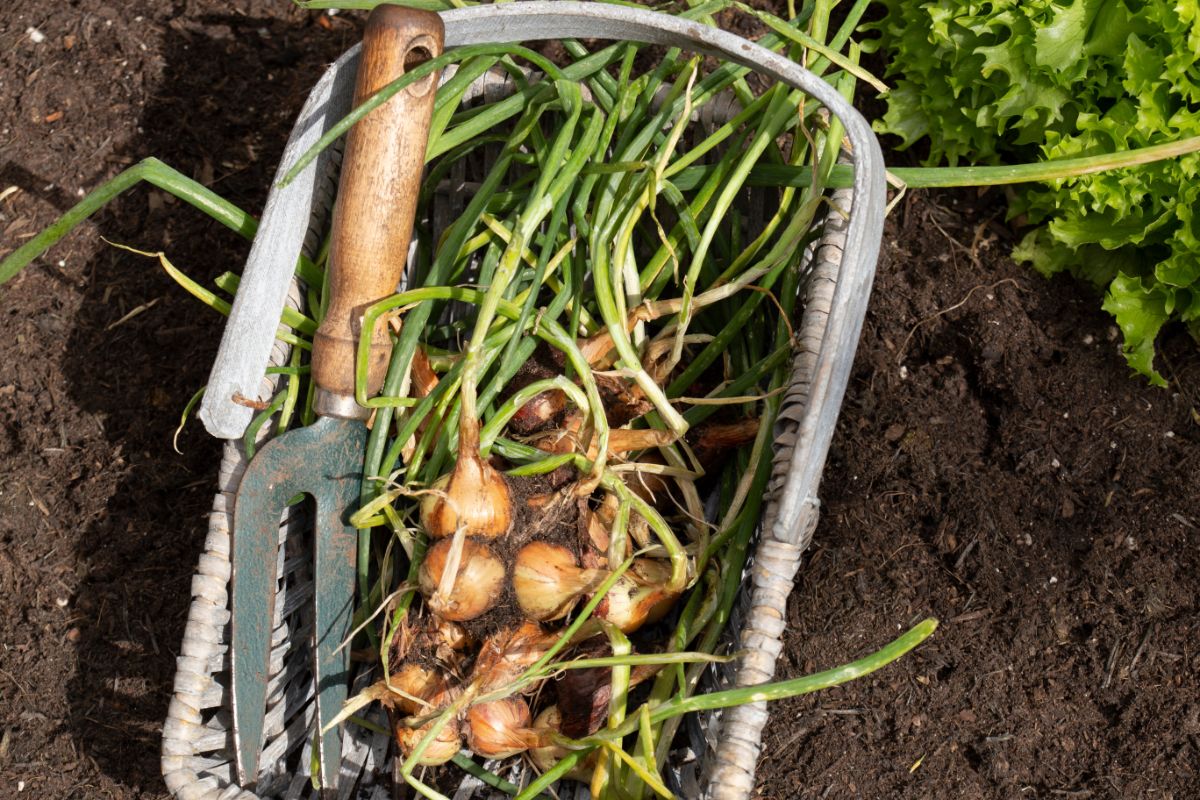
Also known as “multiplier onions,” shallots multiply in garden beds just as garlic cloves do. However, once you cut into a fresh shallot, you’ll see that its flesh is arranged in concentric rings like onions.
If you’ve ever grown garlic, shallots have quite similar growing requirements. Provide them with the right growing conditions and plant them at the right time and you’ll soon reap the benefits with a tasty crop of homegrown shallots. To get started, follow our top shallot growing tips below.
Ordering your bulbs
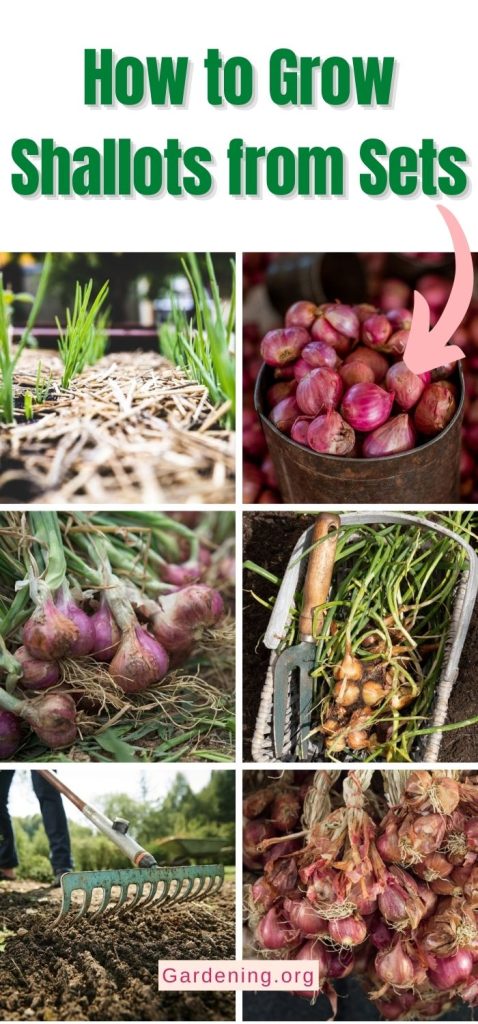
Shallots are usually grown from sets that can be ordered online or picked up at your local plant nursery. Shallot sets are second-year plants that were started from seeds in a greenhouse.
Shallots can also be grown from store-bought bulbs, but this can be trickier. Commercially grown shallots may have been sprayed with growth suppressants, so opt for organically grown shallots if you can find them. Any shallot bulbs that have begun sprouting green will likely do well in your garden too.
If you’re working with storebought grocery store bulbs, after purchasing your shallots, carefully separate shallot bulbs into individual cloves and allow them to dry in a cool, dry location for several days before planting
Know when to plant
Shallots can be planted in spring or fall, but most growers opt for fall planting. Fall planted shallots usually produce a more abundant harvest and mature bulbs will be ready for picking much earlier.
For fall planting, plan on sowing your shallot sets in late fall.
Shallots are generally hardy down to zone 2, but in cooler areas they may struggle a bit with harsh winters. For this reason, if you live in zones 2 to 3, you may want to sow your shallots in spring instead. For spring planting, aim to have your bulbs in the ground roughly 2 to 4 weeks before your last frost date.
Because they require at least one month of cool weather to germinate, make sure you get your spring-planted shallots in the ground early enough. If temperatures get too warm, they may not grow.
Prep your beds
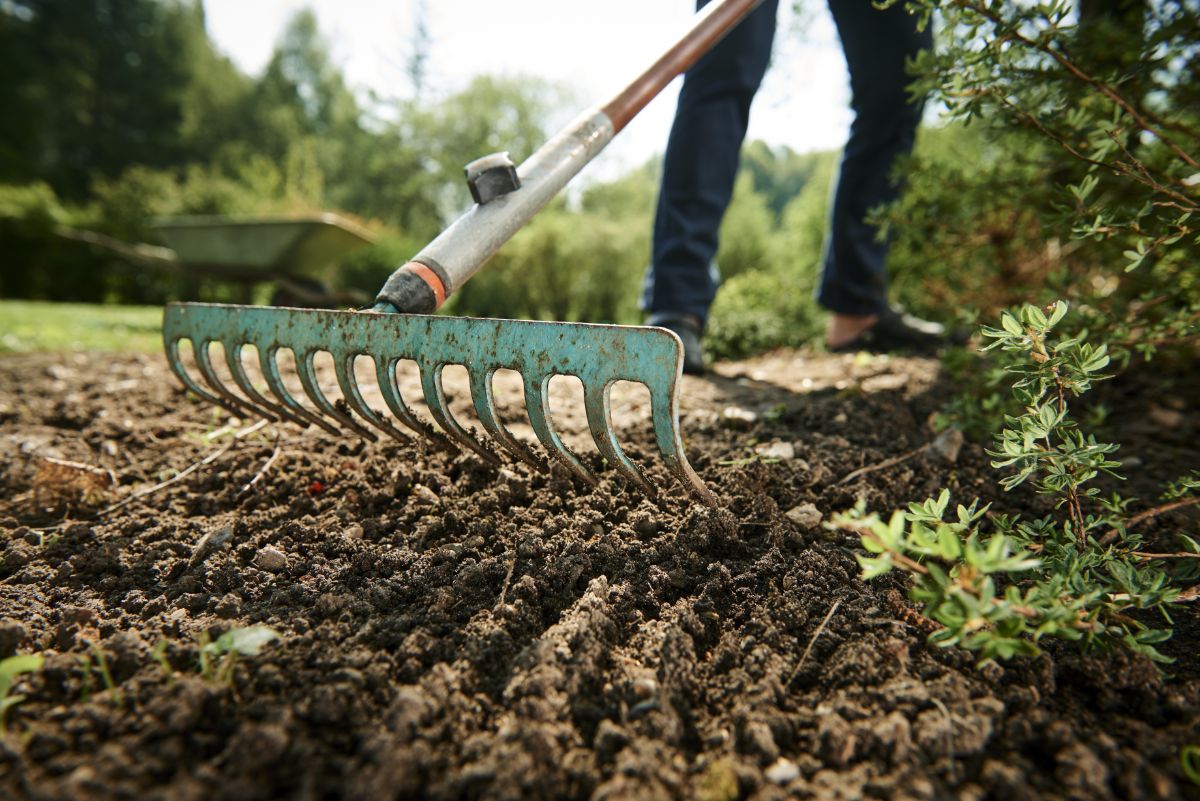
Shallots prefer rich, well-draining soil and do quite well in raised beds or containers. If you have heavy, clay soil or very sandy soil, consider amending your garden beds with aged manure or organic compost prior to planting. Shallots grow best in slightly acidic soil with a pH of between 5.5 and 7.0, so add soil amendments if needed to correct any pH imbalances.
If you amend your beds with a good quality compost or aged manure at the time of planting, shallots usually won’t need additional fertilizer throughout the growing season.
Whatever location you choose, make sure your shallots will receive lots of bright sunlight. Also, try to avoid placing your shallots in an area of your garden with many other plants, as shallots don’t do as well if they need to compete with their neighbors for nutrients and water.
Plant your bulbs
When it’s time to plant your shallots, sow your bulbs 4 to 6” apart in rows spaced 12” apart. Like other bulbs, make sure you orient your shallots correctly in the planting holes by positioning the rounded end of the bulb towards the bottom of the hole and the pointed end of the bulb towards the top.
Shallots should be planted shallow enough that the top of the bulb is slightly exposed above the soil line.
Add mulch
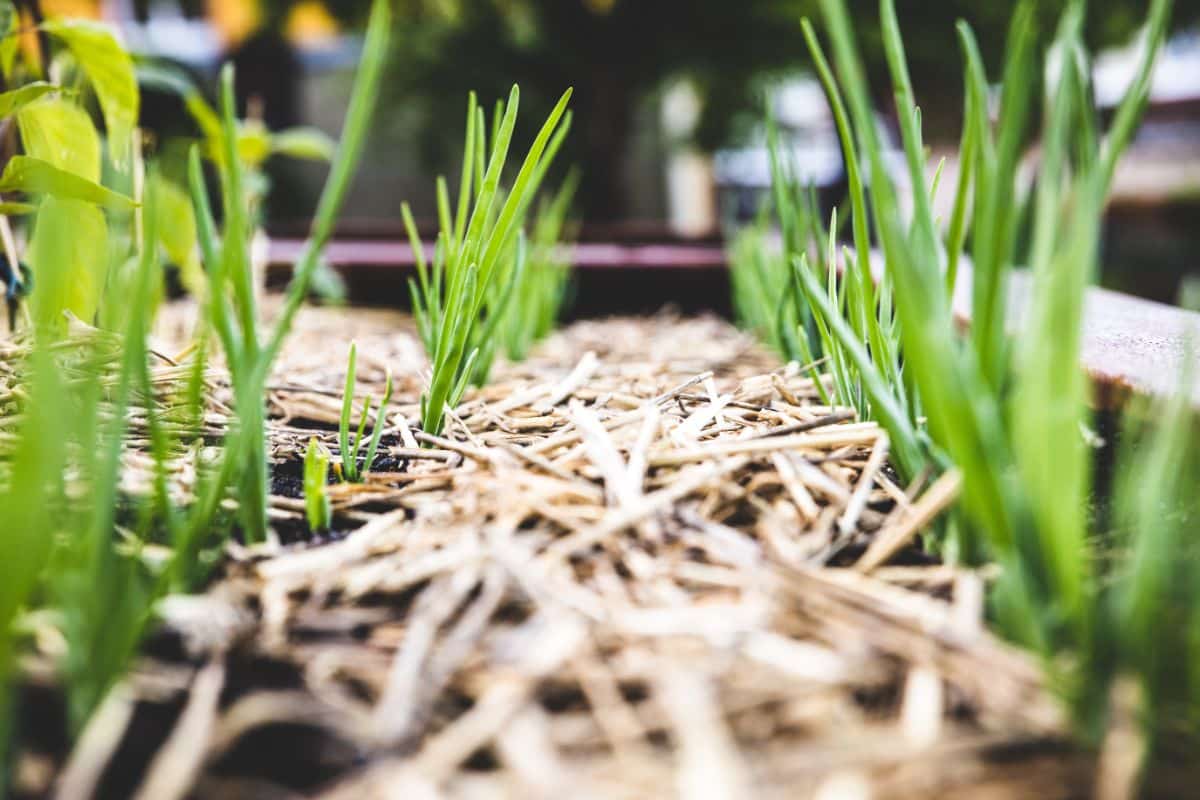
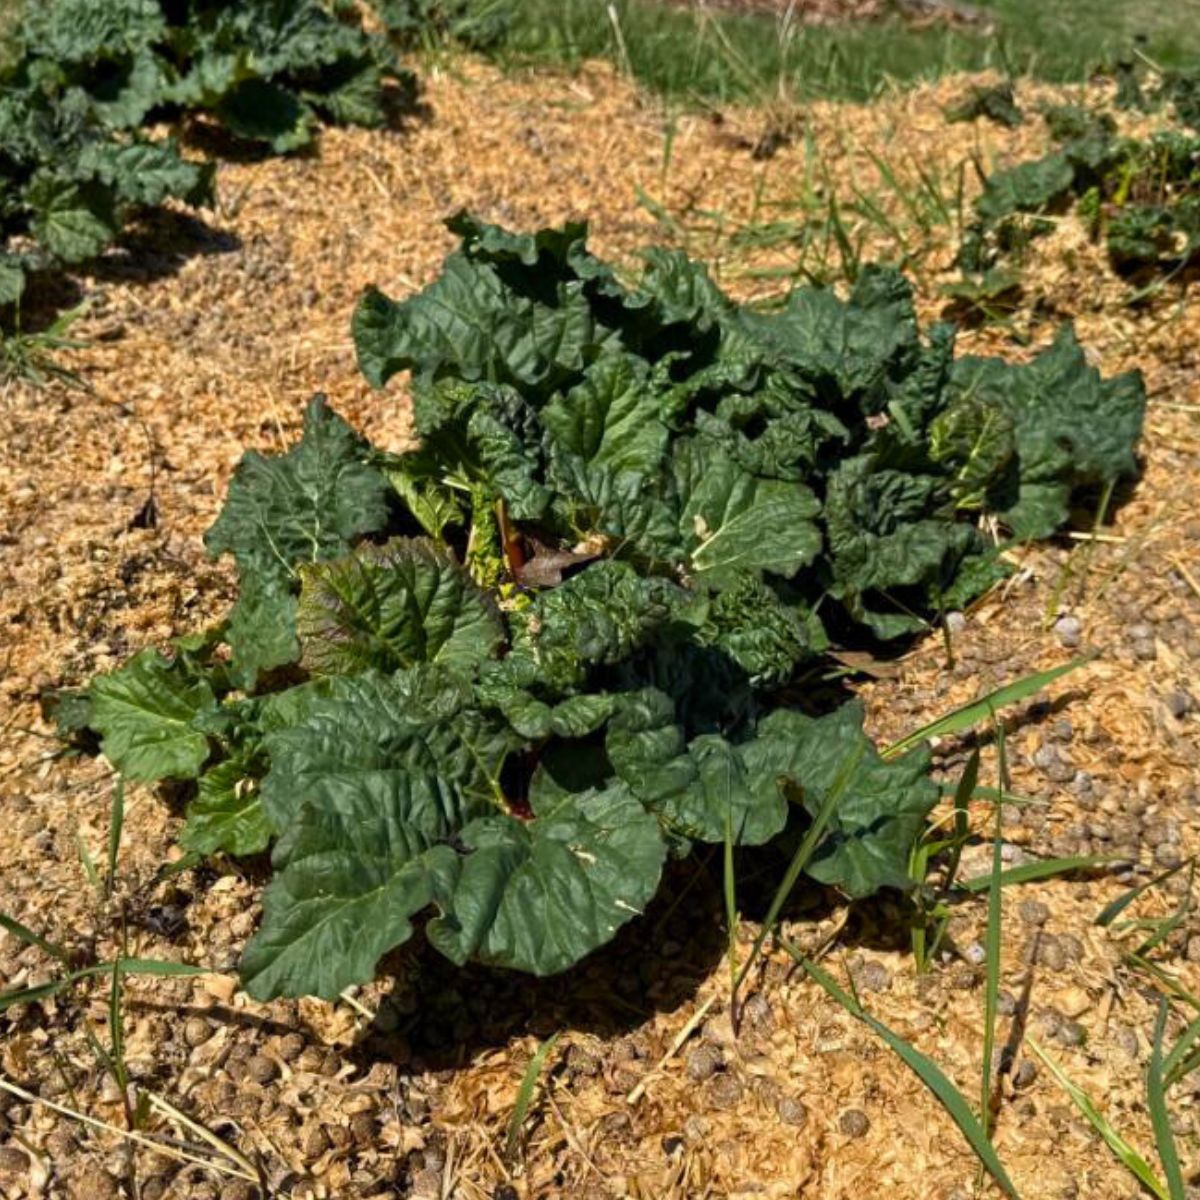
Shallots grow near the soil’s surface, so adding a thick layer of organic mulch over bulbs after planting can help protect your shallots from harsh weather. Adding mulch will also help deter birds or other backyard visitors from getting too interested in your crop and digging it up or devouring it.
Mulch is particularly important for fall-planted bulbs and will help to ensure that your shallots survive the long winter. For best results, add about 4 to 6” of mulch after planting your bulbs and then remove extra mulch in spring after temperatures begin to rise. While you can use different mulches, chopped autumn leaves, salt marsh hay or weed-free straw are all perfect choices for shallot beds.
Spring-planted bulbs will also grow a bit better with mulch, but only add an inch or two. Mulching bulbs will help protect your shallots from late frosts and keep weeds down.
Water your shallots
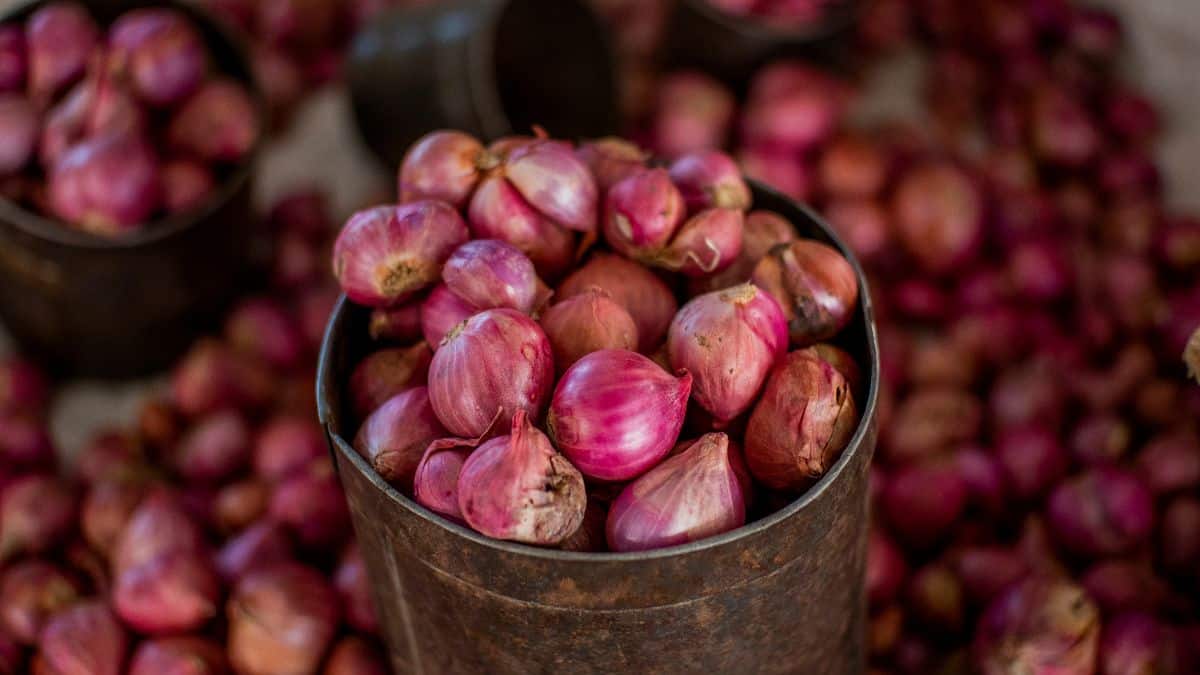
After planting your bulbs, water your shallots in well. This will help to jumpstart root growth and establish your crop in your beds before winter sets in. It will also remove any air pockets in the soil that may cause your bulbs to dry out.
Shallots require regular watering throughout the growing season. Aim to provide your plants with about 1” of water per week. Soil should remain consistently moist, but not soggy.
In winter, fall-planted shallots will enter a state of dormancy and will require less watering. During this period, it’s important that shallot beds are well-draining and don’t get too waterlogged, as this can cause rot.
Stay on top of weeds
Shallots don’t do well with lots of competition from other plants, and weeds specifically. Weeds can rob young shallots of the nutrients and water they need to reach the best size and flavor possible.
To prevent issues with your shallot crop, do your best to stay on top of weeds throughout the growing season. Keeping your shallot beds well mulched is one great way to do this. But hand-pulling weeds with a weeding fork or Hori-Hori gardening knife can help, too.
Harvesting shallots
Fast growing plants, shallots are usually ready for harvesting about 100 to 120 days after planting.
Like onions, you’ll know it’s time to harvest your shallots when the leafy tops begin to turn brown, dry and wither up.
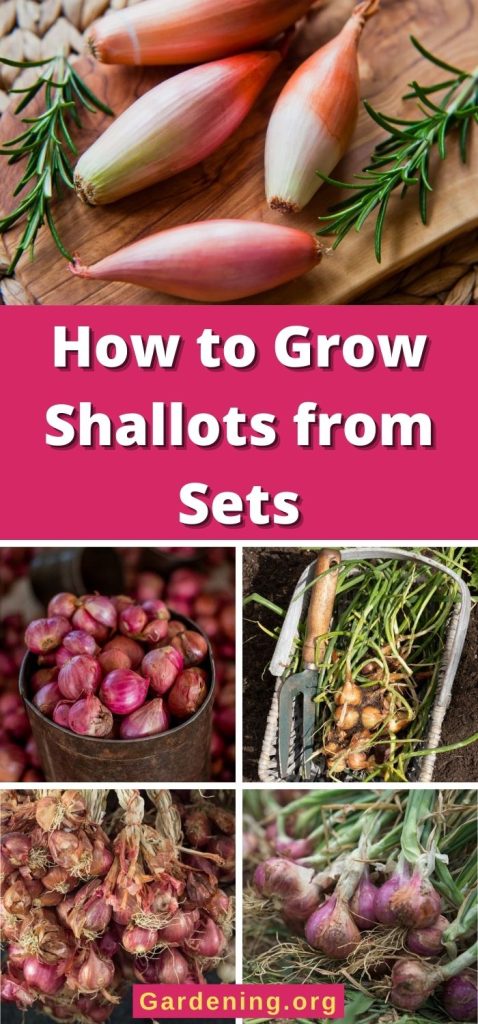
To harvest your bulbs, carefully dig the entire plant up and shake off excess soil. Then, allow your shallot bulbs to cure in a cool, dry location and out of direct sunlight for several weeks. This will help ensure your shallots store well.
Storing shallots
Once cured, shallots can be stored for up to 8 months in a cool, dry location and out of direct sunlight. Storing your shallots in your fridge is often a good choice. Just make sure they are placed in an area with adequate air circulation.
Popular shallots varieties
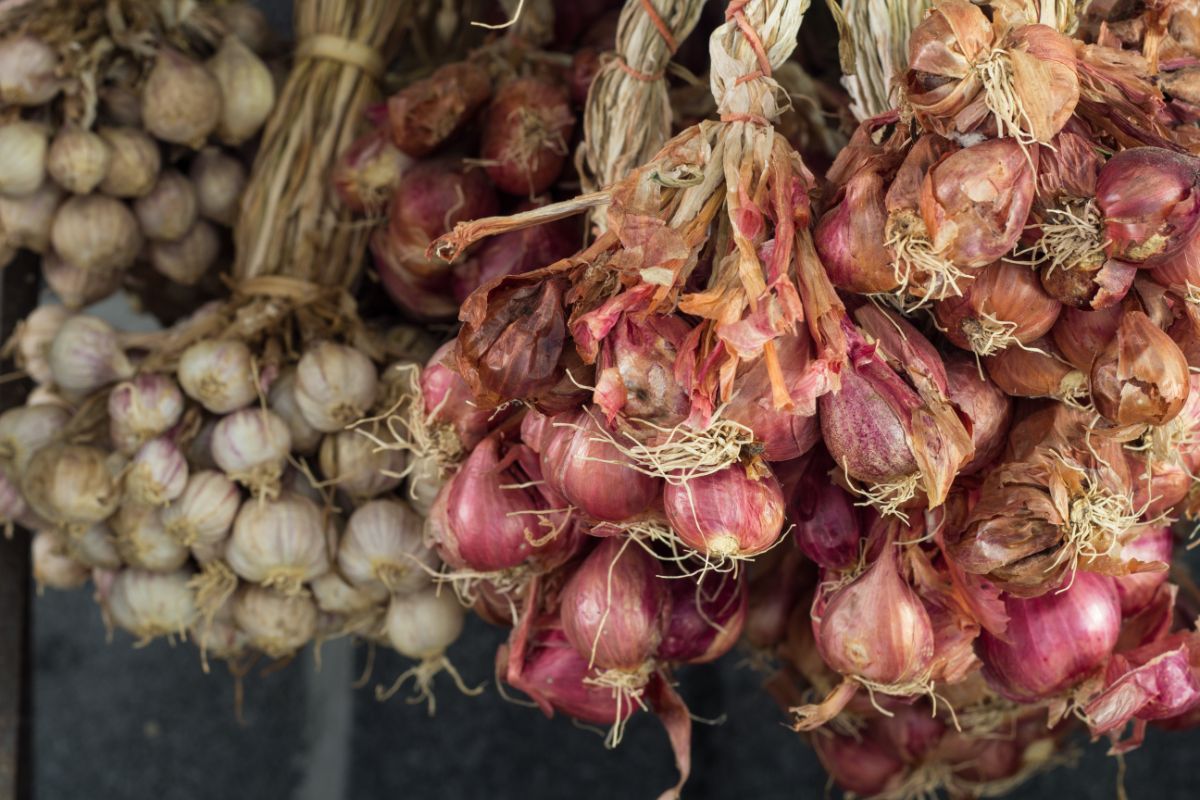
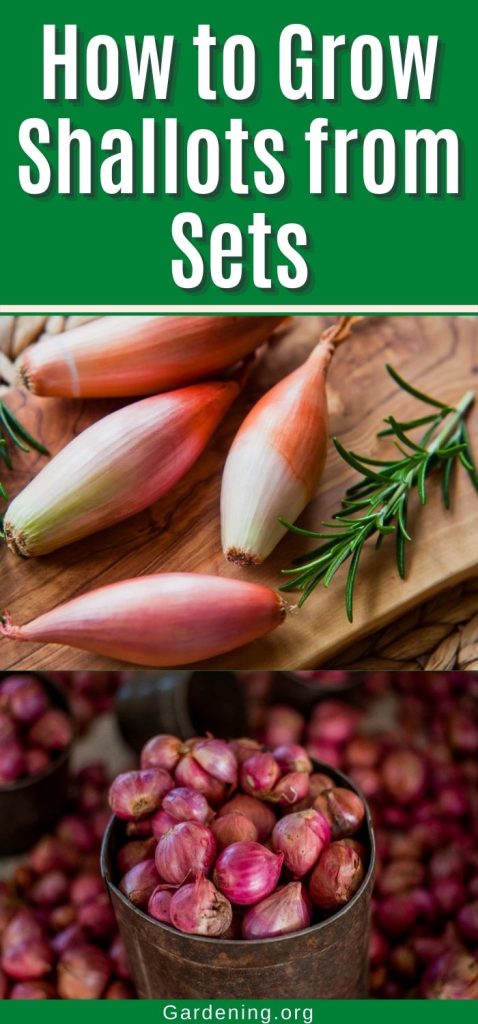
- ‘French Gray.’ A classic choice, this heirloom shallot is great for gourmet cooking and is considered by many to be the only true shallot.
- ‘Echalion.’ An excellent onion substitute in recipes, these shallots offer a mild onion flavor and a crisp texture.
- ‘Ambition.’ A hybrid variety that stores well and has a large bulb.
- ‘Jersey.’ Sometimes called a “false” shallot, the ‘Jersey’ has a short, round bulb and a mouth-watering, oniony taste.
- ‘Camelot.’ With dark red skin and a perfect onion flavor, what’s not to love?
Frequently asked questions
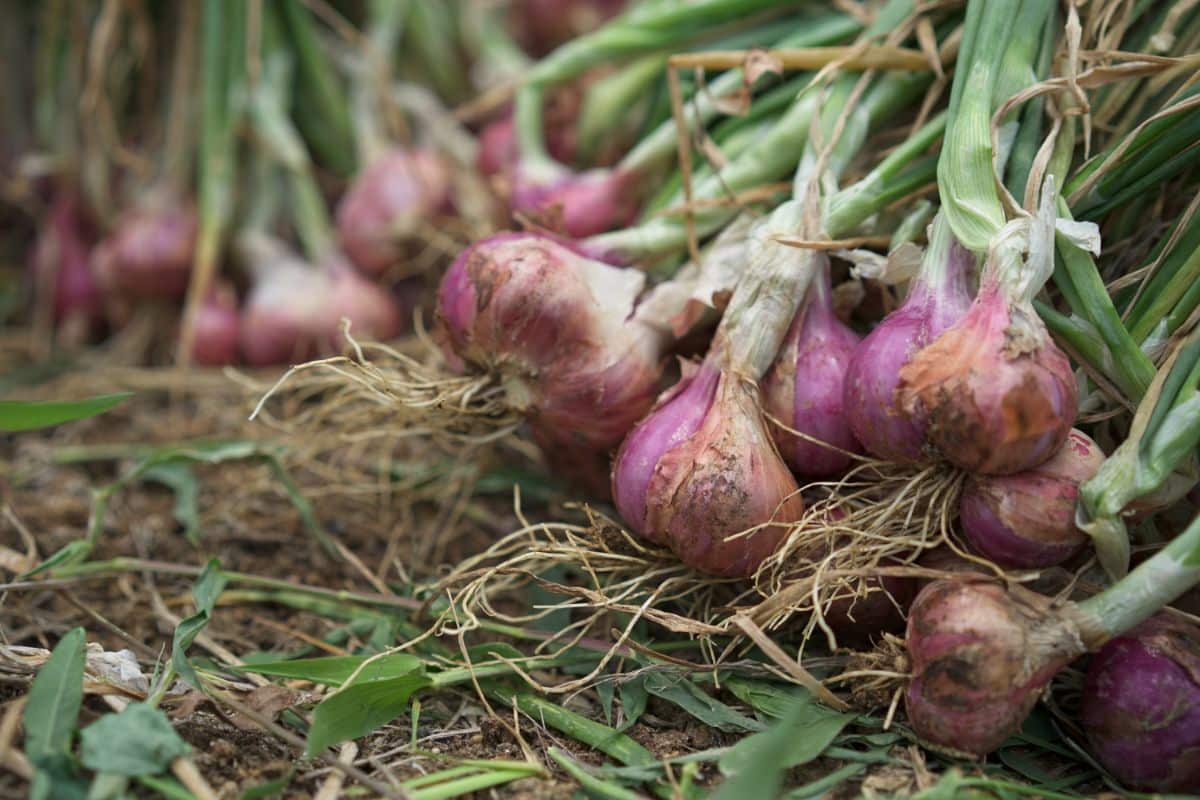
Autumn planted shallot sets will be ready to harvest in about 36 weeks. But they can be harvested as soon as they reach a usable size.
Like garlic, shallots will multiple and create more bulbs. A single shallot bulb can grow 10 or more new bulbs.
Absolutely! Shallots work perfectly as container vegetables. Just be sure to follow proper spacing guidelines when planting.
Shallots grow well near most plants, but they should not be planted near beans or peas. This is because shallots can suppress the growth of plants in the legume family.
Summary
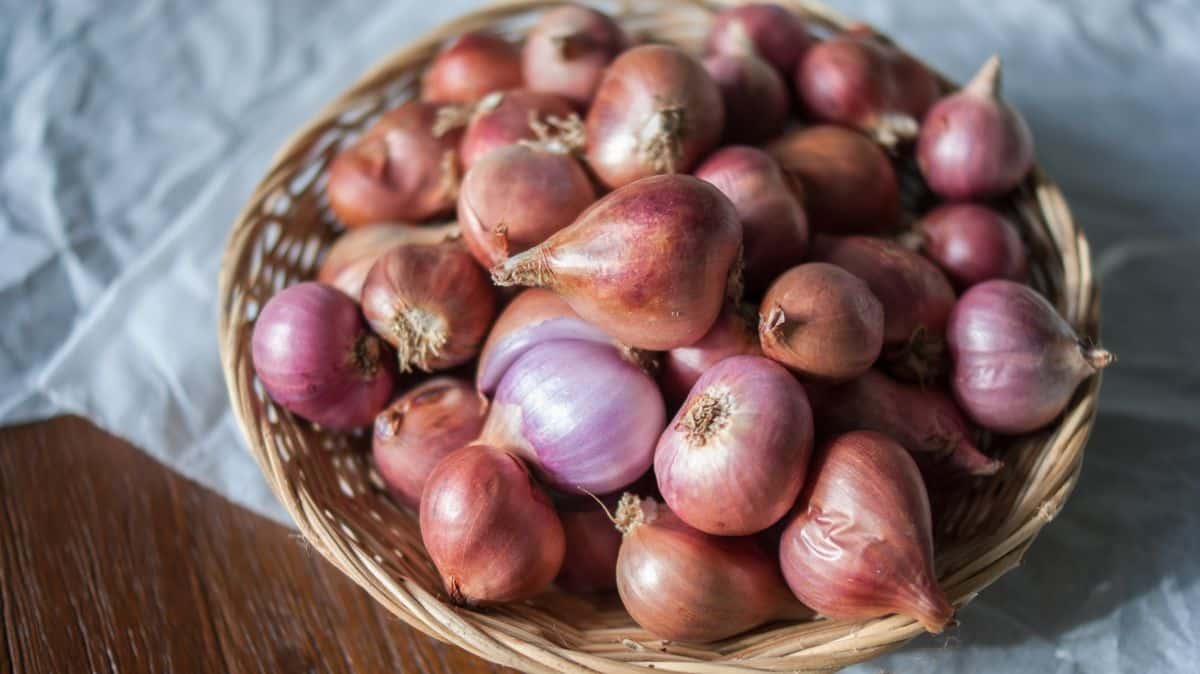
Often considered to be a gourmet food item, shallots can be quite pricey at the grocery store. But shallots are actually quite easy to grow in your backyard, even if you just have a small patio with a few containers for planting.
A member of the allium family, shallots boast a mild onion flavor and a delightful color and texture that complements so many dishes. And now that you know how to grow your own bulbs, it’s a perfect time to start experimenting with more recipes utilizing this tasty ingredient, like raw oysters with mignonette sauce or shallot tarte tatin.
If you liked this article, check out our piece about growing onions from seed here.



Leave a Reply